Craft Room Guest Room Combo: How to Design One Room That Actually Works Both Ways
A craft room guest room combo is what happens when you finally admit you don’t have a spare bedroom to spare. I turned my extra room into exactly this setup two years ago, and the biggest lesson I learned in month one: you’re not decorating one room. You’re decorating two rooms that happen to share a floor plan. Once I stopped trying to make it “feel like a craft room” or “feel like a guest room” and started treating it as both, on purpose, everything clicked.
This isn’t a compromise room. Done right, it’s a better use of square footage than a guest room that sits empty 350 days a year.
What This Style Actually Looks Like, and Who It’s For
Most combo rooms I’ve seen (and mine included) land somewhere between cottage, modern farmhouse, and IKEA-practical minimalism. Nobody’s going full glam in a room where you’ll also be cutting fabric on the floor. The palette does a lot of the heavy lifting — think warm white walls, navy or turquoise accents, blush or peach touches, and light wood tones like birch or pine. These colors read as “guest room” at a glance but hide craft-room wear well, which matters more than people think.
This setup is for crafters — sewing, scrapbooking, Cricut, painting, whatever your thing is — who need a real work surface, not a card table shoved in a corner, but also host guests a few times a year and refuse to make them sleep on an air mattress next to a fabric stash.
Where it works best:
– Spare bedrooms, roughly 10×10 to 12×12 feet minimum
– Bonus rooms or oversized guest rooms
– Underused formal living rooms
– Even a closet can become a hidden workstation if the room itself is tight
Timeline and cost, realistically: A basic version — clearance furniture, IKEA shelving, some styling — takes 1 to 3 weekends and runs $250–$800. If you’re building out cabinetry, installing a Murphy bed, or doing a closet conversion, budget $1,500 and up, plus more weekends than you’ll want to admit.
The Pieces That Make a Dual-Purpose Room Actually Function
The bed has to earn its floor space
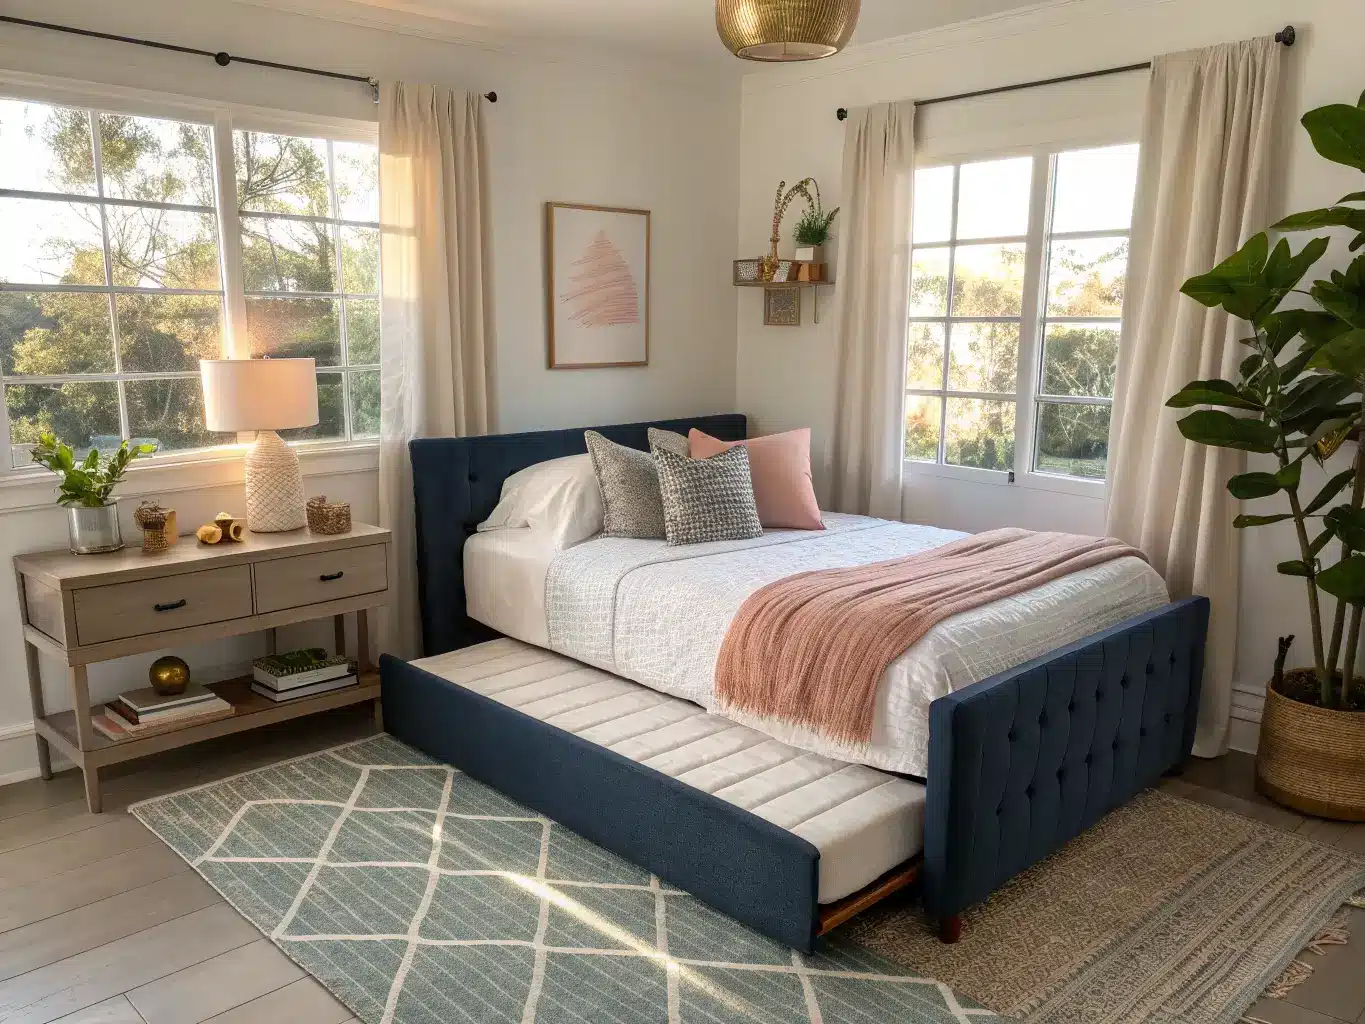
This is the single biggest decision in the whole room. I tried a full-size guest bed first because I already owned it. Mistake — it ate the room, and I was constantly working around it instead of at a table. I swapped to a daybed with a trundle, and the whole room opened up.
Your options, ranked by how much floor space they give back:
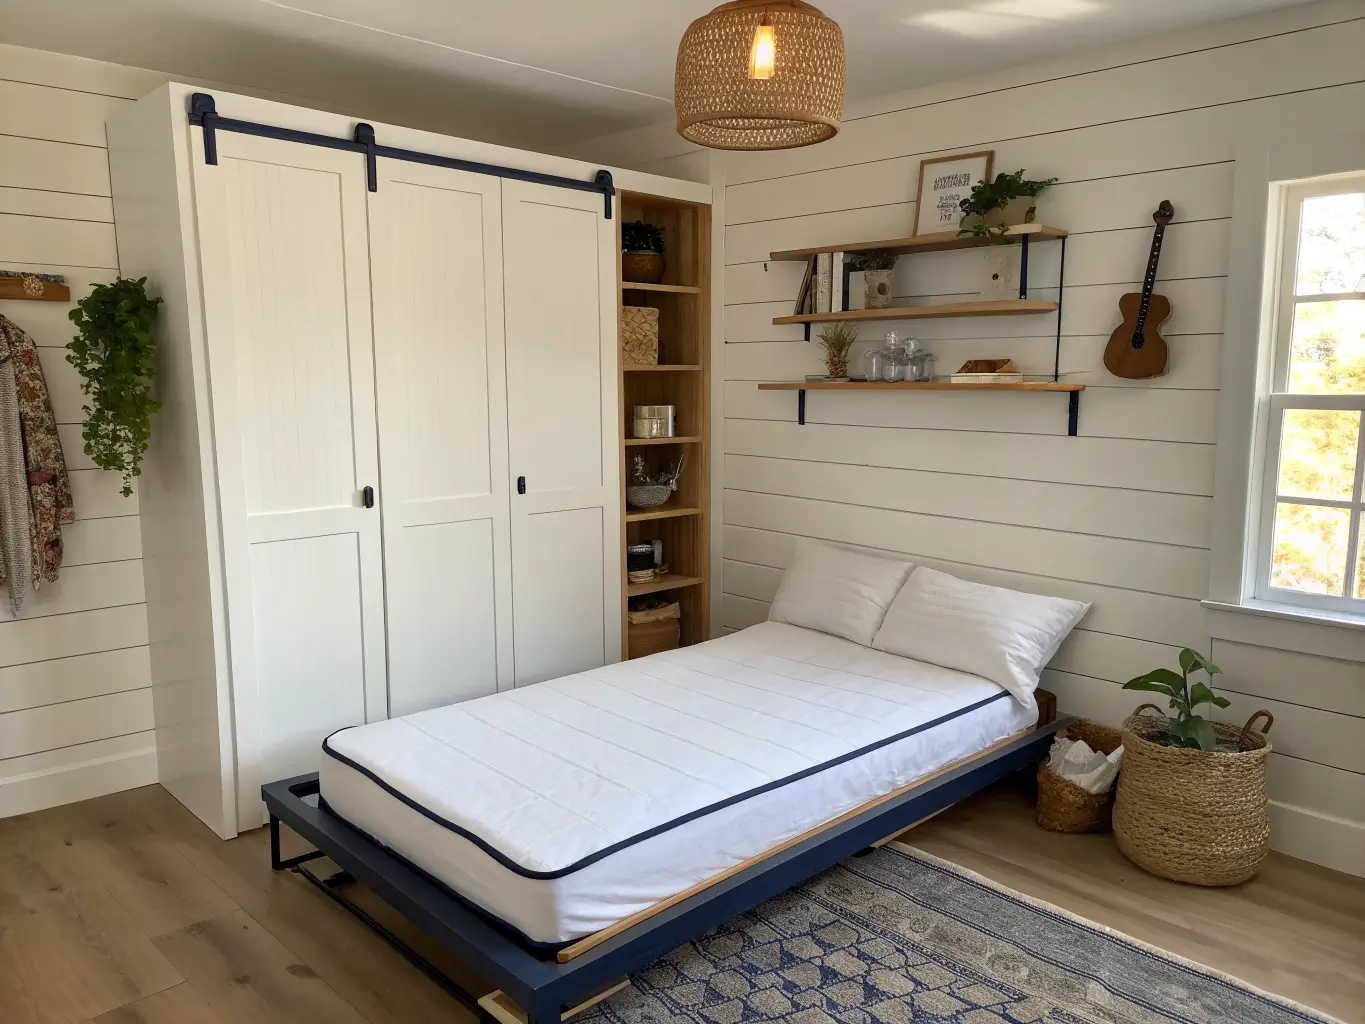
– Murphy bed — folds flat against the wall, gives you the most usable floor space, but it’s the most expensive and often needs professional installation
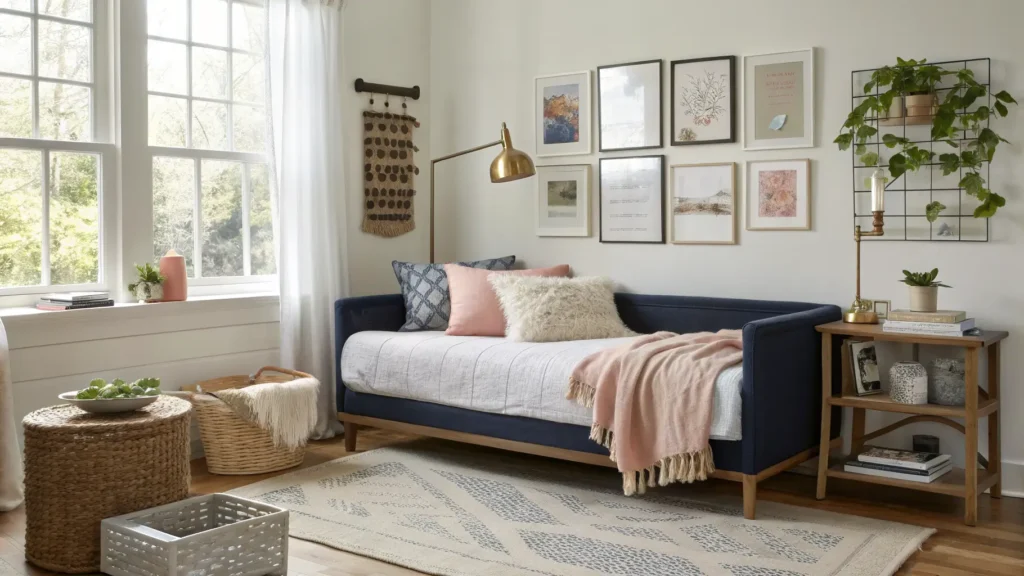
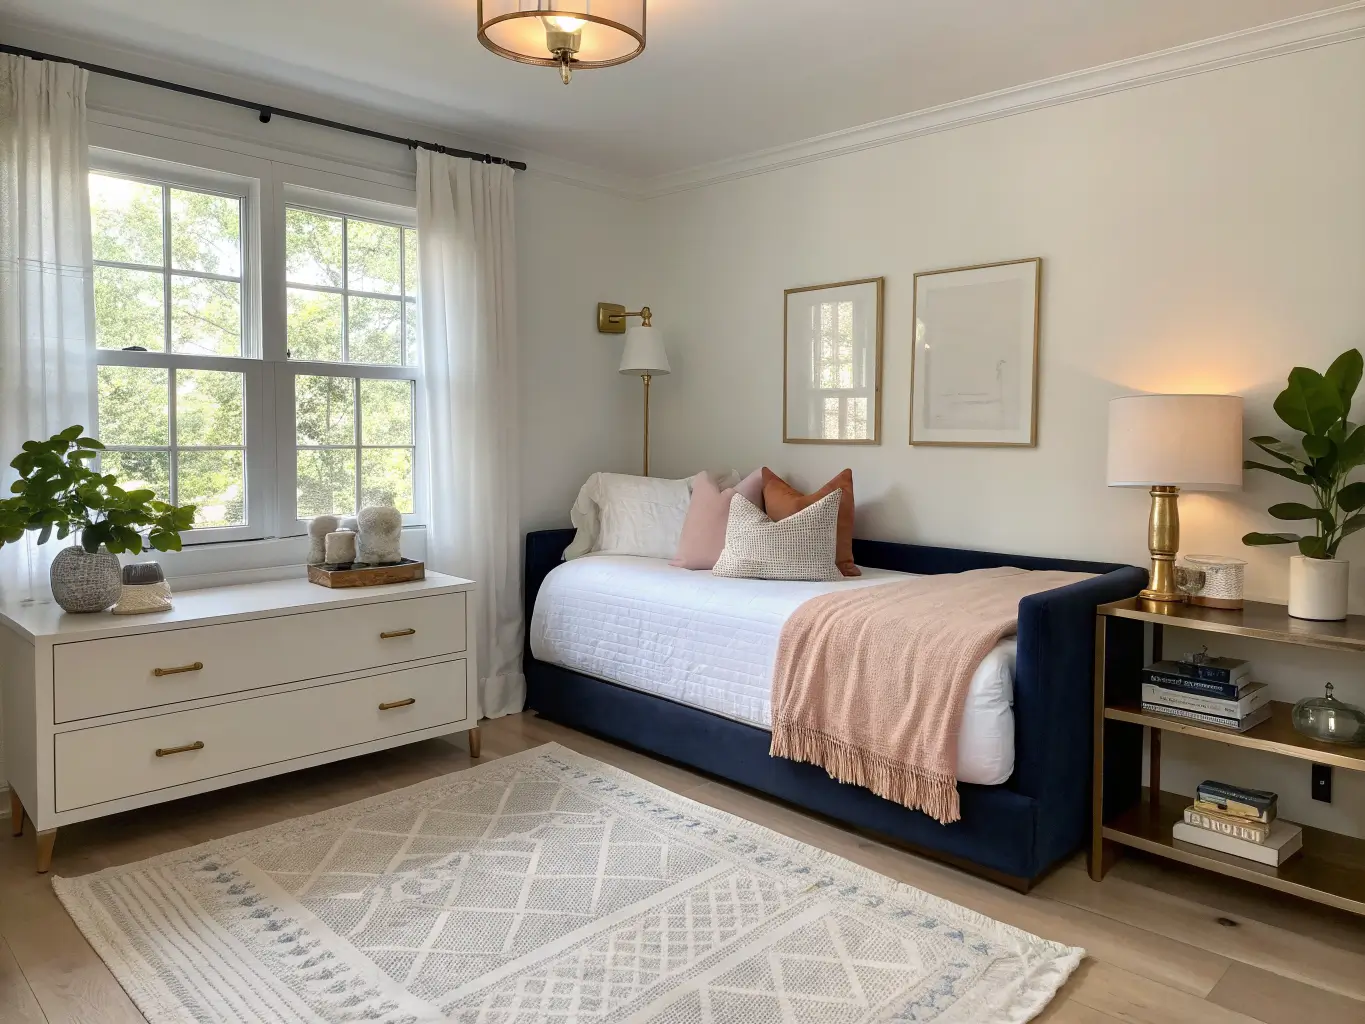
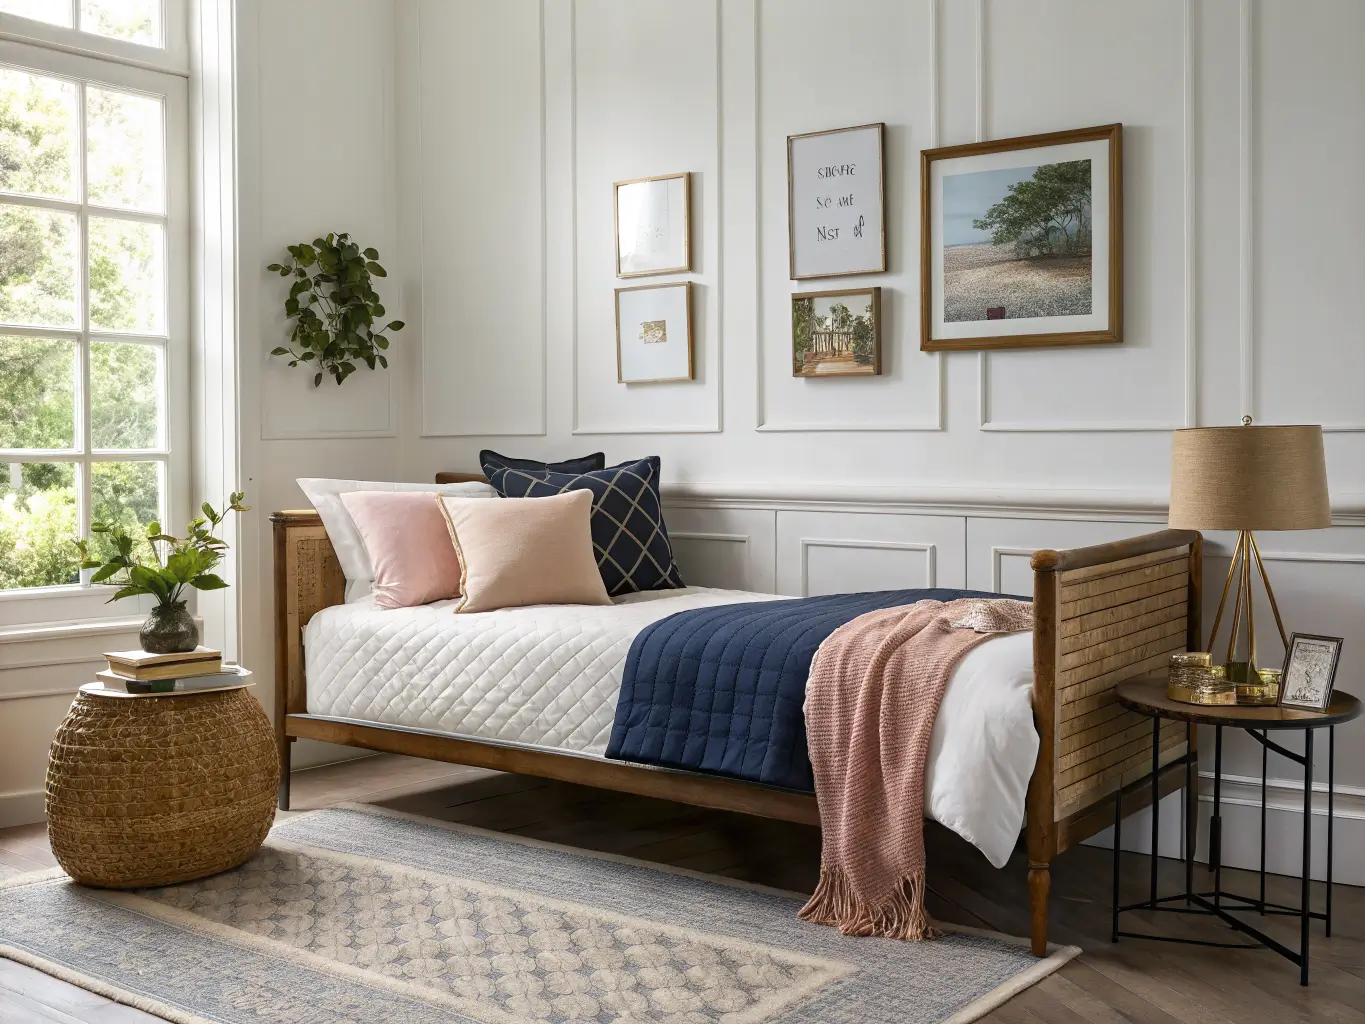
– Daybed — reads as a sofa during the day, sleeps one comfortably, a trundle underneath adds a second sleeper without extra footprint
– Sleeper sofa — good if you want the room to feel like a den most of the year
– Trundle bed — smart if you regularly host two guests at once
Unless you’re hosting overnight guests weekly, skip the full-size bed. It’s the single most common mistake I see in these rooms — people keep the “real” guest bed and then wonder why there’s no room to cut fabric.
Your work surface needs to double as furniture, not just a table
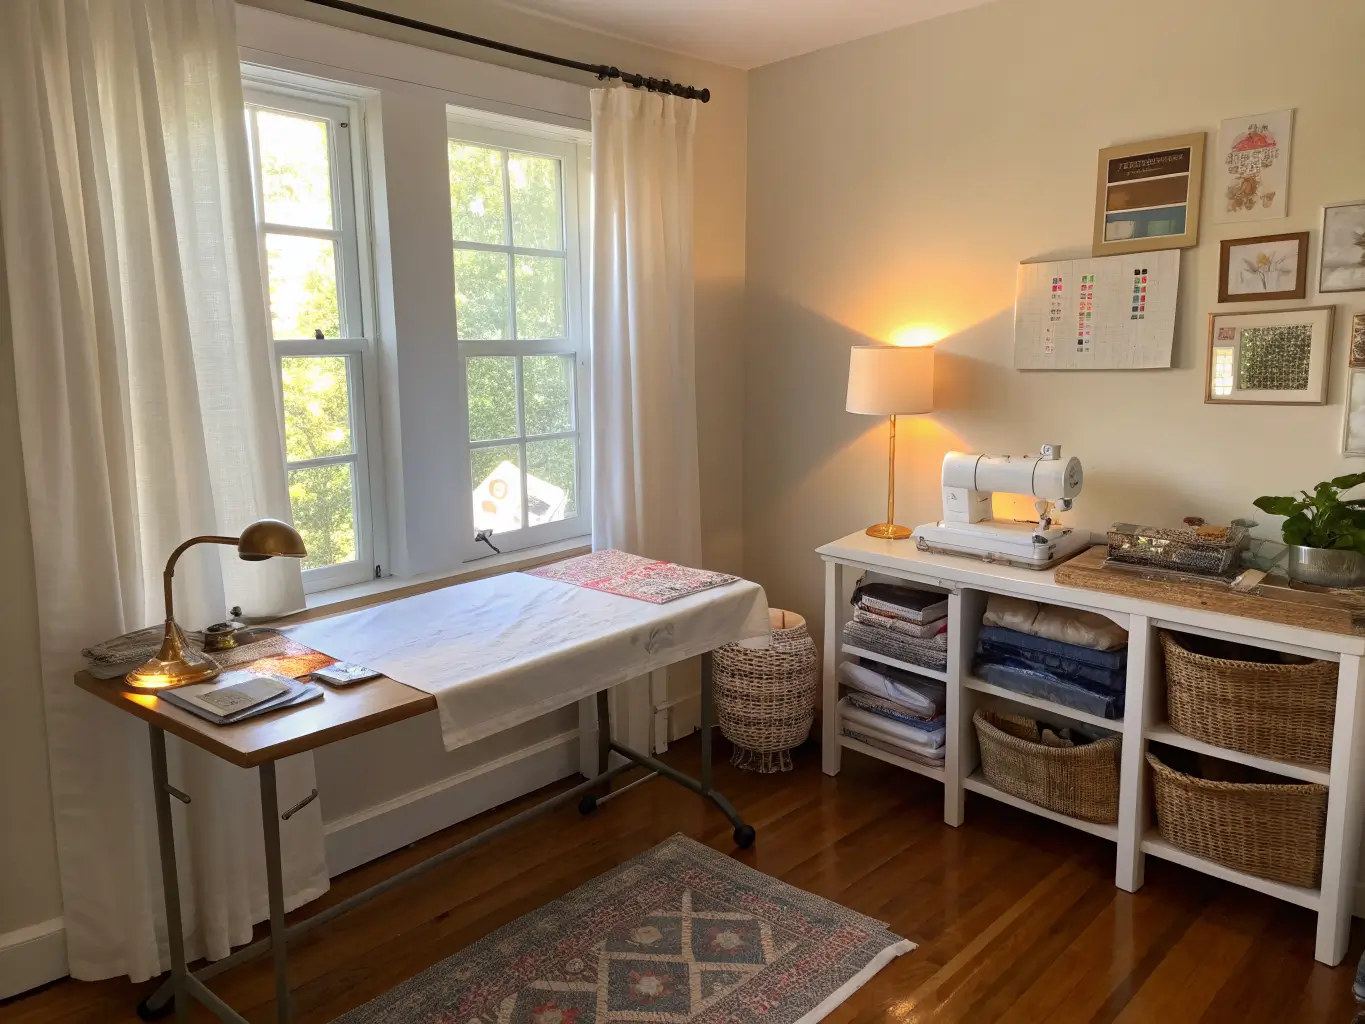
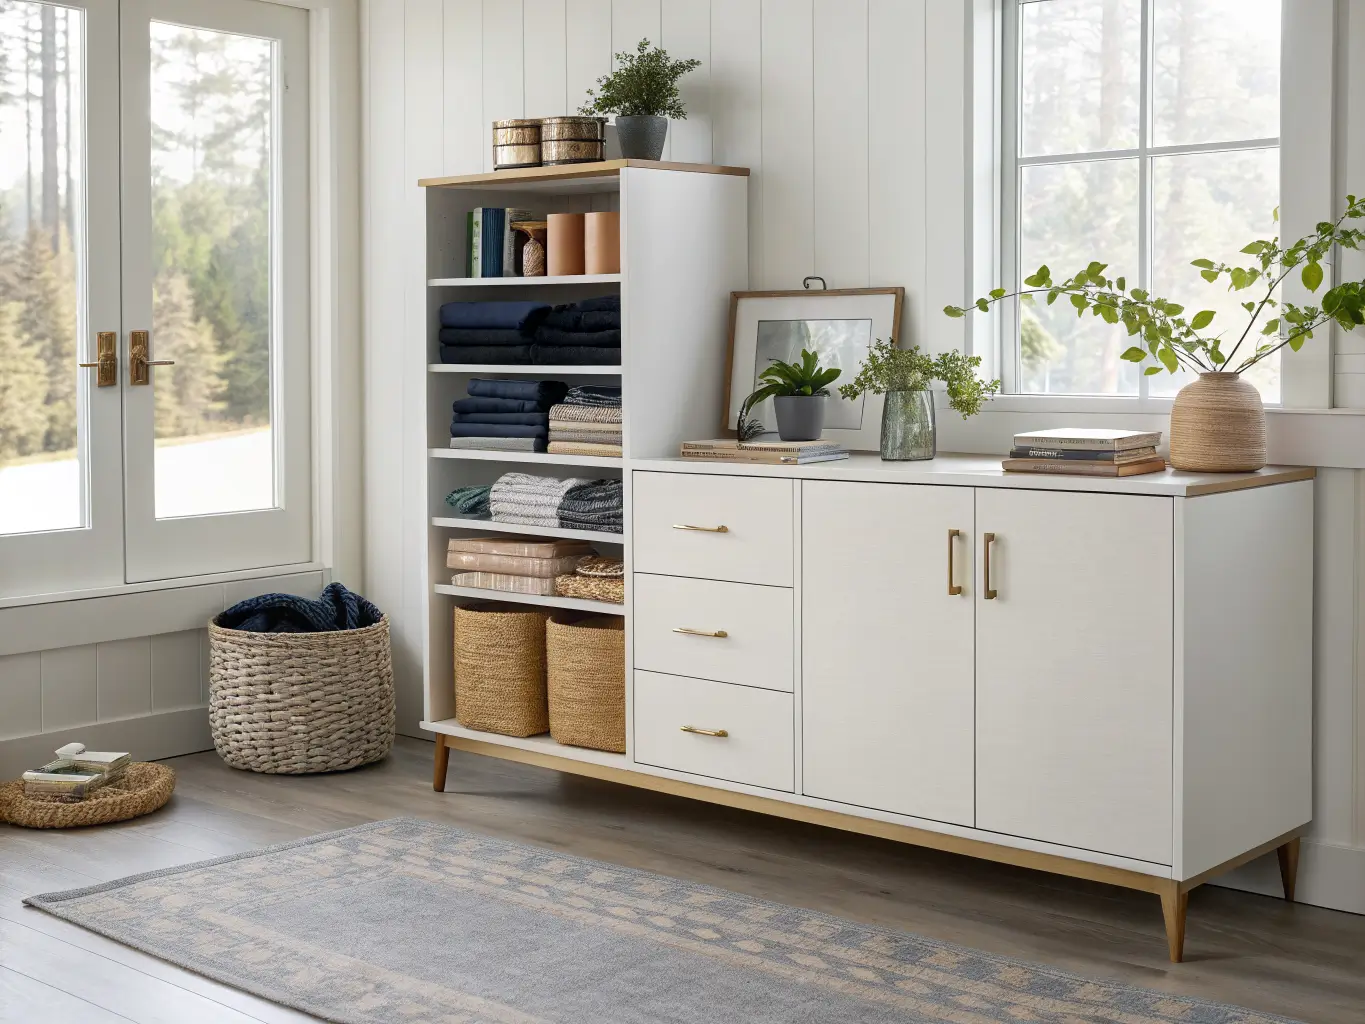
A drop-leaf table is the unsung hero here. Mine folds down to about 18 inches deep against the wall when I’m not using it, and unfolds to a full 40-inch-wide cutting surface when I need it. A dining table works too if you have one you’re not using elsewhere, and a countertop laid over a drawer base gives you a fixed, sturdy surface if you don’t need the fold-down flexibility.
Storage is the make-or-break element
I underestimated this completely in my first pass at the room. I had beautiful bedding and a gorgeous little vintage lamp, and then a cardboard box of yarn sitting in the corner because I hadn’t figured out where it went. It ruined the whole effect.
What actually works:
– Wall shelves or a modular cabinet system for supplies you want visible and pretty (patterned paper, thread spools in nice jars, fabric folded and stacked)
– A pegboard over the work surface for tools you reach for constantly
– A closet organizer if your closet isn’t being used for guest clothing storage
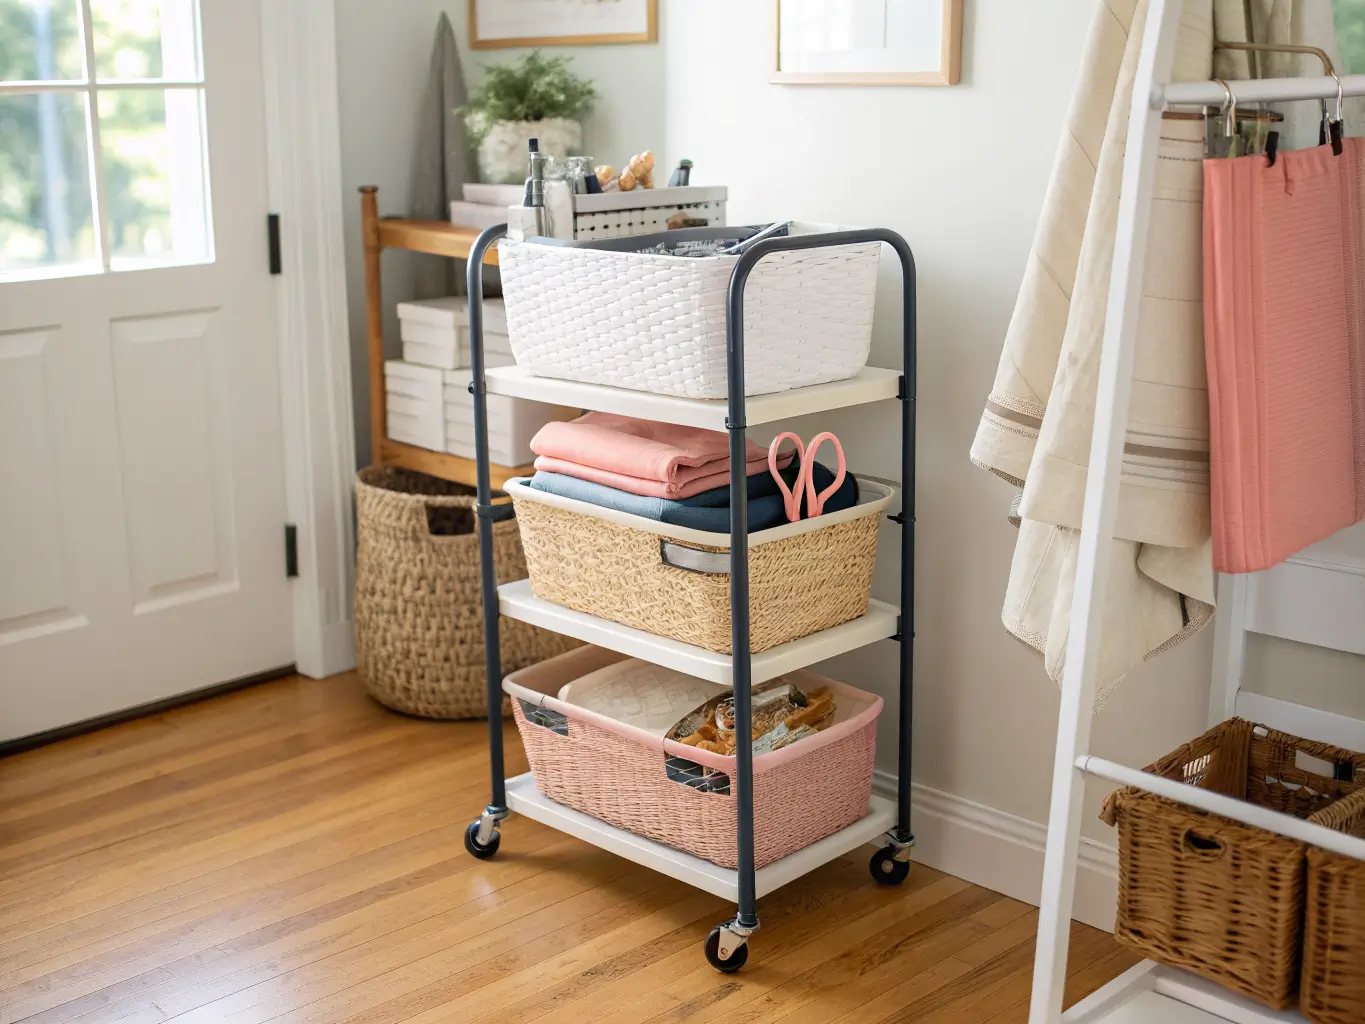
– A rolling cart for whatever project is currently in progress — this is the single best purchase I made, because I can wheel an unfinished project into the closet in about ten seconds when guests are arriving
– Labeled bins and baskets for the less photogenic stuff — extra fabric scraps, ribbon, half-used paint
Lighting has to do two different jobs
Crafting needs bright, accurate light — I use a daylight-balanced LED task lamp (around 5000K) clipped to my work table, because warm bulbs make fabric colors and paint mixes look wrong. Guests need the opposite: a soft bedside lamp, warm white bulb, something in the 2700K range that doesn’t feel like an interrogation. One overhead fixture cannot do both jobs. If your room only has one ceiling light right now, that’s your first upgrade, before you buy a single decorative object.
Don’t skip the actual guest comfort
It’s easy to pour all your energy into the craft side because that’s the fun part to shop for. But a stack of good pillows, a real throw blanket, a bedside table with a working lamp, and somewhere for a guest to set a water glass and charge their phone — that’s what makes the room still feel hospitable instead of like you cleared off a workbench and called it a guest suite.
Optional Touches Worth Adding Once the Basics Work
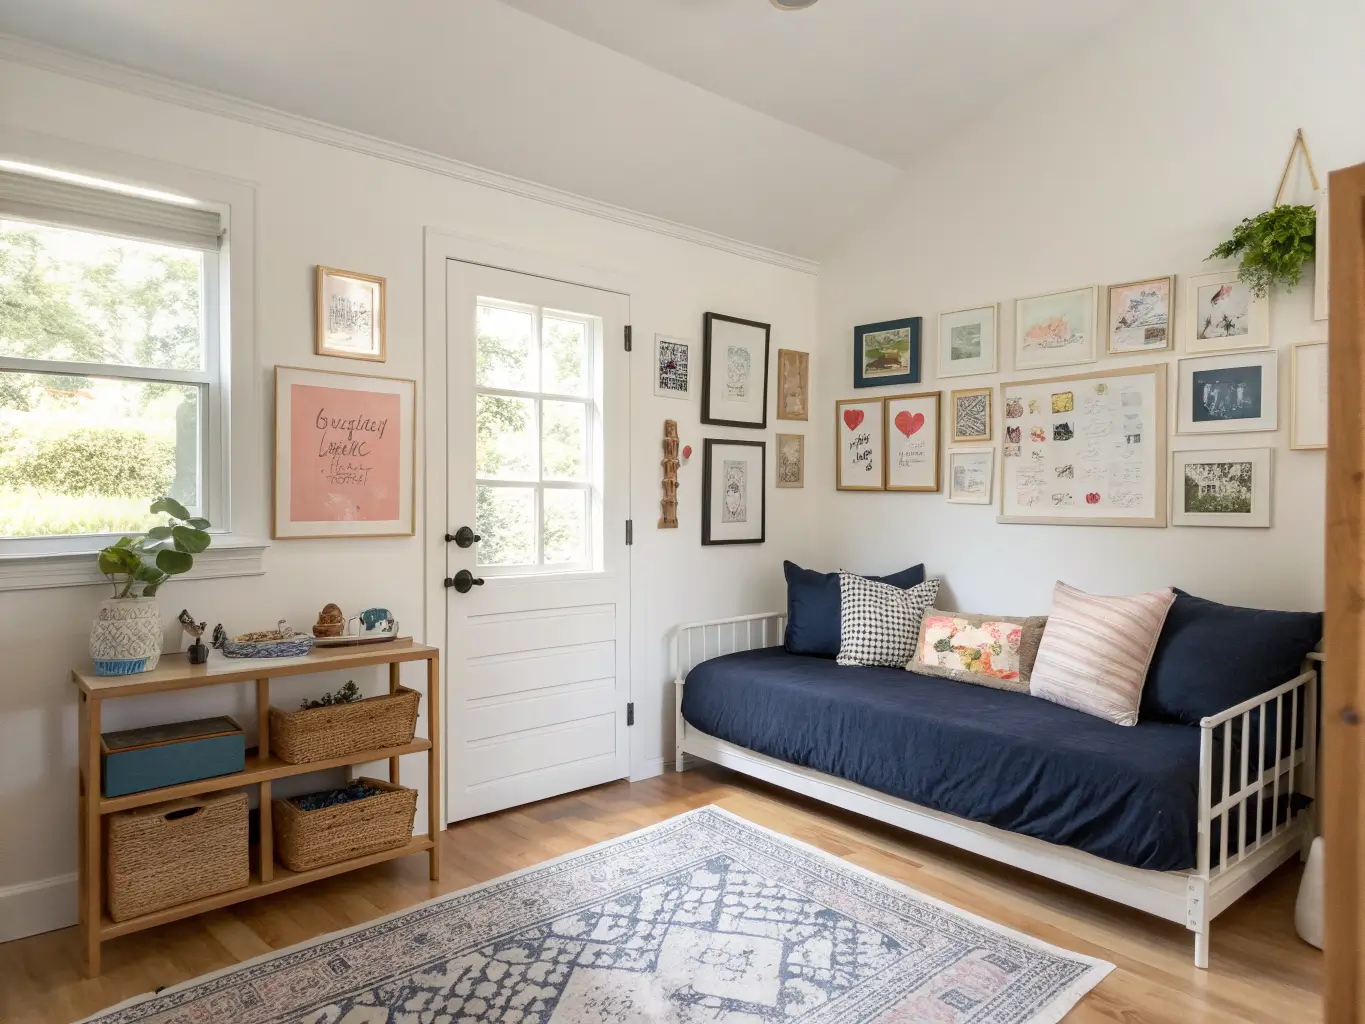
– A gallery wall on the bed side visually separates “guest zone” from “craft zone” without a physical divider — this is what finally made my room feel designed instead of just organized
– A full-length mirror and a spot for luggage, even just an empty shelf, make a real difference to guests
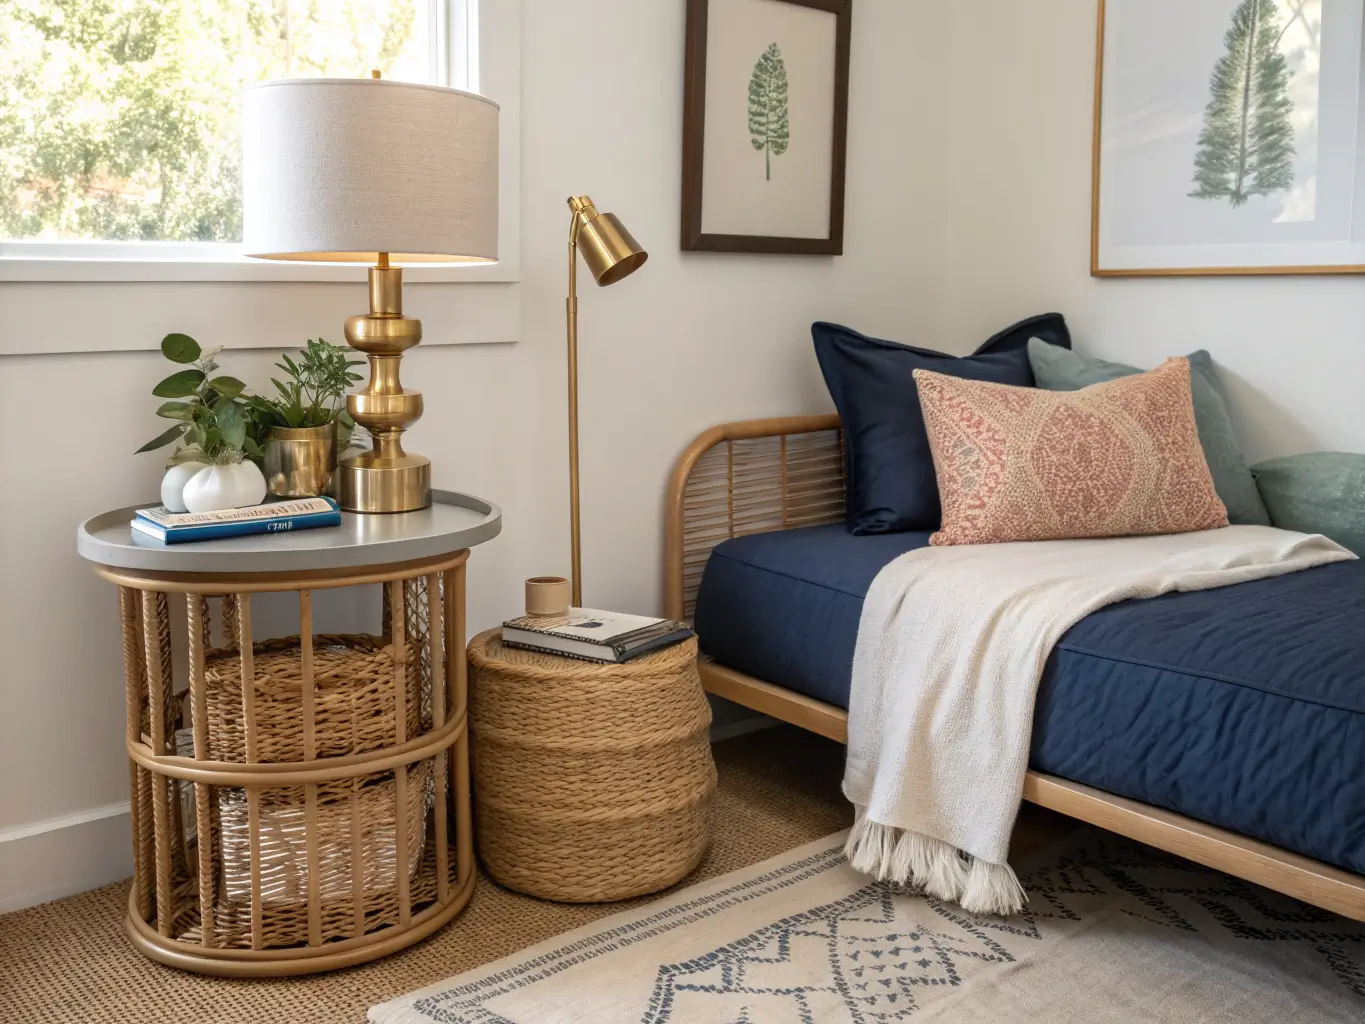
– An area rug under the bed can mark the sleeping zone boundary on its own
– Plants, woven baskets, linen bedding — anything organic-textured softens a room that otherwise leans hard on plastic bins and metal shelving
Putting It Together: A Realistic Order of Operations
1. Clear the room completely. You need to see the empty box before you can zone it.
2. Find your best light source (usually a window) and put the craft table there. Guest bed goes on the calmer, less bright wall.
3. Measure your circulation path. You should be able to walk from the door to the bed without squeezing past the work table. In a 10×10 room this is tight — plan furniture placement on paper first, or use painter’s tape on the floor to test it.
4. Bring in the big furniture first — bed, table, main storage piece. Add lamps and wall storage after the bones are in place.
5. Sort supplies into containers before you style anything. Trying to style around loose piles is how you end up frustrated and the room ends up messy anyway.
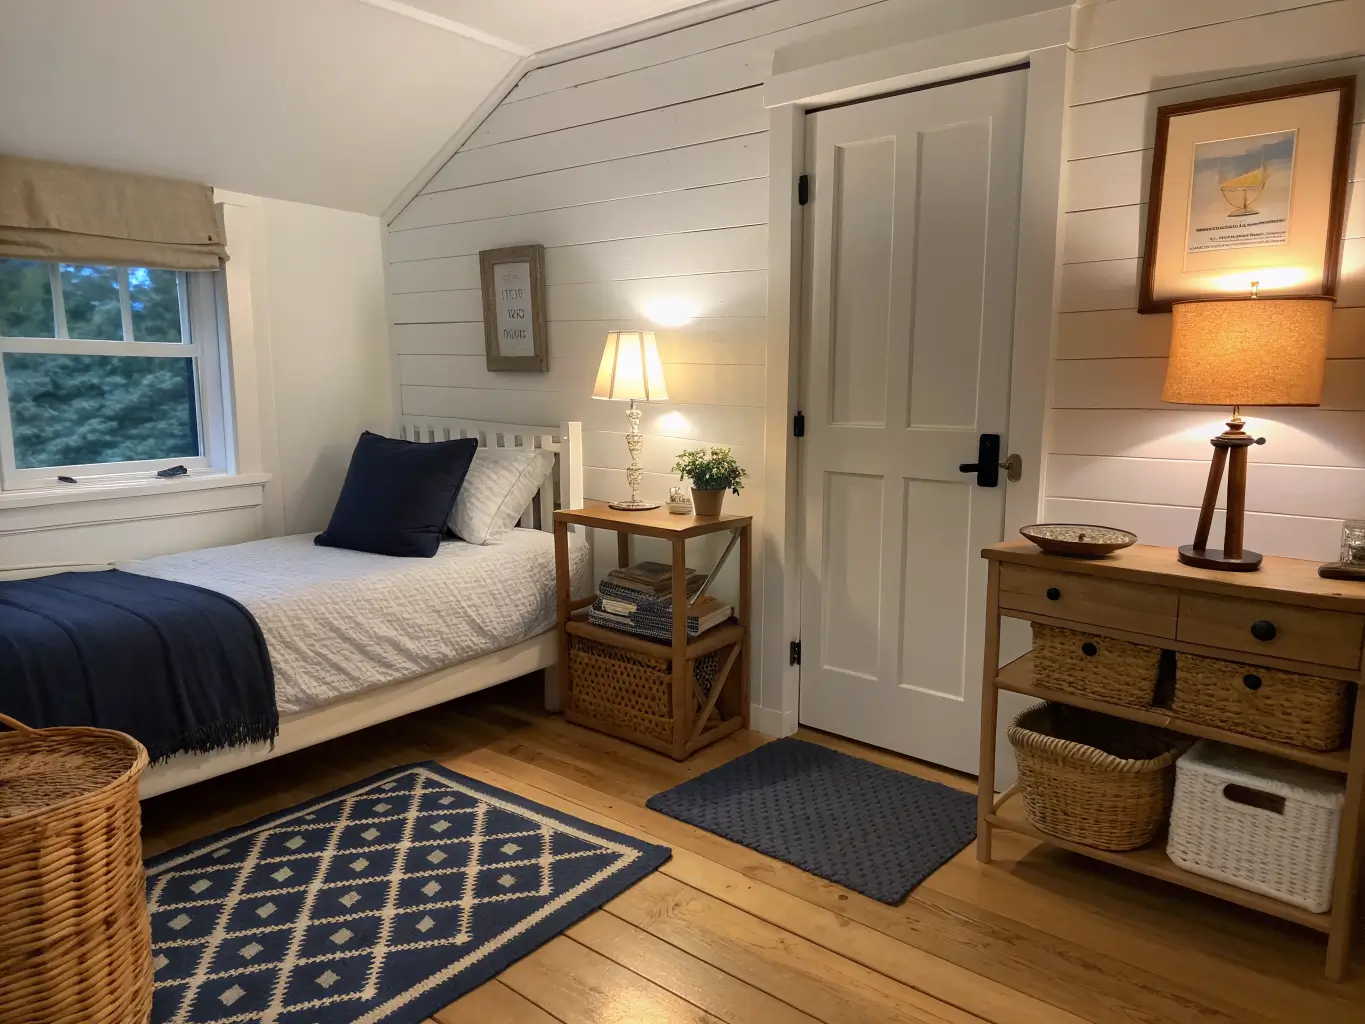
6. Dress the bed like it’s a hotel room — even a daybed. Fitted sheet, flat sheet, a couple of pillows, one folded throw at the foot. This one move does more for guest readiness than anything else on this list.
7. Add your one or two pretty-practical details last — the framed art, the good lamp, the styled tray on the end table. Resist adding more than that. A combo room gets visually loud fast.
Where People Go Wrong
They buy two rooms’ worth of furniture. A guest room dresser and a craft room storage cabinet, when one good piece could serve both. Look for furniture that pulls double duty before buying anything single-purpose.
They have no storage plan and just hope for the best. Fabric and paper multiply. Without bins, baskets, and a system, you will have an “arts and crafts explosion” corner within a month, guaranteed.
They light it like a bedroom and expect to sew in it. Or they light it like a workshop and expect guests to relax in it. You need both types of light, on separate switches or lamps, ideally.
They let color run wild. Craft supplies come in every color imaginable, which means the room needs a disciplined palette everywhere else, or it turns visually exhausting fast.
They don’t build in a reset routine. The rooms that work best have an owner who spends fifteen minutes before guests arrive: cart into the closet, fresh linens on, surfaces cleared. Without that habit, “combo room” quietly becomes “cluttered spare room” within a season.
Keeping the Room Looking Intentional Long-Term
Stick to 2–4 colors max and repeat them everywhere — bedding, storage bins, art frames, even the plant pots. I run navy, warm white, and a touch of brass in mine, and it means new craft supplies rarely clash with the room because I buy storage in those tones on purpose.
Favor closed storage for bulk — the fabric stash, the extra batting, the stuff you don’t need to look at — and save open shelving for the genuinely nice stuff: labeled thread jars, a few favorite books, a small plant.
When you want to refresh the room, don’t reorganize everything. Swap the throw pillows, change the art print, add a seasonal stem in a vase on the work table. That’s enough to make the room feel new without touching the systems that are already working.
The Real Trend Underneath All of This
The furniture and storage options above aren’t just trendy — they solve a real space math problem. Flexible sleep furniture (daybeds, Murphy beds, trundles) and vertical, modular storage (wall rails, pegboards, cabinet systems) are everywhere in current combo-room examples because they’re the only things that actually let one room do two jobs without either job suffering. Everything else — the color palette, the styling touches, the gallery wall — is finish work. Get the bed and the storage right first, and the rest of the room falls into place a lot faster than you’d expect.