
What This Style Actually Is
A craft room office is a hybrid space: part home office, part maker studio. It’s for people whose work and hobbies overlap — Etsy sellers packing orders between emails, scrapbookers who also freelance, quilters who work from home three days a week. The look that’s dominating inspiration boards right now leans light, minimalist, and clean-lined: white desks, floating shelves, open shelving with baskets, soft wood tones breaking up all that white. It reads as calm even when the actual contents (ribbon, yarn, forty half-used notebooks) are not.
This works in a spare bedroom, a basement bonus room, a loft, even a closet you’ve gutted. I’ve seen it done well in under 80 square feet and beautifully in a converted 14×20-foot bonus room. Size isn’t the barrier. Planning is.
Time and cost, realistically:
– Setup time: 1–3 weekends for a basic version. Longer if you’re building custom storage or a large worktable from scratch.
– Budget: $300–$1,500+ covers a solid refresh — desk, shelving, bins, lighting, a pegboard. Built-ins and custom cabinetry push it well past that.
– Skill level: Beginner-friendly for shelving and modular storage. Intermediate-to-expert if you’re building a custom tabletop or wiring in task lighting.
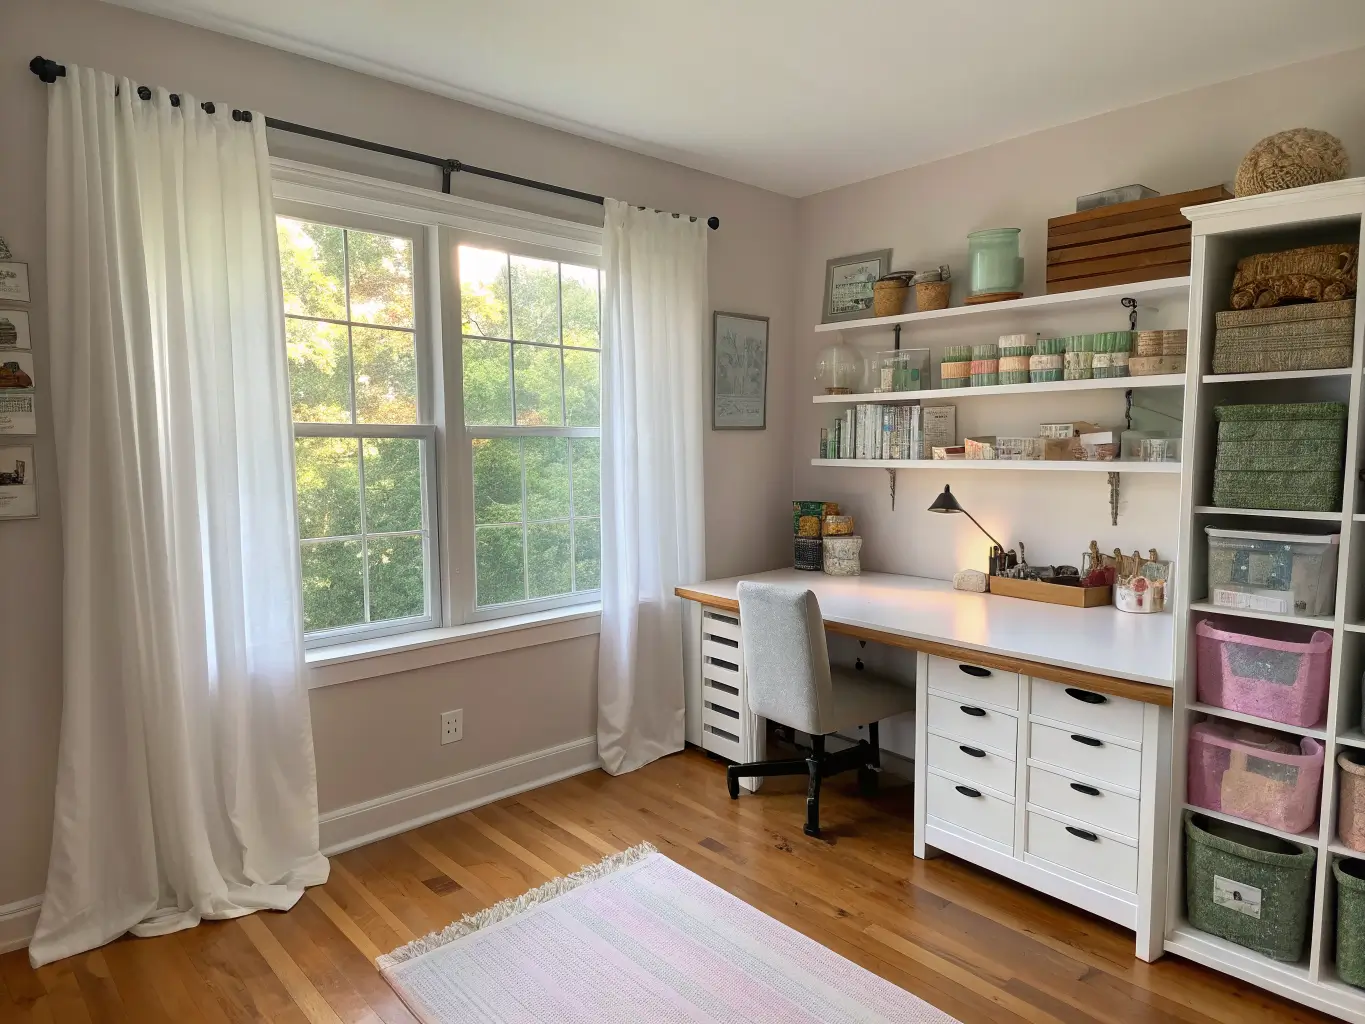
The Pieces That Actually Make It Work
You need two work surfaces, not one. This is the mistake I made first — I tried to run my whole life off a 4-foot desk. A standard office desk is built for a keyboard and a monitor, not for cutting mats, sewing machines, or spreading out a half-finished collage. Get a wide desk (I’d go no smaller than 5 feet) for computer work, and a separate craft table — butcher block or a laminate top on sturdy legs, roughly 3×5 feet minimum — for actual project work. If your room can’t fit both, an L-shaped configuration or a table that can extend with a fold-out leaf is your workaround.
Seating needs to match the task. An ergonomic office chair for the desk side is non-negotiable if you’re on it for hours. For the craft table, a rolling stool or adjustable task chair that’s easy to push in and out works better than a second full office chair — you’re standing and sitting more when you craft.
Vertical storage is where the room either works or doesn’t. Pegboards, wall-mounted shelves, stacked bins, over-the-door racks — this is how you keep supplies visible and reachable without eating floor space. I put a pegboard above my craft table and it’s done more for my workflow than any bin system I’ve bought. Scissors, rulers, ribbon spools, and small tools hang right where I need them.
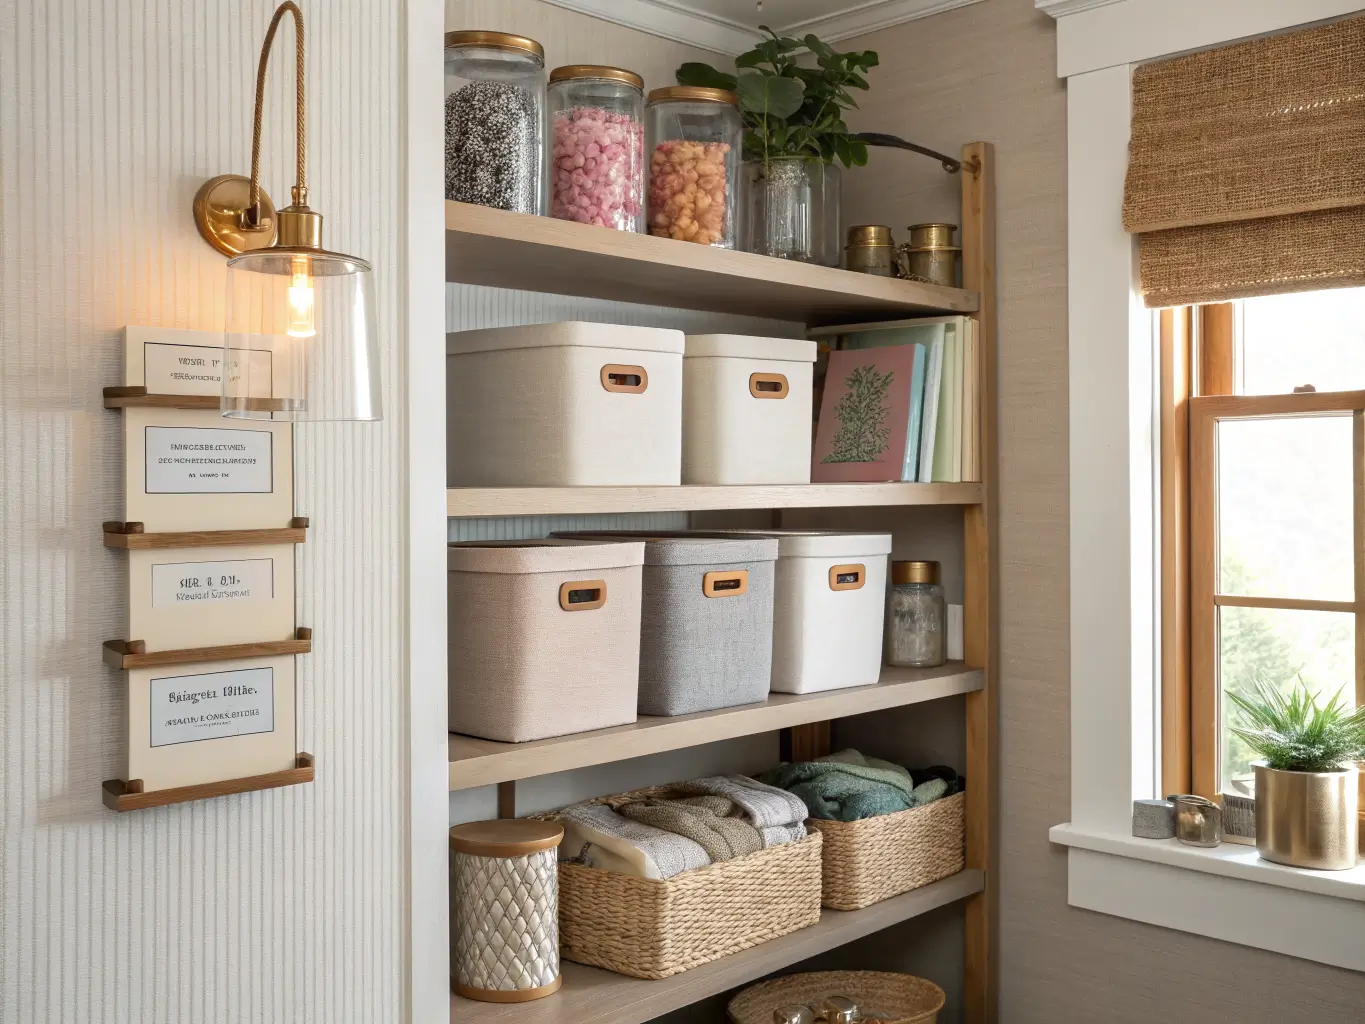
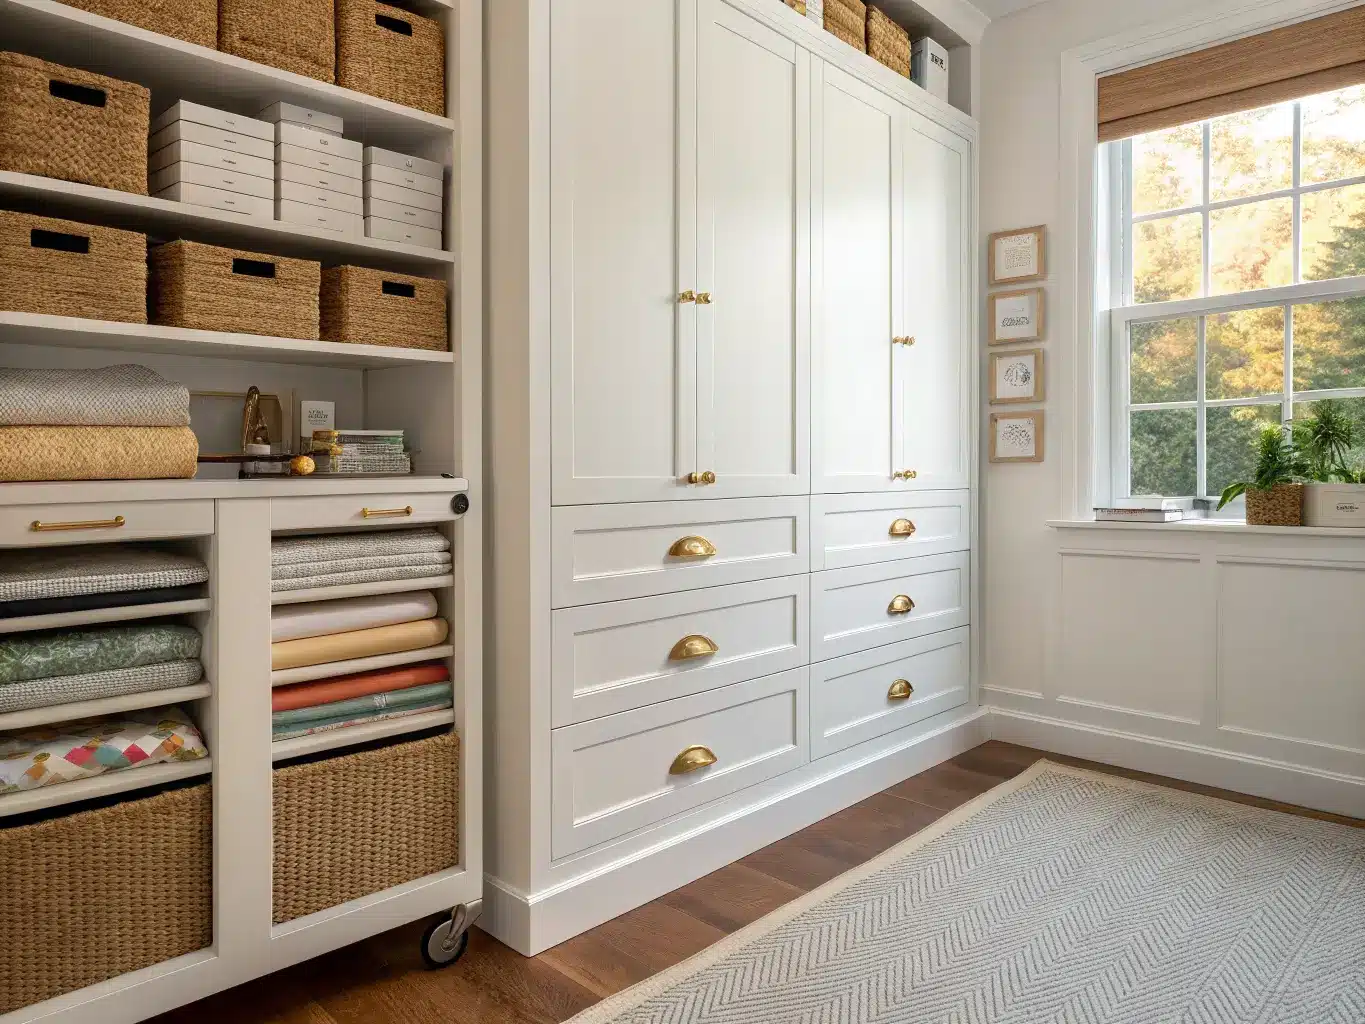
Closed storage hides the stuff that makes a room feel chaotic. Paper, fabric bolts, cords, overflow — put these in cabinets with doors, drawer units, or labeled boxes. Open shelving is great for what you use weekly. Everything else should be out of sight.
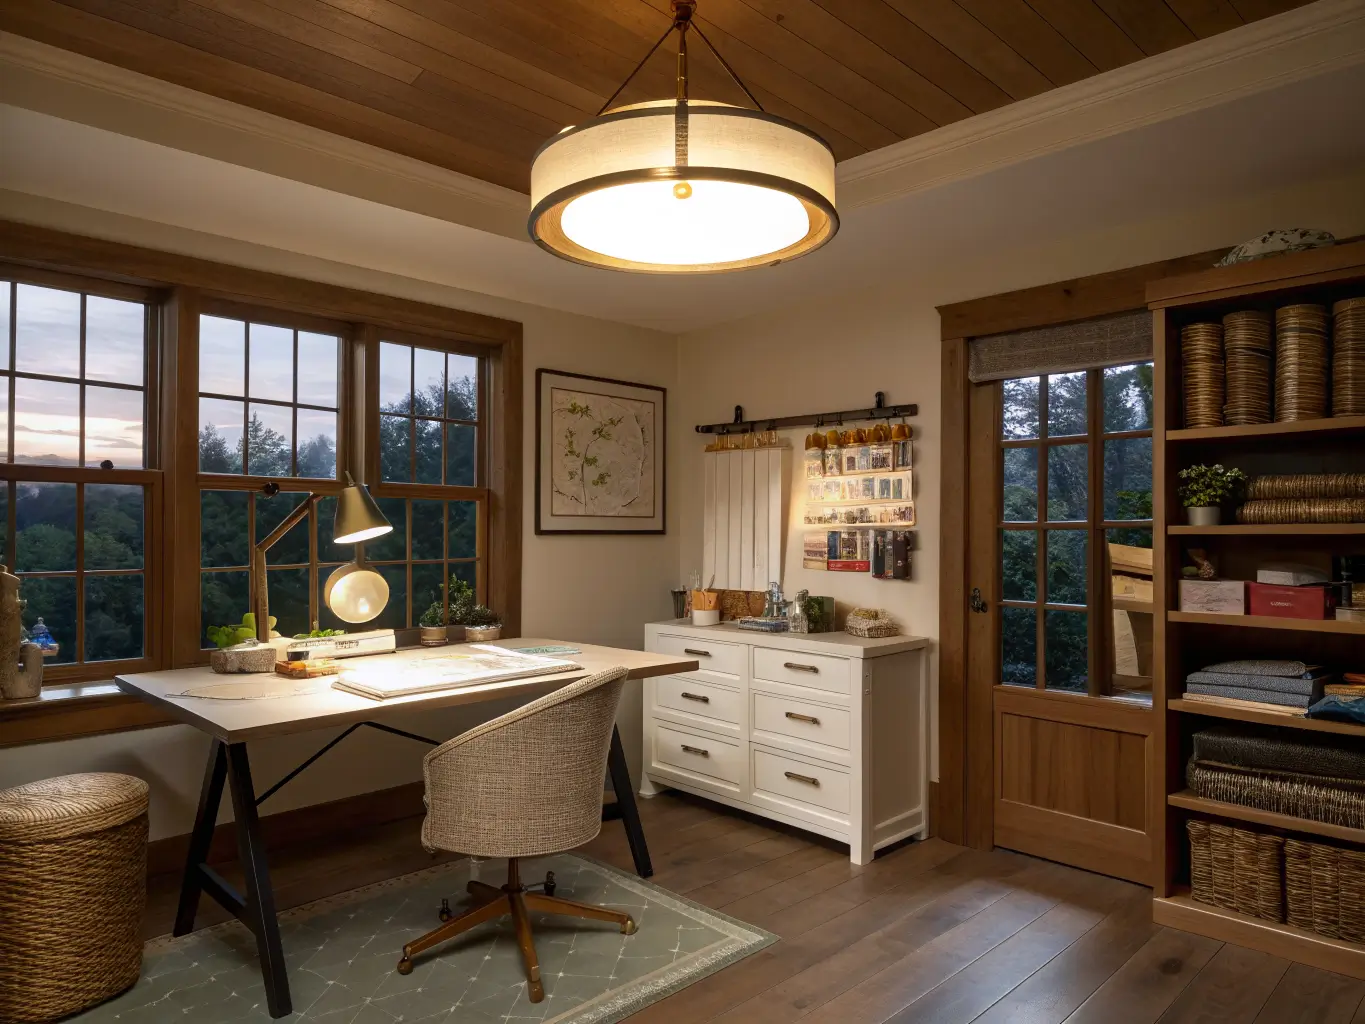
Lighting has to do double duty. A strong overhead fixture is your base layer. Then add a desk lamp for screen work and a separate task light or clip lamp angled at the craft table for cutting and detail work. I learned this the hard way — my overhead light left the craft table half in shadow, and I ended up squinting at seam lines for months before adding a $30 clip light that fixed it instantly.
Containers matter more than people think. Glass jars for buttons and beads, labeled bins for fabric by color or project, small organizers for pens and cords. The goal isn’t just tidiness — it’s being able to find the 5/8-inch bias tape without unpacking three drawers.
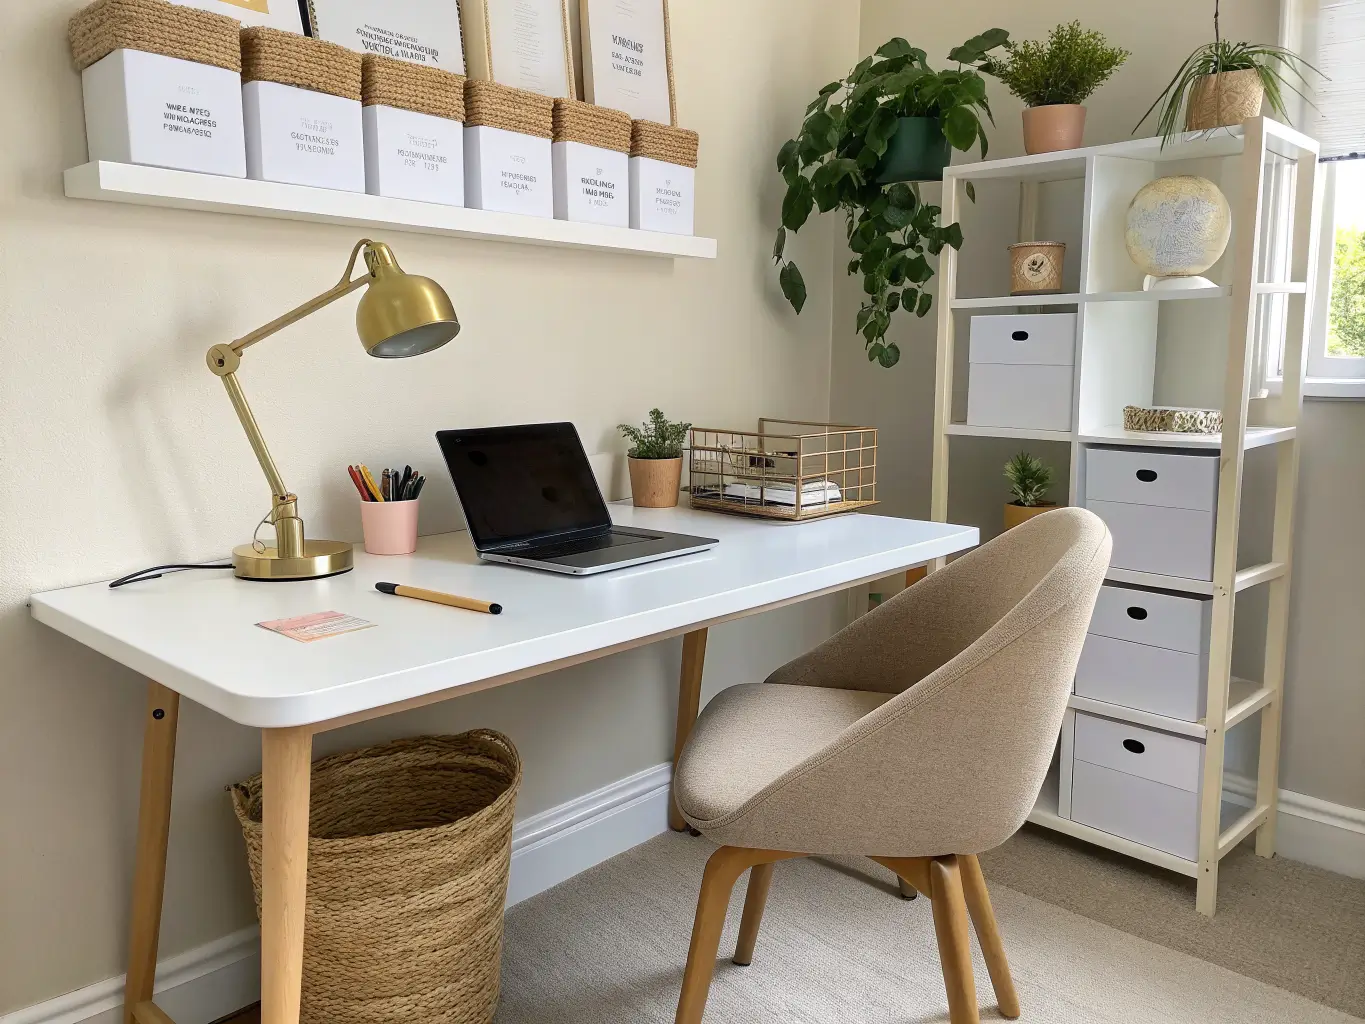
Optional Upgrades Worth Considering
– A rolling cart — genuinely useful if your space is tight and you need supplies to travel between the desk and the craft table.
– A rug to define zones — laying a rug under the craft table visually separates it from the “office” side without a wall or furniture divider.
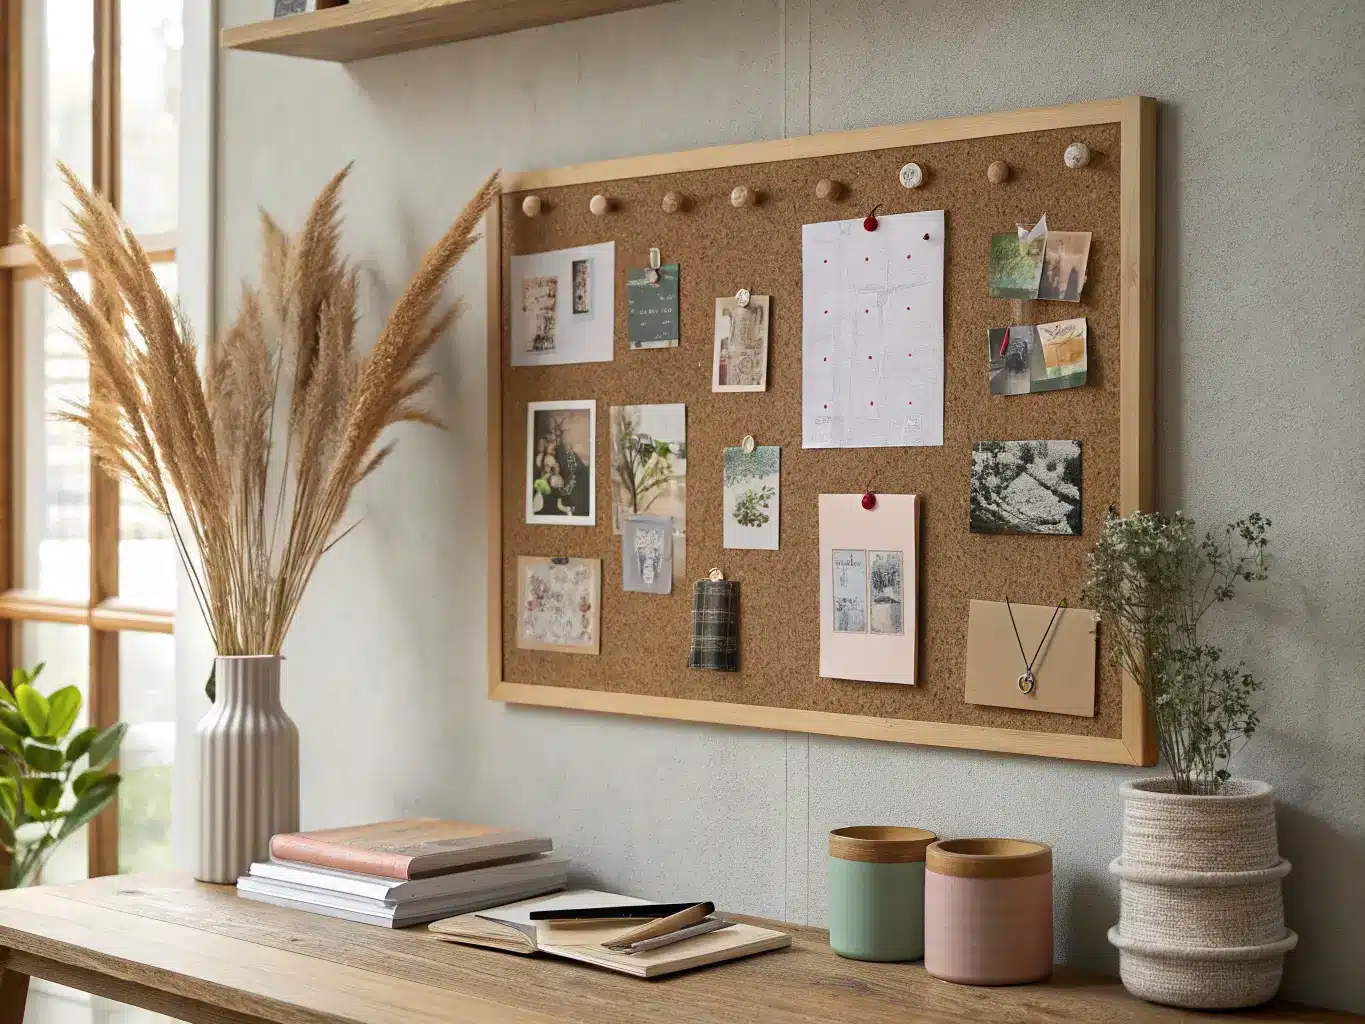
– A mood board wall — great if you’re doing content creation or tracking multiple projects at once.
– Matching bins and labels — canvas cubes, uniform baskets, printed labels. This is the difference between “storage” and “styled storage.”
– A plant or two — a 4-foot fiddle-leaf fig or a trailing pothos on a shelf softens a room that otherwise reads very office-supply-store.
– Soft gold hardware or a lucite accent chair — small touches that make the room feel finished instead of purely functional.
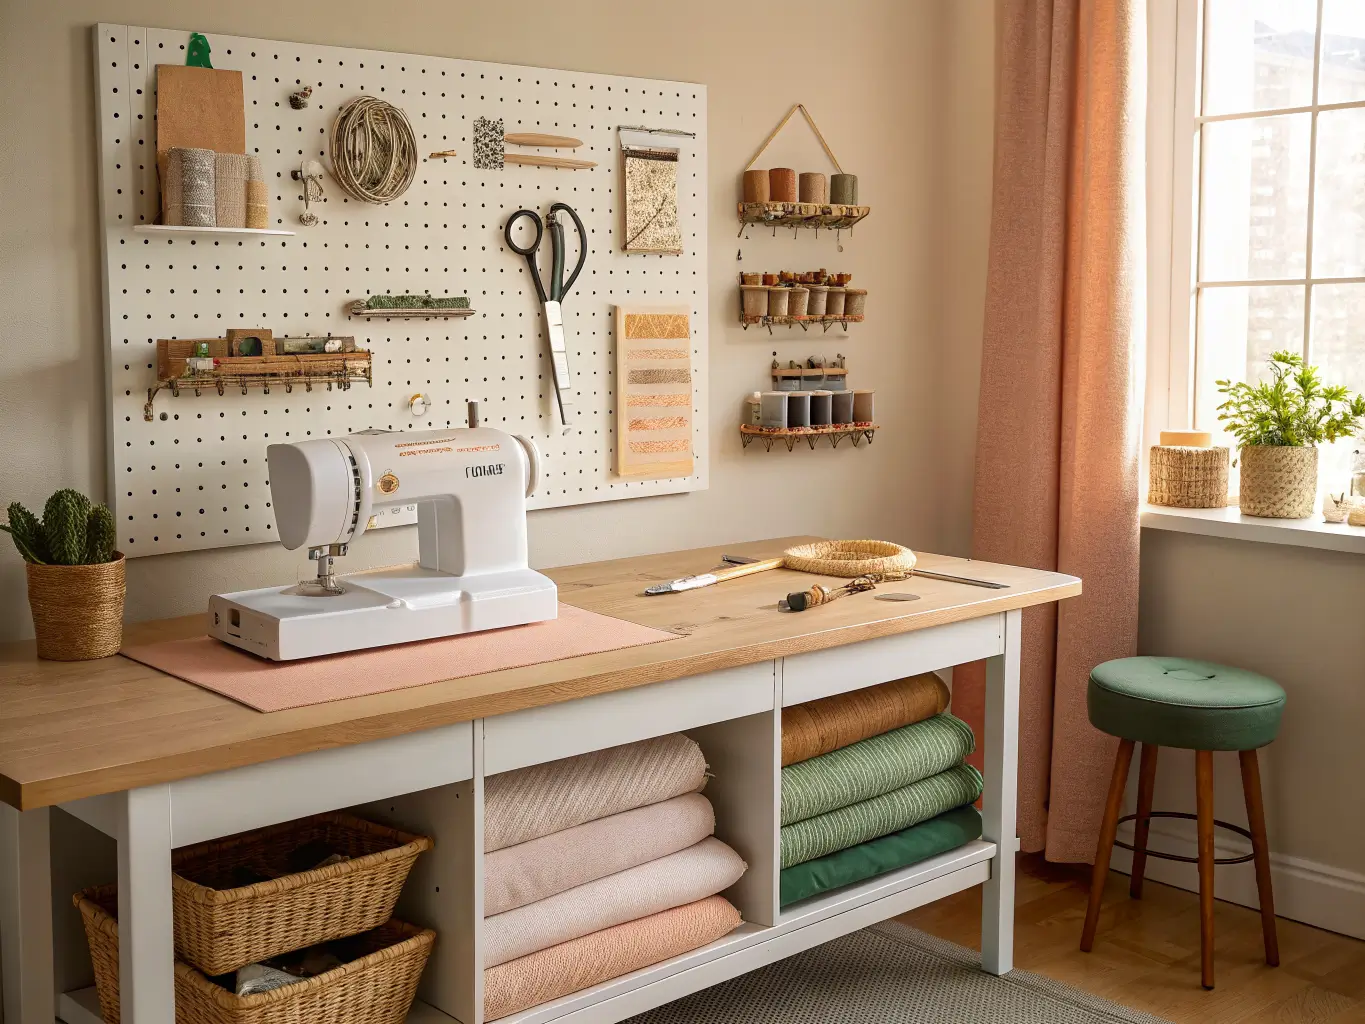
Putting the Room Together, Step by Step
Start by sorting, not shopping. Before you buy a single bin, pull everything out and group it — paper, fabric, yarn, tools, packaging supplies. I skipped this step the first time and bought a beautiful drawer cart that turned out to be exactly the wrong size for my fabric bolts. Sort first. Buy second.
Decide the room’s primary job. Is it 70% office and 30% craft? Or the reverse? This changes everything about layout — where the desk goes, how much table space you carve out, how much storage you need for each function.
Measure before you commit to furniture. Know your square footage, your doorway clearances, your aisle space. A desk that looks reasonable in a showroom can block your only walking path in a real room.
Build the anchor layout first. Desk and craft table go in first, positioned to keep a clear walking path — I’d aim for at least 3 feet of clearance between major pieces. Storage goes along the walls after that, not before.
Add vertical storage next. Pegboard or shelving above the craft table, shelving above or beside the desk.
Layer in closed storage for anything you don’t want visible day to day.
Light it properly — ambient plus task, always both.
Finish with the stuff that makes it feel designed — art, a rug, plants, matching bins. This step goes last because it’s easy to blow your budget on pretty jars before you’ve solved storage.
Mistakes I’d Steer You Away From
– A desk that’s too small. Crafts spread. Plan for that.
– No real zones. If cutting, sewing, and typing all happen on the same 4 feet of surface, you’ll be constantly resetting the room.
– Ignoring your walls. Floor and desktop storage fills up fast. Walls rarely get used to capacity.
– Under-lighting. Especially near windows — great during the day, useless at 8 p.m. without backup lamps.
– All open storage, no closed storage. Open shelving looks great in photos and terrible in real life if it’s the only storage you have. You need somewhere to put the ugly stuff.
– Buying organizers before sorting supplies. I’ll say it again because it’s the mistake I made twice: know your inventory before you buy bins for it.
Keeping It From Sliding Back Into Chaos
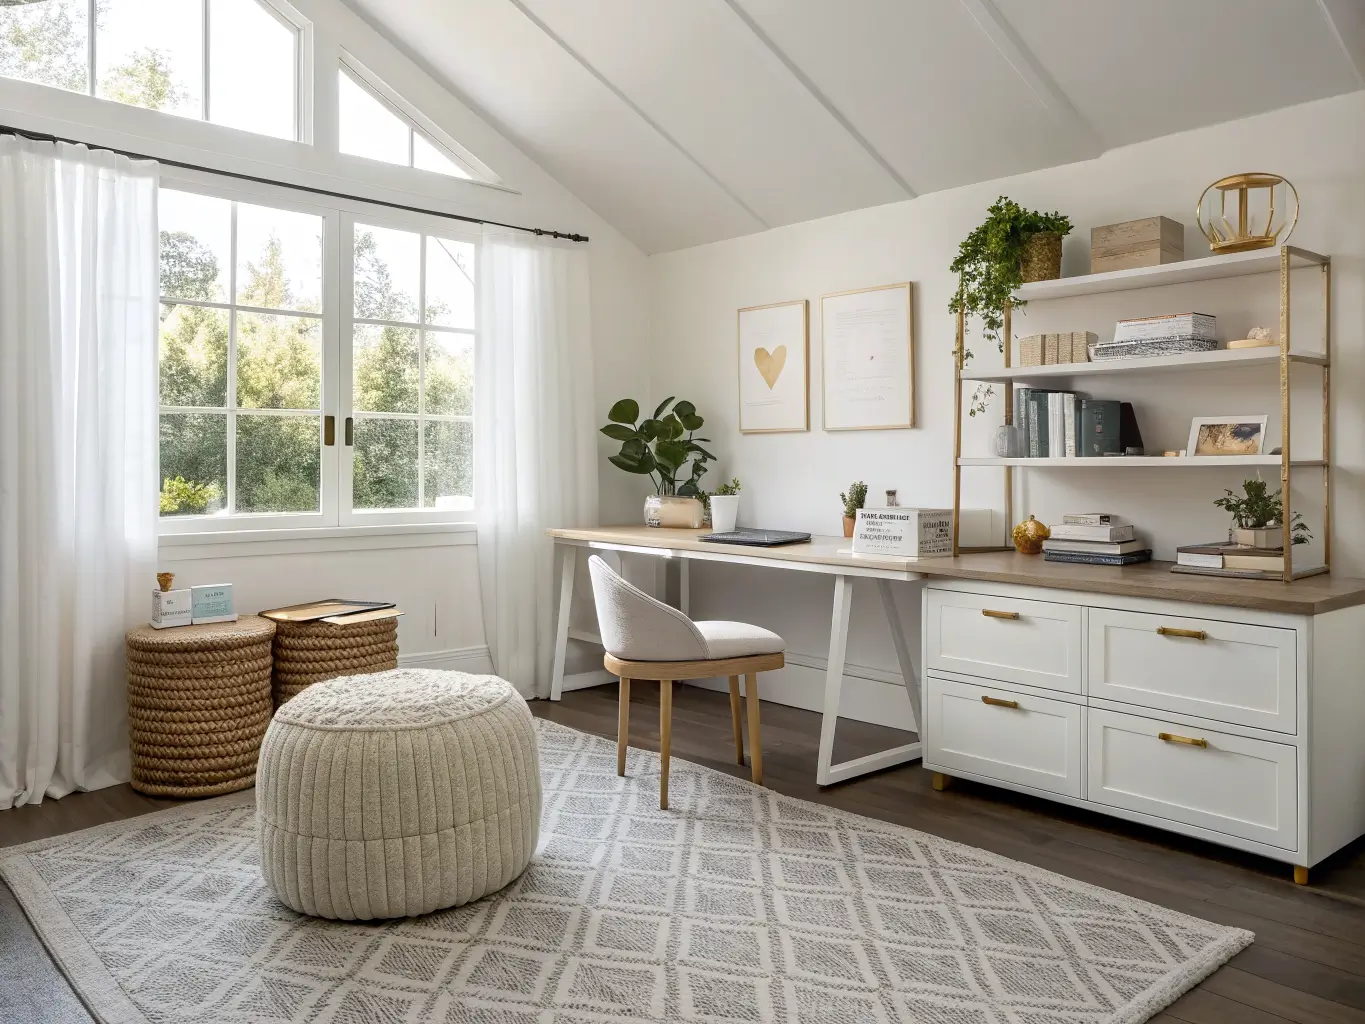
Stick to one neutral base color — white, light gray, soft wood — with one or two accent colors repeated through bins, textiles, and decor. This keeps a room with genuinely colorful contents (yarn, fabric, washi tape) from looking chaotic.
Use matching storage families. Same bin brand, same basket weave, same label font. It sounds fussy, but it’s the single easiest way to make a cluttered room look intentional.
Keep surfaces mostly clear. I allow myself one active project on the craft table and nothing else — everything gets returned to its bin at the end of a session. This one habit did more for how the room feels than any storage purchase I’ve made.
Rotate seasonal touches instead of redecorating — swap a pillow cover, add a seasonal candle, rotate in holiday craft supplies during the busy months. The bones of the room stay the same; only the surface changes.
Start small if budget’s tight: a desk, one shelving unit, labeled bins. Add the pegboard, the drawer system, the custom tabletop later, as the hobby (or the side business) grows into the space. The room should be able to expand with you — leave room for the bigger cutting machine or the extra packaging station you don’t need yet but probably will.
For another angle on this, my office craft room combo guide covers the same space from a different starting point.





