Study Room Ideas That Actually Get Used (Not Just Photographed)
I built my first “study room” in a corner of my bedroom with a $40 IKEA desk facing a blank wall, and I lasted about two weeks before I stopped using it. No natural light, no storage, and a desk chair I’d dragged in from the dining room. It looked fine in photos. It was miserable to sit in for more than twenty minutes. Study room ideas that work aren’t about the vibe — they’re about whether you’ll actually sit down and stay there.
Since then I’ve set up three different study spaces — that bedroom corner, a closet conversion in a rental, and now a real spare-room setup — and the difference between the ones that get used and the ones that become junk drop-off spots comes down to a handful of decisions made before you buy anything pretty.
What This Actually Costs and Takes
Time: A simple refresh — new lamp, chair, some shelving — takes a weekend. If you’re adding built-ins, painting, and rewiring lighting, budget 1–2 weeks, mostly because you’re waiting on paint to dry and shelf brackets to ship.
Budget: A basic nook (desk, chair, lamp, some storage bins) runs $150–$500. A fully finished room — better chair, real shelving, a rug, curtains, some art — lands in the $500–$1,500 range. Add custom built-ins or cabinetry and you can blow past that fast; my closet conversion alone cost $650 once I added floating shelves and an electrician to move an outlet.
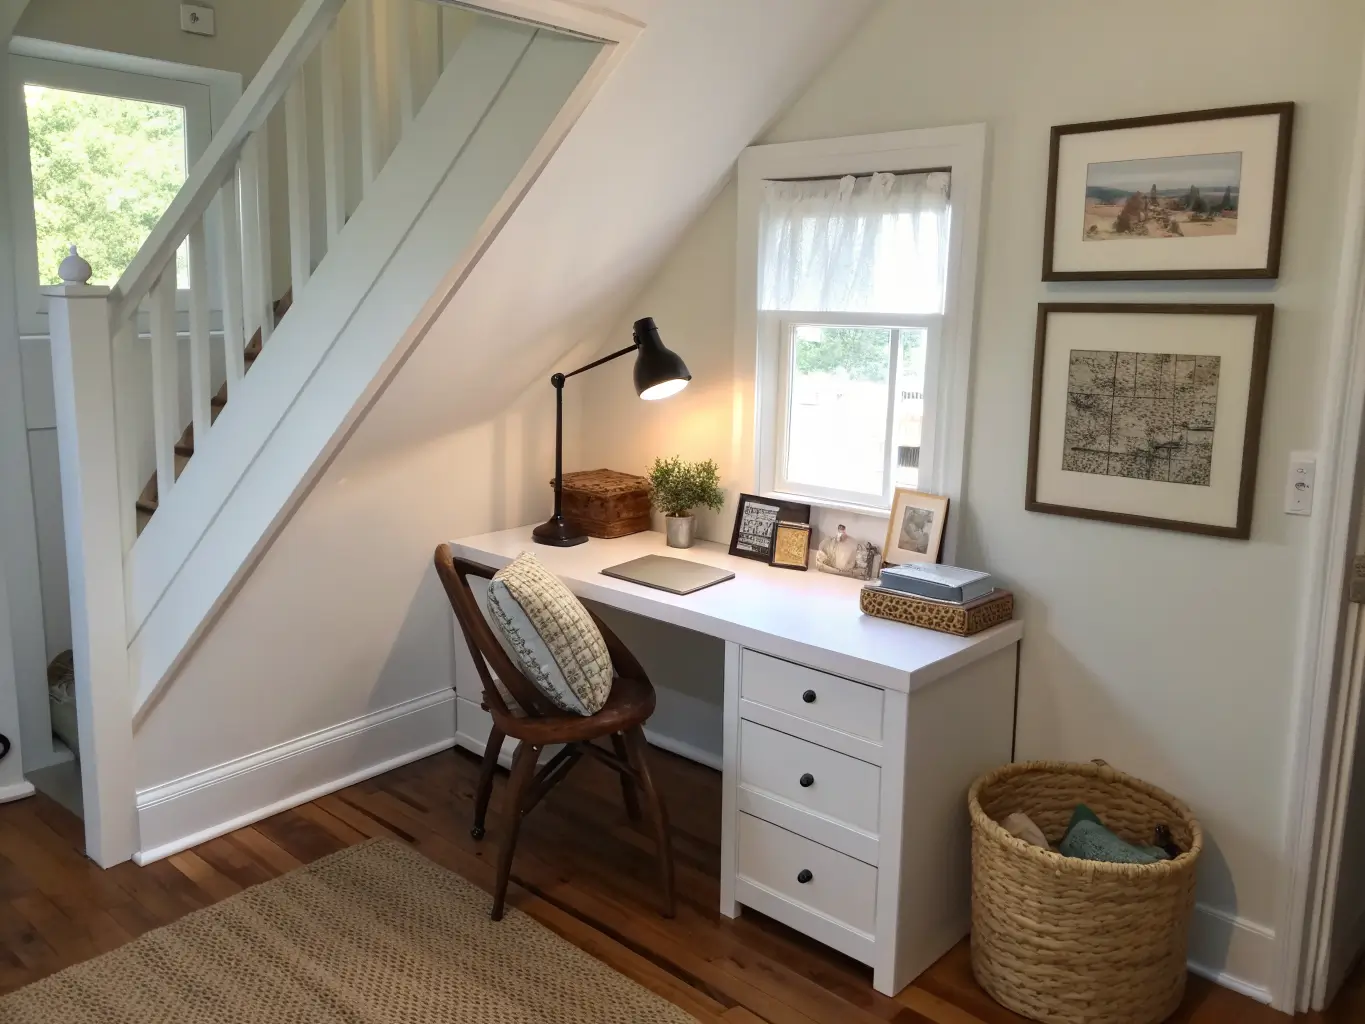
Space needed: None, really. I’ve made this work in a literal closet. A window nook, a stair landing, a spare bedroom — the principles don’t change.
Skill level: Beginner if you’re styling and rearranging furniture. Intermediate to expert if you’re adding built-in shelving or moving outlets and light fixtures.
Seasonal appeal: Year-round. You update it with textiles and small swaps, not full redecorating every few months.
The Look: Functional First, Pretty Second
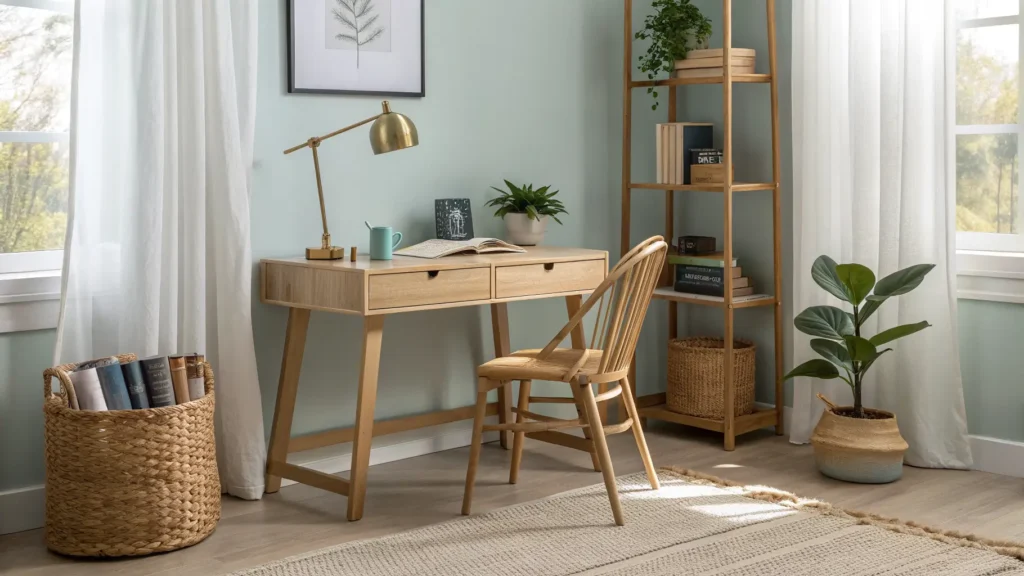
Most study rooms that photograph well fall into a modern minimalist or Scandinavian-adjacent style — light wood, soft neutrals, clean lines. That’s not an accident. Busy, dark, maximalist rooms are harder to concentrate in, and design guides keep circling back to the same palette for a reason: it works.
Colors that show up again and again, and why:
– Soft blue — calming, doesn’t compete with focus
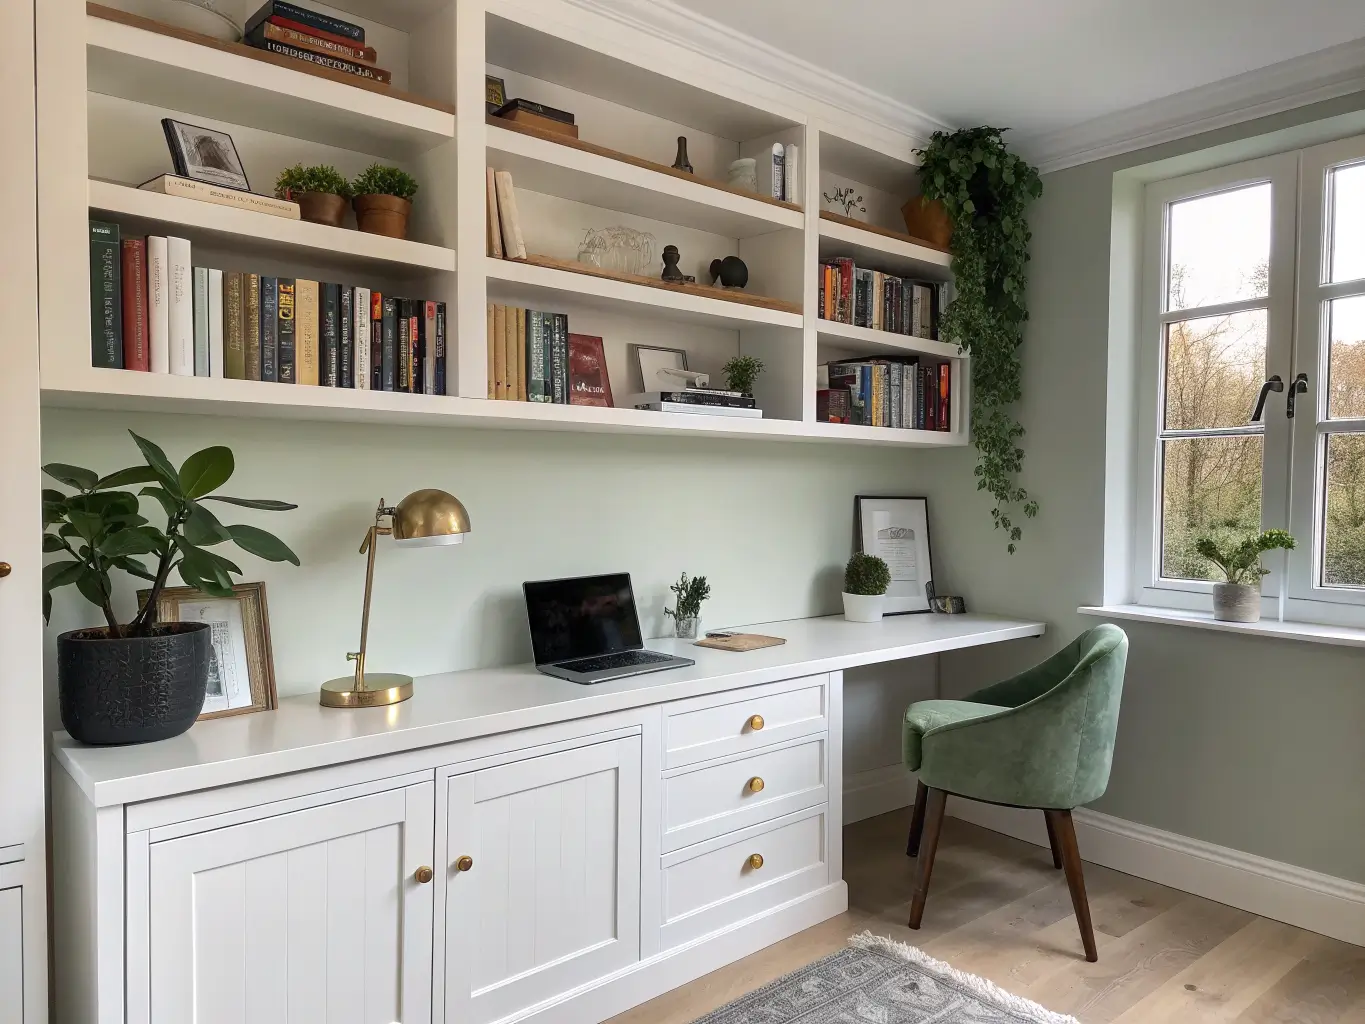
– Sage or forest green — grounding without being heavy
– Off-white or cream — keeps small rooms from feeling boxed in
– Pale gray — neutral backdrop for wood tones
– Black or brass accents — stops the palette from feeling flat
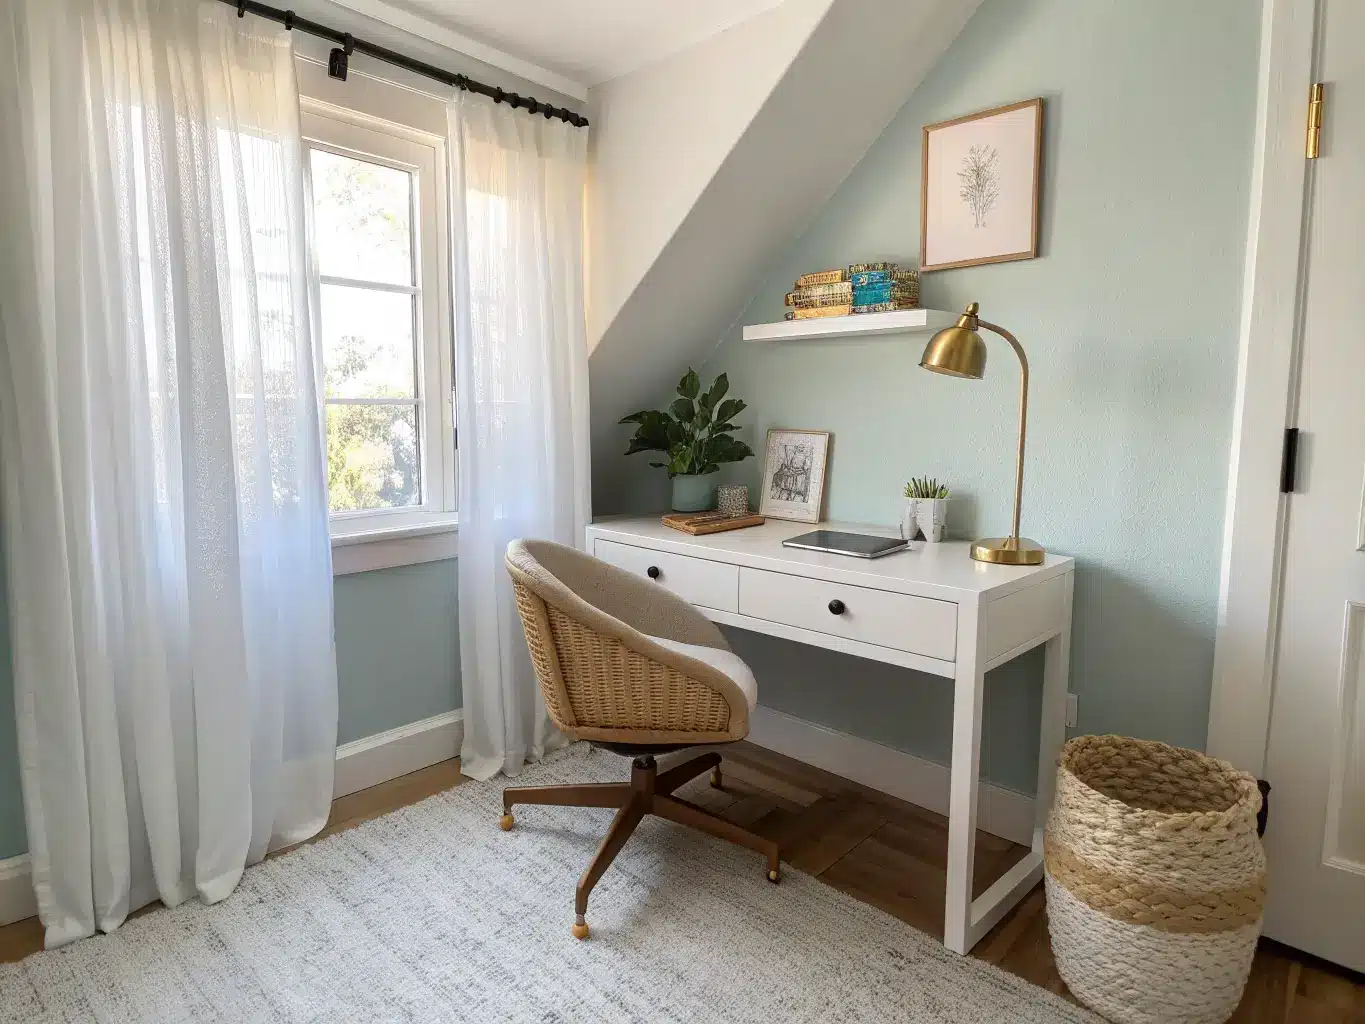
I painted my closet-nook walls Benjamin Moore Palladian Blue and it’s the single best decision in that whole project. It’s soft enough that it doesn’t feel like a “kid’s room” color but has enough tone that a plain white desk doesn’t disappear into the wall.
This style works for students, remote workers, parents setting up a homework zone, or anyone who needs one quiet spot to read or work without the whole house feeling like an office.
The Non-Negotiables: What Every Study Room Needs
Skip any of these and the room turns decorative fast.
1. A desk sized for what you actually do
– Laptop-only work: 100–120 cm wide, 50–60 cm deep is plenty
– Writing, papers, or art supplies: go closer to 140 cm wide
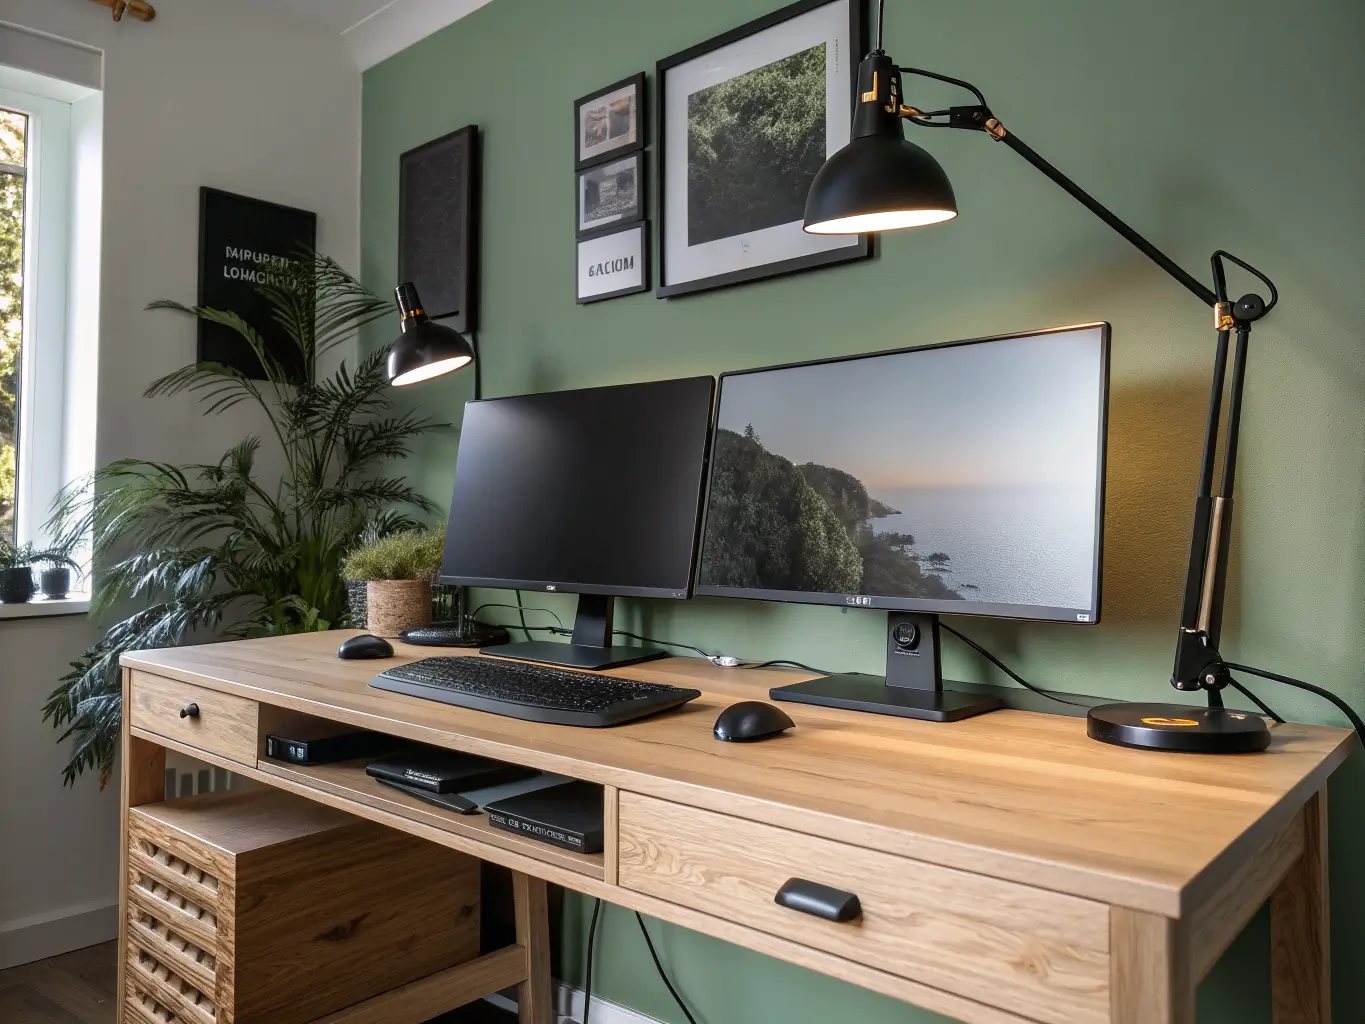
– Dual monitors: measure your setup before you buy — I didn’t, bought a 110cm desk, and my two monitors overlapped by three inches. Returned it, upgraded to 140cm, problem solved.
2. An ergonomic chair — not a dining chair you “temporarily” borrowed
Lumbar support matters more than style here. I used a $60 folding chair for four months in the closet nook and developed a lower-back ache that didn’t go away until I switched to a real task chair. Spend money here before you spend it on the desk.
3. Task lighting, not just a ceiling fixture
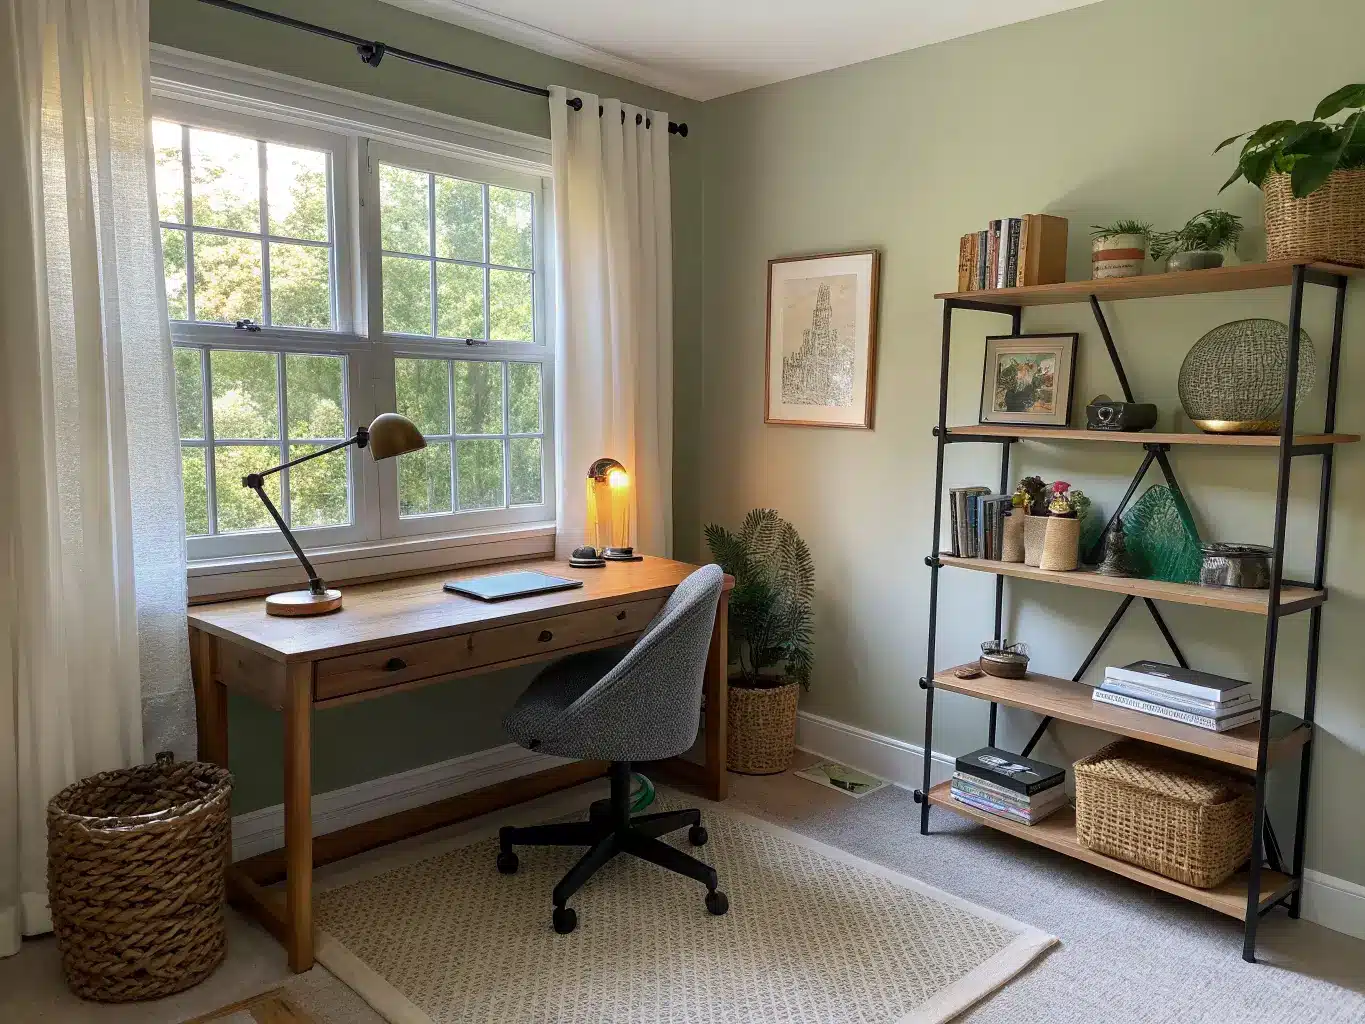
– Task lamp or desk lamp: 4000K–5000K (this is the “daylight” range that keeps you alert)
– Ambient/room lighting: softer, 2700K–3000K, so the room doesn’t feel clinical after dark
– If your desk faces a window, good — but angle it so daylight doesn’t hit the screen directly. Side light is better than backlight for screens and better than front light if you’re right-handed and writing (your hand won’t cast a shadow over your work).
4. Storage that closes
Open shelving looks great in photos. It also means every notebook, charger, and stray pen is visible all the time. I use a mix: open shelves for books and decor, closed bins or drawers for the actual clutter — cables, old papers, chargers. The visual noise drops immediately.
5. Window treatments
Sheers or blinds to cut glare without blacking out the room. Bare windows behind a desk usually mean either blinding afternoon light or a pitch-black screen glare — pick your poison unless you control it.
6. Something that makes it feel like a room, not a cubicle
One rug, one piece of art, a pinboard, or a plant. Pick one or two — this isn’t the place to go big.
Nice-to-Haves Once the Basics Are Covered
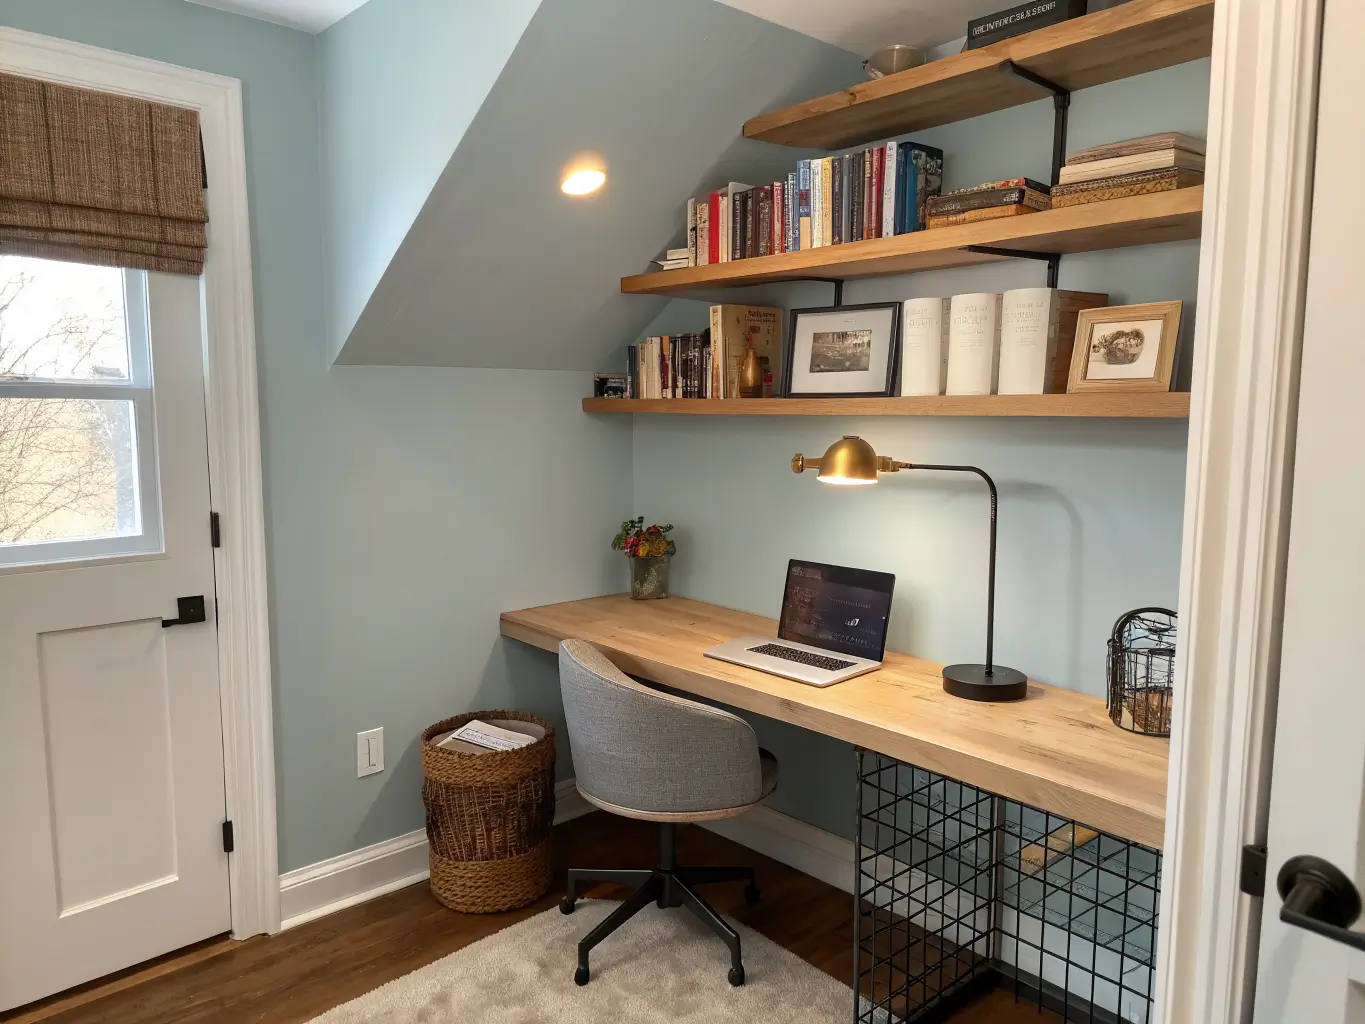
– Built-in or floating shelves above the desk — keeps the floor clear, which matters enormously in small rooms. My closet nook feels twice as big since I moved storage up the wall instead of out onto the floor.
– An accent wall or wallpaper — good for kids’ study spaces especially, keeps interest high without cluttering the actual work surface
– Acrylic furniture — a clear acrylic side chair or small shelf unit reads as “there” without visually taking up space, useful in tiny rooms
– A secondary soft seat — a small reading chair or bench for breaks. Not required, genuinely nice if you have the square footage
– Plants — one plant, real or good-faith fake, softens a room that’s otherwise all hard surfaces (wood desk, metal lamp, glass frame)
– Brass or black hardware — small detail, disproportionate impact. Swapping my desk’s plain pulls for $12 brass ones made it look intentional instead of assembled from a box
– A hidden coffee station — genuinely a stretch goal, but if you’ve got the space, a small shelf with an electric kettle changes how long you’re willing to sit there
Putting It Together: Order of Operations
Don’t buy the pretty stuff first. Here’s the order that actually works:
1. Clear the space and decide who’s using it — one person, shared siblings, or a family homework zone changes every decision after this
2. Map light, outlets, and noise before buying furniture — I once bought a beautiful desk that ended up eight feet from the nearest outlet. Extension cord city.
3. Pick desk size based on actual use, not what looks good in the room
4. Add storage before decor — solve the clutter problem structurally, not with a cute basket you’ll ignore
5. Build the core trio: desk, chair, lamp
6. Layer up: shelves, storage, window treatments
7. Add personal touches last — plant, art, pinboard, one decorative bowl for pens
For small spaces, look at corner desks, wall-mounted floating desks, or closet conversions before assuming you don’t have room. My entire second study space was a coat closet with the door removed, a floating desk installed at 29 inches high, and shelves stacked above.
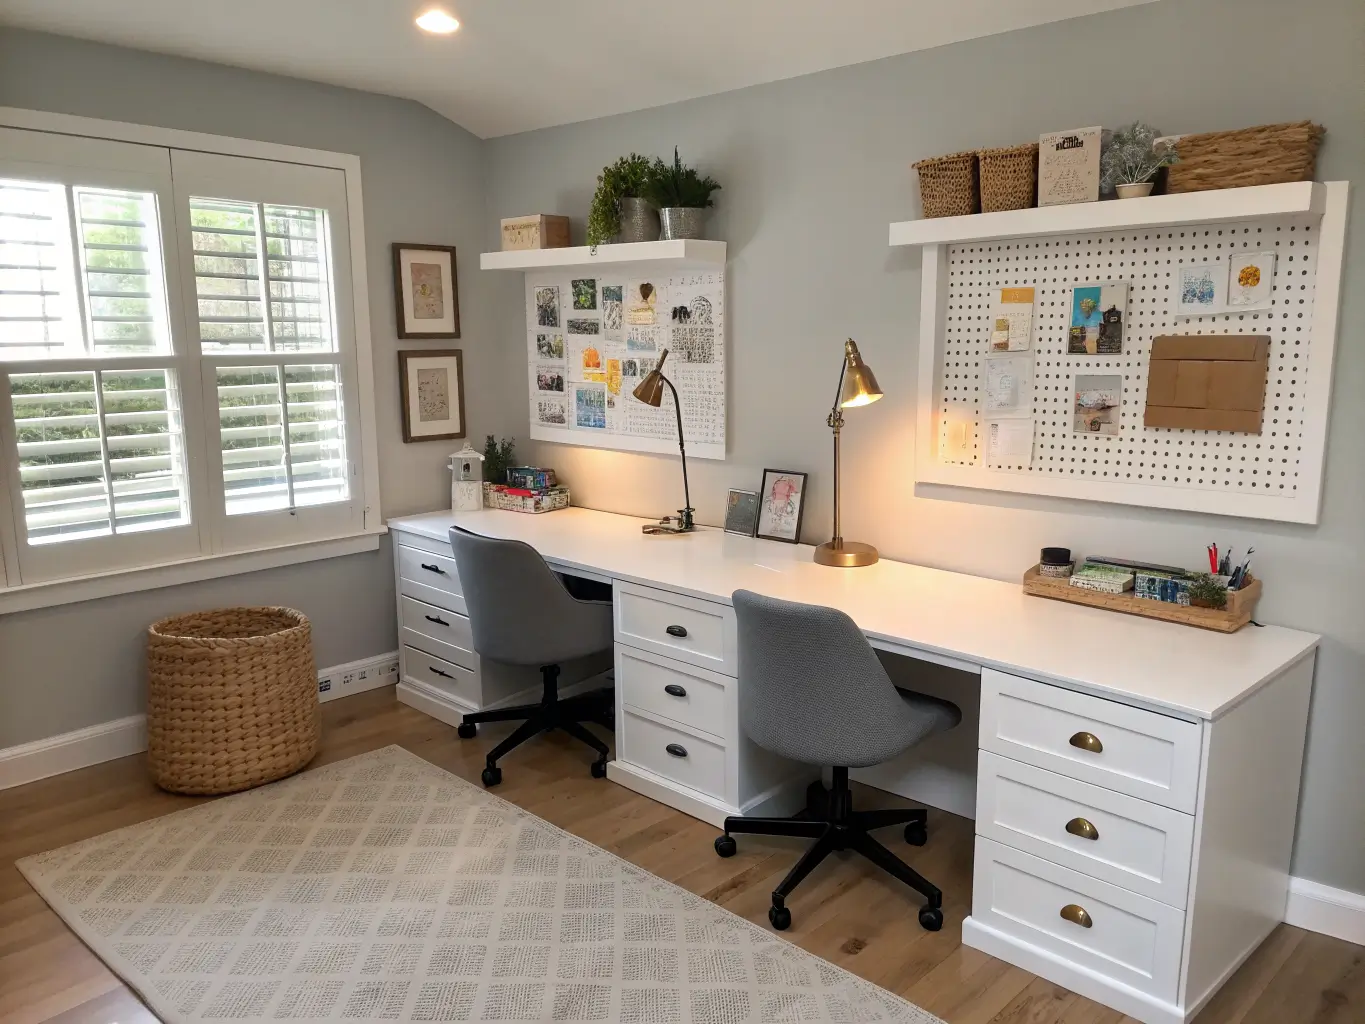
For shared or family setups, either use matching desks and lamps side by side, or one long table with chairs on both ends — visual consistency keeps a shared space from looking like two different rooms mashed together.
Where Study Rooms Go Wrong
I’ve made most of these mistakes personally.
– Buying the chair last. It should be second, right after the desk. Comfort determines whether the room gets used.
– Relying on overhead light alone. Dim, diffuse ceiling light causes eye strain and makes the whole room feel like an afterthought. A $30 desk lamp fixes this instantly.
– Overdecorating the desk itself. Frames, trinkets, five different pen cups — it turns into visual noise you have to mentally filter out every time you sit down. Keep the desktop close to empty.
– Skipping storage and hoping bins will happen later. They won’t. Buy storage in the same order as the desk, not as an afterthought once things pile up.
– Choosing intense or dark colors because they photographed well somewhere. Deep charcoal walls look sharp online. They also make small rooms feel smaller and can make long work sessions feel heavier. Save dark, saturated color for an accent wall if you love it, not all four walls.
Keeping It Looking Intentional Over Time
Pick a repeatable material and color story and stick to it: light wood + white + black, or oak + sage + brass. Every new item you add should draw from that same small set of tones and materials, so the room reads as planned even as pieces get added over a year or two.
Keep the desktop clean as an ongoing habit, not a one-time styling choice. Cables get a drawer. Chargers get a bin. This is boring advice and it’s the actual reason some study rooms stay nice-looking for years and others slide back into chaos within a month.
Seasonal refreshes that don’t require new furniture:
– Swap a chair cushion or throw for the season
– New curtain panel or rug accent
– Fresh lamp bulb (color temperature matters more than you’d think for how “finished” a room feels)
– Rotate framed prints or add one new plant
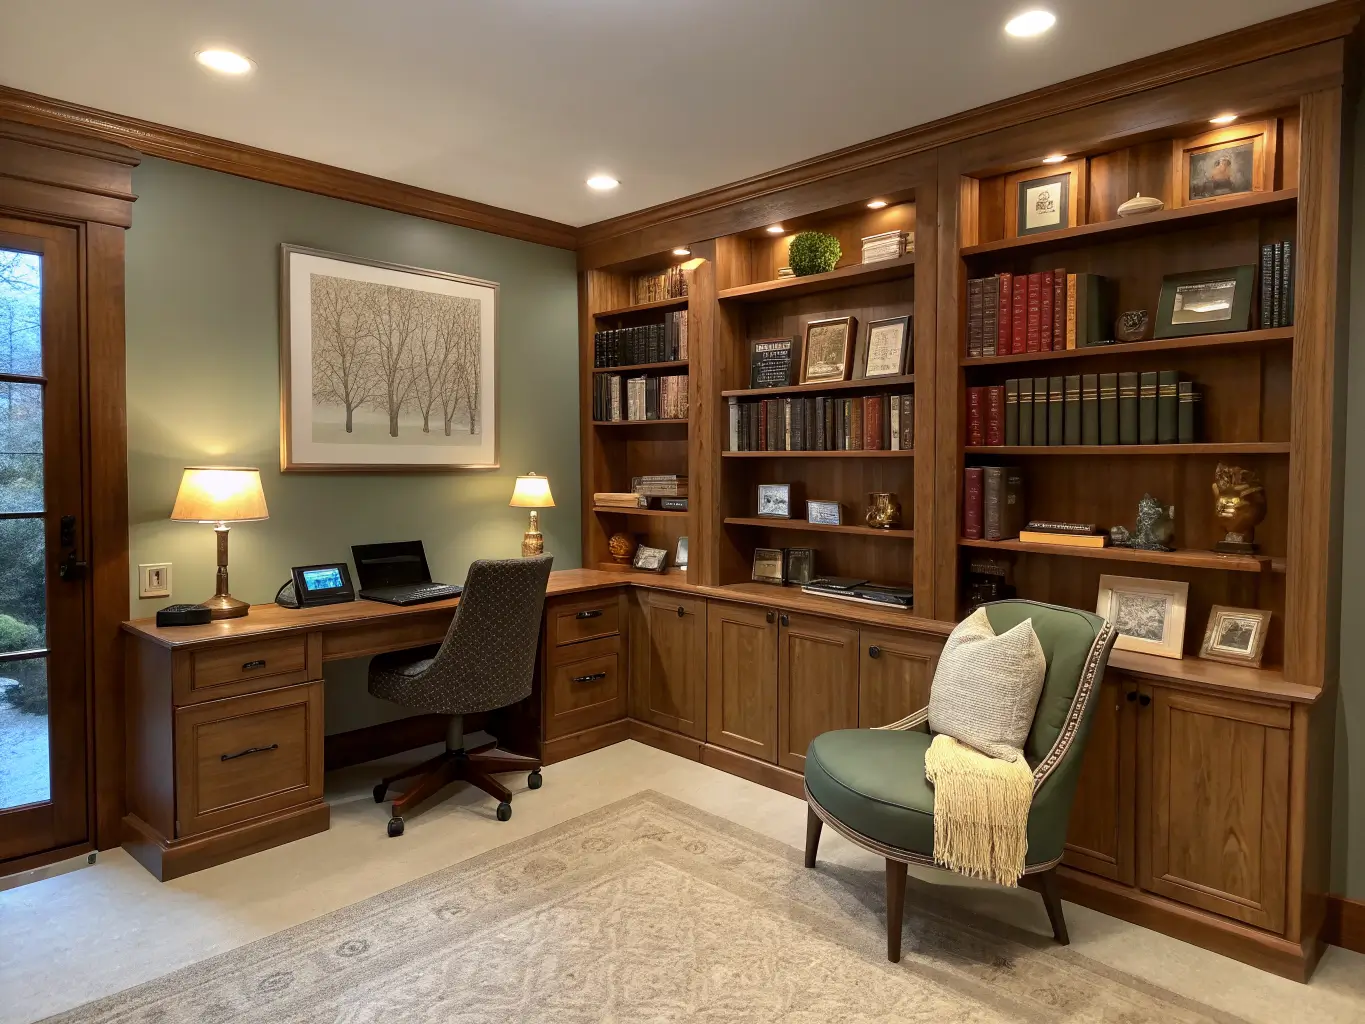
If you want to shift the whole feel without starting over, blend genres: add a soft chair and warmer textiles to lean toward a study-lounge hybrid, or add more bookshelves and layered lighting to lean toward a home library feel. Either direction reuses 90% of what you already have.
The room that actually gets used isn’t the one that looks best in a photo. It’s the one where the chair doesn’t hurt after an hour, the light doesn’t strain your eyes by 4pm, and the desk isn’t buried in stuff you meant to put away three weeks ago. Get those three things right first. Everything else is decoration.