
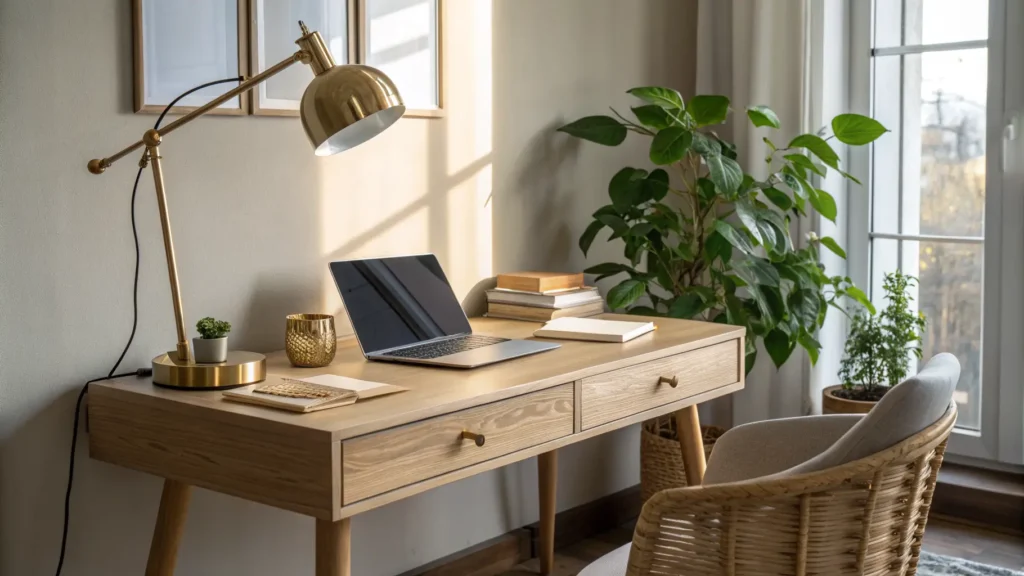
Study Room Ideas That Actually Get Used (Small-Space and Budget-Friendly)
Study room ideas are easy to pin and hard to live in. I know because I built three versions of mine before landing on one that actually gets used every day instead of turning into a laundry-folding surface. If you’re staring at a spare corner, an awkward alcove, or a whole spare bedroom wondering how to make it work for real focus, here’s what I’ve learned — through some expensive mistakes.
What This Style Actually Is, and Who It’s For
The look that keeps showing up right now, and the one I landed on myself, is calm modern-functional: light wood, a tight color palette, real storage, and lighting that doesn’t strain your eyes at 9pm. It’s not sterile and it’s not precious. It’s a room built to be sat in for two hours straight.
This works for:
– Students who need a homework zone that isn’t the kitchen table
– Remote workers carving a real office out of a bedroom corner
– Anyone who reads or works from home and is tired of hunching over a laptop on the couch
And it works almost anywhere — a closet with the doors removed, a windowed alcove, a full spare room, even a 3-foot-wide dead zone at the end of a hallway. Mine started as a corner of my bedroom that used to hold a pile of gym bags. Now it’s the only place in my apartment I can actually write for three hours.
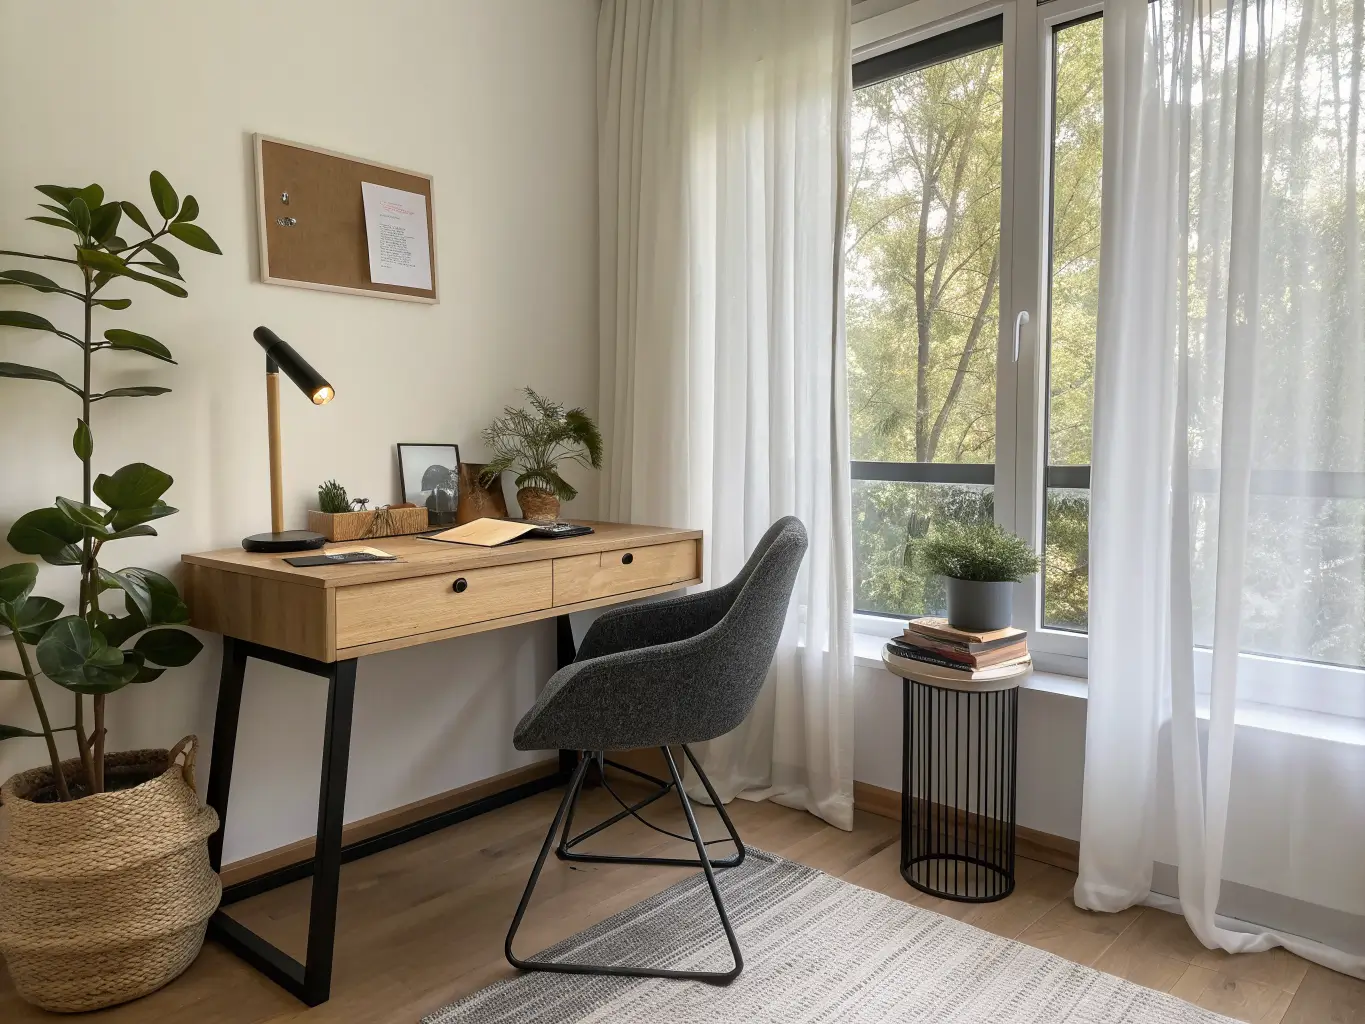
Time, Cost, and Space: The Real Numbers
Time: A basic refresh — new desk, lamp, a few organizers — takes a weekend. Add paint, built-ins, or a full furniture swap and you’re looking at one to two weeks, mostly waiting on furniture delivery and paint drying between coats.
Cost breaks into three tiers:
– Budget ($150–$600): Secondhand or flat-pack desk, one good lamp, a couple of storage bins, basic decor. This is where I started — a $40 IKEA desk from Facebook Marketplace and a $30 lamp got me 80% of the way there.
– Mid-range ($700–$2,500): Ergonomic chair, a proper desk, real shelving, a rug, layered lighting, and cable management. This is the sweet spot for most people.
– Higher-end ($3,000+): Built-ins, wall-mounted desk systems, custom window treatments, full styling. Worth it only if you’re staying put for years.
Space: Anything works — a corner nook, a spare bedroom, a closet conversion, a window-side desk squeezed into six square feet. Skill level ranges from beginner (styling, layout) to intermediate/expert if you’re building anything into the wall.
This is a year-round project. The bones — desk, chair, lighting, storage — don’t change with seasons. What changes is a throw pillow, a plant, a lampshade.
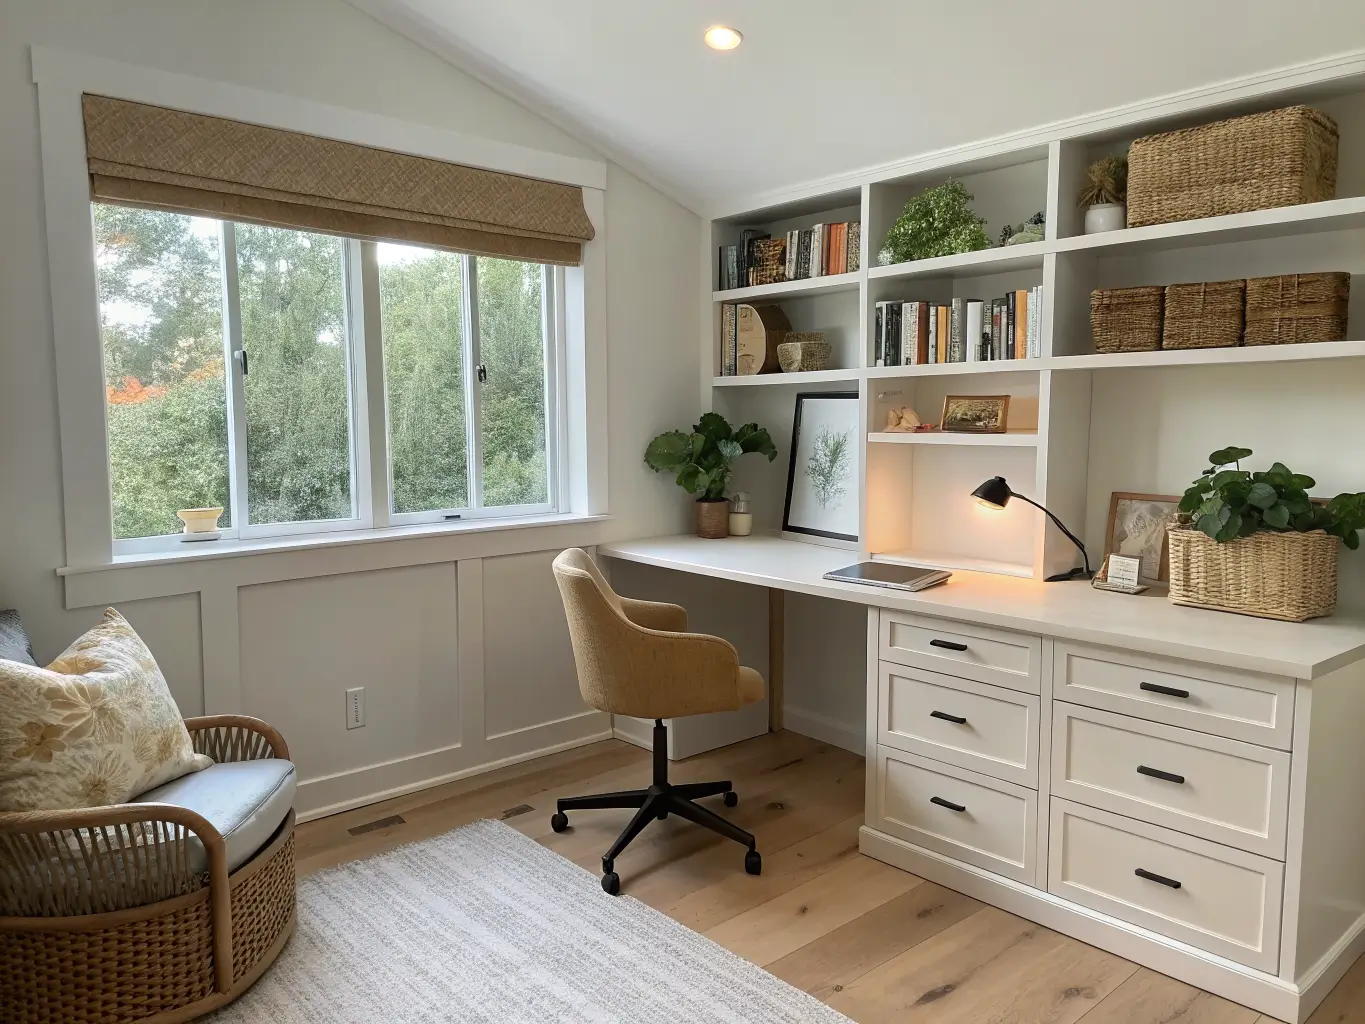
The Design Identity: Colors and Materials That Work
The palette that reads as “calm and productive” instead of “sad home office” is narrow on purpose:
– Colors: soft white, pale gray, warm beige, muted sage, light oak, charcoal accents — with the occasional hit of navy or forest green for contrast
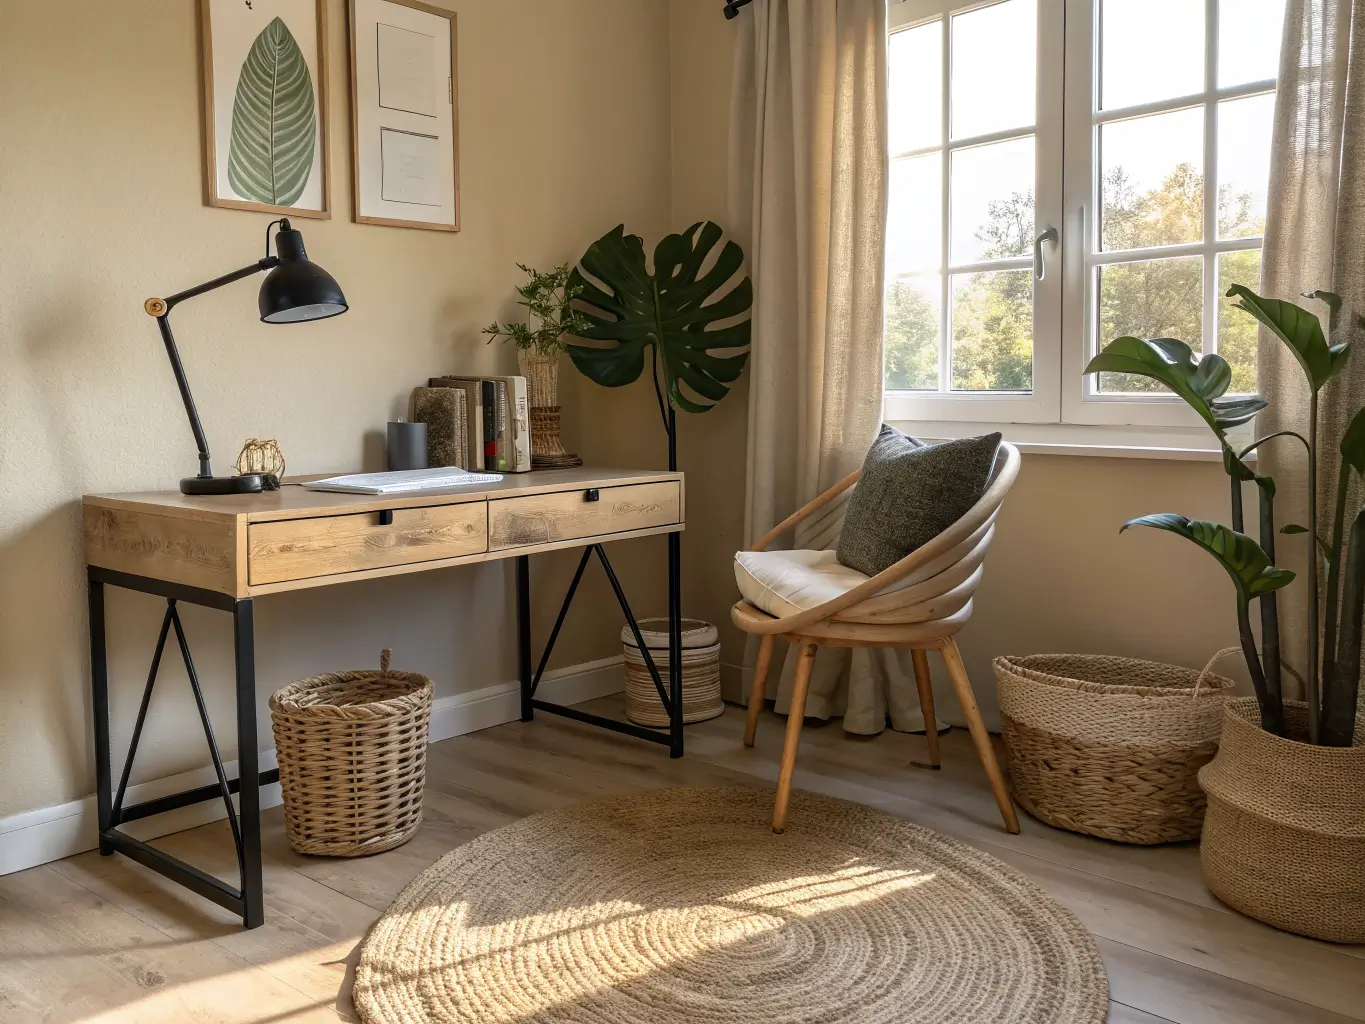
– Materials: light wood, painted MDF, metal desk frames, glass cabinet doors, linen curtains, a textured rug, cork pinboards, matte black or brass hardware
I made the mistake early on of painting my desk wall a moody navy because it looked incredible on Pinterest. In a 7×8 room with one window, it sucked all the light out and made the space feel like a cave by 4pm. I repainted it soft white within a month. Save the navy for a single shelf back panel or a picture frame, not the whole wall, unless the room is genuinely large and bright.
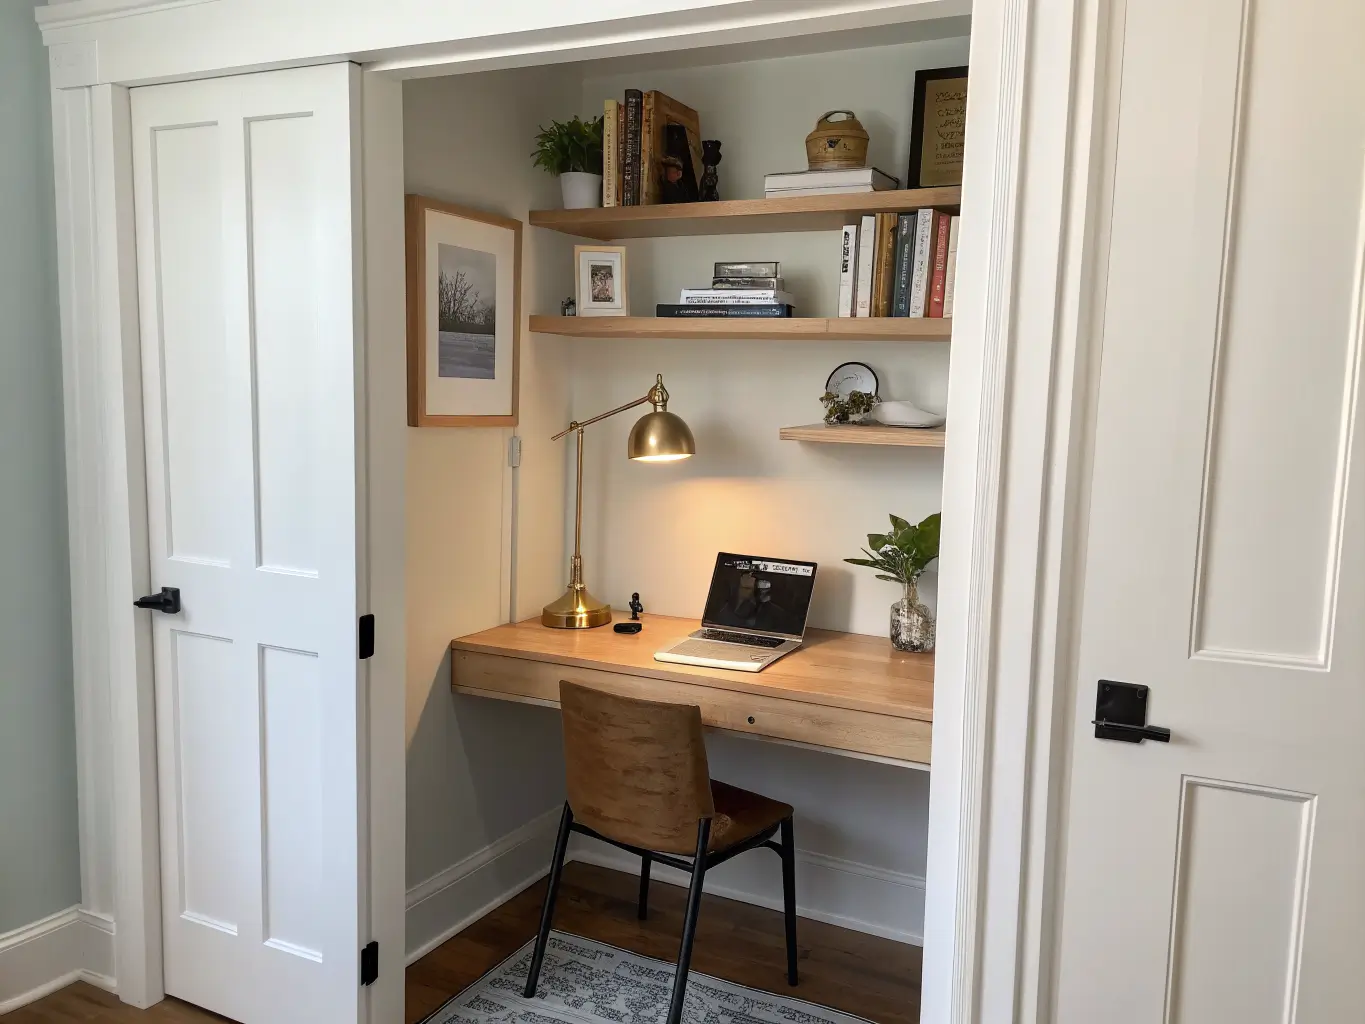
Must-Have Pieces: What the Room Actually Needs
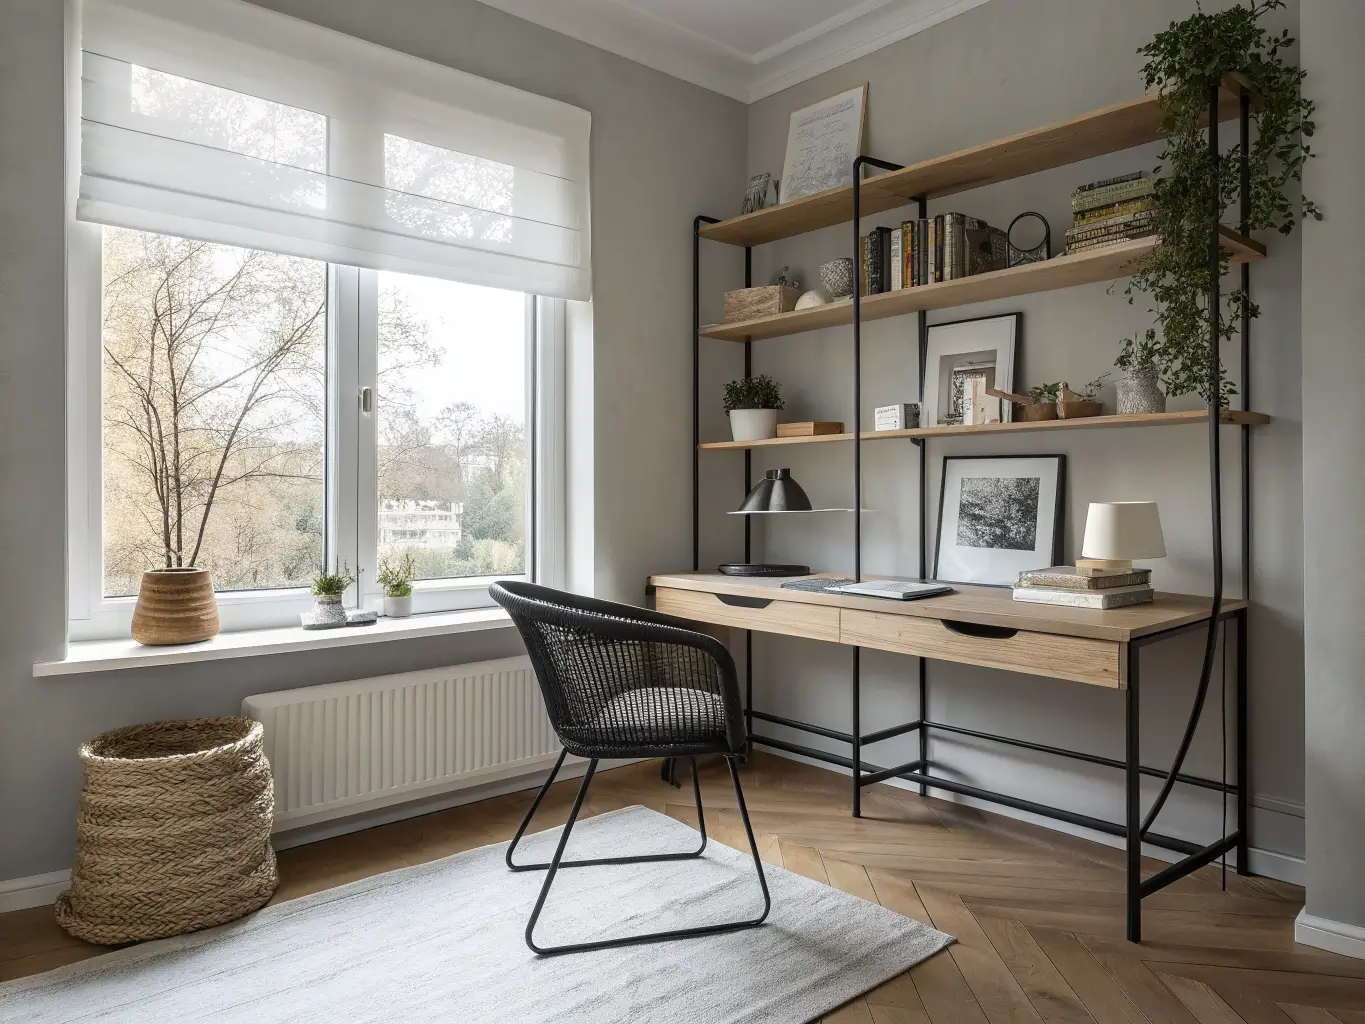
The desk. This is the hero piece and where people overspend or undersize. A wall-mounted desk, L-shaped desk, or floating desk are the three shapes doing the most work in current layouts. For sizing: 100–120 cm wide by 50–60 cm deep works for a laptop-only setup. If you spread out papers, notebooks, or a second monitor, go to 140 cm wide — anything smaller and you’ll be shoving things onto your lap within a week.
The chair. Non-negotiable. I used a $25 folding chair for four months to “save money” and ended up with a stiff lower back and a $300 ergonomic chair purchase anyway. Buy the chair once, buy it right.
Task lighting. A desk lamp is the baseline. Add a floor lamp or wall sconce for ambient light so the room isn’t lit by one harsh cone of light. Pendant lights work well if you have ceiling height to spare.
Storage — open and closed, mixed.
– Open shelving or a bookcase for what you actually reach for daily
– Closed cabinets or drawer units for everything else
– Keep shelves 10–12 inches deep — deeper shelves eat the room visually and make a small space feel boxed in
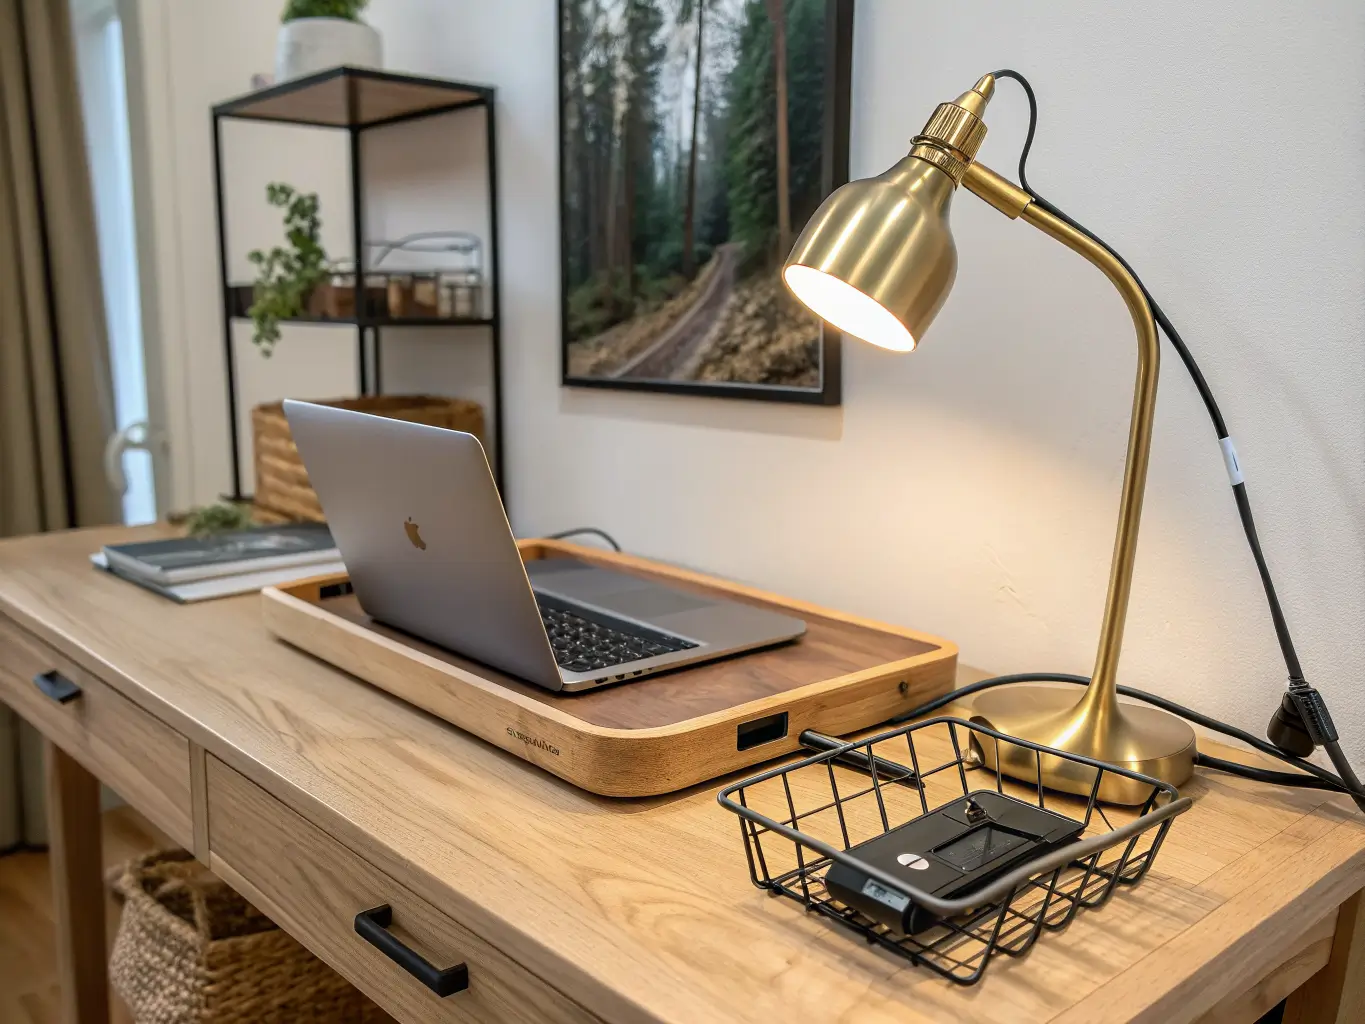
Cable management. Cord trays, clips, and a small charging station. This sounds minor until you’re staring at a nest of cables behind your monitor every single day. It’s a $15 fix that changes how the whole desk photographs and feels.
Comfort and zoning: a rug to anchor the space (especially if it’s a corner of a larger room), a pinboard or whiteboard, baskets for loose supplies, and if you have the square footage, a small reading chair for breaks.
Optional Upgrades Worth Considering
– A plant. Not five plants. One desk plant (a pothos or small snake plant) or one larger floor plant like a fiddle-leaf fig in an empty corner. This is the single cheapest thing that makes a study room feel less clinical.
– Texture layers: a dense wool or jute rug, linen curtains, one bouclé throw pillow if there’s a chair for it, a fabric-covered pinboard instead of plain cork.
– Metallic details, used sparingly: brass lamp arms, black metal shelf brackets, glass-front cabinet doors. Pick one metal finish and repeat it — mixing brass, chrome, and black in a small room reads as chaotic, not curated.
– Seasonal swaps: darker lampshades and a heavier throw in fall/winter, pale linen and fresh greenery in spring/summer. The furniture doesn’t move; only the accents do.
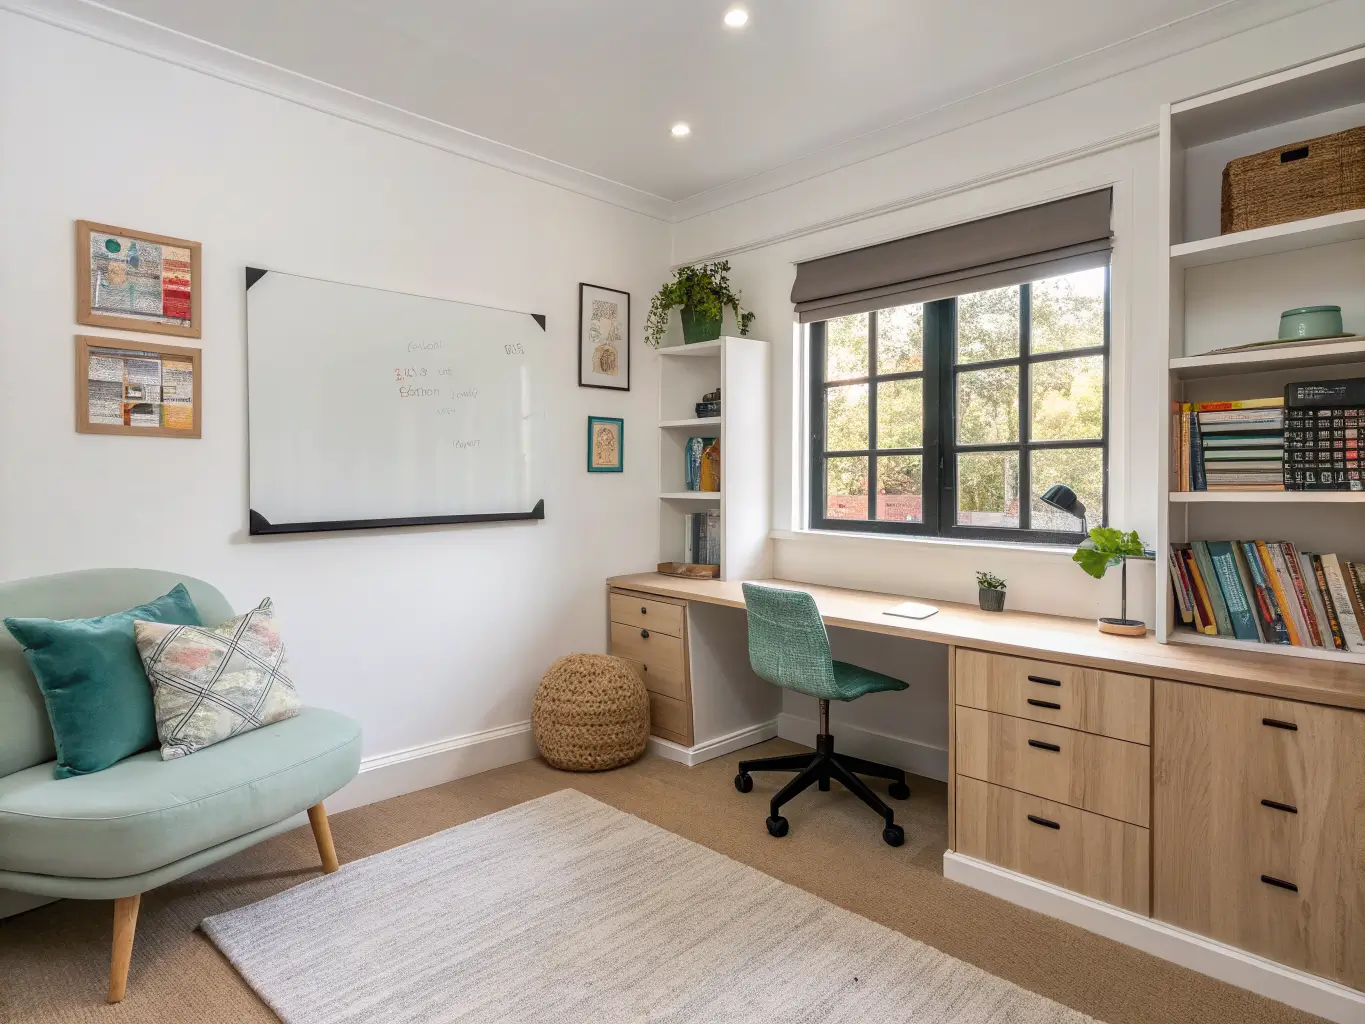
– Learning tools: whiteboard paint on one wall, a corkboard, a wall calendar — these earn their keep in a homework-focused room in a way they wouldn’t in an adult home office.
How to Actually Put It Together
Keep the palette tight. One wood tone, one wall color, one accent color. That’s it. I know it’s tempting to bring in “just one more” color once you start shopping, but the rooms that feel calm are the ones that stopped at three.
Function first, decor second. Desk, chair, lighting, storage — get those right before you buy a single framed print. A study room styled like a magazine spread but missing a real task lamp is a room nobody wants to sit in after 6pm.
Light strategically. Put the desk near a window if you can, but angle it so you’re not fighting screen glare — perpendicular to the window beats facing it directly. Layer in a task lamp for the hours after the sun’s down.
Give the room one focal point. A window view, a gallery wall of three or four framed prints, a full bookshelf wall, or a symmetrical desk-and-lamp setup. Pick one. Trying to make every wall a “moment” is what makes small rooms feel busy instead of finished.
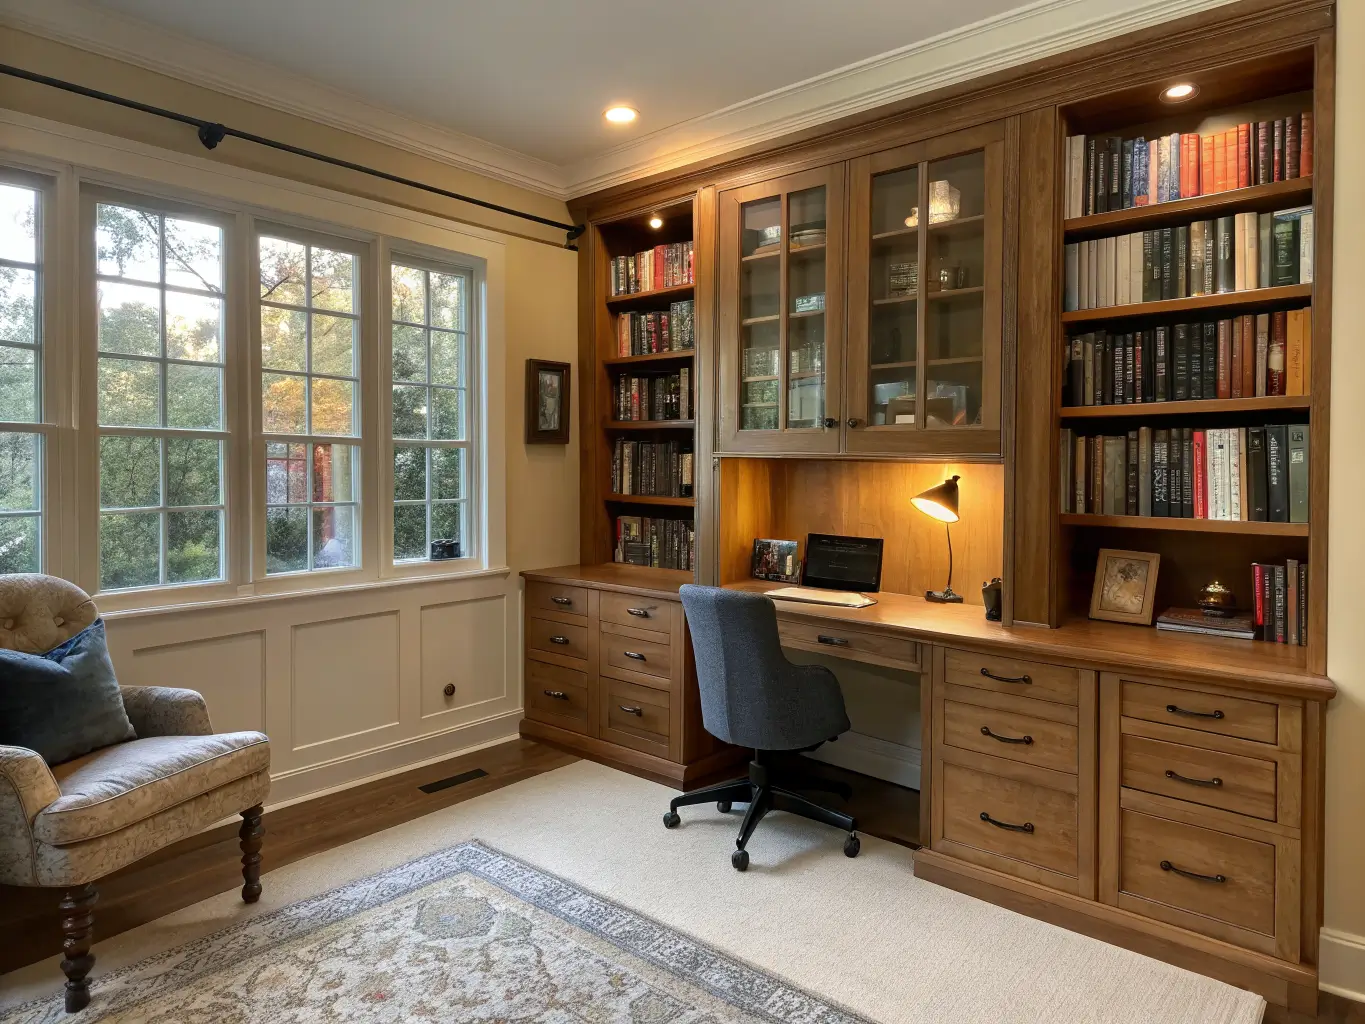
Balance open and closed storage. Open shelves for books and things you want visible; closed cabinets for the printer paper, extra cables, and the stuff that just creates visual noise if it’s out.
Use contrast on purpose. Light walls and floors make a small study nook feel bigger. A darker accent — a chair, a rug, one wall of shelving — grounds the space and signals “this is the work zone” without needing a physical divider.
Setting It Up: Order of Operations
1. Clear the space completely. Get rid of anything that doesn’t belong to the room’s actual job. If it’s becoming a study room, it can’t also be the treadmill graveyard.
2. Decide what the room is actually for — reading, laptop work, homework with a lot of paper spread out, or a mix. This decides your desk size and storage needs before you buy anything.
3. Position the desk on the best wall first, ideally near a window, on the quietest wall available. Do this before you fall in love with a rug or a print — the desk placement drives everything else.
4. Check your outlets before you finalize furniture placement. I once arranged an entire desk setup against a wall with no outlet within eight feet, realized it after the desk was built, and had to run a cord across the floor for a year before I finally moved the whole setup 3 feet to the left. Measure first.
5. Add storage before decor. Shelving, drawers, and cable management go in before a single throw pillow.
6. Place desk and chair, then test the sightline. Sit in the chair. What do you see? The best setups give you a view of the room or a window — not a wall, and not the doorway to a high-traffic hallway.
7. Layer the lighting, then add one soft ambient lamp for evening use.
8. Install shelves at a height you’ll actually use — eye level or just below for daily items, higher for things you grab once a month.
9. Add the rug to visually define the zone, especially important if this is a corner of a bedroom or open-plan room.
10. Finish with one strong visual element — the window, the gallery wall, the corkboard — and stop there.
Mistakes I’ve Made (So You Don’t Have To)
– Too little lighting. My first setup had one lamp and no overhead light. By 7pm I was working by phone flashlight, basically. Combine natural light with task lighting — always both, never just one.
– Overcrowded storage. I once put four shelves above my desk “for organization” and it looked like a stockroom. Two shelves, used well, beat four shelves half-full of clutter.
– Ignoring ergonomics. Screen distance should be roughly 15–30 inches from your eyes, slightly below eye level. If you’re tilting your neck up or hunching forward, your setup is wrong regardless of how it looks.
– Bad cord planning. Loose cables ruin the look of an otherwise great room. A $15 cable tray under the desk solves 90% of this.
– Distracting decor. A busy patterned rug plus a gallery wall plus patterned curtains is too much for a room meant for focus. Pick one pattern moment, keep the rest quiet.
– No flexibility. A study room that only supports sitting rigidly at a desk for six hours doesn’t get used long-term. Even a small reading chair in the corner gives you somewhere to go for a 10-minute break without leaving the room.
Keeping It Looking Good Long-Term
Repeat the same materials throughout — I use light oak, black metal, and white walls, full stop, in every piece I add to this room. That repetition is what makes a room feel designed rather than accumulated.
Edit the surfaces regularly. Once a month, I clear my desk down to the lamp, laptop, and one notebook, and reassess what’s crept back onto it. Matching bins and labeled containers do more for a “finished” look than any decorative object will.
Keep window treatments simple — a plain linen curtain or a basic roller shade. Anything fussier fights with the room’s job.
For budget updates: swap the lampshade, add a new rug, repaint one wall, add a corkboard. Don’t replace big furniture unless it’s actually broken or wrong-sized.
For seasonal tweaks: rotate cushions, throws, and the plants. The furniture stays put.
Cross-style variations worth trying:
– Minimalist + warm wood for a Scandinavian-leaning study room
– Home library hybrid — shelving plus a reading chair — if you have the square footage
– Kids’ study room with a lounge corner for homework breaks
– Boho-productivity mashup: woven textures and plants over a calm neutral base
The room that works isn’t the one that photographs best on day one. It’s the one you still want to sit down in six months later.





