
Quick Style Snapshot
Time: A DIY cabinet-based build realistically takes a few weekends once your materials are on-site — not because the work is hard, but because you’re doing it in stages. You build and attach the cabinet boxes, then come back for trim, caulk, sanding, and paint after everything’s dried and settled. Professional custom systems, by contrast, often install in about a day, since the units arrive pre-built and just get anchored and finished on-site.
Cost: This is where the range gets wide.
– DIY with unfinished kitchen cabinets + a basic countertop: $800–$2,500 depending on wall length
– Mid-tier custom systems (California Closets and similar): $1,904–$10,949, depending on materials, finish level, and how much of the wall you’re covering
– Fully custom built-ins with an integrated desk: one Reddit homeowner reported around $16,000, and that excluded the standing-desk hardware
Room size: You need less space than you think. Architectural Digest puts 8×10 feet as enough for a built-in desk with storage. If you want to float the desk away from the wall and still fit full cabinetry, aim for 10×13 feet.
Skill level: Cabinet-based DIY builds are intermediate — you’re measuring, leveling, anchoring into studs, adding fillers, and finishing with trim and paint. None of that is hard individually, but it adds up. Full custom framing with an integrated desk system is closer to expert, and that’s where I’d actually hire someone.
Seasonal appeal: None, really, and that’s the point. This isn’t a look you refresh every October. It’s infrastructure.
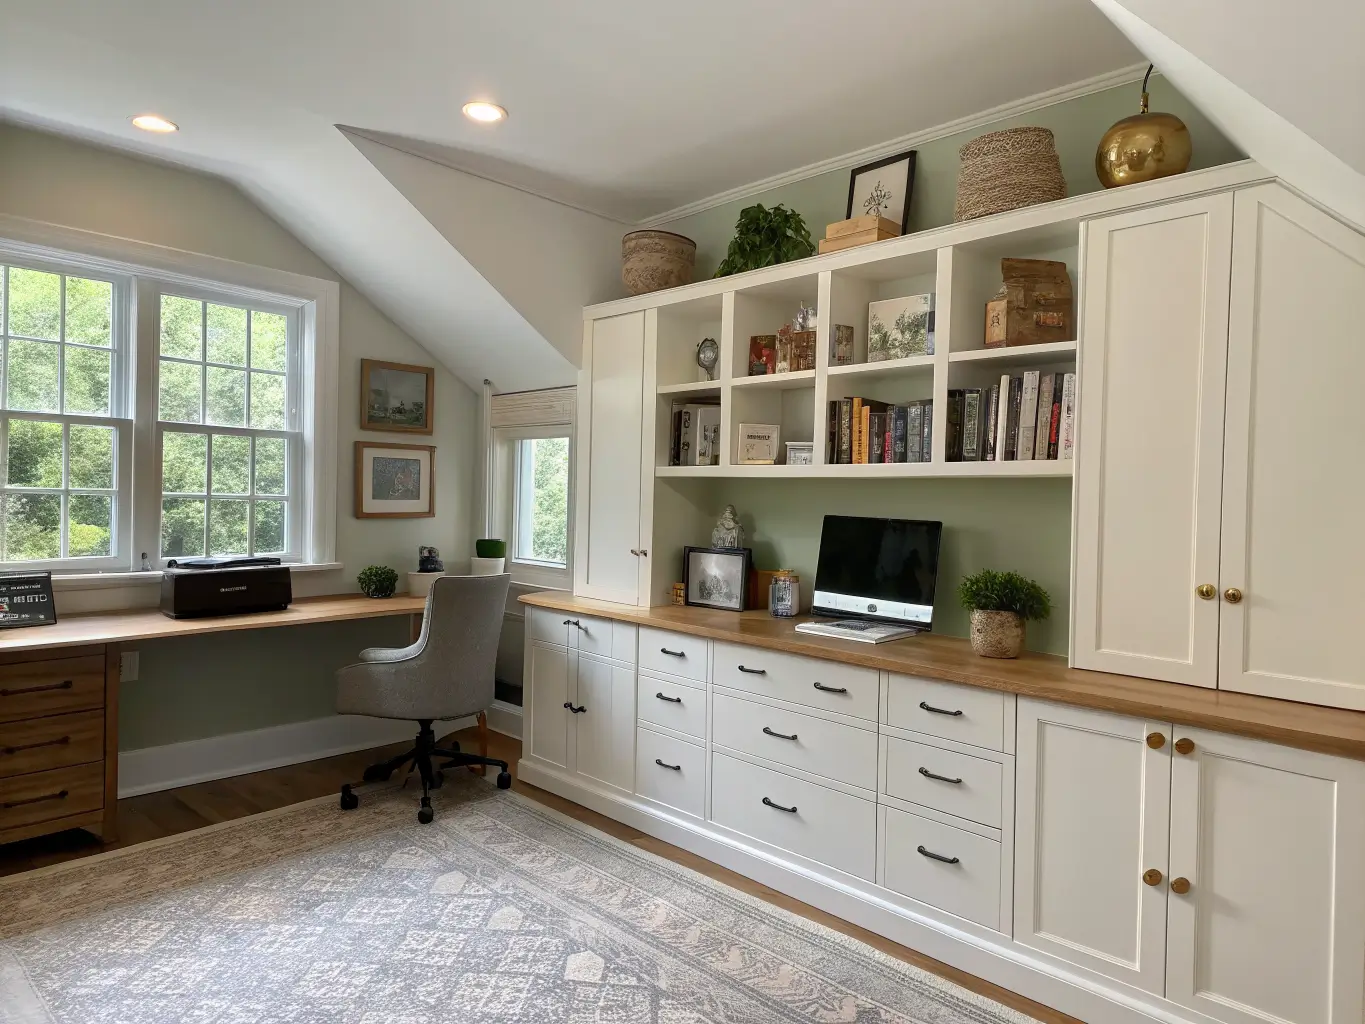
Design Identity: What “Built-In Office” Actually Means
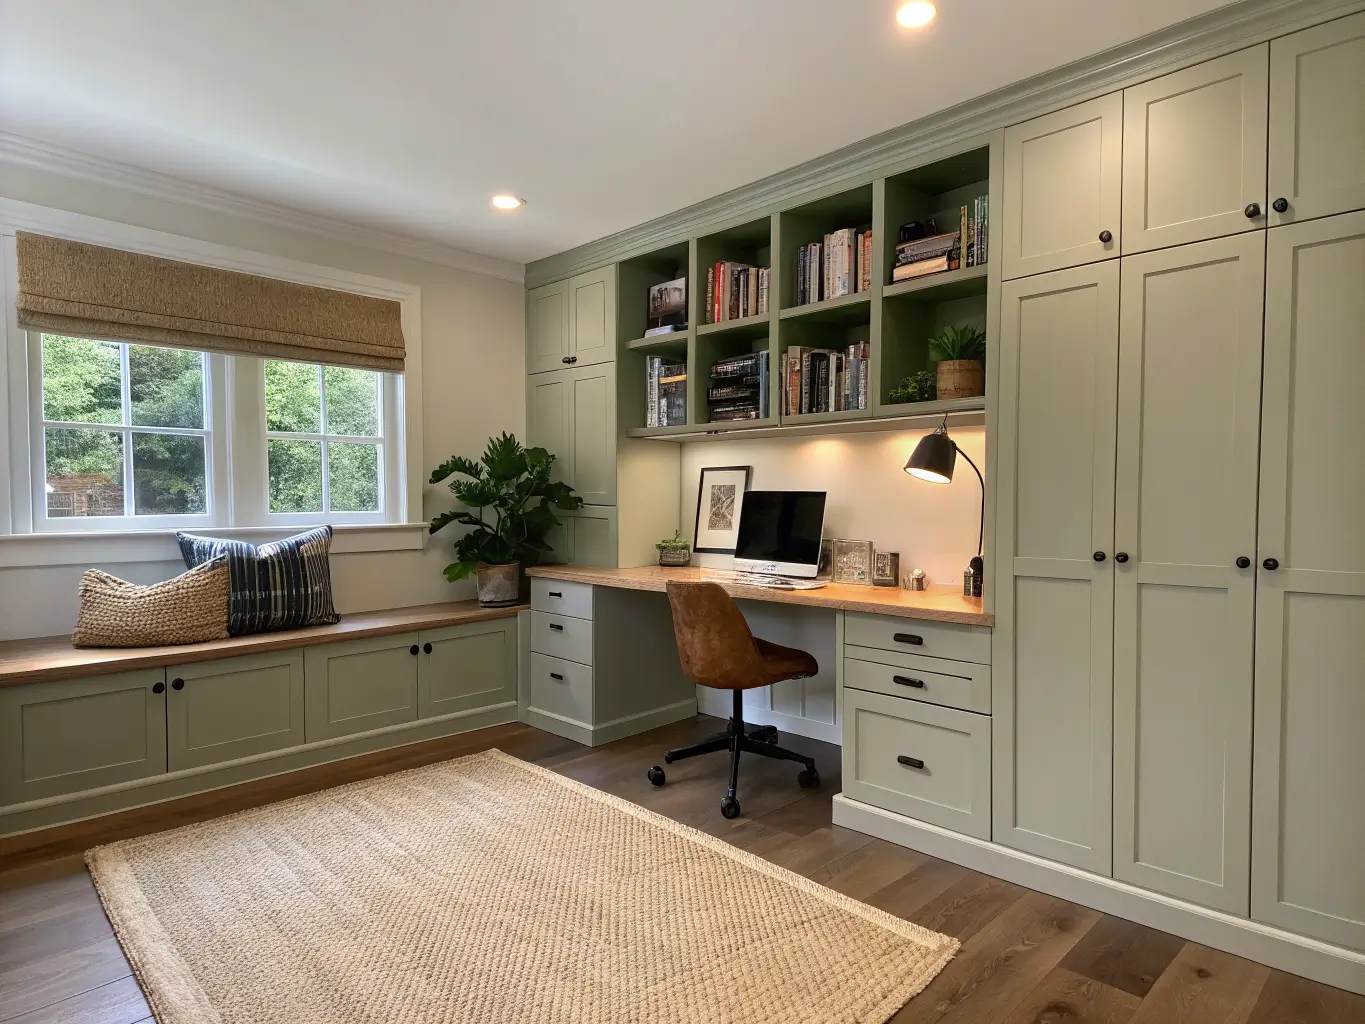
It’s less a decor style and more an architectural move. The goal is a wall that reads as though it was built with the house — desk, shelving, cabinets, and drawers all working as one continuous piece rather than a desk pushed against a bookshelf pushed against a filing cabinet.
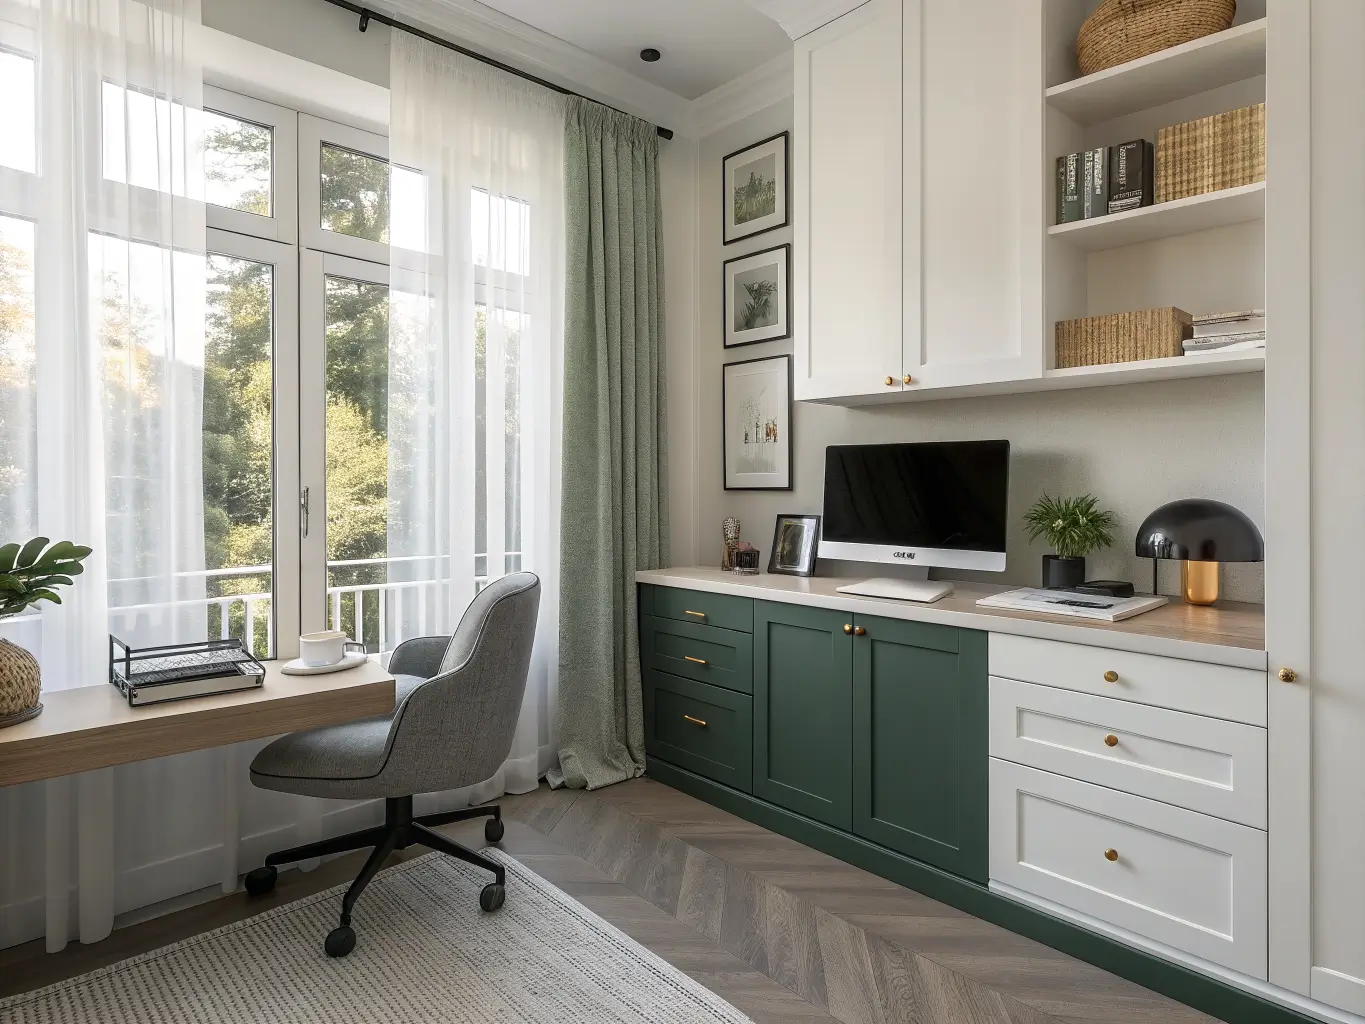
Materials that show up again and again: painted MDF or wood cabinet boxes, primed trim, 1×4 filler strips, 1×12 shelving, and a butcher block or wood desktop as the one warm element against all that flat paint. Most of what’s on Houzz right now leans light and neutral — soft whites, greiges, the occasional deep navy or forest green cabinet run for contrast.
Who this is for: remote and hybrid workers who are done pretending their home office is temporary, families who need one dedicated homework station instead of laptops on the kitchen table, and anyone who’s tired of looking at a printer.
Where it works: spare bedrooms, wall alcoves, bonus rooms, attic conversions, even garages. I’ve seen a genuinely great one built into a closet that lost its doors — 6 feet wide, floor to ceiling, and it reads like the room was designed around it.
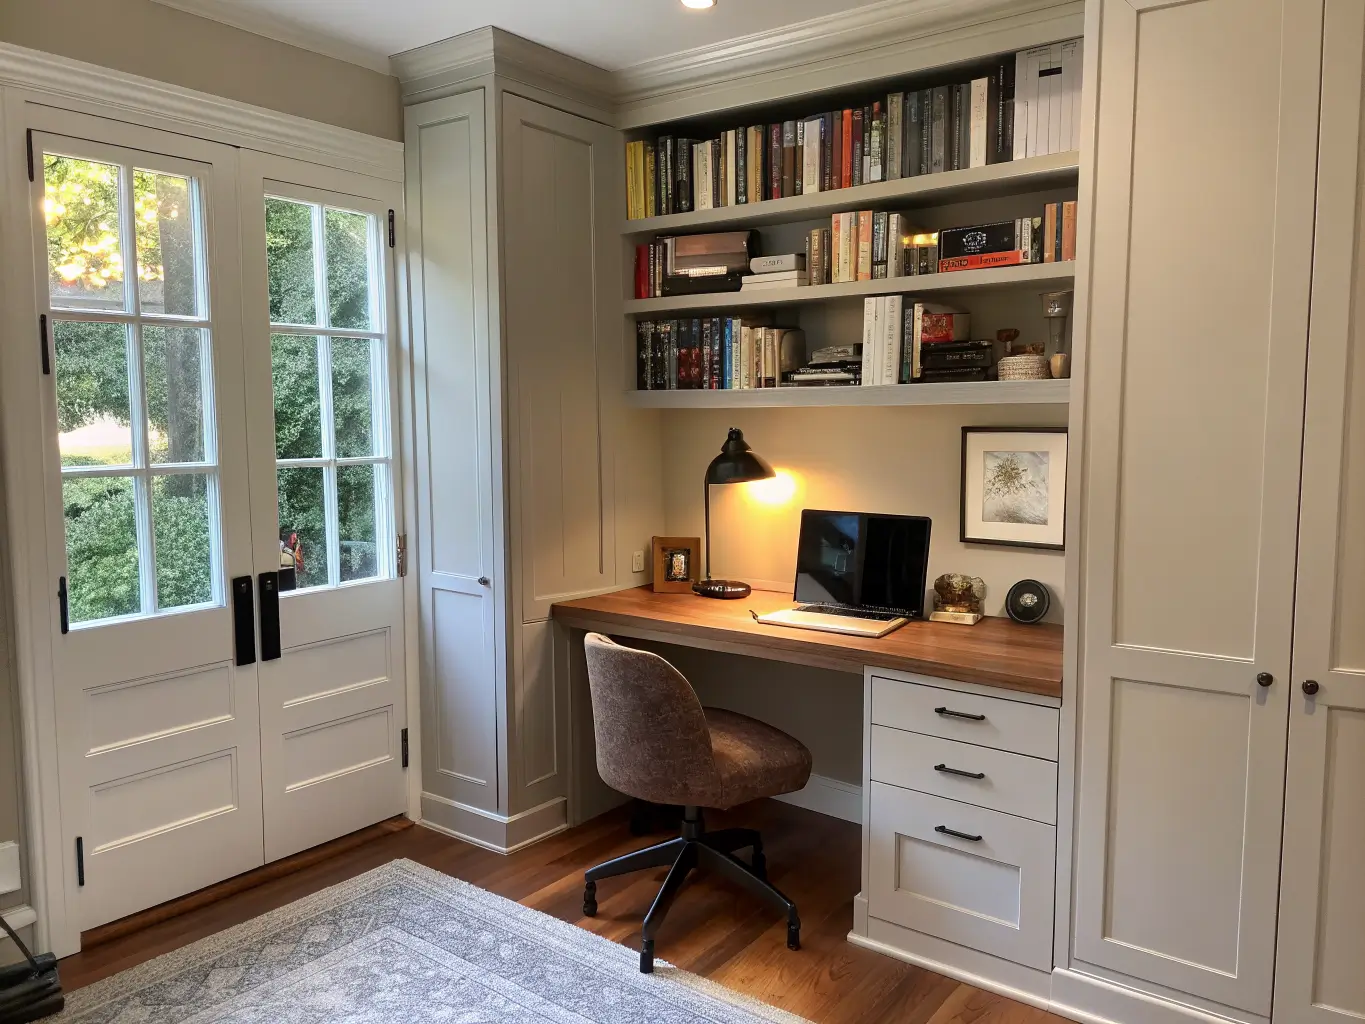
The Must-Have Pieces
Skip any of these and the “built-in” will look like furniture that got shoved into a corner.
– A properly sized desk surface. Before you build anything, know what has to sit on it — monitor width, printer footprint, how many file folders live within arm’s reach. This determines your desk length, not the other way around.
– Upper shelving, typically 1×12 boards run about 12 inches deep. Deep enough for books and binders, shallow enough that it doesn’t eat the room.
– Lower cabinets or drawers for the stuff you don’t want to look at. Paper clutter, office supplies, and — critically — the printer. Hide it behind a door. Every designer I’ve read on this agrees, and I agree from experience: an exposed printer kills the whole effect no matter how nice the cabinets are.
– Cable management built into the design, not zip-tied on after the fact. Drill a grommet hole in the desktop before you finish it. I didn’t, and now there’s a visible cord running off the back edge of mine that bugs me every day.
– Task lighting and a real chair. Architectural Digest calls both of these out specifically, and they’re right — a beautiful built-in with bad overhead lighting and a dining chair pulled up to it is still a bad office.
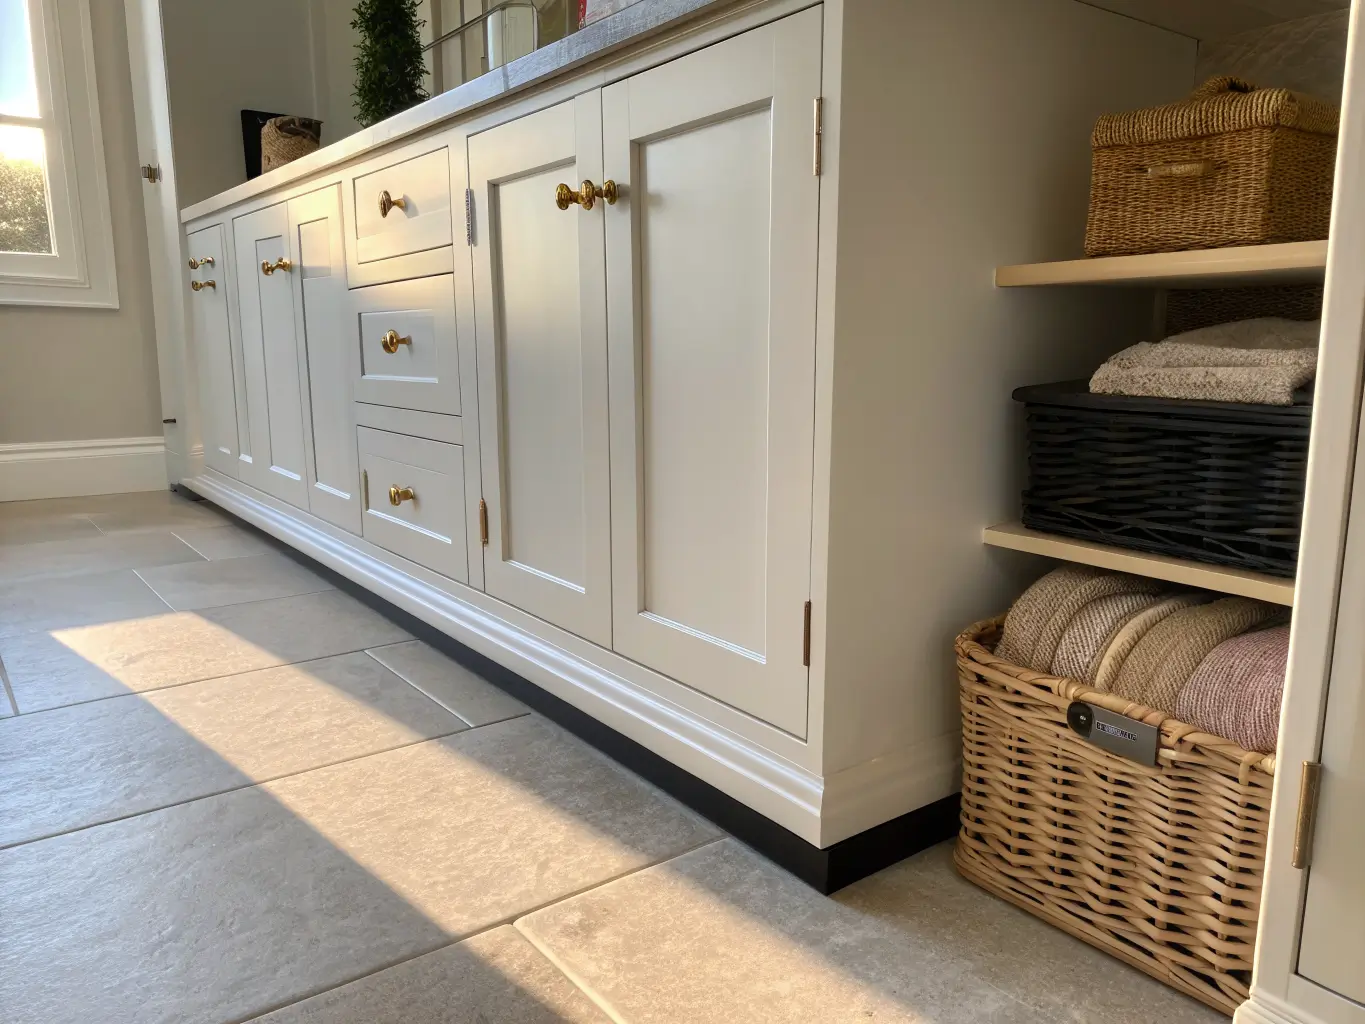
– Filler pieces, base, and trim. This is what separates “built-in” from “furniture against a wall.” Filler strips let cabinet doors clear adjacent walls, base platforms give it a finished toe-kick, and crown or trim ties the top to the ceiling line.
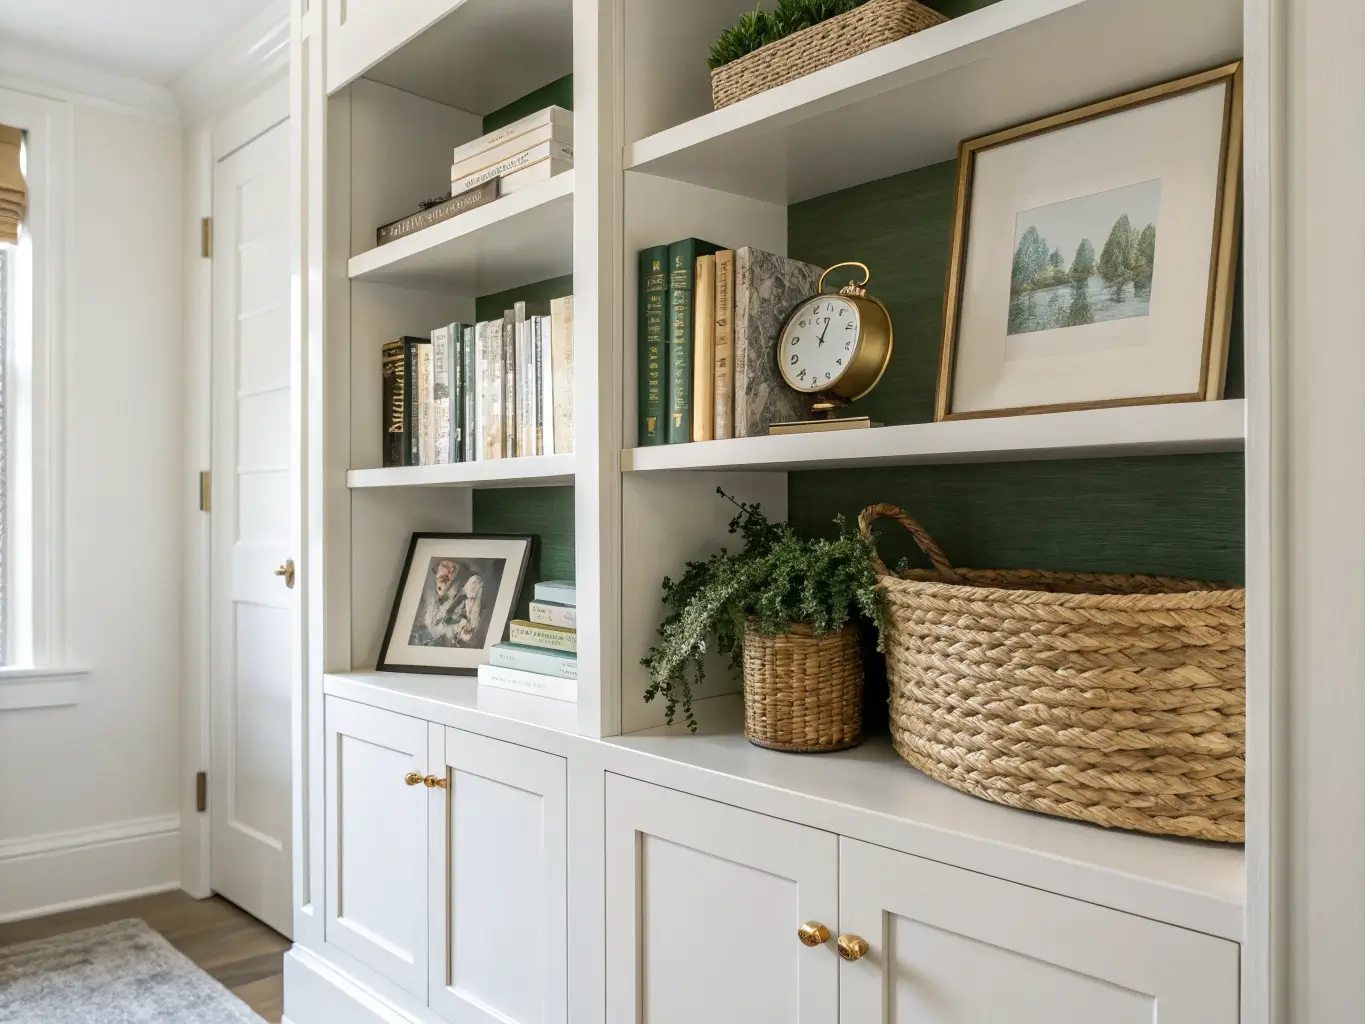
Optional Enhancements Worth the Extra Step
– A butcher block or wood desktop against painted cabinets. This is the single easiest way to keep the whole thing from feeling like a hospital hallway.
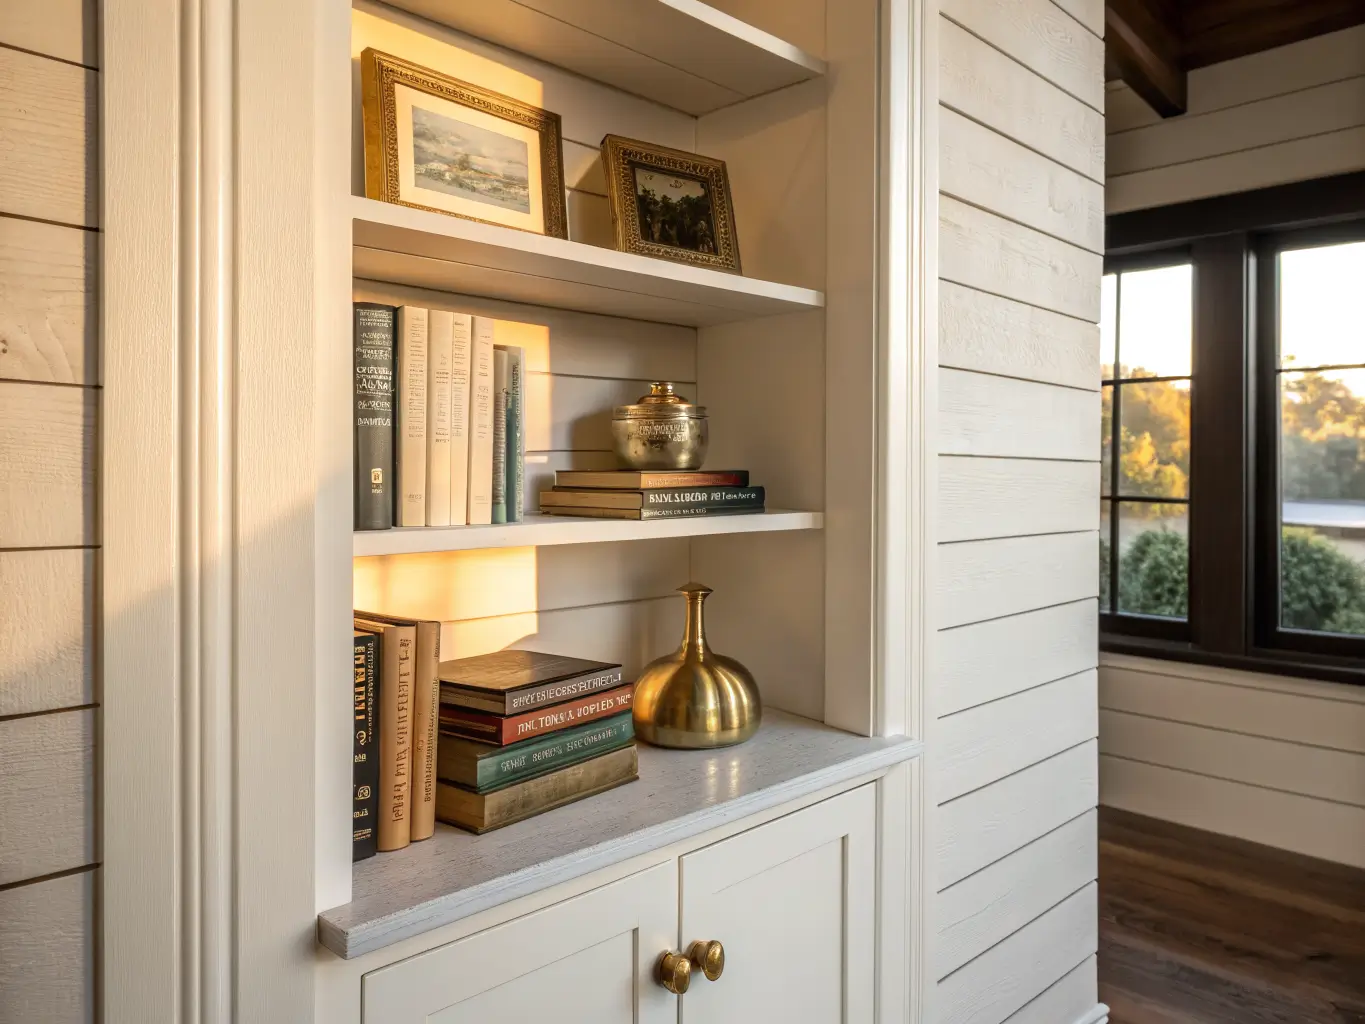
– Vertical shiplap between cabinet sections, or behind open shelving, for texture. Cheap to add, makes a huge visual difference in photos and in person.
– Brushed brass, black, or nickel hardware — pick one and use it everywhere. Mixing metals here reads as unfinished rather than eclectic.
– Plants, baskets, woven storage to soften all that flat cabinetry. A built-in wall is a lot of straight lines and right angles; organic texture breaks it up.
– A display niche or two — an open cubby for framed art or a stack of design books — so the wall doesn’t read as pure function.
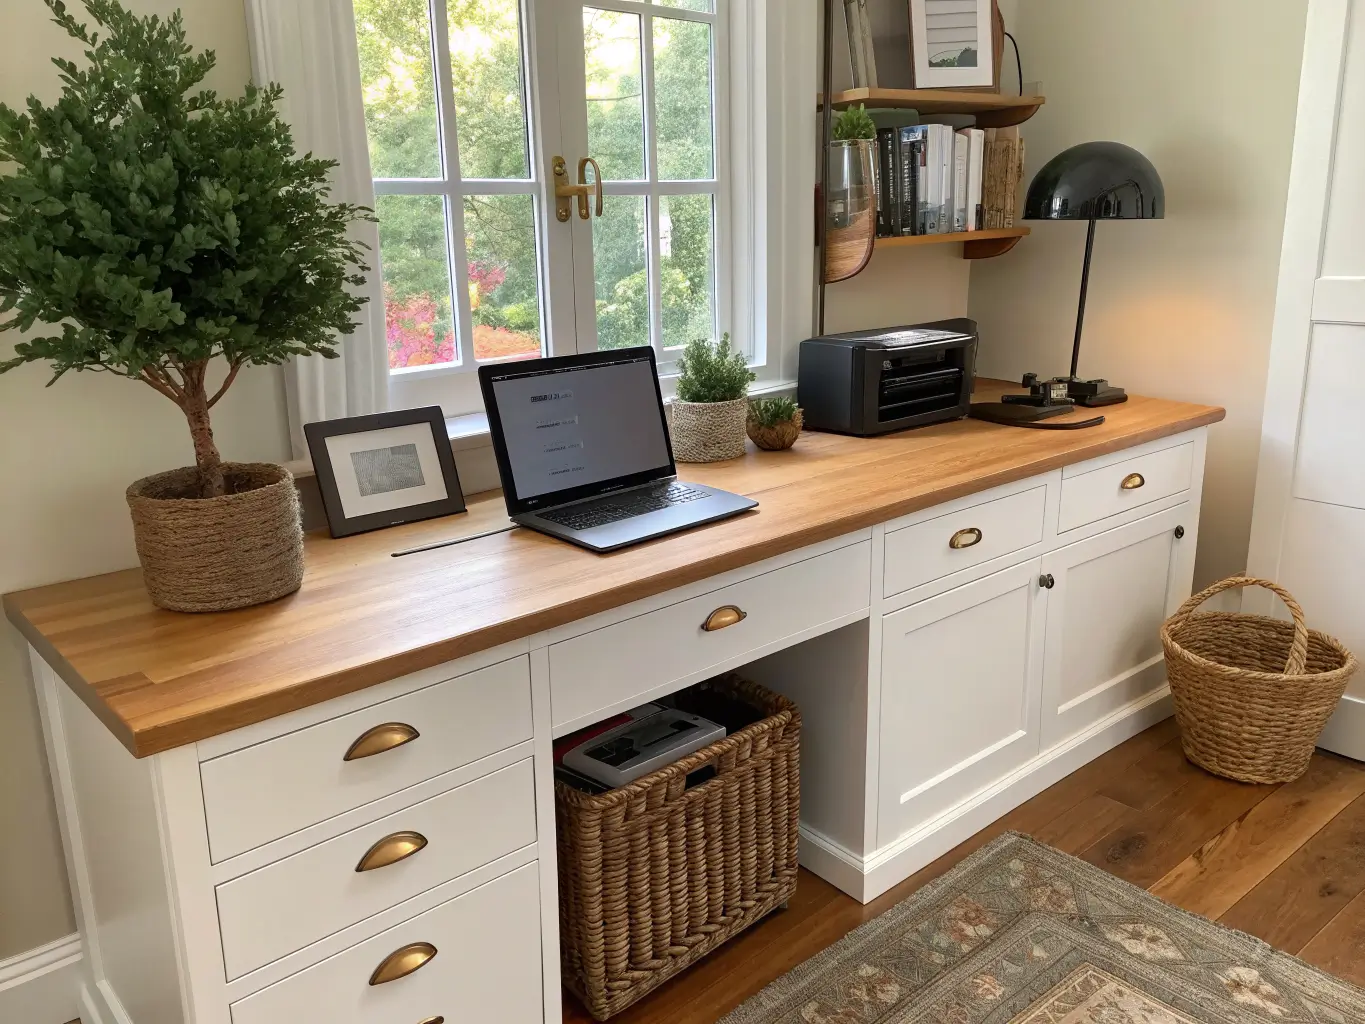
Pro Styling Tips I Actually Use
The 40/40/20 rule. Roughly 40% open shelving for display, 40% closed storage for equipment and supplies, 20% left flexible for whatever tech or gear shows up later. I didn’t leave that flex space in my build and now I’m short a spot for a second monitor arm mount.
Heavy low, light high. Bulk supplies, printer, files — all go in the lower cabinets. Books, small objects, art go up top. This isn’t just aesthetics; it keeps the whole wall from feeling top-heavy, and it puts the stuff you use daily at arm height instead of on a step stool.
Matte desktop near a window. If your desk sits under natural light, skip the glossy poly finish. Matte or low-sheen cuts the glare that’ll otherwise bounce straight into your monitor.
Repeat your rhythm. Same shelf heights, same cabinet widths, symmetrical objects flanking the desk niche. Built-ins live or die on this kind of visual repetition — it’s what makes the eye read “intentional” instead of “assembled.”
One clear focal point. Usually that’s the desk, lit well, centered in the run. Don’t let open shelving compete with it by overloading every cubby with objects.
Setup and Execution, Step by Step
Before you touch a saw:
– Measure the full wall span, ceiling height, and the actual dimensions of what needs to live in this space — monitor width, printer size, the file box you’re not getting rid of.
– Find your studs and mark them. Every DIY build I’ve seen (and my own) comes back to this: cabinets and shelving anchor into studs, not drywall anchors alone.
– Build your base platform or toe-kick first. This is what gives the finished piece its furniture-grade profile instead of looking like cabinets sitting flush on the floor.
– Plan filler strips now, on paper, before you cut anything. I skipped this math once and ended up with a cabinet door that couldn’t swing past the side wall. Had to notch the door after the fact. Not my finest hour.
The build sequence:
1. Install the lower cabinet run first. Level it — actually use a level, not your eye — then screw into studs.
2. Add the desktop or countertop surface across the run.
3. Build the upper shelving next, securing it to the wall and to the adjacent cabinet units so the whole thing is rigid, not just resting against each other.
4. Finish with trim, crown molding if your ceiling height calls for it, caulk every seam, sand, then paint. This stage is tedious and it’s also what makes the whole thing look built rather than installed. Don’t rush it.
5. Style the shelves last — books, framed art, a small plant or two, a couple of functional objects. Everything else — chargers, paper stacks, the printer — goes behind a door.
Where People Get This Wrong
Skipping filler strips. Already told you my story. Don’t skip them.
Not planning storage around actual workflow. Don’t build a gorgeous wall of open shelving and then realize you have nowhere to put the printer. Define what you’re storing before you design where it goes.
Ignoring ergonomics. A built-in is still a desk. Standard desk height sits around 28–30 inches for most adults, and your monitor’s top edge should land at or just below eye level. A beautiful desk at the wrong height still gives you a stiff neck by 3pm.
All open shelving, no closed storage. This is the fastest way to make an office look cluttered within a month. You need doors and drawers for the ugly stuff.
Bad glare control. Where possible, put the desk perpendicular to the window, not facing it or with your back to it. Add task lighting so you’re not relying on overhead light alone.
Weak anchoring. This is a safety issue, not just a design one. Everything ties into studs, and adjacent units should be secured to each other, not just individually screwed to the wall.
Keeping It Looking Good Long-Term
Stick to one cabinet color, one metal finish, one wood tone for the desktop or accents. The temptation is to let every shelf become a mini design project with different textures and colors — resist it. Consistency is what makes a wall of cabinets look architectural instead of assembled from parts.
Go through the shelves every few months and pull anything that’s turned into visual noise. Books you’re not reading, decor that accumulated without purpose. Closed storage handles anything genuinely unattractive — cables, paperwork, tech accessories — permanently.
Cheap seasonal refreshes: swap out a few styling objects — winter greenery, a stack of different books, ceramics in a new color — without touching the structure at all.
Cheap structural refreshes: new hardware, a coat of paint on the cabinet fronts, restyled shelves. All of that costs a fraction of a rebuild and changes the feel completely.
If you’re mixing styles: modern cabinetry with warm wood accents and brass hardware reads current and transitional. Painted cabinets with shiplap backing leans classic, almost farmhouse. Pick one direction and commit — this is not the project to split the difference on.
If budget’s tight: start with unfinished kitchen cabinets and a basic countertop. It’s the same strategy Lowe’s suggests and it’s exactly what I did. Paint hides a multitude of sins, and nobody who sits in your office is going to check whether those cabinet boxes came from a kitchen aisle or a custom shop.
For another angle on this, my home office storage guide covers the same space from a different starting point.





