
How to Create a Shabby Chic Craft Room That’s Pretty and Functional
A shabby chic craft room sounds simple until you try to build one and end up with either a Pinterest board that looks nothing like your actual space, or a room so frilly you can’t find your scissors under the lace. I’ve done both versions. My current craft room is the third layout I’ve tried in that room, and it’s the first one that actually works — because I finally stopped decorating around my supplies and started building storage first, decor second.
Here’s what I’ve learned, including the mistakes.
What Shabby Chic Actually Means for a Craft Room
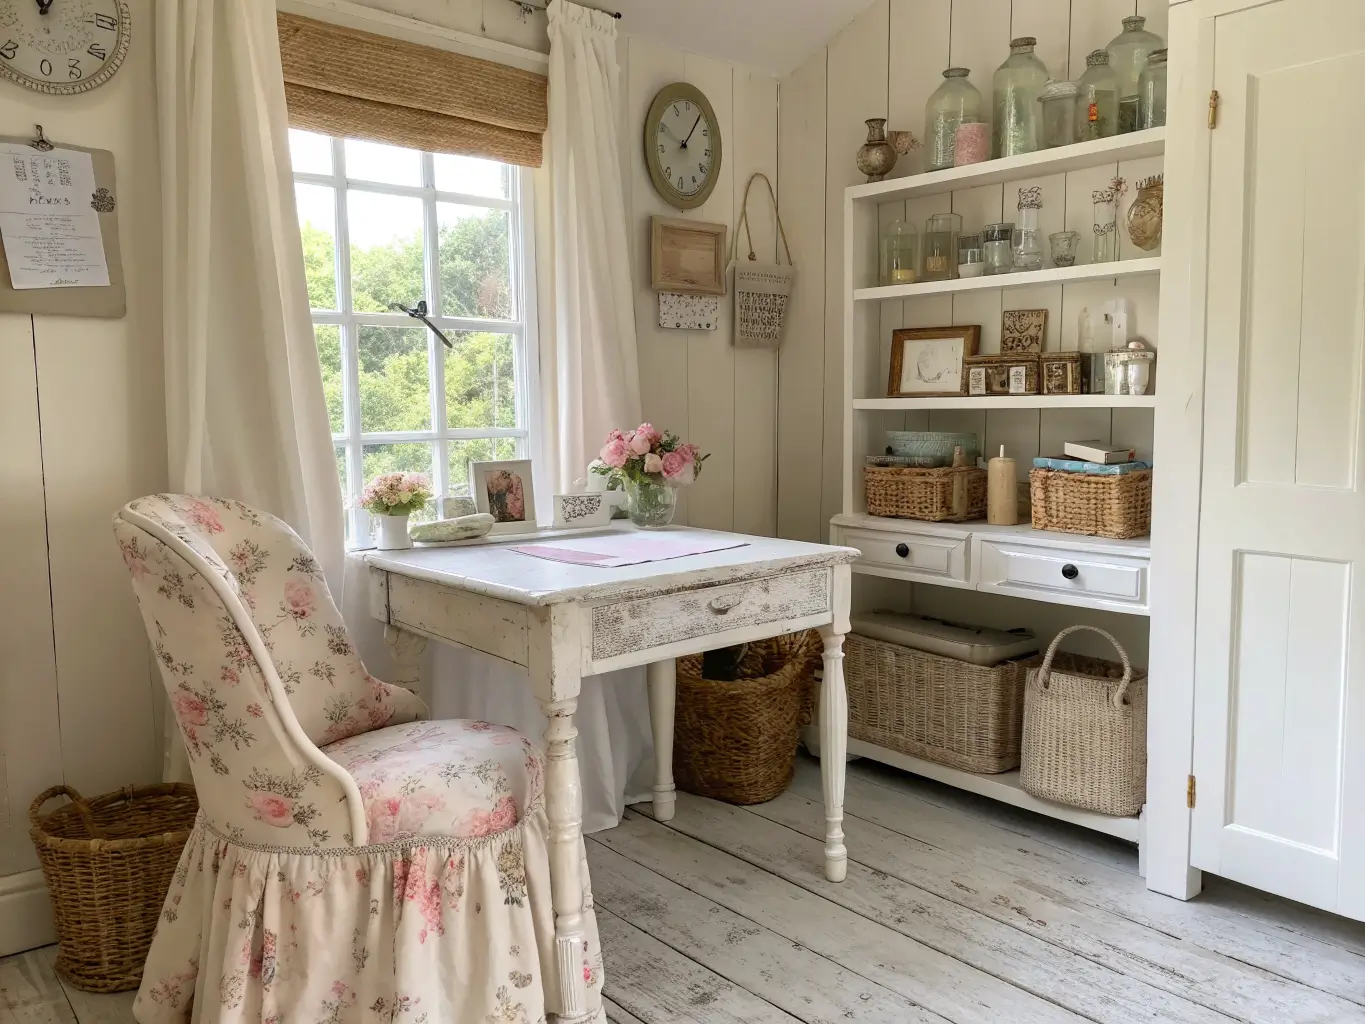
Shabby chic isn’t just “pink and vintage.” It’s a mix of romantic cottage softness and worn, distressed farmhouse texture — think a dresser your grandmother would’ve owned, painted white and sanded at the edges so the old wood peeks through, paired with a linen curtain and a glass jar of buttons.
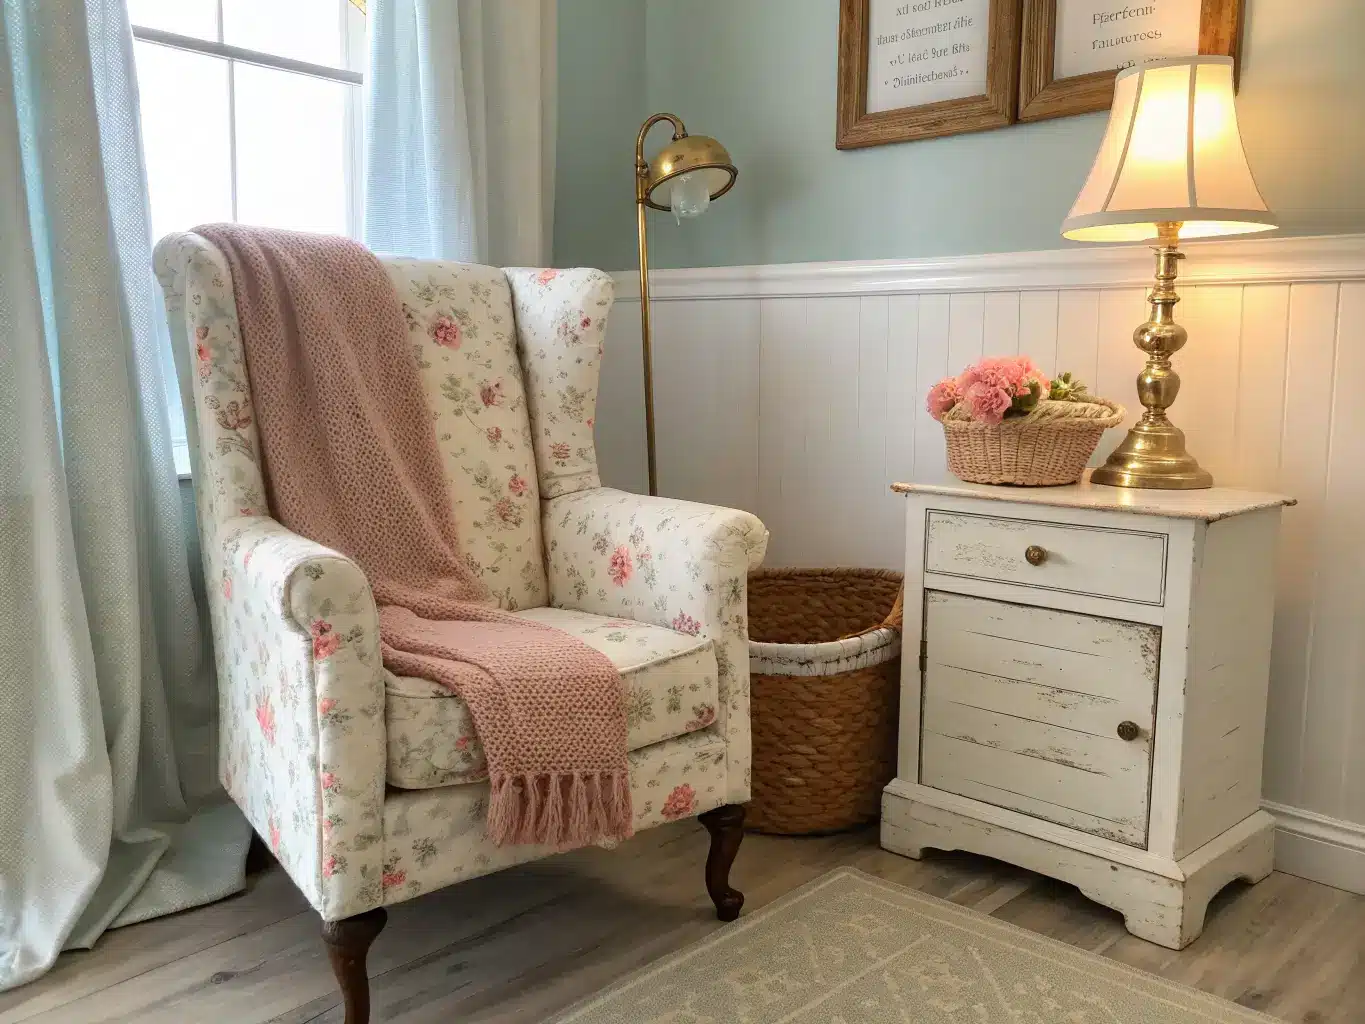
The palette stays soft: white, cream, ivory, blush pink, lilac, mint, and pale aqua. The materials do the emotional work — distressed wood, lace, toile, woven baskets, glass, and a little tarnished metal.
This style is perfect for crafters who already love thrifting, because the whole aesthetic assumes your furniture has a past. It works in sewing rooms, scrapbook corners, hobby rooms, or a home office you’ve turned into a creative space. I’ve seen it done beautifully in a room as small as 8’x11′ — smaller than my own guest bedroom — because the pale palette does the heavy lifting of making the space feel open.
Time and cost, realistically:
– A styling refresh: one weekend
– A full makeover with painting and reorganizing: 3–7 days
– Budget: $150 on the low end if you’re almost entirely thrifting, up to $1,500+ if you’re buying new storage systems like an IKEA ALEX drawer unit (around $200 for a 9-drawer version) plus new shelving and textiles
Skill-wise, styling is beginner-friendly. Painting furniture or sewing your own curtains bumps it to intermediate — mostly because painting takes patience, not talent.
The Must-Have Pieces
Don’t start with decor. Start with the bones. A shabby chic craft room only looks effortless because the function is handled first.
Your workspace:
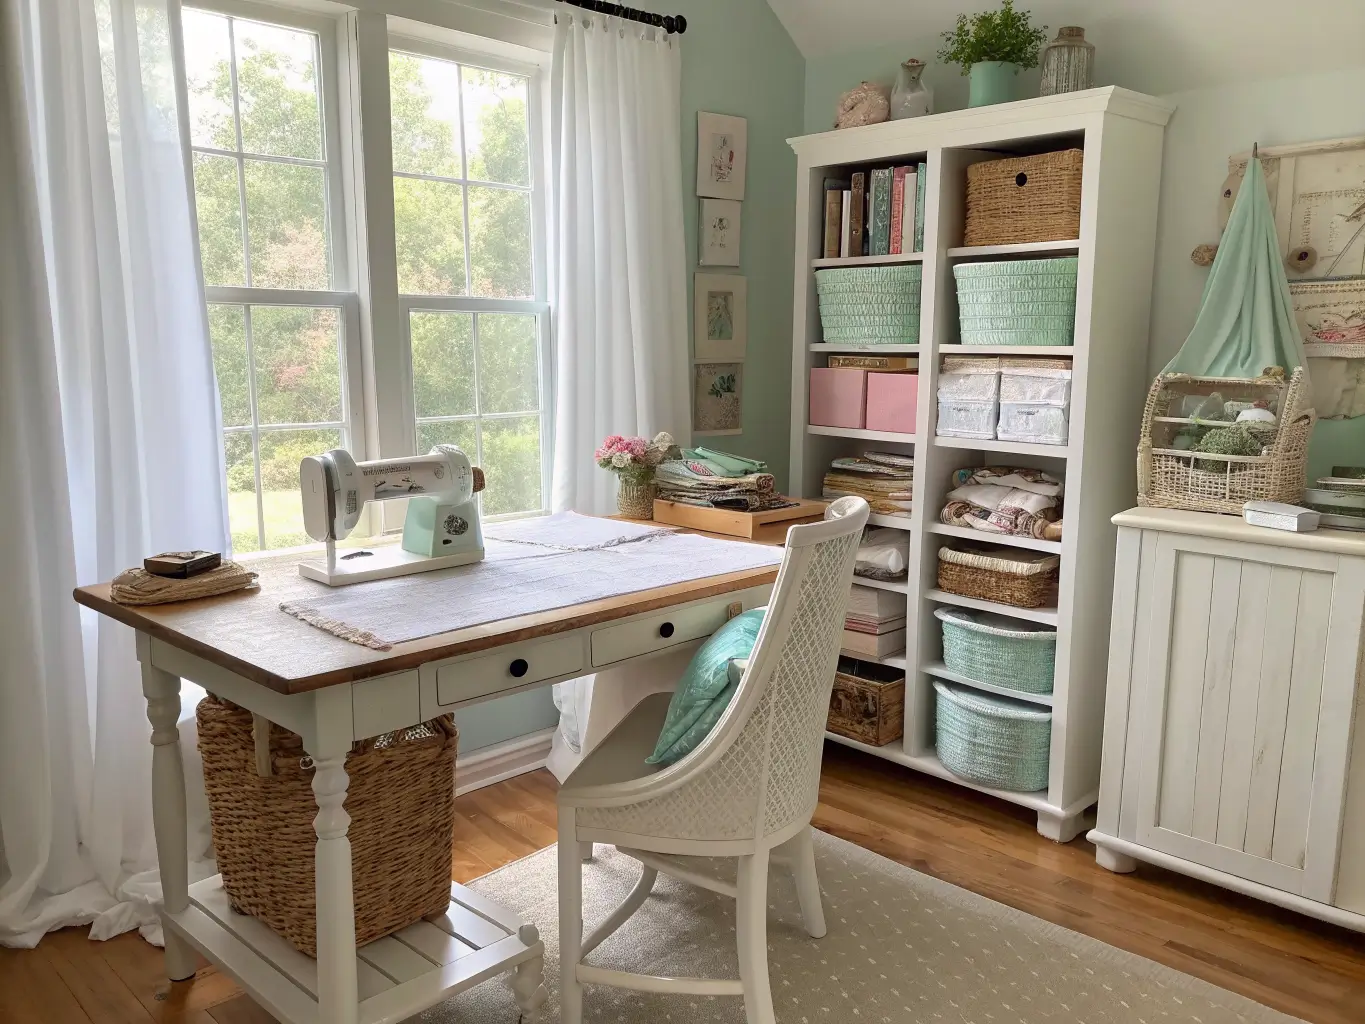
– A large table or desk, not a dainty one. I made this mistake first — bought a narrow secretary desk because it looked period-appropriate, then couldn’t lay out a single quilt block on it. You need surface area. A 60-inch farmhouse-style table, painted white or left in raw distressed wood, gives you room to actually work.
Storage that does double duty:
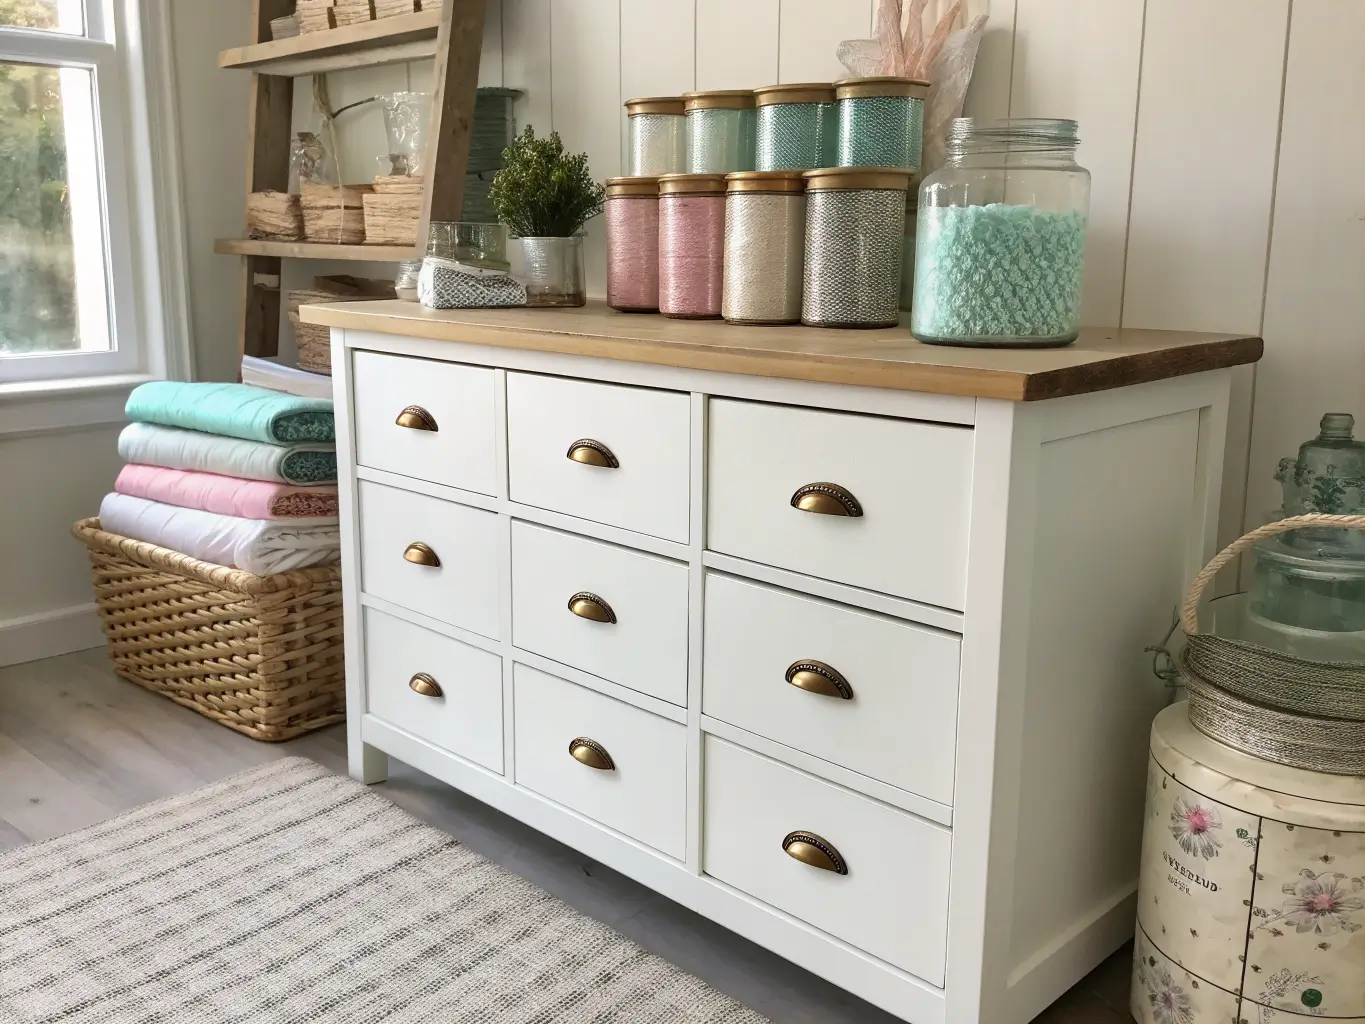
– An IKEA ALEX drawer unit — this shows up in almost every craft room like this for a reason. The drawers are deep enough for fabric, paper stacks, and bulky supplies, and the white finish matches the palette without you doing anything.
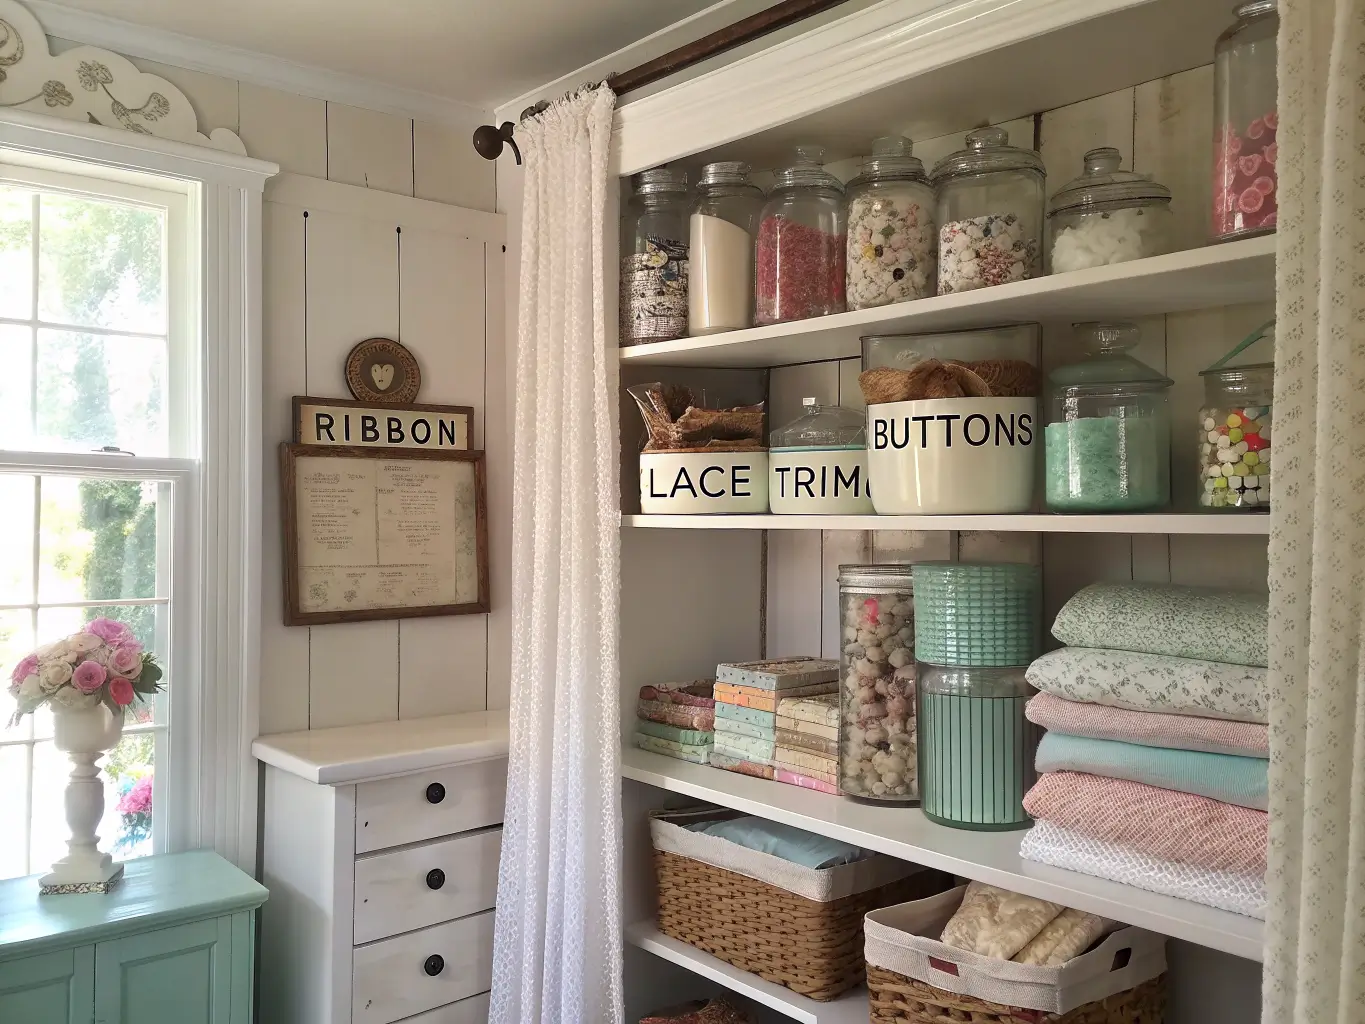
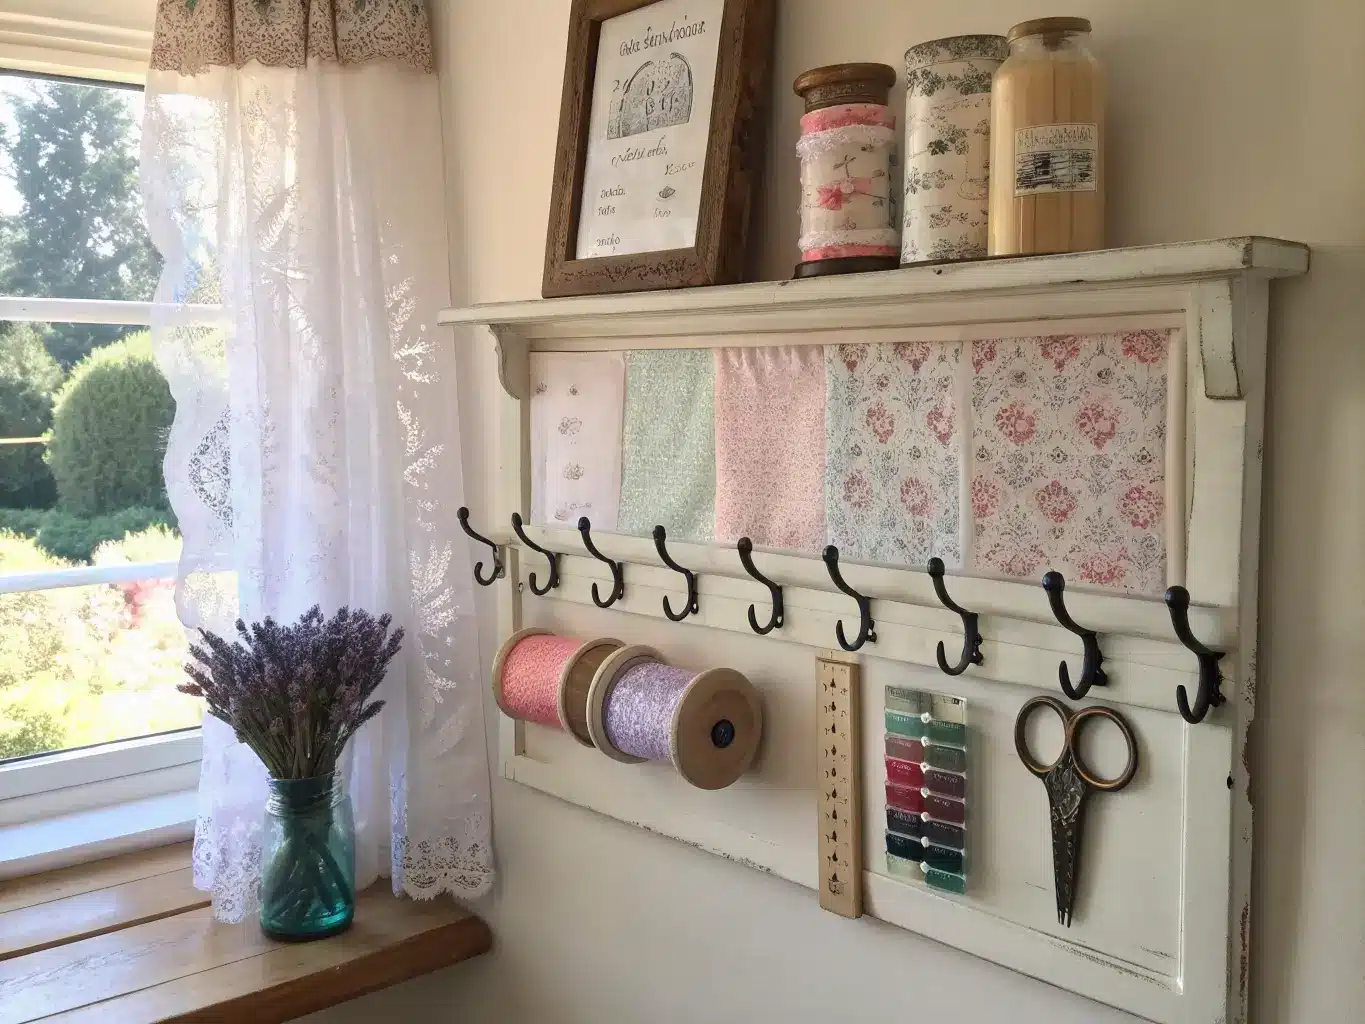
– Open shelving for the pretty stuff — labeled jars, fabric bolts, ribbon spools.
– A white bookcase for bins and paper storage.
Seating:
A slipcovered chair or a vintage chair reupholstered in a small floral. You’ll be sitting for hours — don’t sacrifice comfort for a look.
Wall organization:
– A pinboard or mood board for pattern inspiration and works-in-progress
– Hooks and rails for scissors, ribbon spools, and rulers — anything you reach for constantly should live on the wall, not in a drawer
The accessories that make it “shabby chic” and not just “white”:
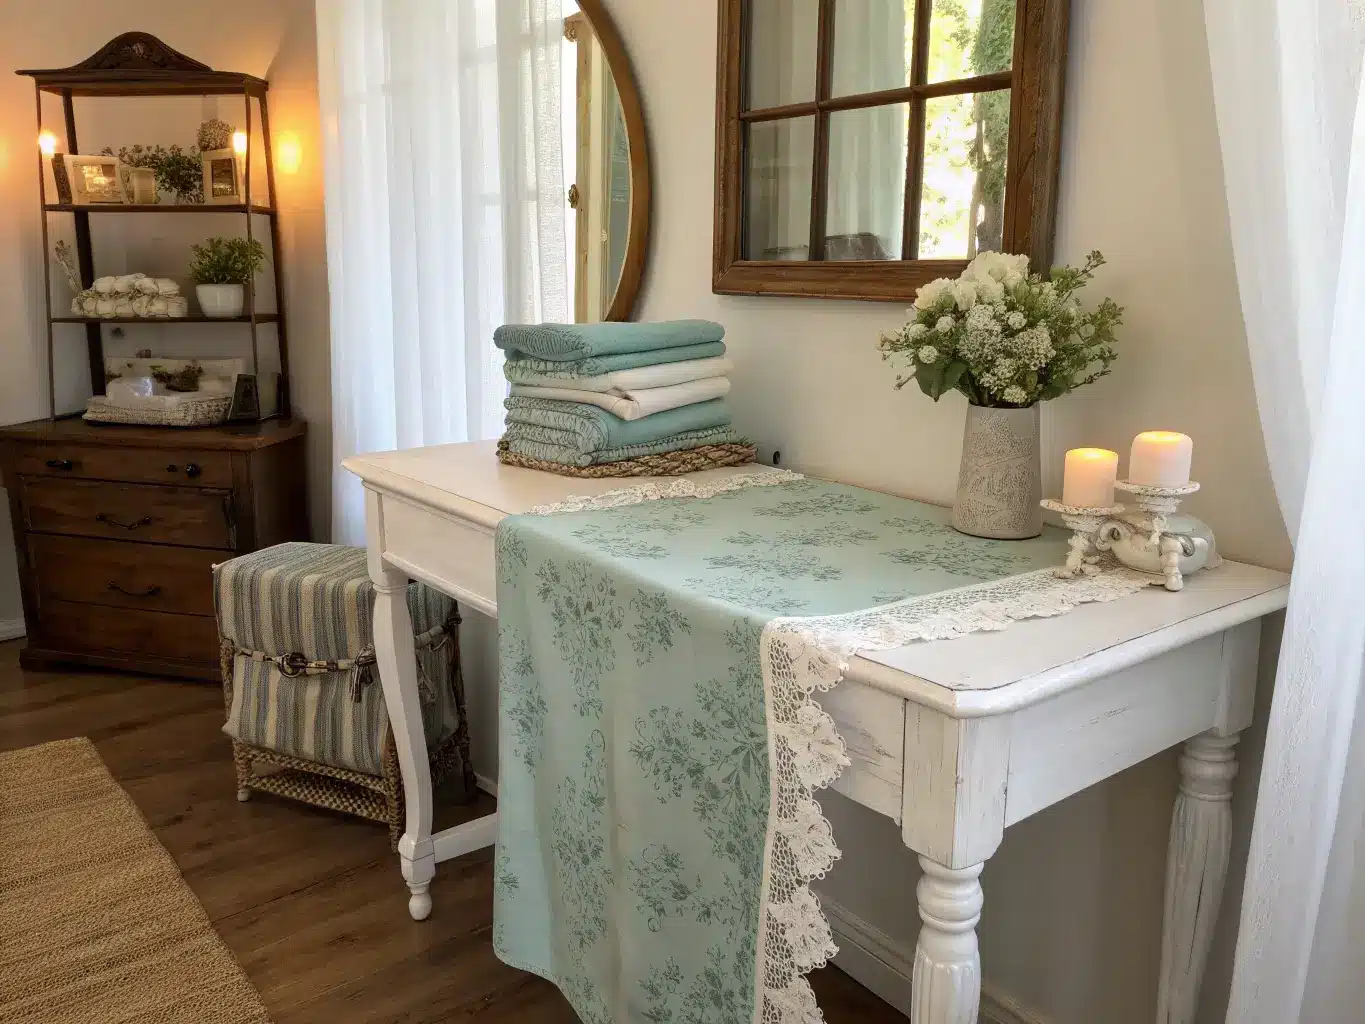
– Toile fabric on a chair cushion or as curtain trim
– Lace edging on a shelf or drawer liner
– Vintage frames, even empty ones, leaned on a shelf
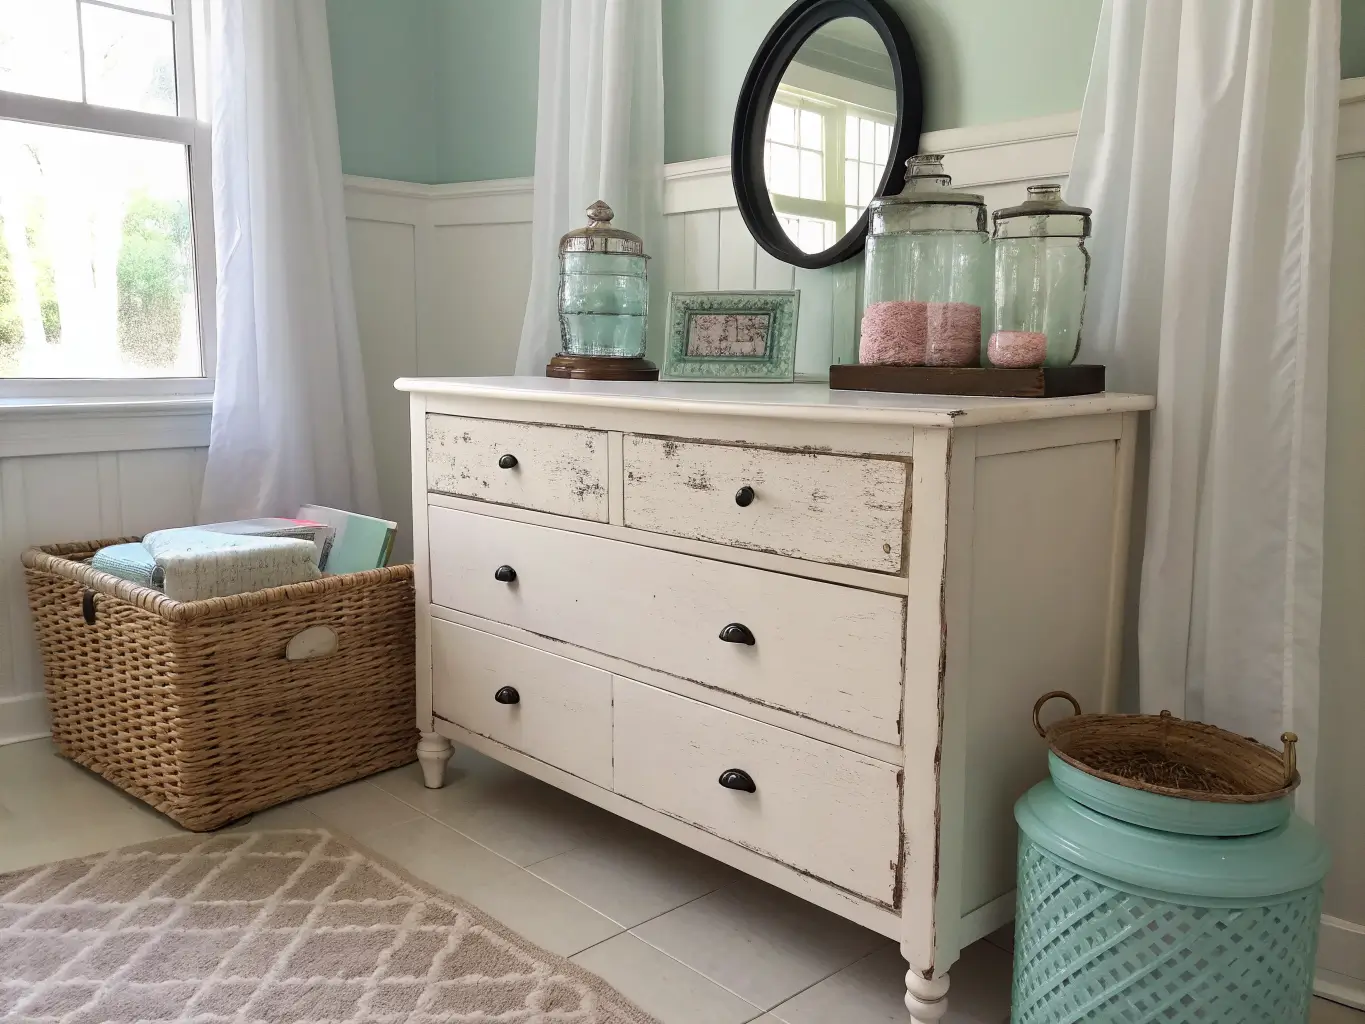
– Glass jars and wicker baskets for anything that isn’t already pretty (thread, buttons, clips)
Layering the Look Without It Turning Twee
The single biggest thing that separates a shabby chic room from a “too much pink” room is texture variety. In any single view of the room, you want at least three different textures working together — painted wood, woven basket, glass jar. Or toile fabric, distressed metal, linen.
A few rules I follow now:
– Keep the base mostly white or cream, and let pastel show up as accent, not wallpaper-wide coverage. I painted my whole accent wall blush once. It read like a nursery. I repainted it white and added blush through a curtain and a stack of labeled boxes instead — much better.
– Pick one or two accent colors and repeat them. I use blush and a muted aqua. They show up in my jar lids, one drawer front, and the seat cushion. Nothing else competes.
– Add contrast on purpose. Distressed wood grain, black metal drawer pulls, or a dark printed fabric keeps an all-pale room from going flat and boring. My drawer unit has brass pulls I swapped in from a thrift store bin — cost me $4 for six knobs, and it’s the detail people actually notice.
– Let one wall or zone be the visual anchor. Mine is the shelving wall behind my table — that’s where the jars, the mood board, and the framed vintage postcards live. Everything else in the room is quieter so that wall gets to be the focal point.
Setting It Up: Order of Operations
Don’t decorate before you declutter. I know that’s obvious, but I ignored it the first time and ended up styling shelves I had to completely empty a week later once I actually sorted my supplies.
Step 1: Sort everything into four piles — keep, donate, store elsewhere, and display. Be honest about what you actually use. I found four bags of fabric scraps I hadn’t touched in two years. Donated them.
Step 2: Place large furniture first. Table, then drawer unit, then shelving. Everything else gets arranged around these anchors, not the other way around.
Step 3: Put daily-use items within arm’s reach of your chair. Rarely-used supplies go in bins or even outside the room entirely.
Step 4: If you’re painting furniture, plan for multiple coats. I painted a dark walnut dresser white and needed three coats plus a coat of primer to stop the wood tannins from bleeding through as yellow patches. Budget the time — this isn’t a one-afternoon job if your piece started out dark.
Step 5: Build the room from the walls in. Shelving and pinboard go up first. Then jars, baskets, and labeled boxes. Textiles — curtains, cushions, table runner — go in last, once you can see how much color and pattern the room actually needs.
Mistakes I See (and Made) Constantly
– Too much stuff on display. Shabby chic should look collected, not chaotic. If every surface has something on it, the eye has nowhere to rest. Use closed bins for at least half your storage.
– Drowning in pink and florals. This is the fastest way to make a craft room look like a costume instead of a style. Cream, white, raw wood, and woven texture need to do at least half the visual work.
– Choosing pretty over functional. A gorgeous vintage lamp that gives off dim yellow light will ruin your ability to match thread colors or see fine stitching. Add a second task lamp if you need to — form follows function here, not the other way around.
– Undersized furniture. Said this already, but it’s worth repeating: a small desk cannot support real craft work. Go bigger than feels necessary.
– No contrast at all. An all-pale room with zero dark or metallic accents looks washed out in photos and in person. Add at least one deliberately darker element — a black-framed mirror, dark hardware, an aged bronze lamp base.
Keeping It Fresh Without Redoing Everything
Once the bones are right, updates are cheap and fast.
Seasonally: Swap dried wildflowers for fresh-looking faux peonies in spring, switch a heavier curtain for sheer linen in summer, add a few pale gold ornaments in winter that still fit the palette instead of going full holiday-red.
Budget-wise: Keep shopping secondhand. Facebook Marketplace and yard sales are where most of the good shabby chic furniture actually comes from — nobody’s making distressed dressers new that look as convincing as one that’s genuinely 40 years old. I paid $25 for the dresser I mentioned earlier; a “shabby chic style” version at a home store would’ve run me $400.
Cross-style blending, if you want to evolve the room later:
– Add beadboard paneling and neutral linens to lean more farmhouse
– Bring in a dress form and pastel sewing notions to lean more vintage sewing room
– Add more florals and heirloom textiles to lean cottagecore
The palette stays the same underneath any of these — that’s why this style holds up over years instead of feeling dated after one trend cycle.
For another angle on this, my vintage craft room guide covers the same space from a different starting point.





