
Think shabby chic meets farmhouse meets your grandmother’s sewing room, with just enough industrial edge to keep it from feeling precious. Soft whites and creams as the base. Weathered wood, wicker, glass jars, and worn metal doing the heavy lifting. It’s nostalgic without being a museum — every piece still has a job.
This style is perfect if you’re a crafter who likes hunting through estate sales and flea markets more than scrolling a catalog, and who wants supplies visible enough to feel inspiring instead of hidden behind closed doors. It works in real spaces people actually have lying around: spare bedrooms, sunrooms, laundry-room combos, even a 10×11 corner of a shared office. You don’t need a dedicated wing of the house. You need vertical storage and a good eye for what to keep visible.
Time and cost, honestly:
– A weekend refresh — new jars, a coat of paint, rearranged baskets — runs $100–$400 and takes 1–3 days.
– A real makeover with an antique desk, shelving, and proper storage bins lands around $500–$1,500 and takes 1–2 weeks once you factor in sourcing time.
– Going all-in with wallpaper, faux brick, multiple furniture pieces, and specialty lighting pushes past $1,500. I’ve seen curated versions on Etsy and in boutique vintage shops that clearly cost real money, and you can tell — but you don’t need that budget to get 90% of the look.
Skill-wise, styling and basic organization is beginner-friendly. Distressing furniture, building custom shelving, or doing a faux brick wall treatment bumps you into intermediate-to-expert territory. And the style holds up year-round — you swap textiles and florals with the seasons, but the bones stay put.
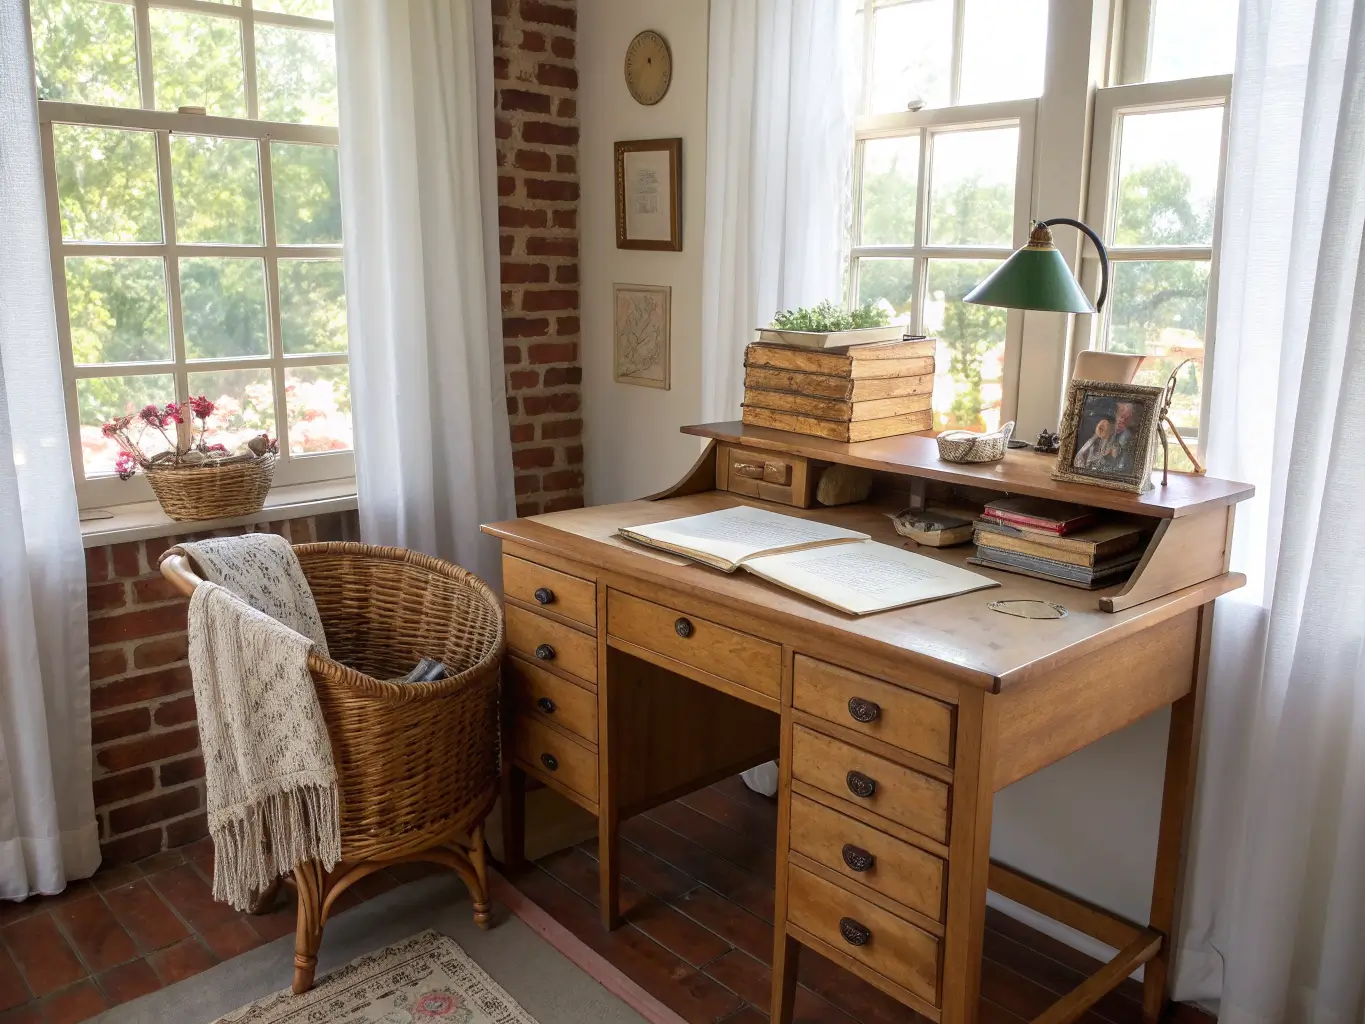
The Pieces That Make This Style Work
Start with one hero piece. Everything else supports it.
– An antique or vintage writing desk — scratches and all, this is a feature, not a flaw
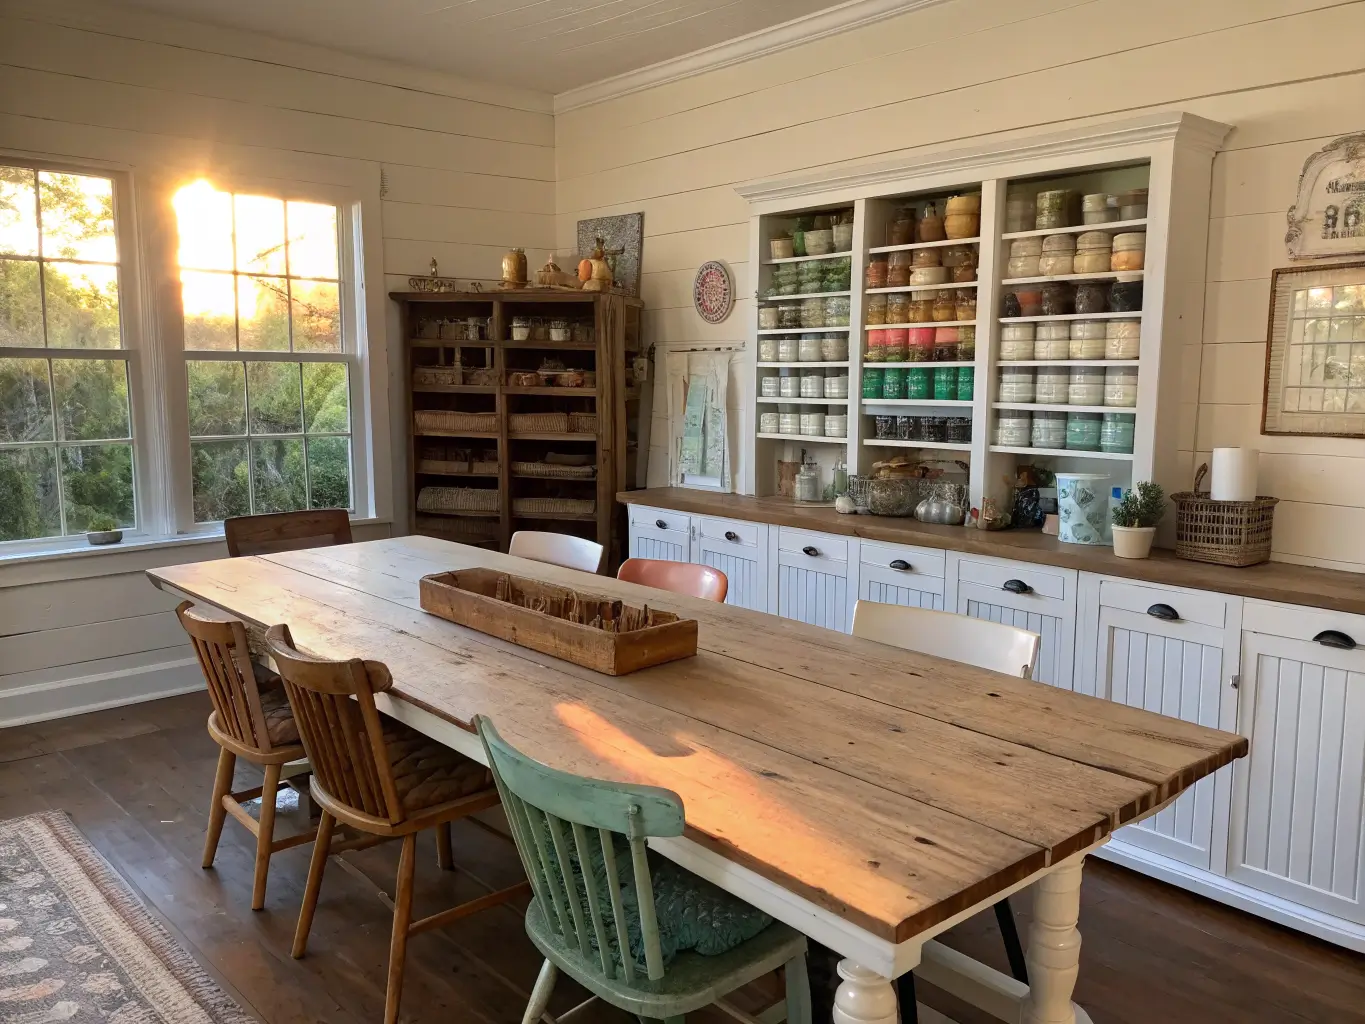
– A farmhouse table if you craft with other people or need serious surface space
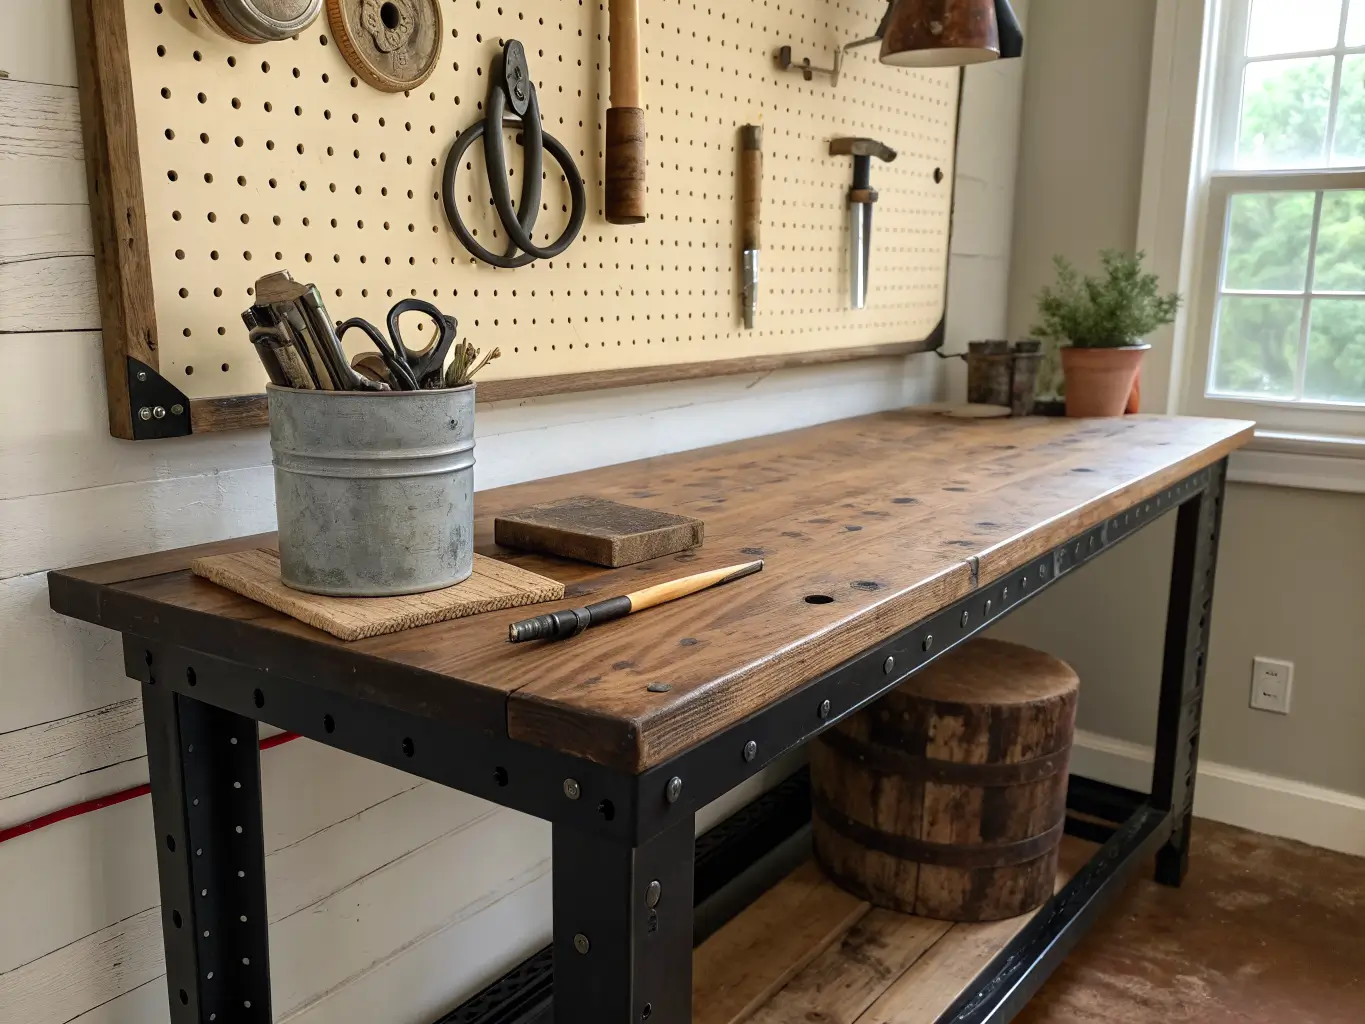
– An industrial work table with storage underneath for cutting, gluing, anything messy
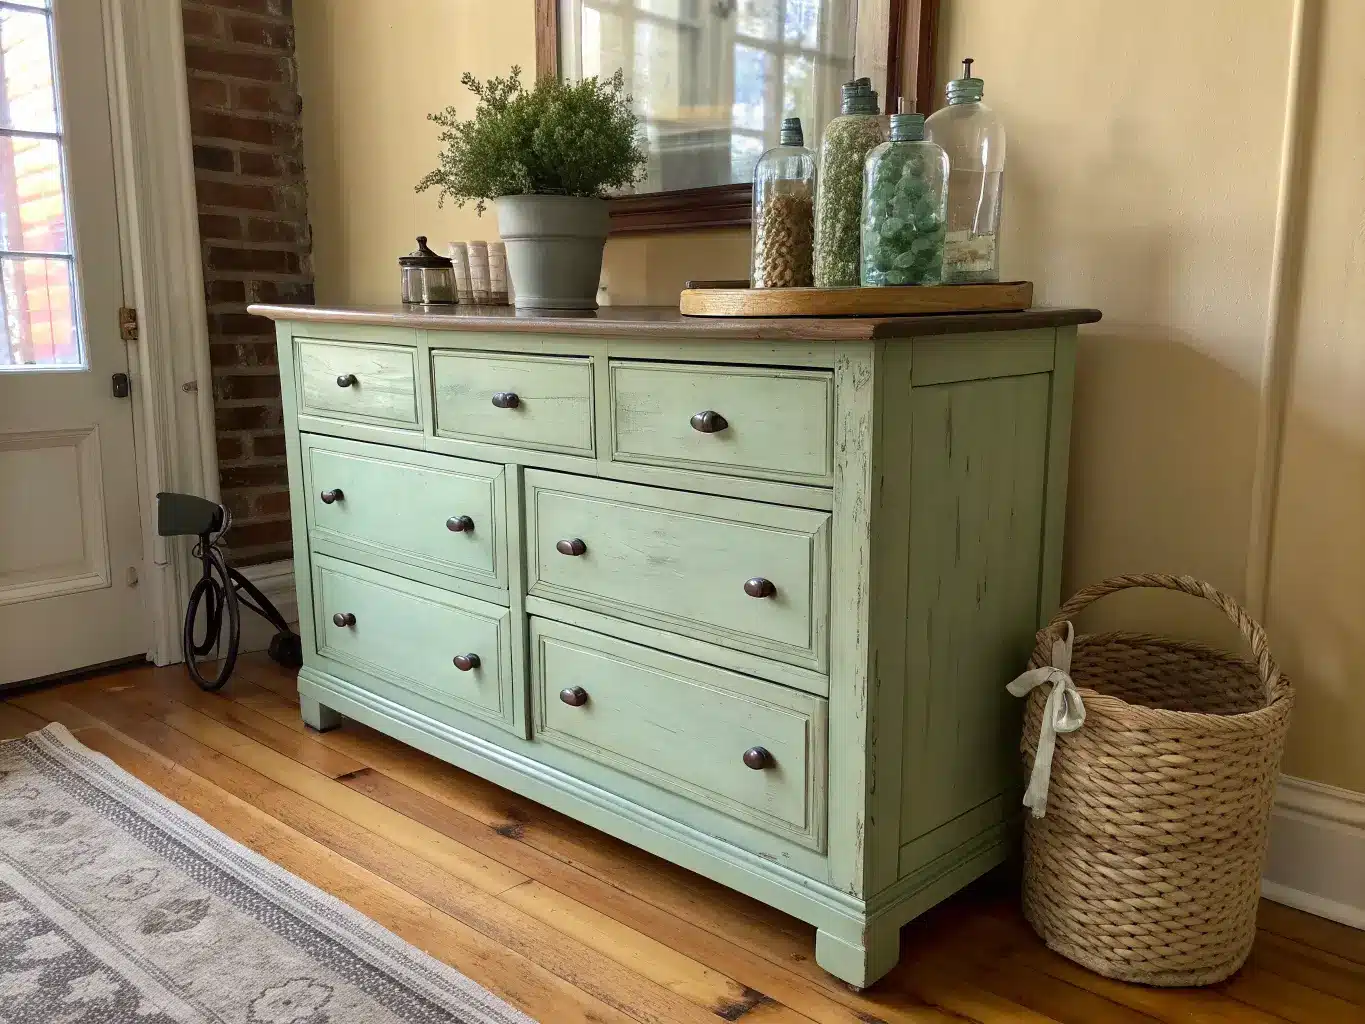
– An old dresser or cubby unit repurposed for both hidden drawers and open display
I went with a 1940s desk I found at an estate sale for $65. It had a water ring on top and one drawer that stuck. I didn’t refinish it — I just waxed it and left the character alone. That desk is still the first thing anyone notices when they walk in.
Storage is where the vintage look either holds together or falls apart. Skip anything plastic. Use:
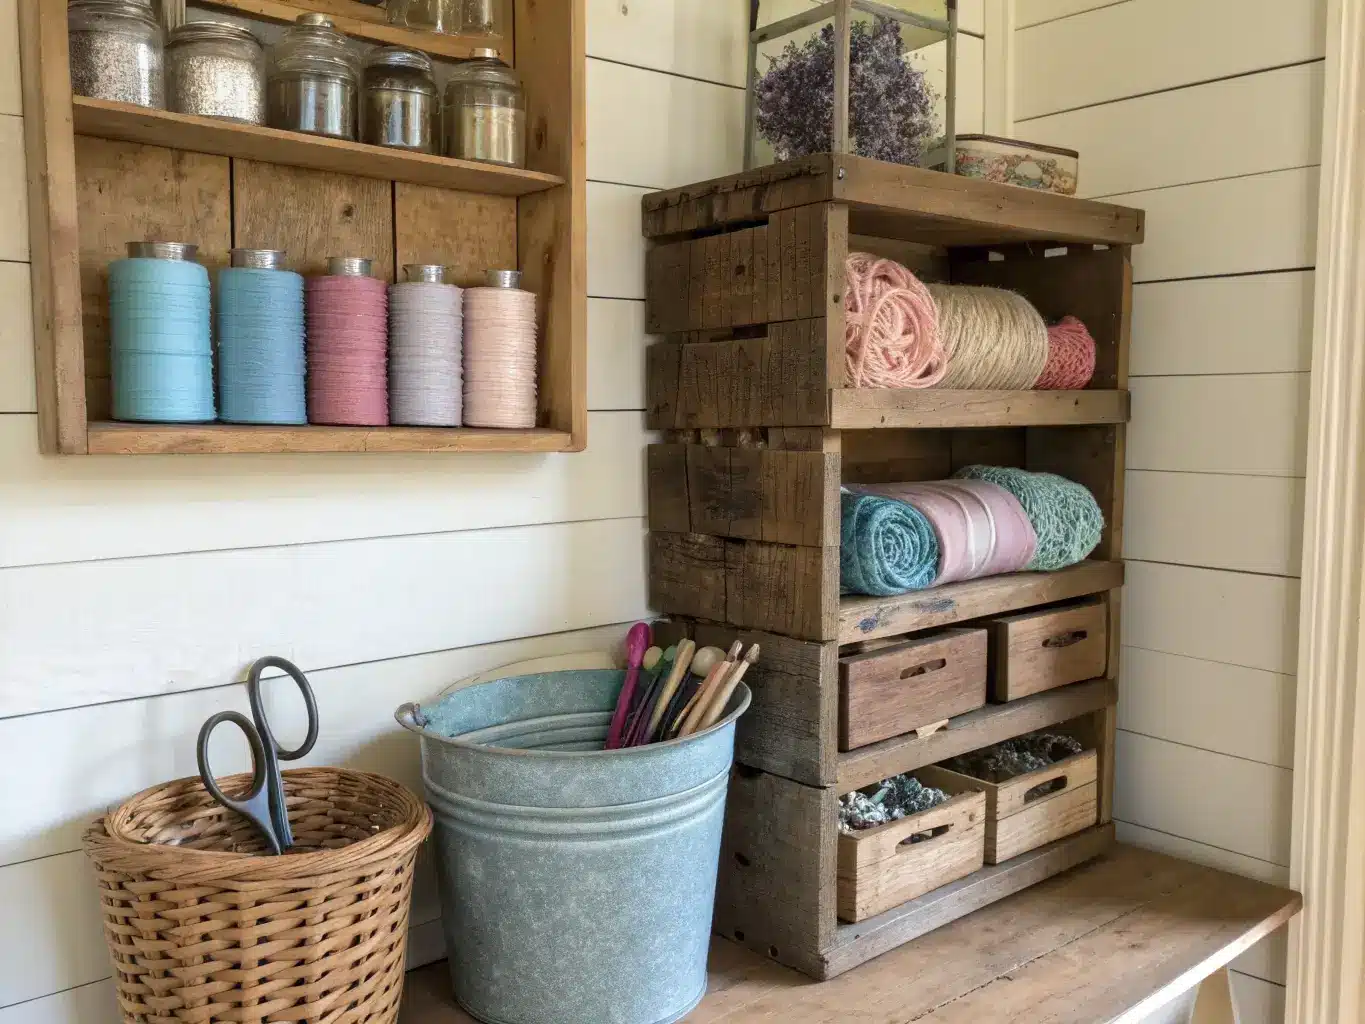
– Vintage wooden crates, stacked or wall-mounted
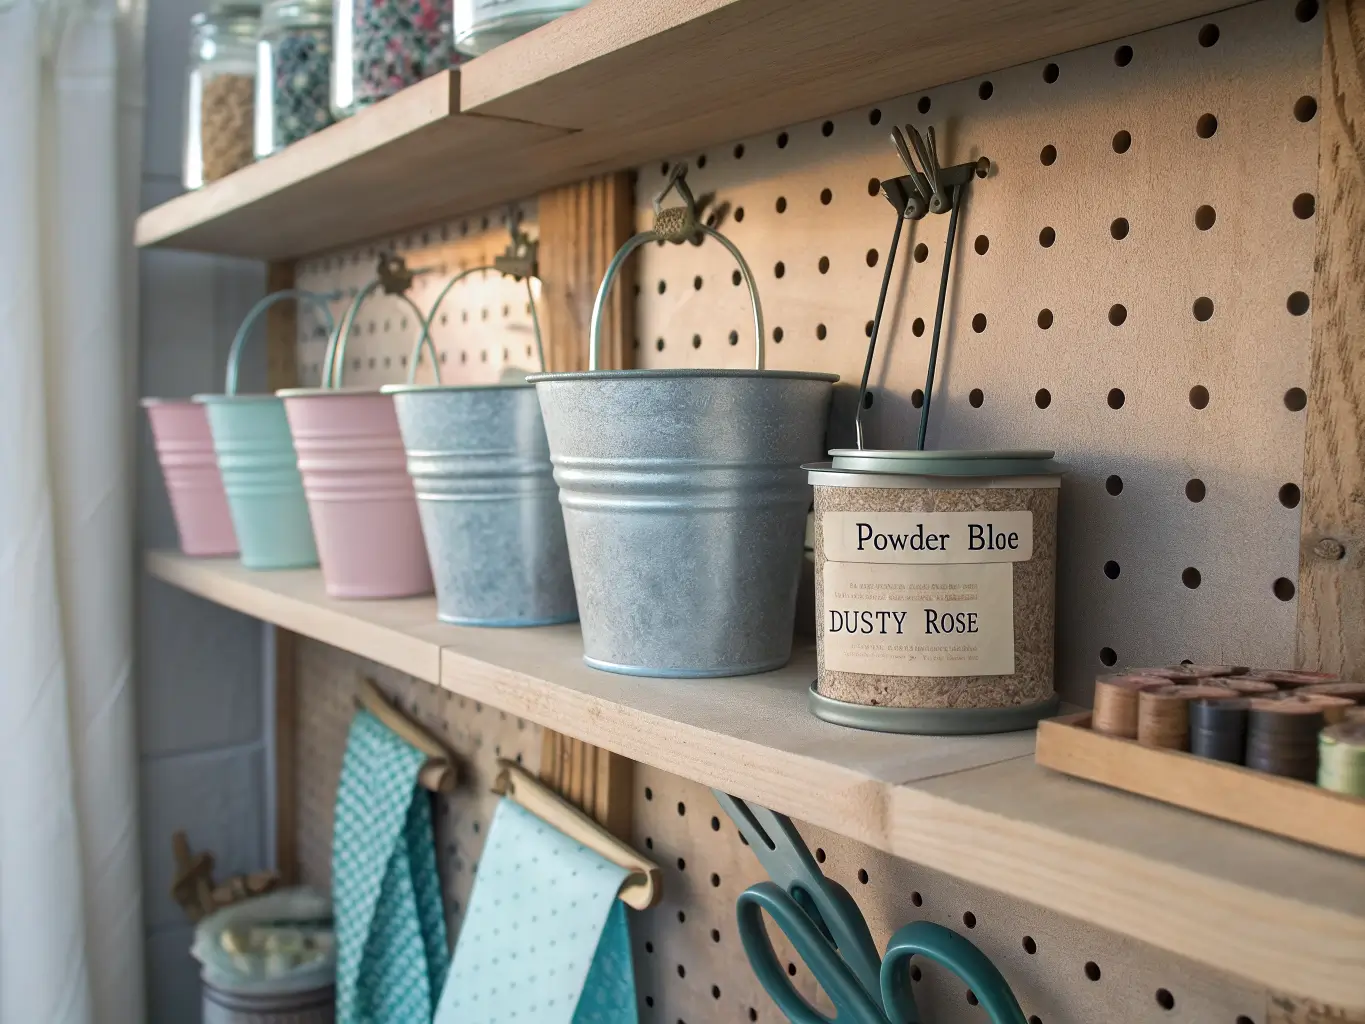
– Old galvanized buckets and enamelware containers for brushes, scissors, tools
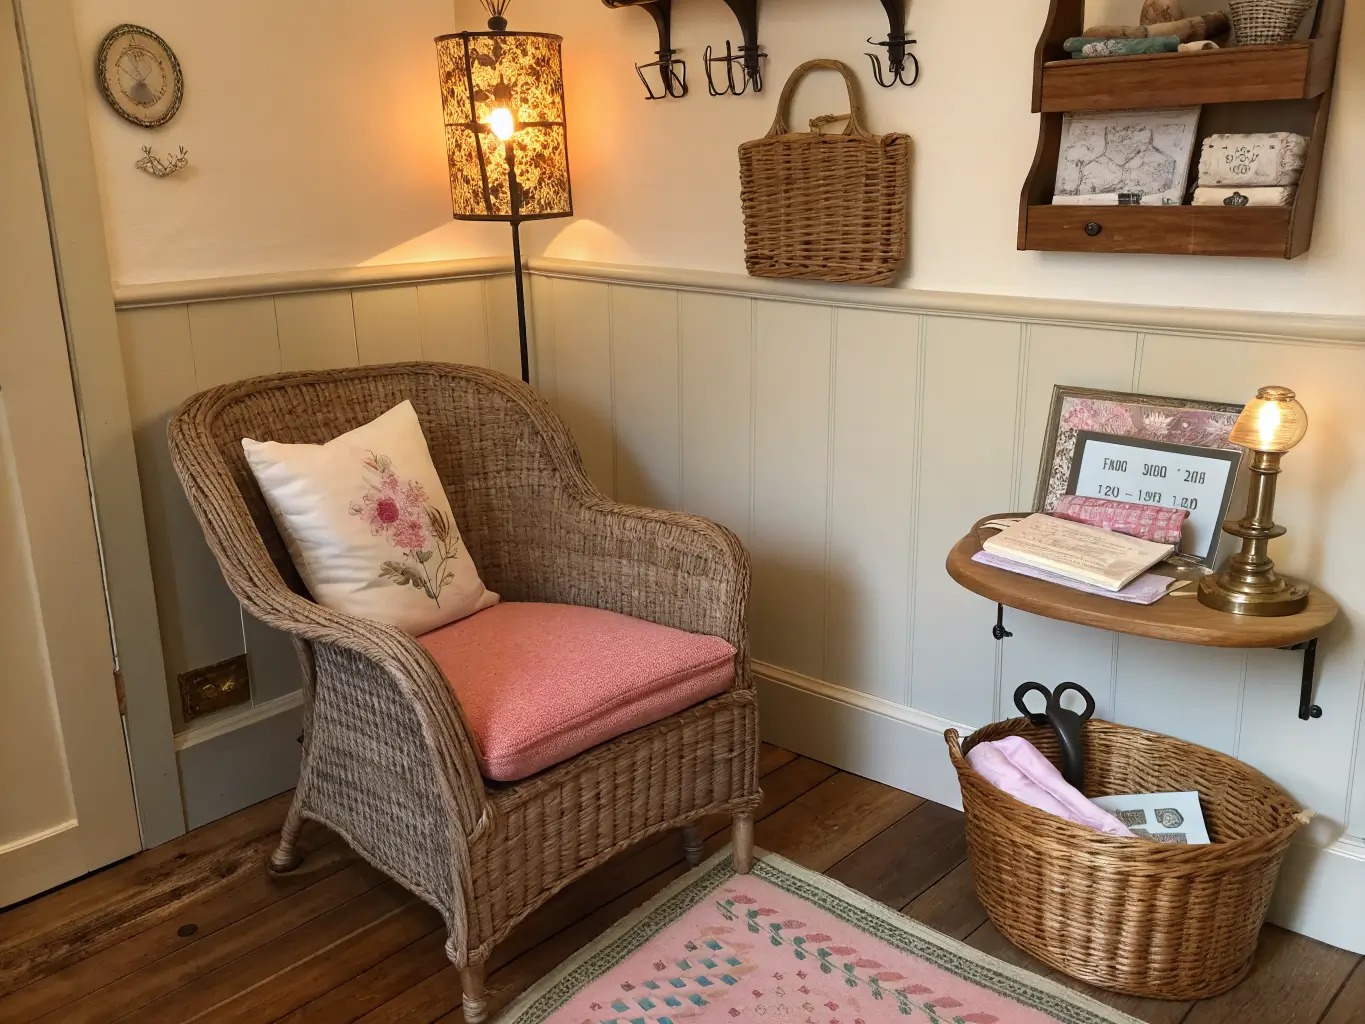
– Wicker or rattan baskets for anything you don’t need to see daily
– Glass jars — mason jars, apothecary jars, whatever you can find — for buttons, spools, and trim
– A pegboard, painted or left raw, for frequently used tools
– Open cubbies pulled from an old office or warehouse unit
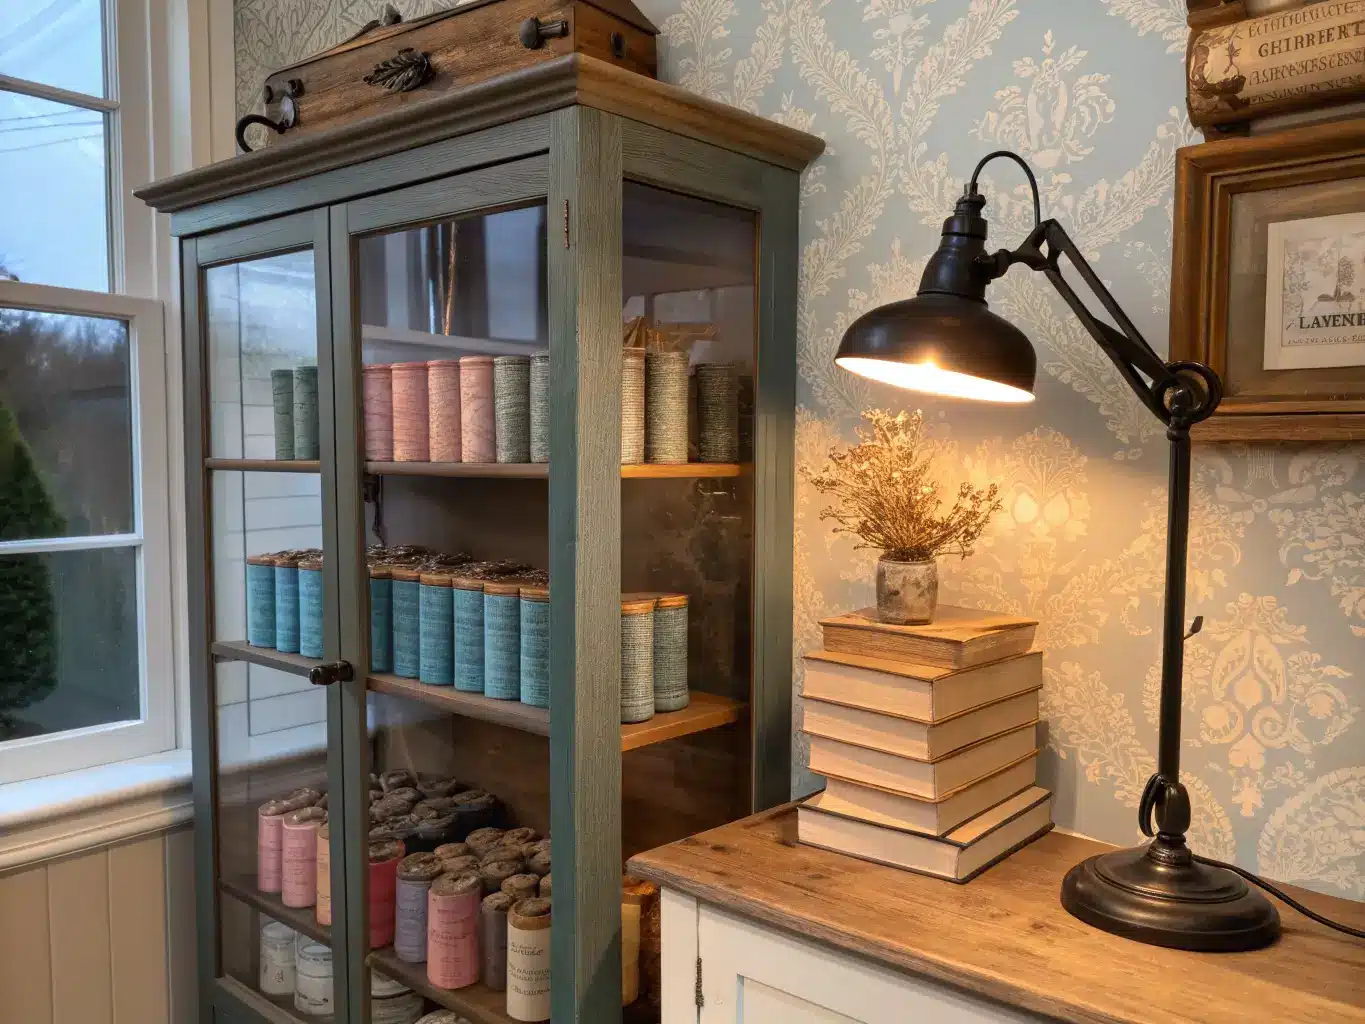
Signature accessories that sell the whole look: antique buttons, ribbon spools, a stack of old books, a wooden yardstick propped in a corner, a repurposed tin serving tray holding your current project. These aren’t decor for decor’s sake — they’re supplies that happen to look good sitting out.
Lighting matters more than people think. A single overhead fixture kills the mood and doesn’t give you enough light to thread a needle. Add an industrial-style task lamp at your main work surface, plus one warm sconce or pendant for ambiance. Wallpaper or a thin faux-brick panel behind your desk adds real depth for under $150.
Optional Layers Worth Adding
Once the bones are in place, these small additions make the room feel finished rather than just full:
– Seasonal accents: dried florals in fall, gingham in summer, a jar of holiday ribbon in December — swap textiles, not furniture
– Organic touches: a small potted herb plant or a woven tray with a trailing pothos softens all that hard vintage texture
– Metallic details: aged brass drawer pulls, black metal hardware, a glass-front cabinet door — these add contrast so the room doesn’t read as flat cream-on-cream
How to Actually Put It Together
Layer your textures on purpose. Smooth glass jars next to rough reclaimed wood. A woven basket sitting on a metal shelf. Lace trim draped near an industrial pipe rack. This contrast is what makes vintage rooms feel rich instead of one-note. A room that’s all wood, or all fabric, goes flat fast.
Pick one dominant neutral and stop there. Cream, warm white, or a soft magnolia as your base color. Then bring in two or three accent shades — I use dusty rose, faded sage, and a powder blue that shows up in my fabric stash, my jar lids, and one painted stool. More than three accent colors and the room starts fighting itself.
Give the room one clear focal point. Mine is the desk. Everything else — the cubby wall, the jars, the little tin of buttons — is secondary. If you try to make five things stand out, nothing does.
Go vertical. Wall-mounted pegboards, hanging buckets, stacked cubbies. This keeps supplies visible (which is part of the charm) without eating your floor space or your work surface.
Mix pretty storage with practical storage. This is the single biggest lesson I learned the hard way. Open jars and baskets look great for things you use constantly and don’t mind seeing — but everything else needs a closed drawer or a lidded box. My first version had everything on display. It looked charming for about three days and like chaos after that.
Setting Up the Room, Step by Step
1. Clear everything out first. Every mismatched bin, every stray plastic organizer. You need a blank slate to see what you’re actually working with.
2. Place your biggest furniture first — desk, table, dresser — before you touch a single decorative object. The room’s layout depends on these anchors.
3. Group supplies by category into matching containers. All your ribbon in one type of jar. All your fabric scraps in matching baskets. This single move does more for cohesion than any paint color will.
4. Add wall storage last, once you can see how much floor and surface space you actually have left. Adding pegboards and cubbies too early leads to overcrowding.
Once the furniture’s placed, layer in your “story” objects — the yardstick, the old tins, a tray you found for $4 at a garage sale. These are what make the room feel authentically vintage instead of styled-to-look-vintage. Highlight one or two of these per surface. Not ten.
Where People Go Wrong
Clutter creeps in fast. Vintage rooms have a lot of small objects by nature — buttons, spools, trims — and it’s easy to let every surface fill up. Leave visible negative space on at least one shelf and your desktop. A room with zero empty space reads as messy no matter how nice each individual item is.
Mixing too many styles at once. Shabby chic, farmhouse, industrial, and boho all in one room without a clear hierarchy turns into visual noise. Pick one primary style — I lean farmhouse-vintage — and let a second style, like industrial metal accents, play a supporting role only.
Pretty storage that doesn’t actually store anything. A beautiful open shelf lined with jars looks great in photos and terrible in practice if you can’t find your seam ripper. Prioritize function first, then make the functional stuff look good.
Skipping proper prep on painted furniture. I learned this one the expensive way — that mint dresser I mentioned started chipping within two months because I skipped primer and used the wrong paint for a piece that gets handled daily. Always sand, prime, and seal repurposed furniture with a top coat, especially drawer fronts and anything touched often.
No real task lighting. Ambient vintage lighting is moody and lovely and useless for cutting fabric or threading a needle. Add a dedicated task lamp at your main work surface, non-negotiable.
Keeping the Room From Feeling Stale
Stick to your material family — wood, woven fiber, glass, metal — and let those four repeat throughout instead of introducing something new every time you add a piece. Keep your jars and labels visually aligned by shape or color so new additions don’t stick out.
When you want to refresh the room, change one layer at a time: swap the textiles this month, rotate the wall art next season, update the jar fillers for fall. Touching everything at once is how rooms lose their thread.
Seasonal swaps that cost almost nothing:
– Dried botanicals and warm ribbon colors for fall and winter
– Fresh or faux florals and lighter gingham for spring and summer
– Rotate jar fillers to match — dried lavender in fall, fresh cut flowers in a mason jar come spring
If you want to push the style further, try a hybrid:
– Vintage + Grandmacore: more lace, inherited china displayed on open shelves, soft lamp lighting instead of overhead
– Vintage + Farmhouse: galvanized containers, a big worktable, white-painted storage throughout
– Vintage + Industrial: metal shelving on casters, a faux brick accent wall, darker and more factory-style lighting fixtures
The furniture doesn’t need to change for any of these. Swap textiles, hardware, and accessories, and the whole mood shifts. That’s the real advantage of building the room around solid, well-chosen furniture first — everything after that is just seasoning.
For another angle on this, my craft room decor guide covers the same space from a different starting point.





