
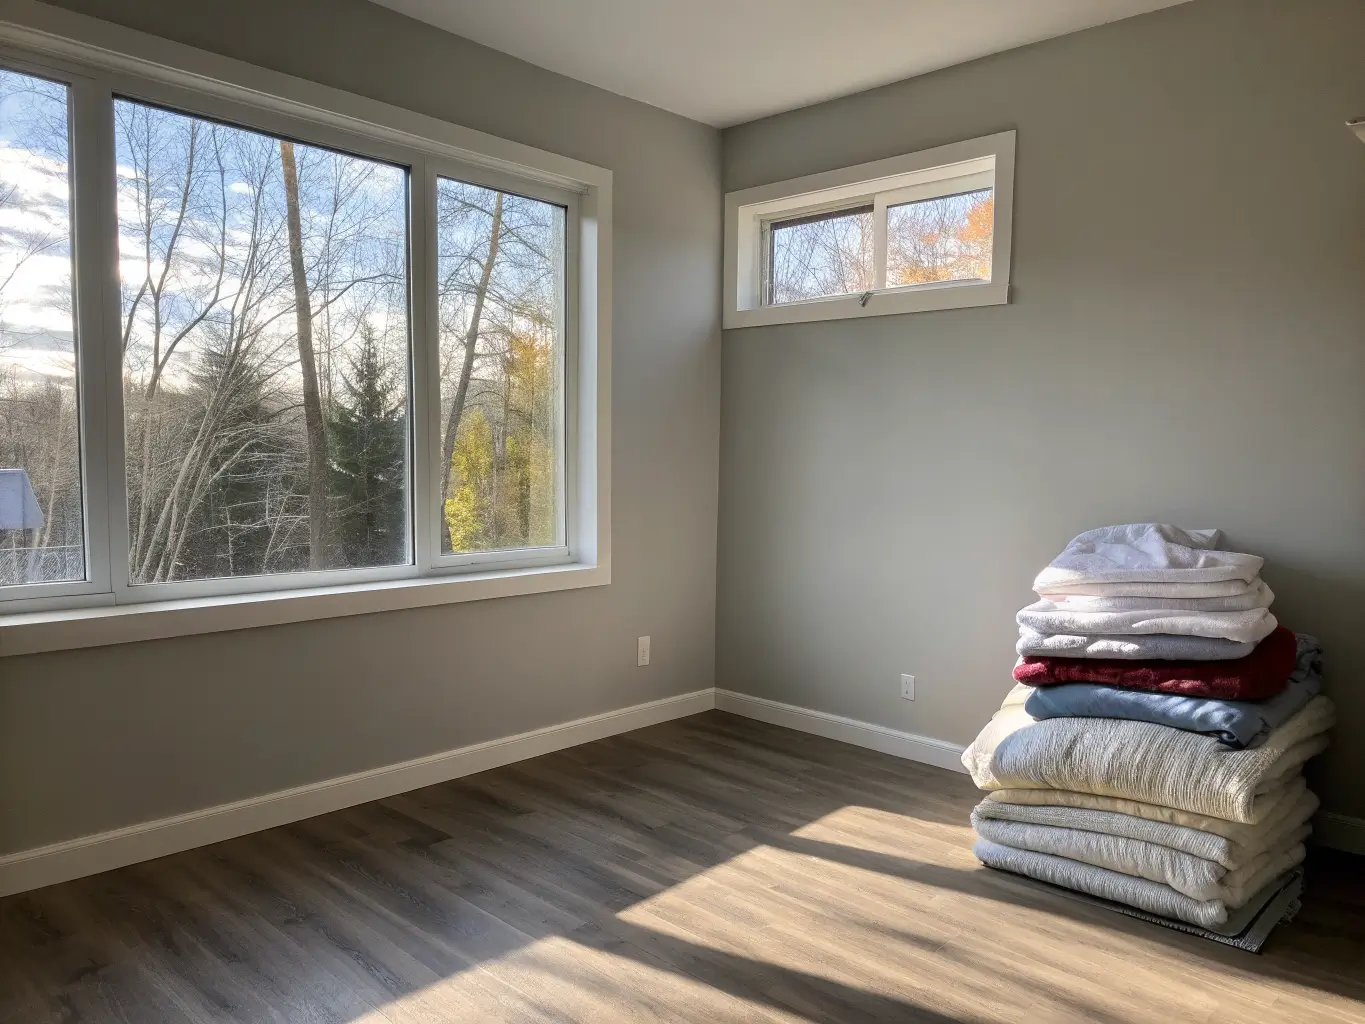
You’ve got a corner in your bedroom that’s doing nothing. Maybe it’s catching a pile of laundry, maybe it’s just dead space next to the window, but you keep looking at it thinking it could be something better. A reading nook is almost always the answer — and you don’t need a spare room or a big budget to make one work. I turned an awkward 3-foot corner next to my bedroom window into my favorite spot in the house for about $280, and I’m going to walk you through exactly how I’d do it again, including the parts I got wrong the first time.
What a Bedroom Reading Nook Actually Needs
A reading nook isn’t a mini living room. It’s not a place for a sectional or a gallery wall. It’s one comfortable seat, good light, and a surface for your book and your tea. That’s it. Everything else is optional.
Time and cost, realistically:
– A simple chair-lamp-table setup takes 1–3 hours to put together once your pieces arrive
– Adding a bench, wall shelves, or hardwired sconces pushes that to 4–8 hours
– Budget version: $150–$400
– Mid-range with upholstered seating and real lighting: $400–$1,200
– Custom built-ins or window seat millwork: $1,200 and up
I started budget. My first nook was a $60 thrifted slipper chair, a $40 floor lamp, and a $20 side table from a garage sale. It looked fine. It didn’t look good until I added the layering pieces — but more on that later.
Space requirements are smaller than people assume. You can technically fit a nook in a 3×3-foot corner, but for a chair you’ll actually want to sit in without your knees hitting the wall, aim for 30 inches wide by 32 inches deep. If you’re building a window seat instead of using a chair, you need a sill or bench depth of at least 12 inches, though 16–18 inches is far more comfortable for actually sitting cross-legged.
Skill level depends on ambition. Chair, lamp, table — that’s a beginner project, no tools required. Adding floating shelves or a wall-mounted sconce bumps you to intermediate. Building a recessed window seat with hidden storage is expert territory, and honestly, that’s a job I’d hire out unless you’re comfortable with a miter saw.
This works year-round, but I’ll be honest — it hits different in October with a chunky knit throw and a lamp glowing at 3pm because it’s already getting dark out. Summer version is lighter, linen-covered, less precious.
The Look: Cozy Minimalist, Not Cluttered Cottage
The most common style for a bedroom nook right now blends cozy minimalism with soft organic textures — think linen, boucle, light oak, a little rattan. It’s warm without being fussy, which matters because your bedroom’s whole job is to help you sleep, not stimulate you visually before bed.
Color palette that works: oatmeal, ivory, taupe, camel, sand, mushroom, soft gray as your base, with one accent color doing the work — sage, dusty blue, rust, or muted terracotta. Pick one. Not three.
Materials that repeat across every good nook I’ve seen: linen, boucle, velvet, cotton knit, light oak, rattan, brushed metal. You don’t need all of them. Two or three textures is the sweet spot.
This setup is ideal if you want a screen-free wind-down spot, if you’re in an apartment and can’t dedicate a whole room to reading, or if you just want a corner that’s yours without disrupting the rest of the bedroom. It works in corners, window seats, wall niches, beside a wardrobe, or at the foot of the bed — that last one surprises people, but it works great if your bed frame has room to spare.
The Essential Pieces
Seating comes first, always
Your chair is the whole project. I made the mistake early on of buying a lamp I loved before I had a seat, and then spent two weeks trying to find a chair that matched a lamp instead of the other way around. Backwards. Fix the seat first.
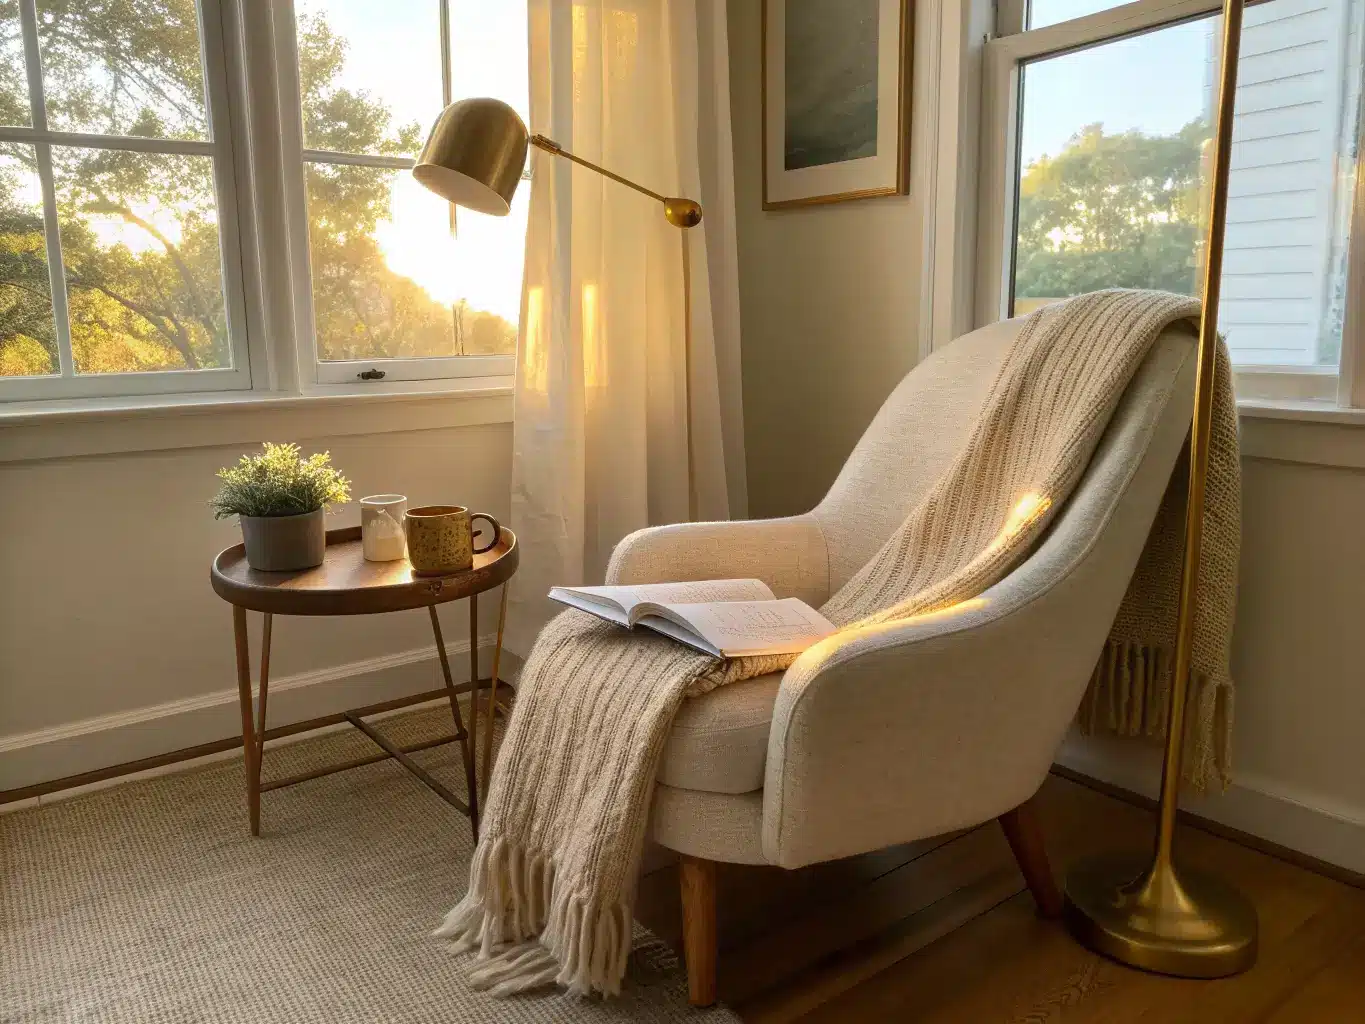
– Slipper chair (usually 28–32 inches wide) — my pick for tight corners because the low profile and exposed legs keep it visually light
– Small upholstered armchair if you have a bit more room
– Chaise lounge for anyone who wants to stretch out rather than sit upright
– Window bench with a cushion, if you’re working with a sill
Look for a seat depth around 24 inches — deep enough to curl up, not so deep you’re swimming in it. For a compact corner, keep your total footprint to roughly 30 inches wide by 32 inches deep.
Lighting: the part everyone underrates
I cannot stress this enough — bad lighting is the single most common reason a reading nook doesn’t get used. My first setup had a lamp that looked great and threw terrible light: cool-toned, too dim, positioned wrong.
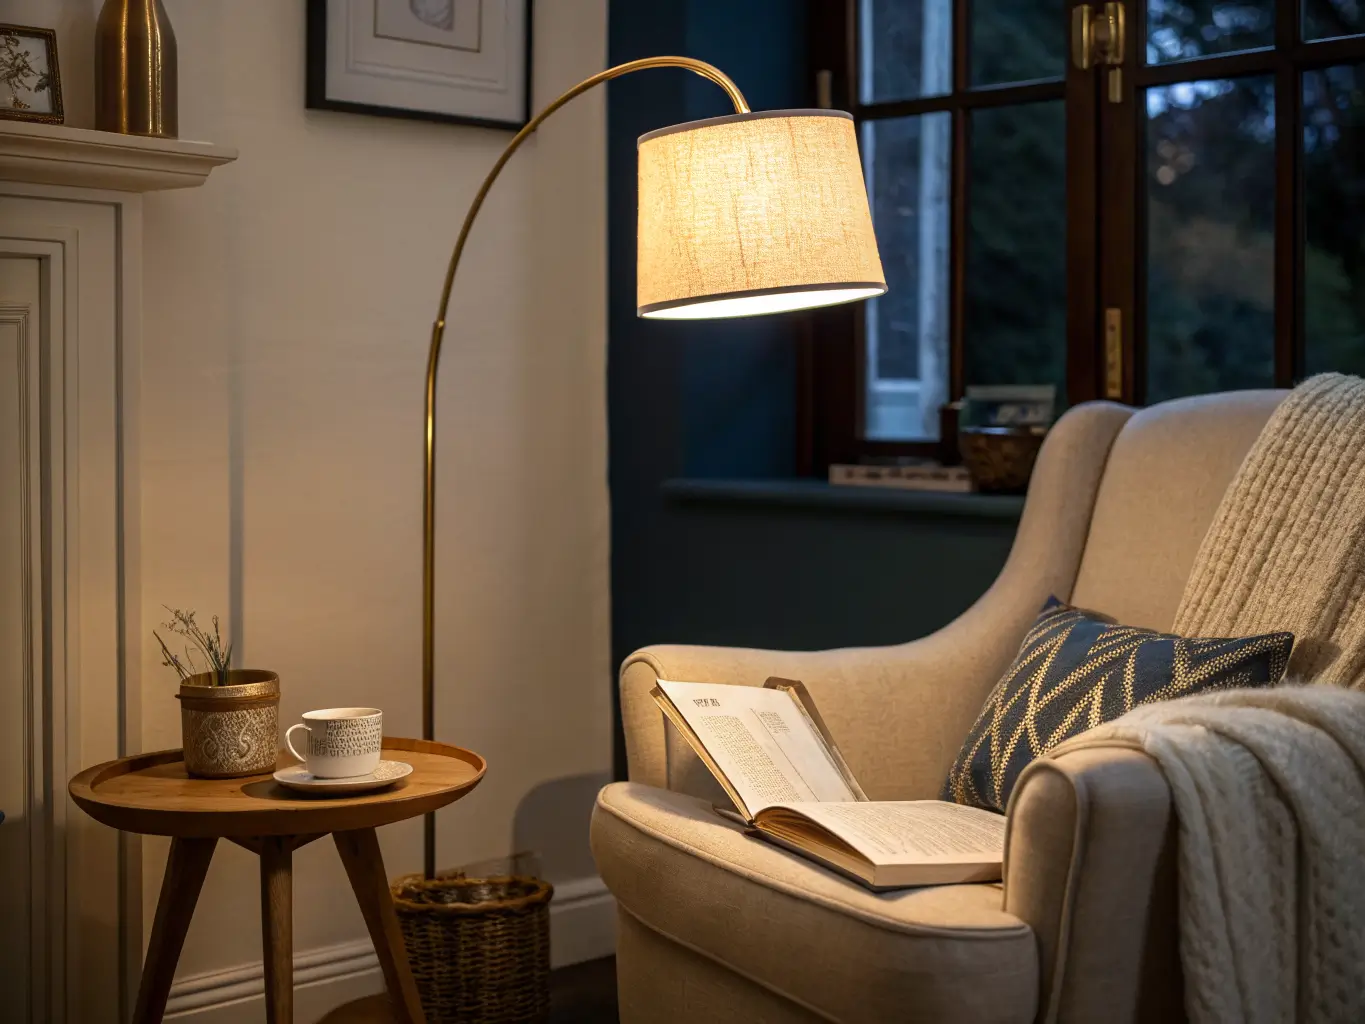
– Use a floor lamp with an adjustable arm, an arched lamp, or a wall-mounted swing-arm sconce
– Aim for 450–800 lumens
– Stick to 2700K–3000K color temperature — this is the warm, amber-toned light, not the blue-white stuff
– Get it on a dimmer if you can
– Position the light behind or just over your shoulder, never overhead and never in front of you where it glares off the page
A surface within arm’s reach
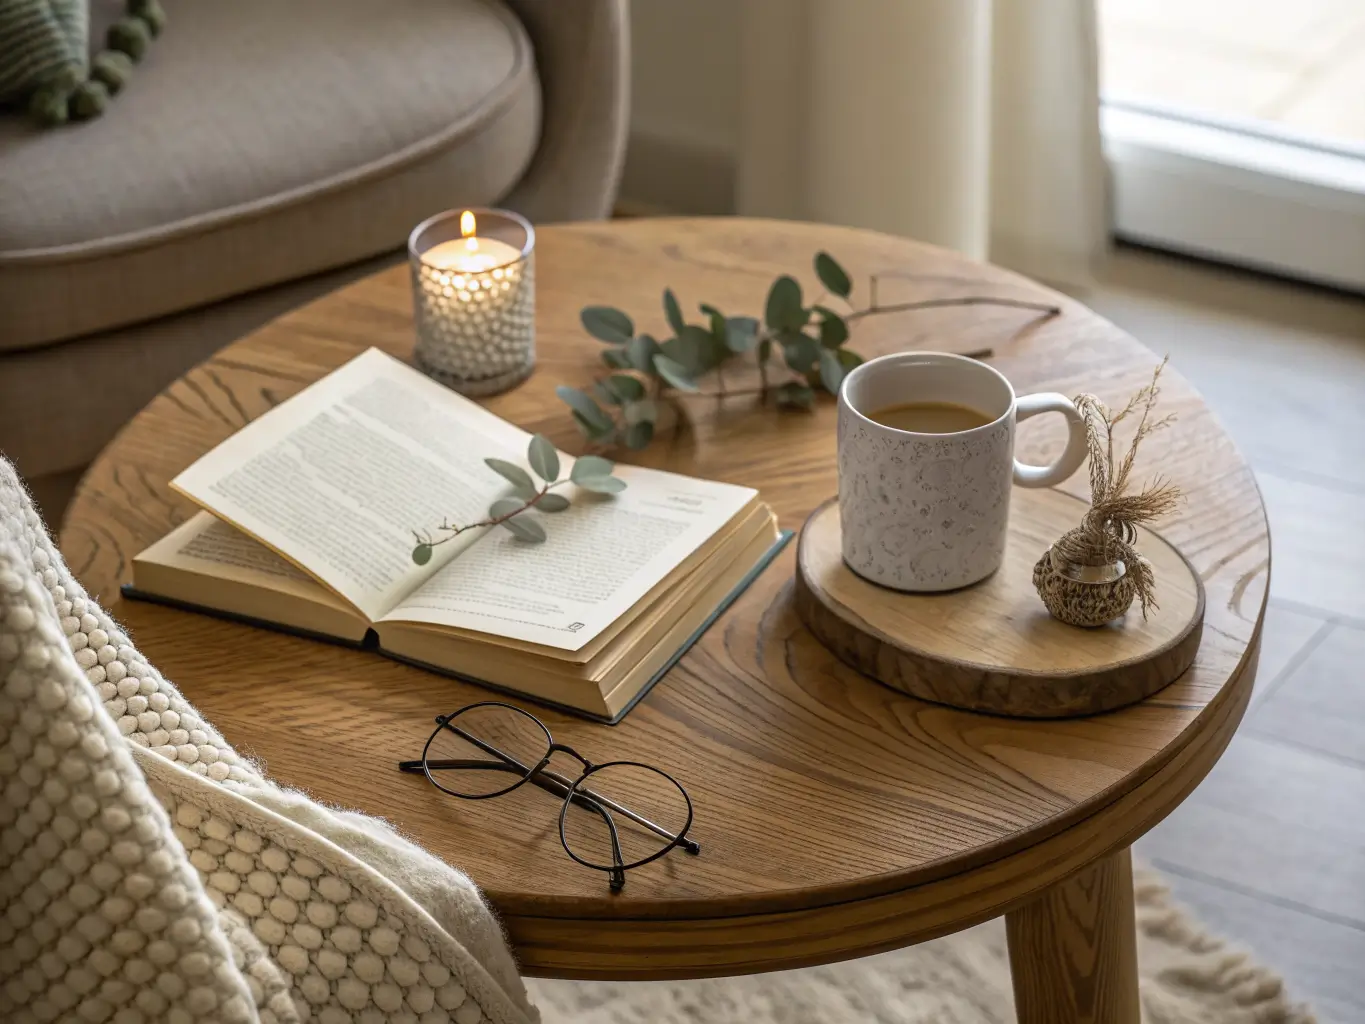
A small round side table, 18–20 inches wide, is ideal for a book, a mug, your glasses. If your space is too tight for a table, a sturdy stack of hardcover books or a narrow ledge shelf does the job. Don’t skip this — a nook without a surface means your tea ends up on the floor, and that gets old fast.
Somewhere for the books
A slim floating shelf, only 6–8 inches deep, keeps your current reads close without eating floor space. I mounted mine at shoulder height when seated, which took some measuring with a tape and a lot of standing in the chair pretending to reach for a book before I committed to the bracket holes.
The soft layers that make it feel finished
This is what separates a “chair in a corner” from an actual nook:
– One lumbar pillow
– A chunky knit throw or fleece blanket
– A small area rug underneath to anchor the whole thing visually
Skip these and the space reads like a waiting room. Add them and it reads like somewhere you’d actually want to sit.
If you’re doing a window seat
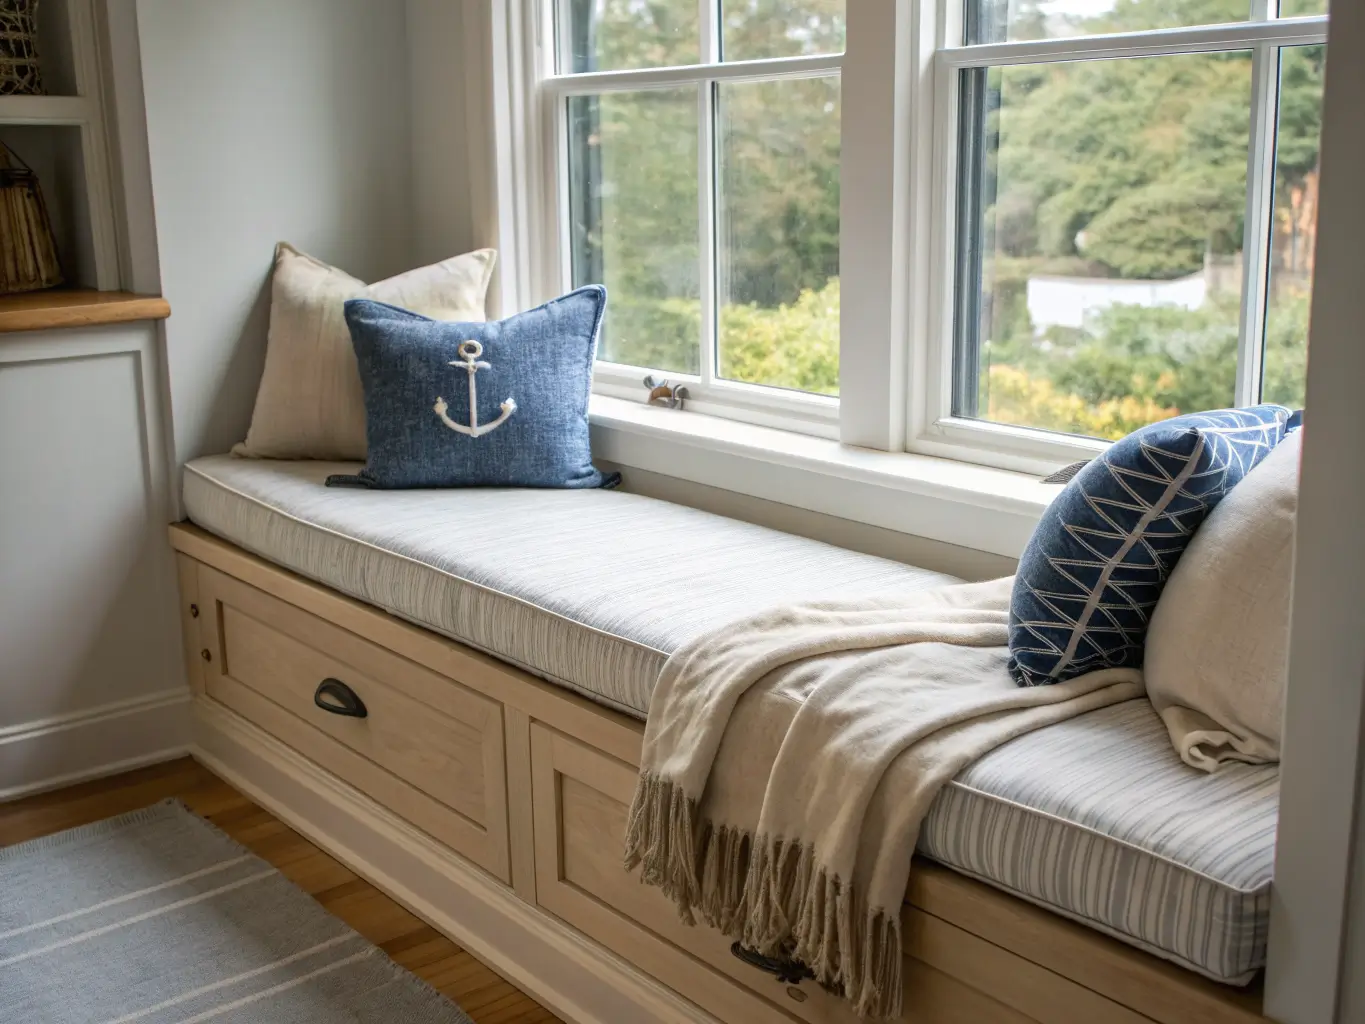
Custom cushion cut to the sill dimensions, a couple of bolster pillows at the ends, and — if you can manage it — hidden storage underneath for extra blankets. This is where the cost jumps if you go custom, but a simple foam cushion with a removable cover is a very doable DIY.
Optional Upgrades Once the Basics Work
Once your core setup is functioning, this is where you get to have fun:
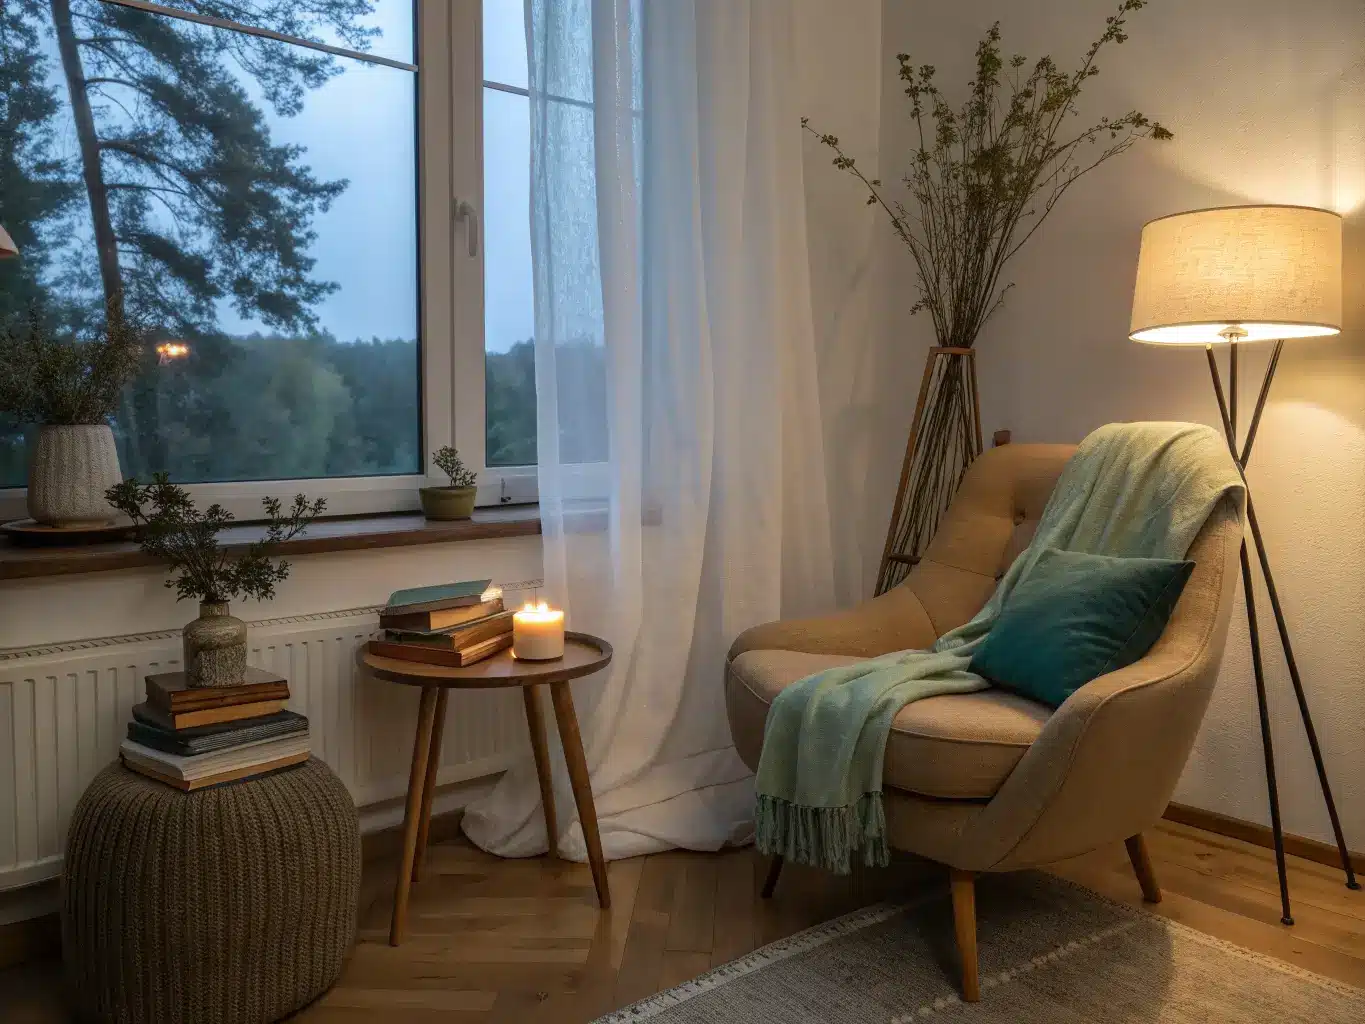
– Seasonal swaps: velvet pillows and a heavier rug for fall/winter, linen covers and pale textiles for spring/summer
– Organic touches: a potted plant, a few dried branches in a ceramic vase, a woven basket for extra throws
– Luxe details: marble bookends, brushed brass hardware, boucle upholstery if you want something a step above basic
– Personal touches: framed art at eye level, a small candle, a curated tray for your reading glasses and a lip balm
Add these one at a time. I promise the nook does not need all of them simultaneously.
Putting It Together: My Actual Process
Step one — clear the corner completely. Don’t try to build around existing clutter. Empty it out, then measure. I skipped this step the first time and ended up buying a chair that was two inches too wide for the gap between my dresser and the window. Had to return it.
Step two — check your outlet situation. If there’s no outlet nearby, you’re looking at a battery-powered or rechargeable lamp, or you’re calling an electrician for a wall sconce. Figure this out before you fall in love with a specific lamp style.
Step three — measure for real. Compact corner: 30 inches wide minimum. Window seat: 16–18 inches of bench depth. Write the numbers down and bring them shopping. I did not do this the first time and eyeballed it. See above re: the chair I had to return.
Step four — decide the nook’s relationship to the bed. A nook at the foot of the bed needs a smaller-scale chair so it doesn’t compete with the bed visually. A nook in a separate corner has more freedom.
Step five — build in this order: seat, then light (test it at night, not just during the day — cool morning sun makes everything look fine), then side table on your dominant-hand side, then throw and pillow, then one final signature piece like art or a small plant.
Mistakes I’ve Made So You Don’t Have To
– Buying too big a chair. An oversized armchair in a small corner doesn’t look intentional, it looks like furniture that didn’t fit anywhere else and got exiled there.
– Cheaping out on the bulb. A great lamp with a harsh, cool bulb still gives you eye strain. Spend the extra three dollars on a warm 2700K bulb.
– No surface for your stuff. You will end up with a mug on the floor and a book splayed open on the rug. Get the table.
– Over-decorating. I once added six throw pillows to my nook chair and it stopped being a place to sit and started being a place to stare at. I pulled it back to one lumbar pillow and a folded throw. Much better.
– No storage plan. Blankets and books will pile up next to the chair if they don’t have a home. A basket or a bench with storage solves this instantly.
Keeping It Looking Intentional, Not Random
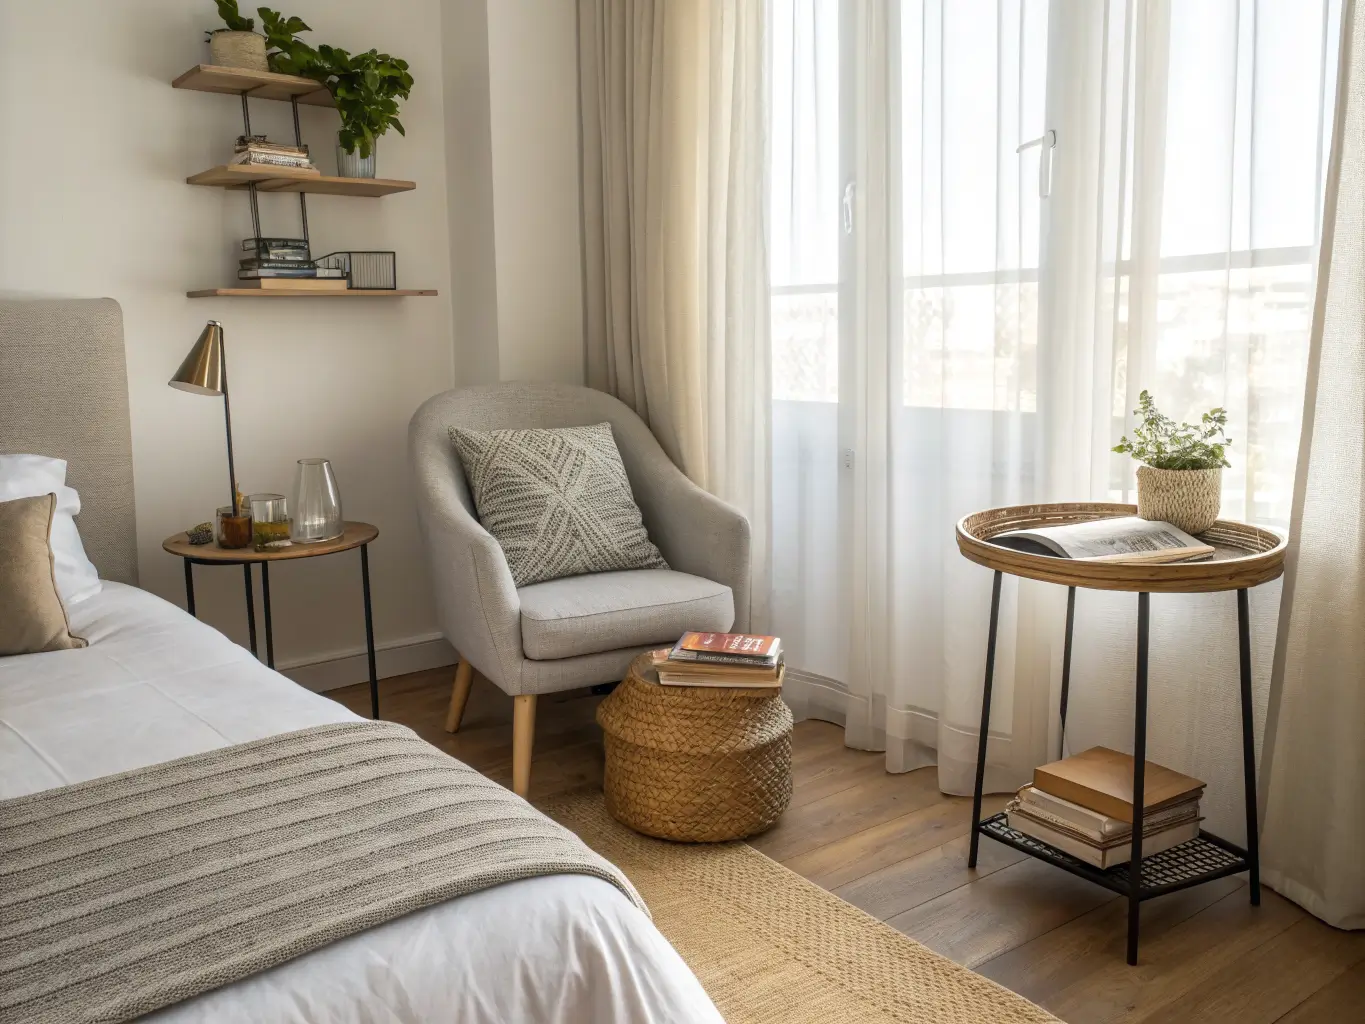
Match your nook’s wood tone and metal finish to what’s already in the bedroom. If your dresser is a warm oak, don’t bring in a black metal lamp with cool undertones — pick brass or a warm bronze instead. Consistency here is what makes the nook feel like part of the room instead of a random furniture cluster that wandered in from elsewhere.
Cap yourself at a seat, a light, a table, and one to three decorative extras. That’s the whole formula. If you want to hide extra blankets or off-season books, use closed storage — a basket with a lid, a bench with a hinged seat — rather than open shelving that turns into visual noise.
Refreshing It Without Starting Over
The cheapest update is swapping the throw pillow cover or the lamp shade — under $30 and it changes the whole feel. Once the basic nook is solid, the next upgrade tier is floating shelves, a bench with built-in storage, or a proper wall sconce if you’re still running a floor lamp.
A few combinations that work well if you want to shift the style without rebuilding:
– Boho-coastal: linen upholstery, a woven basket, rattan side table, pale oak tones, soft blue accent pillow
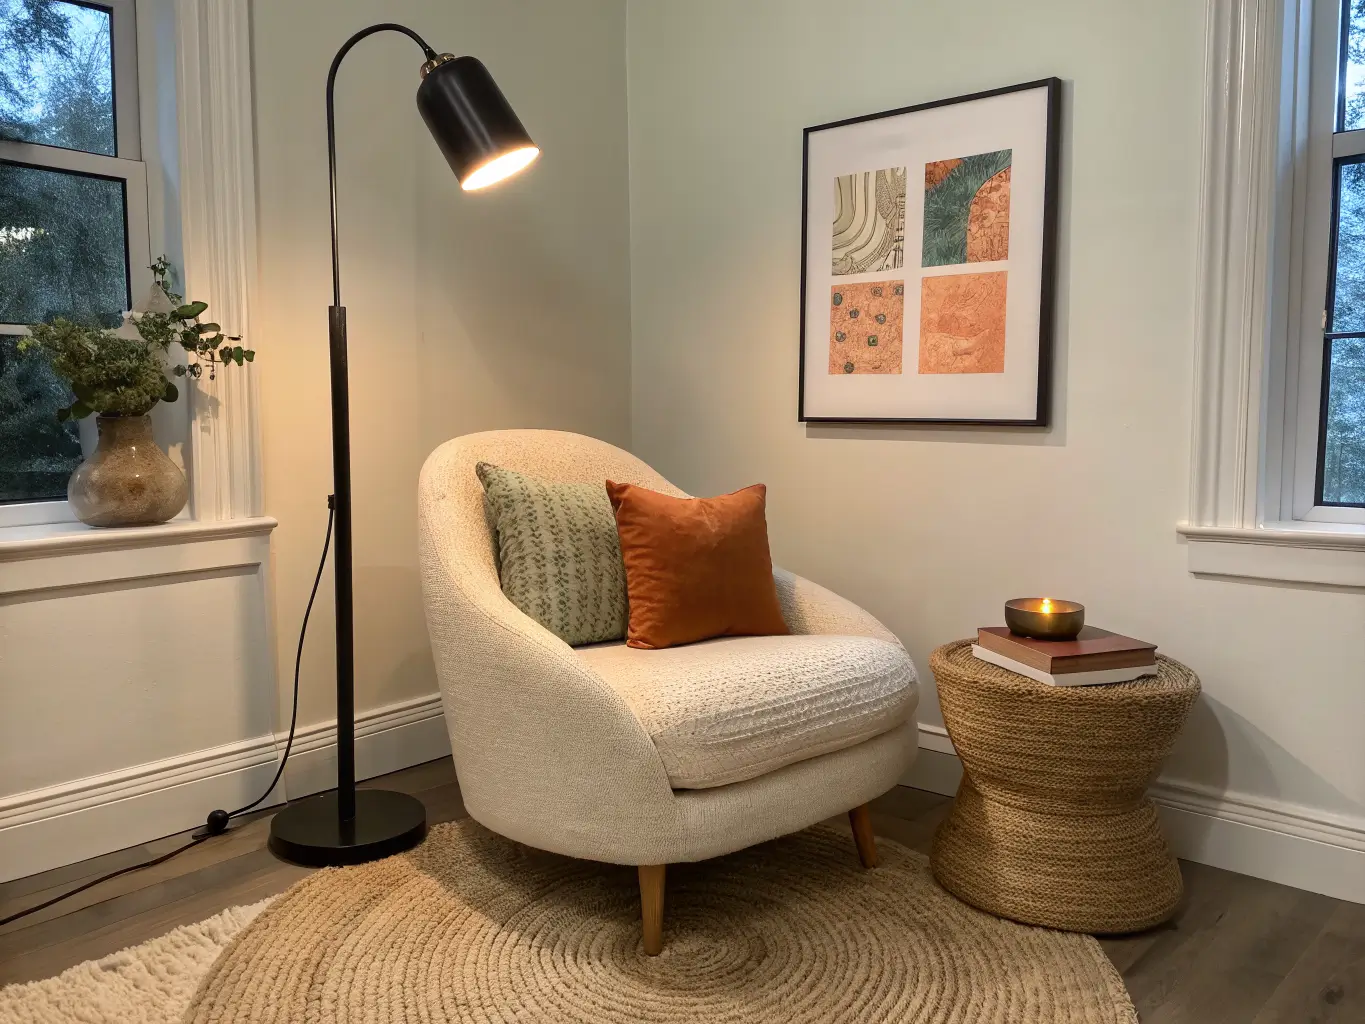
– Modern organic: boucle chair, light oak table, matte black lamp, warm neutral palette throughout
– Traditional cottage: upholstered wingback-style chair, a floral or striped pillow, brass lamp, a small stack of hardcovers on the table instead of a shelf
Rotate two or three accessories with the seasons instead of redoing the whole nook. It stays current without feeling like you’re chasing every trend that comes through your feed — and honestly, the corner that just quietly works, day after day, is the one you’ll actually use.
For another angle on this, my small reading nook cozy corner guide covers the same space from a different starting point.





