
What This Actually Takes: Time, Cost, and Space
Let’s set real expectations before you buy anything.
A simple styled corner — chair, lamp, throw, side table — takes 1 to 3 hours if you already own the pieces or hit one good furniture run. A window seat, closet conversion, or under-stair build takes 1 to 3 weekends, longer if you’re bringing in an electrician for a sconce or waiting on custom cushion foam (which, fair warning, can take 2-3 weeks from most upholsterers).
Budget breaks down roughly like this:
$150–$500: A secondhand or budget chair, a floor lamp, a throw, a couple pillows, a small table. This is where I started.
$600–$2,000: A real accent chair (think Article or a floor-model score), a good rug, proper shelving, better lighting.
$2,500+: Built-in benches, custom millwork, closet conversions with electrical work. This is where my sister’s under-stair nook landed, and it was worth every dollar because it also solved a dead-space problem in her hallway.
Space-wise, you can make a 3 to 5-foot-wide corner work for a chair-and-lamp setup. Window seats, alcoves, and under-stair nooks want 5 to 8 feet so you’re not banging your knees on a bookshelf every time you sit down.
Skill level scales with ambition: styling an existing chair corner is beginner-friendly, adding shelving and lighting is intermediate, and anything involving a saw or an electrician is expert territory — or at least “call someone who does this for a living” territory.
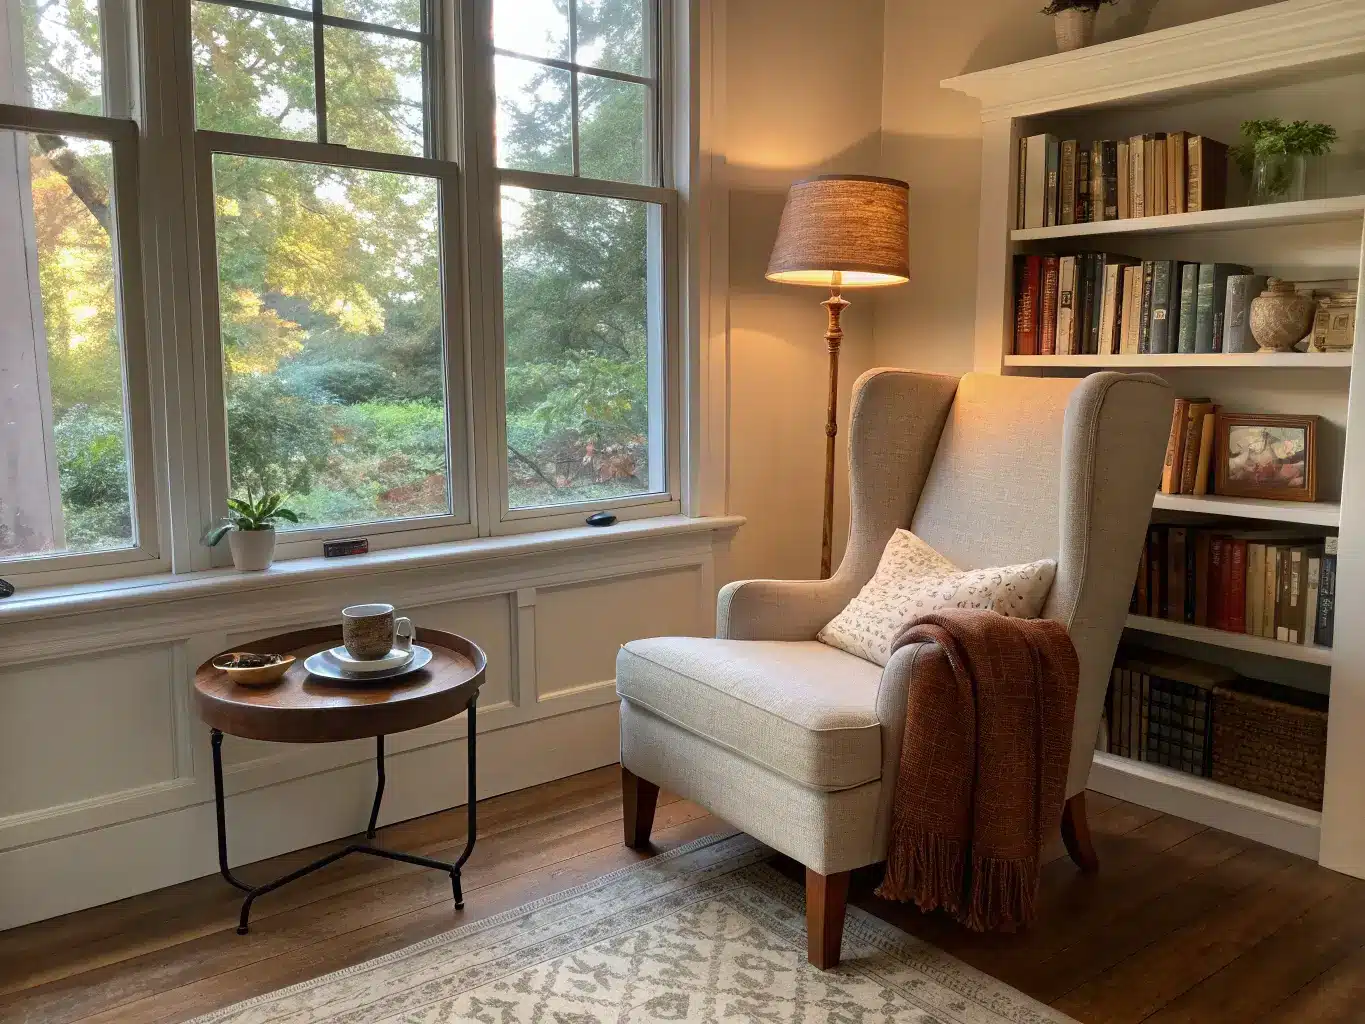
The Design Identity: What Style Are You Actually Going For
Most adult reading nooks I see working well land in one of five lanes: cozy contemporary, soft boho, modern farmhouse, dark academia, or minimalist warm-neutral. You don’t need to pick a lane perfectly, but knowing which one you’re leaning toward keeps you from buying five things that fight each other.
The palette that shows up again and again — and that I keep coming back to myself — is warm white, oatmeal, taupe, mushroom, camel, sage, olive, charcoal, navy, walnut brown. Materials: linen, boucle, velvet, wool, rattan, oak, cane, brass, matte black metal. That’s it. That’s the whole vocabulary. Mix from that list and it’s very hard to go wrong.
This isn’t a kid’s reading corner with a teepee and stuffed animals. It’s for adults who want somewhere to actually sit with a book, a journal, or a cup of tea without a screen involved. It works in living rooms, bedrooms, home offices, sunrooms, attics, lofts, closets, under stairs, bay windows, enclosed porches — basically any spot with 3+ feet of width that isn’t already a walkway.
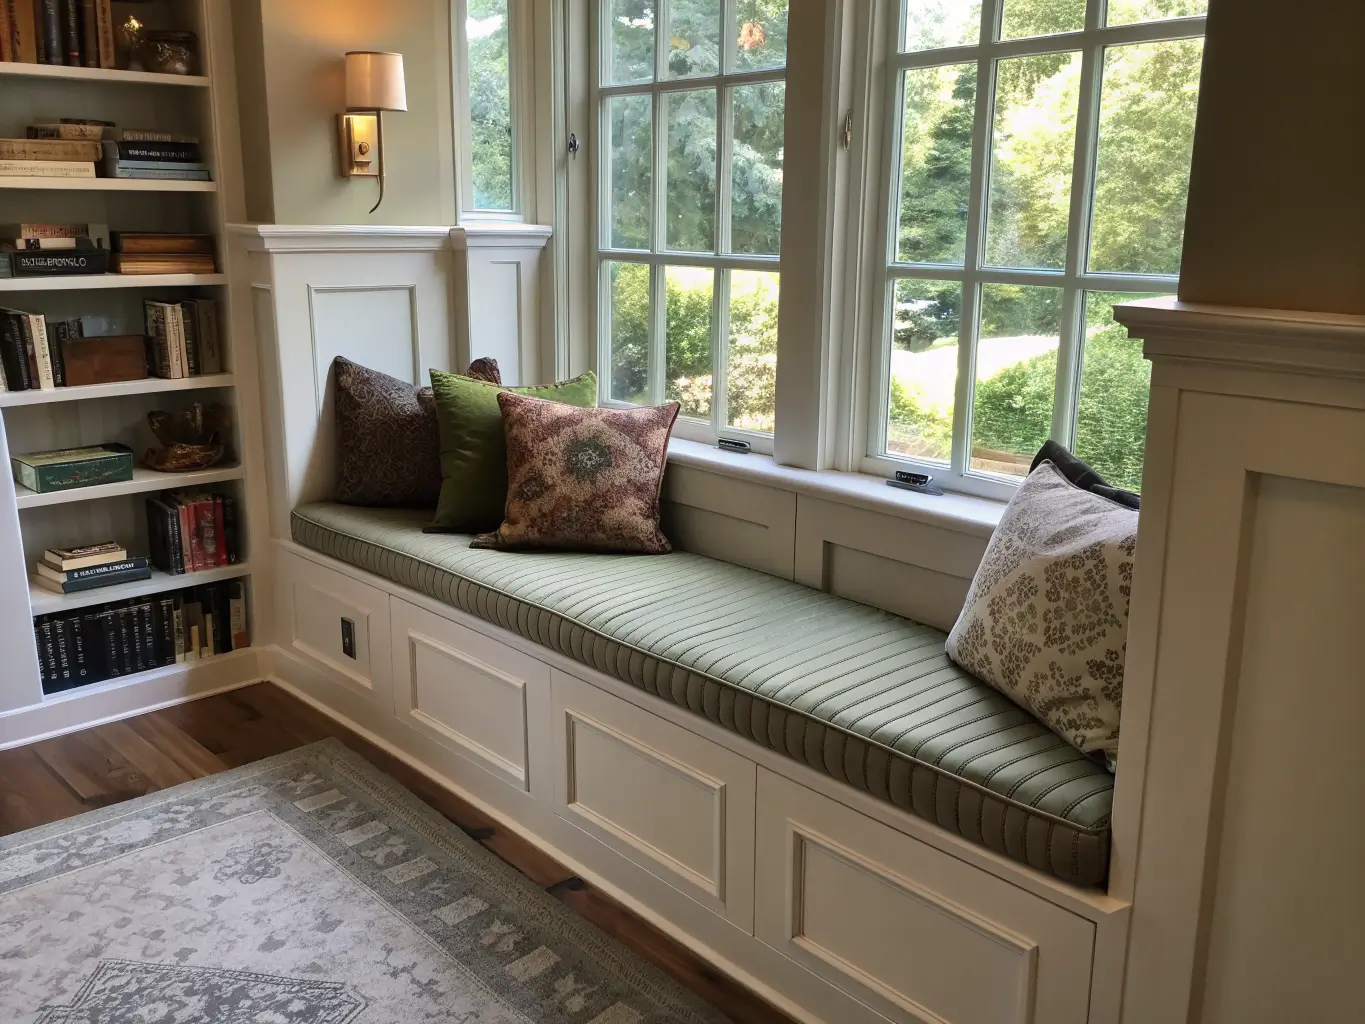
The Pieces That Actually Make a Reading Nook Work
Seating comes first, always
This is the one place I’d tell you to spend real money. My first nook attempt had a $60 accent chair from a big-box store that looked great and was structurally unable to hold a human for more than 20 minutes. I sold it on Facebook Marketplace for $25 four months later.
Options that actually work for adult bodies over long sitting sessions:
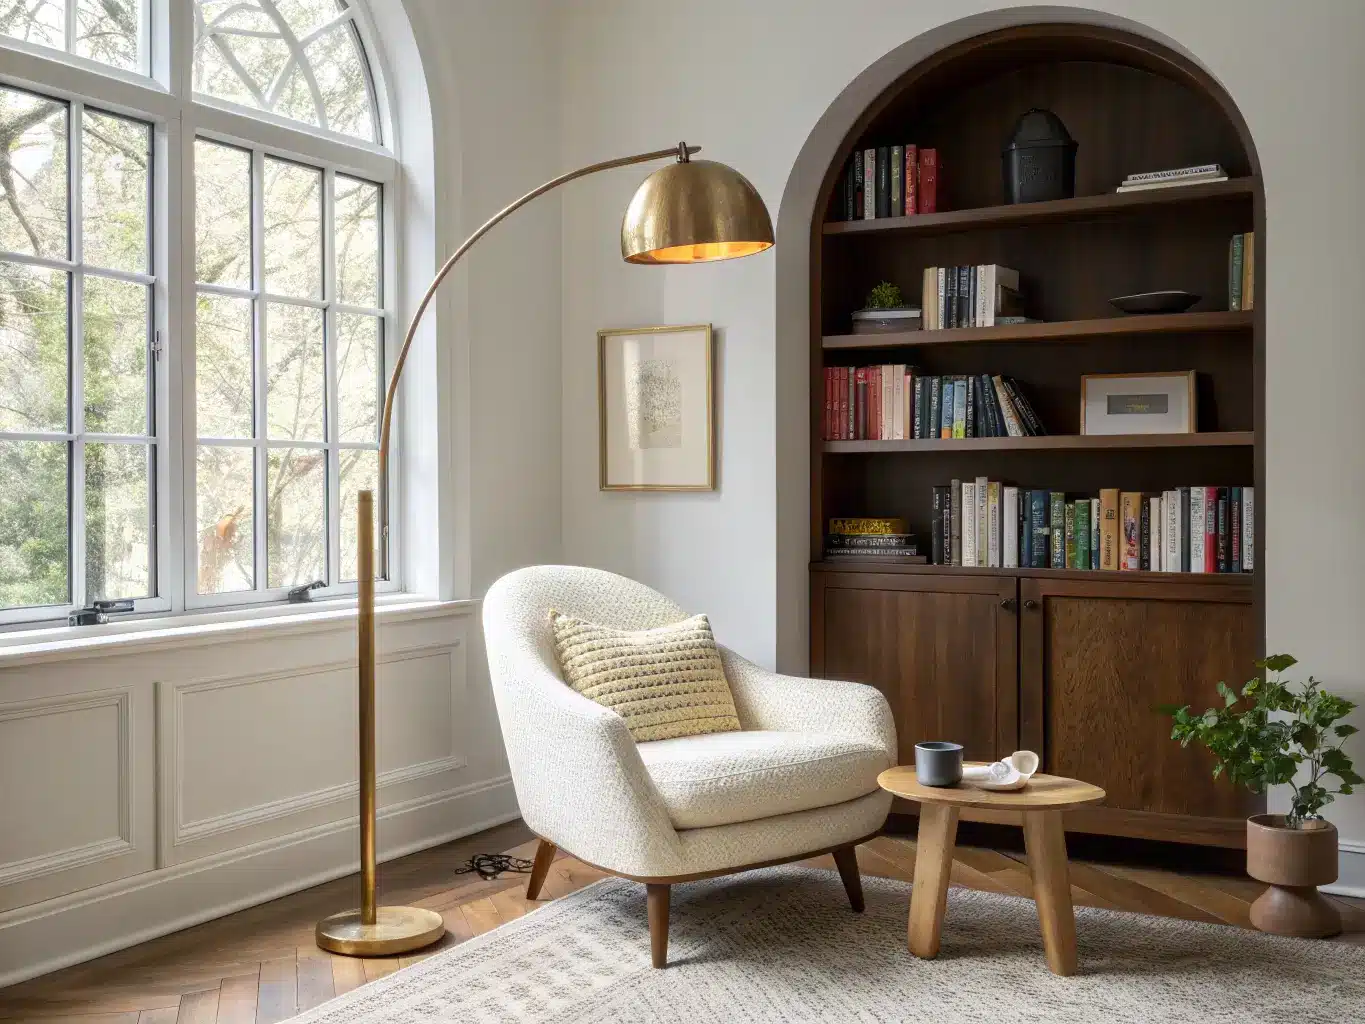
Wingback or club chair — best for corners, gives you back support
Window bench — great for alcoves, especially with a deep cushion (4+ inches of foam minimum)
Chaise lounge or daybed — doubles as guest seating, works in bedrooms
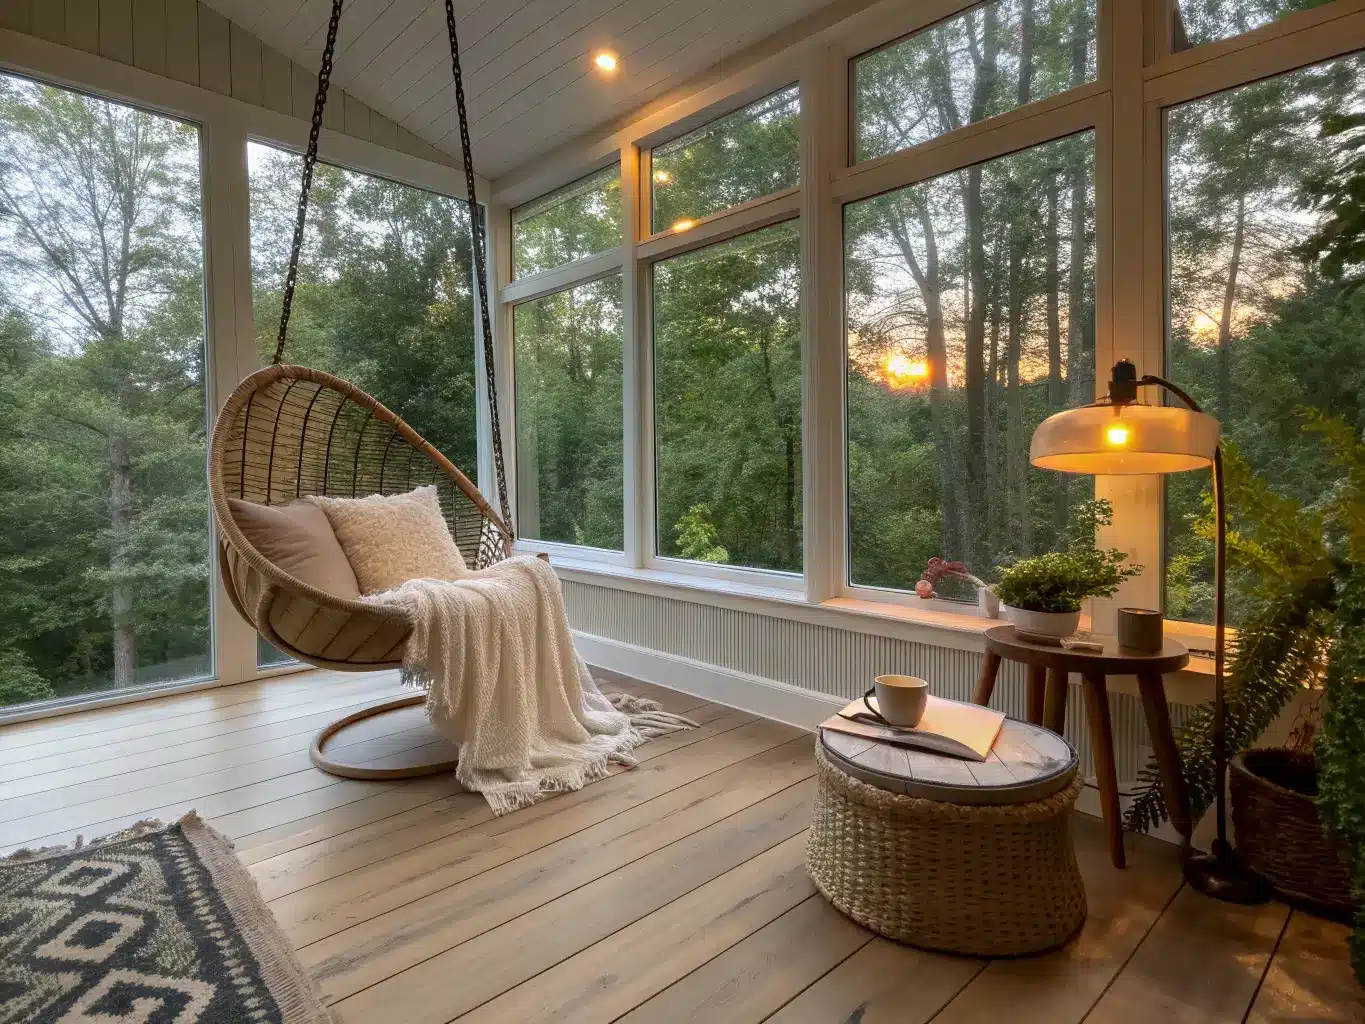
Hanging chair or beanbag — fine for a more casual, low-key nook, but know your knees before committing to getting up off a beanbag daily at 40
Lighting: the thing everyone gets wrong
A floor lamp, table lamp, wall sconce, or plug-in swing-arm lamp is non-negotiable. Overhead light is flat and cool and makes reading feel like a DMV waiting room. I use a swing-arm sconce mounted at shoulder height when seated — about 45 inches off the floor — so the light falls on the page, not in my eyes. Bulb temperature matters more than people think: stick to 2700K warm white, never the 5000K daylight bulbs meant for garages.
Book storage that you’ll actually use
Floating shelves, a wall-mounted book ledge, a small bookcase, or under-bench drawers. My current nook has two 24-inch floating shelves stacked with maybe 15 books total, rotated seasonally. Anything more starts to look like storage overflow instead of styling.
Comfort layers and a side surface
A seat cushion, a lumbar pillow, one good throw blanket, and — if you have the floor space — a footstool. Then a small round side table, C-table, or garden stool close enough to reach without leaning. I use a $40 rattan stool from a thrift store that’s held a mug of tea almost every night for two years.
The finishing accessories
A tray for reading glasses, one candle, a mug, a small stack of books (not ten), a piece of framed art, one plant, and a textured rug underfoot. That’s the full list. Resist adding a sixth thing.
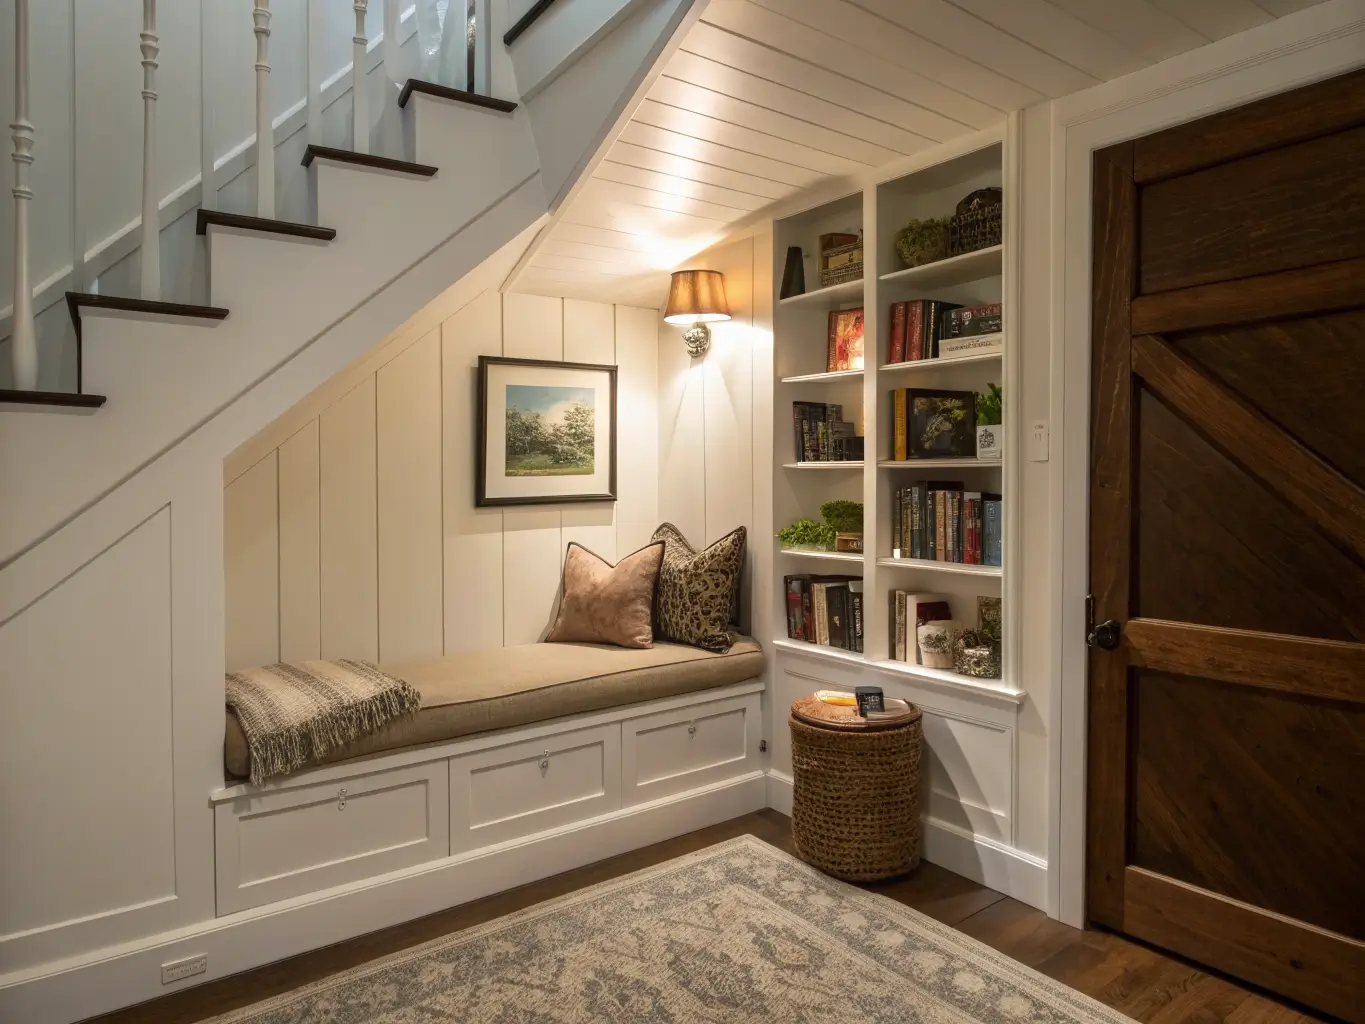
Optional Upgrades: Seasonal, Organic, and Luxe Touches
Seasonal swaps are the cheapest way to keep a nook feeling current. Chunky knits and velvet in a deeper tone for fall and winter, light linen and cotton covers for spring and summer. I own two sets of pillow covers for this exact reason — total cost under $50, and it makes the whole corner feel refreshed twice a year.
Organic touches soften a nook that’s otherwise all hard lines: a potted olive tree, pothos, trailing ivy, a woven basket for extra throws, a wood tray under the candle.
Metallic and luxe details — brass lamp hardware, a bronze side table, smoked glass, velvet upholstery, boucle texture — push a nook from “fine” to “actually designed.” My swing-arm sconce is brass, and it’s the single detail people comment on most, which tells you a $90 lamp can carry a whole corner.
Mood elements like fairy lights, canopy fabric, and sheer curtains work if your style leans whimsical, but use one, not all four. A canopy over a window bench is a statement. A canopy plus fairy lights plus a sheer curtain plus a hanging chair is a teenager’s bedroom.
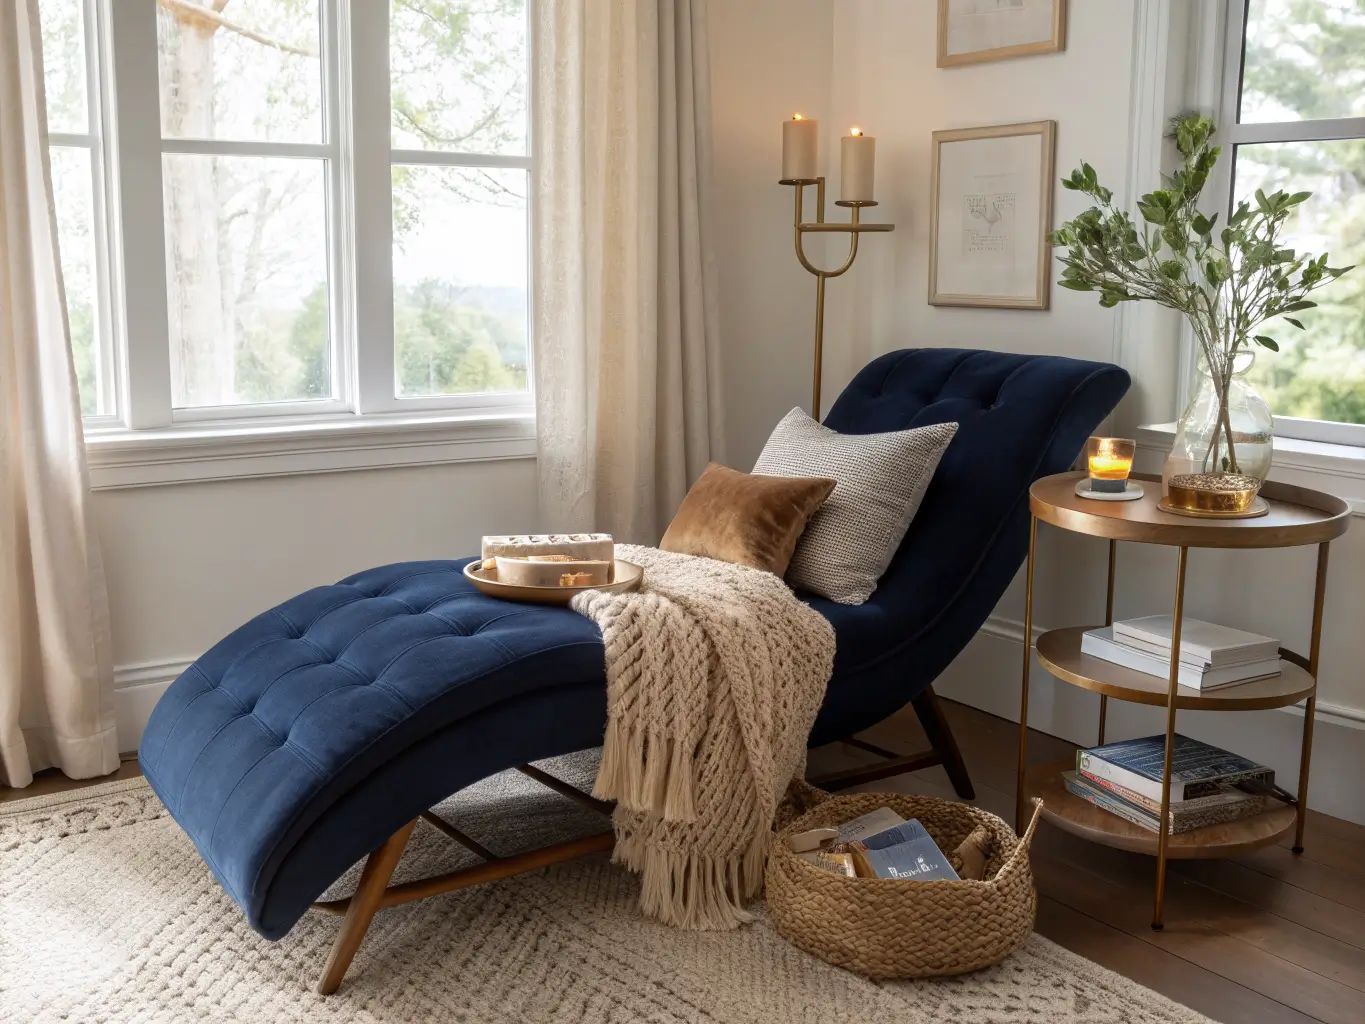
Pro Styling Rules I Actually Follow
Layer three textures, no more, no less. One smooth surface, one tactile textile, one natural material. My rule of thumb: linen chair + wool throw + oak side table, or boucle chair + brass lamp + jute rug. Pick your trio and stop there.
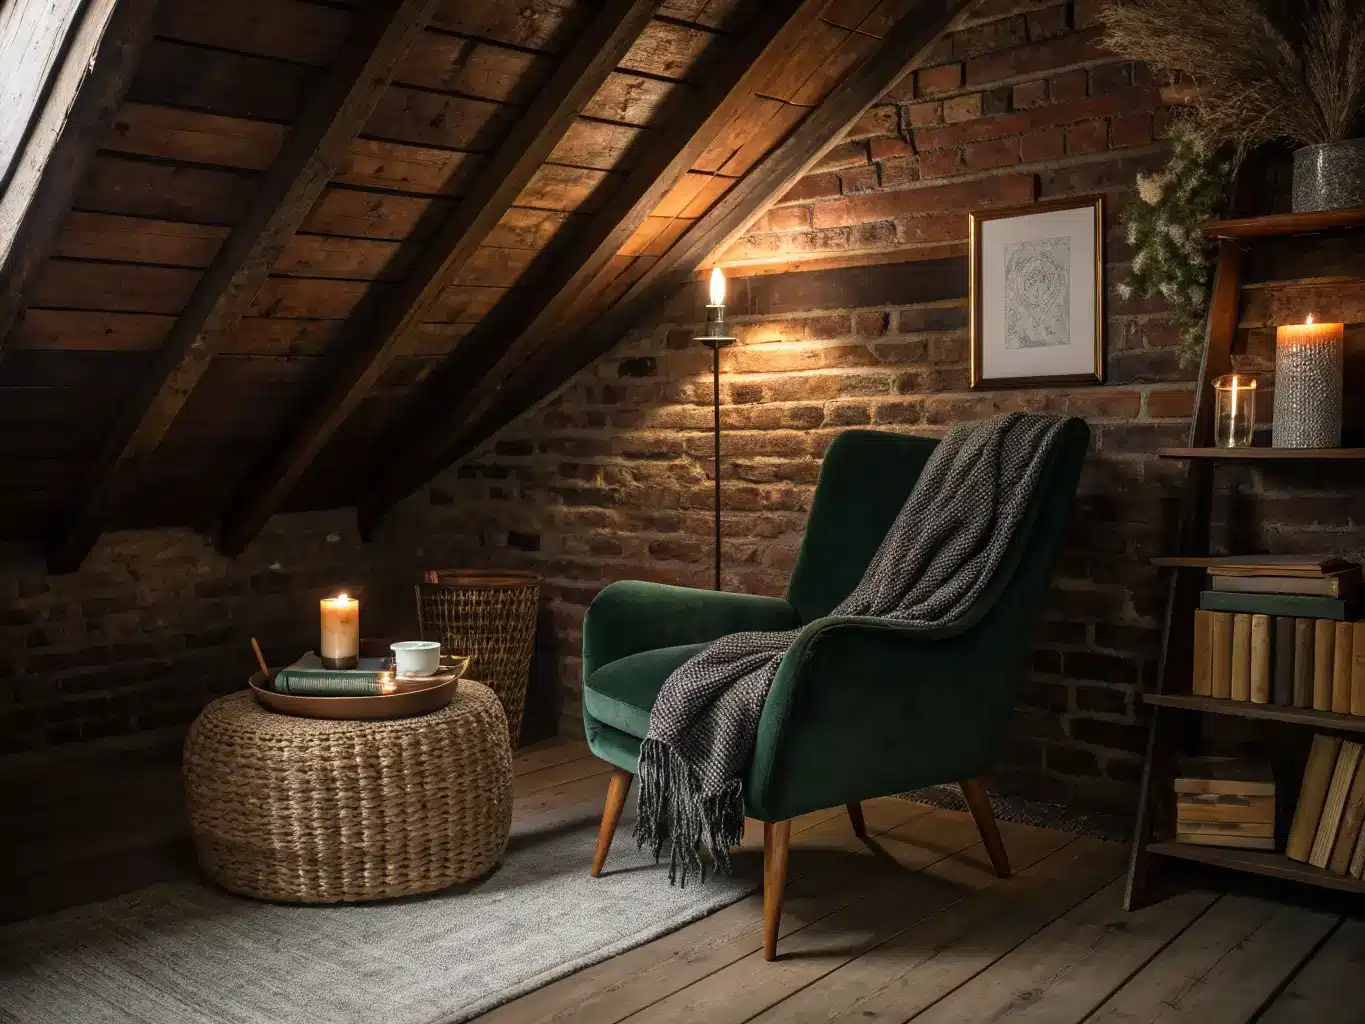
Balance color to the room’s light. A dark nook — charcoal walls, forest green chair, walnut shelving — feels intimate and works well in a low-light corner that would otherwise feel gloomy anyway. A light nook — warm white, sand, pale oak — feels calm in a bright spot but can look washed out in a dim one. Match the mood to the actual light you have, not the light you wish you had.
Pick one focal point. The window, the chair, or a built-in bench — not all three competing for attention. My mistake in nook attempt number two was centering a window seat and then adding a huge statement chair six feet away. It split the room in half instead of anchoring it.
Keep the chair slightly out of the traffic path. Enough room for the lamp, the table, one storage piece — that’s it. If people are walking past your knees to get to the kitchen, it’s not a nook, it’s an obstacle.
Choose exactly one “wow” detail — a canopy, a library wall, an arched sconce, a hanging chair, one bold wallpaper panel. One. I made this mistake with wallpaper and a patterned rug in the same 4-foot corner. It looked like a fight, not a room.
Setting It Up: Step by Step
Clear the zone completely first. Pull everything out of the corner — yes, even the “maybe it works” pieces — so you’re styling a blank slate, not working around clutter.
Place seating first, then build outward: lamp, side table, rug, storage. The chair dictates everything else’s position, not the other way around.
Prioritize natural light if you have it. A nook next to a window needs less artificial lighting during the day but still needs a lamp for evening reading — don’t skip the lamp just because the spot is bright at 2 PM.
Add a soft boundary. A rug is the easiest one — it visually defines the nook without walling it off. A bookshelf, a plant, or a curtain panel works too if you want more separation.
Then work through this order:
1. Pick your seating type for the space — window bench for an alcove, wingback for a square corner, daybed if it’s doubling as a guest spot, hanging chair if you want something more playful.
2. Install task lighting within arm’s reach and check the bulb temperature before you commit — screw in a warm bulb and sit in the chair at night to test it before finalizing placement.
3. Add storage — floating shelves, a slim bookcase, or under-seat drawers, sized to how many books you’ll actually rotate through, not your whole collection.
4. Layer rug, throw, and pillows for depth, but stop before it looks like a display bed at a linen store.
5. Finish with personal details — your current read, one framed piece, a candle, a mug, a small blanket basket. This is what makes it feel lived-in instead of staged for a listing photo.
Mistakes That Kill a Reading Nook
Choosing looks over comfort. A gorgeous chair that’s too shallow or too firm gets used twice and then becomes a place to hang a jacket. Sit in it for at least 10 minutes in the store before buying.
Harsh, cool lighting. Flattens the whole mood. Warm bulbs, always.
Overdecorating. Too many pillows and candles and framed quotes turn a restful spot into visual noise. If you can’t name every object in the nook without thinking, you have too many.
No storage plan. Books end up stacked on the floor within a week. Plan for them before you style the rest.
Wrong scale. An oversized wingback swallows a shallow alcove; a tiny accent chair looks lost in a big bay window. Measure the actual space before you fall in love with a piece online.
Keeping It Fresh Without Starting Over
Stick to 2 to 4 core colors plus one accent — this is what keeps a nook from feeling like a garage sale of good intentions. Repeat materials across pieces: if your lamp base is brass, let a picture frame or a small tray echo it. If your chair is oak-legged, let the side table match.
Control what’s on display. Rotate three or four books face-out, store the rest on a shelf elsewhere. I switch mine out roughly every two months, and it makes the corner feel curated rather than static.
For seasonal refreshes, swap textiles, not furniture — pillow covers and throws are a $30–$60 refresh twice a year, tops. For budget-conscious builds, start with chair, lamp, and table, then add shelving, a rug, and art as money allows. That’s exactly how my current setup came together over about eight months, not because I planned it that way, but because that’s what I could afford at each stage — and honestly, the slower build made me more deliberate about what I added.
If you want to mix styles: boho and coastal pair naturally through rattan, pale oak, and linen. Modern and dark academia combine well with walnut, brass, and a moody wall color. Farmhouse and minimalist merge cleanly with white oak and textured neutrals. Pick two, not four — that’s usually where it falls apart.
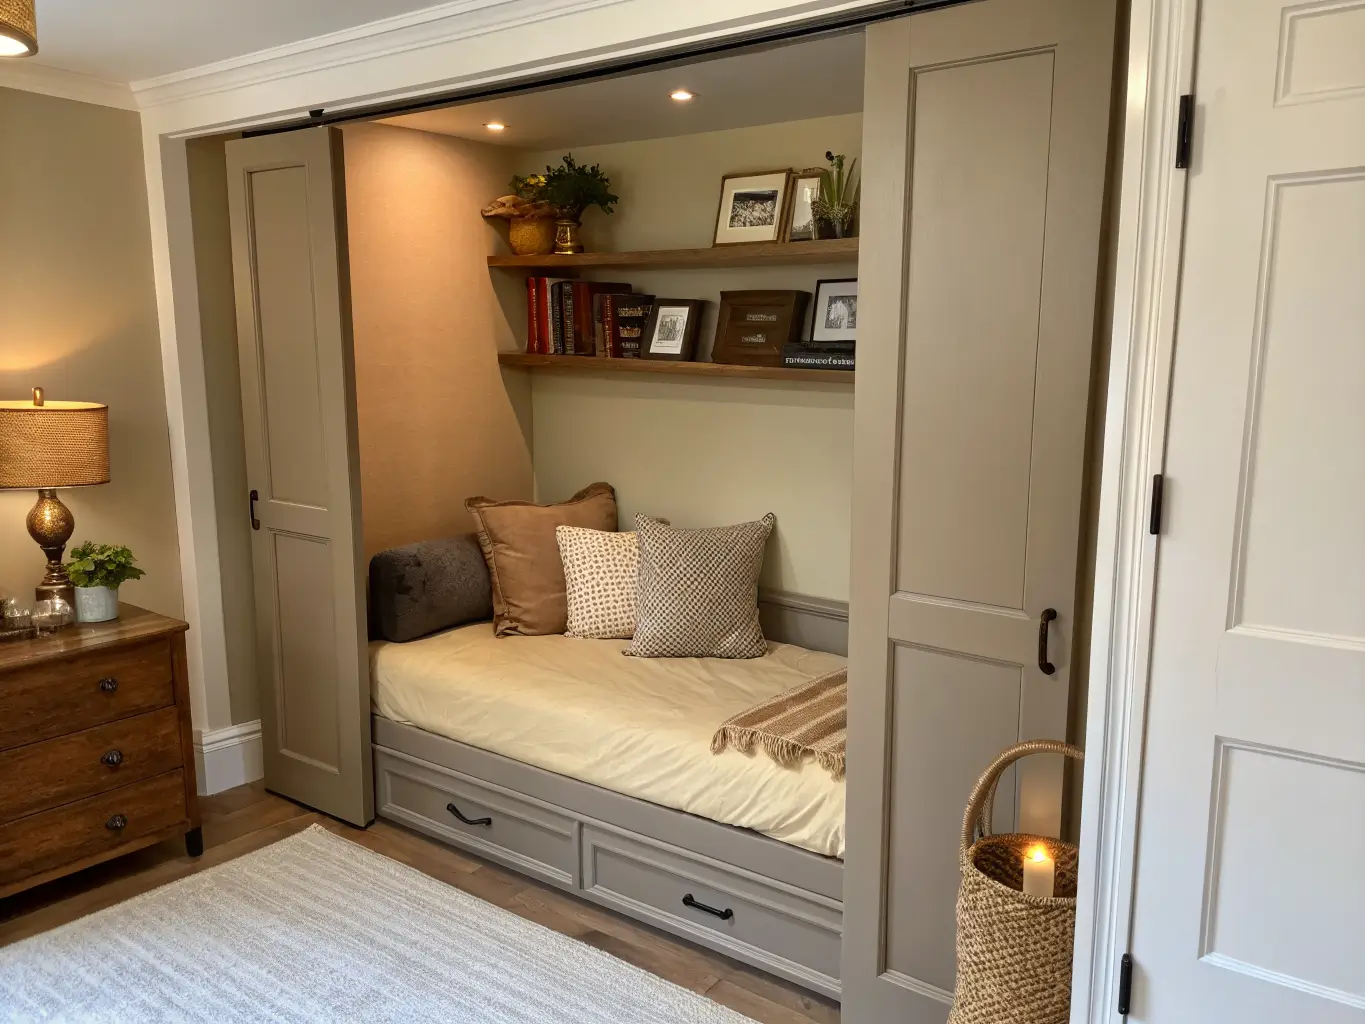
For another angle on this, my reading nook in bedroom guide covers the same space from a different starting point.





