
Quick Style Snapshot: What to Expect
Time: You can sketch a workable floor plan in an afternoon, but actually installing it — furniture, storage, lighting — realistically takes 1 to 3 weekends. If you’re adding built-ins or new electrical (floor outlets, extra plugs near a cutting station), budget more like 3 to 6 weeks depending on contractor schedules.
Cost, broken into real tiers:
– Budget ($150–$600): A folding table, a rolling cart, one pegboard panel, and a stack of labeled bins. This was my first setup and it worked fine for two years.
– Mid-range ($600–$2,500): Butcher-block countertop over stock cabinets, real task lighting, open shelving, specialty organizers (thread racks, paper slots, ribbon spools).
– High-end ($2,500+): A center island, custom cabinetry, dedicated zones for each craft, and electrical upgrades like floor outlets so cords aren’t crossing your walking path.
Room size dictates layout, full stop:
– Under 100 sq ft: think closet nook, wall-mounted fold-down table, or a tight single-wall run.
– 100–200 sq ft: enough room for an L-shape, U-shape, or a hybrid zoned layout.
– 200+ sq ft: you can support an island, multiple stations, and a separate finishing/painting area.
Skill level: Beginner-to-intermediate for anything modular. Advanced if you’re building in cabinetry or running new electrical or plumbing.
Seasonal appeal: This room is about workflow, not seasonal styling — it looks good year-round because it’s built around how you actually use it, not around a trend.
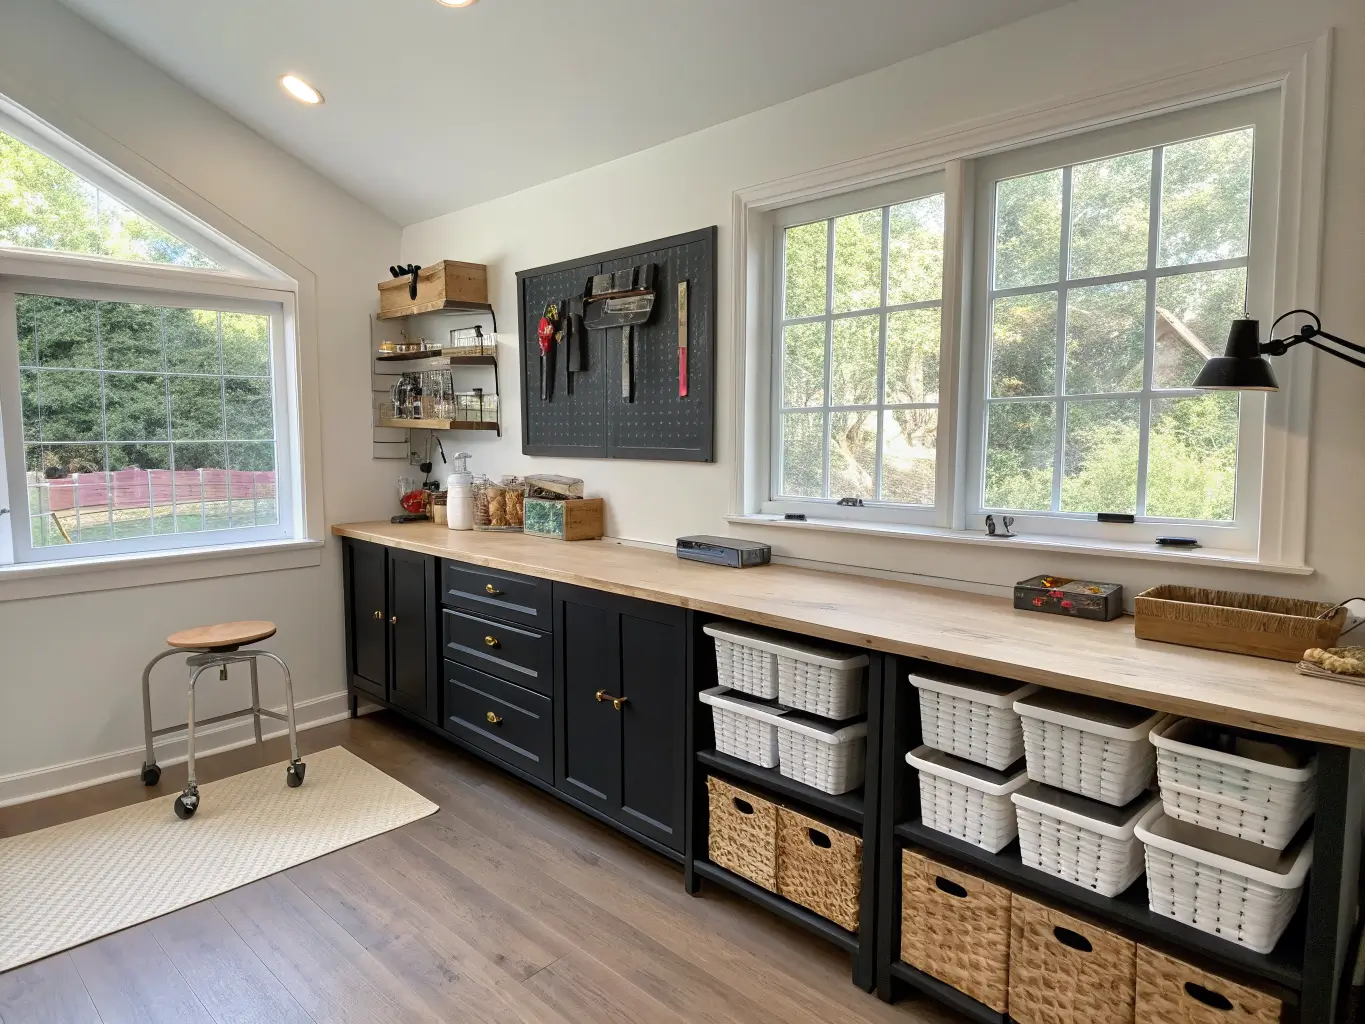
Design Identity: Function-First, Not a Decor Genre
A good craft room isn’t “farmhouse” or “modern” — it’s organized studio style, which really just means the room is planned around zones, storage, and light rather than a mood board.
Colors and materials that actually hold up:
– Continuous flooring throughout — don’t switch materials zone to zone, it makes a small room feel chopped up.
– White or light neutral walls so color from supplies (which is a lot, if you’re a crafter) doesn’t compete.
– One trick that changed my room: repeat the same three colors in different proportions across walls, storage, and furniture. My palette is white, warehouse black, and a warm oak tone — shows up on cabinet fronts, bin labels, and the table legs. Nothing fights for attention.
– Practical surfaces: butcher block or laminate for worktops, pegboard or wire grid for tool storage, open shelving for grab-and-go supplies, washable surfaces near anything involving paint or glue.
Who this is for: sewists, quilters, scrapbookers, painters, Cricut and cutting-machine users, and anyone juggling more than one craft who needs separated zones instead of one messy table doing everything.
Where it works: spare bedrooms, basements, attic conversions, bonus rooms, oversized closets, or a defined corner of an open-plan space — divided by a rug and furniture placement rather than a wall you’d have to build.
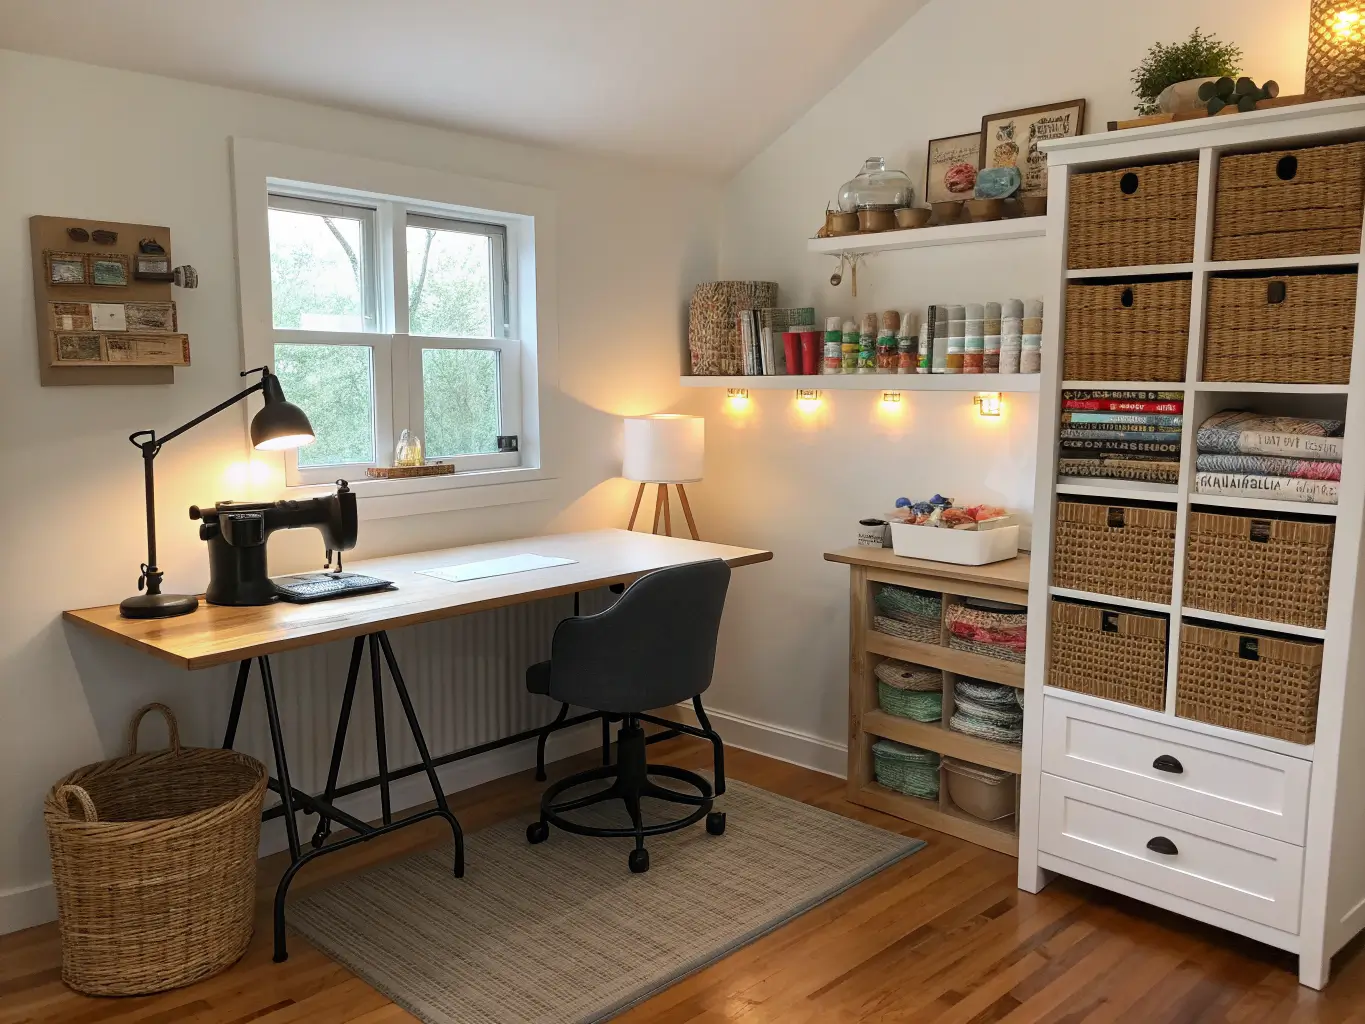
Must-Have Pieces That Make the Room Function
The hero pieces:
– A main worktable sized for your body, not your Pinterest board. Seated work surfaces should sit at 72–76 cm (28–30 inches) high. Standing cutting tables need to be taller — 90–95 cm (35–37 inches) — so you’re not hunched over a mat all day. This was my $400 desk mistake: gorgeous, but 68 cm high, which is fine for writing letters and terrible for cutting fabric.
– A center island or wall-to-wall worktop if your room supports it — this becomes the anchor everything else works around.
– A dedicated sewing table, cutting station, or assembly surface, separate from your main desk if your craft has multiple stages.
Complementary decor that’s actually functional:
– Open shelving for supplies you reach for constantly — if you have to open a cabinet door for it, it’ll stop getting put away properly. Trust me.
– Pegboard panels for scissors, rulers, frequently grabbed tools, and small baskets. Mine holds my rotary cutters and rulers at eye level, right where I stand to cut.
– Rolling carts for supplies you move between zones, or for hauling a project to the kitchen table when you need more room.
Signature accessories worth the money:
– Layered lighting — ambient light at 30–50 foot-candles for the general room, and task lighting at 75–100 foot-candles right over your work surface. A single overhead fixture is never enough; I added a clamp-on LED task lamp over my cutting table and it fixed eye strain I didn’t even know I had.
– Area rugs to define zones without walls — a rug under the sewing station, bare floor or a different rug under the cutting table.
– Labeled bins, paper organizers, and thread/ribbon racks — anything sorted by category, not by “misc craft stuff,” which is where organization always goes to die.
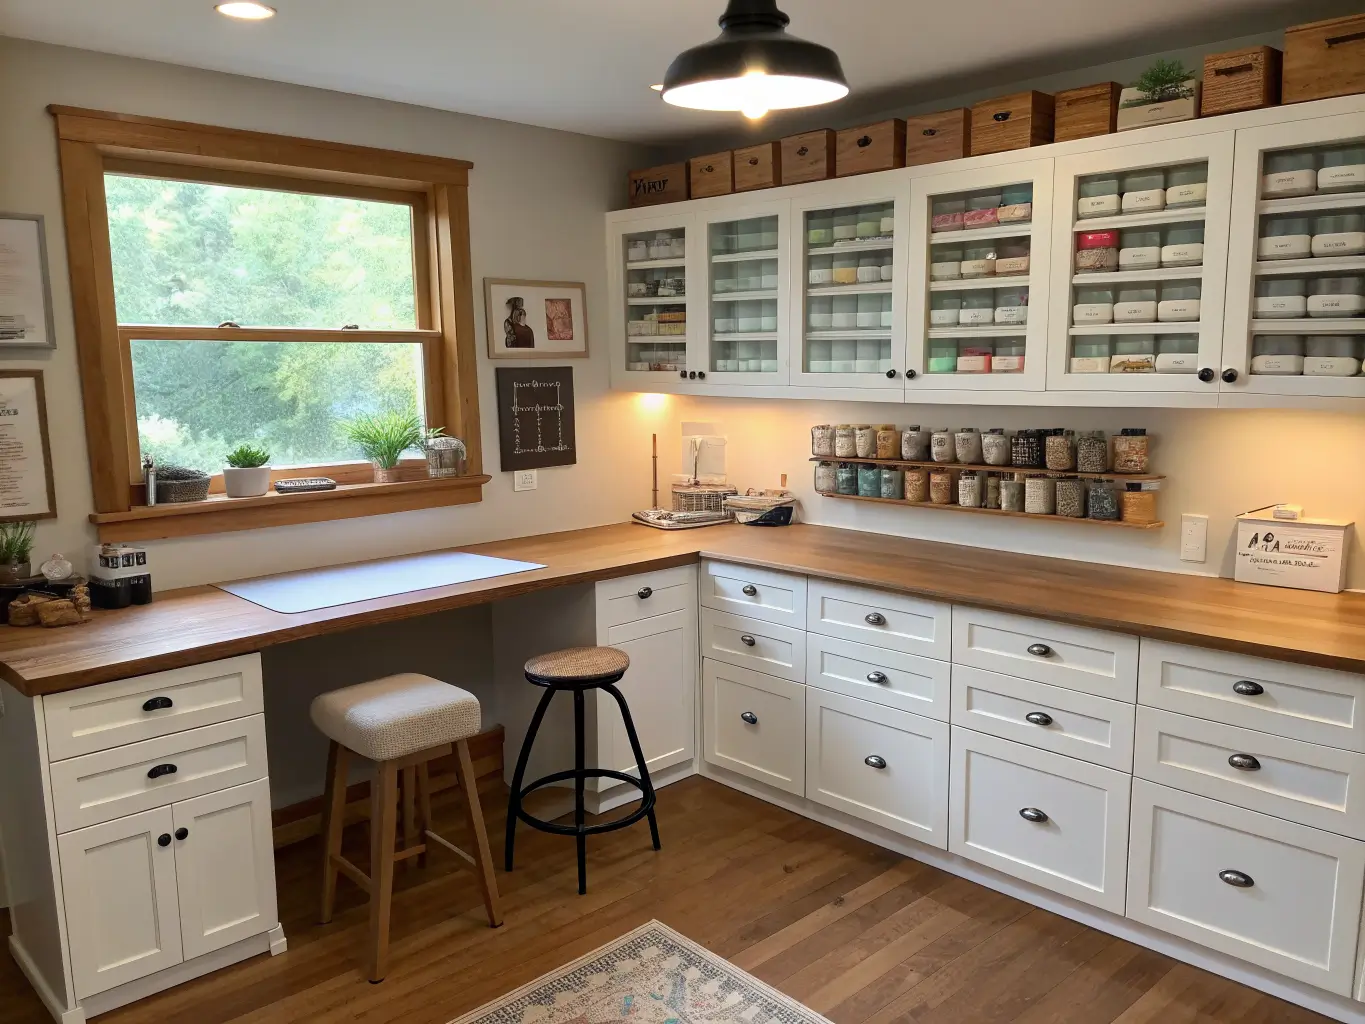
Optional Enhancements: Softening the Utilitarian Feel
Once the function’s locked in, you can layer in personality without breaking the workflow:
– Seasonal accents — swap a throw pillow on your reading chair, change out art prints, rotate bin label colors. None of this touches your actual layout.
– Organic touches — a woven basket instead of a plastic bin, a cork board instead of bare pegboard, wood-grain shelving instead of white laminate. Softens the “office supply closet” vibe.
– Metallic or luxe touches, used sparingly — brushed brass drawer pulls, a chrome task lamp, clear acrylic organizers so the shelf still reads as tidy even when it’s full. I did brass pulls on my cabinet fronts and it’s the one detail that makes the room feel intentional instead of just practical.
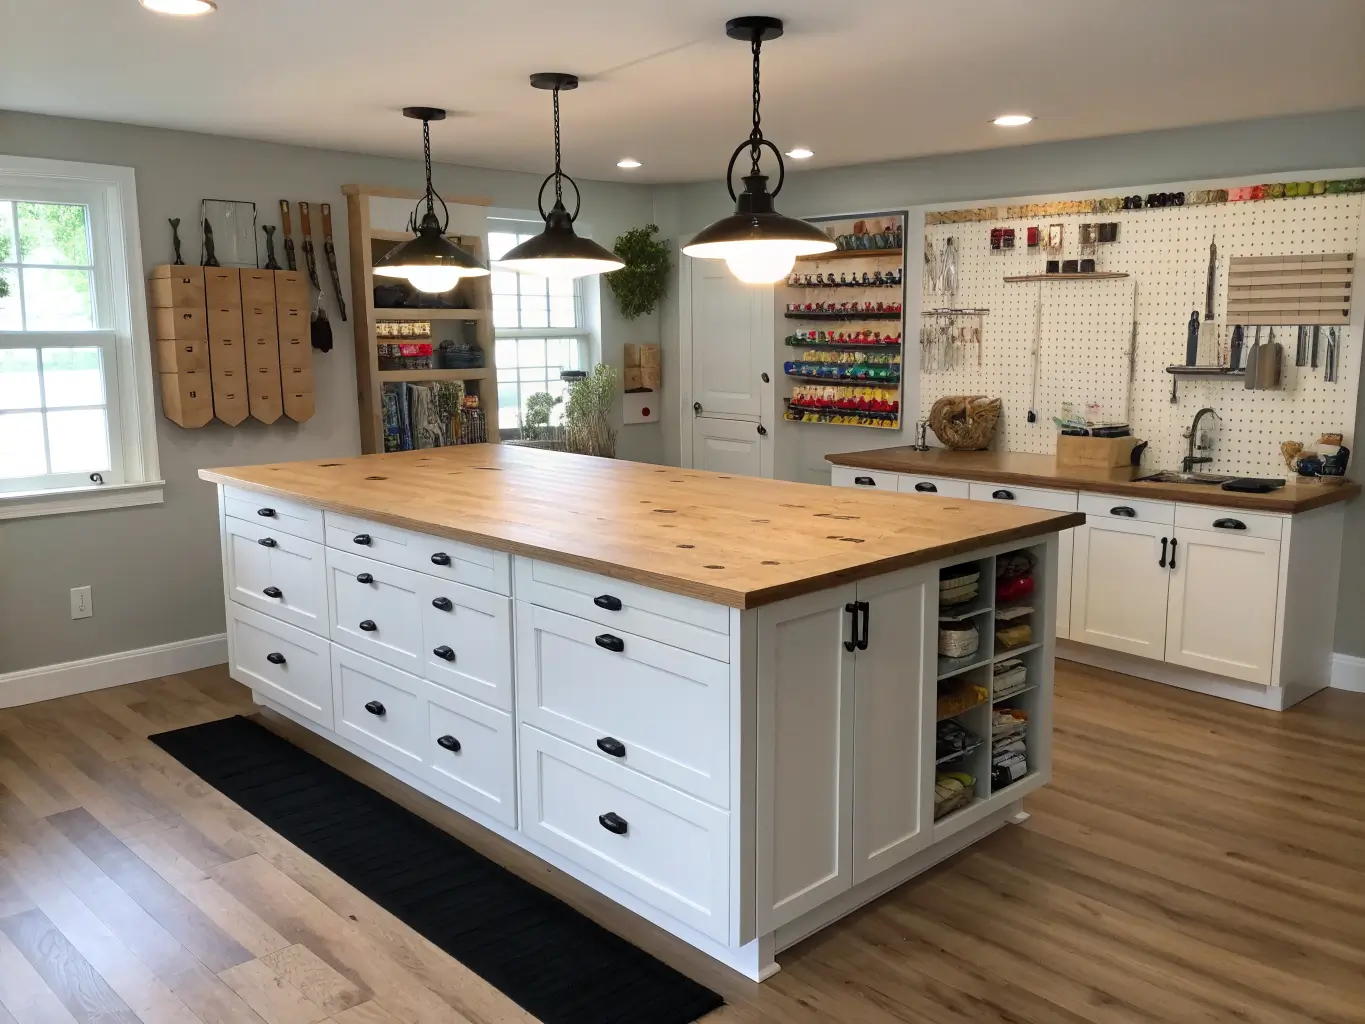
Pro Styling Tips for Visual Flow
– One flooring material throughout the room. Let rugs and furniture placement — not floor transitions — define your zones.
– Keep your most-used tools within a 60 cm reach arc from wherever you sit or stand most. If you have to get up for your scissors every five minutes, they’re in the wrong spot.
– Position your biggest piece — island, cutting table, main desk — so it’s accessible from at least two sides, with roughly 60 cm of clearance on each side for walking and turning with fabric or supplies in hand.
– Repeat one color family across storage, furniture, and accessories. This is the single fastest way to make a busy room look pulled together.
– Build one clear focal point — a full wall of pegboard, a shelf of neatly stacked fabric by color, a clean run of labeled bins — instead of scattering decorative objects around. The organization is the decor here.
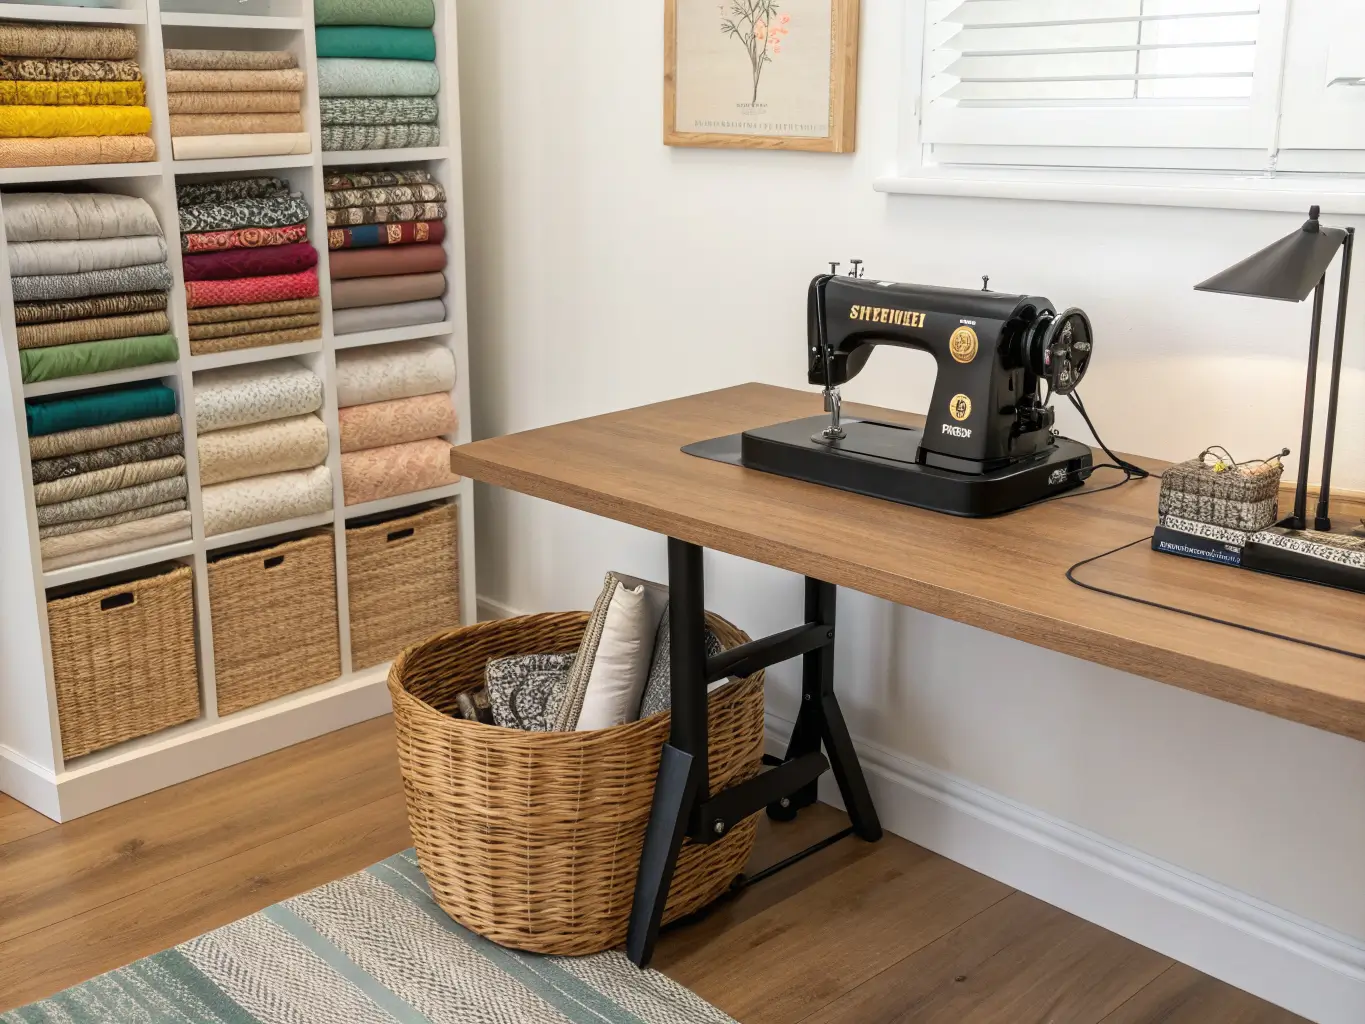
Setting Up the Room: Step by Step
Prep the space first
– Measure everything — windows, doors, outlets, any plumbing hookups, built-ins — before you buy a single piece of furniture. I skipped this once, bought an island that was 6 inches too deep for the room, and spent a Saturday returning it.
– Identify your actual zones based on what you make: cutting, sewing, painting/finishing, assembly, storage. Not every room needs all five — figure out yours.
– Clear the room completely. Place large furniture first — table, island, cabinets — before anything else goes in.
– Note where the natural light falls and put your main work surface there. If you’re painting or using adhesives, plan that zone near a sink or an easy-to-wipe floor if you can.
Build the layout
Step 1: Decide your primary craft and let that drive the floor plan. Everything else is secondary.
Step 2: Pick a layout that fits your room:
– Single-wall layout — best for small or narrow rooms, everything along one wall.
– L-shaped layout — good for corner setups and two related tasks (say, cutting and sewing).
– U-shaped layout — maximum tool access, works well when you’re rotating between several tasks constantly.
– Center-island layout — for larger rooms and high-volume crafting; the island becomes the workhorse everything orbits around.
Step 3: Place storage near where you’ll actually use it — not in one giant closet across the room. Thread and bobbins live near the sewing machine. Cutting mats and rulers live near the cutting table. Obvious once you say it, but most people default to one big supply wall out of habit.
Step 4: Layer your lighting — ambient overhead, task lighting at each work surface, and accent lighting if you want your supply wall to look like a feature instead of just storage.
Step 5: Finish with labels, bins, and visual grouping by category. This last step is what makes a room look curated instead of like a supply closet exploded.
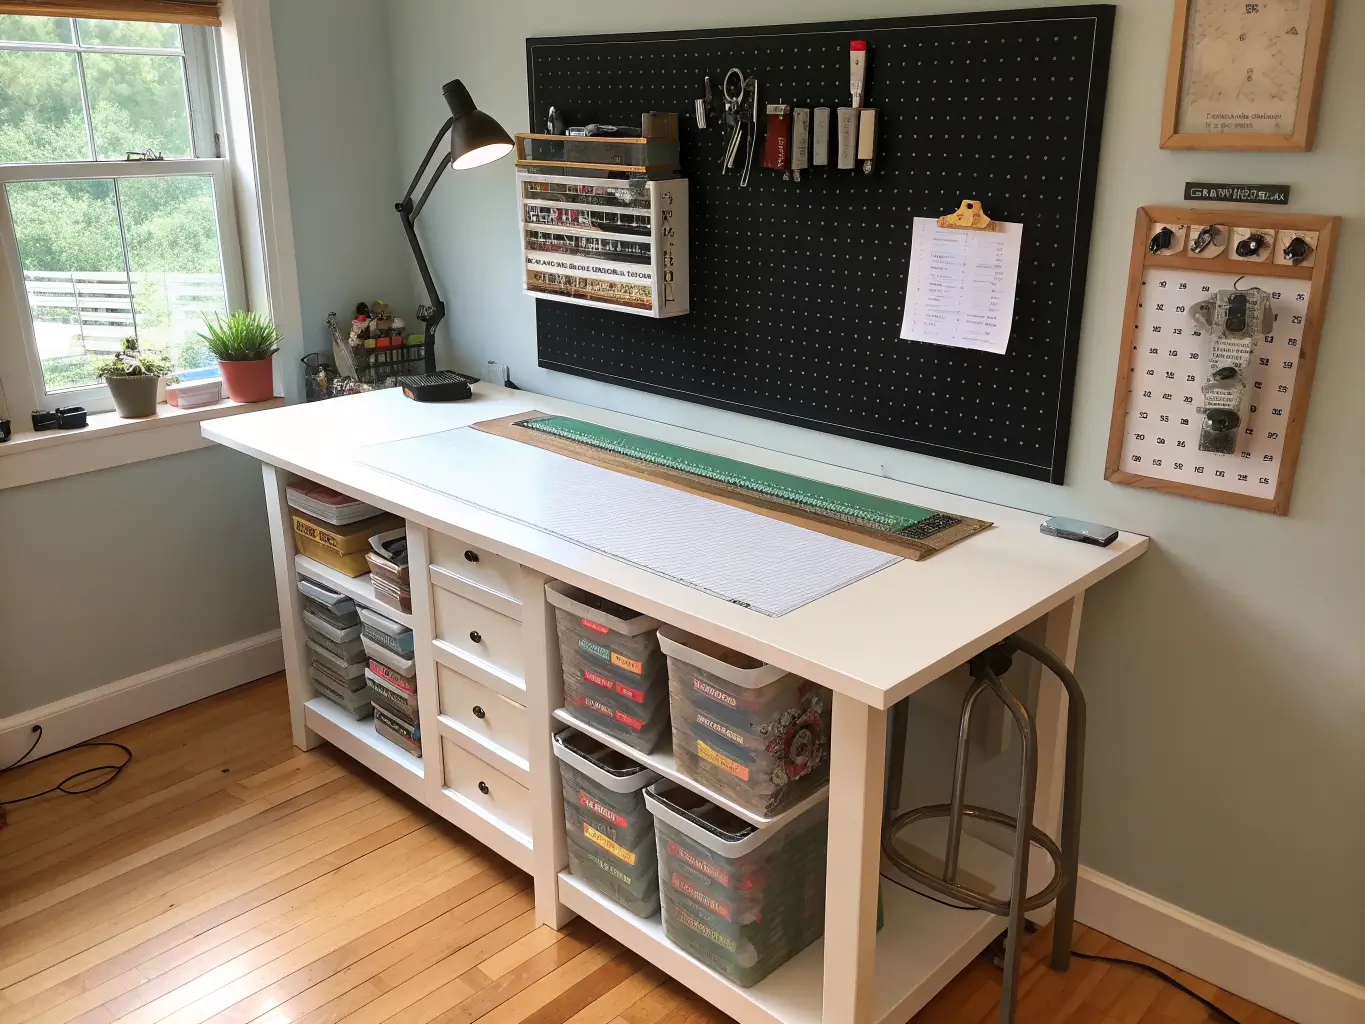
Common Mistakes That Sabotage a Craft Room
– Not measuring first. This causes more returns and regrets than any other single mistake. Measure twice, buy once.
– Choosing the look before the workflow. A gorgeous room that doesn’t match how you actually craft will frustrate you within a month.
– Ignoring clearance space. Give your main table real walk-around room — 60 cm minimum on at least two sides — or you’ll be squeezing past it with an armful of fabric constantly.
– Dumping all storage in one spot. Central storage sounds efficient but actually slows you down, because you’re walking back and forth for basic supplies instead of reaching for them.
– Under-lighting the space. Ambient light alone isn’t enough for detail work — cutting, sewing, painting all need dedicated task lighting or you’ll strain your eyes and make mistakes.
– Mixing too many colors and styles. Open or multi-zone rooms need a restrained, repeated palette or they read as chaotic no matter how organized the actual storage is.
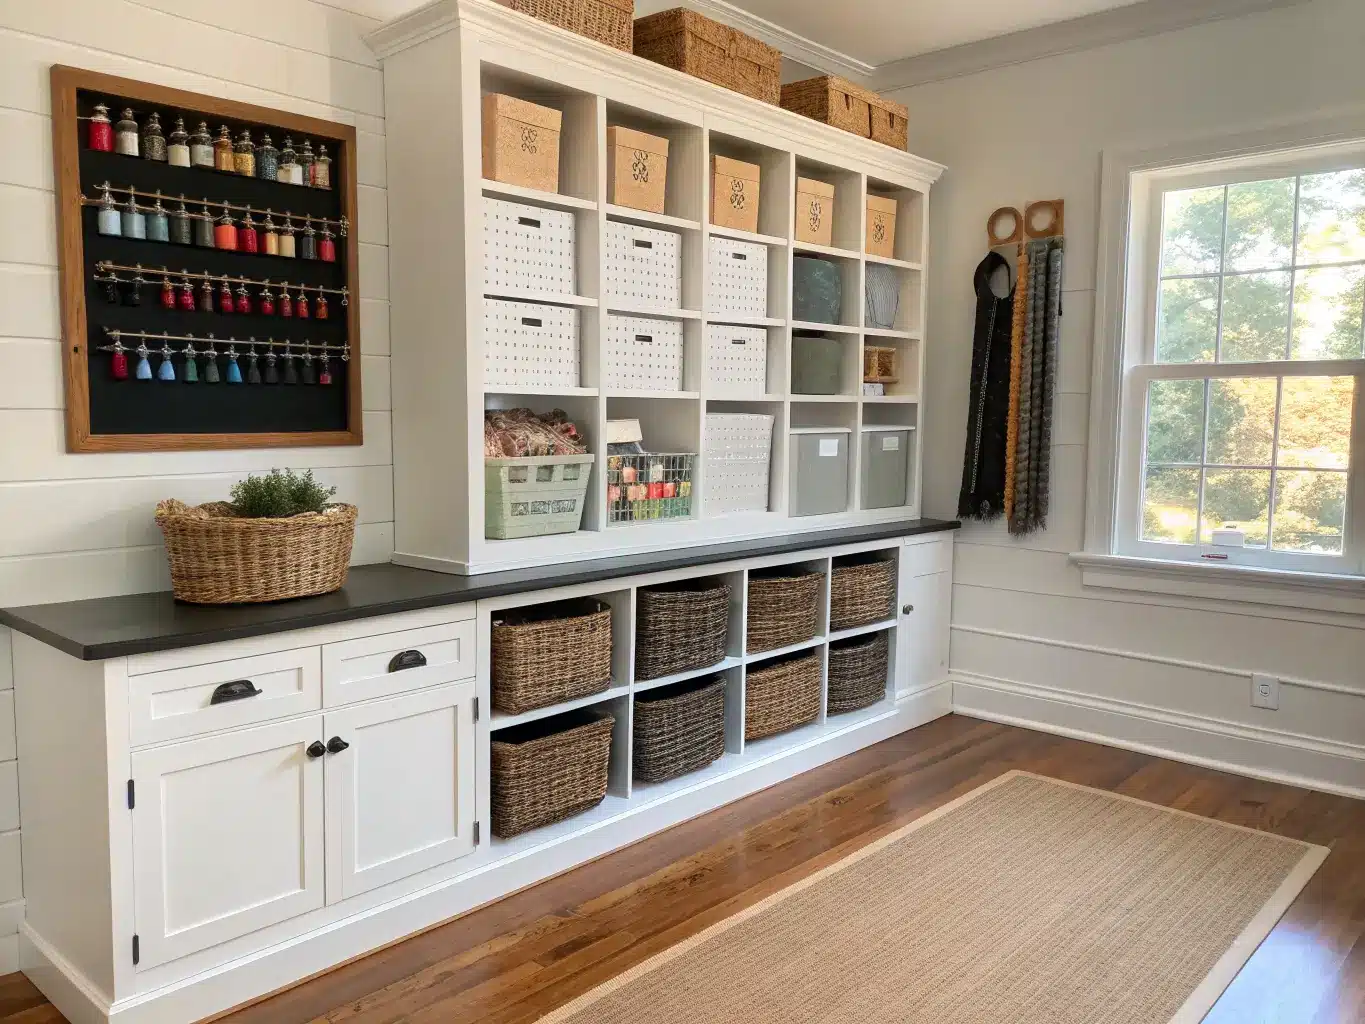
Keeping the Room Fresh Without Redoing It
Visual consistency matters more than variety here. Repeat your base palette across walls, storage, and furniture finish. Use closed storage for anything you don’t need constant access to, and reserve open shelving for what you actually reach for daily — otherwise the “pretty open shelf” becomes a dumping ground fast. Edit your display areas ruthlessly: one shelf for pretty supplies, one for active projects, one for reference material. That’s it.
In open-plan setups, let rugs, furniture backs, and lighting placement do the work of defining zones instead of adding walls or partitions you’ll regret later.
Seasonal and budget updates that don’t touch your layout:
– Rotate small things — ribbon colors, bin labels, a piece of art — rather than swapping furniture.
– Start with pegboard, wall shelves, and a folding table, then upgrade to custom cabinetry once you know exactly how you use the space. I wish I’d done this instead of buying “nice” furniture too early.
– Cross-purpose the room if you need to: craft room plus home office for hybrid households, craft room plus guest room using a fold-down table or a daybed with storage underneath, or craft room plus content studio if you’re photographing your work, with one wall kept clear as a background.
– If the room has to multitask, prioritize mobile pieces, vertical storage, and fold-away surfaces — a rolling cart beats a fixed cabinet, and a wall-mounted drop-leaf table beats a permanent desk when the room needs to become a guest room by Friday.
The floor plan is the whole game here. Get the zones and clearances right first, and the styling — the palette, the pegboard, the pretty bins — just becomes the finishing layer on something that already works.
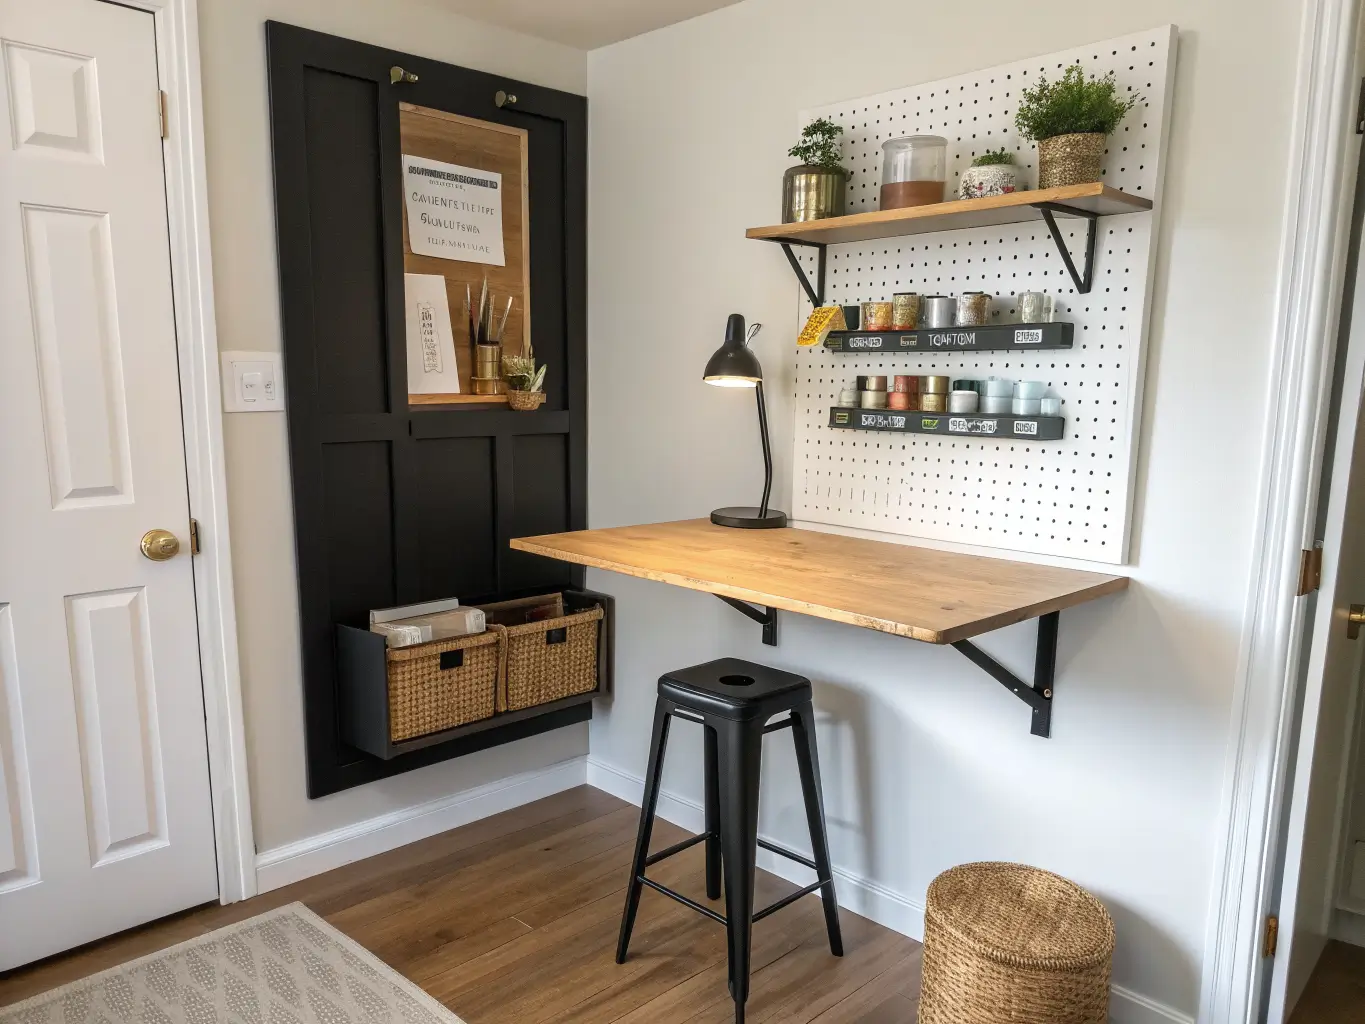
For another angle on this, my craft room design guide covers the same space from a different starting point.





