
Quick Style Snapshot Before You Start
Time: A basic combo — desk, table, some bins — comes together in a weekend. If you’re painting, building storage, or adding built-ins, budget 1 to 3 weeks, mostly waiting on paint to cure and flat-pack furniture to ship.
Cost: There’s a real range here depending on how far you take it:
– $300–$800 for a budget refresh — think IKEA Kallax units, a basic desk, and a stack of labeled bins
– $1,000–$3,500 for a mid-range setup with a bigger desk, modular storage, real task lighting, and a dedicated craft table
– $5,000+ if you’re going custom cabinetry, countertops, and built-ins
I landed in the middle range. My desk and Kallax shelving came to about $650, and then I dropped another $400 on a drop-leaf table for cutting fabric, which turned out to be the single best purchase in the room.
Space size: A small-to-medium spare room, guest room, or awkward flex room works fine. I’ve seen these done well in rooms under 100 square feet. Square footage matters less than how clearly you divide it.
Skill level: Beginner to intermediate if you’re working with ready-made furniture. Intermediate to expert if you’re adding built-ins or running new outlets for equipment.
Season: This is a year-round room, not a trend. Remote workers and makers need this space every week, not just during a Pinterest phase.
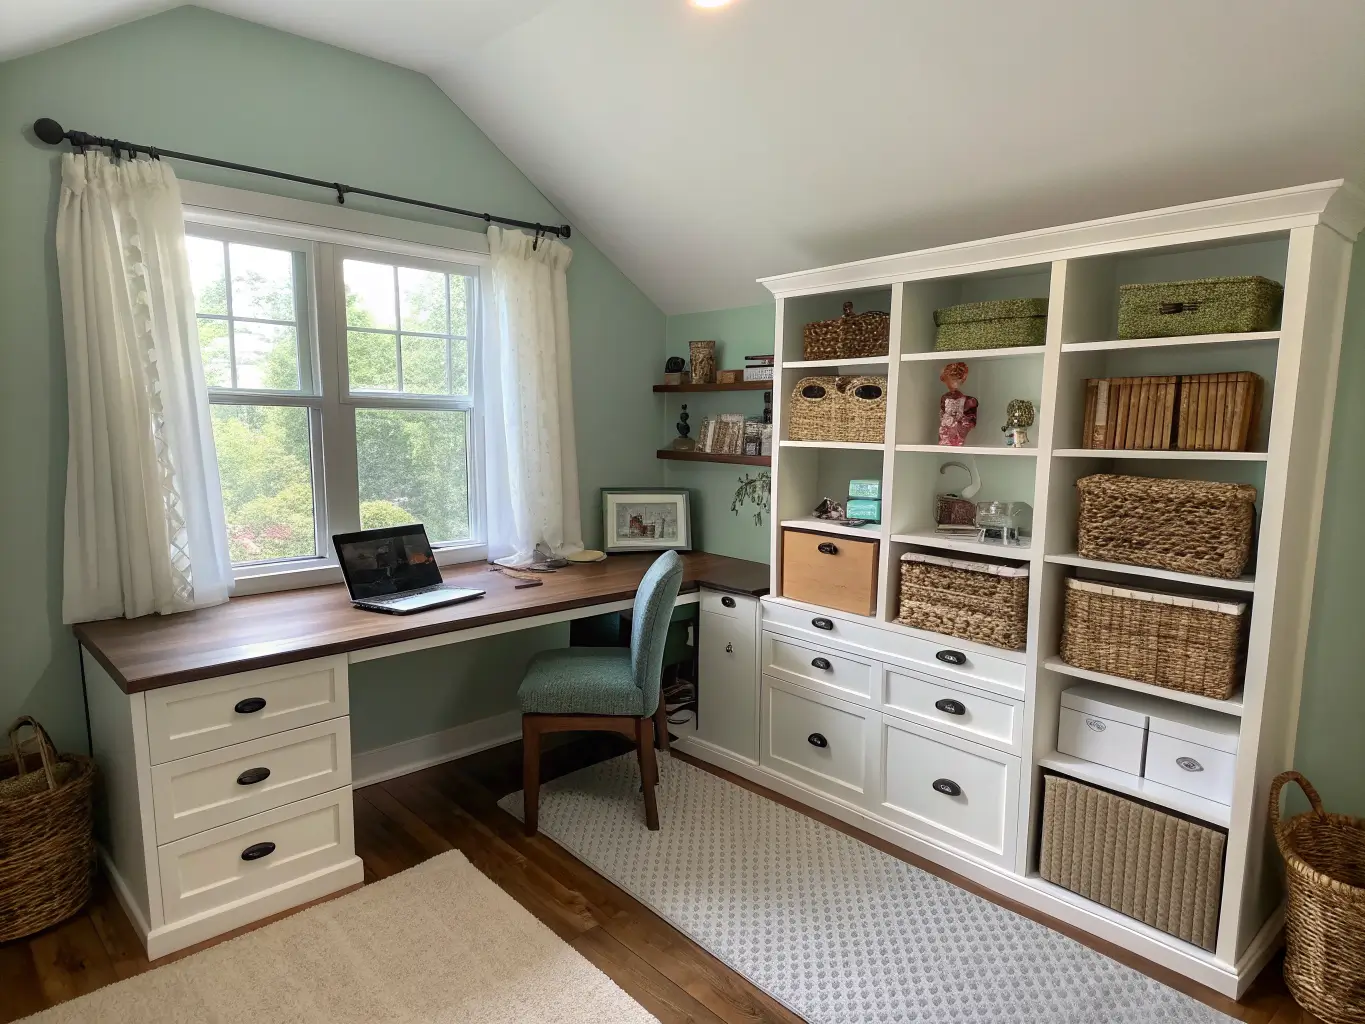
What Design Identity Actually Works Here
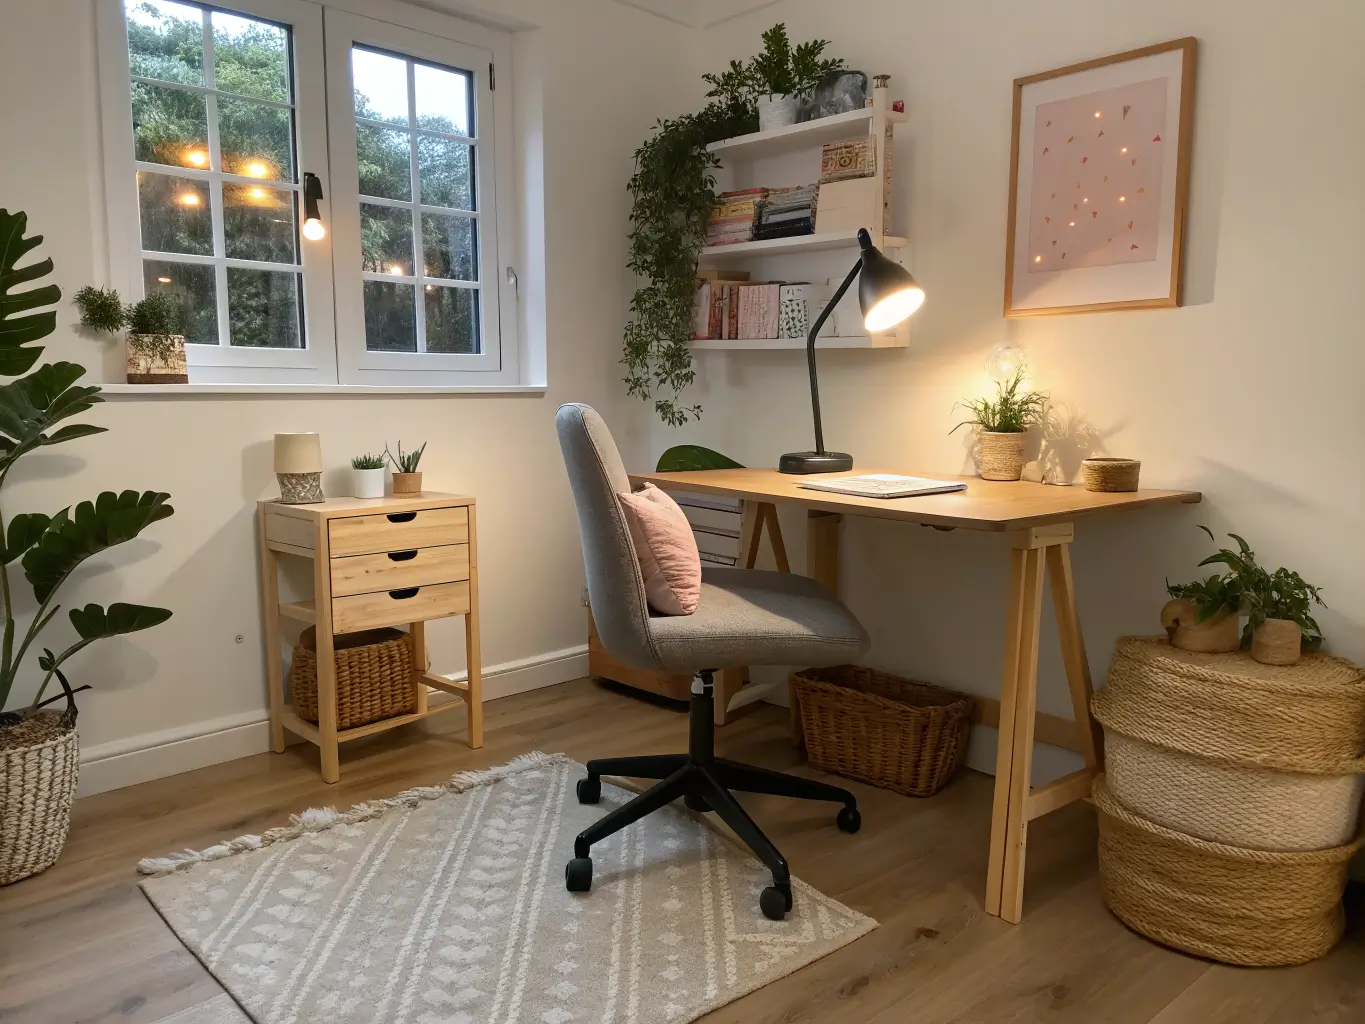
Most successful versions of this room lean modern functional or organized minimalist, with warmth added through natural wood tones, woven baskets, and a plant or two. That combination matters — pure minimalism reads cold and clinical for a room where you’re supposed to feel creative, but too much decor competes with the actual work happening on your desk.
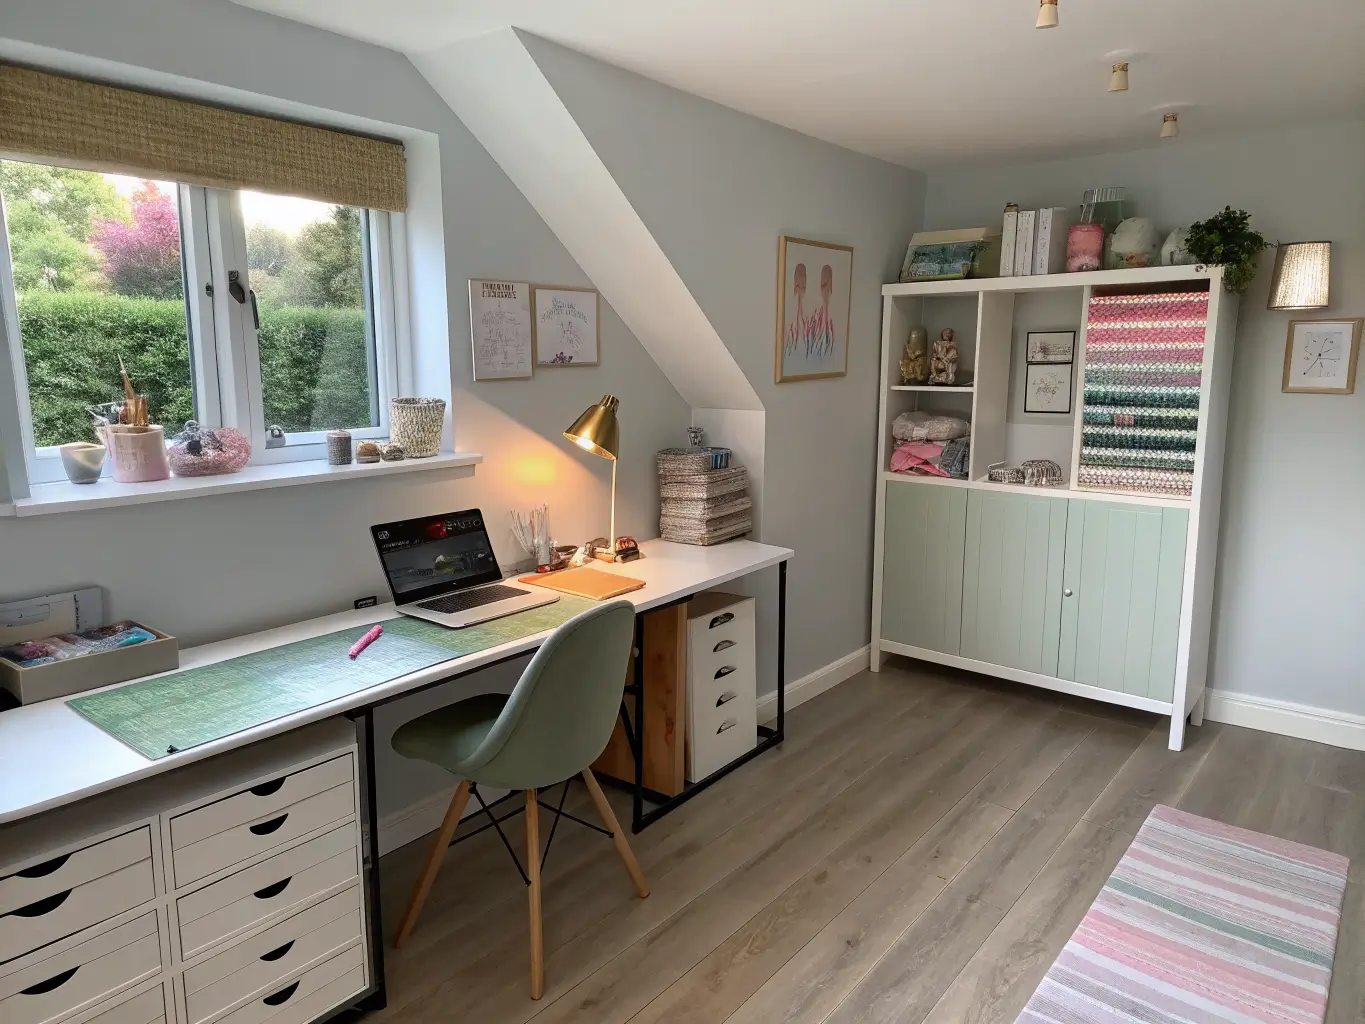
Palette that works: white or light gray walls, a dark wood desk or table for contrast, and one or two accent colors — soft blue, blush pink, or sage green show up constantly in the rooms that photograph well and function well long-term.
Materials that hold up: laminate or butcher-block desktops, painted cabinetry, wire or metal organizers, acrylic bins for small parts, and woven baskets for anything you don’t need to see daily.
This room is for remote workers who also sell on Etsy, sew, scrapbook, wrap gifts constantly, or run a Cricut business out of a spare bedroom. If you need a computer workstation and a hands-on project space, this is your layout. If you only occasionally craft, you probably don’t need the full combo — a closet organizer might do.
Where it works best: spare bedrooms, attic bonus rooms, basement flex spaces, and long narrow rooms where you can run an L-shape or parallel zones down the length of the space.
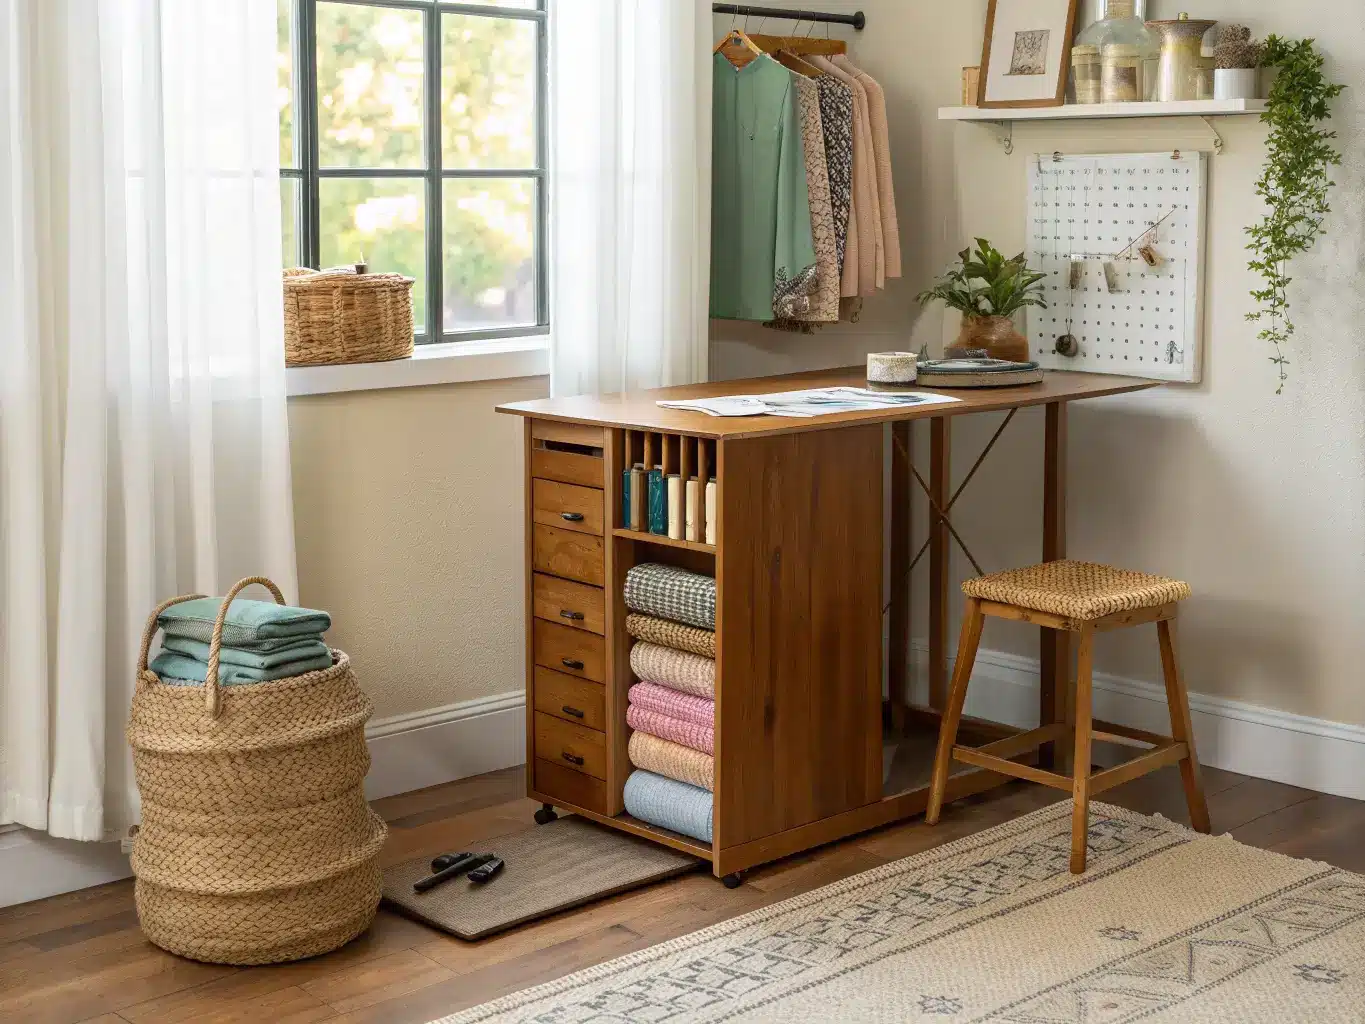
The Pieces That Actually Make This Room Function
Must-haves
– A primary desk or workstation — an L-shaped desk is worth the extra footprint because it physically separates “computer mode” from “craft mode” on two different surfaces of the same piece
– A real craft table — bigger than you think you need. I made the mistake of buying a 24-inch folding table first, thinking it would be enough for wrapping and cutting. It wasn’t. I upgraded to a 4-foot drop-leaf table (IKEA Ingatorp, about $150) and suddenly had room to cut a yard of fabric flat
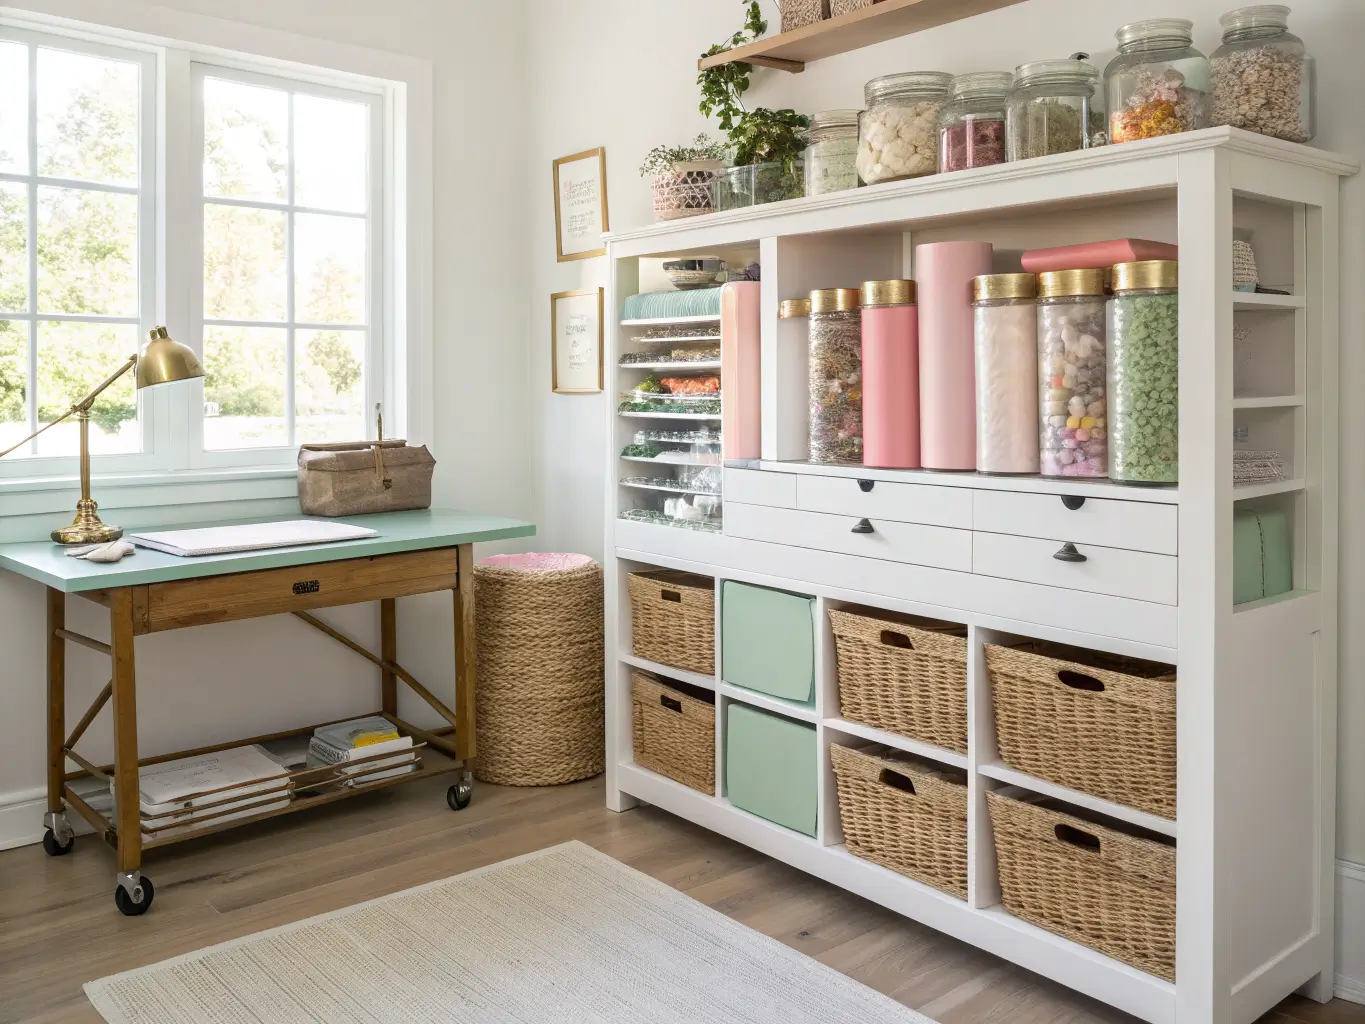
– Modular storage — Kallax cubes, Billy bookcases, and Alex drawer units show up in almost every version of this room because they’re cheap, stackable, and scale with you. I have two Kallax units flanking my desk, one with fabric bins, one with paper storage
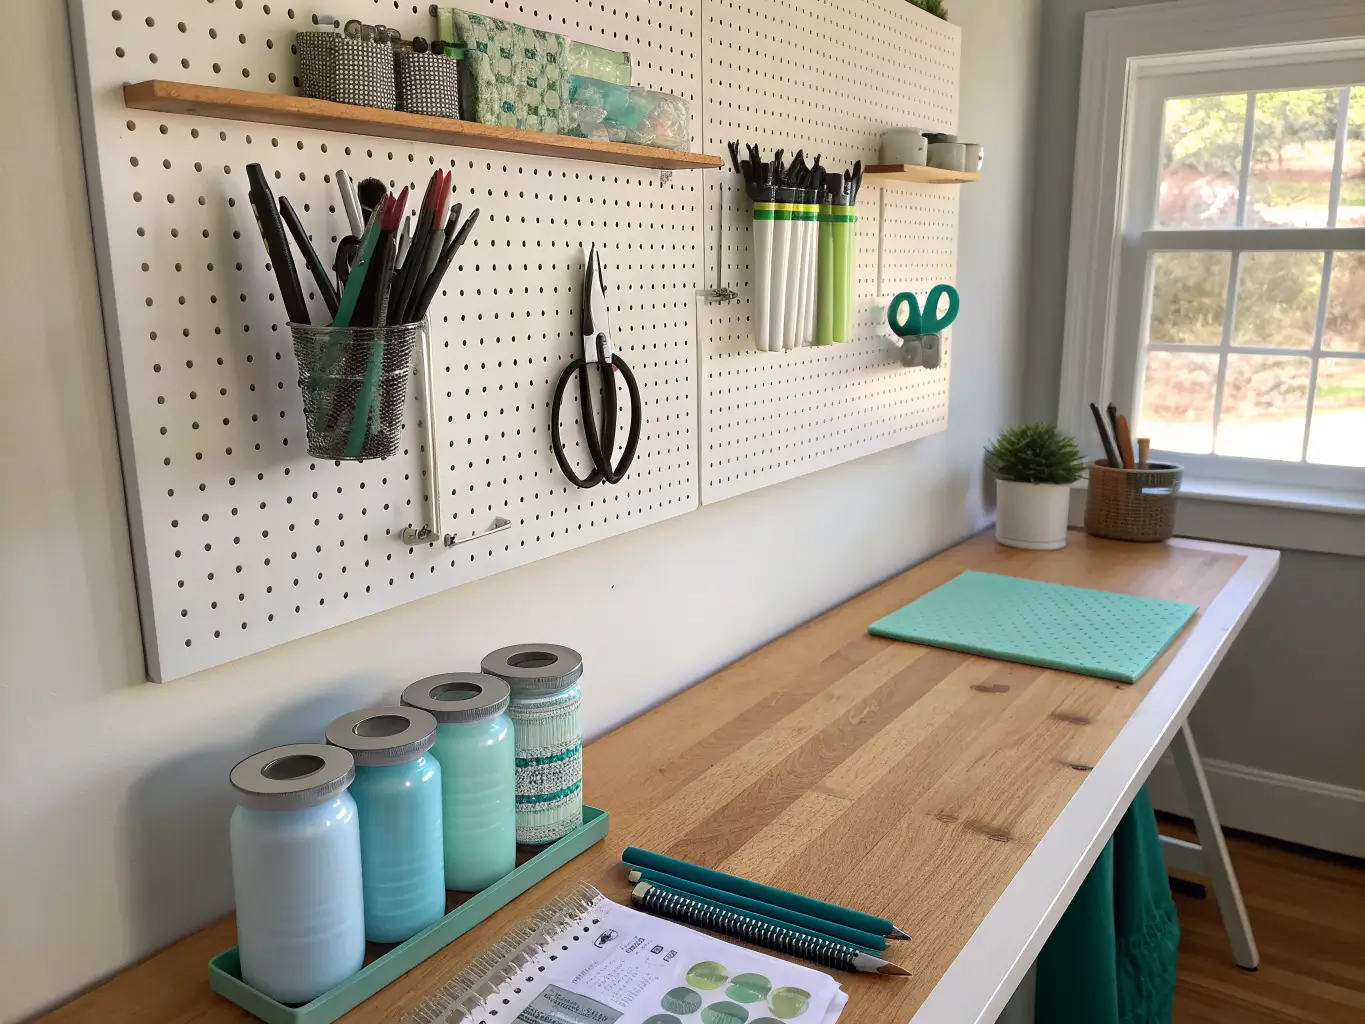
– Vertical storage — floating shelves and a pegboard keep frequently used tools visible without eating floor space. My pegboard holds scissors, rulers, and tape, all within arm’s reach of the craft table
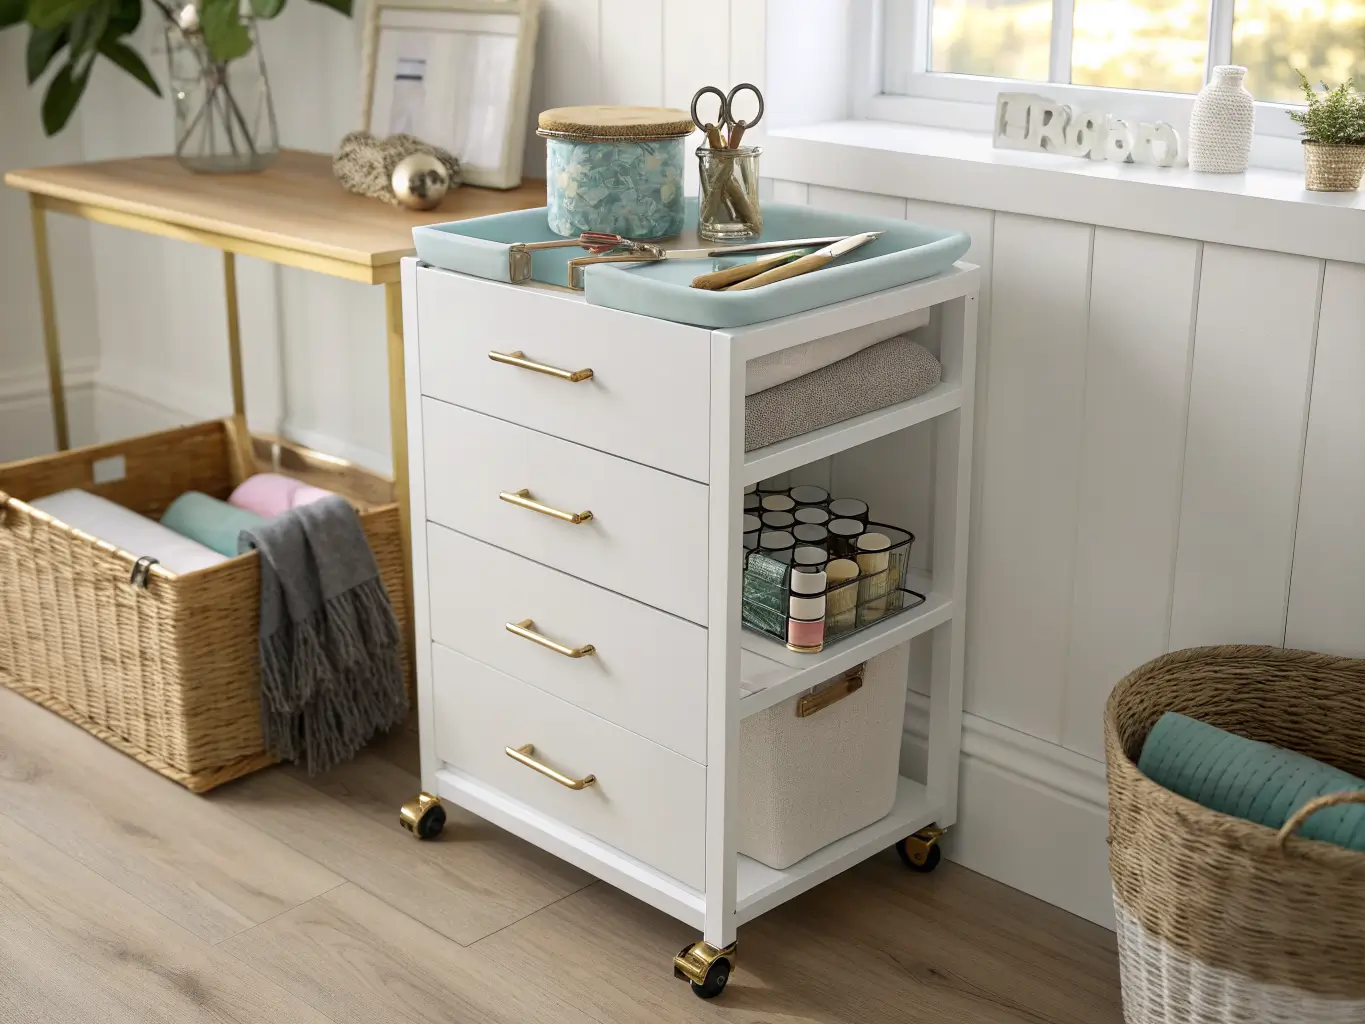
– A mobile cart — a rolling cart with 3 drawers means I can wheel my most-used supplies wherever I’m working that day, instead of walking back and forth to a shelf
– Two seating options — an ergonomic desk chair for computer work, and a lighter stool for the craft table that I can push in or move without thinking about it
– Layered task lighting — a good desk lamp plus a secondary light over the craft table. Craft work needs more direct light than typing does; you’re judging color and cutting precise lines, not just reading a screen
Nice-to-haves
– Plants — a snake plant or pothos on top of a bookshelf softens all that hard-edged storage
– Woven baskets and rattan bins for texture against the flat lines of shelving
– Brushed brass drawer pulls or a brass lamp — a small metallic detail keeps the room from feeling like a supply closet
– A small area rug under the craft table to visually anchor that zone
– Seasonal swap pieces — a decorative tray, a wrapping paper bin that only comes out in December — so you can refresh without redoing the whole room
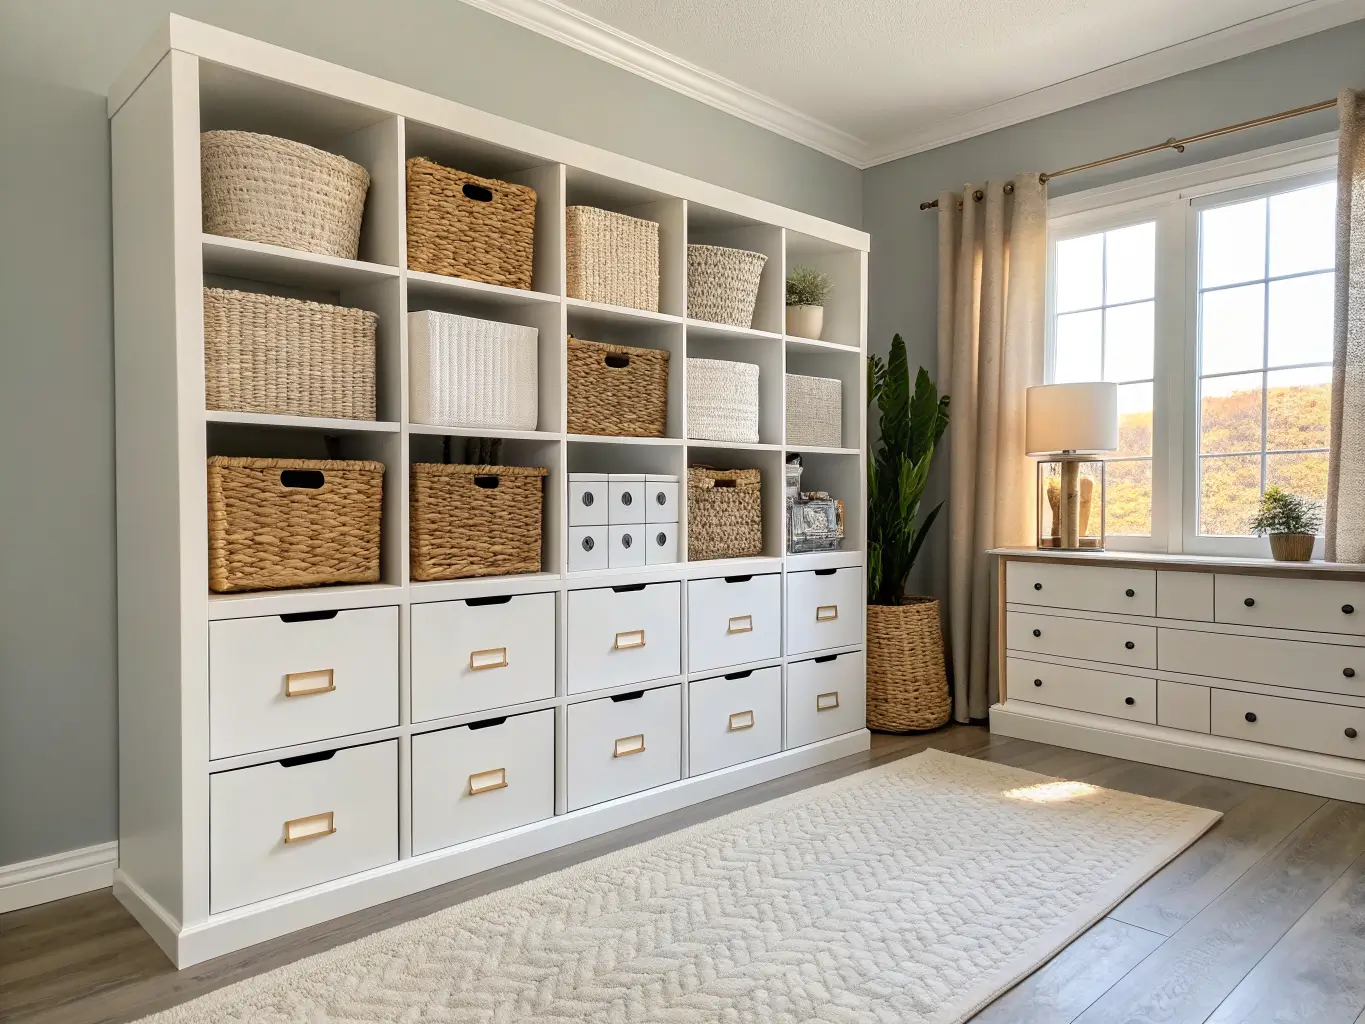
How to Put the Room Together
Start with zones, not decor. Before you buy a single bin, decide what gets priority: office work, crafting, or storage. I gave crafting the bigger share of floor space because that’s where I spend more hours, and it changed every decision after that.
Measure your pathways first. Door swings, closet access, walking lanes — map these out before placing furniture. I initially put my craft table where it blocked the closet door, and moved it exactly once before admitting defeat and rearranging the whole room.
Build it in this order:
1. Anchor the office zone — desk, chair, monitor, lamp, and a small file drawer or printer stand nearby
2. Build the craft zone — your bigger table, plus bins or drawers underneath it for immediate supplies
3. Add your storage wall — bookcases, cube units, or pegboard for everything else
4. Layer in visual order — matching labeled bins, one consistent basket style, a tight color story
5. Finish with personality — a mood board, one piece of art, a plant. Resist adding more than that.
One focal point, not three. Pick either a statement storage wall, a striking desk setup, or a centered craft table as the visual anchor. My storage wall is the focal point in my room — floor-to-ceiling Kallax with baskets in exactly two colors, white and a warm oat tone. Everything else stays quiet so that wall can do the visual work.
Balance open and closed storage. Open shelves for things that look good — fabric rolls, pretty notebooks, glass jars of buttons. Closed bins for the stuff nobody needs to see, like extension cords, printer paper reams, and half-used rolls of tape.
Place desks near natural light, but angle screens away from direct glare. My desk sits perpendicular to the window rather than facing it, which took me an embarrassingly long time to figure out after months of squinting at my monitor.
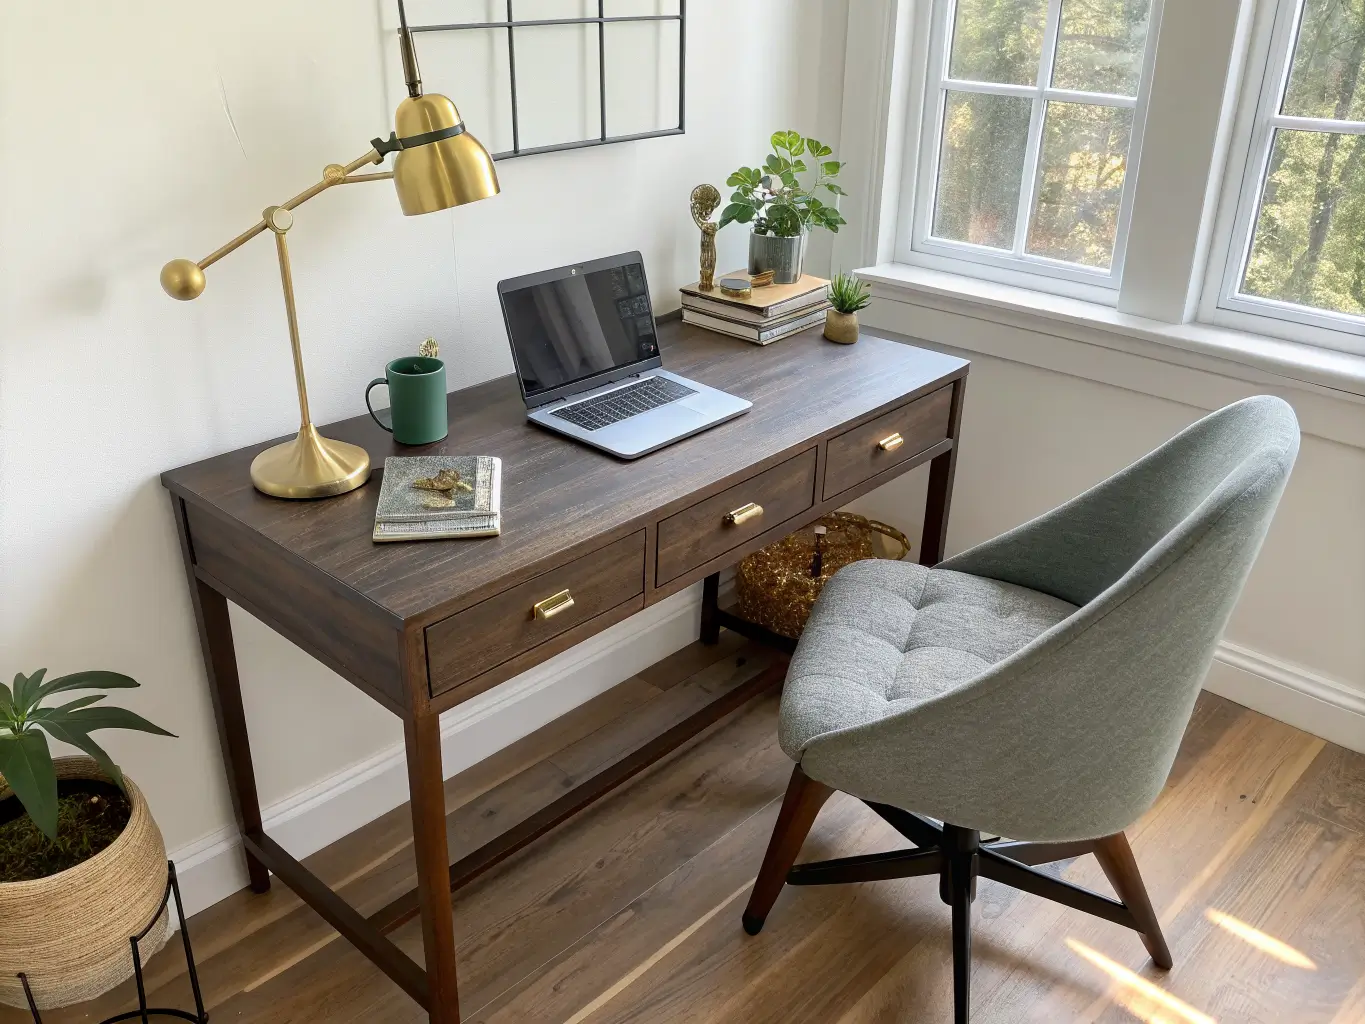
Where to Spend and Where to Save
Spend on:
– The craft table surface — you’ll touch it constantly, and a wobbly folding table gets old fast
– Task lighting — a $40 clip lamp with poor color rendering will drive you nuts when you’re trying to match paint or fabric colors
– Your desk chair, if you’re in it 6+ hours a day
Save on:
– Storage bins — unbranded bins from a container store work identically to designer versions
– Decorative accents — plants, art, and trays are easy to swap later, so don’t overspend upfront
– The mobile cart — a basic 3-drawer rolling unit does the job without a premium price tag
Common Mistakes I’ve Made or Watched Other People Make
– Buying a desk that’s too small. This is the single most common mistake in this room type. Go bigger than feels reasonable.
– Letting office and craft supplies mix on one surface. Clutter builds within days once staplers and glue guns start sharing real estate.
– Underestimating storage depth. Binders, fabric bolts, and paper reams need real depth, not shallow decorative shelving. I bought shallow floating shelves first and had to return them within a week.
– Relying only on ceiling light. Craft work needs direct task lighting — the overhead fixture in most spare bedrooms just isn’t enough.
– Overdecorating the actual work surfaces. Keep the desk and craft table mostly clear. Decor belongs on the walls and shelves, not where you’re trying to work.
– Ignoring cords and equipment needs. Printers, sewing machines, and chargers all need power that’s accessible but not a visual mess. A cord management box under the desk solved this for me for about $15.
Keeping the Room Looking Intentional Over Time
Stick to one storage family. Matching bins and baskets across every shelf make a room read as organized even when it’s holding six different categories of stuff. Mismatched storage is the fastest way to make an organized room look like a junk drawer.
Edit seasonal additions. Rotate in a few seasonal pieces at a time, not a full holiday takeover. I keep one small bin of wrapping supplies that comes out in November and disappears in January.
Keep the palette tight. White, one neutral, one accent color. That’s it. The moment storage starts multiplying in different colors, the room stops looking designed and starts looking accidental.
Leave surfaces mostly clear. The more a room has to multitask, the more important it is that your desk and craft table start each session empty.
Budget Updates and Easy Swaps
You don’t need to redo the whole room to keep it feeling fresh:
– Add new bins or drawer inserts instead of replacing furniture
– Swap pillow covers, art prints, or a single decorative object seasonally
– Try a minimalist office + cozy craft blend, or lean more modern farmhouse with wood tones and woven textures if your current look feels too sterile
– Choose modular furniture from the start so the room can shift — more crafting now, more office-focused later, without buying new pieces
My own room has shifted twice in two years, from mostly-office to mostly-craft and back again, and the only thing that made that possible was sticking with modular storage instead of anything built-in or fixed. The room adapts because I never locked myself into one configuration.
For another angle on this, my office craft room combo guide covers the same space from a different starting point.





