
An office craft room combo sounds simple until you’re mid-video-call with a hot glue gun visible over your left shoulder and a stack of unfiled paperwork buried under fabric scraps. I turned my spare bedroom into exactly this setup two years ago, tore half of it out after four months, and rebuilt it the right way. The difference between a room that works and one that becomes a landfill for half-finished projects comes down to one thing: zoning. Everything else is decoration.
What This Style Actually Is
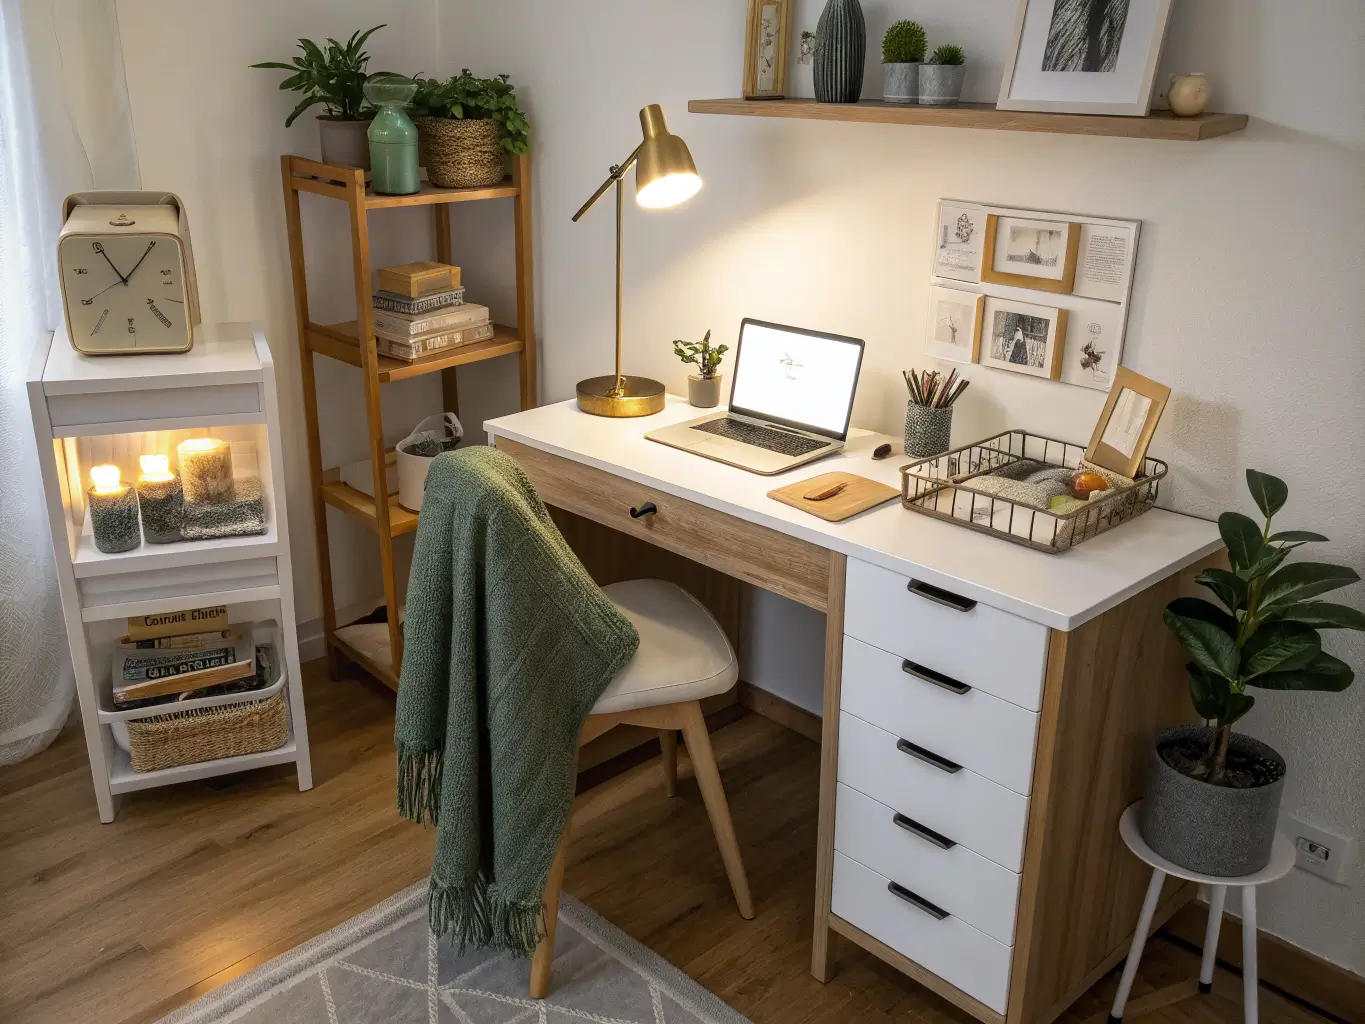
This isn’t a craft room that happens to have a laptop in it, and it isn’t an office with a junk drawer full of yarn. It’s a functional modern hybrid — think organized farmhouse meets Scandinavian minimalism, with enough personality that it doesn’t feel like a cubicle. White walls, light wood, a hit of green from actual plants, maybe soft gold hardware on the drawers. Clean lines, but not sterile.
It’s built for people living double lives in one room: the remote worker who quilts on weekends, the scrapbooker whose “office” is really a craft room with a laptop parked in it, the content creator who needs a desk and a place to store lighting gear and backdrop paper. If that’s you, keep reading.
Time investment: A weekend gets you a functional refresh — new bins, a shelf, some zoning. A full overhaul with proper storage and furniture takes 1–2 weeks, especially if anything needs assembly or you’re waiting on delivery.
Budget breakdown:
– Budget ($250–$800): A 6-foot folding table, wire shelving, clear bins, labels, a basic office chair. This is where I started.
– Mid-range ($800–$2,500): A long dual-purpose desk, modular shelving (Kallax units are everywhere for a reason), a filing cabinet, a chair that won’t wreck your back after month three.
– Higher-end ($2,500–$6,000+): Built-ins, custom cabinetry, dedicated task lighting, a storage wall that looks like it was designed by someone who does this for a living.
It works in small spare rooms, long narrow rooms, guest rooms doing double duty, and bigger bonus rooms. Square footage matters less than you’d think — clear zones matter more than square feet.
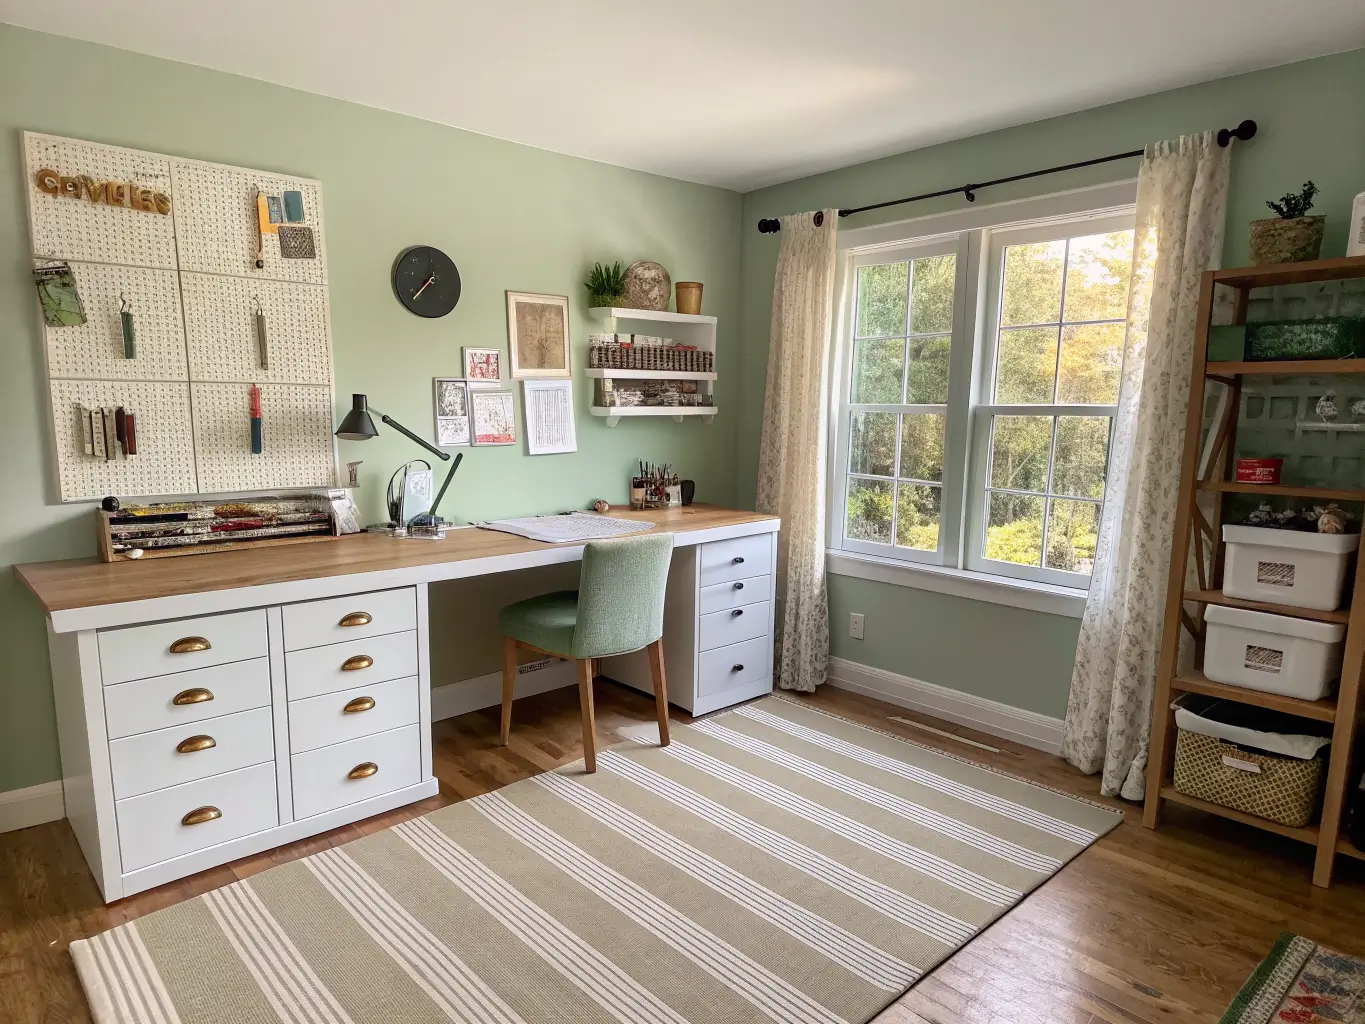
The Pieces That Make or Break the Room
The desk is your first decision, and it’s the one I got wrong initially. I bought a 42-inch desk thinking it was “enough” for typing and the occasional craft project. It wasn’t. Within a month I was cutting fabric on the floor because the desk was covered in cords and a monitor stand. I swapped it for a 6-foot table and never looked back. If you’re combining functions, go long or go L-shaped — you need enough surface for a keyboard on one end and a cutting mat on the other without playing furniture Tetris every time you switch tasks.
Beyond the desk:
– A dedicated craft table, separate from the desk if your room allows it. A 72″ x 50″ laminated worktable or a drop-leaf table (IKEA’s Ingatorp is a common swap) gives you a surface that folds away when you need floor space.
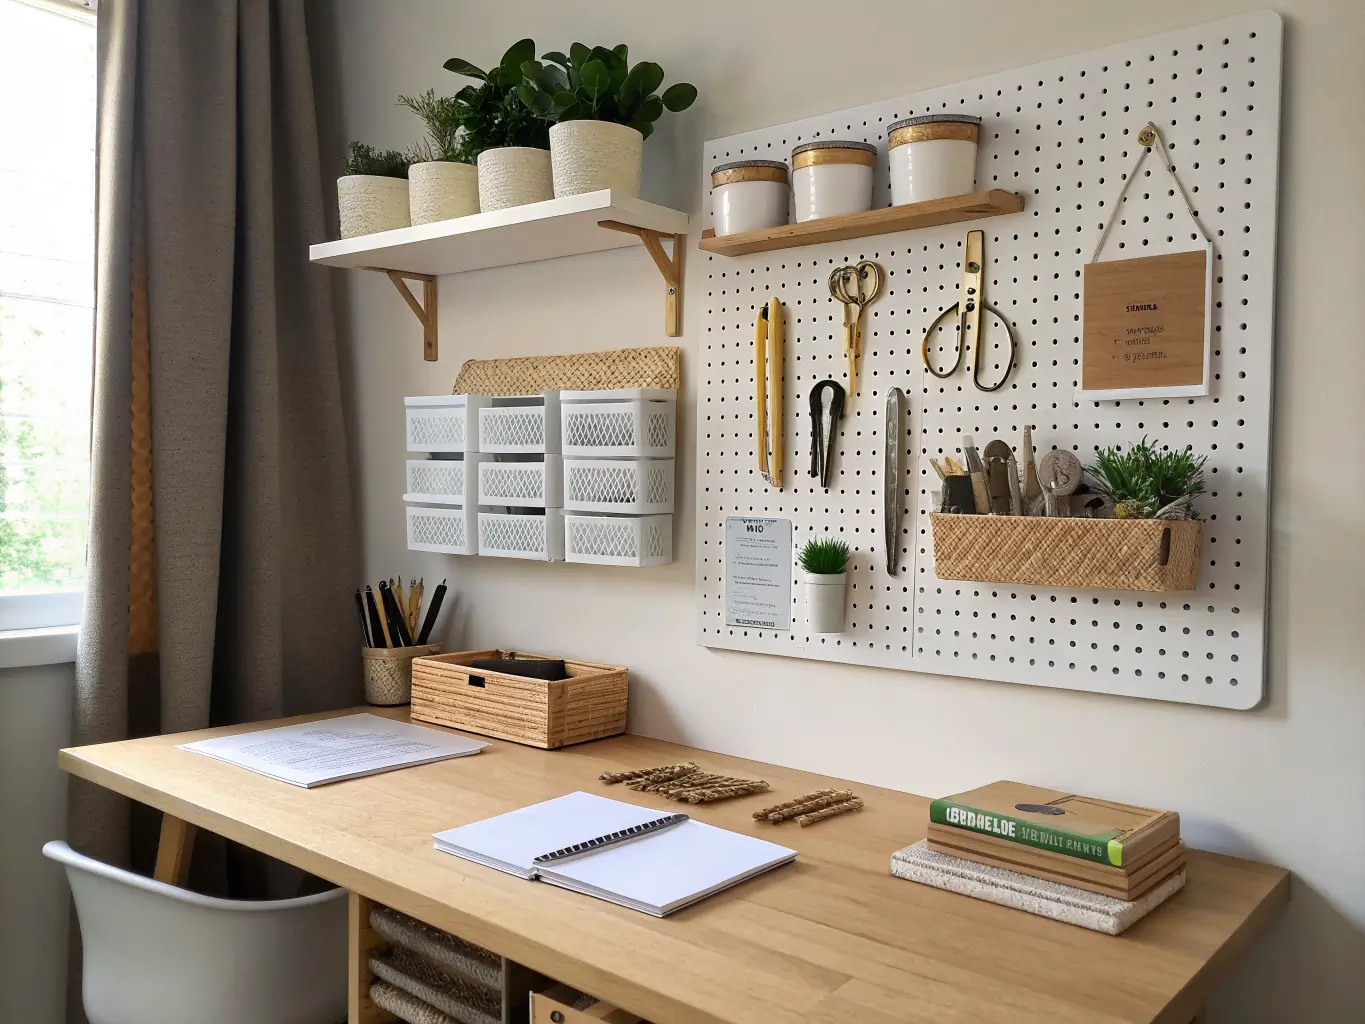
– Vertical storage — pegboards, floating shelves, wall rails. This is non-negotiable in a room doing two jobs. Floor space disappears fast; walls don’t.
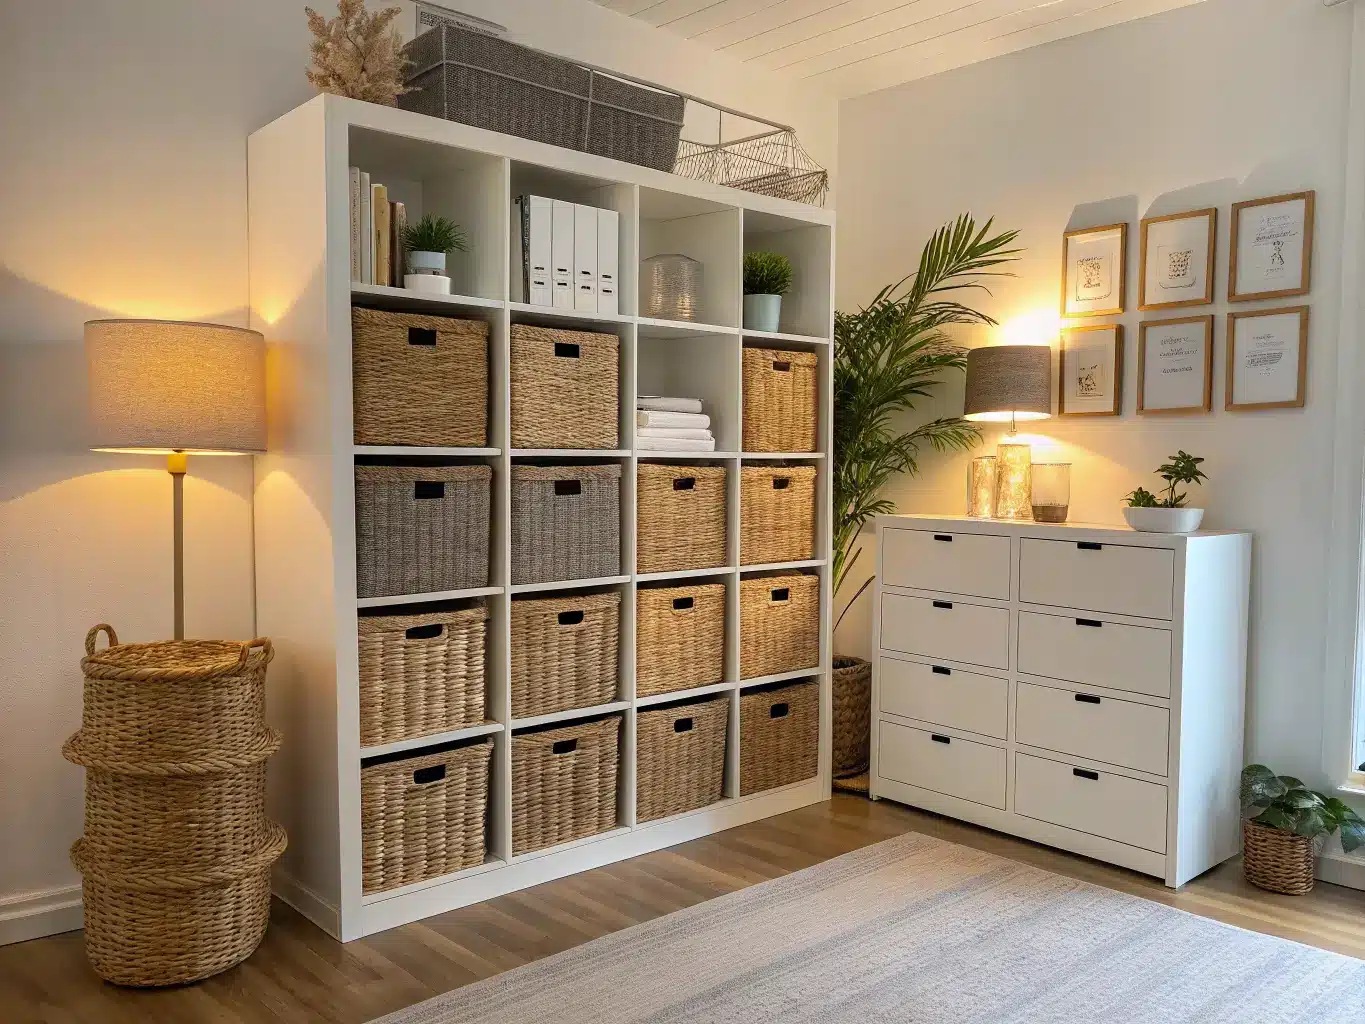
– Modular storage — Kallax cubbies, shallow cabinets, a filing cabinet, stackable bins. Paper goes in files. Tools go in bins. Everything needs an assigned address or it ends up on the desk.
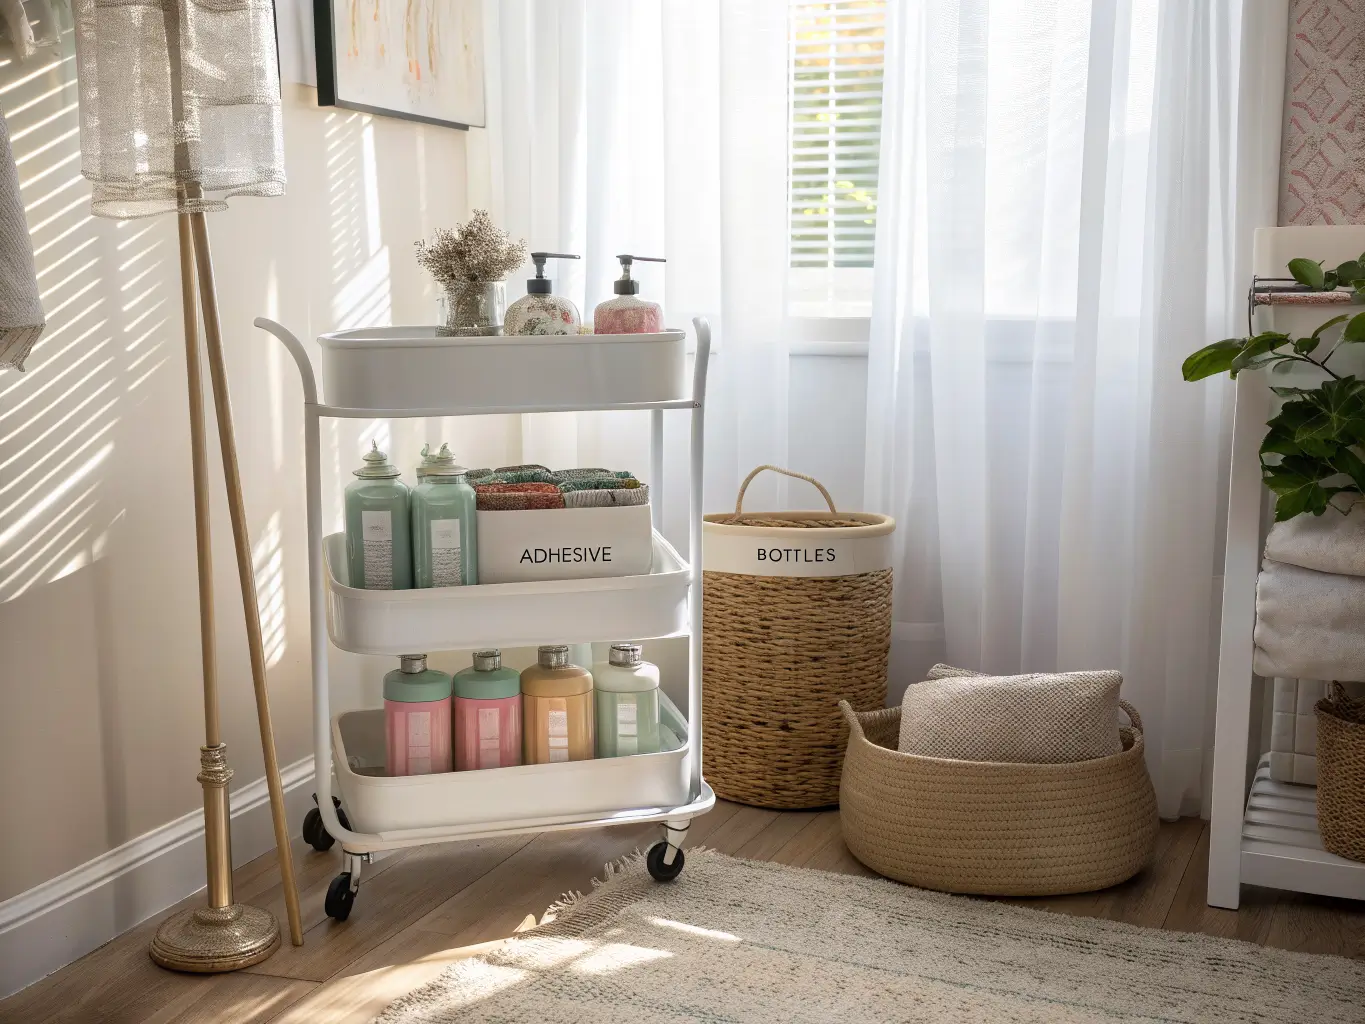
– A rolling cart for supplies that move between zones — mine holds paint and adhesives and gets wheeled wherever the project is happening that day.
– Two seating situations: an ergonomic chair for desk hours, a stool or rolling chair for craft time. Don’t try to make one chair do both jobs well. It won’t.
– Task lighting that handles both screen work and close-up detail work — a good desk lamp, positioned to kill glare, not add it.
– Clear bins, labels, drawer dividers. Labeling feels excessive until you’re digging through six identical bins looking for washi tape at 11pm.
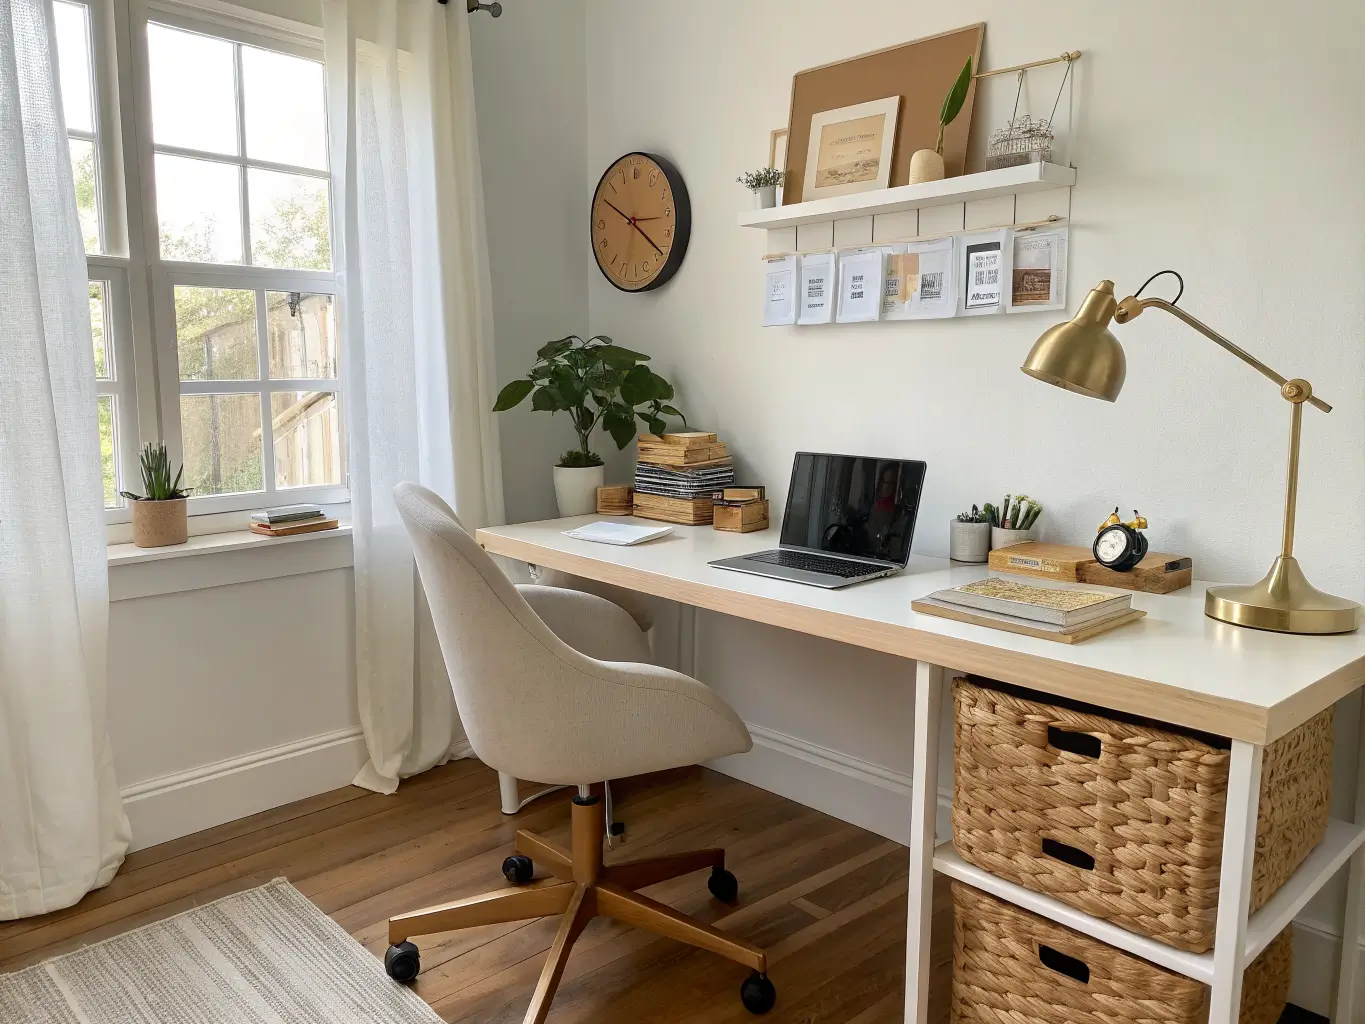
Optional Layer: What Makes It Feel Like a Room, Not a Warehouse
Once the function is locked in, this is where personality comes in.
– A rug under the craft zone visually separates it from the desk area without a single wall going up.
– Sheer curtains keep light bright without turning the room into a glare-fest during calls.
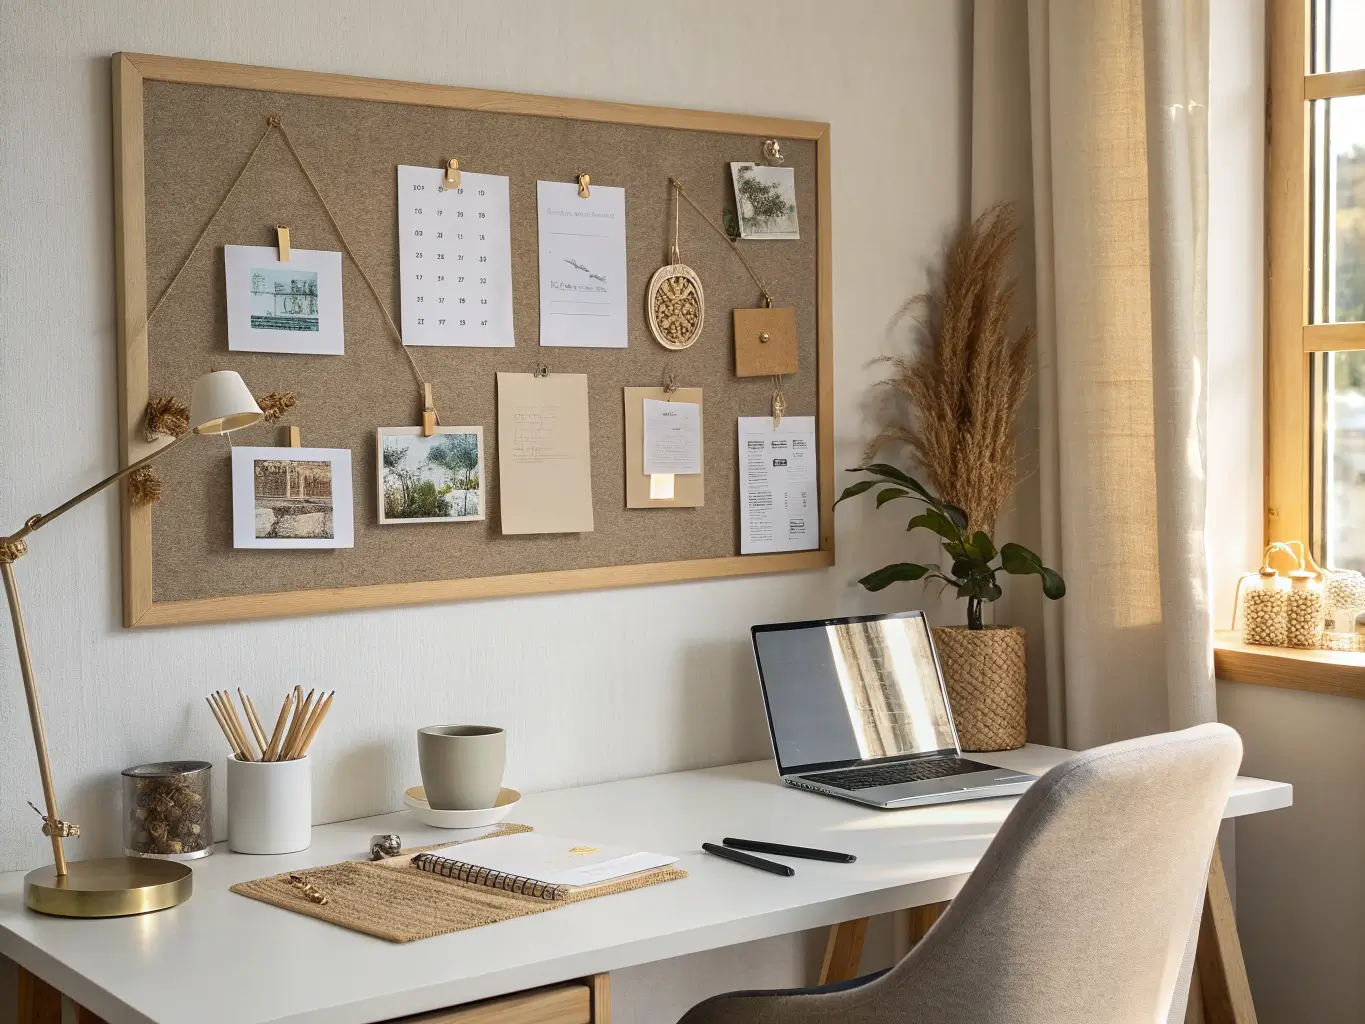
– A mood board or pin board on the wall behind the desk gives video calls something to look at besides a blank wall, and gives you something to look at when you’re stuck on a project.
– One real plant — I’ve got a pothos on top of my filing cabinet that’s done more to make the room feel alive than any of the storage did.
– Soft gold pulls on the drawers, a gold-rimmed clock, small details that keep the room from reading as “office supply closet.”
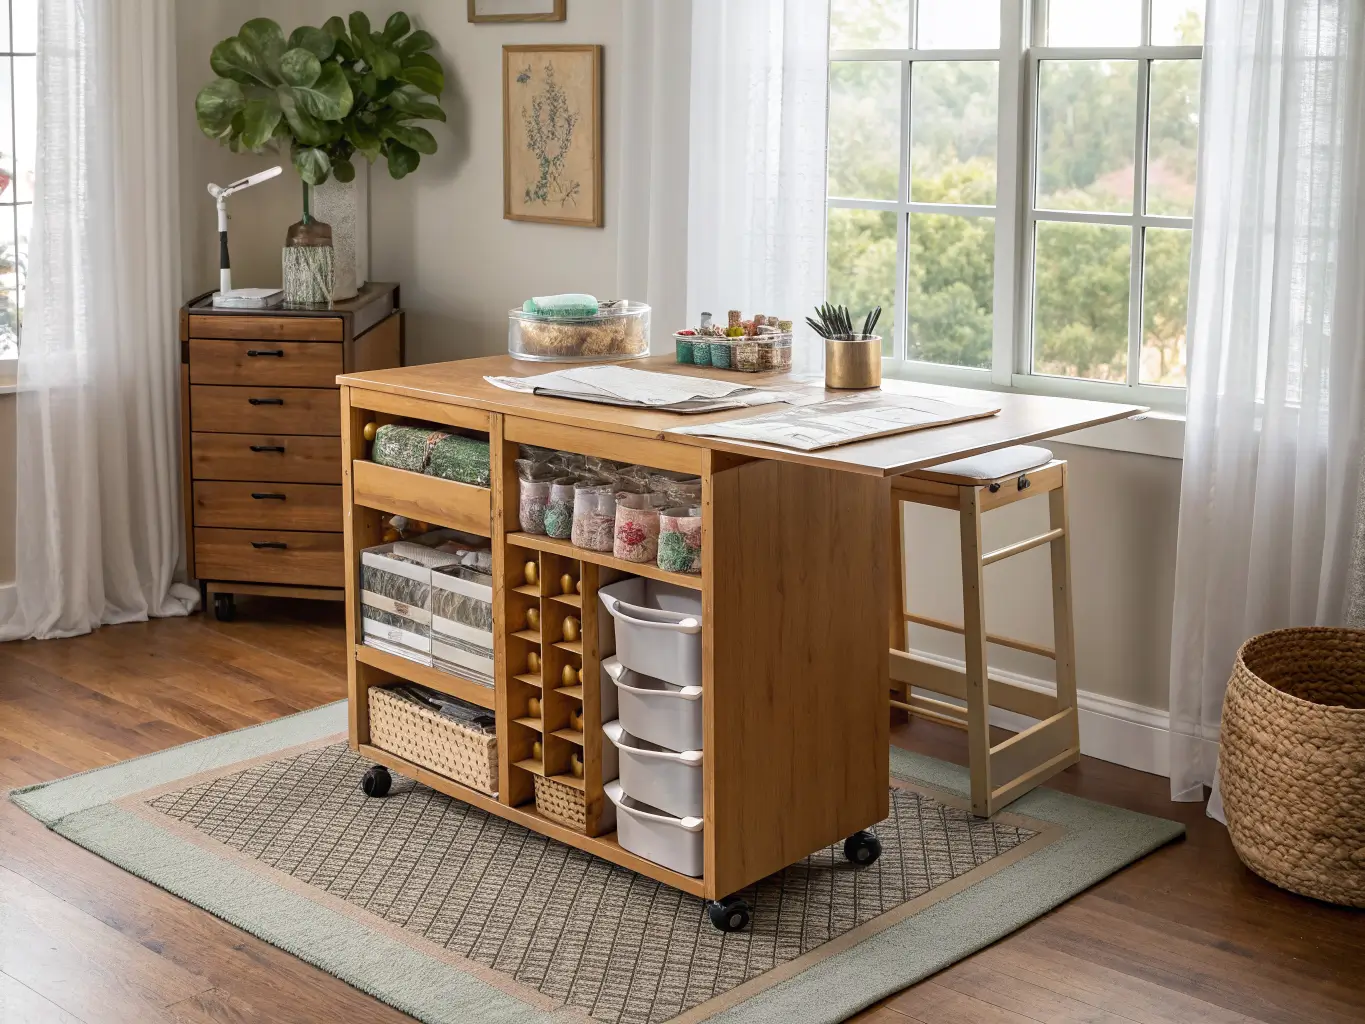
Pro Styling Moves That Actually Change How the Room Feels
Zone it like you mean it. Work zone, craft zone, and if you have the square footage, a small relaxation corner. This is the single most repeated piece of advice for a reason — it’s the difference between a room that functions and one that doesn’t.
Separate zones without building anything. A rug under the desk chair, a different rug (or none) under the craft table. Shelving that faces a different direction. Furniture angled to break sightlines. You don’t need drywall to signal “this is a different activity happening here.”
Desk near the window, angled away from direct glare. I learned this one the hard way after three weeks of squinting through every call before I turned the desk 90 degrees.
Mix open and closed storage. Open shelving looks great in photos and terrible in month two, once it’s collecting dust and clutter. Reserve open shelves and pegboards for stuff you use constantly — scissors, rulers, everyday pens. Everything else goes behind a door or in a labeled bin.
Repeat your finishes. Same basket style, same cabinet color, same hardware finish throughout. A room juggling two functions already has visual noise built in — don’t add more by mixing five different storage aesthetics.
Pick one hero surface. One big, clean tabletop reads better than three competing “features.” Let the desk or the craft table be the star; everything else supports it.
Setting It Up: The Actual Order of Operations
Before you move a single piece of furniture, sort everything by function. Office supplies, craft supplies, printer and paper goods, photography equipment if you’ve got it, and a pile of “genuinely don’t know” overflow. I did this on my living room floor with six different piles and it took an entire Saturday morning, but it’s the step that prevents you from just relocating chaos into a nicer room.
Then:
1. Place the main desk or worktable first. This anchors the whole room’s workflow — everything else gets built around it.
2. Add craft storage beside or behind the desk — cubbies, drawer units, a wall system.
3. Install pegboard or shelving above the work area for the tools you reach for constantly.
4. Add printer storage and hidden bins so the office side doesn’t visually take over the craft side (or vice versa).
5. Finish with the rug, the art, the mood board — the stuff that makes it feel like your room and not a showroom.
Keep walkways to closets and doors clear. Measure the room before you commit to a layout — long narrow rooms usually do better with parallel workspaces running along each wall rather than one central setup that blocks the path through.
Put daily-use items closest to where you sit. Occasional-use supplies — seasonal decor, backup ink cartridges, that fabric you bought for a project you haven’t started — go higher up, lower down, or in a bin you don’t have to look at every day.
Where People Get This Wrong
Skipping the zoning step entirely. This is the mistake I made first. I bought all the right furniture and just… put it in the room. No dividing logic. It looked like a storage unit within six weeks.
Going all-open storage. It photographs beautifully on day one. By week three, every open shelf is a landing pad for whatever you didn’t feel like putting away. Closed storage isn’t a compromise — it’s what keeps the room usable.
Designing for looks instead of workflow. If you sew, you need a cutting surface near your machine, not across the room. If you print and package products, your printer and shipping supplies need to be near each other, not scattered based on what looked good in a photo. Map your actual movements through the room before you finalize placement.
Undersized furniture. That 42-inch desk I mentioned? Classic mistake. A room doing two jobs needs surfaces sized for two jobs — long tables, drop-leaf pieces, modular setups that can expand when you need them to.
Too many colors and finishes. Pick two or three dominant tones — white, wood, one accent — and repeat them. A room with five different storage colors and three clashing metal finishes will feel chaotic no matter how organized the inside of the bins is.
Keeping It Looking Good Long-Term
Commit to a repeatable palette — white, gray, soft blue, dark wood, green, pink, soft gold, pick your two or three and stick to them across every bin, basket, and drawer front you buy from here forward.
Match your containers. A shelf of five different bin brands looks cluttered even when it’s technically organized. I standardized mine to one clear bin style from the same retailer and the whole room instantly looked calmer.
Edit what’s visible. Current project, daily tools, a couple of decor pieces. That’s it. Everything else lives in closed storage. I do a five-minute reset every Sunday night — put loose supplies back in bins, clear the desk — and it’s the single habit that’s kept this room from sliding back into chaos.
Refreshing It Without Redoing It
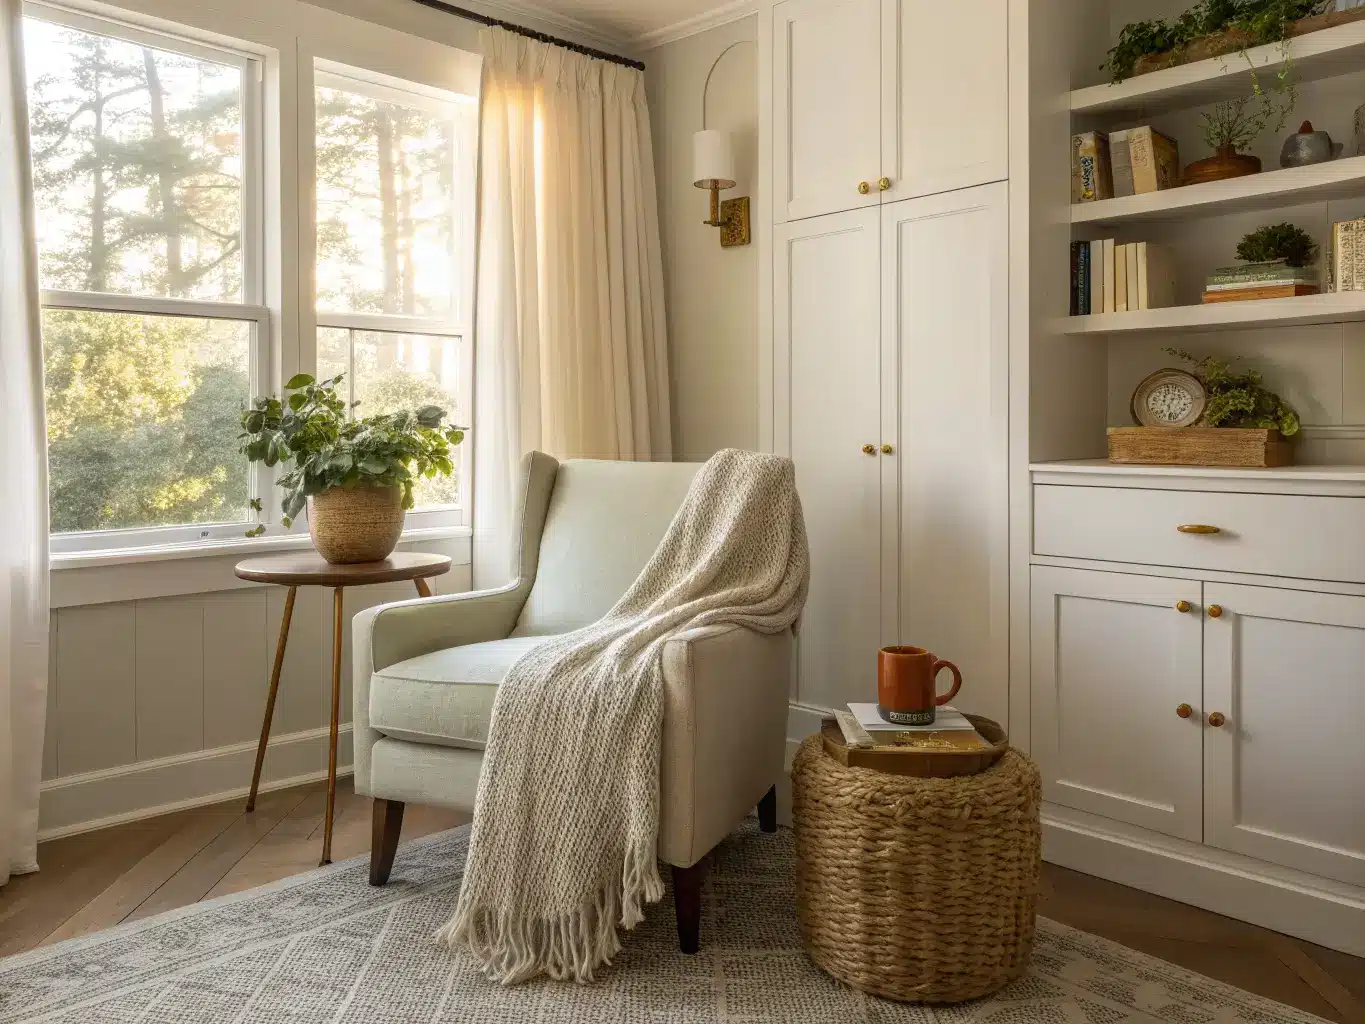
Seasonal: Swap textiles, small art prints, a bit of greenery. Don’t touch the furniture layout — it’s not broken, it just needs new accents.
Budget evolution: Start with the wire shelving and folding table setup. Upgrade piece by piece as budget allows — better desk first, then cabinetry, then built-ins if you ever get there. I’m three years into my setup and still swapping one piece at a time.
Variations to borrow from:
– Modern: white desk, pegboard, modular drawers, ergonomic chair.
– Farmhouse: wood tones, woven baskets, an antique side table doing craft storage duty, softer textures throughout.
– Scandi: light woods, white walls, minimal accessories, storage with clean lines and no visual clutter.
– Cozy creative studio: layered rugs, a full art wall, plants in every corner, a deliberate mix of closed and open storage.
The room that works isn’t the one with the prettiest pegboard. It’s the one where you can find your scissors, take a client call without moving a single thing, and still want to spend a Saturday in there making something.
Images to place (use all 8, in order): 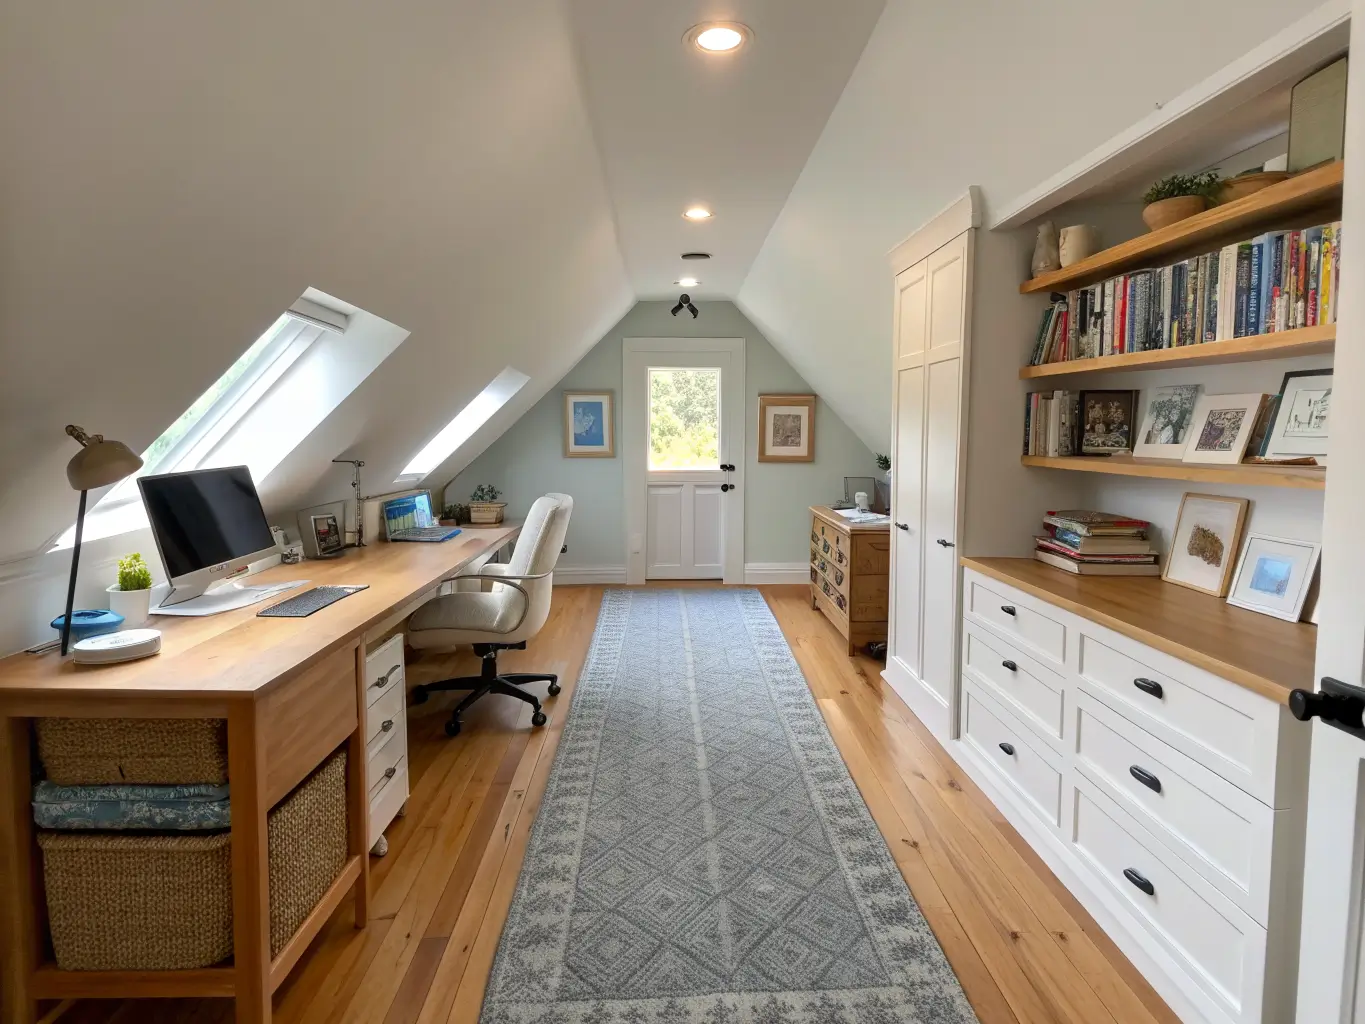
For another angle on this, my craft room office guide covers the same space from a different starting point.





