
Project Overview: Time, Cost, and What You’re Actually Building
Before you buy a single pillow, figure out which version you’re making, because “reading nook” covers a huge range of projects.
Time needed:
– A styled corner with a chair, rug, and lamp: 1–3 hours
– A built-in bench, shelving unit, or window-seat conversion: 1–2 full days
Cost range:
– No-build nook (chair, pillows, lamp, rug, baskets): $50–$250
– Custom built nook (bench, shelves, paint, trim, plywood): $300–$1,500+
I spent $140 on my first one — a $60 secondhand armchair from a Facebook Marketplace listing that smelled faintly of someone else’s dog (a few hours of febreze and sunlight fixed that), a $25 rug, a $35 floor lamp, and a $20 basket for books. The built-in version, done later in a different house, ran me close to $600 once I bought plywood, hinges, cushion foam, and paint — but it also gave us hidden storage under the seat, which the cheap version never could.
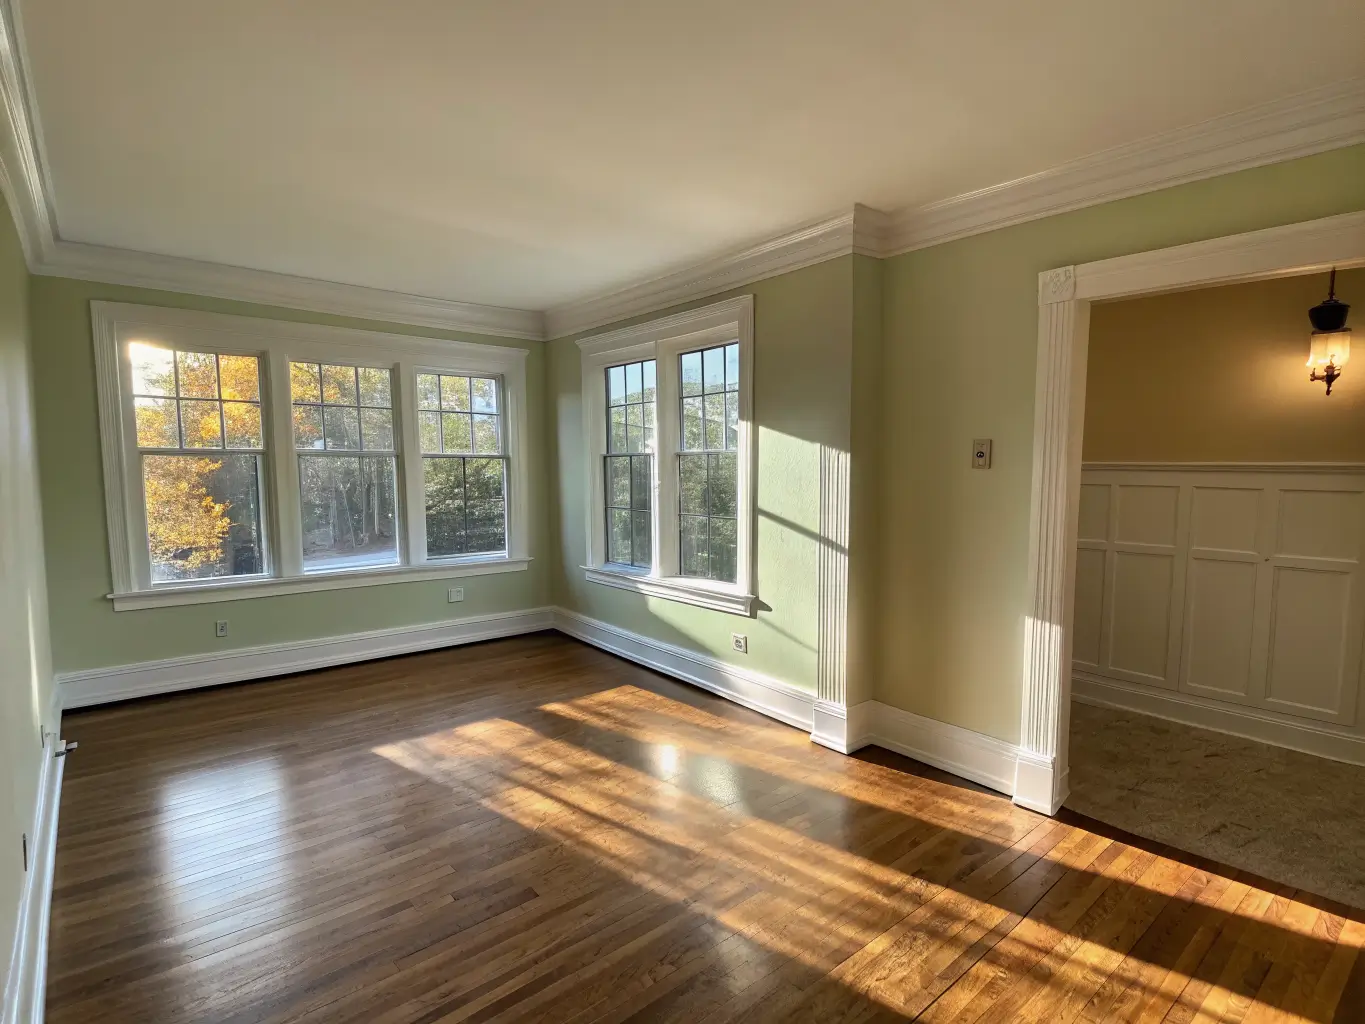
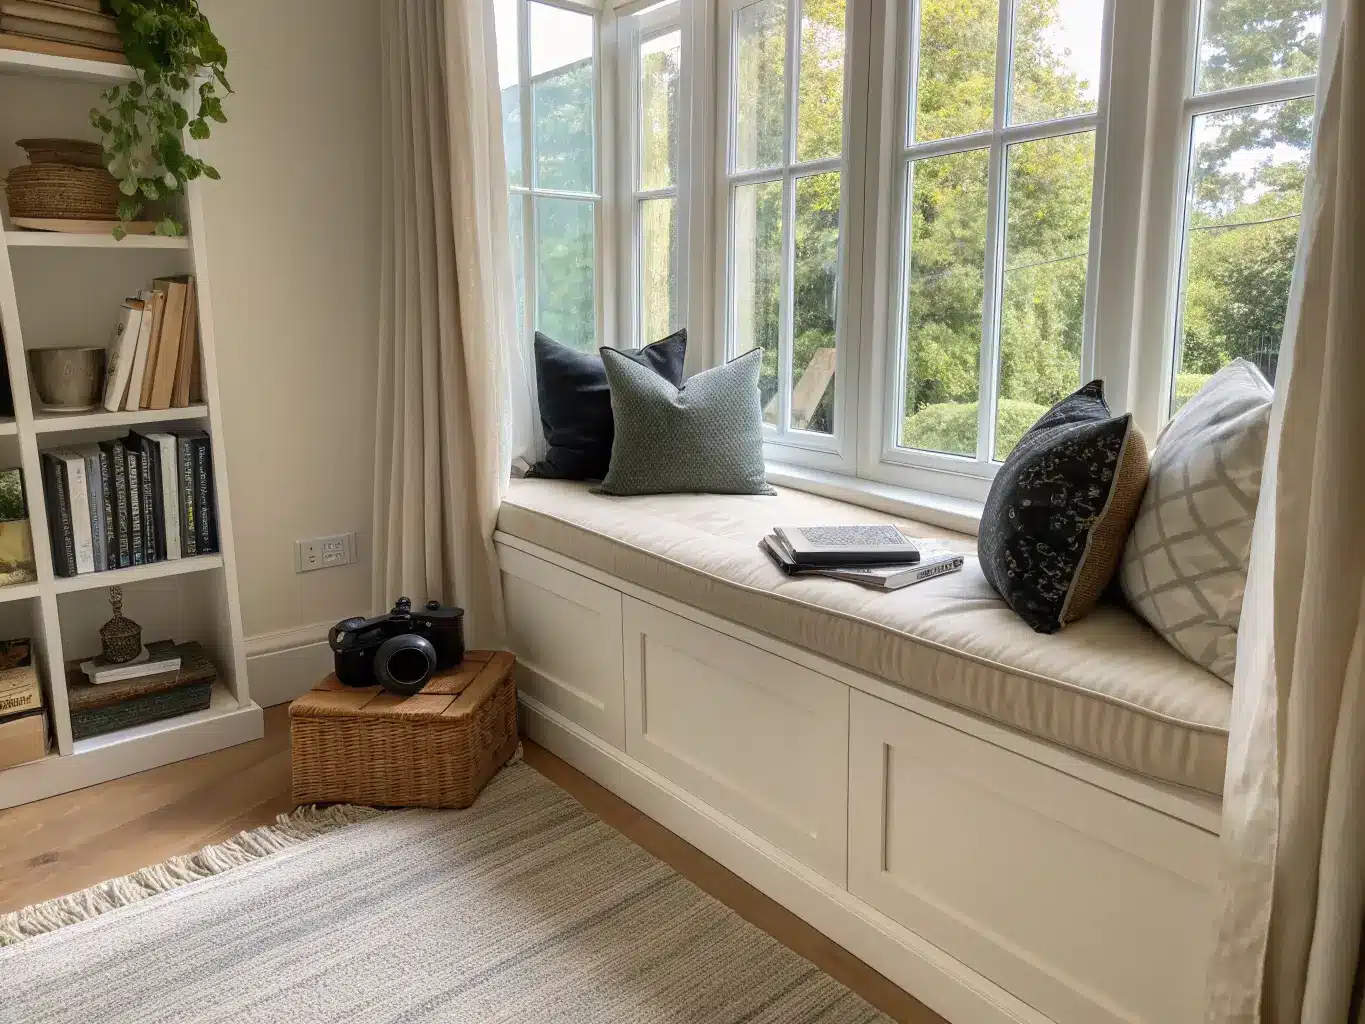
Space needed: You can make this work in a 4–6 foot wide corner. For a built-in bench or window seat, you want at least 16–24 inches of seat depth and 18–24 inches of clearance so a person can actually get in and out without kneeing the armrest.
Skill level: Styling a corner is beginner-friendly, full stop. Add shelving or trim and you’re intermediate. A structural bench with drawers underneath is intermediate-to-advanced — not because any single step is hard, but because a wobbly bench that supports a person’s full weight is a genuine safety issue, not just an aesthetic one.
This works year-round. I refresh mine with a heavier knit throw in January and swap it for lighter cotton by June, which costs nothing and takes ten minutes.
What Style Is a Reading Nook, Really?
Most reading nooks land somewhere between cozy-collected, boho, modern farmhouse, and earthy minimal. They’re rarely one strict style — they’re personal corners, which means they can bend rules that wouldn’t work in a more formal room.
The palette that keeps showing up, and the one I’d point you toward if you’re unsure: sage green, warm white, natural oak, soft taupe, and black or brass accents. It reads calm without being boring, and it photographs well against almost any wall color you’re already living with.
Materials that show up again and again: wood boards, plywood, MDF, shiplap panels, linen and cotton upholstery, jute or wool rugs, and rattan baskets. None of it is exotic or expensive — that’s the point.
This setup works especially well for:
– Renters who want a corner refresh without touching walls
– Parents building a kids’ literacy zone
– Anyone with an awkward alcove, old TV niche, or under-stair gap
– Book lovers who want a spot that isn’t the couch
Best rooms for it: bedrooms, living rooms, guest rooms, nurseries, hallway dead-ends, and under-stair triangles that otherwise just collect dust.
The Essential Pieces You Actually Need
Hero seating
Your nook lives or dies by the seat. Pick one:
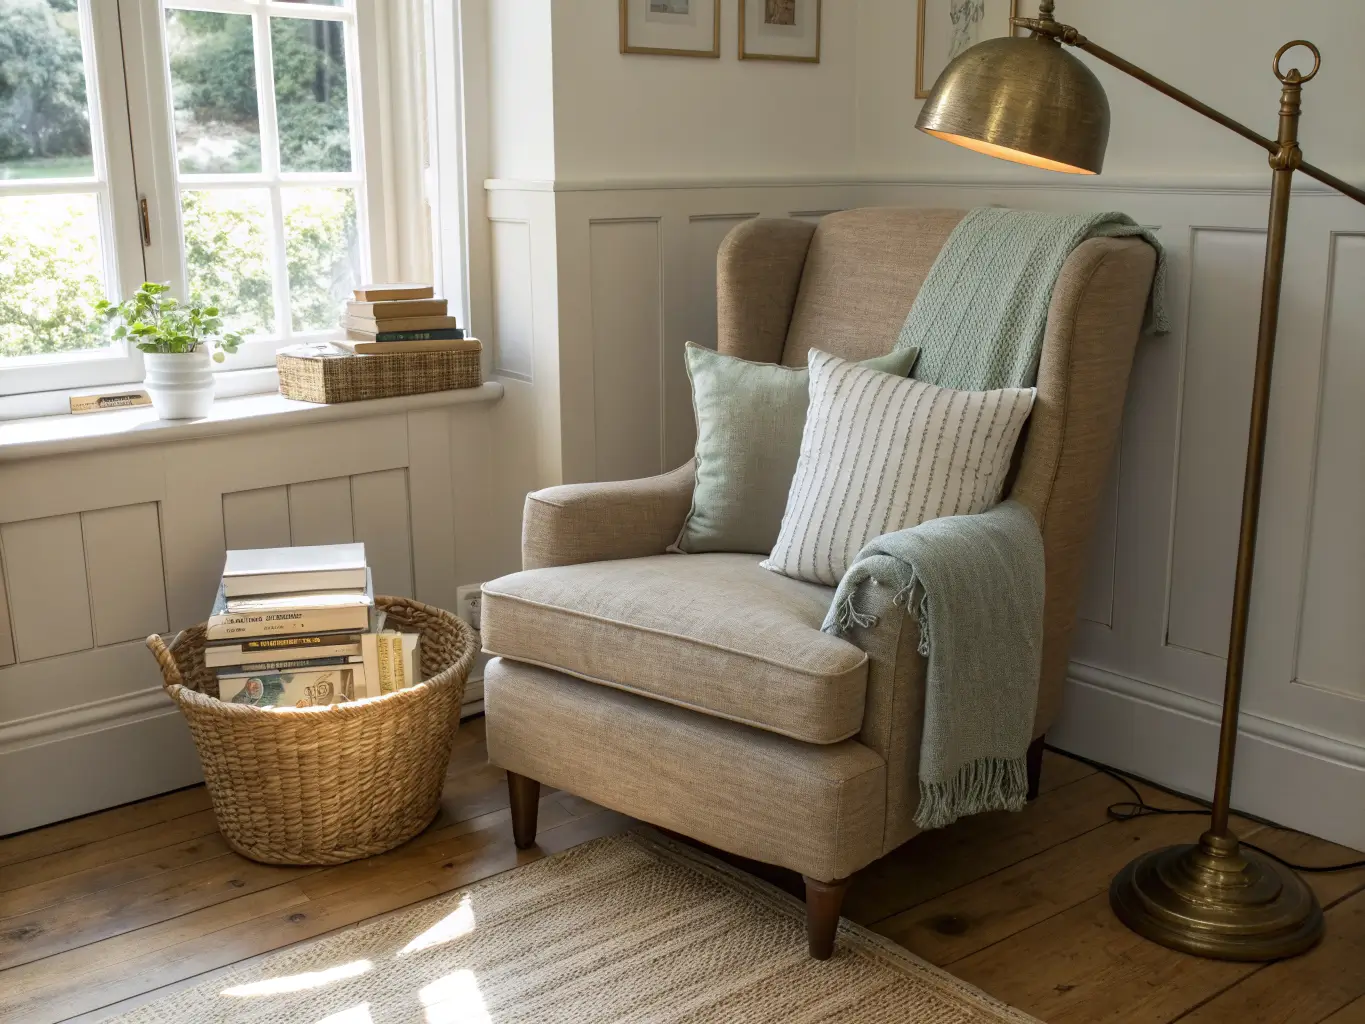
– A single armchair (best for renters — zero commitment)
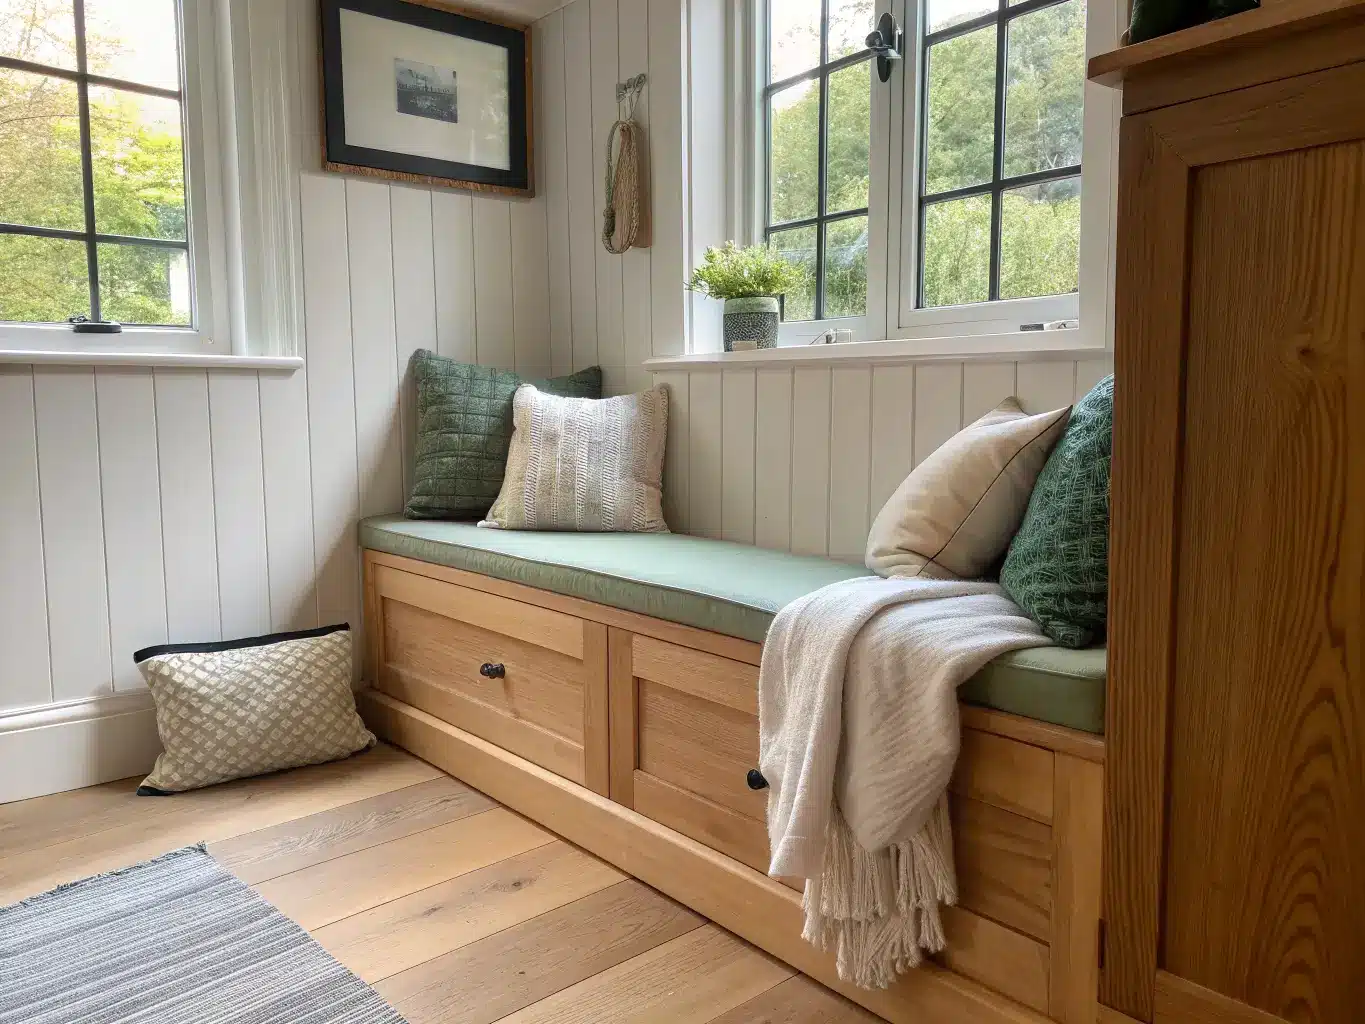
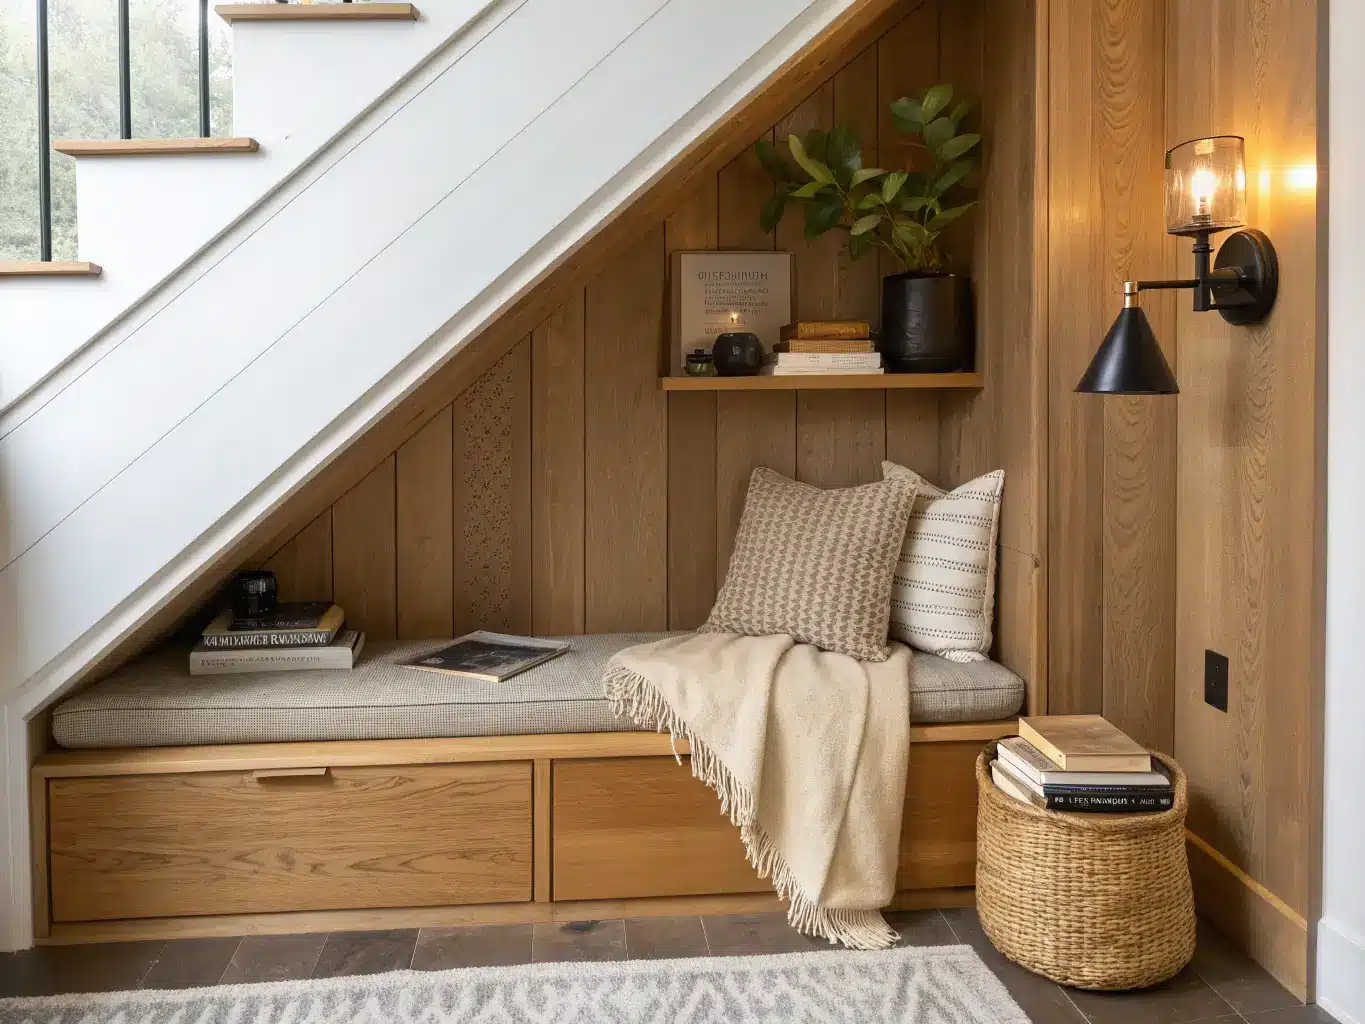
– A built-in bench (best for permanent, awkward spaces)
– A window seat conversion (if you’ve got the sill depth)
– A stack of floor cushions (best budget option, especially for kids)
I started with a chair because I wasn’t ready to commit to cutting plywood in a place I didn’t own. Two years later, in a house I did own, I built the bench. Order matters less than matching the commitment to your situation.
Comfort layer
One thick seat cushion, 2 to 4 pillows, and one throw blanket. That’s the formula. I made the mistake early on of throwing six pillows onto my chair because I thought more meant cozier — it just meant I spent every sitting session shoving pillows onto the floor before I could sit down. Four pillows, max, and one of them should be small enough to actually tuck behind your lower back while reading.
Lighting
Whatever you choose, make it warm and directional, not overhead and flat:
– Table lamp (easiest, most flexible)
– Floor lamp (good if there’s no side table space)
– Wall sconce (best for tight built-ins with no floor room)
– Plug-in pendant or fairy lights (good for canopy or kid setups)
Warm white bulbs, 2700K, are non-negotiable here. A daylight bulb in a reading nook feels like an interrogation room. I learned this the hard way with a leftover 5000K bulb from a garage light — swapped it same week.
Book storage
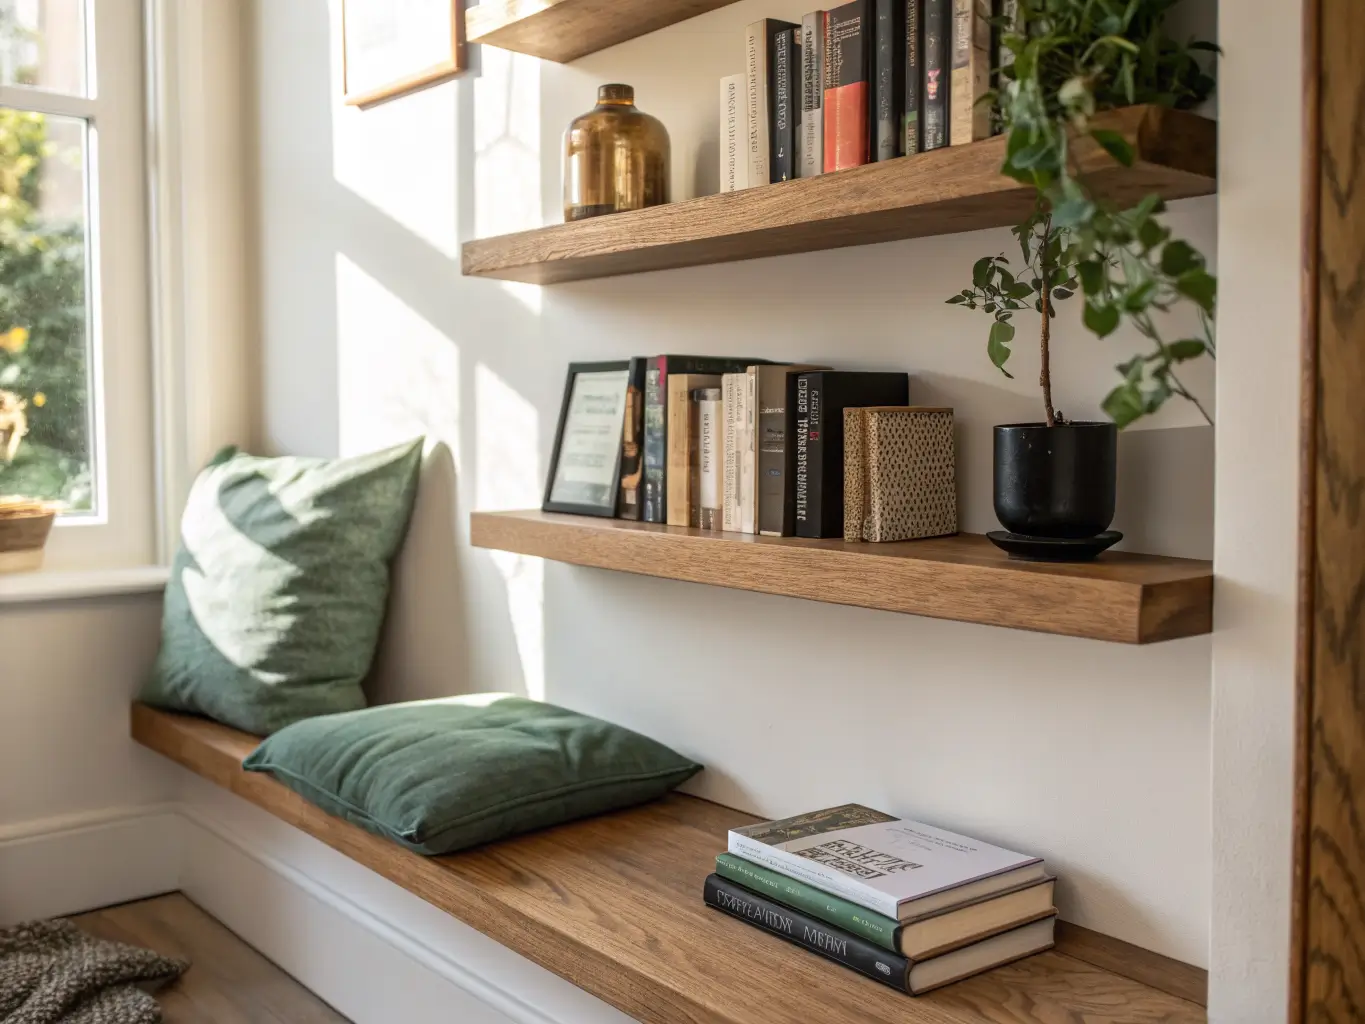
Books need to be within arm’s reach or the nook stops being a reading spot and turns into a place you photograph once and never use. A small bookcase, a couple of floating shelves, or even a woven basket on the floor next to the chair all work. My rule: if you have to stand up to grab a book, the storage is in the wrong place.
Area rug
A small rug — 3×5 feet is usually plenty for a corner — grounds the whole setup and softens hard flooring. Jute for a natural look, a low-pile wool-style for warmth, cotton if you want something machine-washable (worth it if kids or pets are involved).
Wall styling
One framed print, a small gallery cluster, an arch shape painted or built above the nook, or shiplap behind the seat. Pick one move, not four.
Optional Upgrades Worth Considering
Once the basics are in place, here’s where you can push the look further:
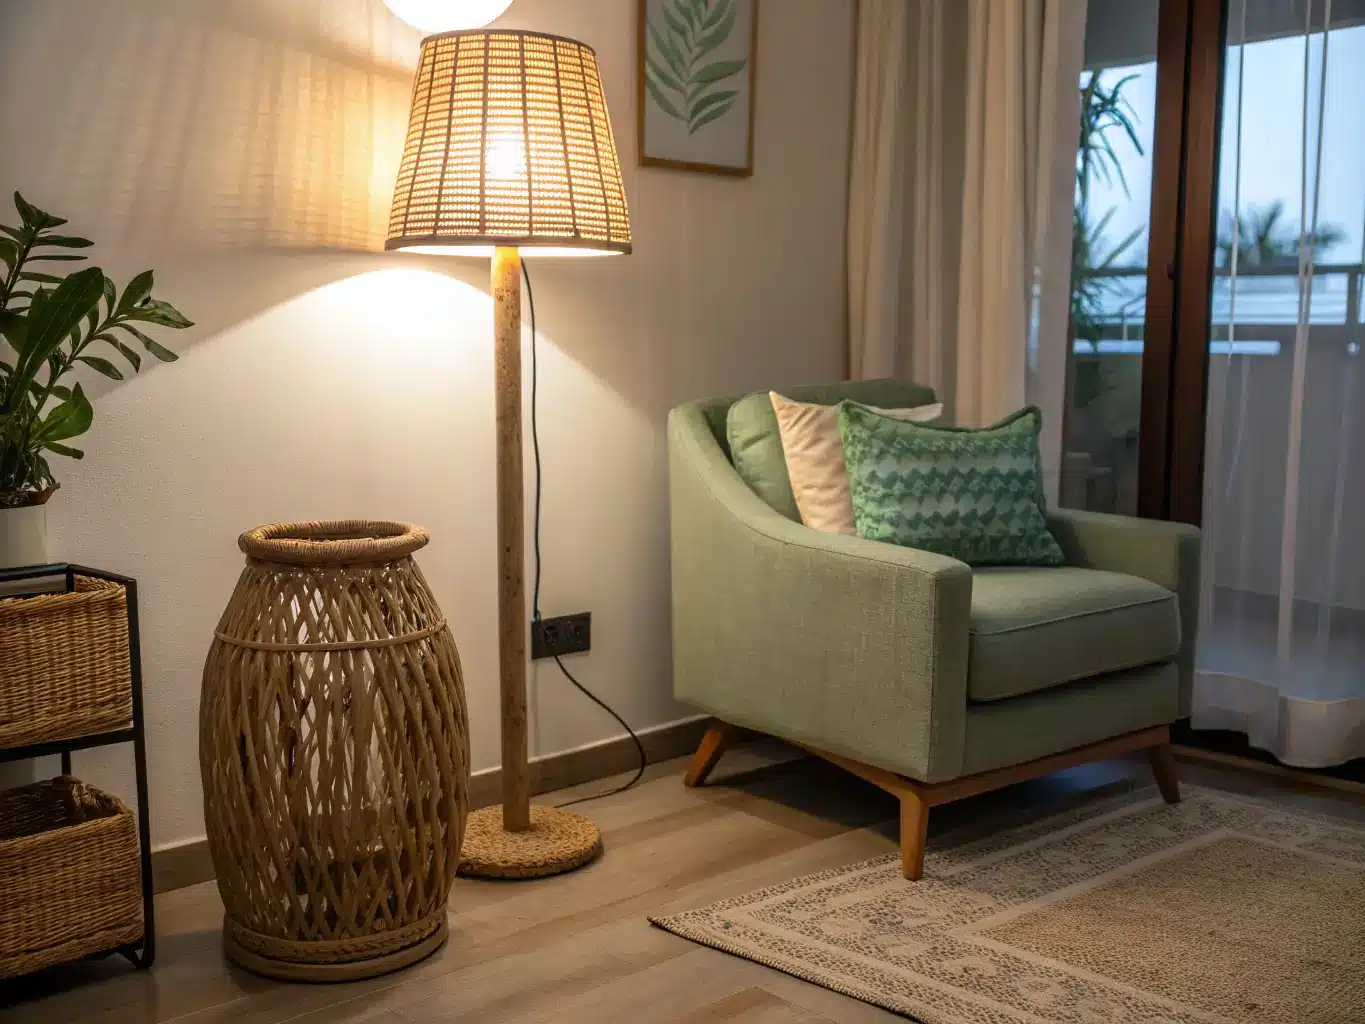
– Organic touches: a small eucalyptus stem in a vase, a rattan lamp shade, unfinished wood shelf brackets — these soften a nook that’s starting to feel too matched
– Luxe textures: a brass sconce, one velvet pillow, matte black hardware on a built-in — small doses of these go a long way
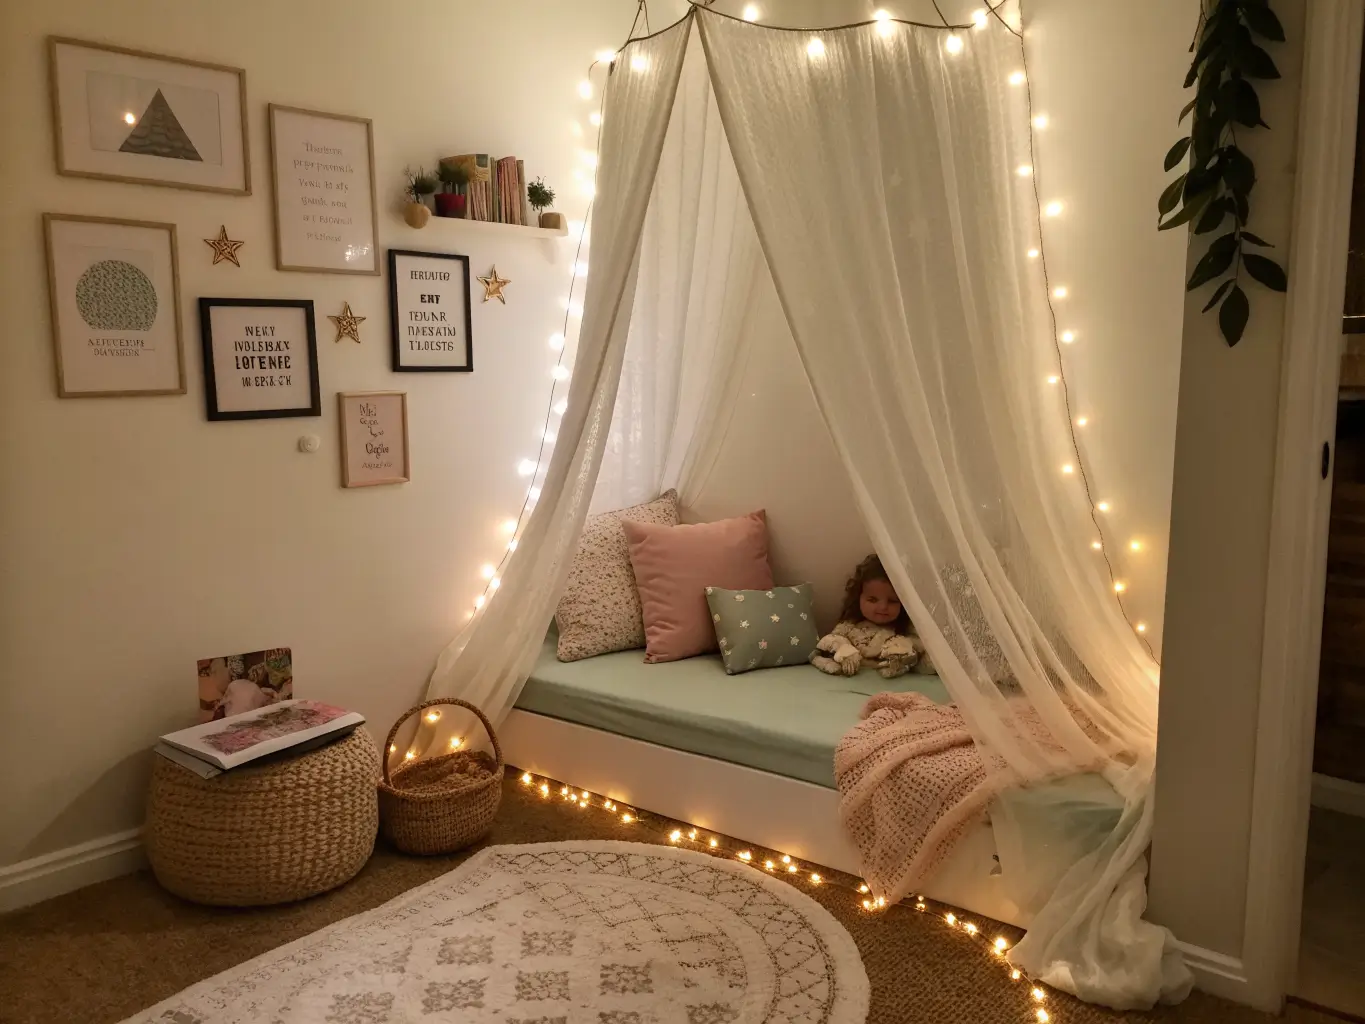
– Kid-friendly extras: a canopy frame over the seat, wall letters spelling a name, a pop-up tent-style enclosure for younger readers
– Storage upgrades: drawers under a bench, a hinged lid seat, soft-close hardware — worth the extra $40–60 in hardware if you’re already building the box
Pro Styling Tips That Actually Change How the Nook Feels
Layer at least three textures. A painted wall (smooth), a jute rug (rough/woven), and a velvet or knit pillow (soft) is enough to keep a small space from feeling flat. Two textures reads plain. Five starts to feel busy.
Pick one focal point. Either the seat, the window, or a canopy structure — not all three fighting for attention. Everything else should feel secondary to that one thing.
Keep the palette to 3–5 colors. Sage, cream, oak, black, brass. That’s five, and it’s already plenty. I once tried adding a mustard pillow to my sage-and-cream nook because I liked it in isolation — it clashed the second it went in the corner and became visual noise instead of an accent.
Balance soft against structured. All-textile nooks feel like a pile of laundry. Pair your cushions and throws with one hard-edged element — a wood shelf, a metal side table, a painted trim line — so the eye has somewhere to land.
Watch your scale. An oversized armchair in a narrow niche will make the whole space feel like it’s fighting itself. In tight spots, go low-profile: a slim bench or a floor cushion setup reads better than a bulky recliner crammed in sideways.
Setting It Up: Step by Step
Prep the space first
– Measure the width, depth, and ceiling height of your corner before buying or building anything. This sounds obvious and I still skipped it once, bought a chair that was two inches too deep for the alcove, and had to return it.
– Clear out whatever’s currently living there — old cables from a former TV mount, random storage bins, that box you meant to donate.
– If you’re building a bench, mark your intended seat height on the wall first (standard is 17–19 inches) and build everything else around that mark.
– Think about outlets now, not after the lamp is sitting there with no plug in reach. If you’re adding a sconce, this is also when you’d call an electrician or plan for a plug-in version instead of hardwired.
– Physically place your chair, rug, and lamp in the raw space before attaching anything permanent. Sit in it. Walk around it. Make sure nothing blocks the door swing or a walkway.
Build the look in order
1. Define the edges. Paint the back wall a different tone, add shiplap, hang a curtain panel, or build a simple arch shape — something that visually says “this is a separate zone.”
2. Place the seat. Chair, bench, or cushion stack, positioned first before anything else gets added.
3. Layer comfort pieces last to first size: big seat cushion, then pillows, then the throw folded over the arm. Doing it in this order keeps you from overstuffing — you’ll naturally stop once it looks full instead of sparse.
4. Add storage — shelf, basket, or under-seat drawer — positioned within reach of the seat, not across the room.
5. Finish with light and one piece of wall decor. Resist adding more once it looks “done.” That instinct to add one more thing is usually the thing that ruins it.
Mistakes I’ve Made (So You Don’t Have To)
Skipping measurements. Already mentioned it, still worth repeating — this is the single most common way these projects go sideways.
Decorating before checking function. A gorgeous nook with a lamp aimed at the wall instead of the book, or shelves positioned too high to reach from a seated position, gets photographed once and abandoned.
Overhead lighting only. If the only light source in your nook is a ceiling fixture, it’ll never feel cozy no matter what pillows you add. Get a lamp down at seat height.
Too many accessories. I once had a small stack of decorative letters, a framed print, a garland, and a woven wall hanging all in one nook barely 5 feet wide. It looked like a Pinterest board vomited on a wall. I pulled everything but the print and the garland, and the space finally felt calm instead of frantic.
No accessible storage. If books live in a basket across the room, they’ll stay there. Keep them within arm’s reach of the seat.
Weak construction on anything load-bearing. If you’re building a bench, use straight lumber, real wood screws (not just nails), and check for square corners before you attach the top. A bench that flexes when you sit on it isn’t a design flaw — it’s a hazard, and it also just feels bad every time you use it.
Keeping It Looking Intentional Over Time
Stick to one dominant material — I chose natural wood tones for mine, so every new addition (a new basket, a replacement lamp) had to work with oak, not against it. This keeps a nook you build over six months from looking like six different decisions instead of one cohesive one.
Leave breathing room. Not every shelf needs a book and a trinket. Empty space around your seat reads as calm, not unfinished.
Match mood to room: a nursery nook can lean whimsical with a canopy and soft pastels, while a nook in an adult bedroom or living room can go cleaner and more architectural with straight shelving and a tighter palette.
Budget Path and Seasonal Refreshes
Start small if money’s tight: chair, rug, lamp, basket. That’s a functioning reading nook for well under $200. Add trim or floating shelves as phase two. Build the bench as phase three, if and when the space and the budget both agree.
Seasonal swaps that cost almost nothing:
– Heavier knit throw in winter, lighter cotton weave in summer
– Rotate pillow covers for fall oranges or spring pastels — keep the pillow inserts, just swap covers
– Change out what’s displayed on the shelf (a small pumpkin in October, greenery in December)
Cross-style combinations worth trying:
– Boho + Coastal: linen textiles, rattan lamp, cream and pale wood tones
– Farmhouse + Modern: shiplap wall, oak bench, black metal accents, clean lines
– Whimsigoth + Cozy: a deep charcoal or black wall behind the nook, warm brass lighting, velvet cushions
The upgrade path I’d recommend to almost anyone starting from zero: portable pieces first, wall paint and shelving second, built-in bench with storage last — only once you know for certain the corner gets used enough to justify the plywood.
For another angle on this, my reading nook guide covers the same space from a different starting point.





