
My reading nook lived in my head for two years before it actually existed.
My reading nook lived in my head for two years before it actually existed. I kept a Pinterest board, kept saying “someday,” and kept reading in bed with my neck at a terrible angle and my phone flashlight because the overhead fixture was too harsh and too far away. If you’re Googling how to build a bedroom reading nook, I’m guessing you’re in that same spot — you have a corner, or a window, or the foot of a bed, and no plan for turning it into somewhere you’d actually sit.
Here’s what I learned setting mine up (and redoing it twice): a reading nook isn’t a mini living room. It’s one chair, one light, one surface, done right. Everything else is optional.
What You’re Actually Building, and How Long It Takes
A simple corner setup — chair, lamp, side table, throw — takes 1 to 3 hours once you own the pieces. That’s just arranging and styling. If you’re painting the wall, mounting a sconce, or building in a bench, budget 1 to 2 days, mostly because paint needs drying time and mounting hardware needs a stud finder and patience.
Cost depends entirely on ambition:
– Budget nook: $200–$800 — a secondhand or basic chair, a floor lamp, a small table
– Midrange nook: $500–$2,500 — window seat cushion, better upholstery, layered textiles, maybe a shelf
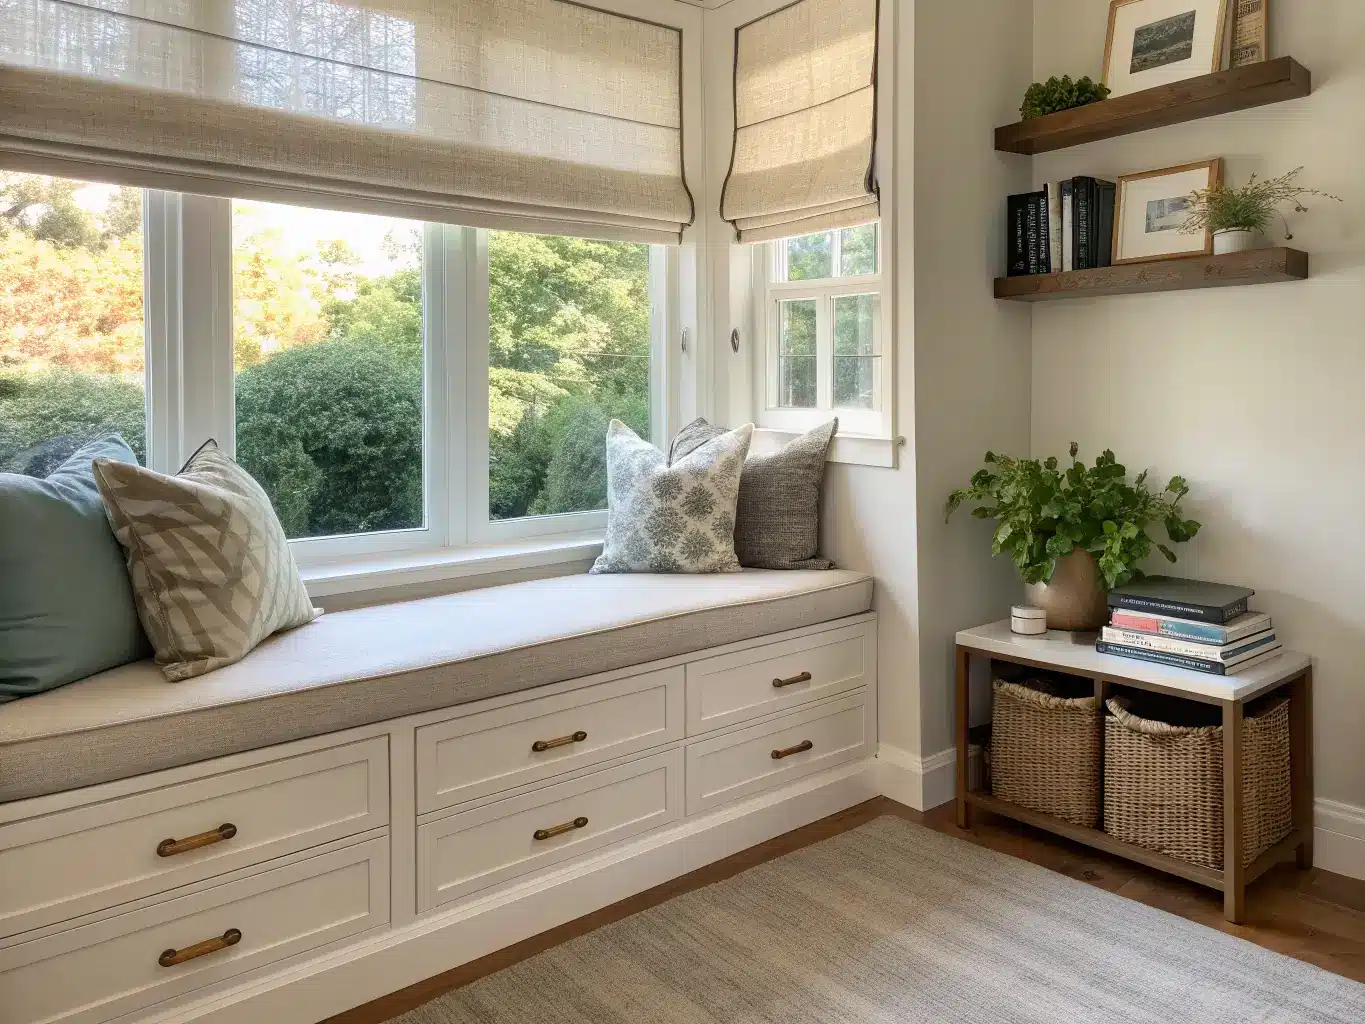
– Custom/built-in: anything above that — a storage bench under a window, typically 16–18 inches high to match a comfortable seat height, custom cushions, cabinetry
Space-wise, you need less than you think. A corner chair setup works in 9–12 square feet. A window seat wants 15–25 square feet. My own nook is a 4×4 corner next to a window, and it’s tight but functional — I measured three times before buying the chair because I didn’t trust that “compact” chair would actually fit, and it did, barely.
Skill level: beginner if you’re doing chair-lamp-table. Intermediate to expert if you’re building a bench or wiring a sconce into the wall — that one I hired an electrician for, because I do not trust myself around live wires for a $40 fixture.
And it works year-round. Unlike a lot of seasonal styling projects, a nook just needs its textiles swapped to feel current — more on that later.
The Style: Cozy, Quiet, and Whatever Aesthetic You Already Have
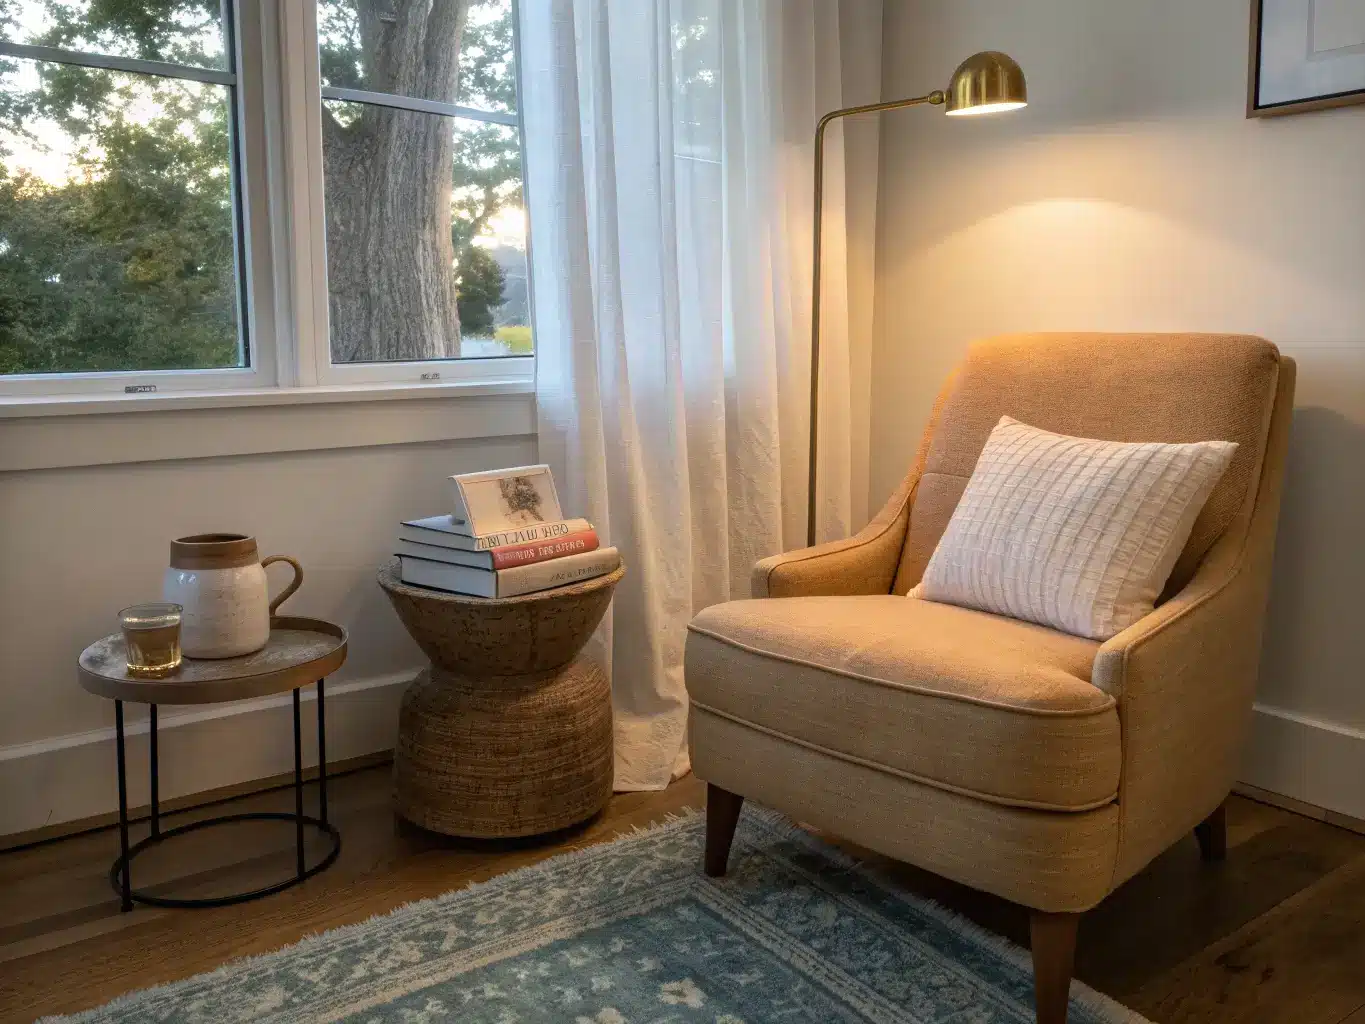
A bedroom reading nook isn’t really its own design style — it’s a mood. It can be modern cozy, coastal, boho, transitional, or library-inspired, and it should generally echo whatever’s already happening in your bedroom, just softer and more tactile.
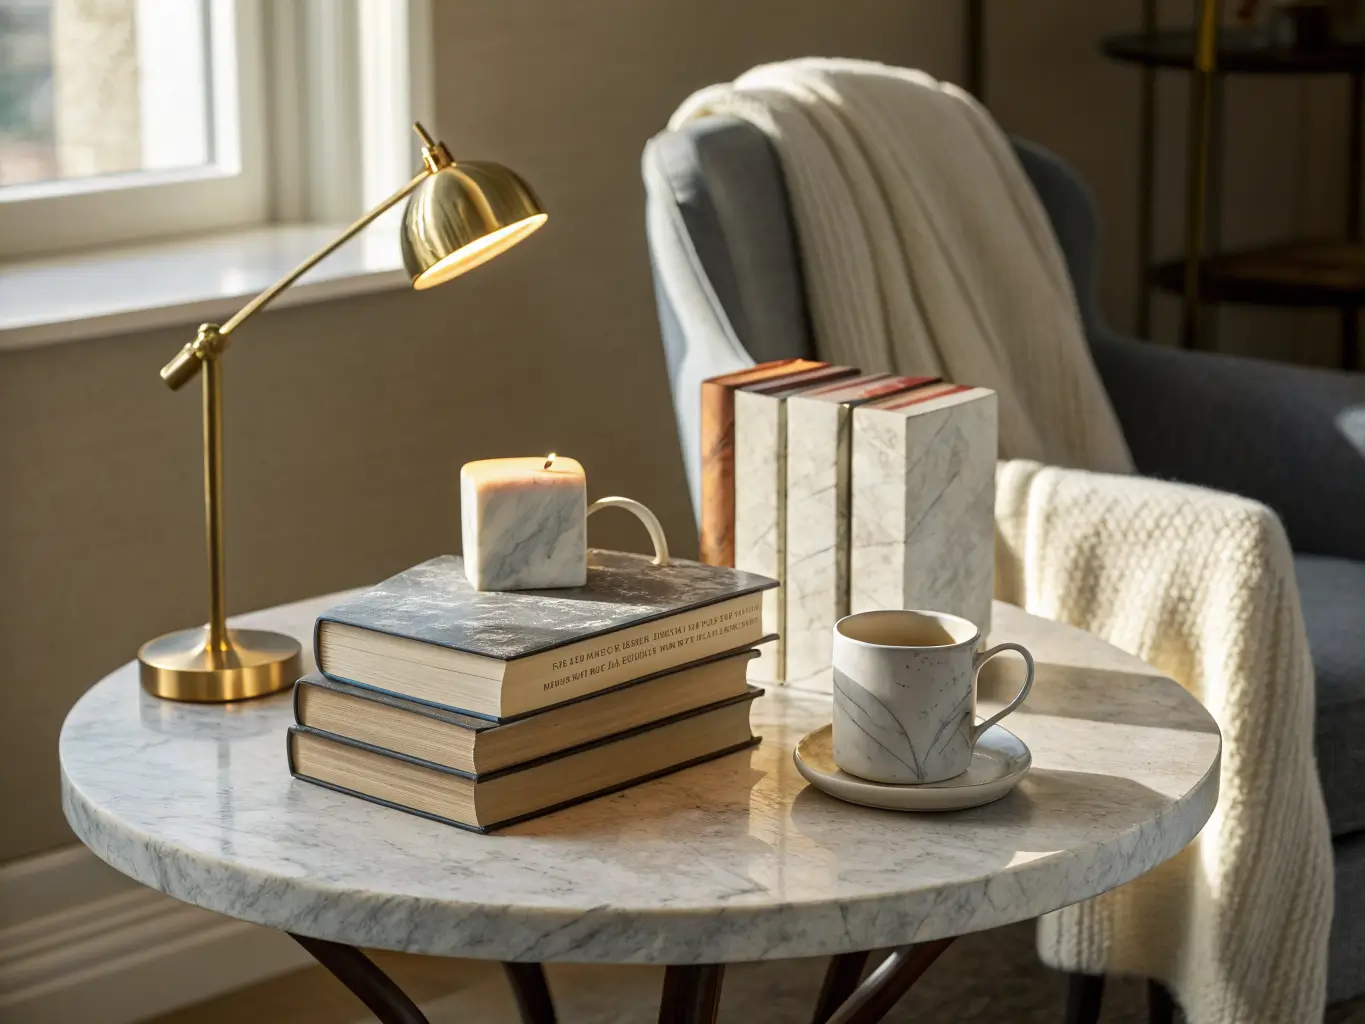
The materials that make a nook feel right: linen, velvet, bouclé, natural wood, woven fiber. The colors that show up again and again in nooks that actually feel restful: warm neutrals, soft white, camel, taupe, sage, dusty blue, charcoal. If you want it to feel a little more elevated, add marble bookends, brass lamp hardware, or a honed stone side table — small material upgrades that punch above their size.
This setup is made for:
– Book lovers who read every night, not just on vacation
– Small-bedroom or apartment dwellers who can’t dedicate a whole room to it
– Night readers whose partner is asleep by 9:30 (my exact situation)
– Anyone who wants a personal corner without needing an extra room
Best locations, ranked by how well they actually work:
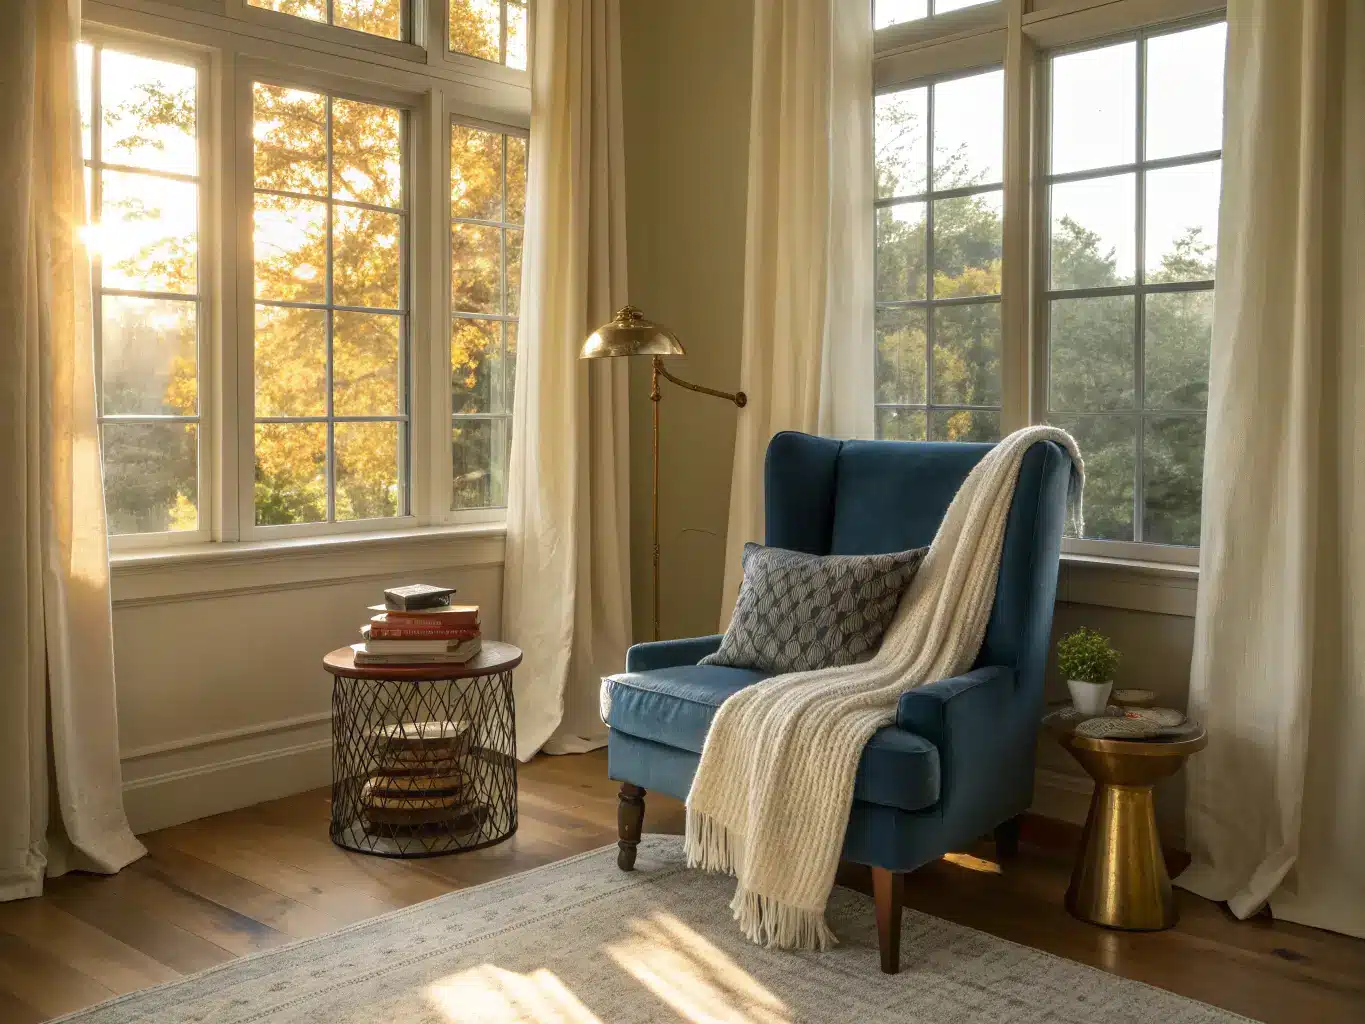
1. By a window — natural light during the day, and you can add a curtain for a sense of enclosure
2. An empty bedroom corner — the most flexible option, just needs a chair, table, lamp
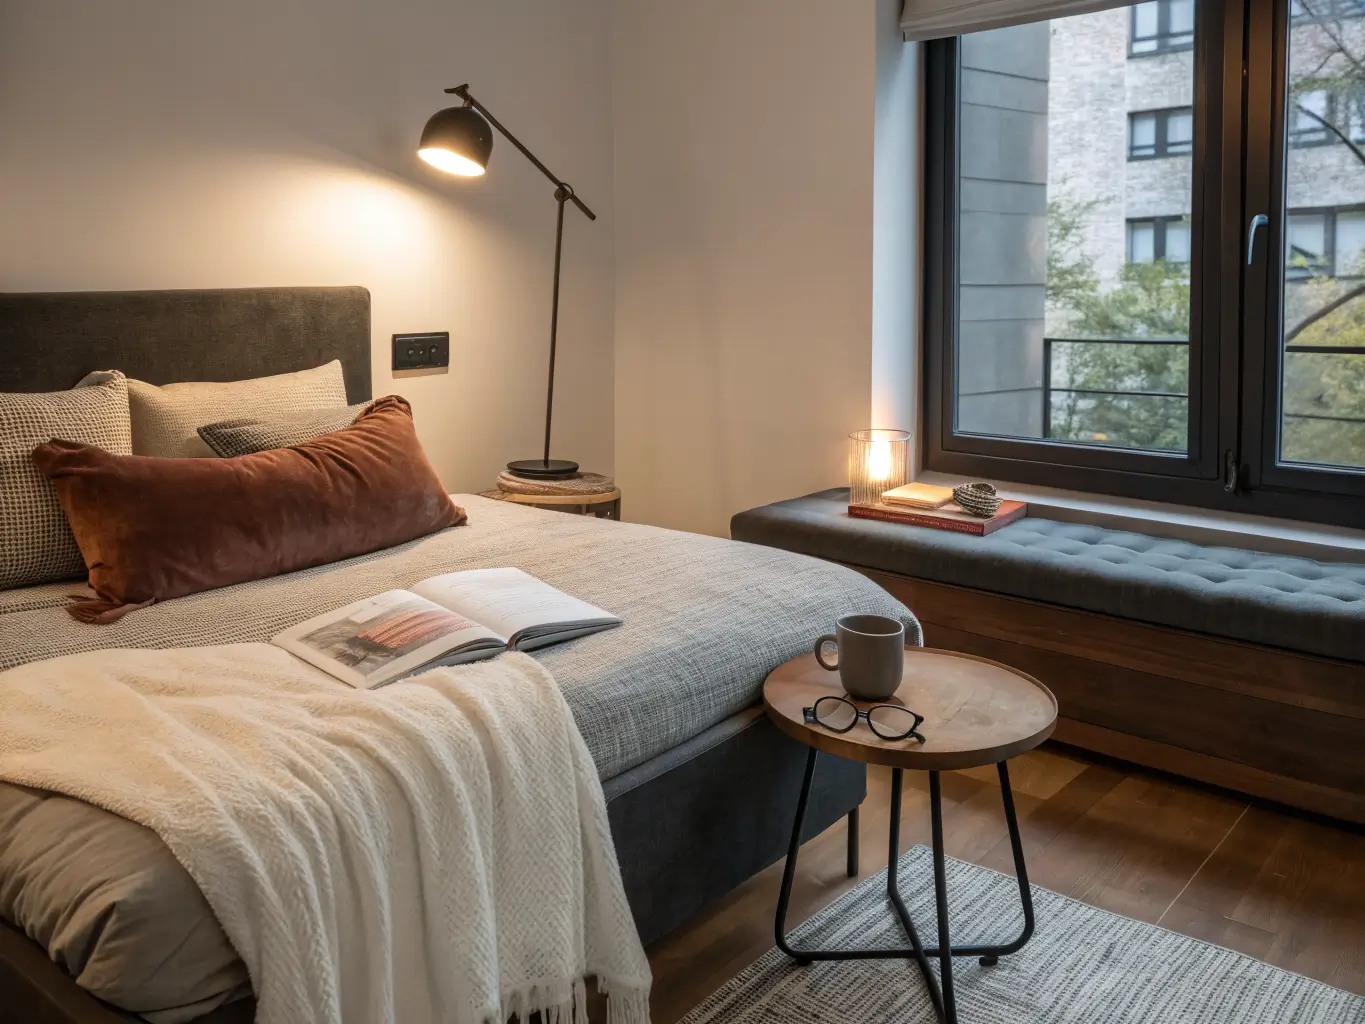
3. The foot of the bed — a bench works here even in tiny bedrooms
4. An unused closet or alcove — the most cocoon-like, but only if you have the depth (mine doesn’t, my closet is genuinely the size of a phone booth)
The Essential Pieces (And What’s Actually Optional)
The chair is the whole project
I made the mistake of buying a gorgeous, narrow accent chair first — the kind with a stiff back and a seat about six inches too shallow. It looked perfect in the corner and I sat in it exactly four times before giving up and reading in bed again. Comfort has to win over looks here, every time.
For small spaces, a slipper chair (armless, low-profile, usually 28–32 inches wide) is the standard recommendation, and it’s a good one — it reads as compact but still gives you real back support. If your bedroom’s bigger, a deeper upholstered armchair is worth the extra footprint. If you’ve got a window sill deep enough, a built-in or cushioned window seat solves the space problem entirely by using dead space you already have.
Lighting is where most nooks fail
This is the part people skip and then wonder why the corner never gets used after dark. Overhead light alone causes glare on the page and shadows across your book — it’s genuinely uncomfortable to read under for more than ten minutes.
What actually works:
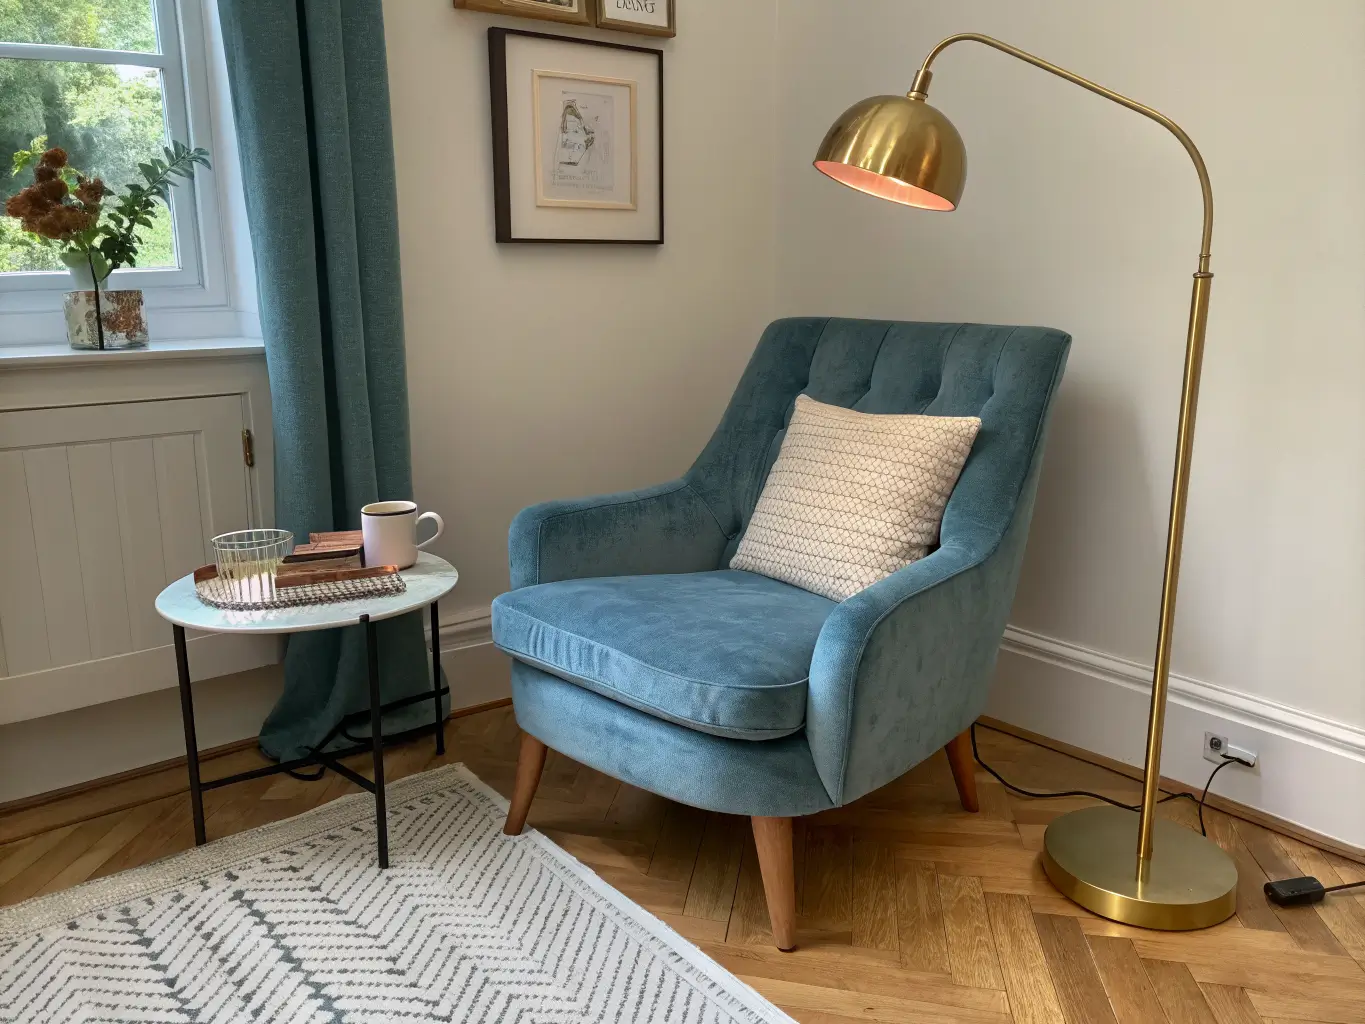
– A floor lamp with an adjustable arm, or a wall-mounted swing-arm sconce if you want the floor clear
– Bulbs around 2700K–3000K (warm white, not the blue-toned daylight bulbs) and 450–800 lumens
– A dimmer switch — this sounds like a small thing and it changes everything about how often you use the space at 10pm
– Position the light behind your shoulder or beside the chair, never overhead-only, so it falls on the page without glare
I put my lamp on the wrong side the first time — light source on my dominant-hand side meant my own arm cast a shadow on the page every time I turned it. Switched it to the other side, problem solved, took five minutes and made me feel dumb for not thinking of it sooner.
A small table, and nothing bigger
A round side table around 18–20 inches wide is the sweet spot — big enough for a book, a mug, and glasses, small enough not to eat the room. Garden stools work great here too if you want something with more visual texture than a standard table.
The soft stuff that makes it feel finished
– A lumbar pillow for lower back support (your spine will thank you after 40 minutes of reading)
– A throw blanket — chunky knit, fleece, or linen depending on season
– A small rug to anchor the area, especially if it’s on hardwood
Storage, so books don’t end up on the floor
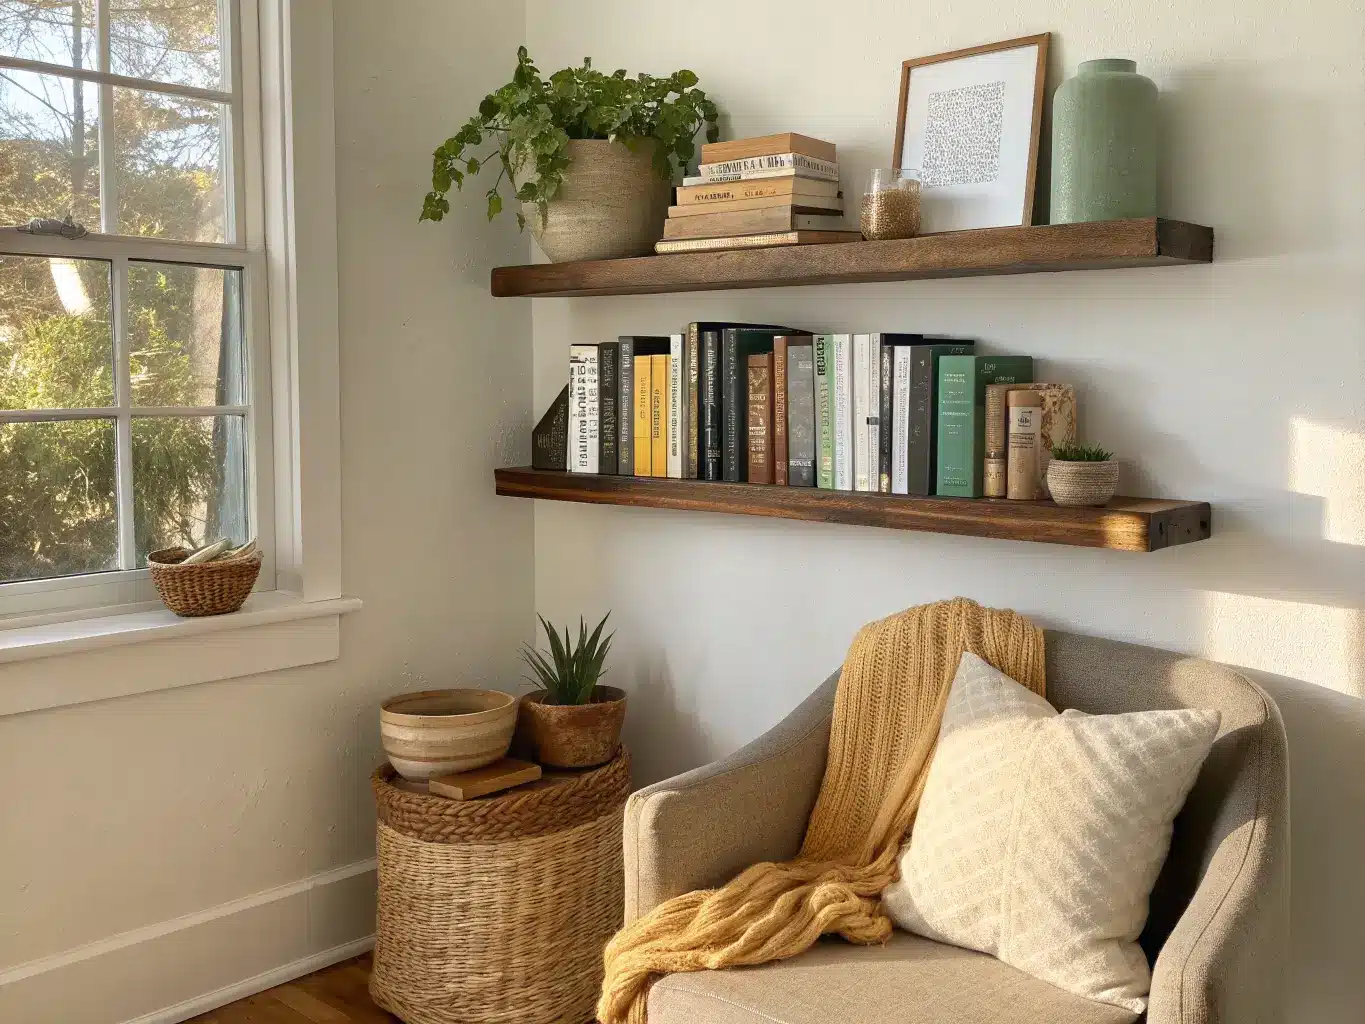
A slim wall-mounted shelf, 6–8 inches deep, holds 20–30 books without eating floor space. If you went with a bench, built-in storage underneath for blankets is worth the extra plywood and time.
The finishing accessories
One piece of framed art, one plant, a pair of bookends, a basket for the current stack of “in progress” books. That’s it. That’s the whole list.
How to Actually Put It Together
Step one: clear the space completely. Don’t style around existing junk. Empty the corner, measure it, and know your real dimensions before you buy anything — I cannot stress this enough after almost buying a chair that would’ve blocked my closet door.
Step two: place the seat first. Chair, bench, or window cushion — whatever it is, it’s the anchor and everything else gets arranged around it.
Step three: solve lighting before decorating. Get the lamp or sconce in and tested at night before you add a single pillow. You’re building a place to read, not a photo backdrop.
Step four: add the table within arm’s reach. Not across the room, not requiring you to lean. Arm’s reach, full stop.
Step five: layer in throw, pillow, rug. This is where it goes from “furniture in a corner” to “a place you want to sit.”
Step six: finish with books and one or two personal objects. If you’ve got shelving, organize by genre or color — color-blocking your spines looks intentional and takes maybe 20 minutes.
Where Nooks Go Wrong
– Prioritizing looks over comfort. A chair you don’t sink into is a chair you won’t use. Sit in it for at least five minutes in the store or before buying online with a return policy.
– Skipping dedicated lighting. Room light is not reading light. They’re different jobs.
– Overcrowding it. Once you add a third decorative object beyond books, art, and a plant, it starts looking like storage overflow instead of a retreat.
– Ignoring scale. An oversized chair in a small room doesn’t look luxurious, it looks stuck. Measure twice.
– Putting it somewhere loud. Next to the door, near a vent that rattles, across from a TV — none of these work. Quiet corners only.
– No storage nearby. If your book, water glass, and glasses aren’t within reach, you’ll stop bringing them over, and the nook goes cold within a month.
Keeping It Looking Right Long-Term
Match the nook to your bedroom’s existing palette, but let it be a little softer and more textured than the rest of the room — this is the one spot where you’re allowed to go heavier on linen and knit than anywhere else in the space.
Pick one material pairing and stick to it: wood + linen, metal + bouclé, or rattan + cotton. Mixing more than that starts to look accidental rather than curated.
And keep decor capped — one tray, one lamp, one throw, a small stack of books. The second a nook becomes the place where mail and laundry pile up, it stops being a retreat.
Updating It Without Starting Over
– Seasonal swaps: lighter linen and cotton pillow covers for spring and summer, heavier bouclé or chunky knit for fall and winter. Add a candle in the colder months — takes two minutes, changes the whole feel.
– Budget evolution: start with chair, lamp, table. Add the rug and shelving later once you’ve lived with the basics and know what’s missing.
– Cross-style combos worth trying:
– Boho + coastal: linen upholstery, a woven basket, light oak table, sea-glass green accents
– Modern + library: leather chair, black metal lamp, built-in shelving, monochrome book spines
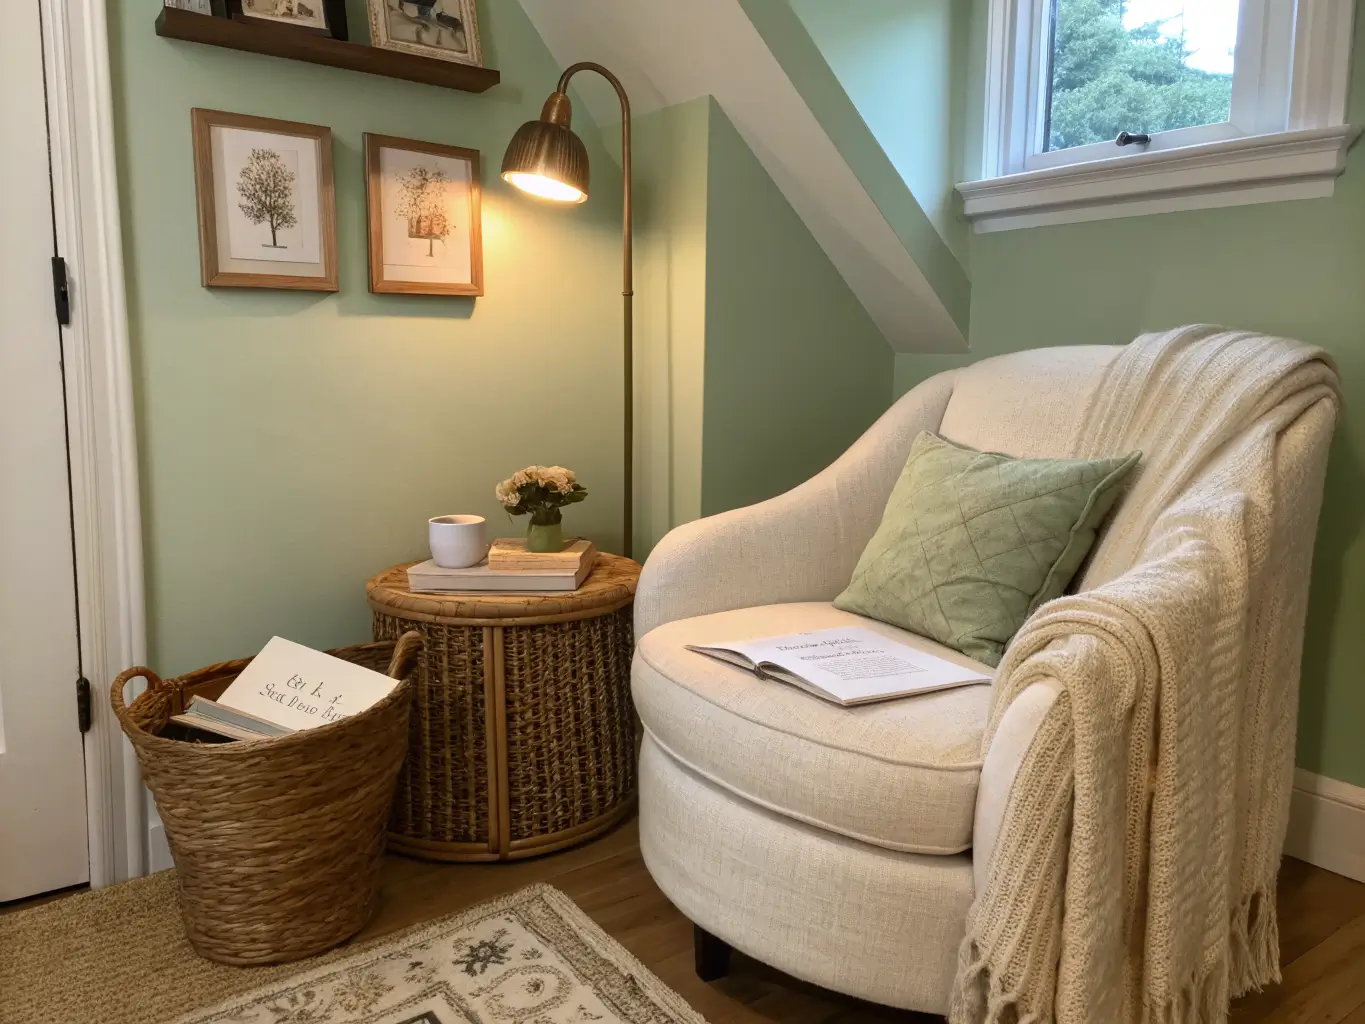
– Transitional + cozy: upholstered chair, brass lamp details, neutral rug, muted framed art
My nook, two years after finally building it, still has the same chair and the same lamp. What’s changed is the throw (swapped twice a year now, cost me maybe $60 total over two years) and the books on the shelf, which I stopped organizing by color after about a month because I actually wanted to find things. That’s the real test of whether a nook works — not how it photographs, but whether you’re still sitting in it on a random Tuesday night with nothing else pulling you there.
For another angle on this, my reading nook in bedroom guide covers the same space from a different starting point.





