
I built my first reading nook wrong. I turned a hall closet into what I thought was a charming little seat, skipped the cushion thickness question entirely, and ended up with a bench that looked perfect in photos and felt like sitting on a church pew. Nobody used it for six months until I ripped out the seat, added 6 inches of foam, and started over. That’s the thing nobody tells you about a built-in reading nook: it’s not a styling project, it’s a furniture-building project wearing a styling project’s clothes. Get the bones wrong and no amount of pillows will fix it.
Here’s everything I’ve learned building, rebuilding, and styling these things — what actually matters, what’s just decoration, and where I’d spend versus skip.
What a Built-In Reading Nook Actually Is (and Who It’s For)
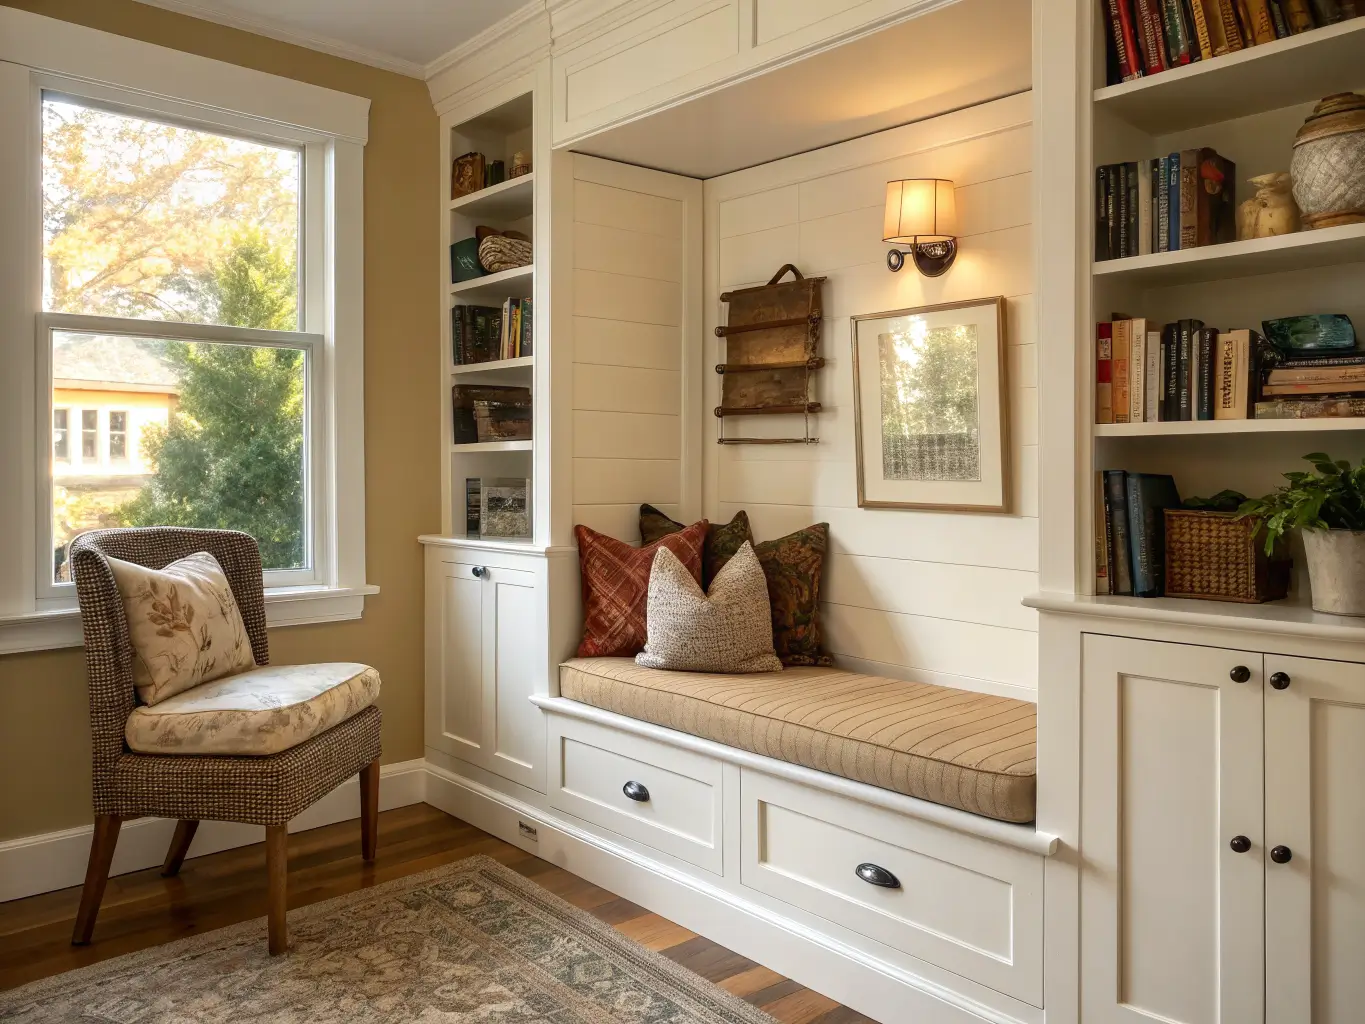
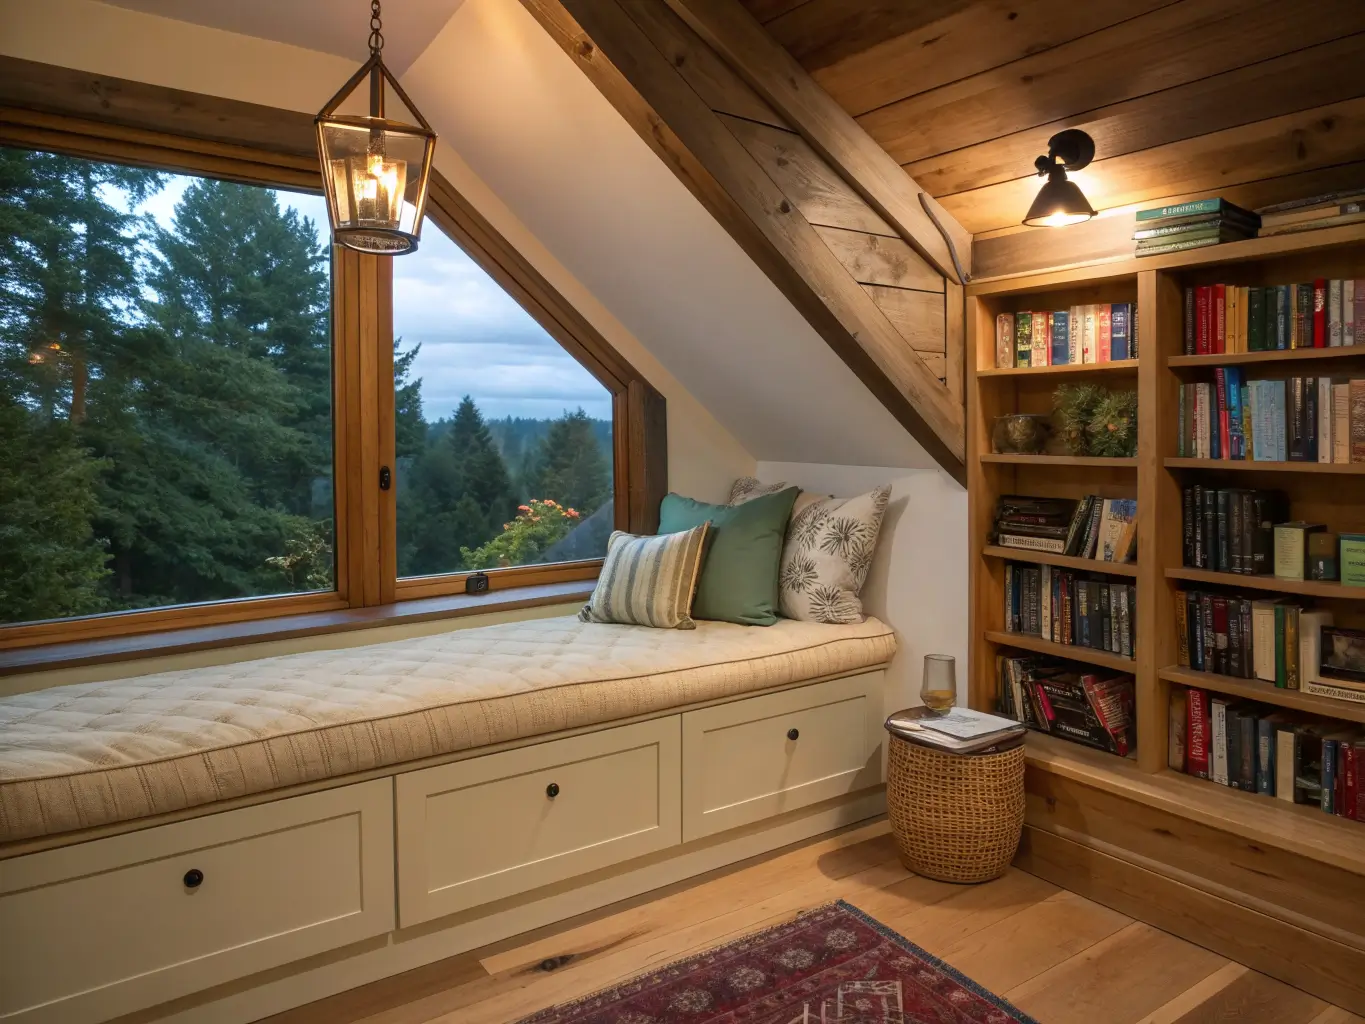
A built-in reading nook is a fitted seating area — usually a bench with cushion, flanked by shelving — that reads as part of the house’s architecture rather than a piece you could pick up and move. That distinction matters more than people think. The whole appeal is that it looks like it was always there.
Style-wise, these land somewhere between cozy modern, traditional library, cottage, and farmhouse. The best ones borrow a little from each: painted millwork like a farmhouse kitchen, a curated shelf like a library, and soft, deep cushions like a cottage window seat.
This is for you if:
– You have a dead zone in your house — an awkward closet, a hallway alcove, unused space under stairs — that’s currently doing nothing.
– You actually read, or want to build a habit of it, and need a spot that isn’t the couch or the bed.
– You have kids and want a designated quiet corner that isn’t a screen.
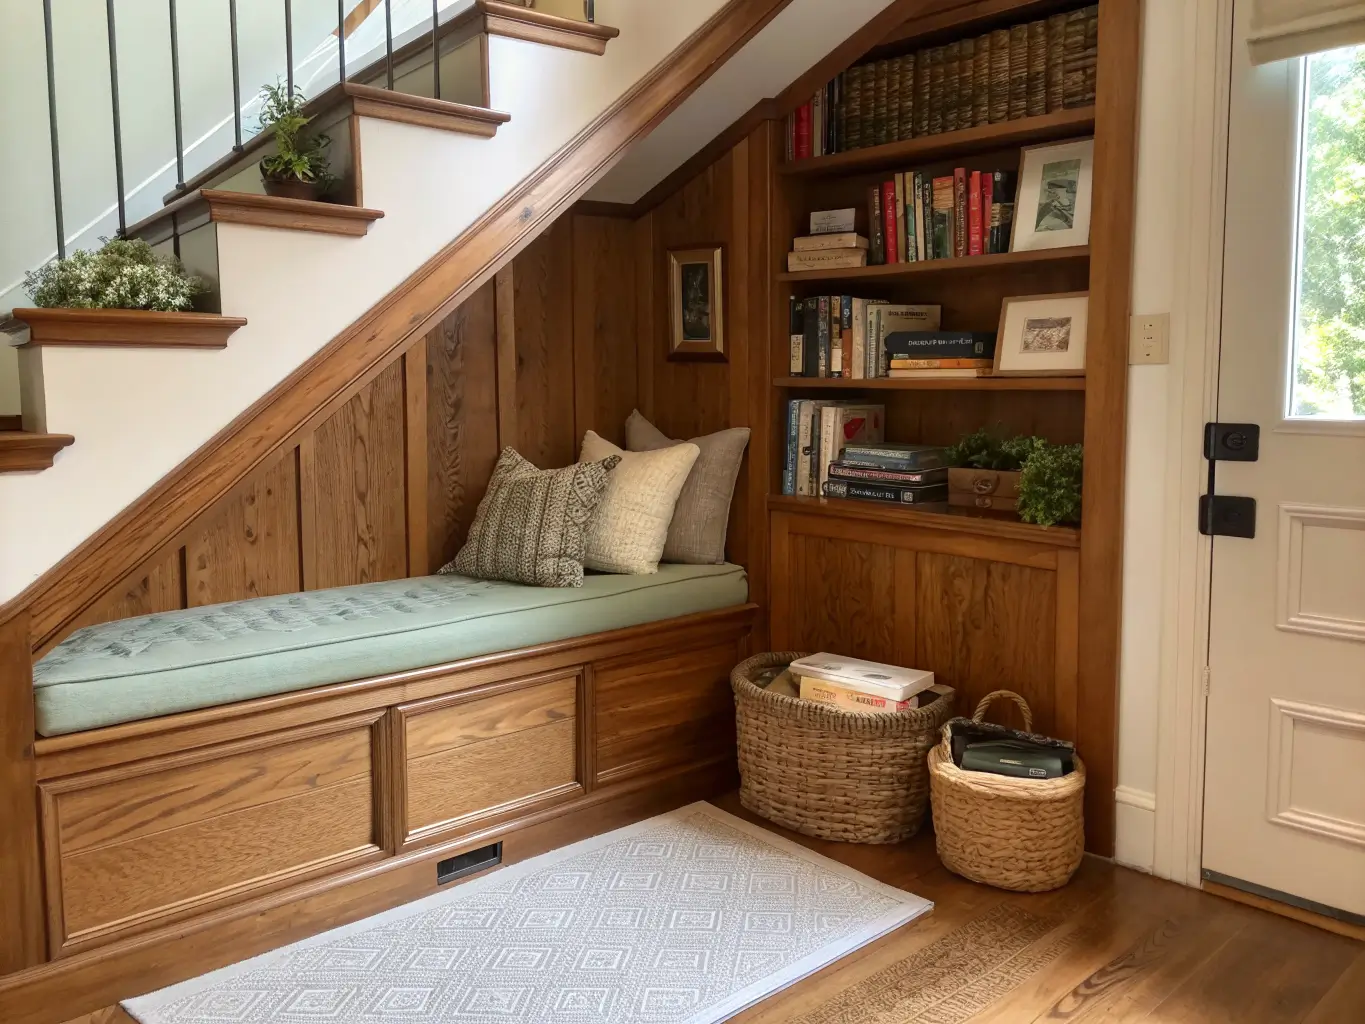
Where it works best: window seats, closet conversions, bedroom alcoves, living room recesses, hallway dead-ends, loft corners, guest rooms, and under-stair space. Anywhere with a natural boundary — walls on two or three sides — because that’s what makes it feel tucked-in instead of just a bench shoved against a wall.
Time, Cost, and Skill Level — Set Expectations Before You Start
Time: If you’re just styling an existing bench or window seat with cushions and pillows, you can finish in under an hour. If you’re building an actual bench-plus-shelving unit with trim, expect a full weekend if you’ve done trim carpentry before. First-timers, budget two weekends — one for the framing and one for finishing, because paint and caulk need dry time you can’t rush.
Cost:
– Soft-furnishings-only nook (existing seat, new cushion, pillows, throw): starting around $50
– DIY built-in with materials only (plywood, MDF, trim, cushion, basic hardware): $500–$1,200
– Professionally built or highly customized (integrated lighting, cabinetry, custom millwork): $3,000 and up
Skill level: A bench-only build is intermediate — comfortable with a miter saw, level, and stud finder. The moment you add shelving, storage drawers, electrical outlets, or built-in lighting, you’re in expert territory or you’re hiring someone for the electrical part. I’d never fault anyone for DIYing the woodwork and calling an electrician for the sconce wiring. That’s not cutting corners, that’s knowing your lane.
Seasonal appeal: Year-round. Unlike a lot of decor trends, this one is built around warmth and retreat, which works in July with linen pillows and in January with a wool throw.
The Must-Have Pieces That Make a Reading Nook Actually Work
Skip any of these and you’ll end up with what I had the first time — a nice-looking spot nobody sits in.
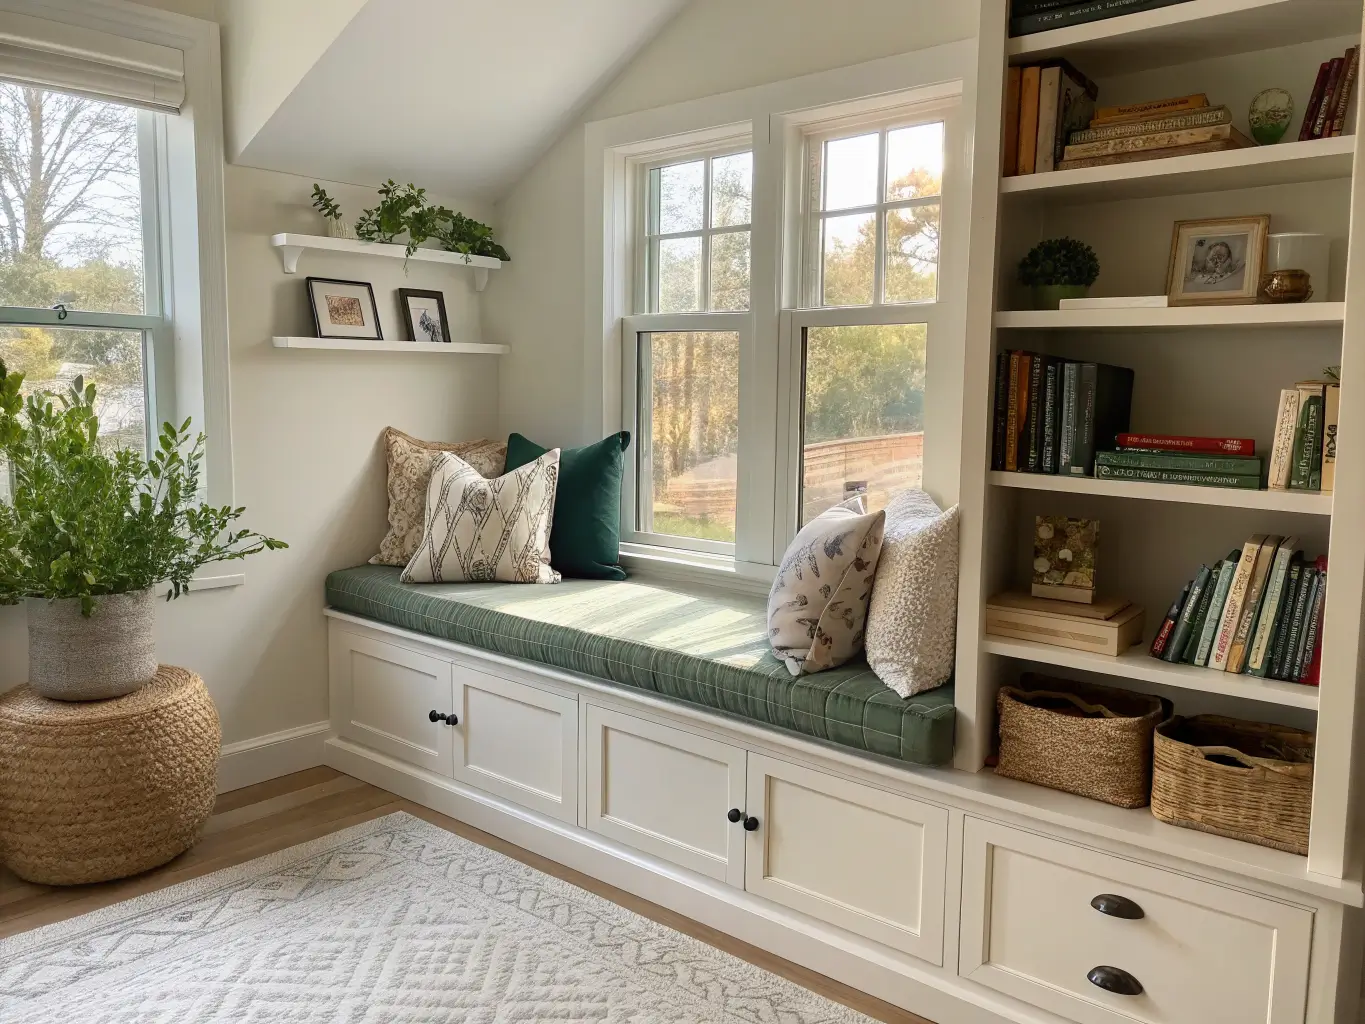
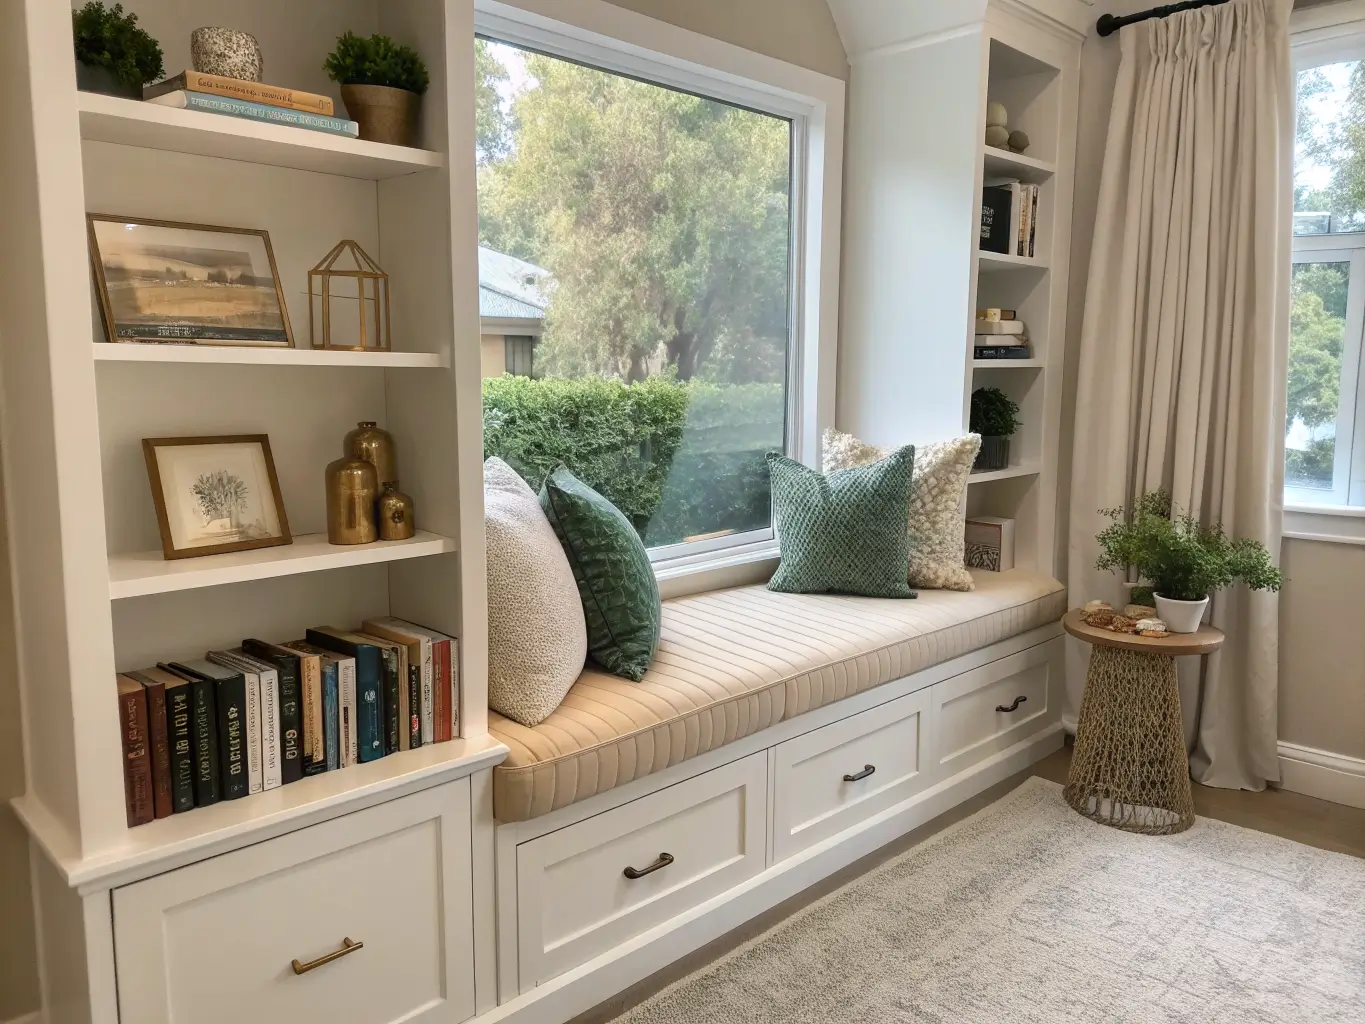
– The bench itself. Target 18 inches seat height (standard chair height, so it doesn’t feel like a step stool or a throne), 24–30 inches seat depth so you can actually pull your legs up, and 6 inches of cushion thickness. I went with 4 inches originally. It’s not enough — you feel the platform underneath after twenty minutes.
– Bookshelves flanking the seat. Standard book depth is 10–12 inches. If you want the flexibility to display larger objects, decor, or oversized art books, go 12–15 inches instead. I did 11 inches and regret not going deeper on at least one side.
– The cushion fabric. Performance fabric (stain-resistant, kid-and-dog-proof) if this is a family space. Linen-look cotton or boucle if it’s a quiet adult retreat. This is the single visual cue that says “sit here” instead of “this is decorative.”
– Pillows and a throw blanket. Two to three pillows max, one substantial throw. This is the fastest way to make a bare bench look finished.
– A real reading light. An articulating wall sconce mounted at shoulder height when seated, or a pendant if the nook has ceiling clearance. Don’t rely on overhead room lighting — it’s flat and it’s usually in the wrong spot.
– Storage. Drawers under the seat, a lift-top lid, or at minimum a woven basket tucked beside the bench for blankets and clutter.
– One personal layer. A framed print, a small plant, bookends, a narrow shelf ledge wide enough for a mug. This is what makes it yours instead of a showroom mockup.
Optional Upgrades Worth Considering
Once the fundamentals are in place, these are the details that take a nook from “nice” to “someone’s going to ask who built this”:
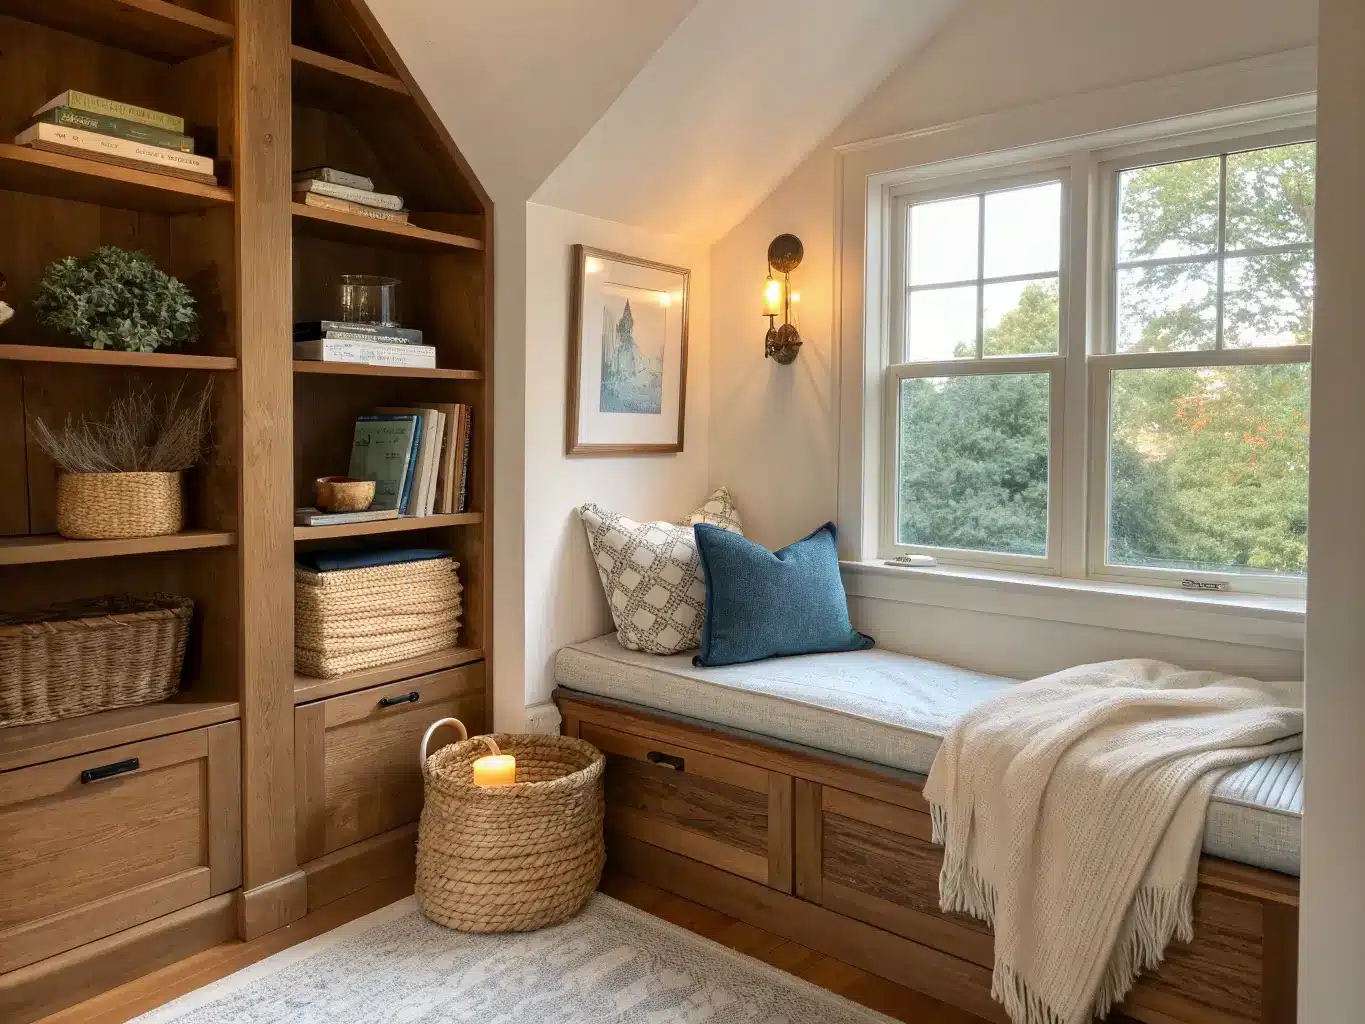
– Seasonal textile rotation — linen in summer, chunky knit or velvet pillows in winter.
– Organic touches — a small potted plant, dried stems in a vase, visible wood grain left unpainted on one shelf for texture contrast.
– Metallic hardware — brass sconces, polished nickel drawer pulls, fluted cabinet knobs. Small detail, disproportionate impact.
– A painted or wallpapered back panel. This is the trend I’d actually spend money on. A contrast color or a bold wallpaper on just the back wall of the nook gives you a focal point without cluttering the shelves with more objects.
– Built-in charging access. An outlet inside the bench or shelving, wired in during construction, so nobody’s phone charger is dangling across the cushion.
How to Put It Together: Layout, Structure, and Styling in Order
Prep the space first
Measure everything before you sketch a single shelf. Locate air registers, outlets, switches, and studs. I found out the hard way that my closet had a floor vent dead center — had to redesign the base to route around it rather than over it. This is not something you catch after you’ve bought lumber.
If you’re converting a closet, pull the doors, trim, and any existing shelving completely before you start measuring for the new build. You need to see the raw shell.
Decide your bench height before anything else gets built. Everything downstream — cushion thickness, drawer front height, where the shelves start — depends on that one number.
Material-wise, most DIY builds use plywood or MDF for the box and platform, poplar for trim, and a shiplap-style panel for the back wall. MDF paints up cleaner than plywood if you want a flawless painted finish; plywood is sturdier and cheaper if you’re staining or leaving some wood exposed.
Build in this order
1. Base and platform first — the actual bench structure.
2. Back panel and side framing — this is what makes it read as “built-in” instead of “furniture we pushed into a corner.”
3. Trim — casing around the opening, any crown or shelf trim.
4. Paint or finish — do this before the cushion goes in, always.
5. Cushion last. I made the mistake of ordering my cushion before I’d finished construction on my second attempt — sawdust and wet paint on a $180 custom cushion is not a mistake you make twice.
Style the shelves with a rhythm, not a pile
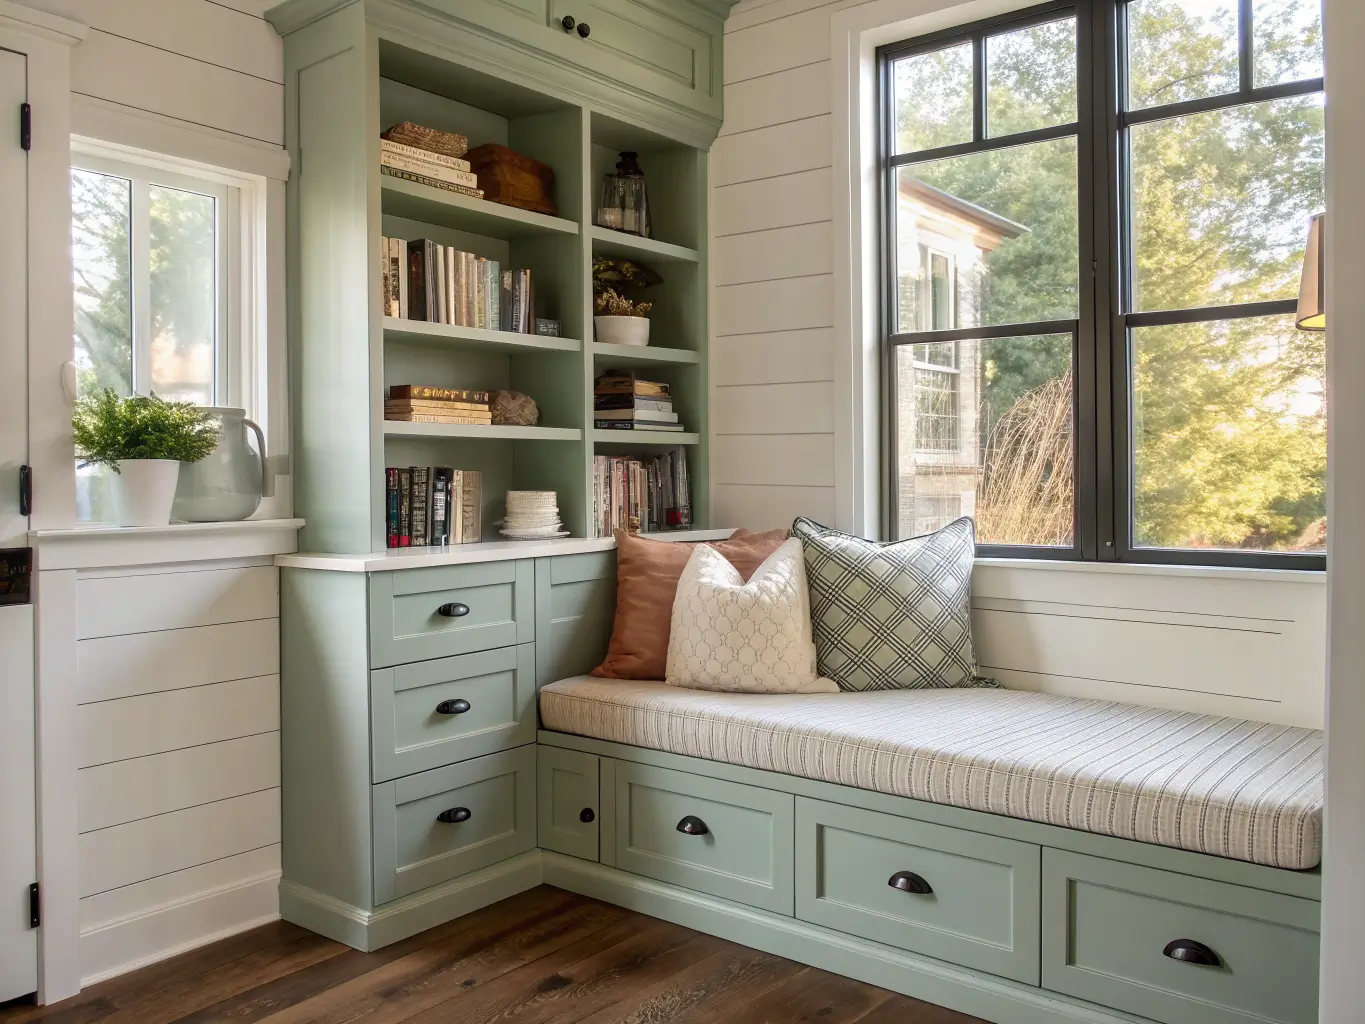
The formula that actually looks intentional: books, one object (candle, vase, small sculpture), one framed piece, one organic touch — per shelf section. Repeat with variation, not exact repetition, across each shelf. And leave gaps. A shelf that’s 100% full looks like storage. A shelf that’s 70% full looks curated.
Lead with comfort, finish with utility
The nook should visually announce “this seat is deep and padded” before it announces anything else. Then layer in the practical stuff — a basket for throws, a small tray or ledge for a mug, an accessible spot for a phone charger. These are the details that make it feel lived-in rather than staged for a listing photo.
Common Mistakes (I’ve Made Most of These)
– Seat too shallow or too firm. Covered this already because it’s the one that ruins everything else. Don’t cheap out on foam.
– No planned lighting. A nook that looks great at 2pm and is useless at 8pm isn’t finished. Plan the sconce location before you close up the walls, so you’re not fishing wire through finished trim later.
– Overstuffed shelves. More books does not equal more cozy. It equals visual noise. Edit ruthlessly.
– No storage plan. Without drawers or a basket, every blanket and charger cord ends up living on the seat cushion, which defeats the purpose.
– Blocking circulation. If the nook eats into a hallway or blocks a vent, door swing, or window, you’ll resent it within a month no matter how good it looks.
– Mismatched trim proportions. Inconsistent casing width or shelf depth is the fastest way to make a built-in look bolted-on instead of original to the house. Measure twice, match your existing trim profile if there is one nearby.
Keeping It Fresh Without Redoing the Whole Thing
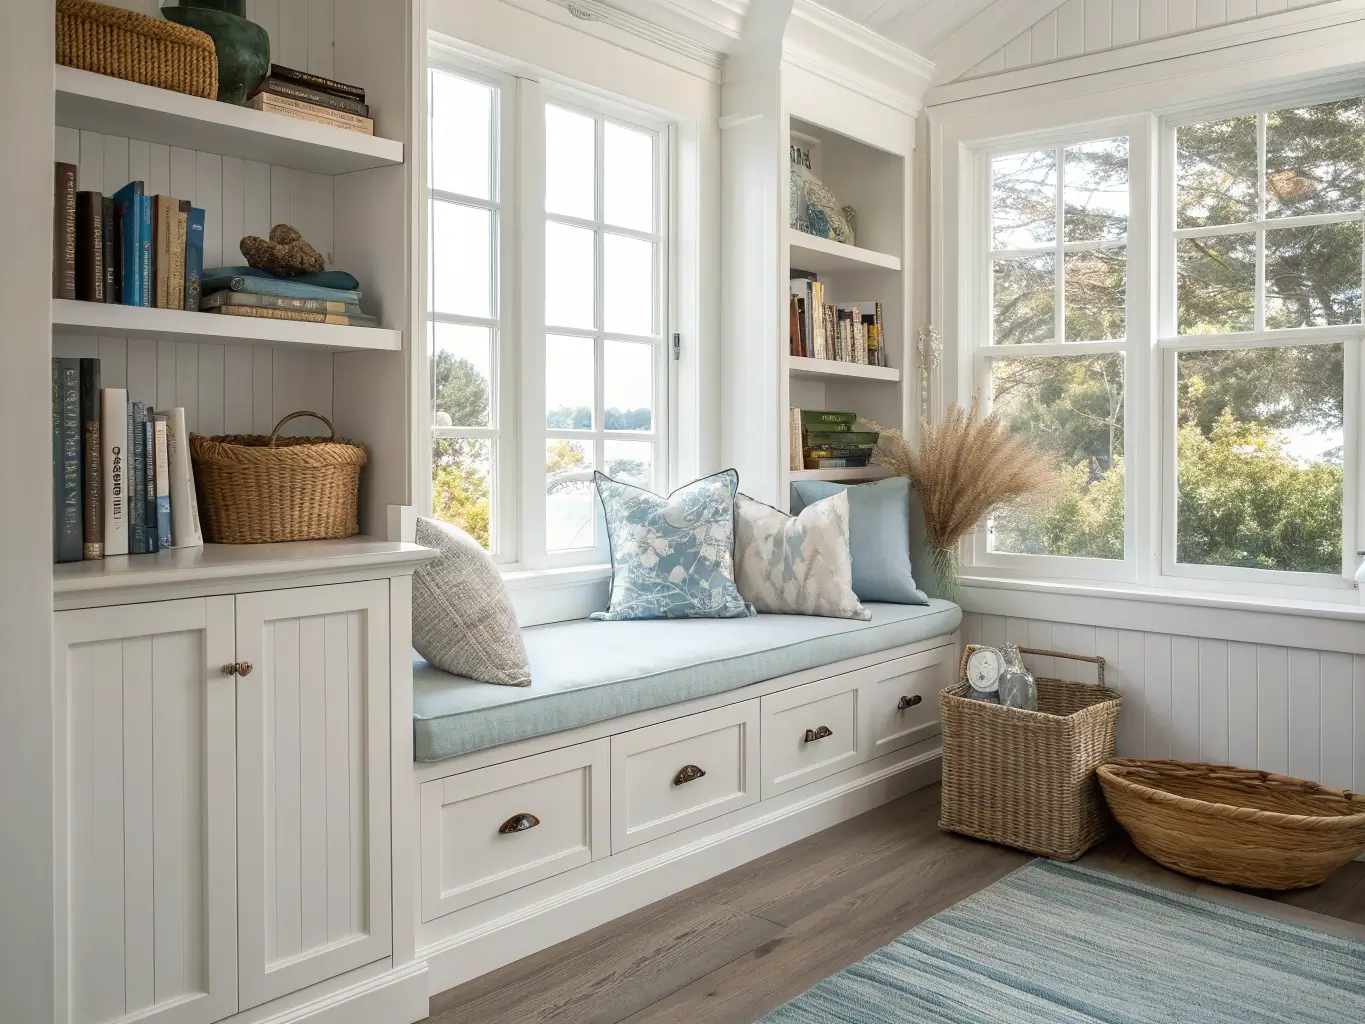
Stick to one dominant neutral plus one or two accents. Soft white or warm cream walls and trim, wood tones for warmth, then a single accent color — sage, dusty blue, navy — carried through pillows and maybe the back panel. Resist the urge to introduce a third or fourth color; it starts competing with the architecture itself.
Repeat materials across the space — same basket weave, same pillow fabric family, matching trim profile — for a look that feels considered rather than assembled piece by piece.
Edit the shelf styling every season or two. This is the cheapest way to keep a static built-in feeling current: swap pillow covers, add a heavier throw for winter, bring in dried florals or a different vase in fall. None of this costs more than $60–80 and it resets how the whole nook feels.
For a full style pivot, without touching the woodwork:
– Boho: woven baskets, warm wood tones, layered mismatched textiles.
– Coastal: white millwork, pale blue accents, linen pillows, light oak shelf accents.
– Farmhouse: shiplap back panel, painted MDF, black or brass hardware, simple casing.
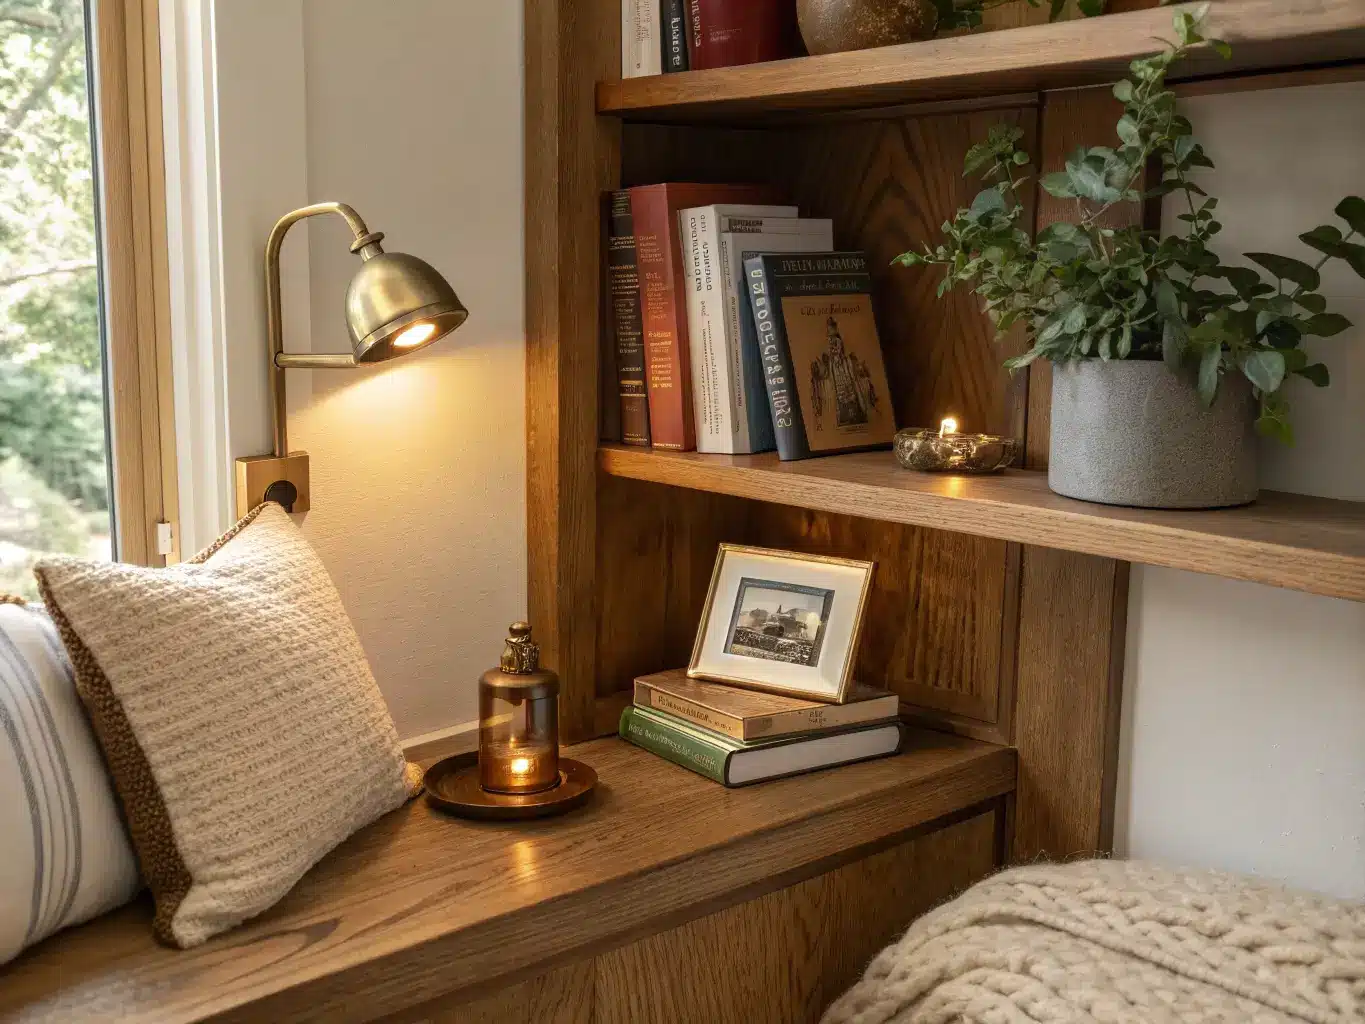
Budget path if you can’t do it all at once: start with cushion, pillows, paint, and a plug-in sconce. Add the shelving, built-in storage drawers, and hardwired lighting as a second phase once you’ve saved up or confirmed you actually use the space. That’s honestly the smarter order — no point building elaborate storage into a nook you end up not sitting in.
Once the basics are solid, the upgrade path is straightforward: better hardware, a paint-wrapped shelf interior instead of raw wood, dedicated task lighting instead of a lamp. Each of those is a weekend project on its own, which means you don’t have to get it all right the first time. I certainly didn’t.
For another angle on this, my diy reading nook guide covers the same space from a different starting point.





