
I built my kids’ craft corner three times before it stuck. The first version was gorgeous — matching bins, a white table, a little rainbow shelf display I found on Pinterest — and my kids ignored it completely because the scissors were in a drawer they couldn’t open and the “good” markers lived on a shelf too high to reach. A kids craft room only works if the stuff kids actually use every day is at their eye level and easy to grab. Everything else is decoration.
That’s the whole lesson, honestly. Here’s how to set one up without wasting money or a month of weekends.
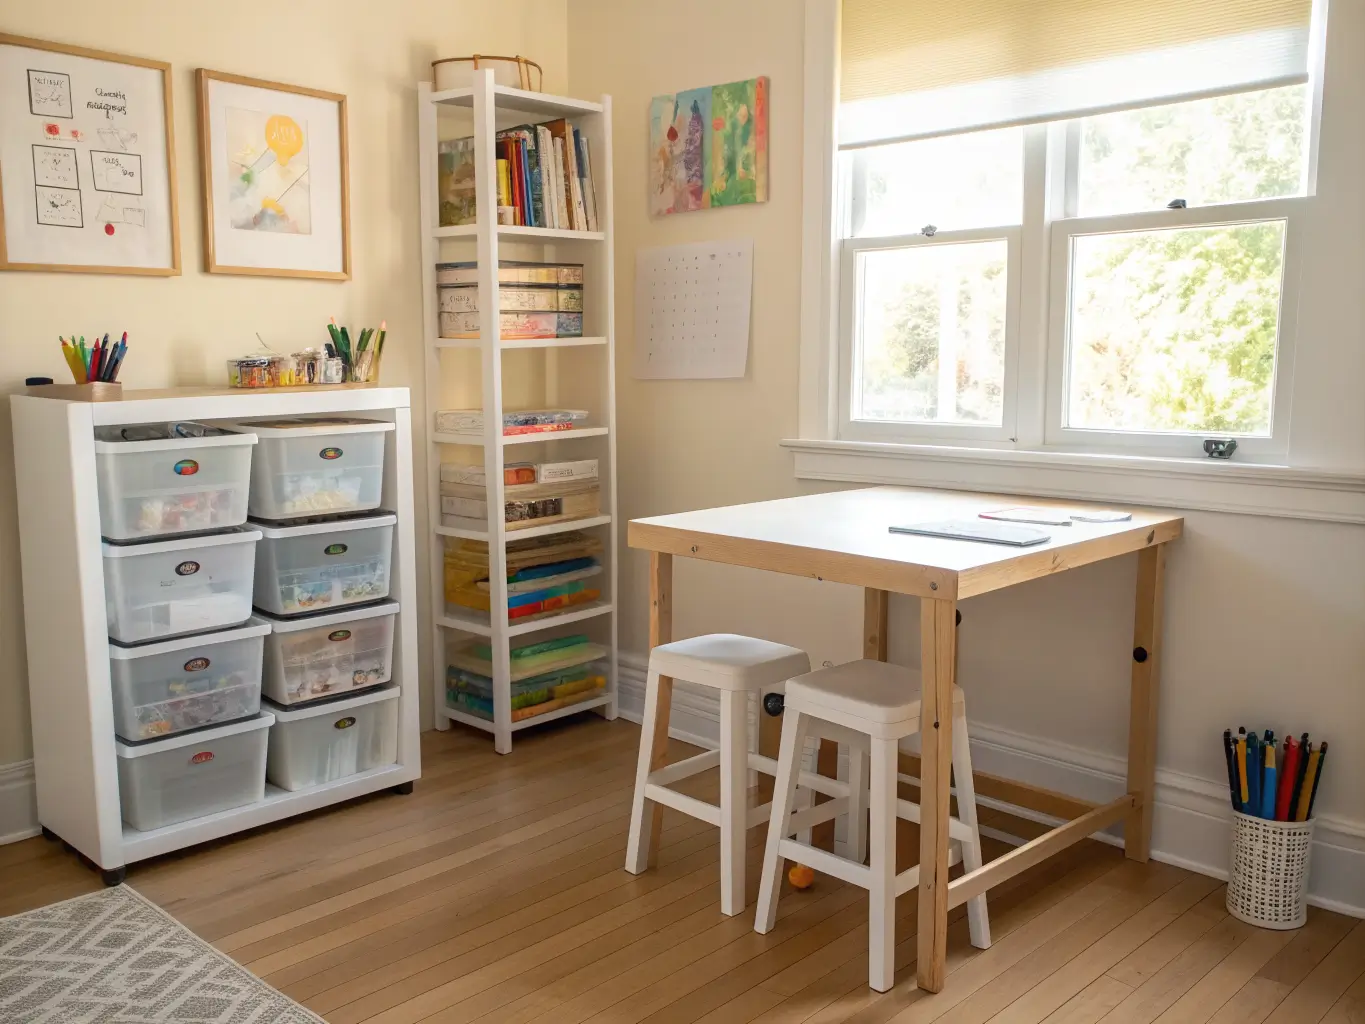
What This Style Actually Is
Forget theme rooms with murals and matching wallpaper. The current look that actually works is bright, functional storage with a clean base — white or light wood furniture, natural baskets, clear labeled bins, and color coming from the supplies and artwork themselves rather than the walls. Think Scandi-simple shelving with a rainbow of markers as the accent color, not the other way around.
This setup is for families with kids who draw, paint, cut, glue, and generally generate a lot of paper and mess on a regular basis. It doesn’t need its own room. My “craft room” is actually a 6-foot stretch of wall in our playroom, and I’ve seen it work just as well carved out of a basement corner, a spare bedroom wall, or even a section of a home office. A dedicated 12×12-foot room is nice if you have it, but it’s not the point — accessibility is the point.
Setup time: a basic corner takes a weekend. A fully organized room with labeling, wall shelving, and a display zone takes 1–2 weeks if you’re doing it in stages, which I recommend.
Budget range: $150 on the low end for a table, some bins, and a cart. $1,500+ if you’re adding built-ins, a custom pegboard wall, or higher-end kid furniture. Most people land somewhere in the middle, and I’ll tell you exactly where to spend and where to save below.
The Must-Have Pieces
These are non-negotiable if you want the space to actually get used without you managing it every day.
– A kid-height table and chairs. This is the anchor of the whole setup. If the table’s too tall, kids won’t sit at it independently — they’ll drag their crafts to the kitchen table instead, which defeats the purpose. I use a $60 IKEA LATT table with two stools, and it’s held up fine for three years of glue and marker abuse.
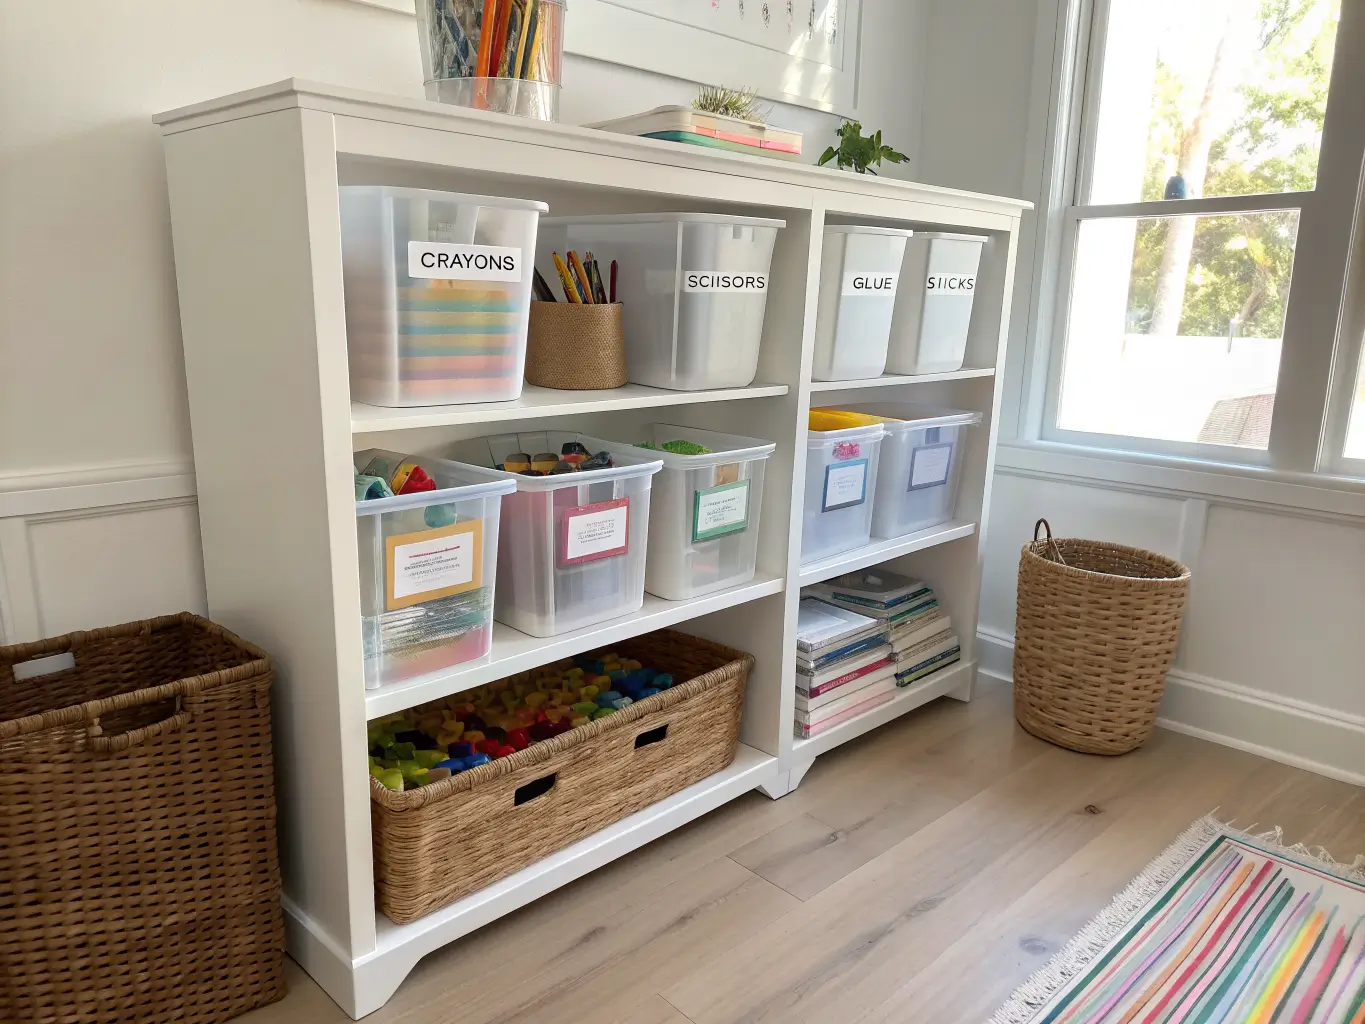
– Open shelving, not cabinets. Cabinet doors are a barrier. A 3-tier open bookshelf ($40–$150 depending on size) keeps paper, bins, and finished projects visible and reachable.
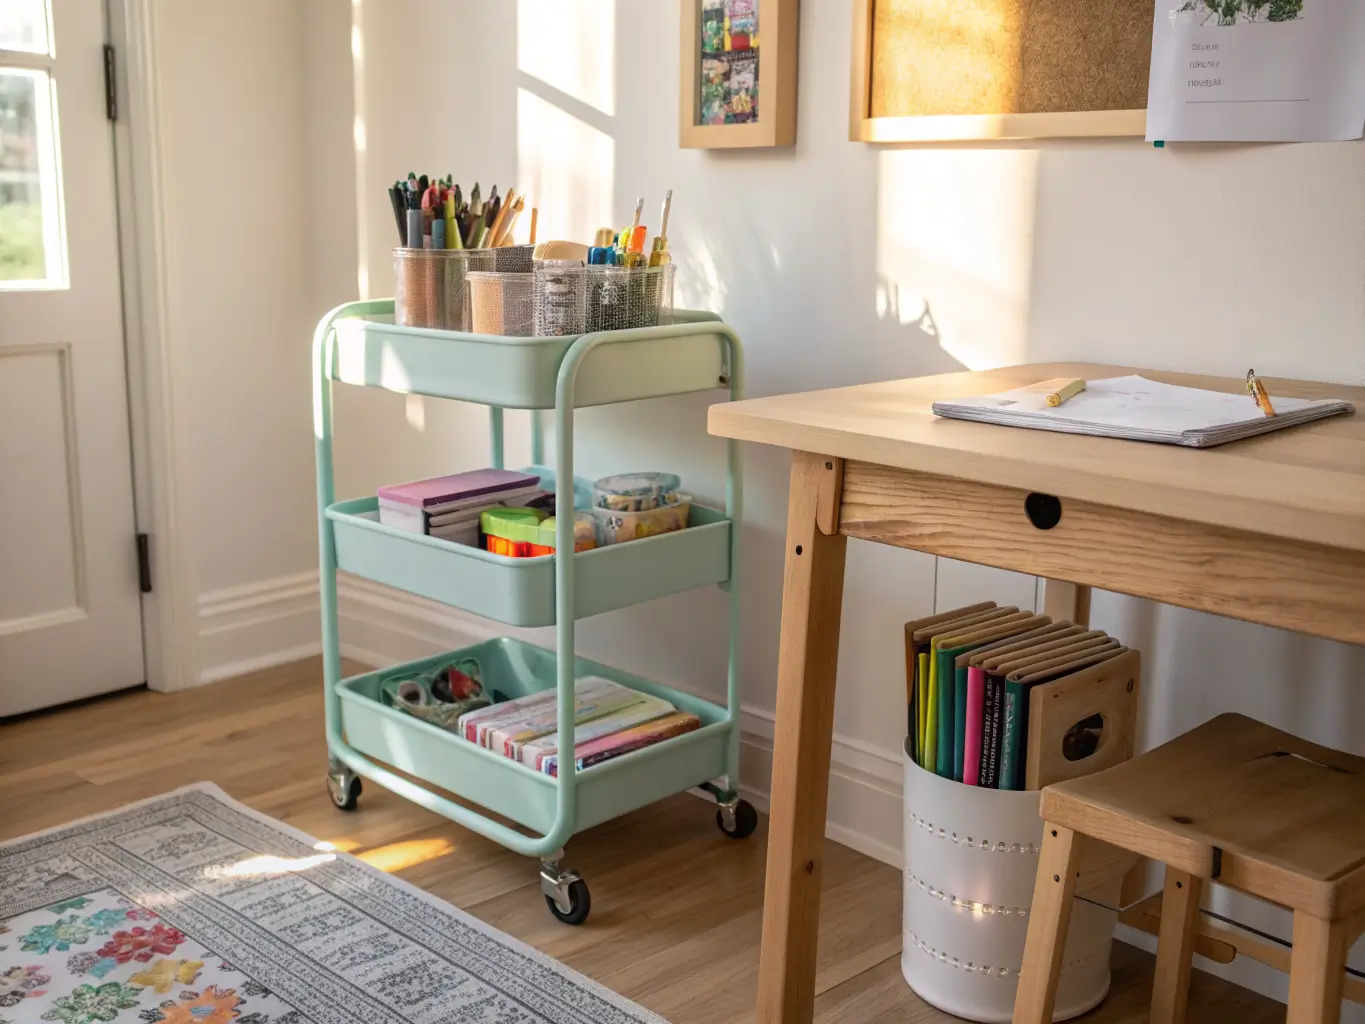
– An art cart or rolling caddy. This is the single most useful thing I added. A 3-tier rolling cart (Raskog from IKEA, about $40, or a similar version from Target) parked next to the table means markers, glue, and scissors travel with the kid instead of living somewhere they’ll forget to put things back.
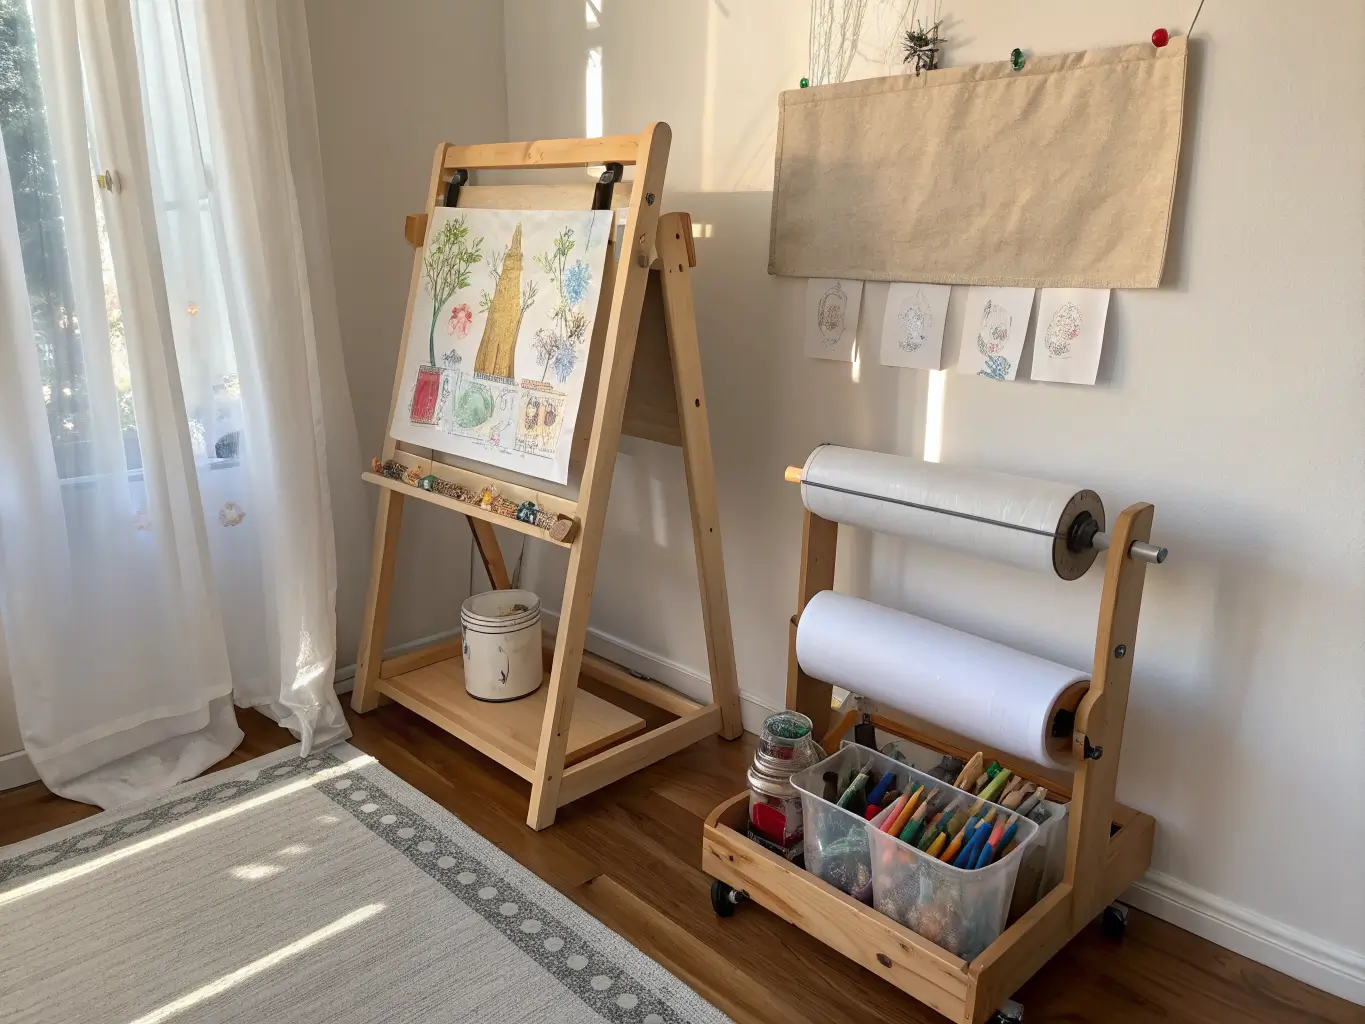
– An easel or a paper roll. Either a freestanding wooden easel ($40–$100) or a wall-mounted paper roll dispenser. Put washable wall covering or a cheap shower curtain liner behind it if you’re near a wall you care about.
– Labeled bins and jars. Clear plastic shoebox bins for crayons, markers, scissors, glue sticks — one category per bin, labeled with a word AND a picture if your kids aren’t reading yet.
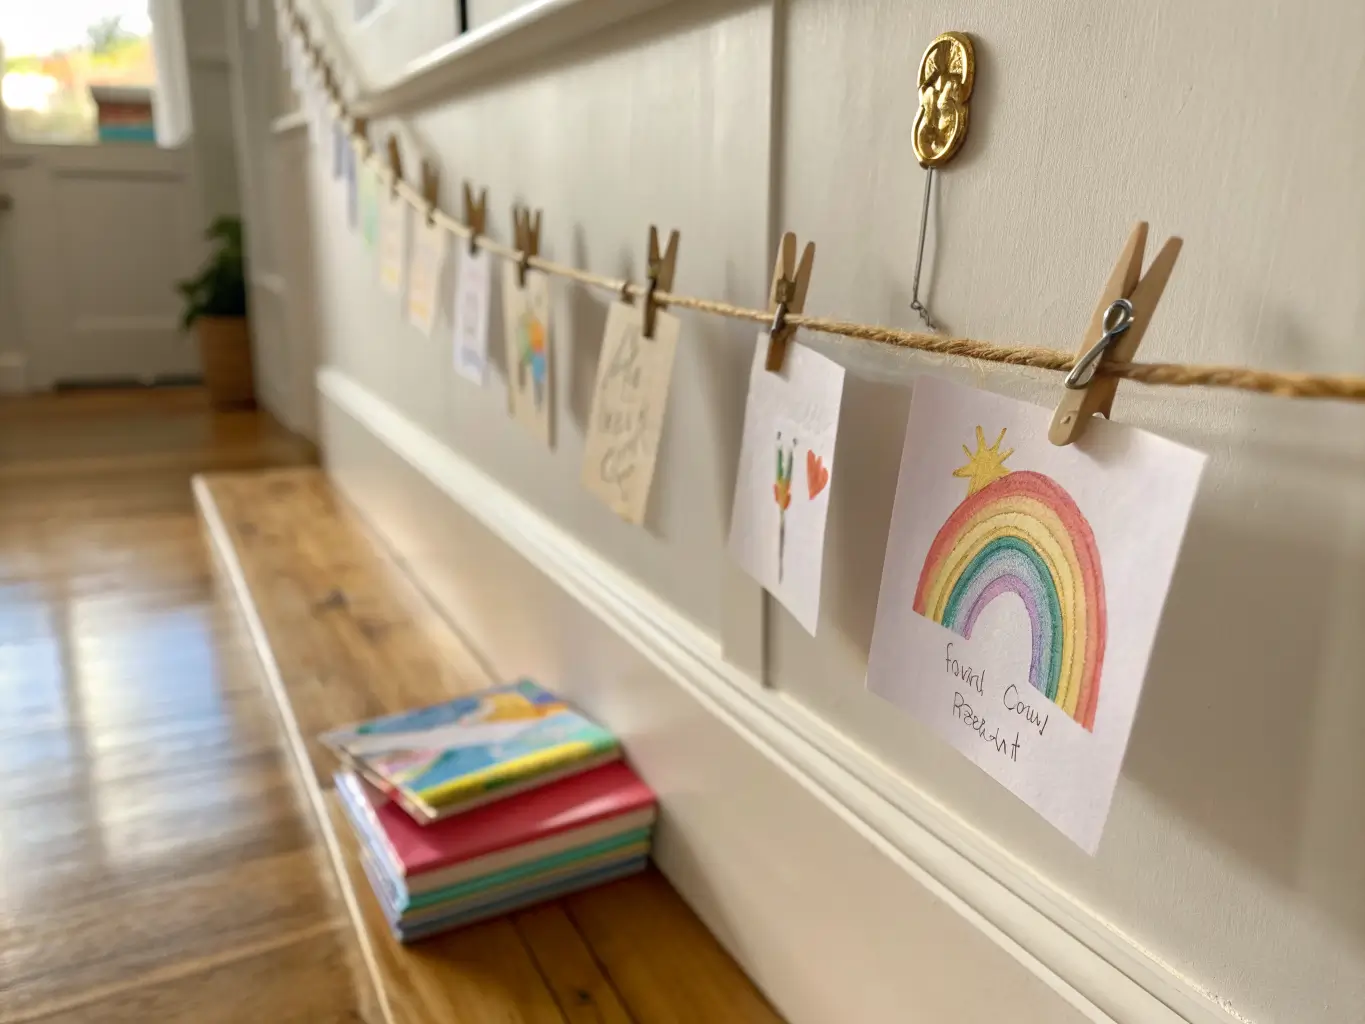
– A display rail or clip line. A length of twine with mini clothespins, strung along one wall, costs about $10 and instantly makes the space feel like a working studio instead of a storage closet.
– Washable flooring or a wipeable rug. I learned this one the hard way — more on that below.
– Height-based storage separation. Everyday supplies go low. Anything requiring supervision (real scissors, paint, glitter glue in bulk) goes on a shelf they need help reaching.
Optional Extras Worth Considering
Once the basics are working, these add function without adding chaos:
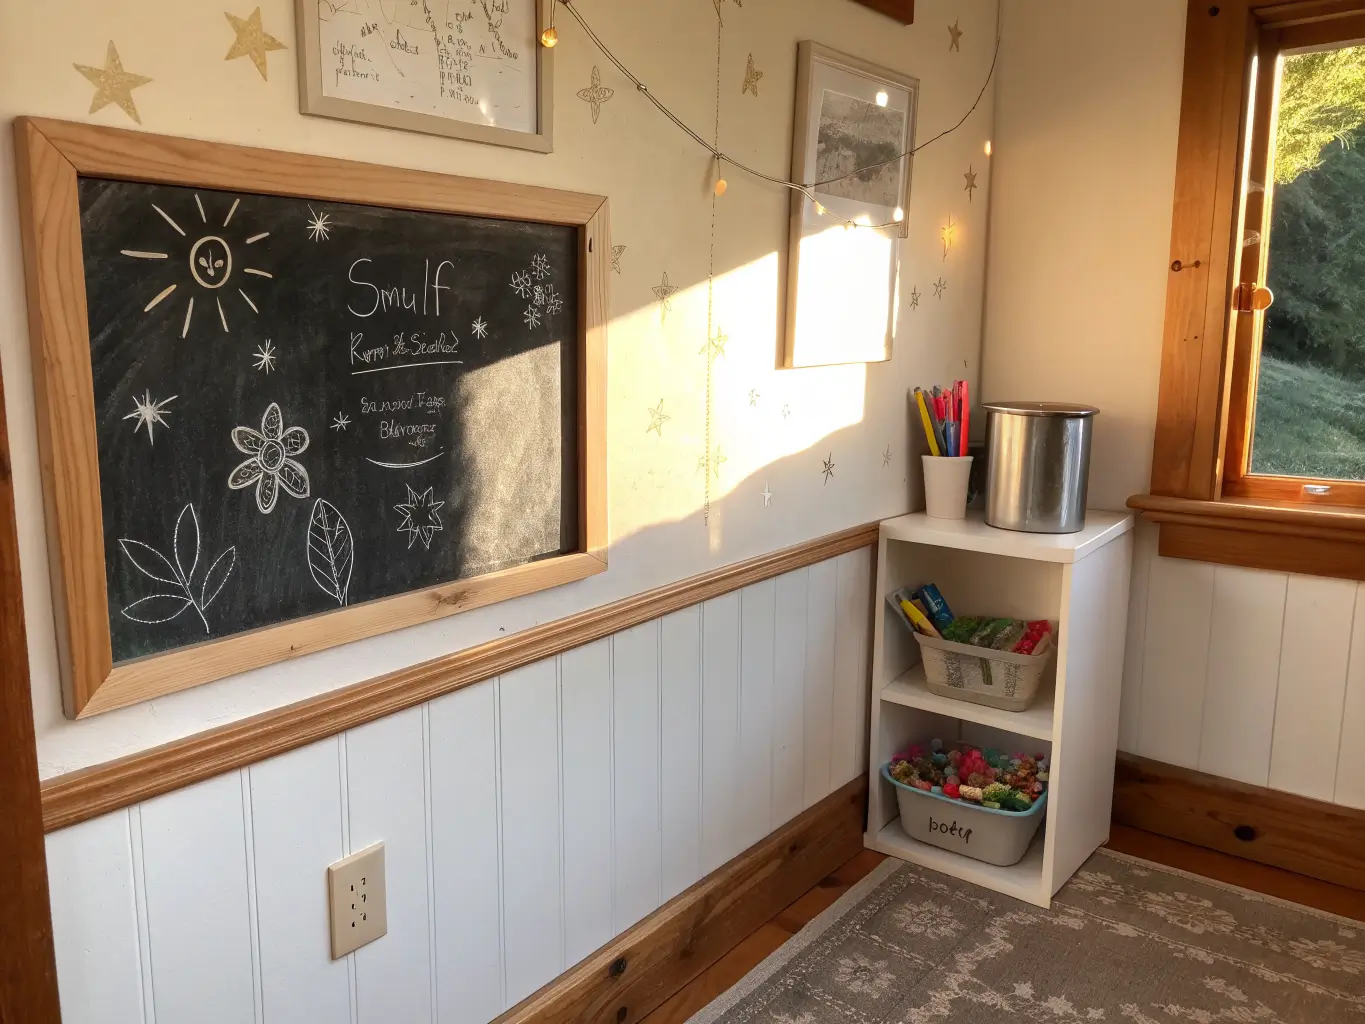
– A chalkboard paint section — one 2×3-foot rectangle painted on the wall with chalkboard paint ($15 a quart) gives kids a doodle zone that doesn’t generate paper waste.
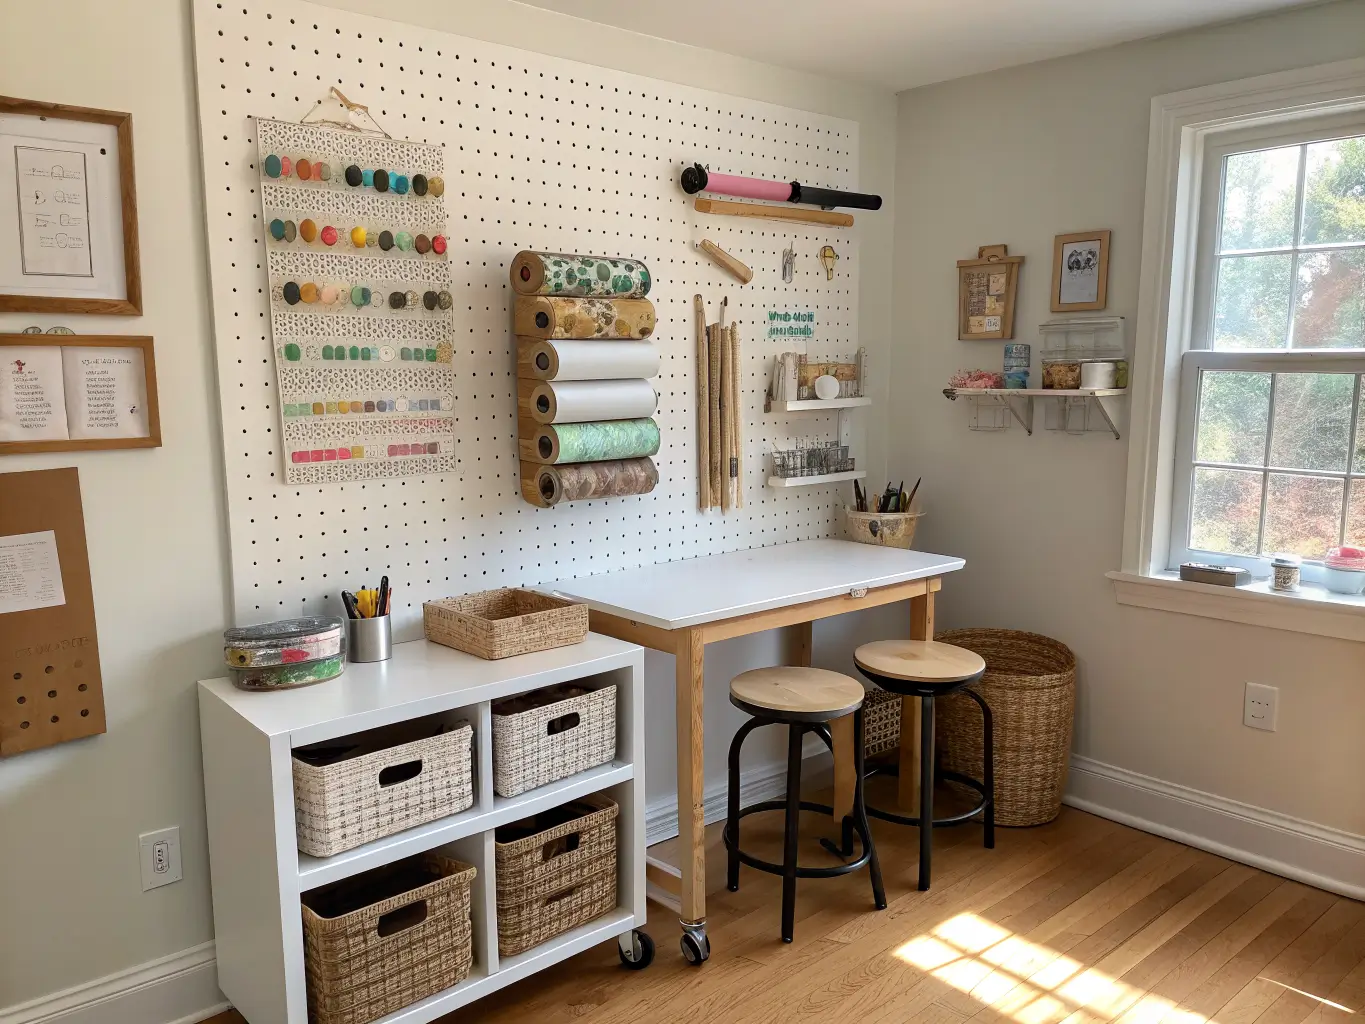
– Pegboard storage for older kids working with tools, tape, and rulers — more flexible than shelving as needs change.
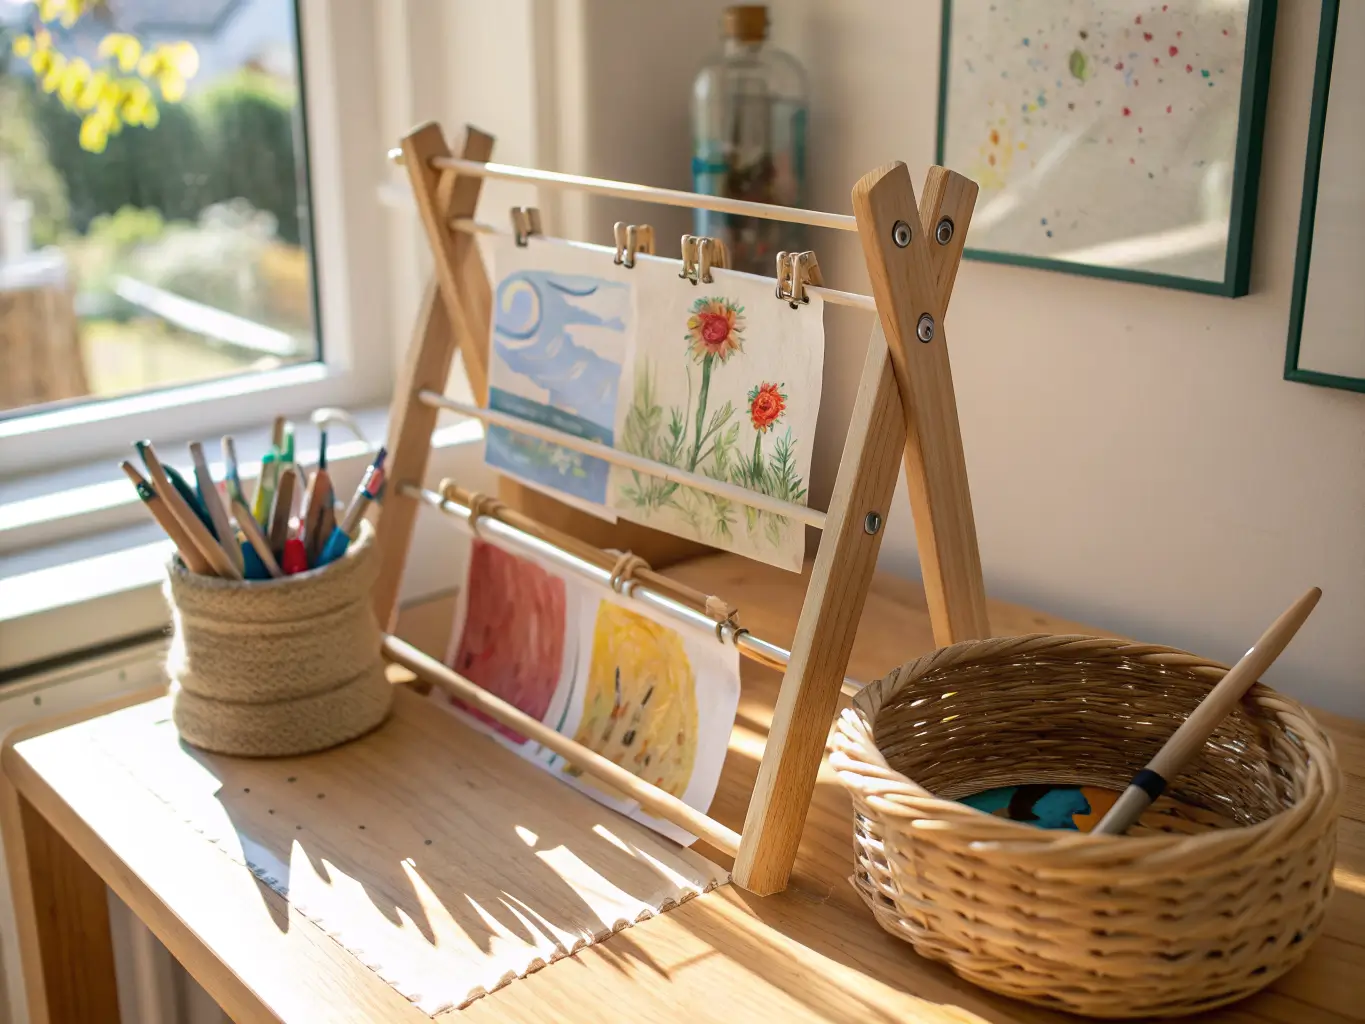
– A small drying rack for wet paintings, so finished work doesn’t take over the table.
– Woven baskets instead of plastic bins for one or two categories, just to soften the look. I use a seagrass basket for scrap paper and it’s the only thing in the room that doesn’t look purely utilitarian.
– A couple of brass or gold hooks for the display line or apron storage — small metallic touches keep it from feeling like a classroom supply closet.
How to Actually Put It Together
Prep the space first. Clear it out completely. Decide if this is a full room, a corner, or a shared-space outpost — and pick a spot your kids already hang out in. My first attempt failed partly because I put it in a guest room nobody entered. Now it’s in the playroom, and it gets used daily because it’s in the flow of normal life.
Sort supplies before you buy storage. You can’t buy the right bins until you know what you’re storing. I spent $80 on a bin system before realizing half of it was too small for construction paper, and returned it all.
Anchor anything tall to the wall. Bookshelves and cube units need anti-tip brackets, especially with kids under 6 in the house. This is a five-minute job with a $6 kit from the hardware store — don’t skip it.
Add light. If the corner is dim, add a $20 clip lamp. Kids do better detailed work when they can actually see it, and dim craft corners get abandoned.
Once the space is prepped, build it in this order:
1. Table and chairs first — get the sizing right before anything else goes in.
2. Art cart next to the table — within arm’s reach, not across the room.
3. Open shelves above or beside the desk for paper stock and finished work.
4. Display line or wall so art has a home besides the dining table.
5. Labels and a small trash can last, once you know what’s actually living where.
Mistakes I’ve Made (So You Don’t Have To)
Putting it somewhere inconvenient. Said this already, but it’s worth repeating because it’s the single biggest reason craft corners fail. If it’s not on the way to somewhere kids already go, it becomes storage for stuff nobody touches.
Buying storage that’s too closed or too cute to be practical. Woven lidded baskets look great in photos. My kids couldn’t get the lids off, so the baskets became furniture instead of storage. Open bins win every time for daily-use items.
Skipping washable surfaces. I did not put a mat under our first table, and there is a permanent faint stain on my hardwood floor from a spilled cup of purple paint water that I will be looking at until I refinish the floor. A $25 vinyl mat would have prevented this entirely.
Buying too much, too fast. I bought a full 152-color marker set, three types of glue, and a glitter bin all in week one. It was overwhelming for my kids and half of it dried out unused. Start with the basics — crayons, markers, glue sticks, paper, safety scissors — and add categories as you see what actually gets used.
Forgetting safe storage for sharp stuff. Real scissors, X-Acto knives if an older sibling uses them, anything glass — these go on the high shelf, always, no exceptions.
Keeping It Fresh Without Redoing the Whole Room
Stick to one base palette. White or light wood shelving, neutral bins, and let color come from the supplies and the kids’ artwork. This is the difference between a room that looks curated and one that looks like a supply closet threw up.
Group like with like. All the paper in one spot, all the paint supplies in another. It sounds obvious, but a mixed-bin system is what makes rooms look — and function — like clutter.
Pick one hero wall. The display line or the shelf above the table. Don’t try to make every surface a feature; one clear focal point reads as intentional, five compete with each other.
For updates that don’t cost real money: swap paper colors and stickers seasonally, rotate what’s on the display line monthly, and as kids get older, layer in watercolor trays, paint sticks, or a pegboard for more advanced projects instead of replacing furniture. If you want a budget refresh, add pieces one at a time — cart, then labels, then shelving, then the easel — rather than trying to build the whole thing in one trip to IKEA. That’s how I’d do it again, and it’s the only version of this room that’s actually lasted.
For another angle on this, my kids study room ideas guide covers the same space from a different starting point.





