
Study Room Ideas: How to Design a Space That Actually Gets You Working
Good study room ideas solve one problem: you sit down and you actually want to stay there. I’ve built three of these — one in a rental apartment with zero built-ins allowed, one in a spare bedroom that used to be a junk room, and one for my kid that had to survive glitter glue and homework meltdowns. What I learned is that a study room isn’t about how it photographs. It’s about whether the desk clutters up again by Thursday.
Let me walk through what actually works.
What This Style Is and Who It’s For
The direction most people land on now is what I’d call modern functional minimalism — clean-lined desk, smart storage, a palette that doesn’t compete with your brain for attention. Some people warm it up with a “cozy academic” layer: warm wood, a reading lamp, a stack of real books instead of decor books. Both work. What doesn’t work is treating a study room like a living room with a desk crammed into it.
This setup is right for:
– Students who need a low-distraction zone away from their bed and phone charger
– Remote workers who want a separate “work mode” space, even a small one
– Families juggling homework at the kitchen table who are tired of clearing it for dinner
– Readers and hobbyists who just want one dedicated, quiet corner
It works in a spare bedroom, obviously, but also in a sunroom, a closet with the doors removed, a basement corner, or a window nook that’s currently just catching junk mail. I turned a hallway alcove — 38 inches wide — into my first study nook. It sounds too small until you realize a desk only needs to be about 24 inches deep to function.
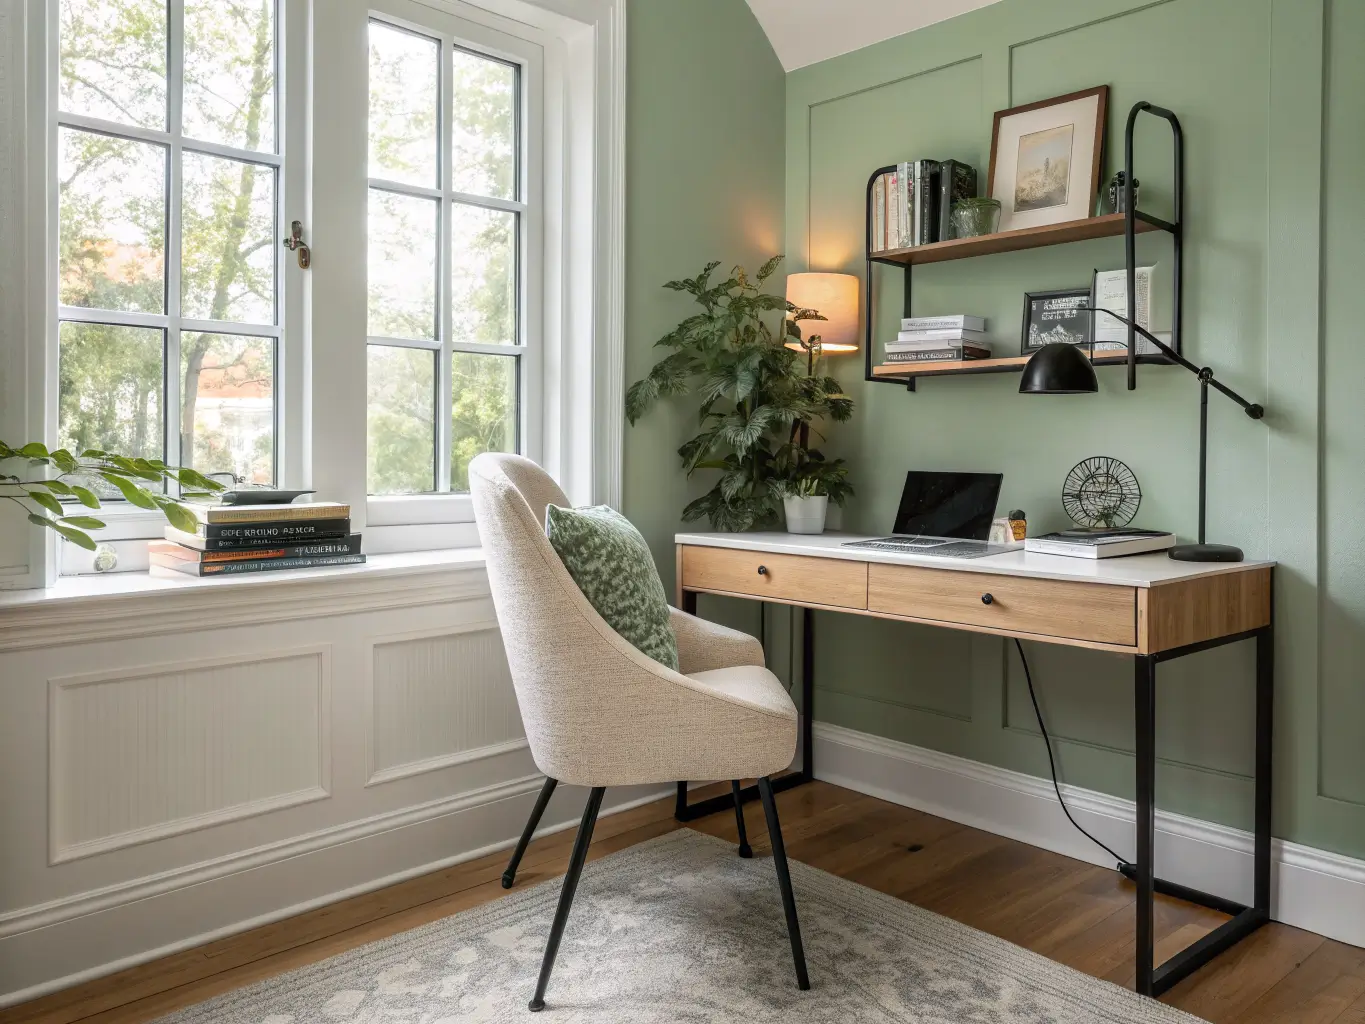
Setup Time and Realistic Costs
A basic study nook — desk, chair, a lamp, one shelf — can be assembled in an afternoon. I did mine in about three hours, most of which was spent assembling a flat-pack desk and swearing at an Allen wrench.
Built-ins are a different animal. Custom shelving, electrical work for outlets, and cabinetry mean you’re looking at weeks, not hours, plus a contractor if you’re not comfortable with a miter saw.
Budget ranges to expect:
– A no-frills desk, chair, and lamp: doable on the low end if you shop secondhand or flat-pack
– Mid-range setup with floating shelves, a decent ergonomic chair, and layered lighting: costs climb but you’re still shopping retail, not custom
– Built-in shelving, custom desk, upgraded lighting: this is where the budget really stretches, since you’re paying for materials, labor, and often electrical work
My rule: spend on the chair and the lighting, save on the decor. Nobody’s back has ever been saved by a nice bulletin board.
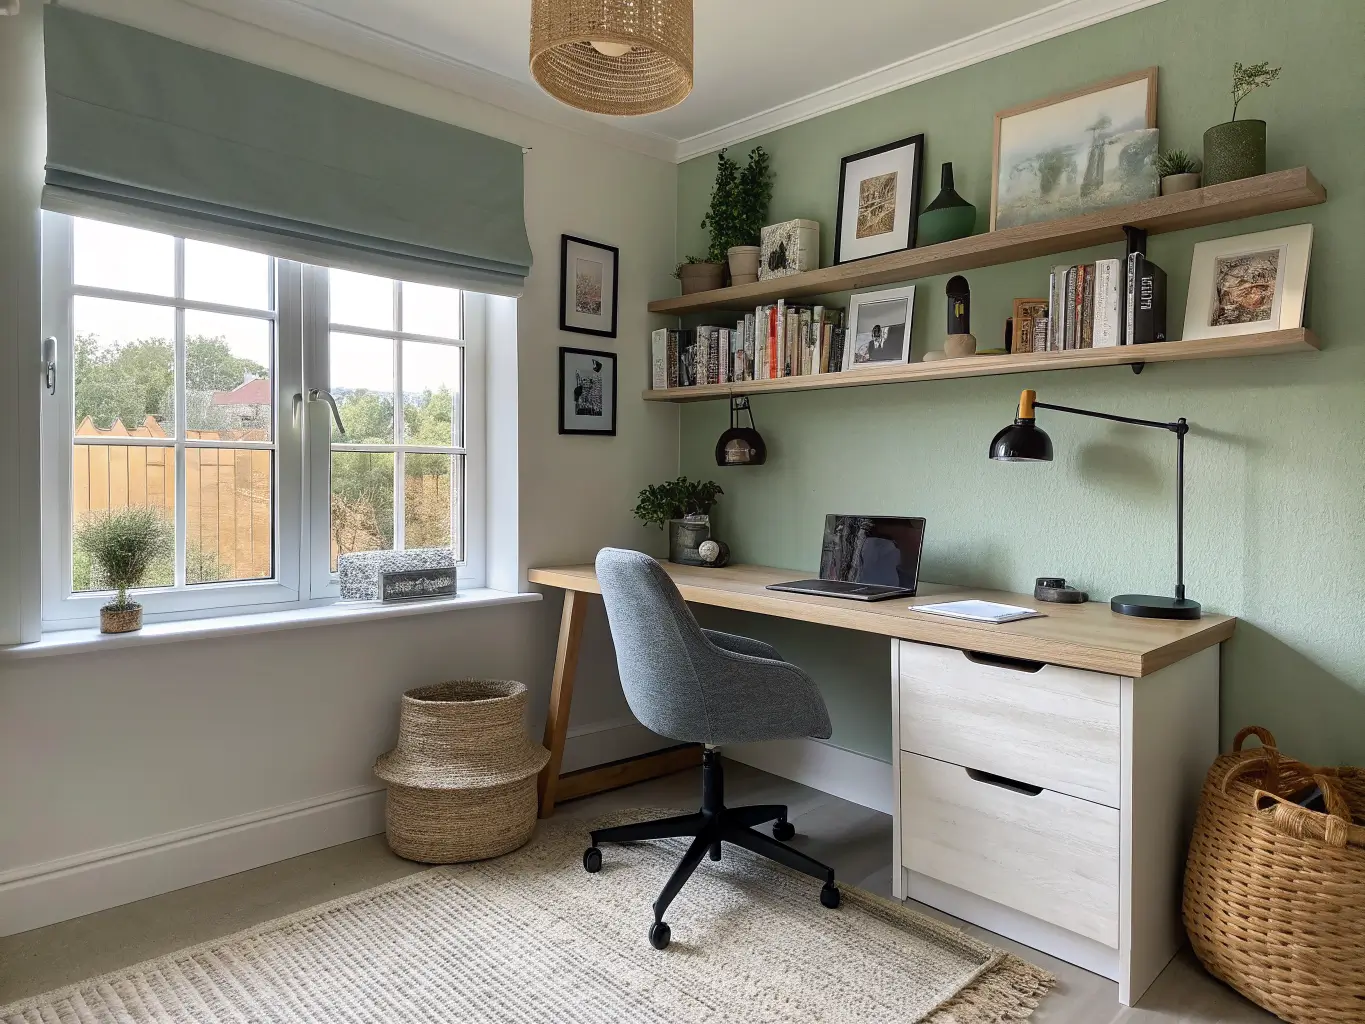
Skill Level: What You Can DIY and What You Shouldn’t
– Beginner: Furnishing a nook with a pre-made desk, chair, and lamp — no tools beyond a screwdriver
– Intermediate: Floating shelves, a wall-mounted desk, swapping out lighting fixtures — you’ll need a stud finder and some patience
– Expert: Built-in cabinetry, twin workstations, custom millwork — hire this out unless you’ve done real carpentry before
I tried to install floating shelves myself the first time and missed the stud completely. The shelf held books for about four days before it sagged. Second attempt, I used a stud finder and toggle bolts as backup — five years later, still level.
The Must-Have Pieces
Every functional study room comes down to five things. Skip one and the room stops working, no matter how good it looks.
The desk. This is the anchor. Options:
– Standard desk against a wall
– Corner desk for tight spaces
– Floating desk (wall-mounted, no legs) for small rooms where floor space matters
– L-shaped for anyone who needs a laptop zone and a paper-spreading zone
Sizing matters more than people think. For laptop-only use, 100–120 cm wide by 50–60 cm deep (roughly 39–47 inches by 20–24 inches) is plenty. If you need room to spread out papers, textbooks, or a monitor plus a notebook, go closer to 140 cm (55 inches) wide.
The chair. This is where I’d tell you not to cheap out. I used a $40 folding chair for two years in my first apartment study corner and my lower back still remembers it. An ergonomic chair with lumbar support isn’t optional if you’re sitting there more than an hour at a stretch.
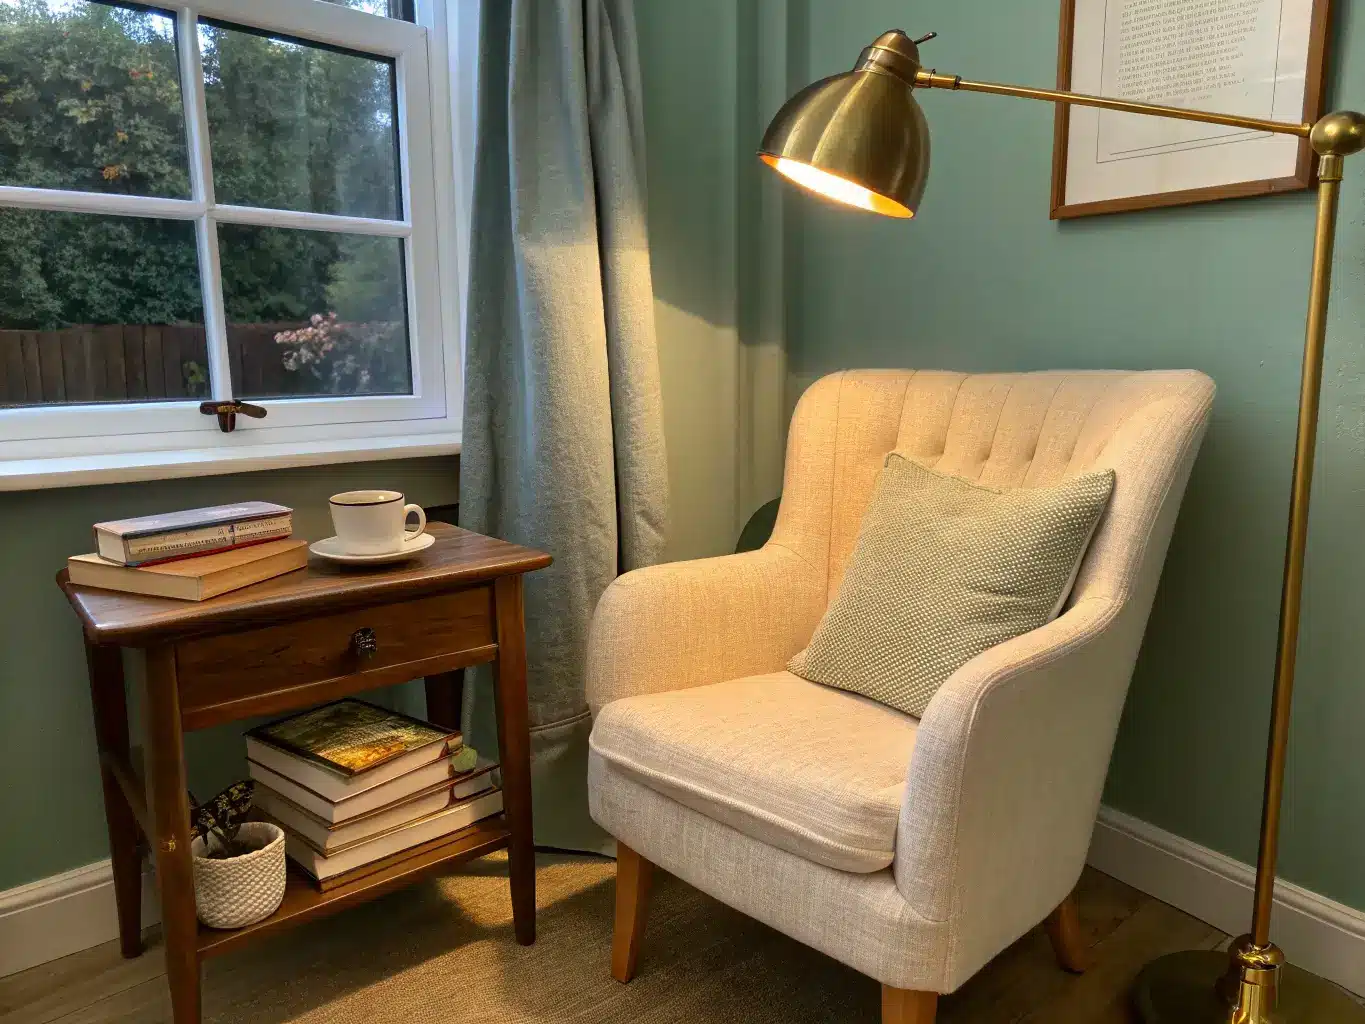
Task lighting. A desk lamp or under-cabinet light with a cooler color temperature — around 4000K — gives you crisp light for reading and writing without the yellow cast that makes a room feel sleepy. Layer in a warmer ambient light (a floor lamp, a wall sconce) for evening use so the room doesn’t feel like an operating theater after dark.
Storage. Open shelving, closed cabinets, drawers — pick based on how visually busy you want the room. I use open shelves for books I reference constantly and a closed cabinet for the stuff I don’t want to see: printer paper, old notebooks, a tangle of charging cables.
Window treatments. If your desk is near a window (and it should be — more on that below), you need a way to cut glare. Simple linen curtains or a cordless shade does it.
One more non-negotiable: a charging zone. Whether it’s a small tray with a built-in charging pad or just a drilled grommet hole for cord routing, decide where cords live before you start decorating. Otherwise they end up snaking across the desk and you’ll be annoyed by it daily.
Optional Upgrades Worth Considering
Once the essentials are covered, here’s where you can push the room further:
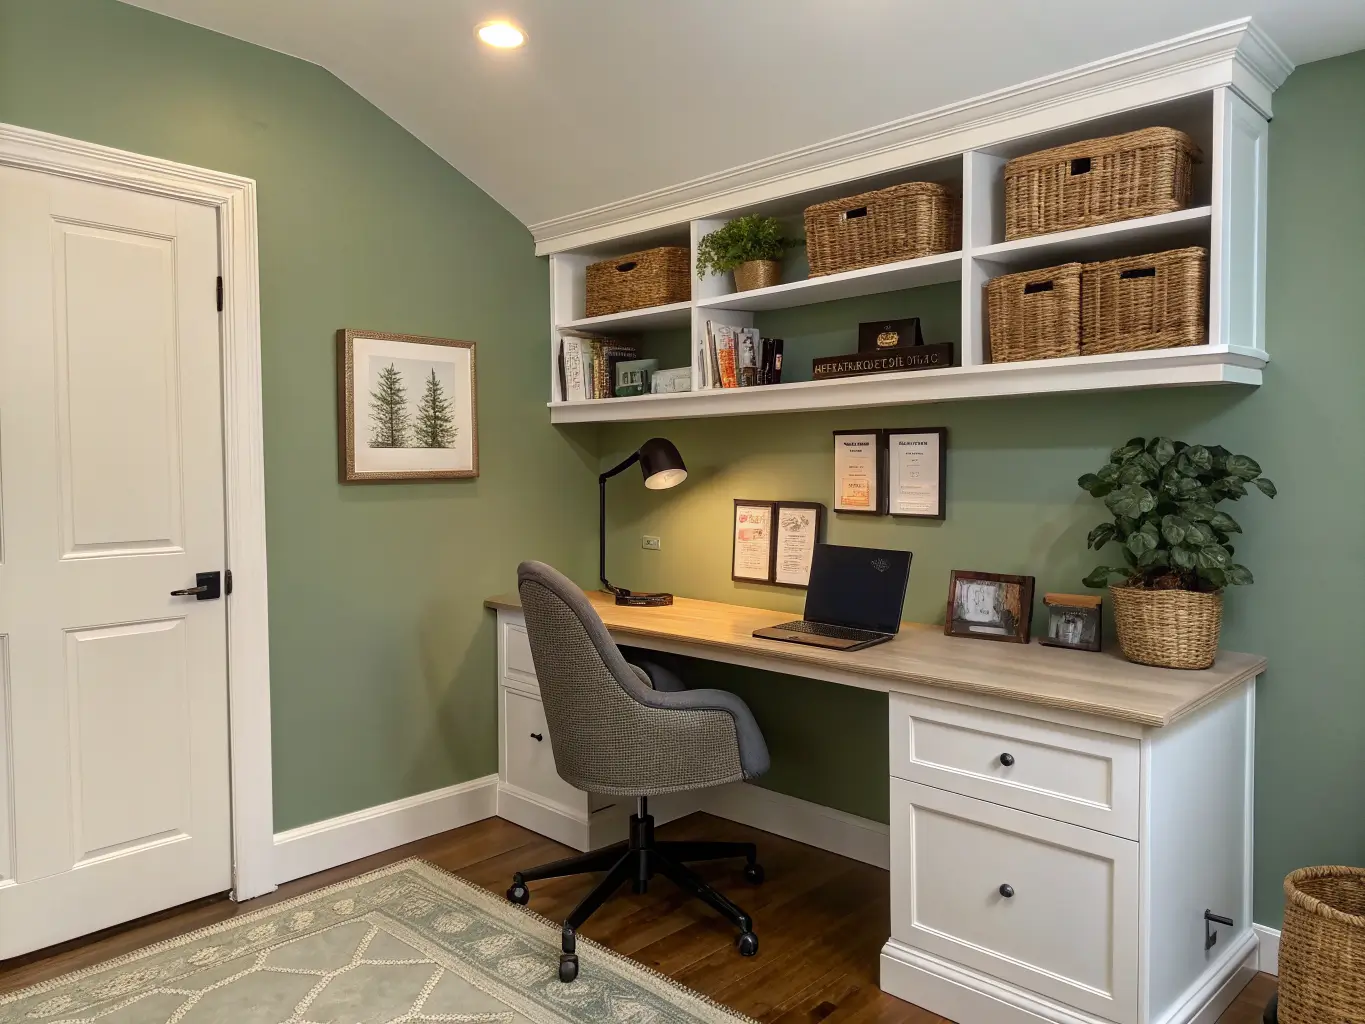
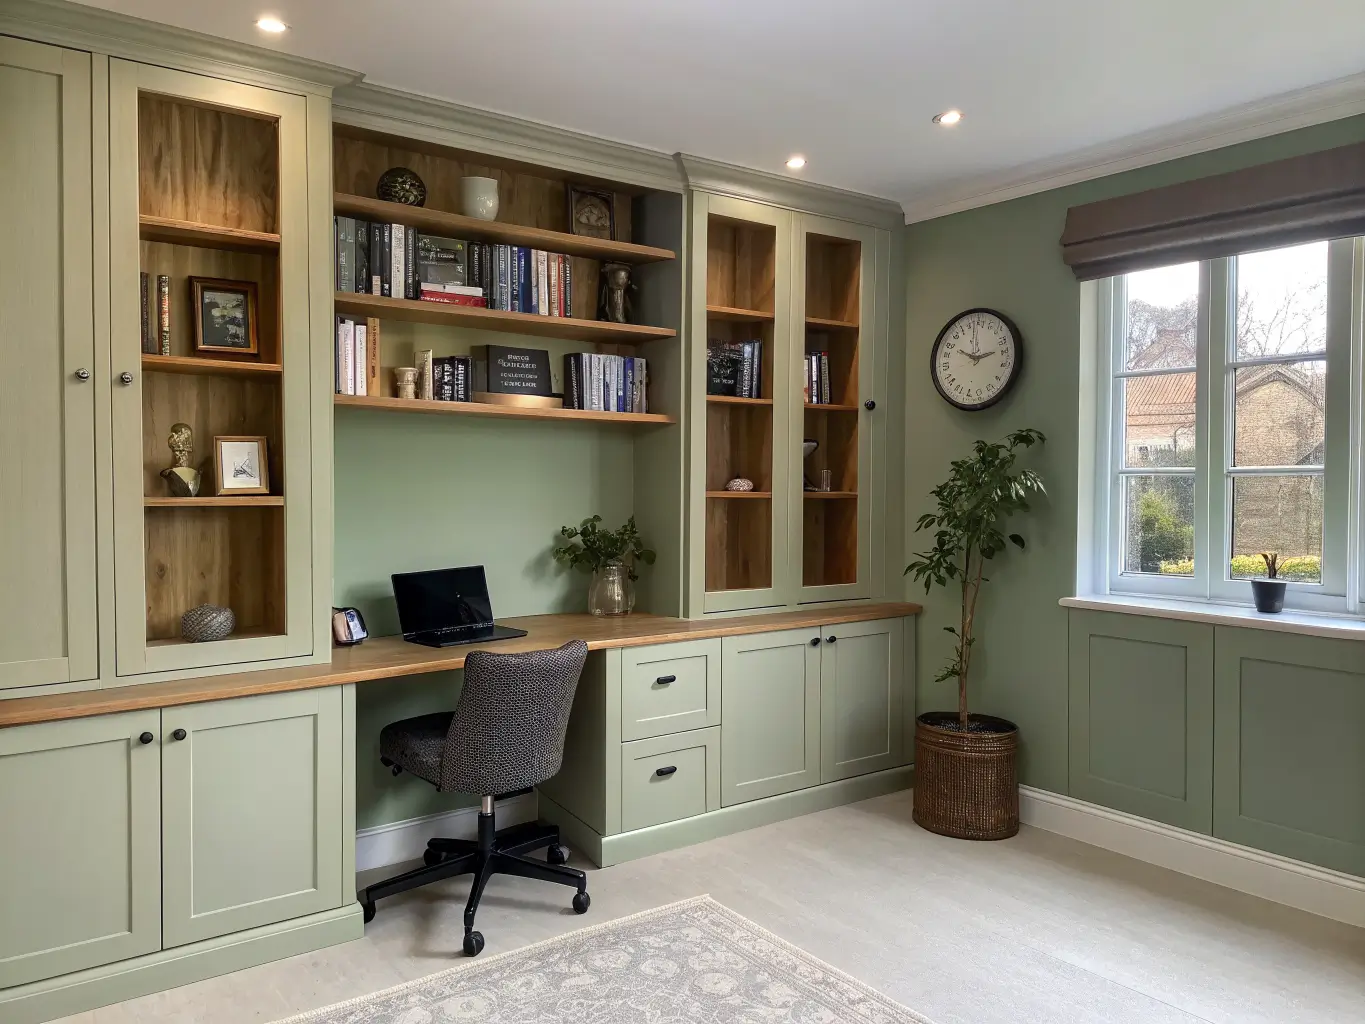
– Built-in shelving — the single best move for making a small room feel organized instead of cramped
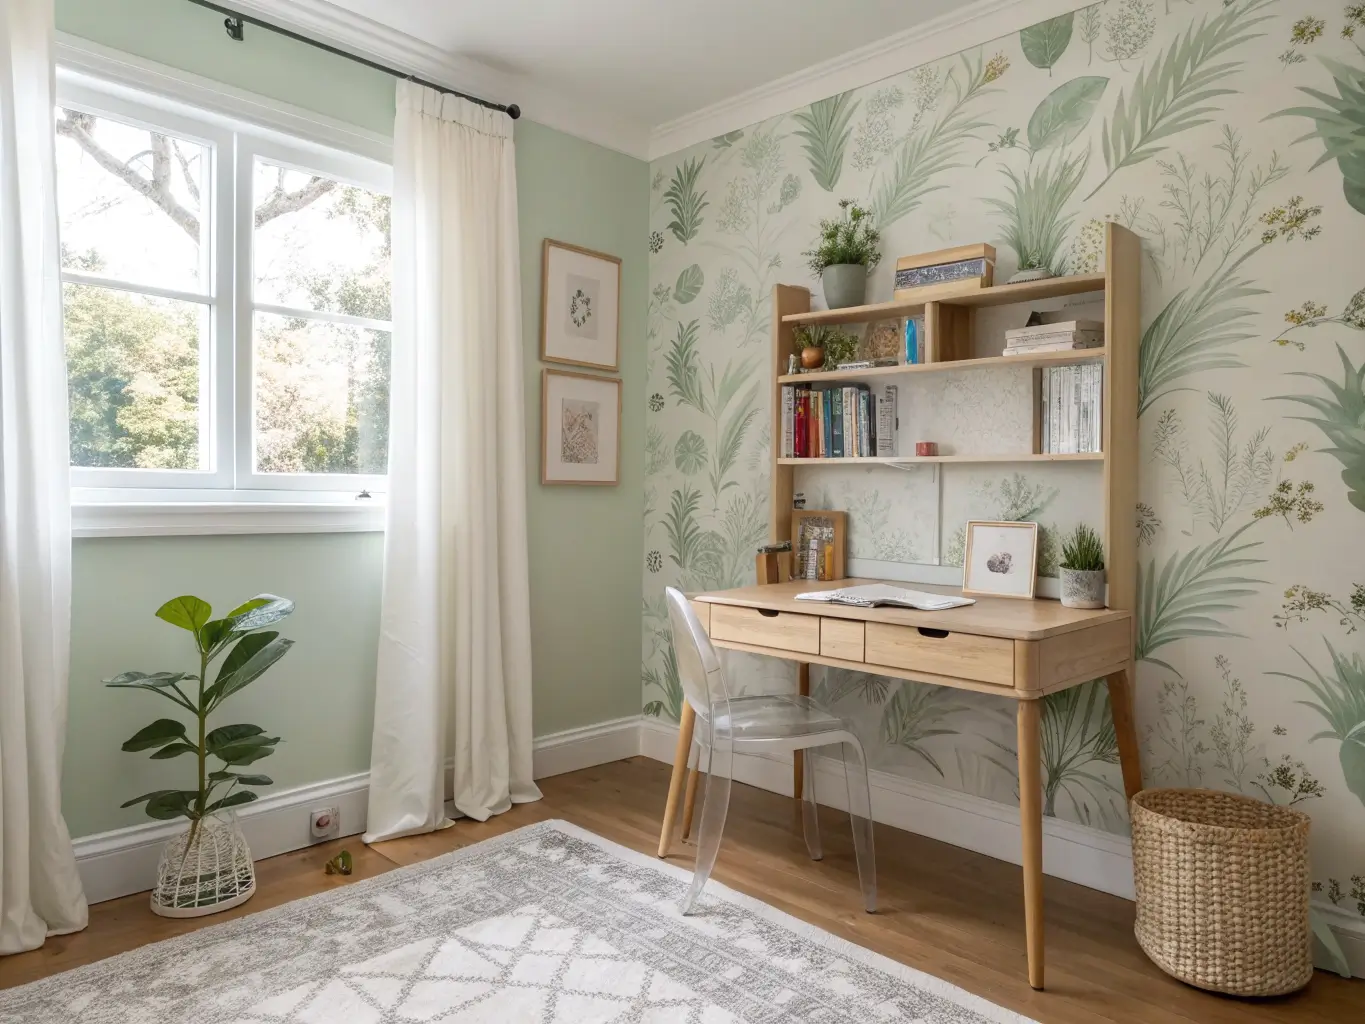
– An accent wall or mural wallpaper — especially good in a kid’s study room, where a plain white box can feel sterile fast
– Acrylic furniture — a clear acrylic chair or side table keeps a small room visually light since it doesn’t block sightlines
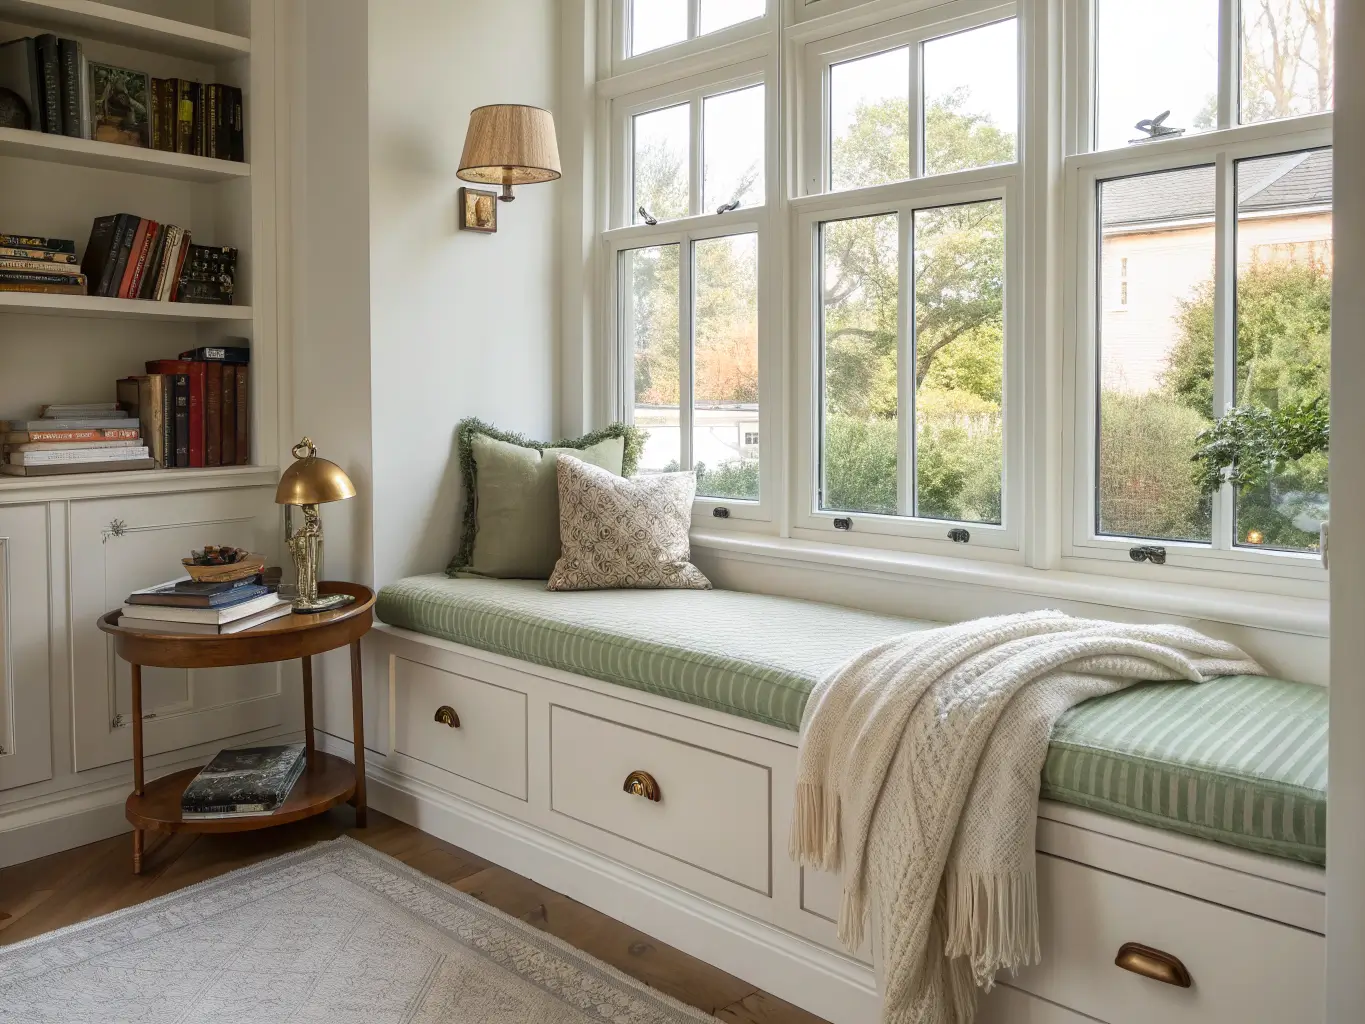
– A window-seat study bench — cushioned seating built into a window nook, often with storage underneath. This is genuinely one of my favorite hybrid solutions; I built one from a IKEA cabinet base and a foam cushion for under $150
– Secondary lounge seating — a small armchair for reading breaks, especially useful in shared or family study rooms
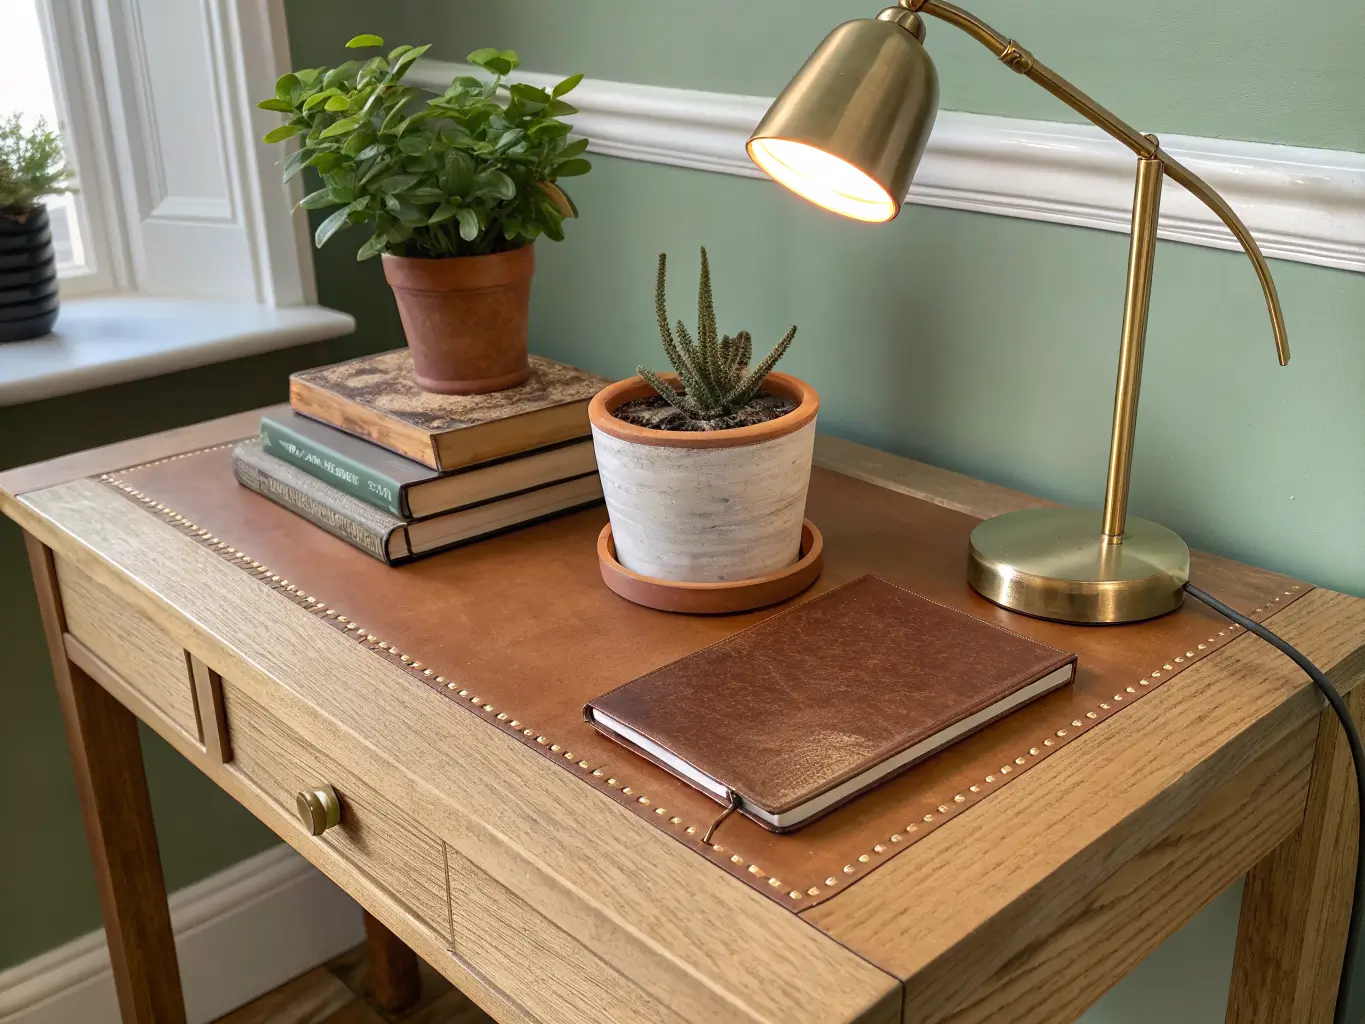
– Metallic or leather accents — a brass lamp, a leather desk pad — small touches that make the room feel intentional rather than purely utilitarian
How to Put It All Together
Prep the space first
Clear out anything that doesn’t belong. Old furniture, storage boxes, anything visually loud. Pick the quietest spot available — away from a TV, away from foot traffic. Then figure out your light source before you place anything else: put the desk so natural light comes from the side, not directly behind or in front of the screen. Front-facing windows cause glare on monitors; light from behind creates shadows over your own work. Side light is the fix nobody mentions enough.
Check your outlets while you’re at this stage. Nothing’s more annoying than finalizing a layout and then discovering the nearest plug is across the room.
Steps to build the room
1. Place the desk first. Everything else gets arranged around it.
2. Add the chair and task lighting — test the chair height against the desk before you commit to a rug or decor.
3. Build storage vertically. Shelves above or beside the desk keep floor space open, especially in small rooms.
4. Mark the zone. A rug, a different wall color, or even a change in ceiling paint tells your brain “this is the work area,” which matters a lot if the study space shares a room with something else.
5. Personalize last, and lightly. One piece of art, one plant, a small bulletin board. Resist doing more before you’ve lived with the space a week.
Color and Material Choices That Actually Help
Soft blue, sage green, off-white, cream, and light wood tones show up again and again in study room design, and it’s not just trend-chasing — muted, cool-toned palettes are genuinely easier to focus in than high-contrast or saturated ones. My study nook is a soft sage on the accent wall with white trim, and it does feel calmer than the stark white box it replaced.
Stick to about three tones total. Wall color, wood tone, one accent color. I broke this rule once — added a mustard yellow chair to a blue-and-white room because I liked it in the store — and it always looked slightly off, like a guest who wasn’t invited. Swapped it for a cream boucle chair and the room finally felt finished.
Repeat your materials. If your desk is light oak, echo that tone in the shelving or a picture frame. If your chair has black metal legs, pick a lamp with a black metal base. This is the cheapest way to make a room look put-together without spending more.
Mistakes I’ve Made So You Don’t Have To
– Placing the desk facing a window straight-on. Looked great, was useless — I couldn’t see my laptop screen past 10 a.m. without squinting.
– Skipping storage because “I’ll just use the desk drawer.” One semester later, the desk drawer was a landfill and everything visible had migrated onto the desktop.
– Overdecorating the desk surface. I had a corkboard, three plants, a mug organizer, and a desk calendar all fighting for the same 4 square feet. Cut it down to one plant and a small tray. Instantly more usable.
– Buying a chair for looks, not support. The velvet accent chair I bought looked perfect in photos and gave me a stiff neck within a week. Sold it, bought a proper ergonomic chair with mesh back support instead.
– Ignoring cords. A tangle of charger cables under the desk is a small thing that somehow makes the whole room feel messier than it is. A $15 cable tray fixed it completely.
Keeping the Room Feeling Fresh Without Redoing It
You don’t need to overhaul a study room every season. Small swaps do the job:
– Change the rug or throw pillow on the lounge chair for a seasonal refresh
– Swap wall art or a print instead of repainting
– Add a plant or rotate in a new desk accessory
Budget-friendly evolution path: start with desk, chair, lamp. Add floating shelves a few months later. Add a corkboard or better task lighting after that. You don’t need to buy the finished room on day one — I didn’t get my window-seat bench until two years after the rest of the room was done, and it was worth the wait to get it right instead of rushed.
If you want a bigger functional upgrade down the line, the highest-impact moves are: built-in shelving, a proper window-seat bench, upgraded task lighting, or a custom corner desk sized to your actual space instead of whatever fit in the store aisle. Those four changes do more for how the room functions than any amount of decor ever will.
If you’re setting this up as a spot where you’ll also work, my home office ideas guide covers desks, chairs, and cable management for a full work setup.





