
I built my first reading nook in the dead corner of my bedroom where a dresser used to sit — the one spot that caught morning light but never had a job. It took me a Saturday afternoon, $280, and one return trip to the store because the chair I picked looked perfect and sat like a park bench. That’s the real lesson with reading nooks: the idea is simple, but the execution has a few traps that’ll waste your money if you don’t see them coming.
Here’s how to do it right the first time.
What a Reading Nook Actually Needs (Not What Pinterest Says)
A reading nook is not a full room redesign. It’s a small, defined zone — often just 4 to 6 square feet — built around one comfortable seat, good light, and a place to put your book down. That’s it. Everything else is optional.
Time and cost, realistically:
– A simple corner setup (chair, lamp, side table, rug, pillows) takes 2–6 hours and runs $150–$500 if you’re shopping mid-range or thrifting.
– A more finished nook — think floating shelves, a quality chair, layered textiles — takes 1–2 days and can run $500–$2,500+ depending on how nice the seating gets.
– Skill level: beginner if you’re just styling a corner. Intermediate once you add shelving, paint, or anything built-in.
This works year-round, and it’s genuinely one of the few decor projects that scales with your budget without looking cheap at the low end.
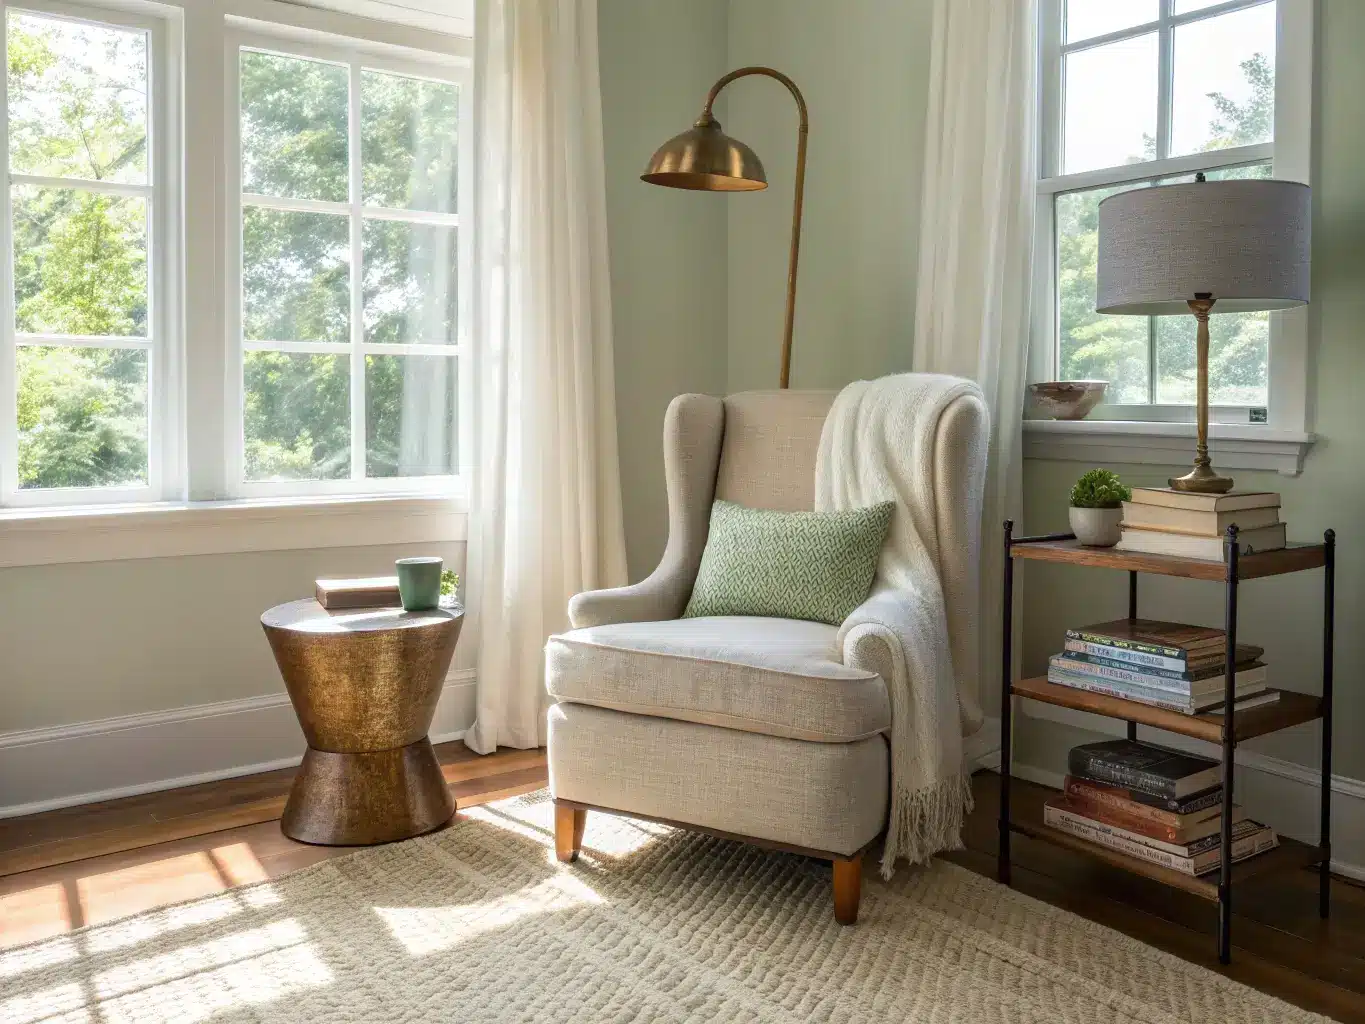
Where to Put It
You need two things: a quiet spot and decent light. That’s it. The corner doesn’t need to be big.
Good options I’ve seen work in real homes:
– A window bay — the classic, and still the best if you have one, because you get free daylight
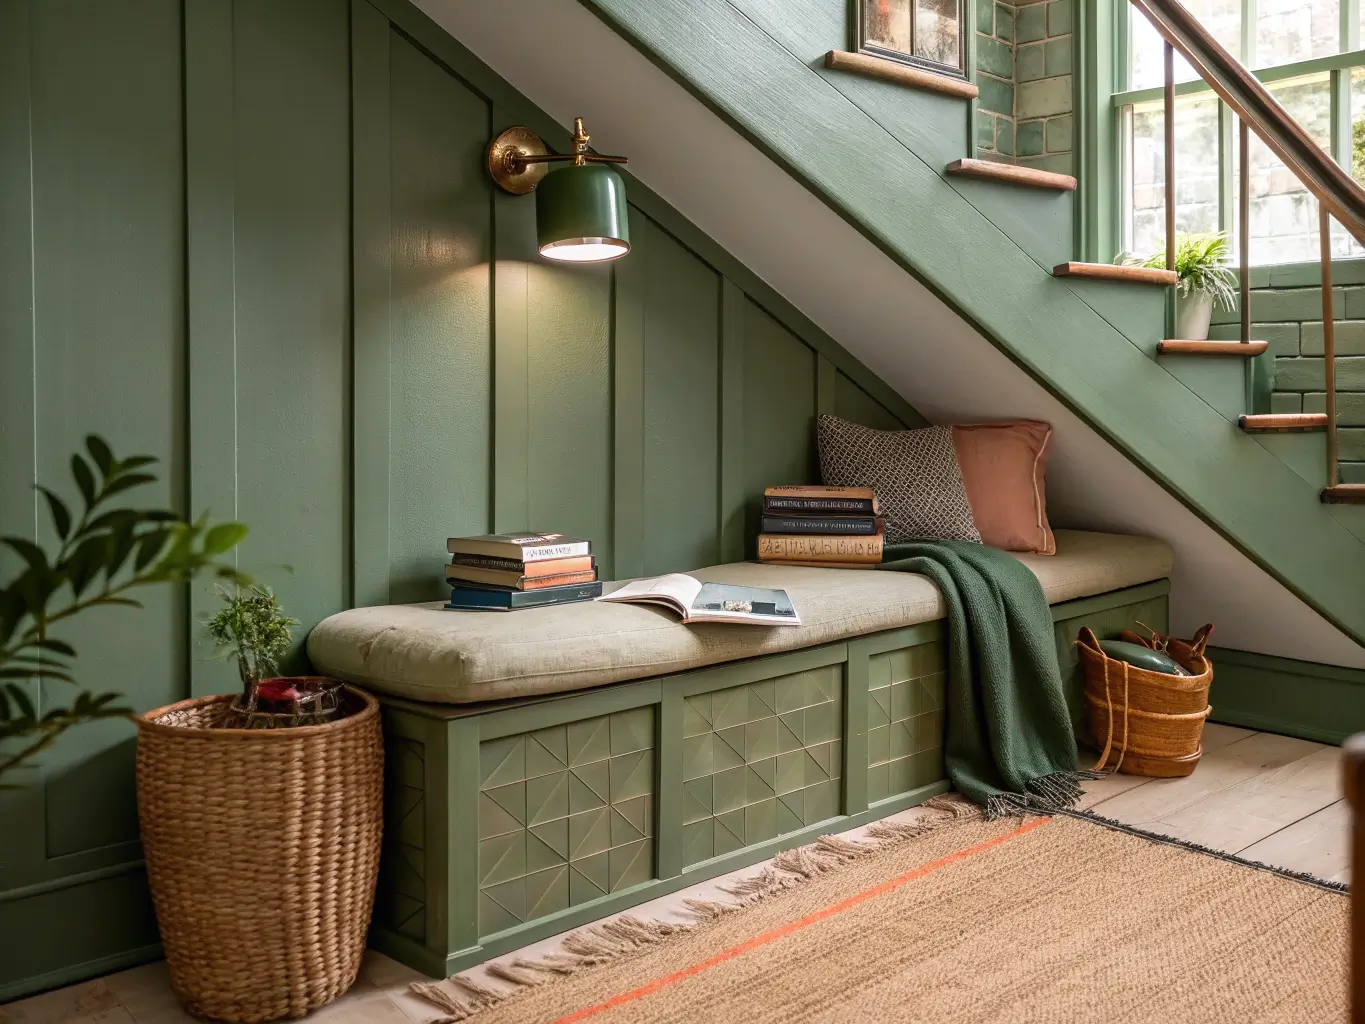
– The dead space under a staircase — awkward for anything else, perfect for a nook
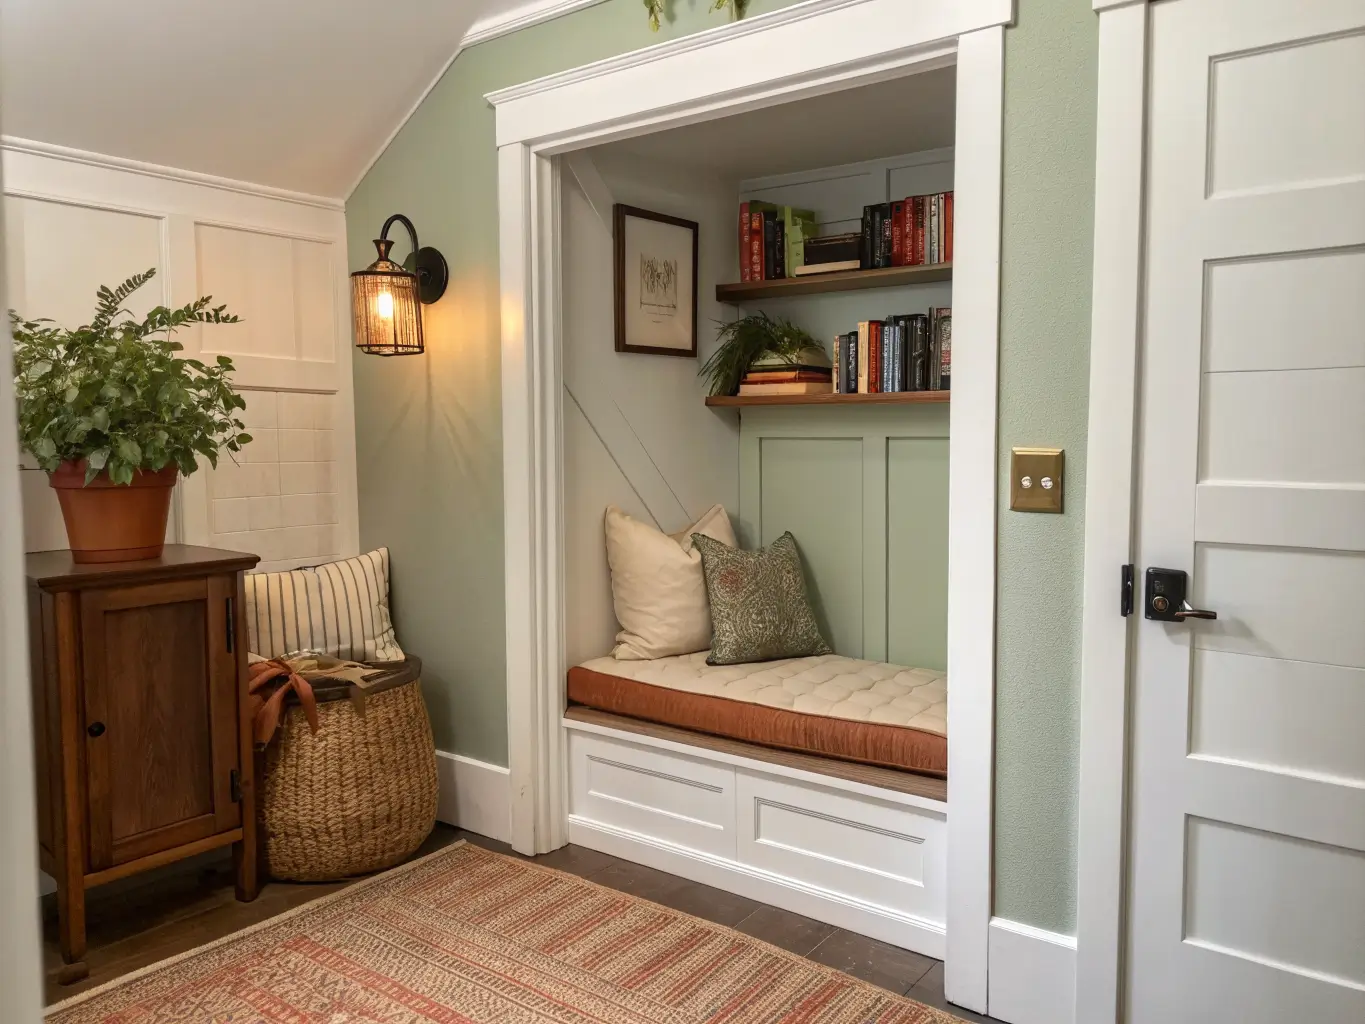
– A closet with the door removed — sounds strange until you see it done; it becomes a little enclosed pocket
– A bedroom corner — especially good for renters who don’t want to touch the living room
– A stair landing — underused in almost every house I’ve been in
The mistake I made initially was trying to nook-ify the loudest corner of my living room, right next to the TV. Nobody sits there to read. Pick the spot where you’d actually want to disappear for twenty minutes.
If you want it to feel architectural rather than leftover, paint that corner a shade different from the surrounding wall. I did a soft sage in mine against an otherwise white bedroom, and it reads as a designed space instead of “furniture someone shoved in the corner.”
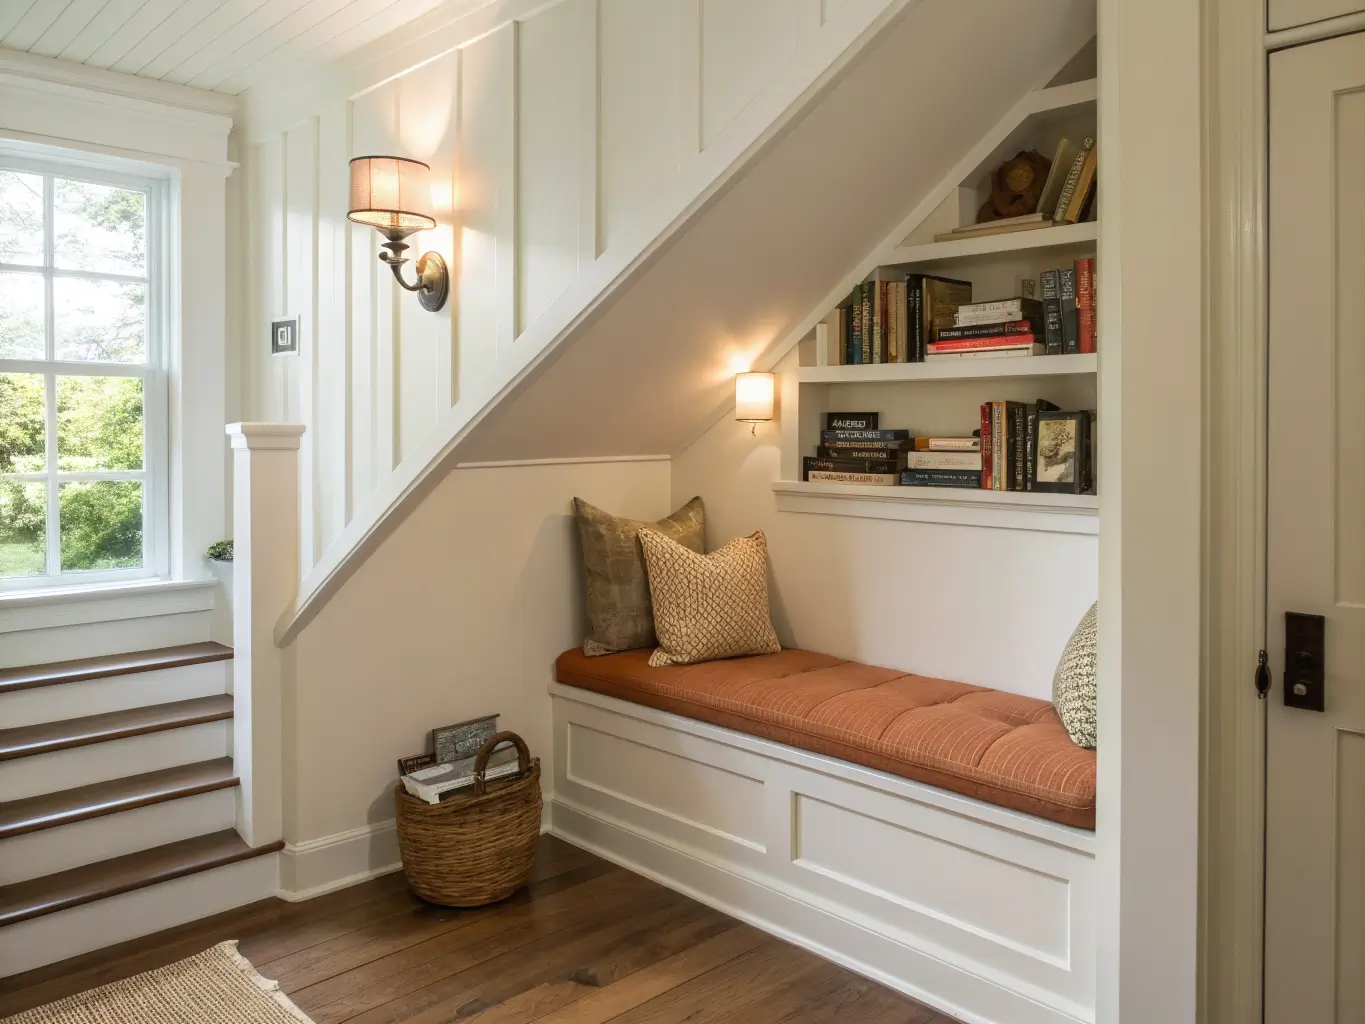
The Core Pieces, In the Order to Buy Them
Buy in this sequence. Seating first, always — everything else is secondary and easy to swap later.
1. The seat (your biggest investment)
Pick based on how you actually read:
– Armchair or wingback — best all-around choice, good back support, works in almost any style
– Chaise lounge or daybed — if you like to stretch out, needs more floor space (budget at least 3×6 feet)
– Window seat — built-in bench with cushions, great if you already have the architecture
– Beanbag or floor cushion — cheapest option, good for kids’ nooks or casual spaces
Sit in it for at least ten minutes before buying, in a store or a friend’s living room. A chair that “looks cozy” and a chair that supports 45 minutes of actual reading are not the same thing. I learned this the expensive way with a rattan accent chair that photographed beautifully and destroyed my lower back.
2. Lighting — don’t skip task lighting
Ambient light alone is the single most common mistake people make with these setups. You need a light source aimed at the page, not just a pretty glow in the room.
– Floor lamp with an adjustable arm or shade angled down — my pick for most nooks, around $60–150
– Wall sconce if you’re tight on floor space — mounts above shoulder height, frees up the side table
– Table lamp on your side surface works too, just make sure the bulb is warm white (2700K–3000K), not the harsh blue-white kind
Layer it if you can: one lamp for reading, plus something softer (a candle, a smaller accent light) for evening ambiance.
3. A surface for books and drinks
A small side table, a stool, or even a plant stand repurposed as a table. I switched from a full side table to a two-tier version — bottom shelf holds the book I’m currently reading plus one or two more, top holds coffee. Small change, made a real difference in how used the space feels.
4. Storage
This is the piece people skip and then regret. Without it, books pile on the floor within a month.
– Floating shelves — best for tight corners, install at staggered heights above the chair
– A narrow bookcase — if you have 12+ inches of depth to spare
– Baskets — for blankets and magazines, cheap and forgiving if you’re renting
5. Textiles
A rug, a throw, and 2–3 pillows. The rug matters more than people think — go bigger than feels necessary. A rug that’s too small makes the whole corner look unfinished, like the furniture is floating. For a single-chair nook, aim for at least 4×6 feet under and slightly past the chair’s front legs.
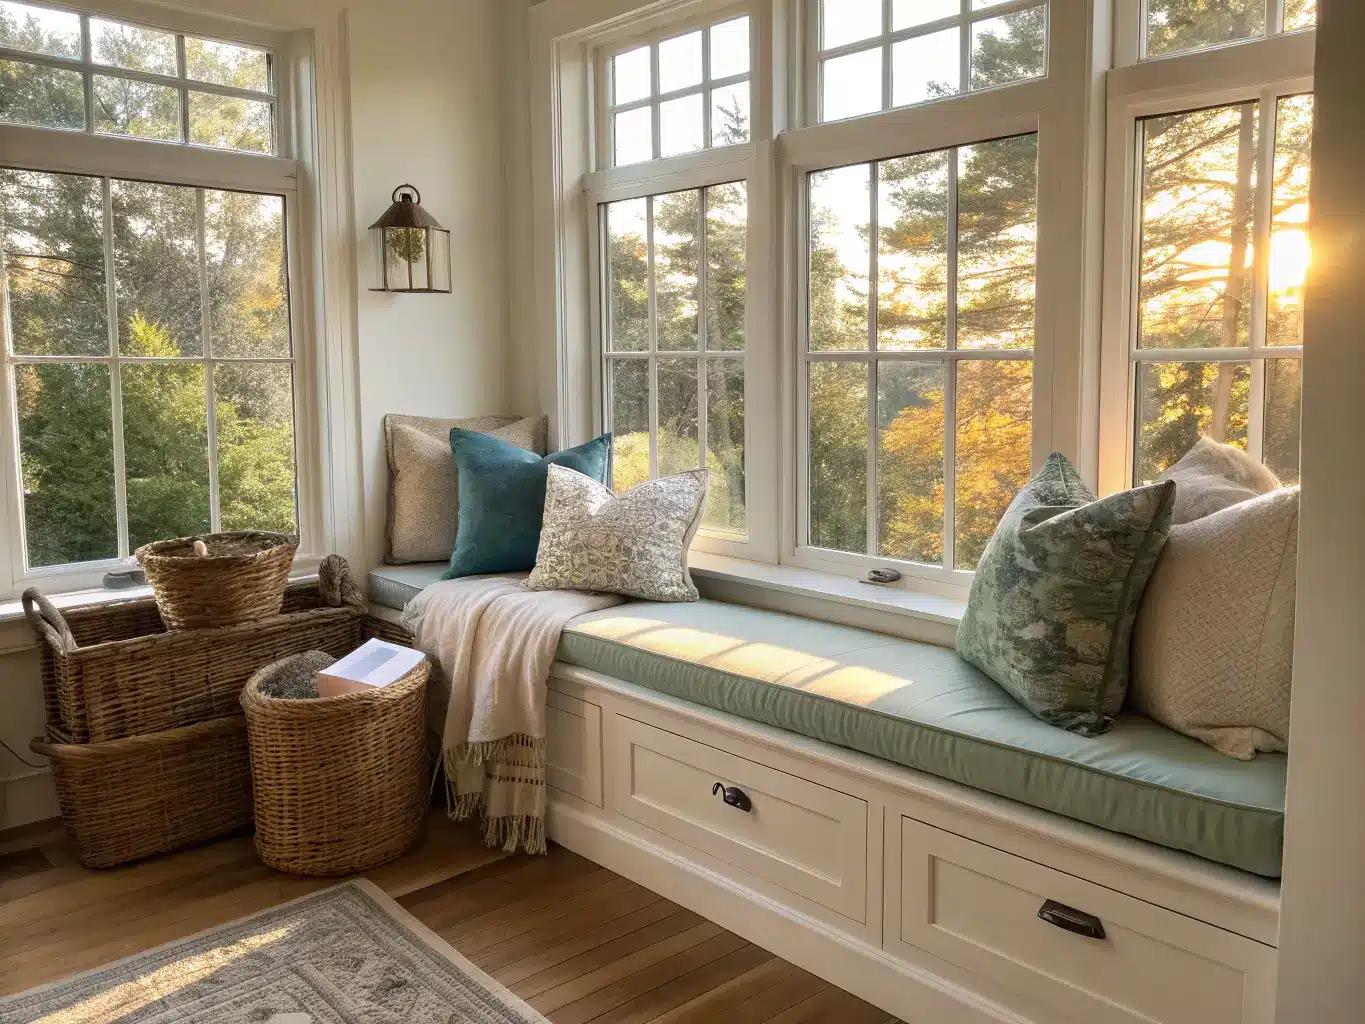
How to Actually Style It (Without It Looking Cluttered)
Once the big pieces are in, here’s the order I’d add the rest:
1. Seat → 2. Lamp → 3. Side table → 4. Rug and throw → 5. Storage → 6. Final accents (art, a plant, a candle)
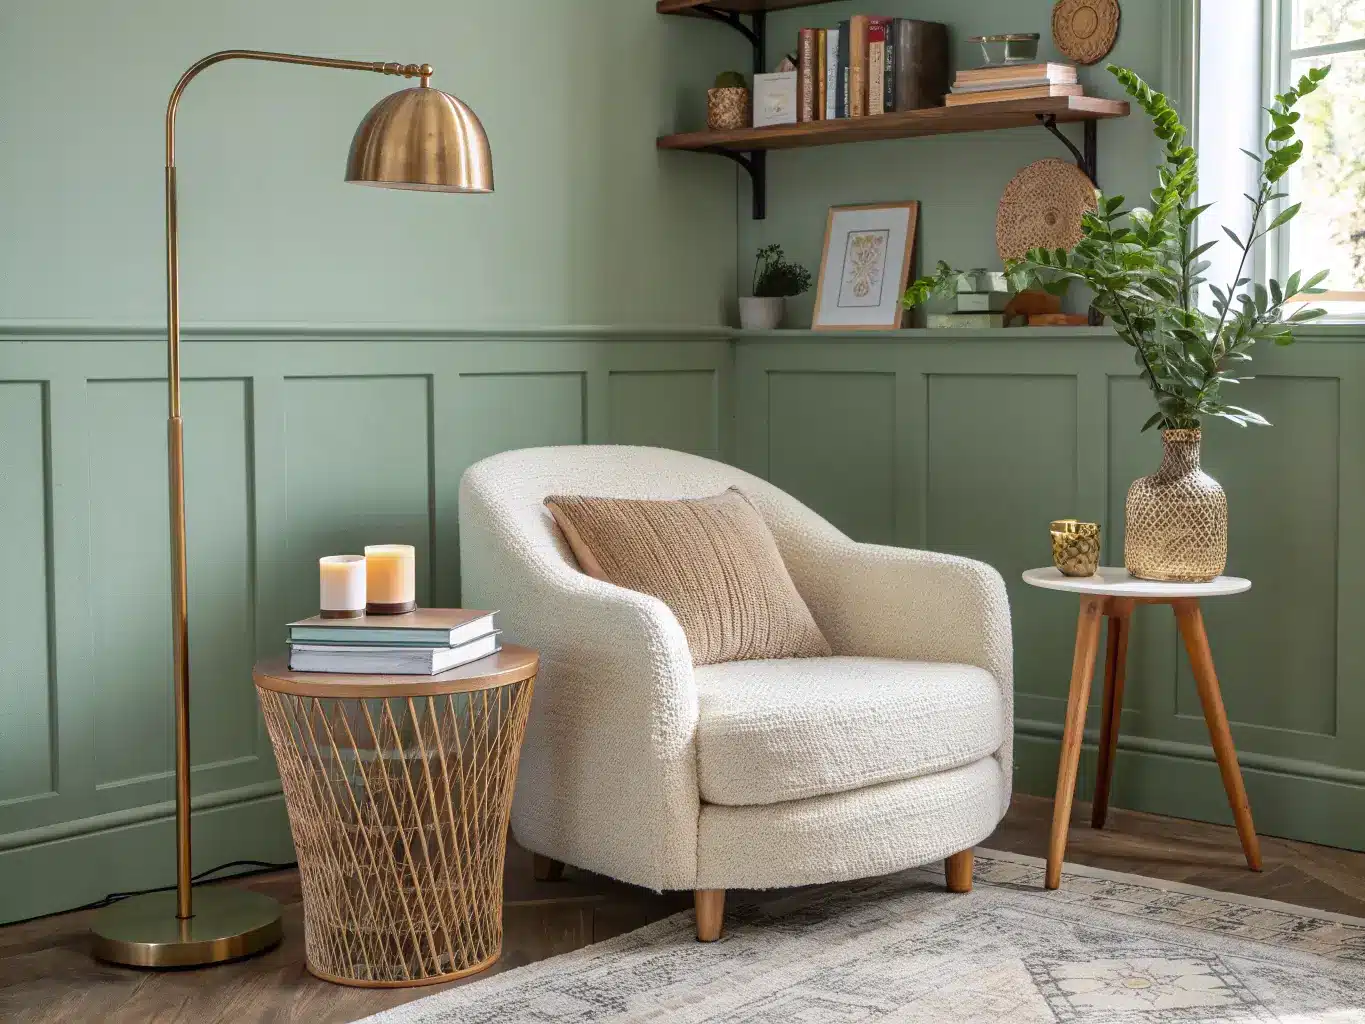
Layer three textures, no more, no less. My go-to combination: one soft textile (velvet pillow or boucle throw), one natural fiber (a jute rug or rattan basket), one structured material (a wood side table or brass lamp base). Velvet, jute, wood. That’s a formula, not a coincidence — it’s why so many “effortless” nooks actually work.
Keep the color palette boring on purpose. Big pieces — chair, rug — should be neutral: cream, oatmeal, soft gray, warm brown. Then let one or two accent colors show up in smaller doses: a muted blue pillow, a sage green throw, the spines of your books. If everything’s a statement, nothing is.
Repeat one material at least twice. Brass on the lamp and the bookends. Linen on the pillow and the throw. It’s a small trick but it’s what separates “curated” from “random stuff in a corner.”
Limit your surface objects to five or fewer. A tray, a candle, your current book, reading glasses, one small plant. I used to pile my nook with decorative objects because empty surfaces felt unfinished — wrong instinct. A nook with breathing room feels more inviting than one that’s fully dressed.
Small-Space Tricks
If your nook is genuinely tiny — a closet, a stair landing, a 3-foot-wide gap — go vertical instead of wide:
– Wall-mounted shelves or ledges instead of a bookcase
– A wall sconce instead of a floor lamp, to keep the floor clear
– A slim stool instead of a side table
– A beanbag or floor cushion instead of a chair, which can be tucked away when not in use
Closets work better than people expect. Pull the door off, paint the interior, add a cushion on the floor or a small bench, one shelf, one sconce. It’s oddly one of the coziest setups I’ve seen in a friend’s apartment — a former linen closet that’s now the best reading spot in her place.
If your nook sits by a window, add a sheer curtain or diffusing shade. Direct sun on a page all afternoon is more glare than comfort, and it’ll fade your book covers and cushions over time too.
Common Mistakes to Avoid
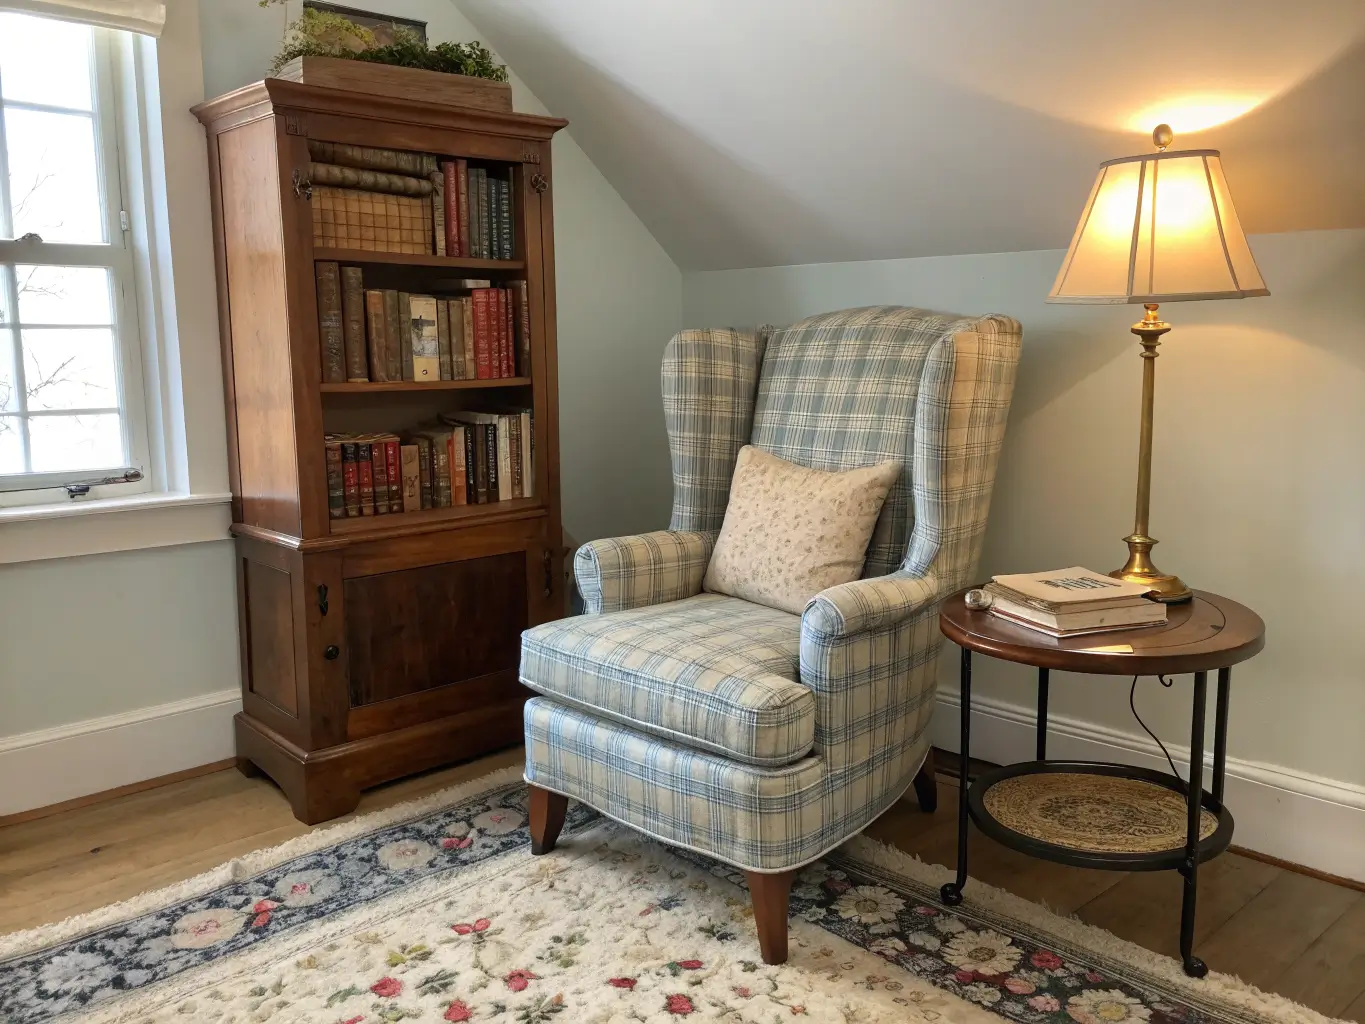
– Buying a chair for looks, not comfort — sit in it first, always
– Skipping task lighting — ambient light isn’t enough for actual reading
– Overdecorating — five objects or fewer on visible surfaces
– No storage plan — books will pile up within weeks without it
– Undersized rug — go bigger than your instinct says
Budget Version vs. Upgraded Version
If you’re working with $150–250:
– Thrifted or IKEA armchair
– Floor lamp from a big-box store
– A stool instead of a side table
– A budget wool-blend rug (8×10 flatweaves run $80–150 at places like Rugs USA)
– One throw, two pillow covers
If you’re going for $1,000+:
– A well-made upholstered wingback or a genuine leather chair
– Brass floor lamp with a linen shade
– A vintage or solid-wood side table
– Built-in-style floating shelves, painted to match the wall
– Wool or wool-blend rug, layered with a small vintage accent rug on top
Both versions can look intentional. The cheap one just needs more restraint — fewer, better-chosen pieces beat a lot of filler every time.
Seasonal Refreshes
You don’t need to redo the whole nook twice a year. Swap the soft stuff:
– Fall/winter: chunky knit throw, wool pillow covers, a few dried stems in a small vase, a heavier candle scent
– Spring/summer: swap in linen or cotton pillow covers, a lighter cotton throw, fresh stems instead of dried
Style Directions, If You Want a Theme
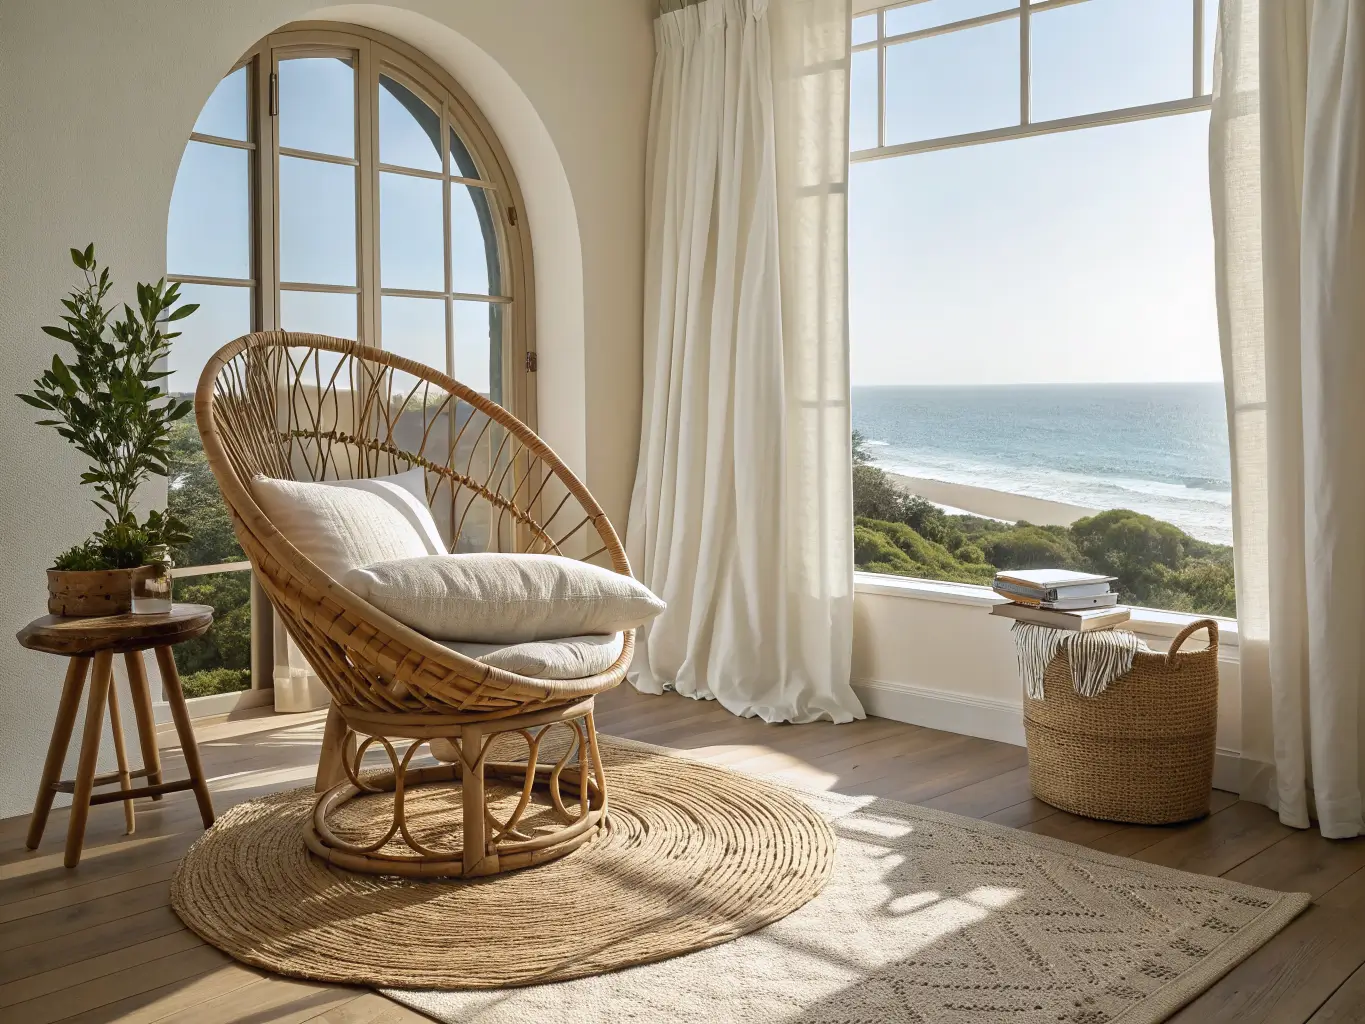
– Boho-coastal: linen upholstery, a rattan chair, jute rug, pale blue and white accents
– Modern-cozy: clean-lined chair, brass floor lamp, neutral wool throw, minimal accessories
– Cottage-classic: wingback chair, plaid or floral throw, wood bookcase, brass table lamp
Pick one direction and stick to it loosely — mixing all three usually looks like indecision rather than eclecticism.
The whole point of a reading nook is that it gets used. Mine sat empty for the first month because the lighting was wrong and I hadn’t noticed — turns out you don’t read much in a corner lit only by a ceiling fixture eight feet away. Fix the light, get the chair right, keep the surfaces mostly empty. Everything else is just decoration on top of a space that already works.
For another angle on this, my reading nook ideas for adults guide covers the same space from a different starting point.





