
What a Pegboard Craft Room Actually Looks Like
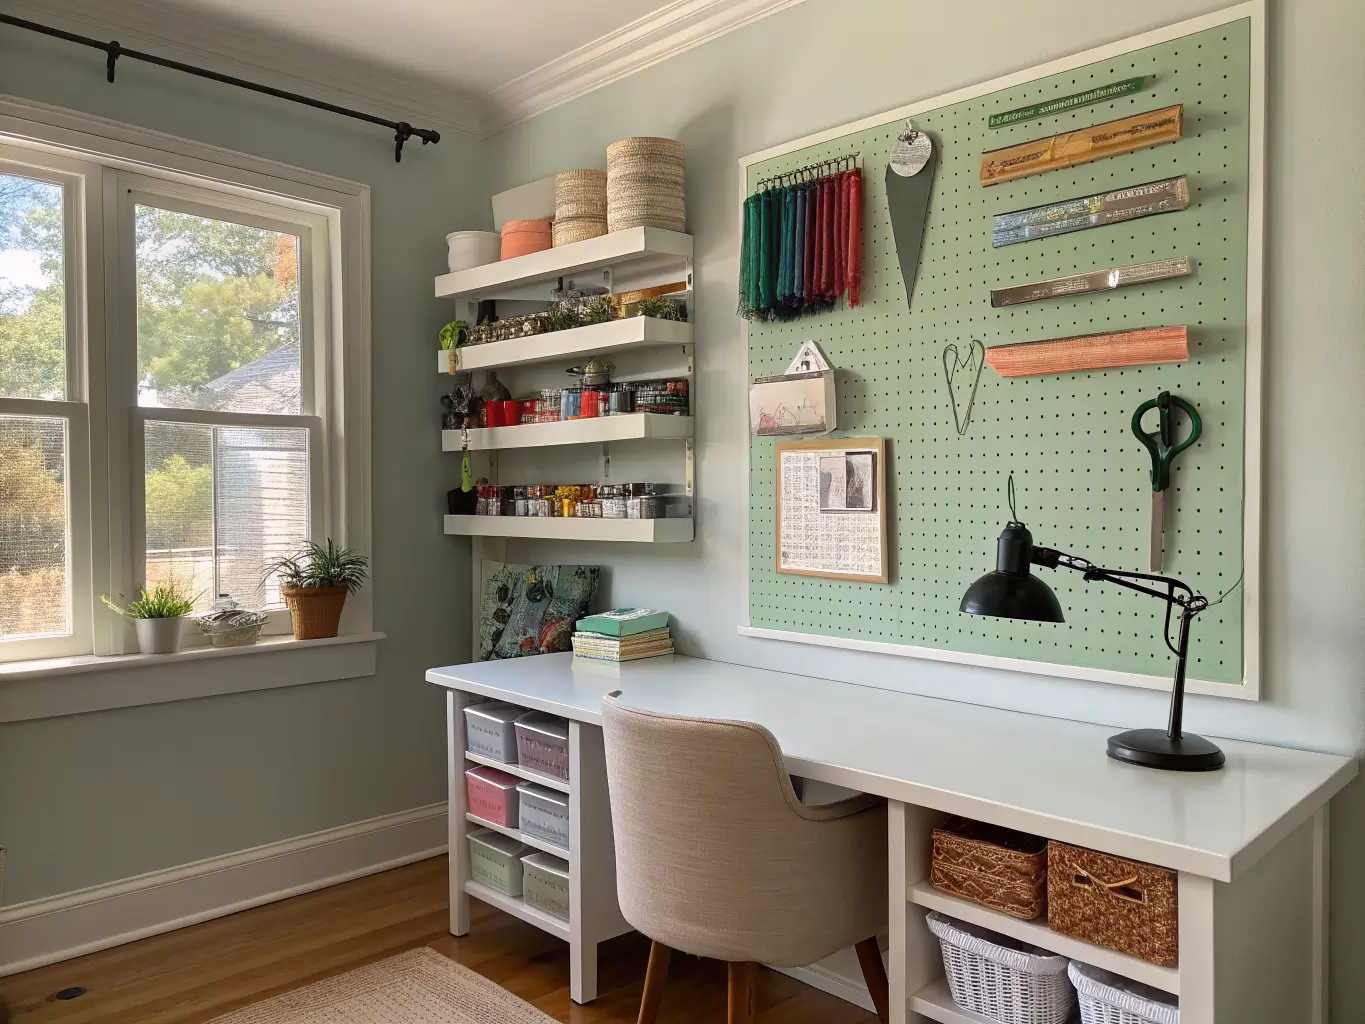
The style that’s everywhere right now isn’t the raw brown pegboard from your dad’s garage. It’s a framed, painted panel that looks like it was built into the wall — trim around the edges, a contrast color, hooks arranged like they were styled for a photo. I call it functional-organic: all the storage logic of a workshop, softened enough to sit next to your fabric stash without fighting it visually.
Who this is for: anyone who needs to see their supplies to use them. Sewists, vinyl crafters, mixed-media people, scrapbookers — if your tools disappear into drawers and you forget you own them, pegboard fixes that. It’s a visibility system as much as a storage one.
Where it works: craft rooms and sewing rooms obviously, but also desk nooks, office corners, and garage studio setups. A panel works well anywhere from 2 to 8 feet wide. Past that, split it into multiple panels rather than one giant sheet — easier to hang, easier to reconfigure later.
Quick Snapshot Before You Start
– Time: A basic single-panel install is a 1–3 hour afternoon project. A framed, painted, multi-zone wall is a half-day to full weekend job once you factor in cutting, painting dry time, and actually placing accessories.
– Cost: Bare-bones setup with a board and a handful of hooks runs $20–$60. A framed system with trim, paint, baskets, and specialty organizers lands $80–$250+, depending on size.
– Skill level: Beginner-friendly for a plain mounted board. Framing, cutting to size, and painting push it into intermediate territory — nothing scary, just more steps.
– Seasonal appeal: This works year-round, but it’s genuinely fun to refresh with color and swapped-out bins a couple times a year.
The Pieces That Actually Make It Work
The board itself. Standard pegboard comes in wood, hardboard, or metal. Most home stores will cut it to your exact size for free or cheap — I had mine cut to 38" x 77" to fit a wall between two bookshelves, and that one cut saved me an afternoon of wrestling a full sheet with a circular saw I don’t trust myself with.
Spacers — non-negotiable. Pegboard hooks need a gap behind the board to lock in. Without it, they just fall out the second you hang anything on them. I learned this the hard way on my first attempt: I mounted the board flush against the wall like a poster, loaded it with scissors and rulers, and watched half of it clatter to the floor within a week. Use 1×2 furring strips around the perimeter, or buy a spacer kit — either way you need roughly a 3/4-inch gap behind the board.
Hooks, mixed lengths. J-hooks, L-hooks, double-prong hooks, and a few tool-specific holders for scissors and pliers. Buy more than you think you need; they’re cheap and you’ll always find one more thing to hang.
Small baskets and shelves. For anything that can’t hang — beads, buttons, washi tape rolls, loose thread. This is what keeps a pegboard from looking like a wall of dangling tools and nothing else.
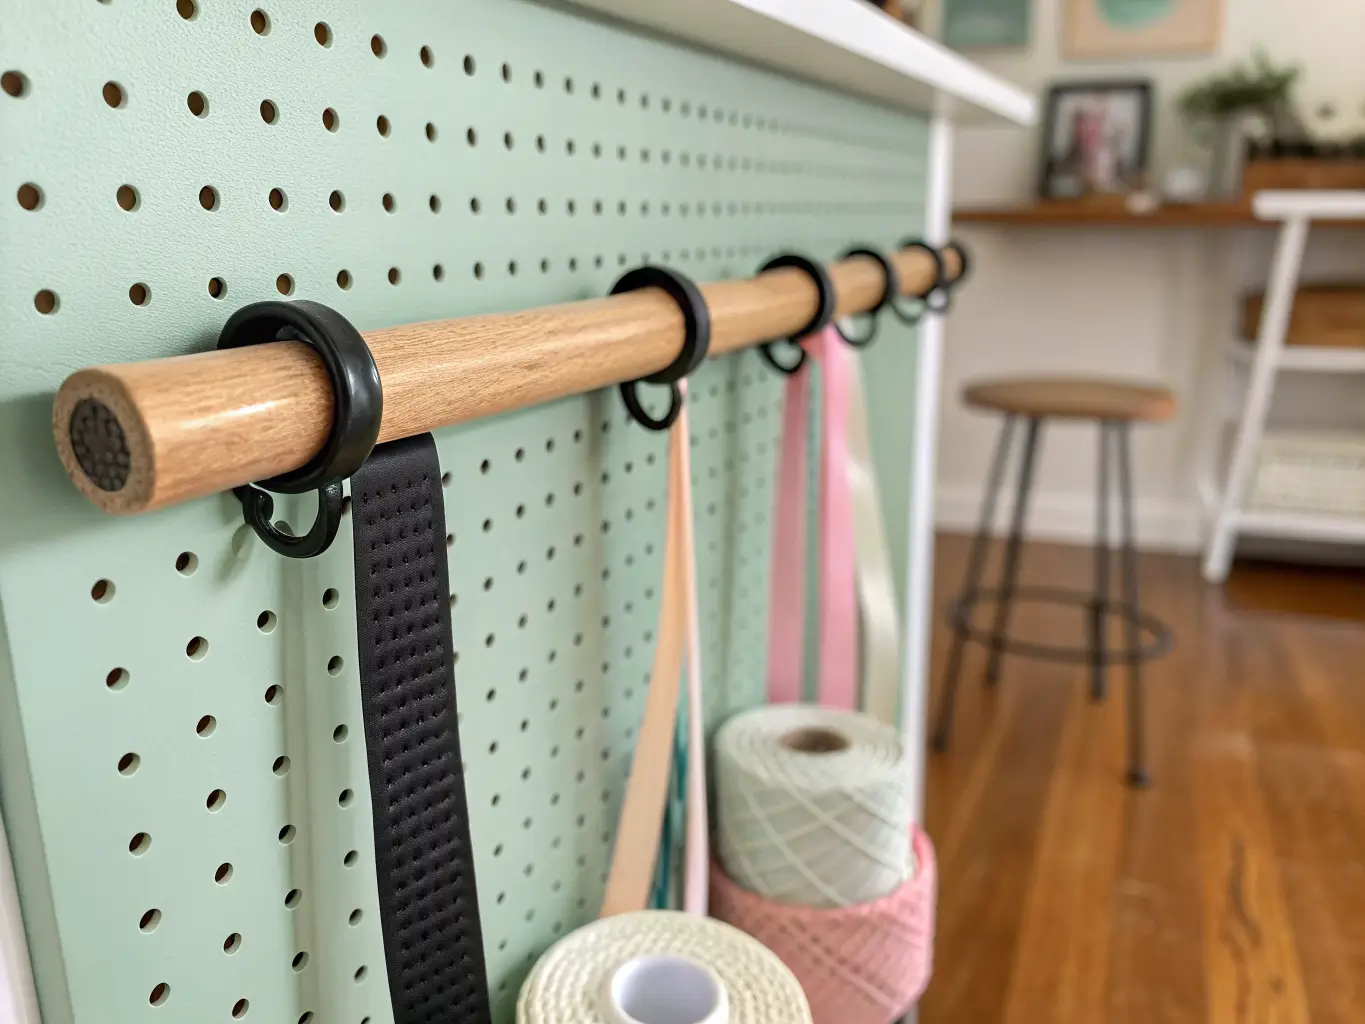
Dowel rods for ribbon. Rest a length of wooden dowel across two L-hooks and slide ribbon spools onto it. This one trick solved my biggest annoyance — ribbon spools that used to roll off every shelf I tried.
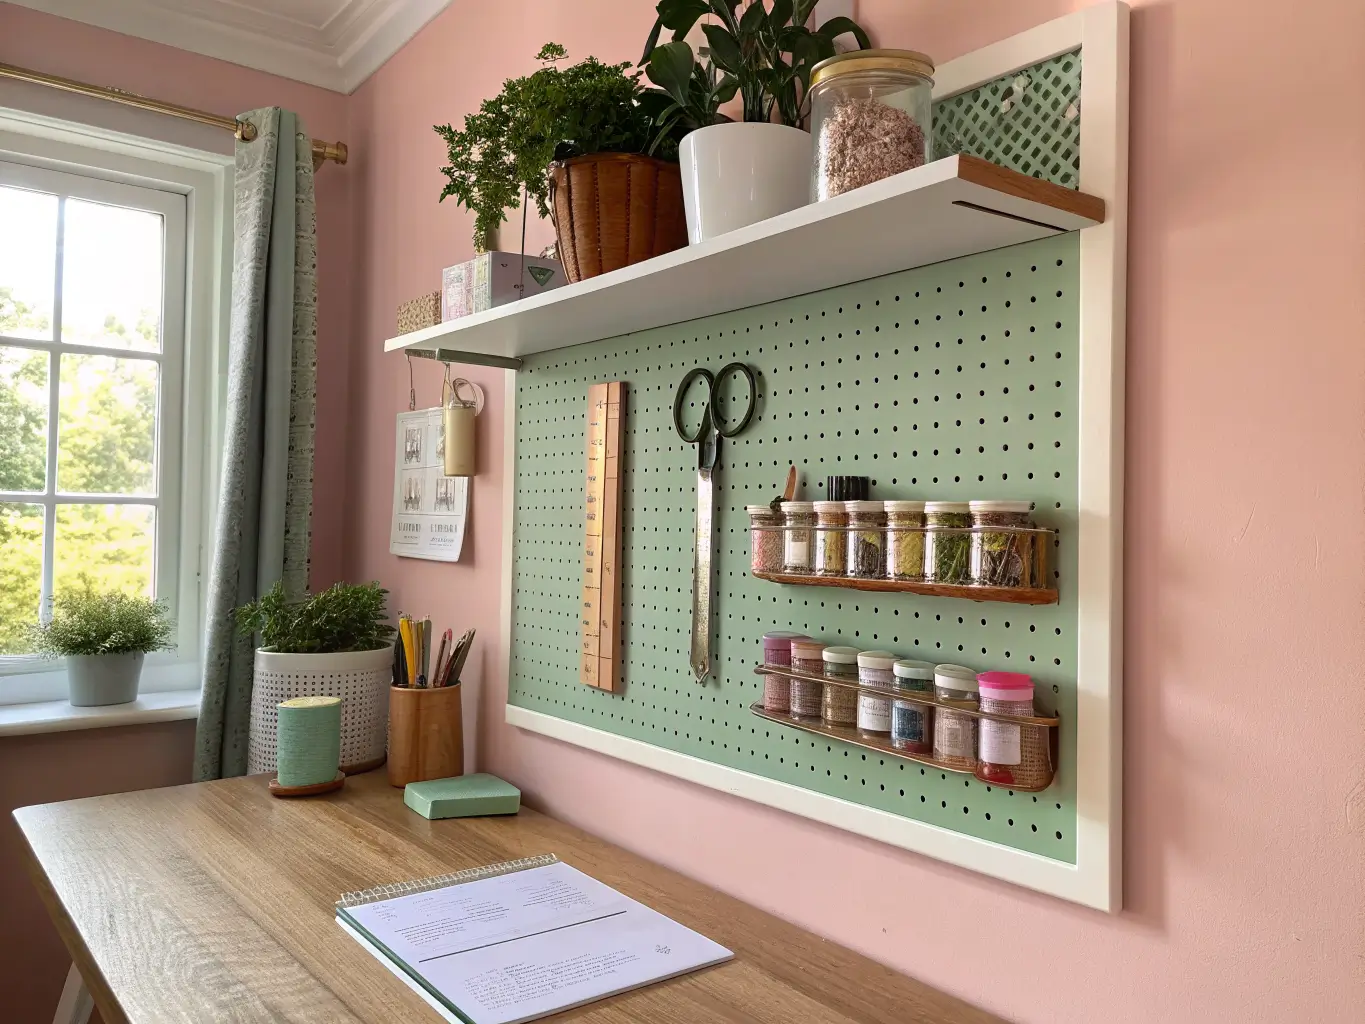
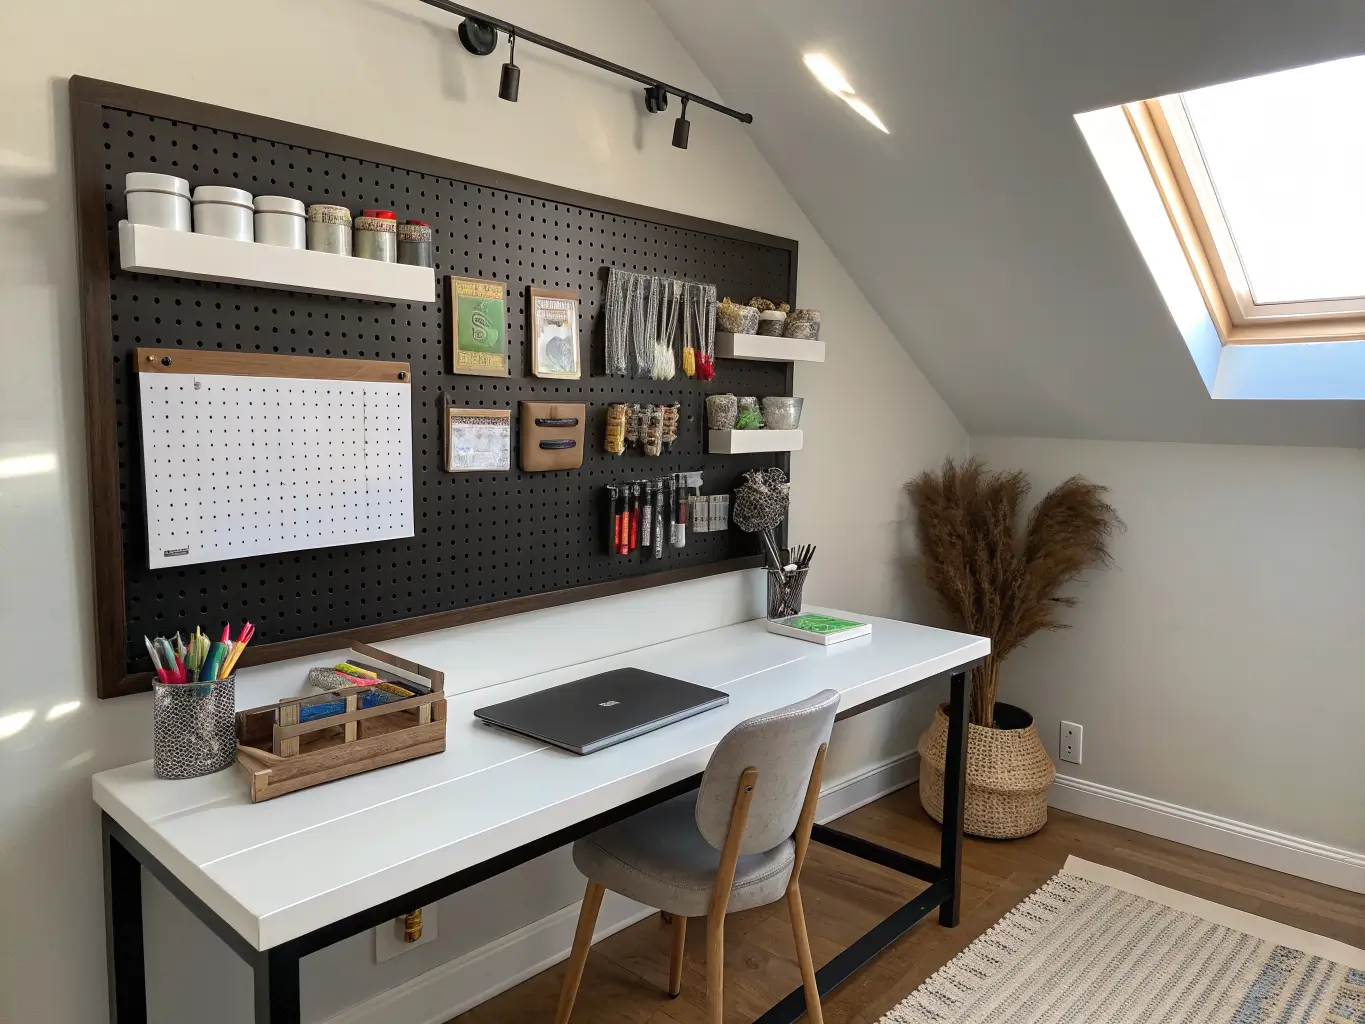
Frame or trim. This is the difference between "garage pegboard" and "built-in craft wall." A simple molding frame around the edge, painted to match your trim or wall color, makes the whole thing read as furniture instead of a workshop leftover.
Color and Contrast — Don’t Skip This
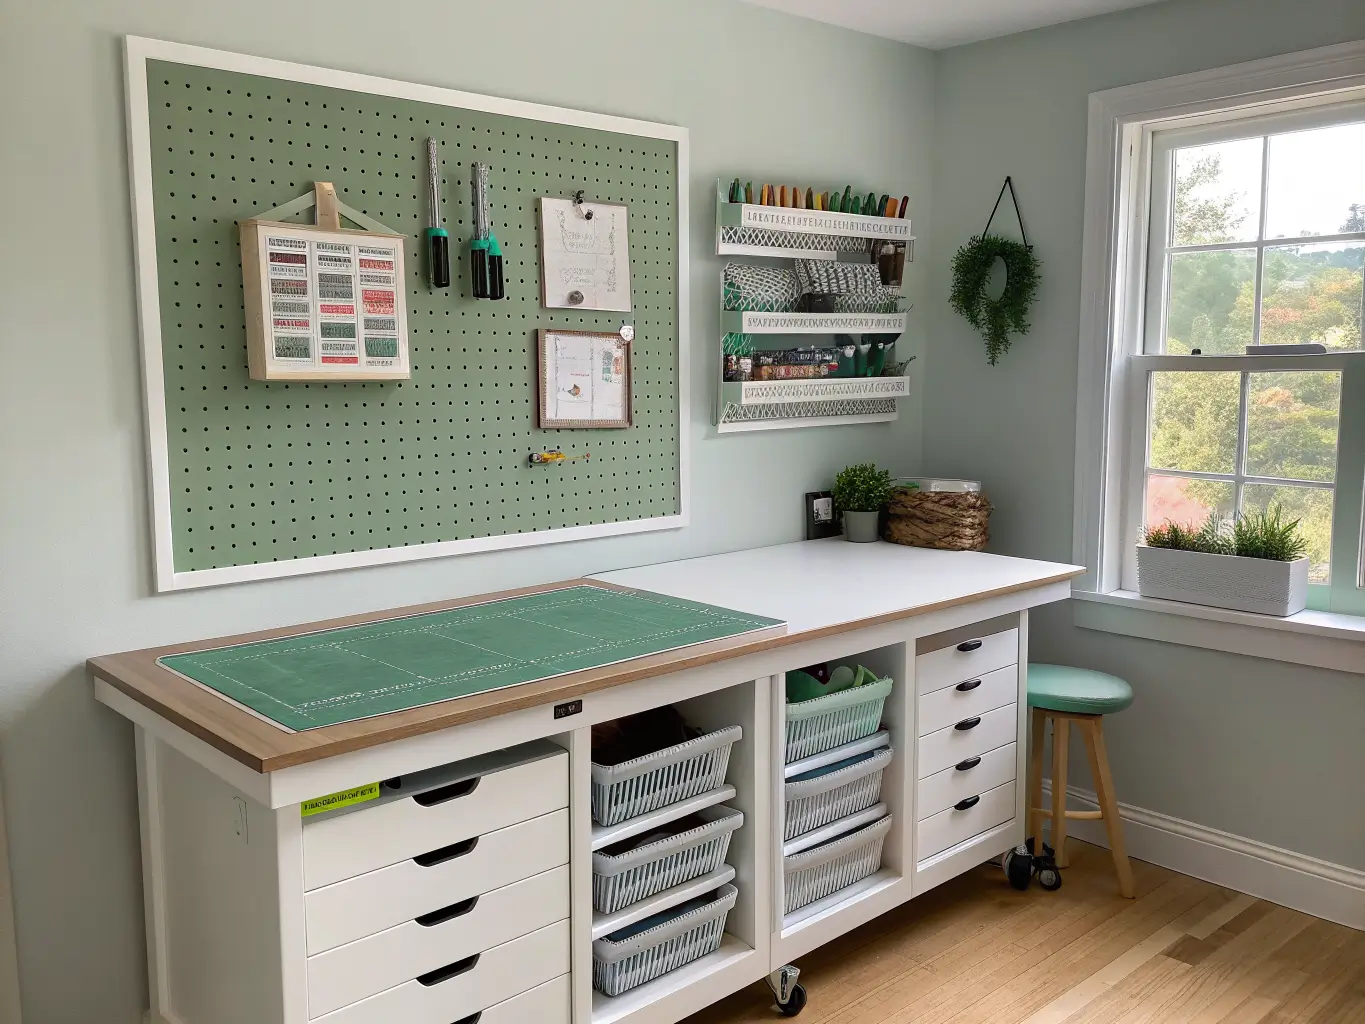
Paint the board. A crisp white, soft sage, muted teal, or blush pink board does two things: it looks intentional, and it makes your tools easier to spot. If your board, hooks, and tools are all similar tones, you’ll lose things constantly — I painted mine sage green specifically because my scissors and metal rulers are silver, and against raw brown pegboard they basically vanished.
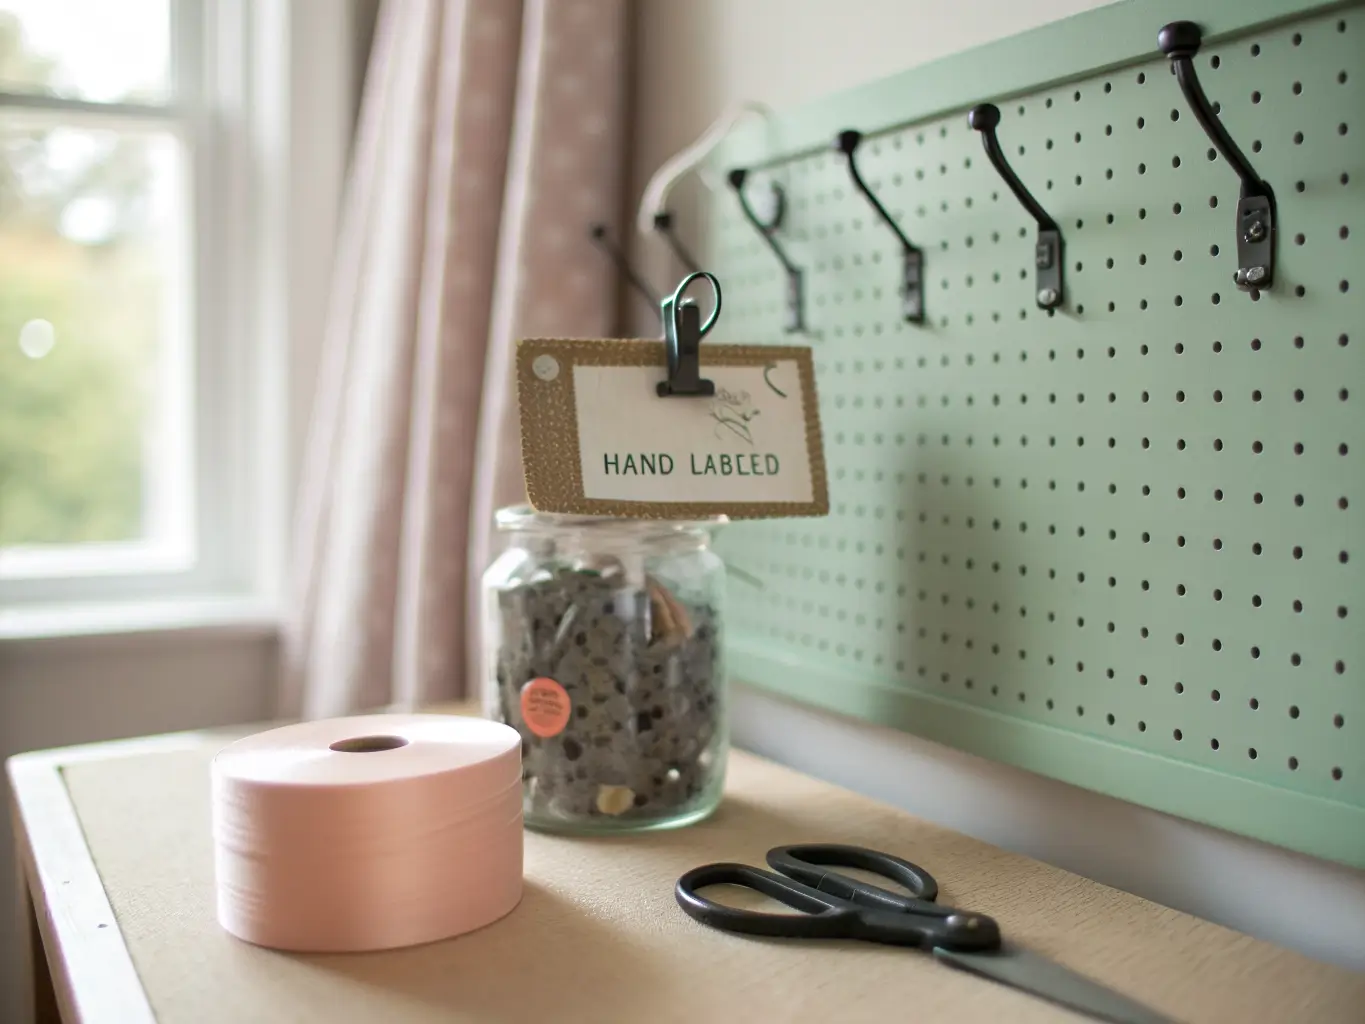
Pick one accessory finish and stick with it. Black hooks with white board. Stainless hooks with a wood-tone frame. Mixing four different metal finishes is what makes a pegboard look thrown-together instead of styled.
How to Actually Put It Together
Step 1: Prep the wall
Measure your space and decide if the board goes above a desk, between cabinets, or over a rolling cart. Find your studs — even though pegboard itself is light, loaded hooks and baskets add up fast, and you want real anchors if you’re not hitting a stud. Get anchors rated for your wall type (drywall vs. plaster matters here).
Step 2: Dry-fit before you drill
Tape the outline on the wall with blue painter’s tape. Stand back, look at it from where you’ll actually sit or stand while crafting. I moved mine up four inches from my original plan because at the first height, the top row was above comfortable reach — and I’m not tall.
Step 3: Sort your supplies first
Before you hang a single hook, group everything: cutting tools, measuring tools, adhesives, ribbon and thread, small notions. You cannot plan a layout with a pile of unsorted craft supplies on your desk. Trust me, I tried, and I just ended up hanging things randomly and redoing it a week later.
Step 4: Install spacers, then mount
Attach your furring strips or spacer kit first, then screw the board into studs through the spacers. Check it’s level — a slightly crooked pegboard is way more noticeable than a slightly crooked picture frame, because the hole grid makes any tilt obvious.
Step 5: Place big things first
Shelves, baskets, and dowels go on before the small hooks. These anchor the layout. Once they’re up, you can see how much space is actually left for individual hooks and adjust accordingly.
Step 6: Zone it
– Eye-to-waist level: daily tools — your main scissors, your go-to marker set, cutting mat.
– Above or below that: weekly-use items.
– Outer edges, top, or bottom: backup supplies, seasonal stuff, things you grab once a month.
Give one section a job as the visual focal point — mine is a center strip of ribbon on dowels, color-sorted, because it’s genuinely the prettiest part of my supply stash and I want to see it.
Step 7: Finish with labels and framing
Add labels to baskets, tighten up the color story, put trim around the edge if you’re doing the framed look. This is the step that turns "storage" into storage that also looks nice, and it’s the one people skip because they’re tired by this point. Don’t skip it — it’s 20 minutes and it’s the part that makes guests comment on it.
Where to Spend, Where to Save
Spend on:
– A good frame or trim finish — this is what elevates the whole look, and cheap trim looks cheap
– Quality hooks that actually hold their angle (the flimsy ones bend under weight)
– Paint in a finish you actually like, since repainting later means unmounting everything
Save on:
– Small bins — dollar store clear containers work exactly as well as $12 branded ones
– Labels — a label maker or even neat handwriting on cardstock does the job
– The board itself — plain hardboard pegboard is a few dollars a square foot; you’re paying for paint and trim, not the base material
Mistakes I’ve Made So You Don’t Have To
– Skipping spacers. Covered above, but it bears repeating because it’s the single most common failure point.
– Overloading one corner. I once hung every heavy tool on the left third of my board because that’s where I started. It looked lopsided and made that section sag slightly at the screws over time. Spread weight across the whole panel.
– Too many tiny accessories. More hooks isn’t automatically better organization — past a certain density it just reads as clutter. If you can’t find anything at a glance, you have too much on the board.
– No zone plan. A pegboard with no logic behind where things live becomes decorative instead of useful within a month. You’ll default back to piling things on your desk.
– Matching every tone. Already covered, but worth restating: contrast is what makes the system work visually, not just aesthetically.
– Ignoring the rest of the room. A beautifully styled pegboard above a messy desk or a mismatched cart still looks unfinished. The wall needs to talk to what’s below it.
Keeping It Looking Good Long-Term
Stick to one main board finish and one or two accessory finishes — I regret nothing more than the three months I had gold hooks, black hooks, and silver hooks all on one board because I bought whatever was on sale. It looked chaotic even though the organization underneath was solid.
Every few months, actually look at what’s hanging there and pull off what you haven’t touched. Craft supplies accumulate fast, and a pegboard that made sense in January can be overloaded by June.
Seasonal refreshes are easy and cheap:
– Swap ribbon colors for the season
– Rotate in themed bins for a current project
– Change out labels if your system evolves
Cross-style ideas if you want to push the look further:
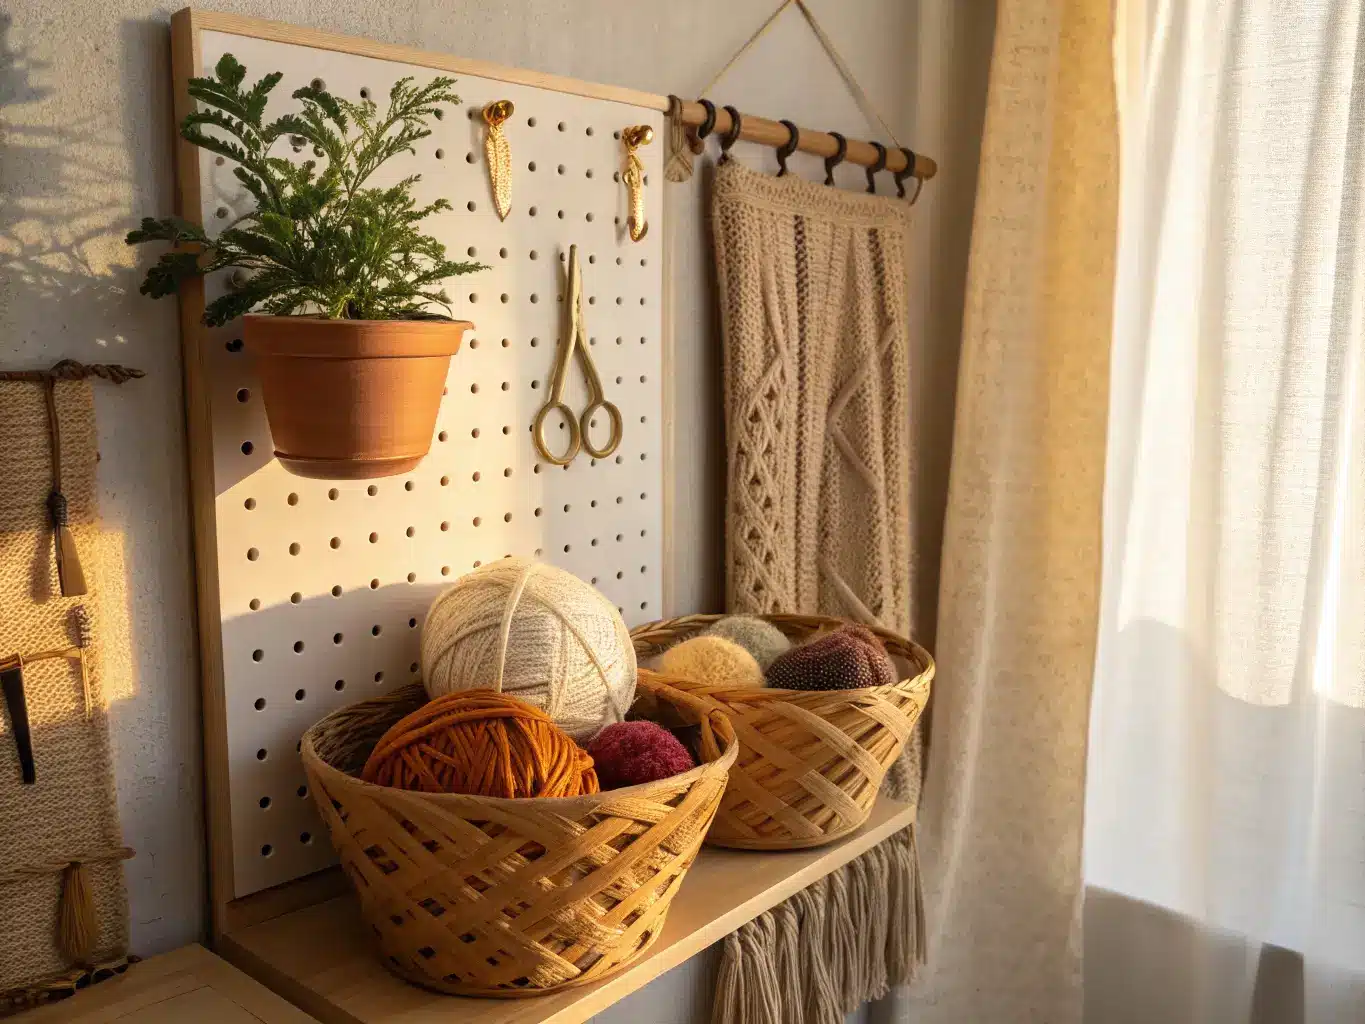
– Boho: wood-tone board, woven baskets instead of wire ones, warm neutral palette
– Modern: matte black metal pegboard, clear acrylic bins, minimal hook count
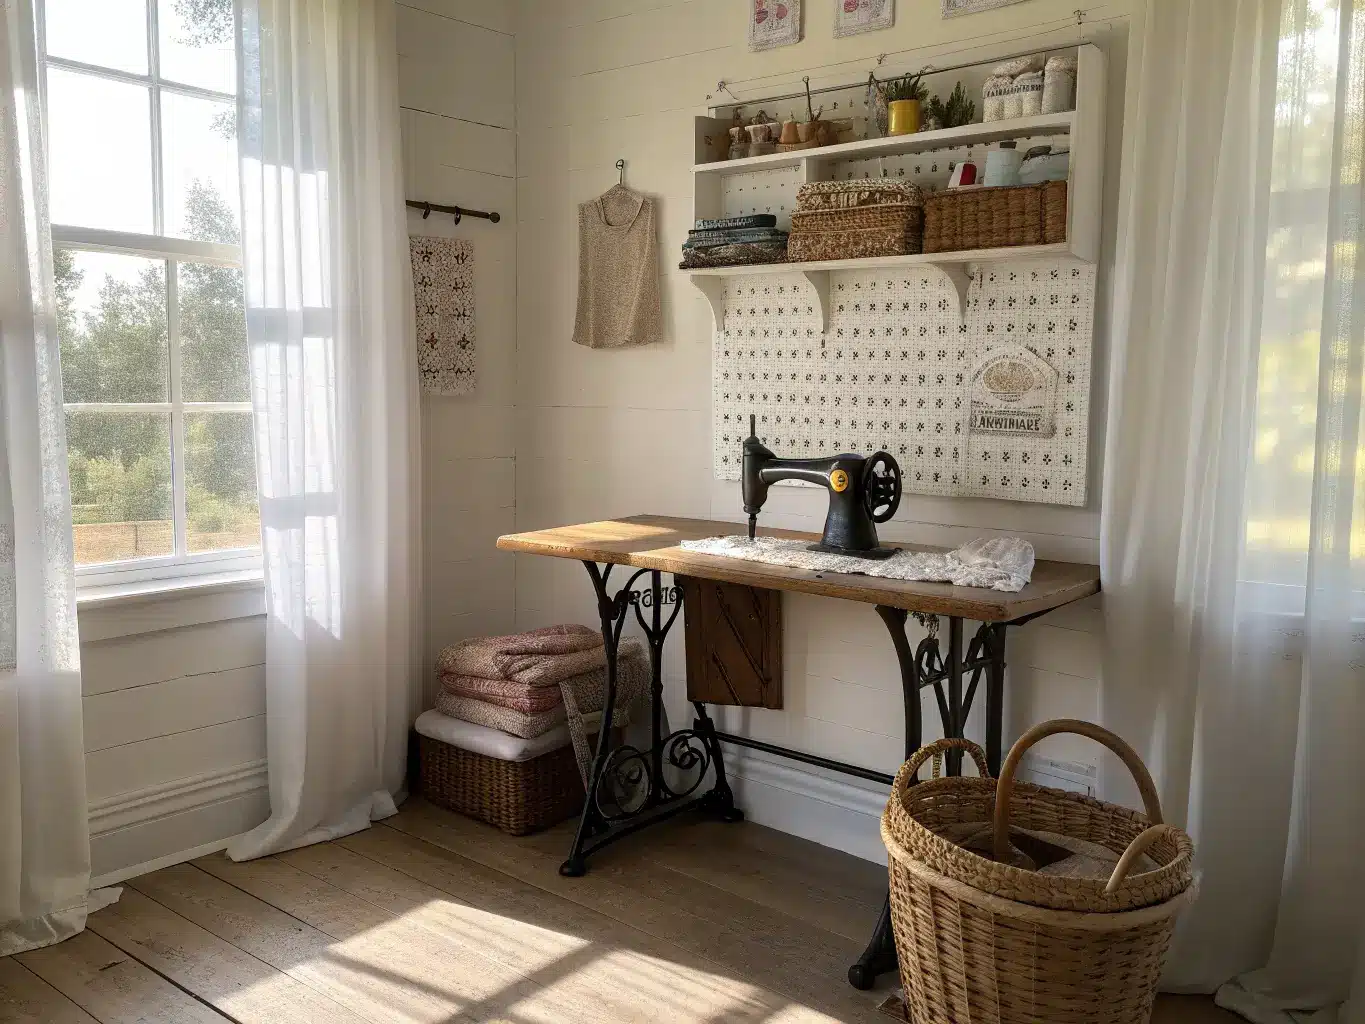
– Farmhouse: white board, wood trim, muted sage or cream accessories
If your craft collection grows — and it will — add a second panel rather than cramming more onto the first. My original plan was one board. I’m now at two and a half, and the half-panel above my cutting table was the best afterthought addition I’ve made.
For another angle on this, my craft room storage ideas guide covers the same space from a different starting point.





