
My craft room used to be a walk-in closet with a folding table crammed against the wall, and for two years I could not find my own rotary cutter.
It was buried under a landslide of half-used washi tape and fat quarters. So I get the frustration behind every craft room storage search: you don’t need more supplies, you need a system that tells you where things live. That’s the whole game.
I’ve rebuilt my setup three times now — once with a bad Pinterest-inspired shelf that was too shallow for cutting mats, once with too many identical bins I could never tell apart, and finally with the version I’m about to walk you through. It works. Here’s how to actually pull it off.
## What This Style Actually Is
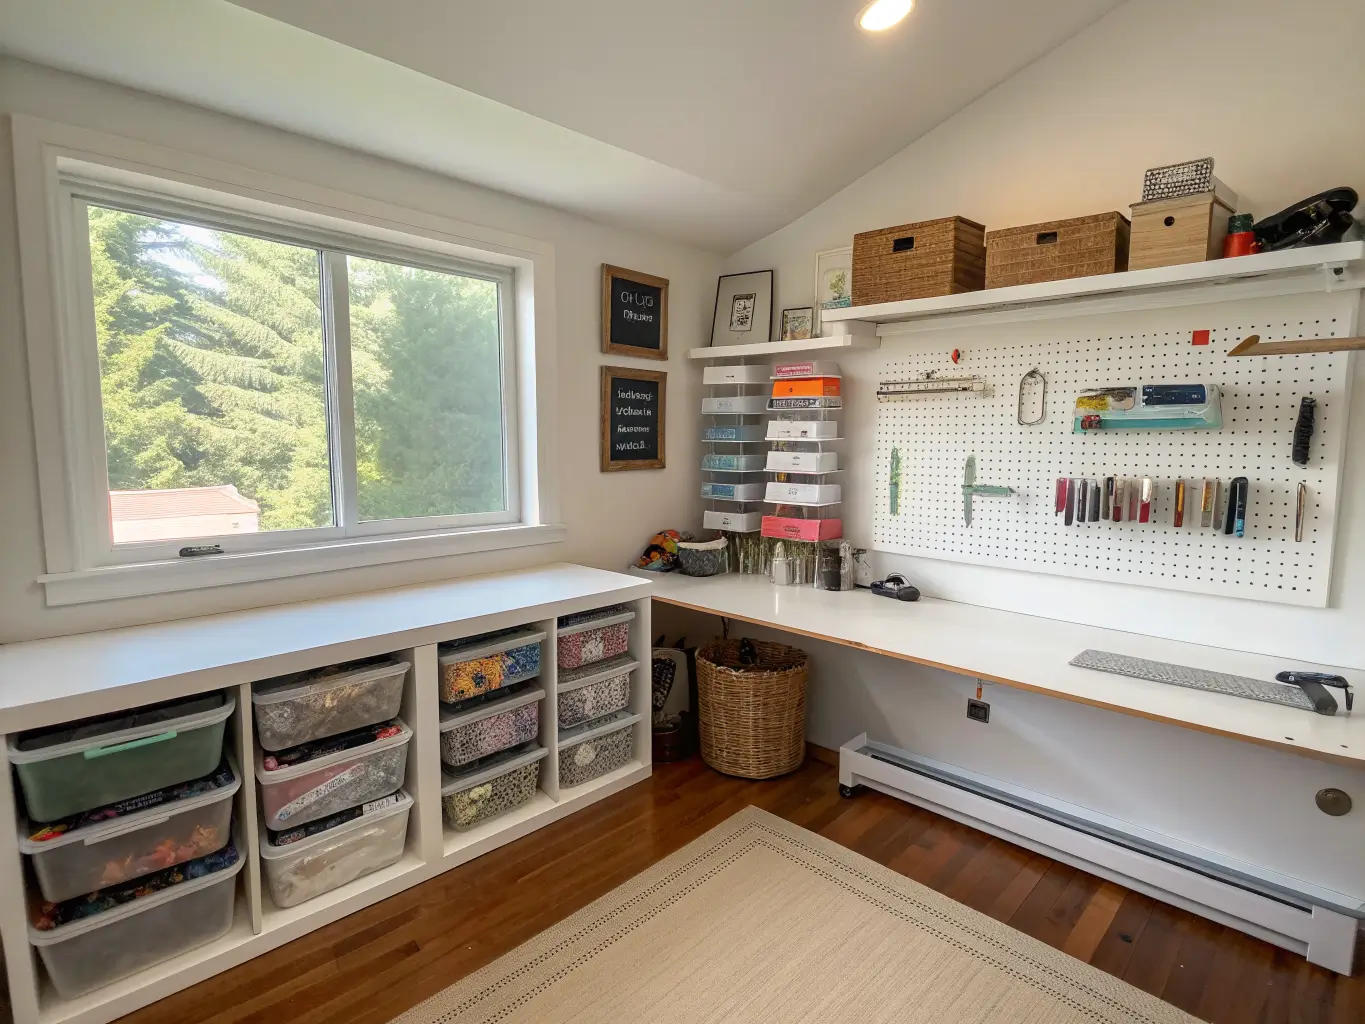
Think of it as organized-functional — part modern farmhouse, part IKEA minimalism, part maker-studio energy. It’s not about hiding your craft supplies behind closed cabinet doors like they’re something to be ashamed of. It’s about displaying them in a way that’s both useful and, honestly, kind of satisfying to look at.
Picture white shelving, clear acrylic bins, black label tape, and pops of color from the yarn or ribbon you can now actually see. That’s the look. It works whether you’ve got a full spare bedroom or a single closet you’re trying to squeeze a hobby into.
Who this is for: anyone juggling more than one craft — paper crafting, sewing, vinyl work, jewelry making — because single-category storage systems fall apart fast when you’re bouncing between projects.
Where it works: spare bedrooms, closets, garage corners, that weird dead space next to the laundry machine, even a repurposed office nook.
## Time, Cost, and Space — The Real Numbers
Time: A basic refresh — sorting supplies, adding bins, slapping on labels — takes one solid weekend. A full room overhaul with shelving installation, a cart, and a labeling system realistically takes 1 to 3 weeks, mostly because decluttering takes longer than you think it will. I budgeted a Saturday for my last reset. It took eleven days, spread out over evenings, because I kept finding supplies I’d forgotten I owned.
Cost, three ways:
– Budget ($25–$100): clear bins, magazine holders, mason jars, DIY labels. This is where most people should start.
– Mid-range ($150–$500): a rolling three-tier cart, open shelving, a drawer system, a pegboard wall. This is where my current setup lives.
– Built-in ($500+): custom cabinetry, a real desk, closet conversion with drawers and doors. Worth it only if you’re staying in the house long-term.
For reference, a wall-mounted thread rack like the June Tailor Mega-Rak II runs about $50 — that’s a good midpoint example of what “mid-range” actually buys you.
Space needed: Anything works. I’ve seen genuinely great setups in closets under 10 square feet. Vertical storage is what makes small spaces function, which I’ll get into below.
Skill level: Beginner to intermediate. Bins, jars, and labels are zero-skill. Pegboard walls and closet conversions require a drill and some patience, but nothing you can’t handle in an afternoon.
## The Pieces That Actually Make This Work
Skip the decorative stuff until you have these locked down:
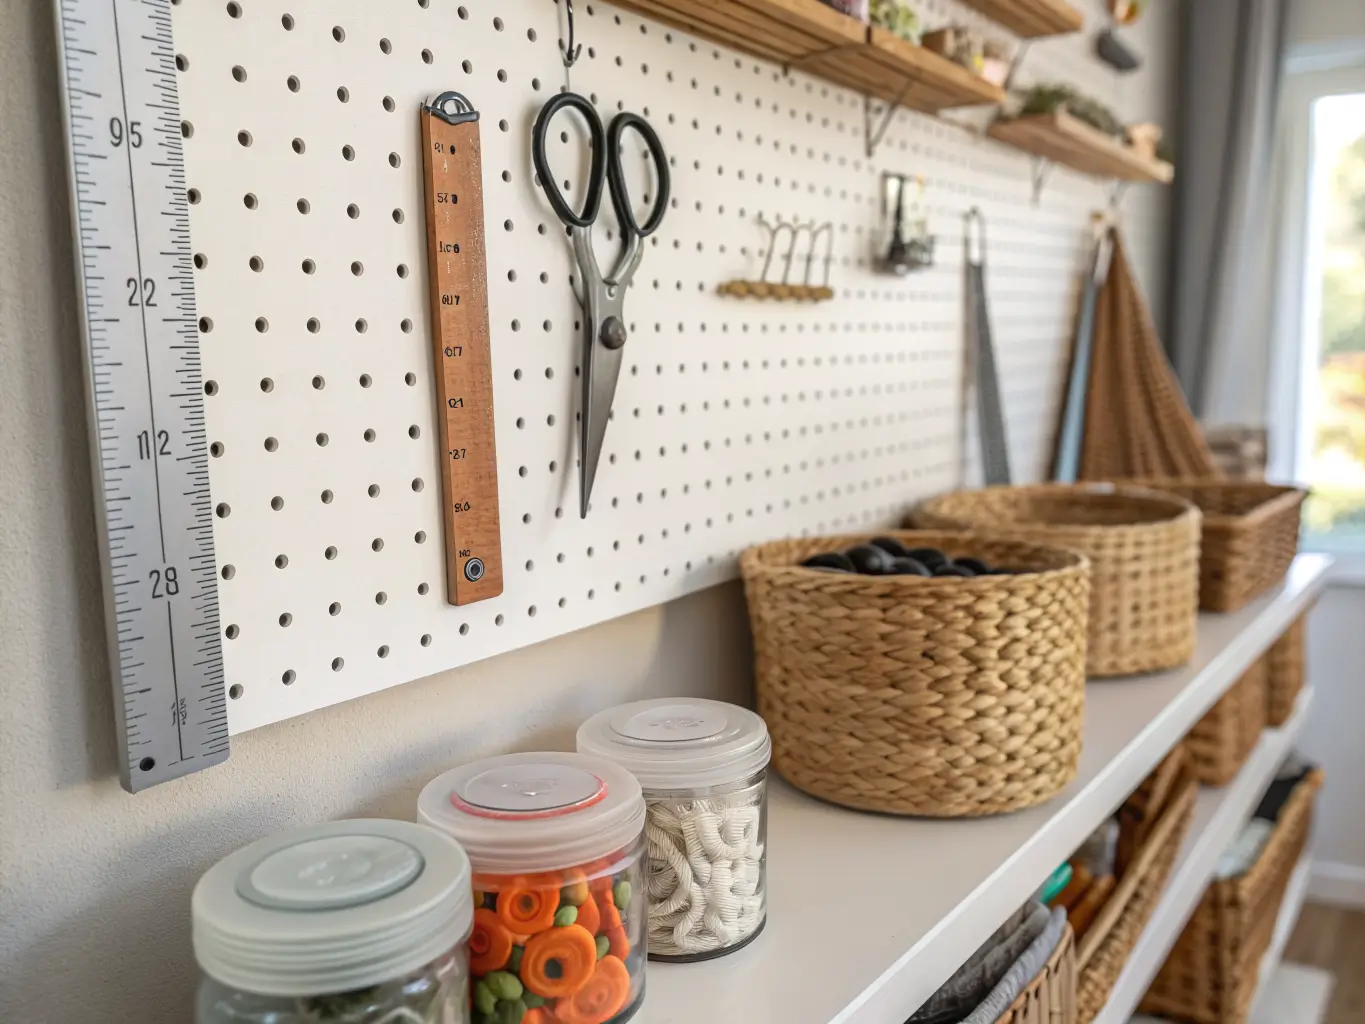
– A pegboard wall. This is the single highest-impact thing I’ve added to any craft space. Mine holds scissors, rulers, small baskets, and cups on hooks, and it freed up an entire shelf that used to be a junk pile. Buy the pegboard, buy the hook variety pack, and don’t overthink placement — you’ll rearrange it in month two anyway.
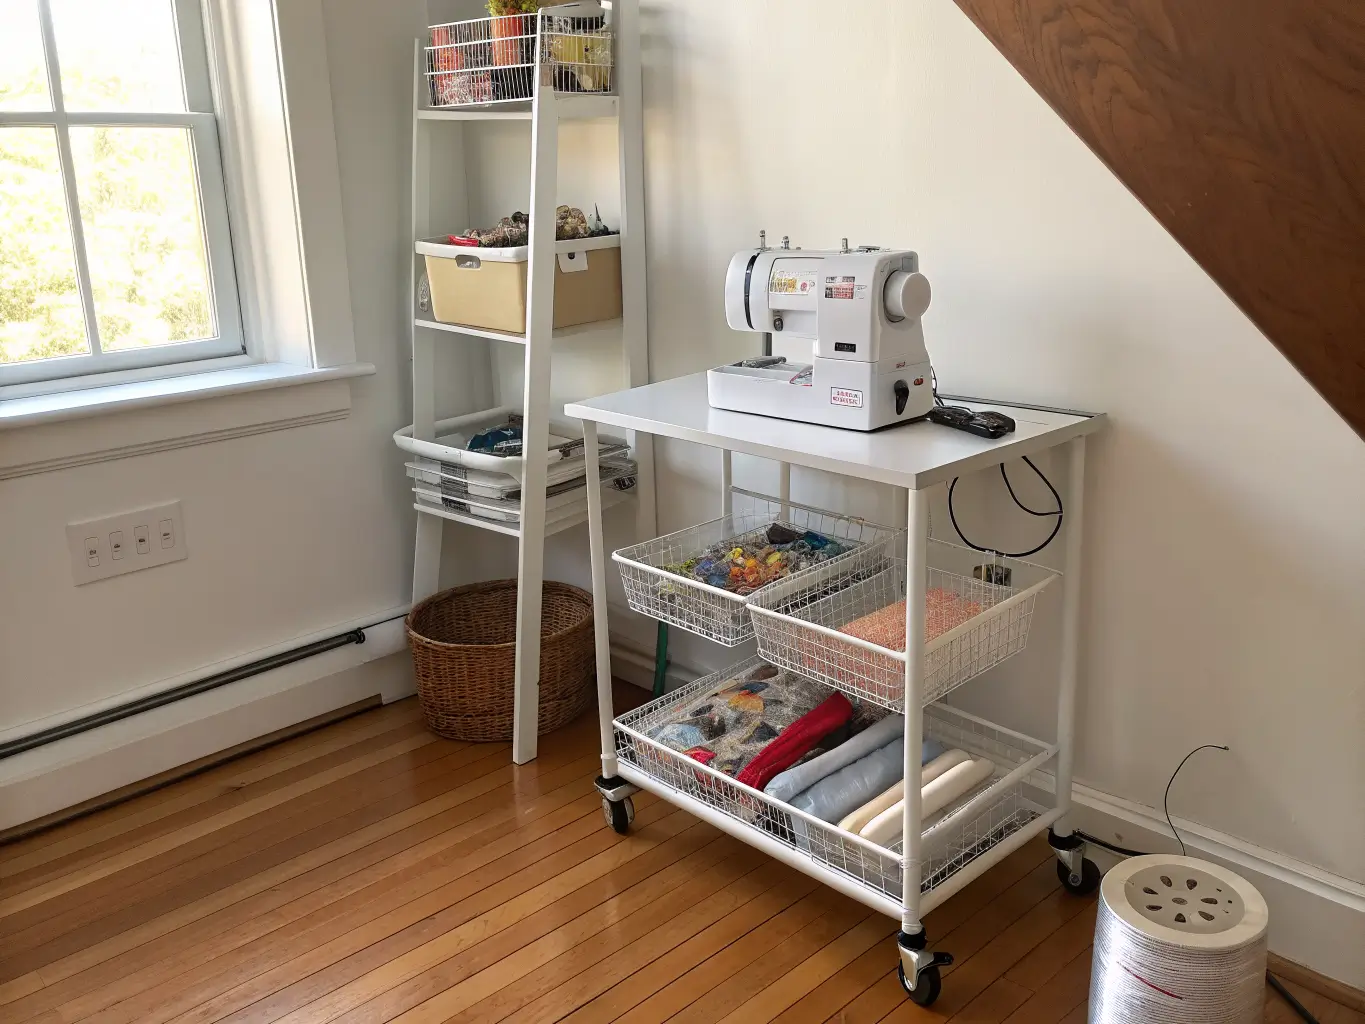
– A rolling cart. Three-tier metal carts (the kind with wire baskets) are everywhere for a reason — they hold your most-used supplies and roll to wherever you’re actually working. Mine sits next to my sewing machine and holds thread, pins, and whatever project is active.
– Clear bins with lids. For paper, vinyl sheets, and anything you need to see without opening ten containers.
– Magazine holders. Genuinely the best thing for scrapbook paper and cardstock — stand them upright instead of stacking flat, and the paper stays flat and un-bent.
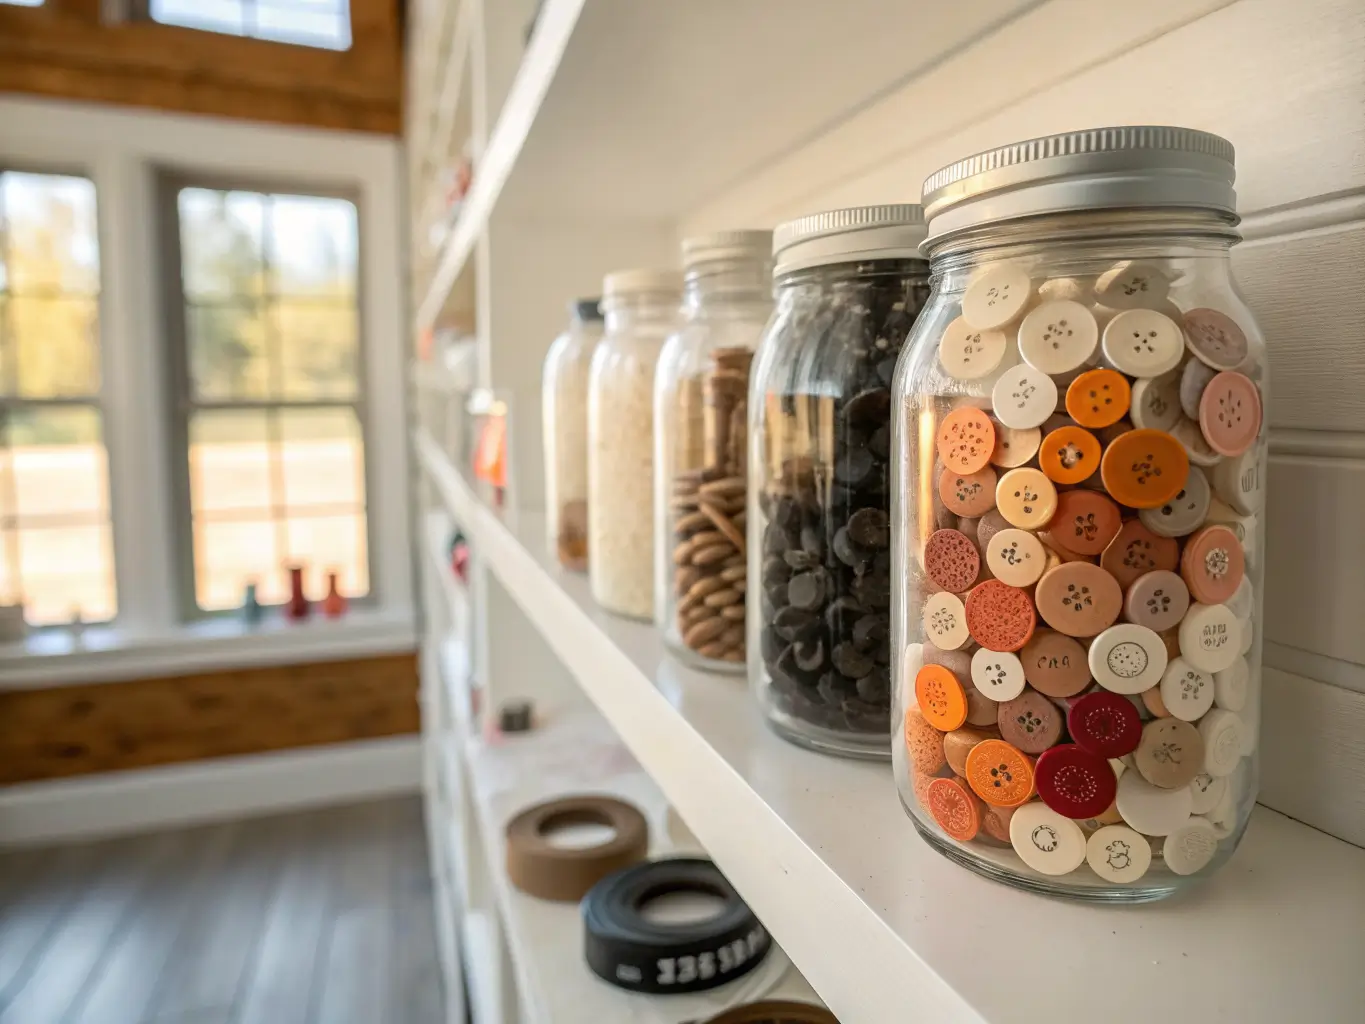
– Glass jars. Spice jars or repurposed food jars for buttons, beads, glitter. This is also where the “pretty” part of organizing lives — a shelf of color-sorted buttons in glass jars looks intentional, not cluttered.
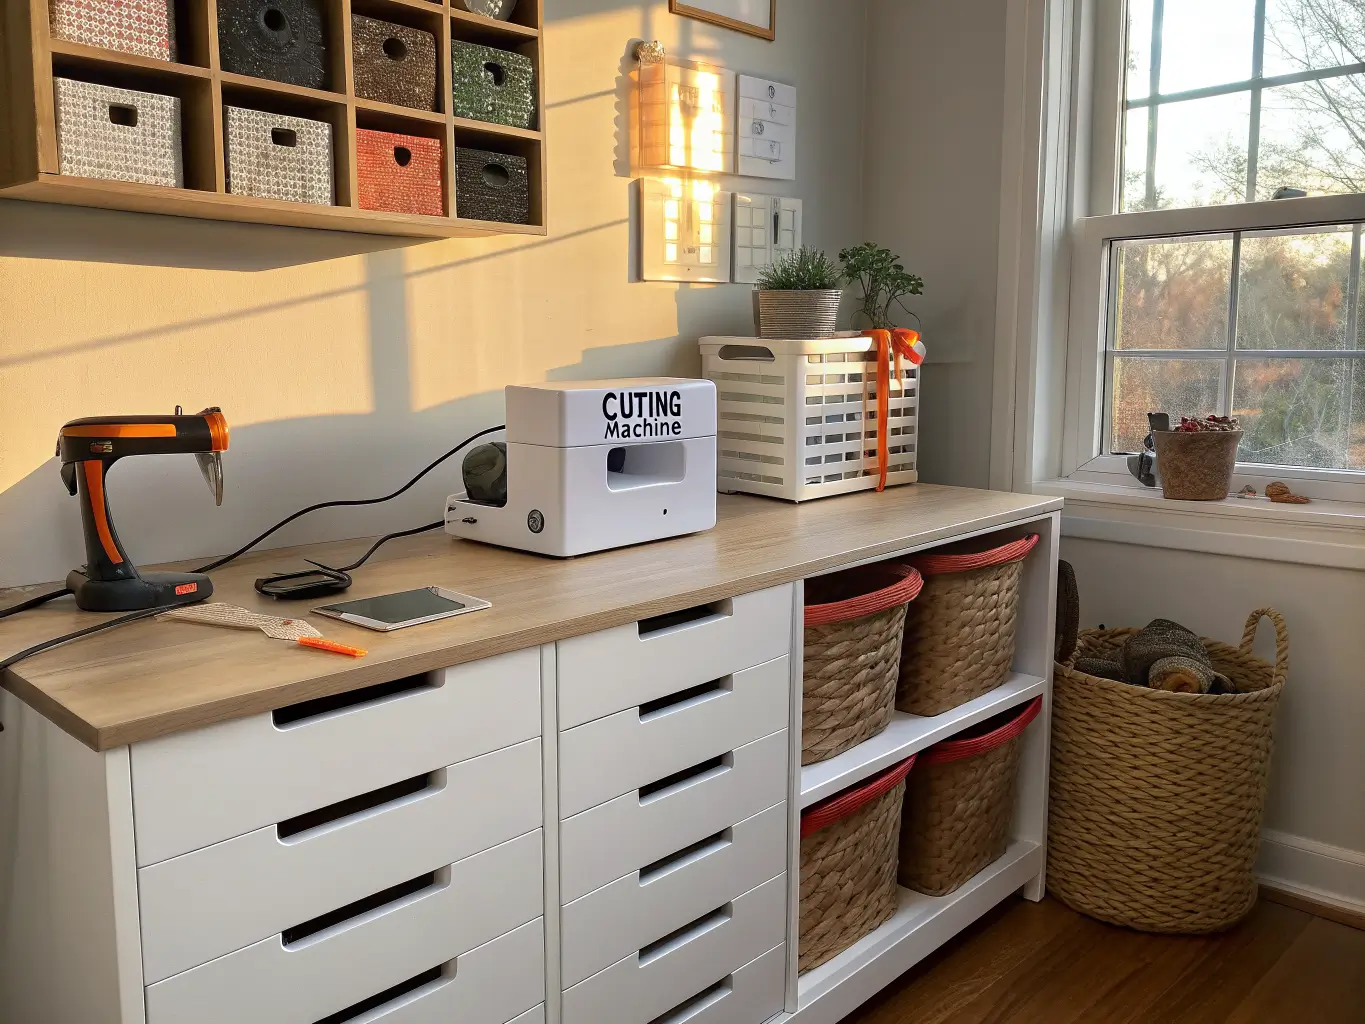
– Drawer units or cubbies for fabric, yarn, and machines. Leave cubby space near an outlet for your printer, cutting machine, or serger — I learned this the hard way after running an extension cord across my floor for six months.
– Labels on everything. Every bin, every drawer. This is the step people skip and immediately regret.
Once that’s covered, layer in the extras: woven baskets to soften hard edges, a painted or framed pegboard if you want it to look less garage-like, metal hooks or magnetic strips if you’re leaning industrial.
## How to Actually Set It Up
Step 1: Sort before you buy anything. This is the mistake almost everyone makes, myself included on attempt number one. I bought a gorgeous set of matching bins before I’d sorted a single supply, and none of them were the right size for what I actually owned. Pull everything out. Sort into piles by craft type — paper crafts, sewing, jewelry, vinyl, seasonal. Only then measure your shelves and drawers and buy containers that fit.
Step 2: Place the big stuff first. Desk, shelving unit, cart, cabinet — whatever’s largest goes in first. Everything else fills in around it.
Step 3: Go vertical before you go wide. Floor space in a craft room disappears fast. Shelves, pegboard, and wall hooks free it back up. If your room is under 80 square feet, vertical storage isn’t optional — it’s the difference between a workable room and a closet you avoid.
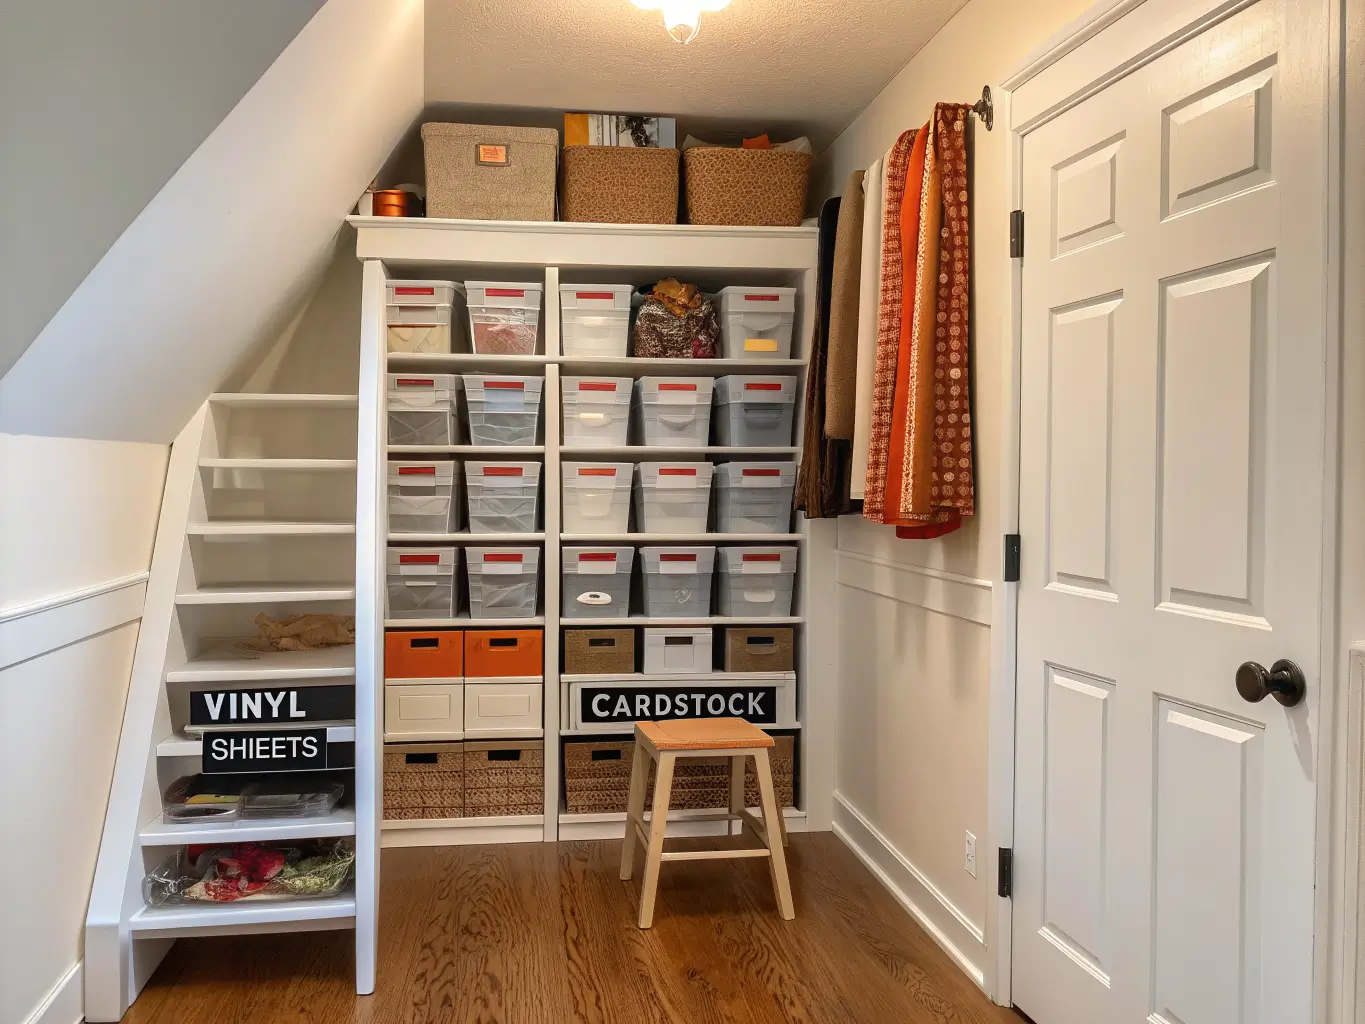
Step 4: Sort into bins by category, then label. Not by “stuff that fits in this drawer.” By actual category. Color-code if it helps — I use black bins for sewing, clear for paper, glass jars for anything small and pretty enough to display.
Step 5: Put frequently used items within arm’s reach of your actual work surface. My cutting mat and rotary cutter live in the cart drawer closest to my chair. My off-season holiday ribbon lives on the top shelf I need a step stool for. Frequency of use decides placement — not what looks nice at eye level.
Step 6: Style a few zones on purpose. Once the functional stuff is handled, make two or three spots look good — a shelf of color-sorted jars, a stack of pretty patterned paper, ribbon wound neatly on a rack. This is what makes the room feel finished instead of purely utilitarian.
## Where to Spend, Where to Save
Spend on: the pegboard system and the cart. These get used daily and cheap versions sag, wobble, or fall apart within a year. I replaced a $20 wire cart with a sturdier $80 one after six months, so in hindsight I should’ve just bought the better one first.
Save on: bins, jars, and labels. Dollar Tree bins work exactly as well as the $12 designer version for holding buttons. Repurposed pickle jars are free. A label maker under $20 does the same job as fancy printed labels.
## Mistakes I’ve Made So You Don’t Have To
– Buying storage before sorting. Covered above, but it bears repeating because it’s the number one thing that wastes money.
– Ignoring vertical space. My first setup had zero shelving above waist height. Massive waste in a small room.
– One giant supply pile. “Craft stuff” is not a category. Paper, sewing, jewelry, vinyl — each needs its own zone or you’ll be digging through fabric to find beads.
– Too many identical open bins. I once owned six matching clear bins with no labels and could never remember which one had the buttons. Combine open bins (for stuff that’s fine to see) with closed, labeled bins (for stuff you don’t need staring at you).
– Burying your most-used tools. If your scissors are in a drawer under three other things, you’ll stop putting them away properly within a month. Keep daily tools at arm’s reach, always.
## Keeping It From Feeling Cluttered Again
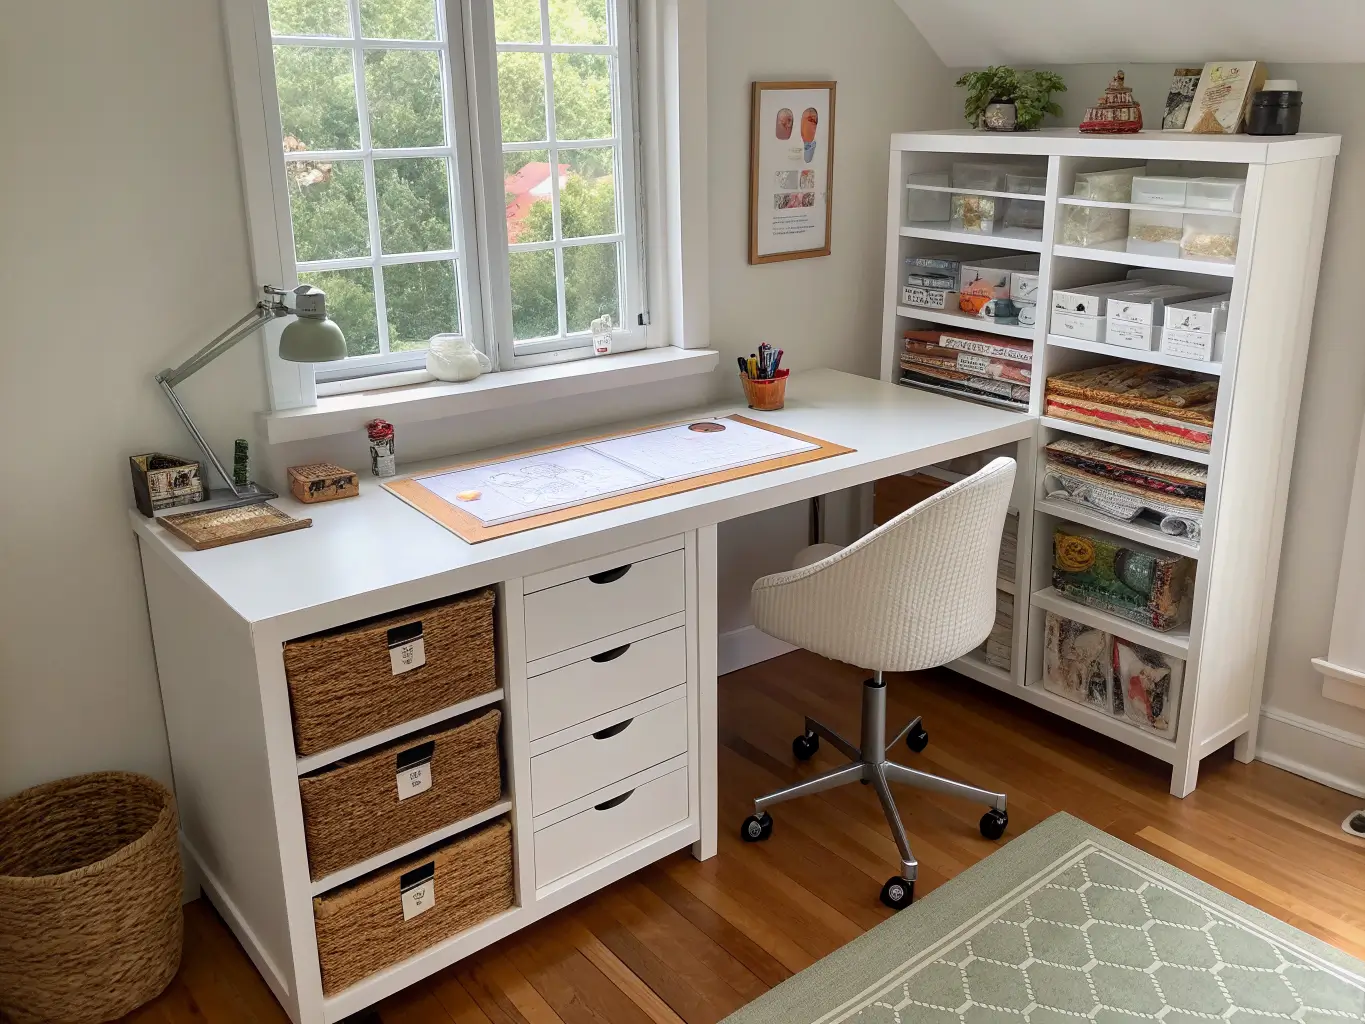
Stick to a tight palette — white, clear, natural wood, one accent color. That’s it. My accent color is a rust orange that shows up in exactly two baskets and nowhere else, and it keeps the whole room from looking like a supply store threw up.
Only keep active projects visible. Everything else goes back in its labeled bin. I do a five-minute reset at the end of every crafting session — projects back in bins, surfaces cleared — and it’s the single habit that’s kept this system working for over a year instead of collapsing after three months like my old setups did.
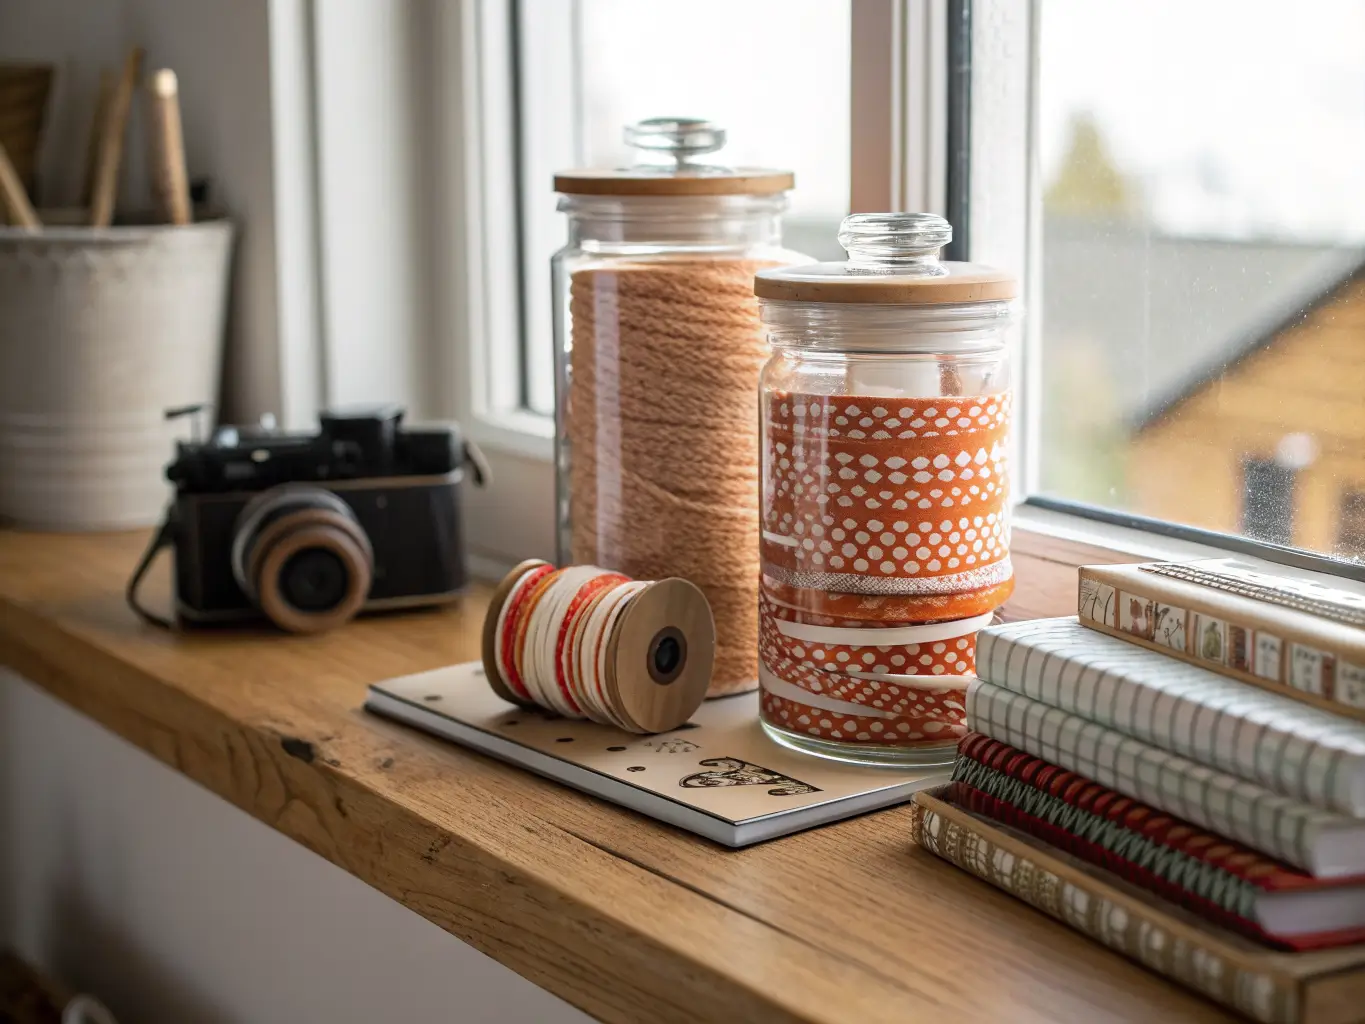
Rotate what’s on display instead of adding more decor. Swap in seasonal ribbon colors, rotate a few finished projects onto a shelf, change out what’s in the glass jars up front. It keeps the room feeling current without buying anything new.
## Budget and Seasonal Updates
For under $50, you can meaningfully upgrade any craft space with magazine holders, a few glass jars, and a roll of label tape. That’s genuinely most of what moves the needle.
Seasonally, just swap labels and ribbon colors — a “holiday” bin that comes out in November, spring-colored ribbon on the rack in March. You don’t need to redecorate the whole room every season, just refresh the top layer.
If you want a specific aesthetic spin: boho-craft blends woven baskets, warm wood tones, and clear bins for warmth. Modern farmhouse leans into white shelving, black labels, and metal carts for something crisper. Both work with the exact bones I laid out above — the difference is just finish and texture, not the underlying system.
For another angle on this, my craft room storage guide covers the same space from a different starting point.





