
If you’ve ever tried to answer emails while your sewing machine sits three inches from your keyboard, you already know the problem: an office and craft room combined into one space usually turns into a room that does neither job well. I made this mistake for almost a year. My desk was also my cutting table, my printer lived under a pile of fabric scraps, and I couldn’t find a working pen because it was buried under embroidery thread. The fix wasn’t more storage. It was zoning — treating the room like two rooms that happen to share a door.
I’ve since redone this room twice, and what follows is what actually held up, not just what looked good on move-in day.
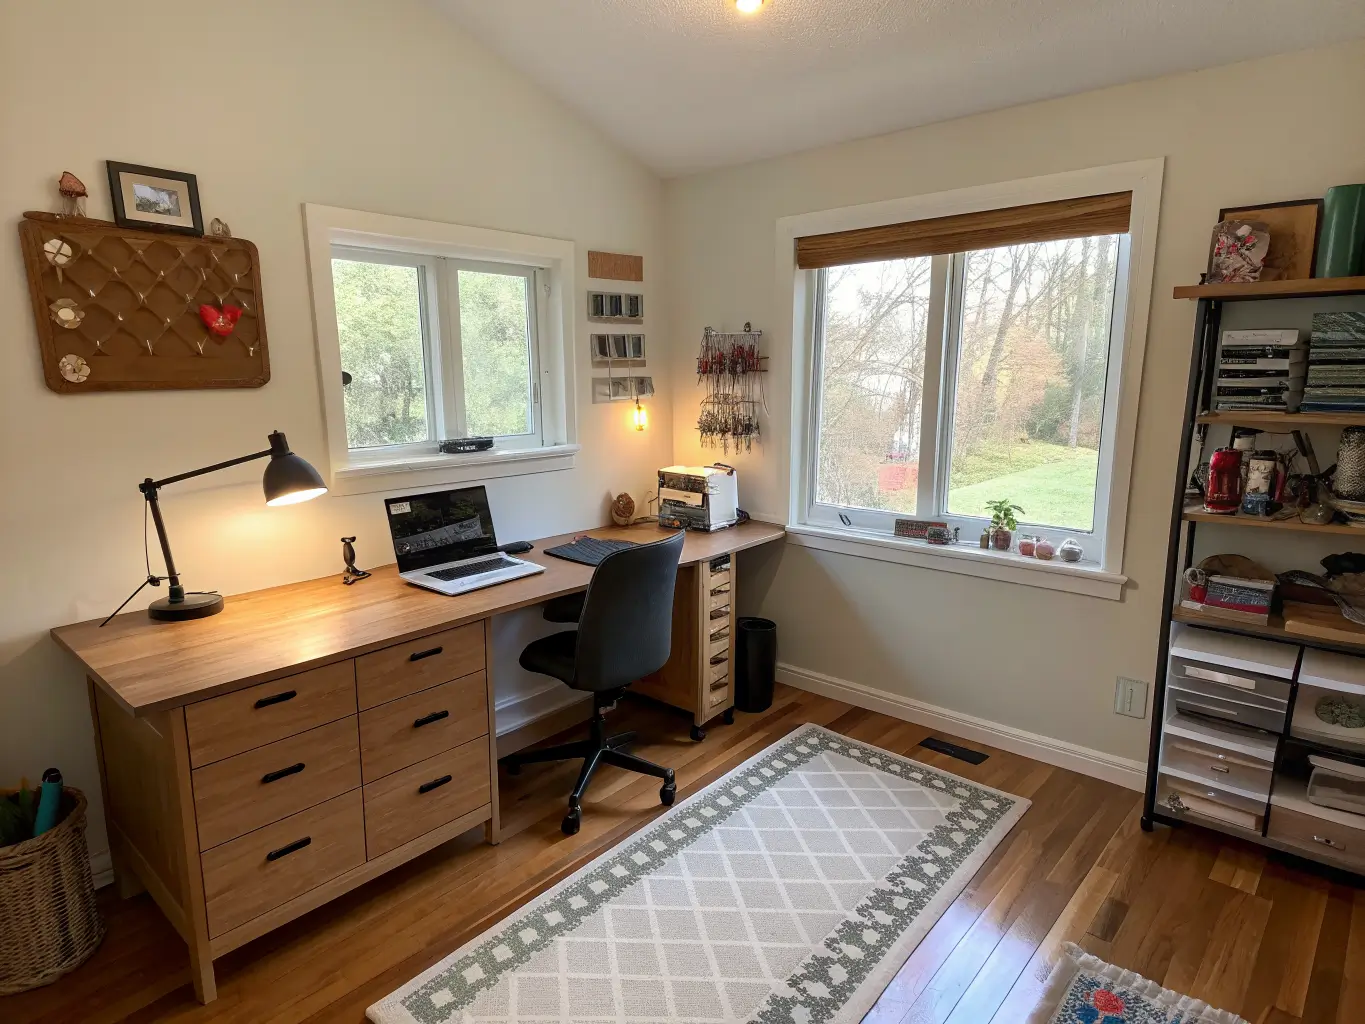
What This Style Actually Is
This isn’t a strict decor style like farmhouse or mid-century. It’s a functional transitional look — clean, light, a little studio-like, built around two jobs instead of one aesthetic. Most versions I’ve seen (and the one I landed on) lean toward soft neutrals: white or light gray walls, warm wood tones, black or brass hardware, maybe a wash of muted blue or green in the textiles. It reads calm on purpose, because a room juggling two functions doesn’t need a busy palette fighting for attention too.
Who this is for: remote workers who also sew, scrapbook, paint, package Etsy orders, or run any kind of small creative business from home. It’s also the right call for a family that needs one flex room to cover homework, hobbies, and a parent’s work-from-home days.
Where it works: a spare bedroom is ideal — most are 10×10 to 12×14, plenty for two zones. Basements and bonus rooms work too. I’ve also seen it done well in a wide closet-turned-nook, though that requires ruthless editing of what actually lives in the room.
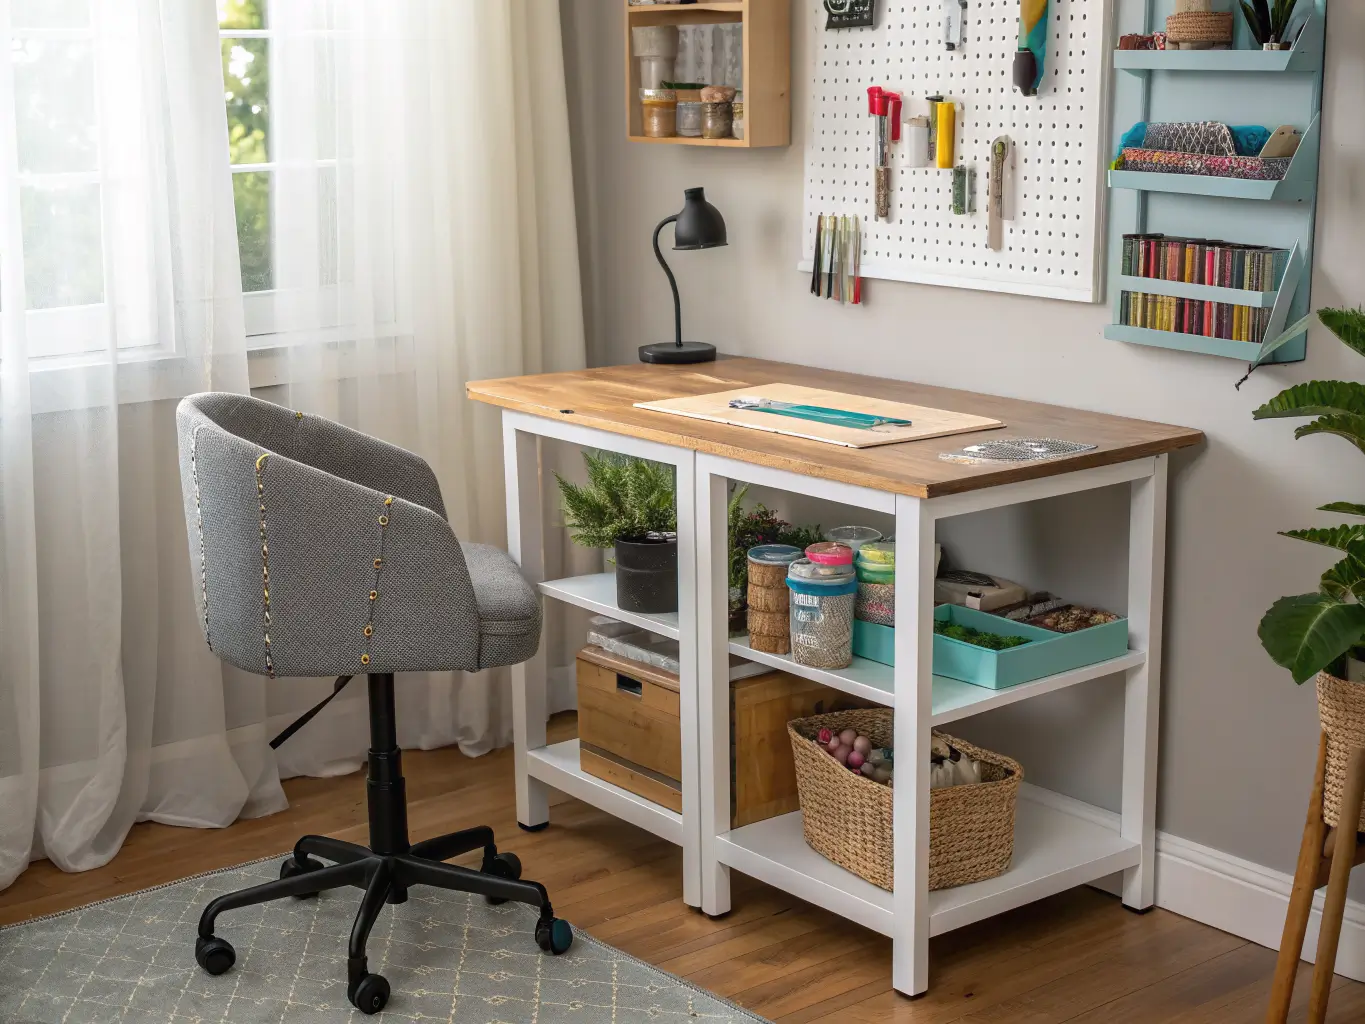
Time, Budget, and Skill Level — Set Expectations First
Time: A basic setup with furniture you already own takes a weekend. If you’re painting, building shelving, or waiting on furniture delivery, budget 1 to 3 weeks. Mine took closer to two weeks the second time around, mostly because I was waiting on a console table I found secondhand and had to sand down.
Budget, three tiers:
– $300–$900 — paint, a flat-pack or used desk, pegboard, bins, and labels. This is where I started.
– $1,000–$3,500 — a real desk, an ergonomic chair, a proper craft table, rolling storage, better lighting, and some closed cabinetry.
– $4,000+ — custom built-ins, dual workstations, full wall storage. Worth it only if this room is permanent and heavily used.
Skill level: Beginner to intermediate for arranging furniture and organizing storage. You’ll need intermediate-to-expert DIY chops only if you’re building your own desk or installing cabinetry.
This works year-round, but it’s especially worth the investment if you’re running a creative side business — the room needs to function every single day, not just look nice for a photo.
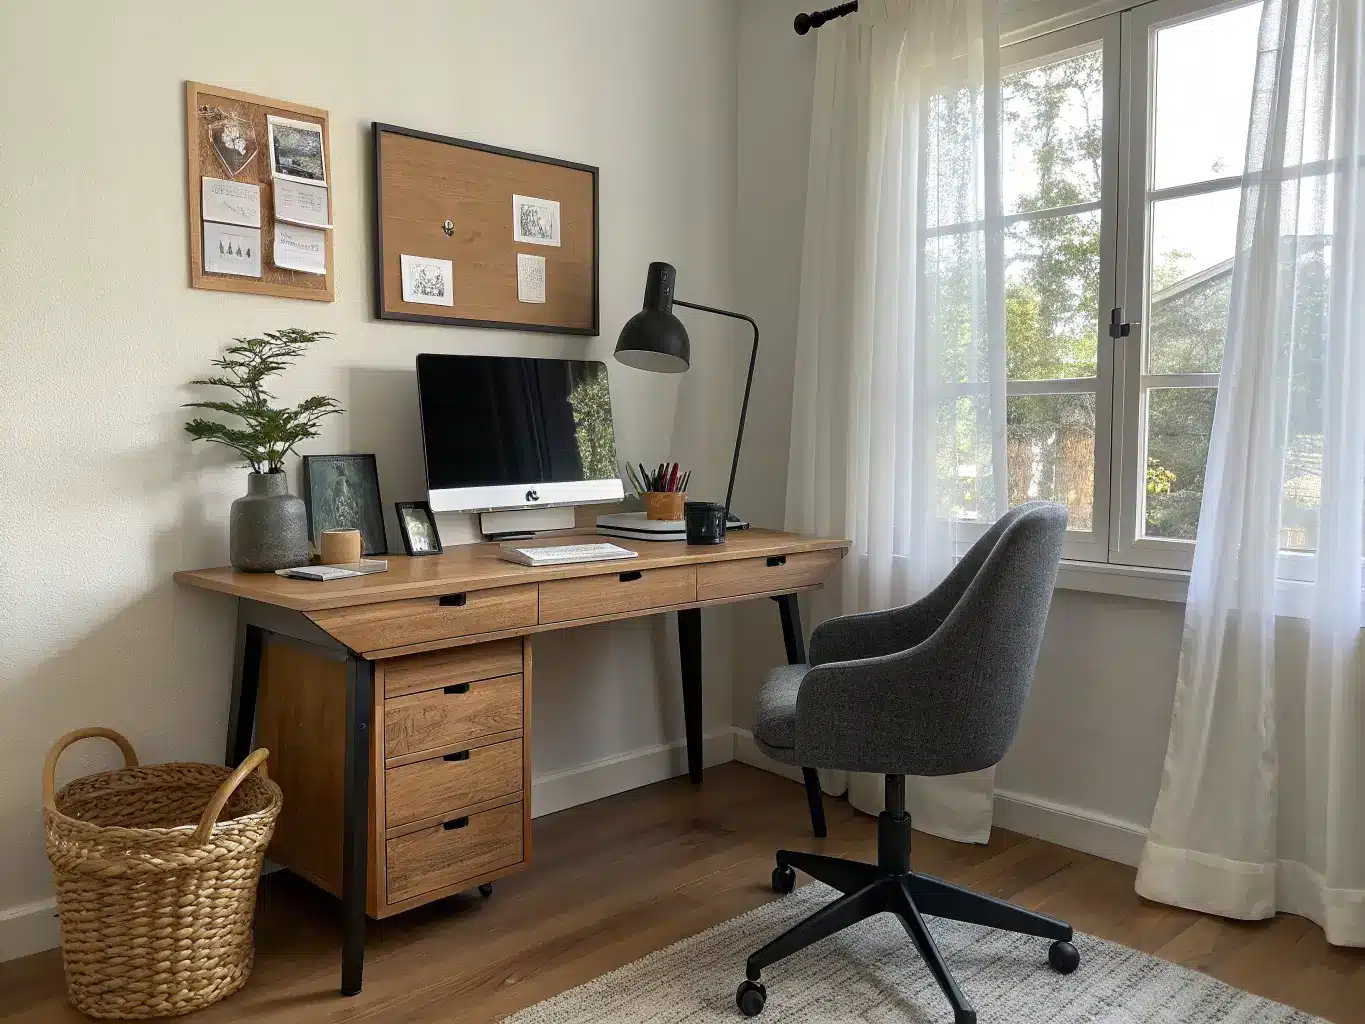
The Must-Have Pieces
You need fewer “cute” items and more correctly chosen anchor pieces. Here’s what earns its spot:
– A dedicated office desk, deep enough for a monitor and laptop, positioned near the window. Natural light cuts screen glare and just makes desk work less miserable.
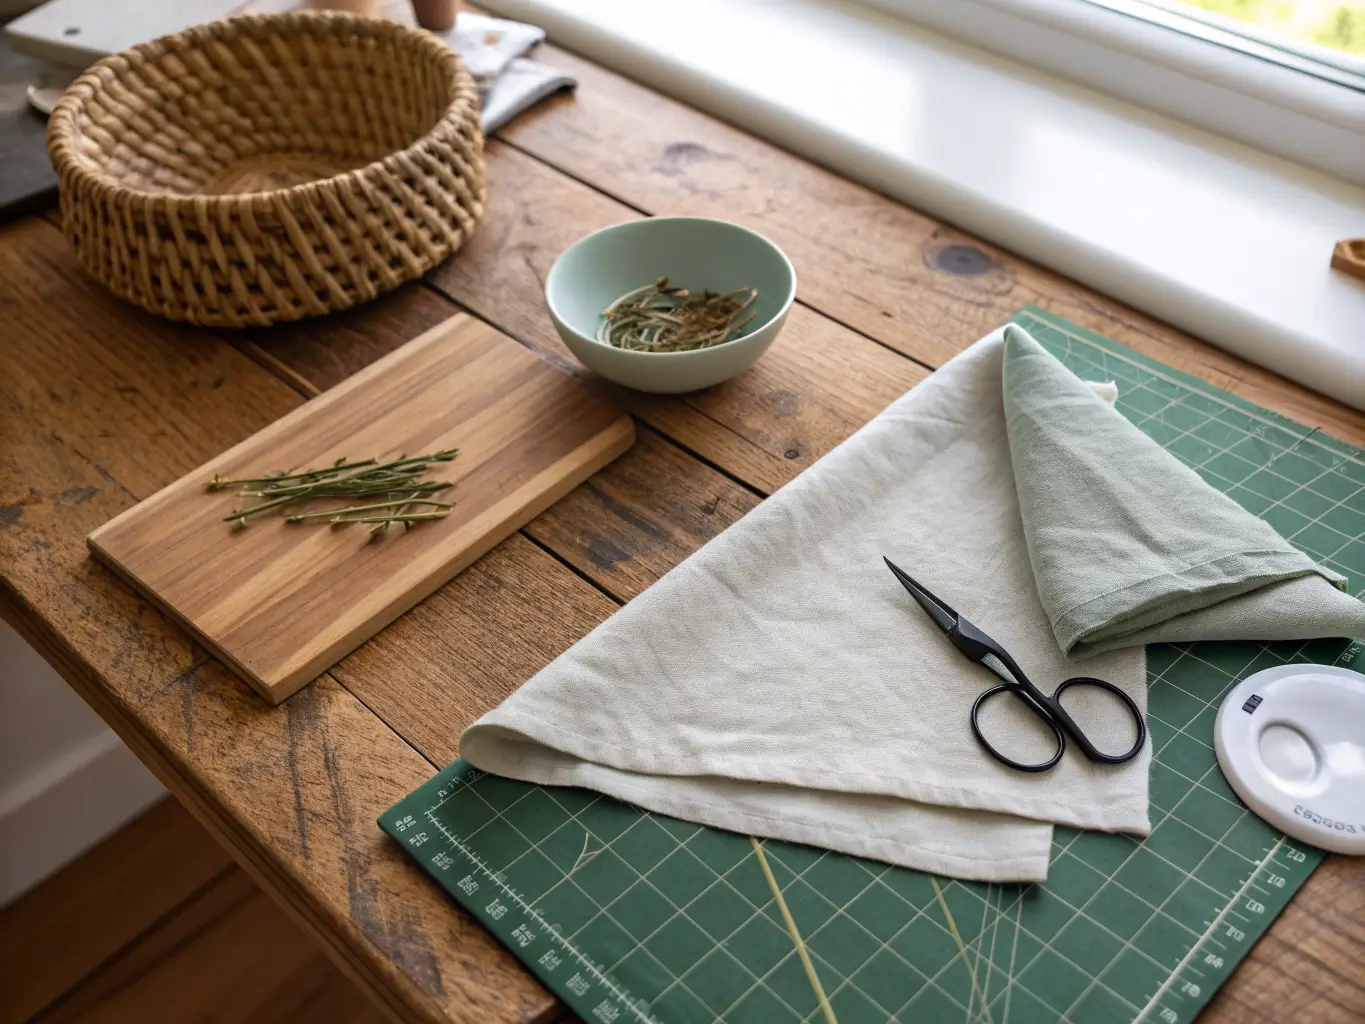
– A separate craft table on another wall, wider than a standard desk — you need room to cut fabric, lay out a scrapbook page, or spread out packaging materials without shoving your keyboard aside.
– Two different chairs. An ergonomic desk chair for computer hours, and a stool or rolling task chair for the craft table. I resisted this at first — seemed redundant — until my back reminded me that hunching over a cutting mat in a desk chair for two hours is not the same as typing.
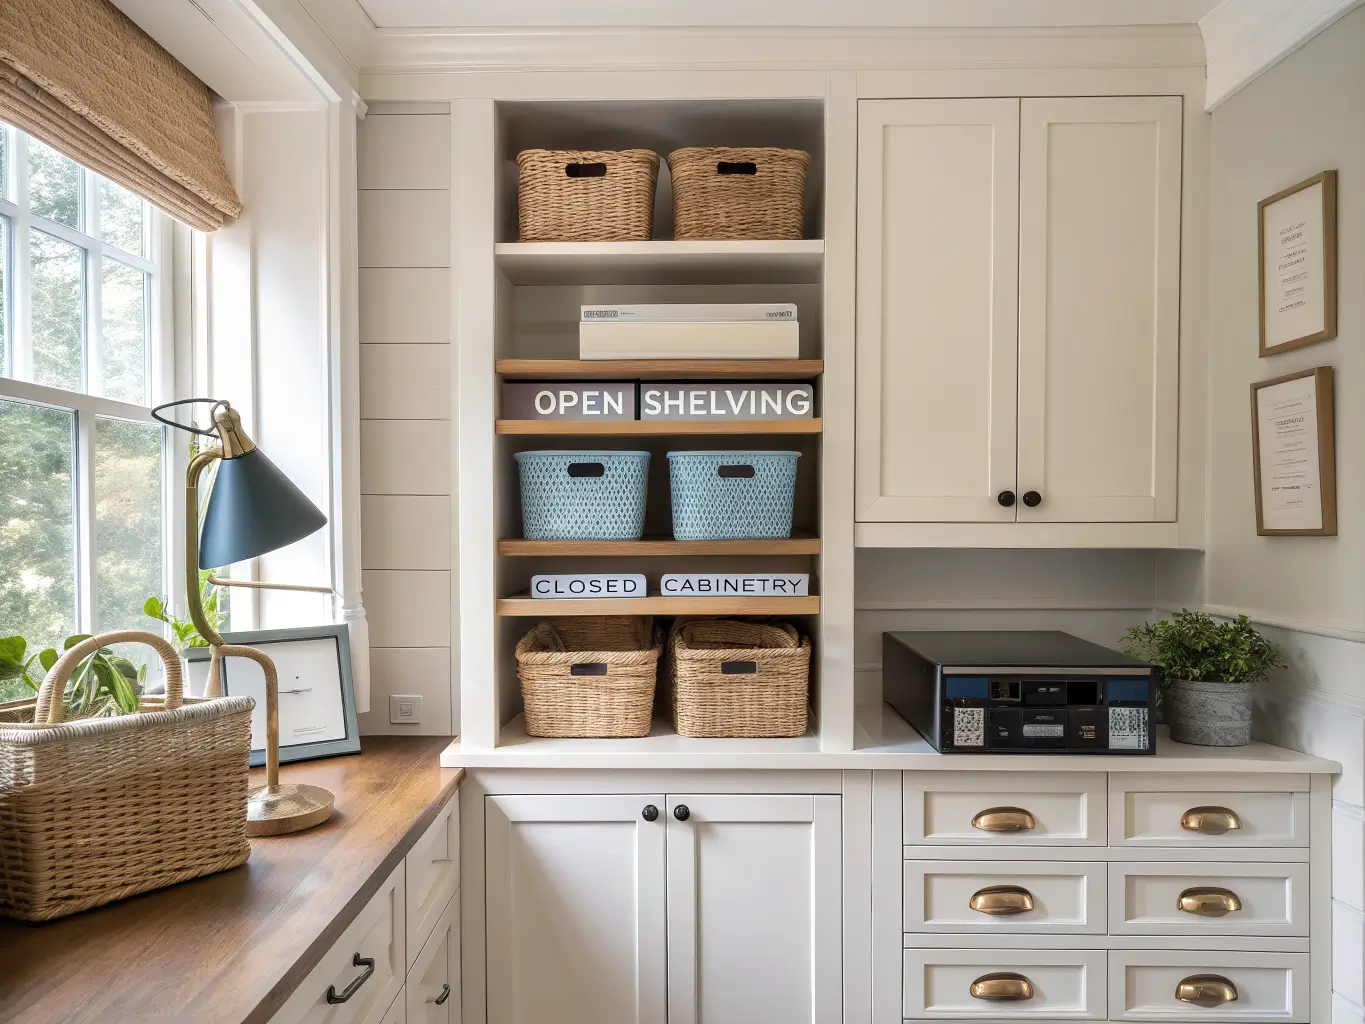
– Open shelving for supplies you reach for constantly, plus closed cabinets for the ugly stuff: printer, paper reams, backstock, cords.
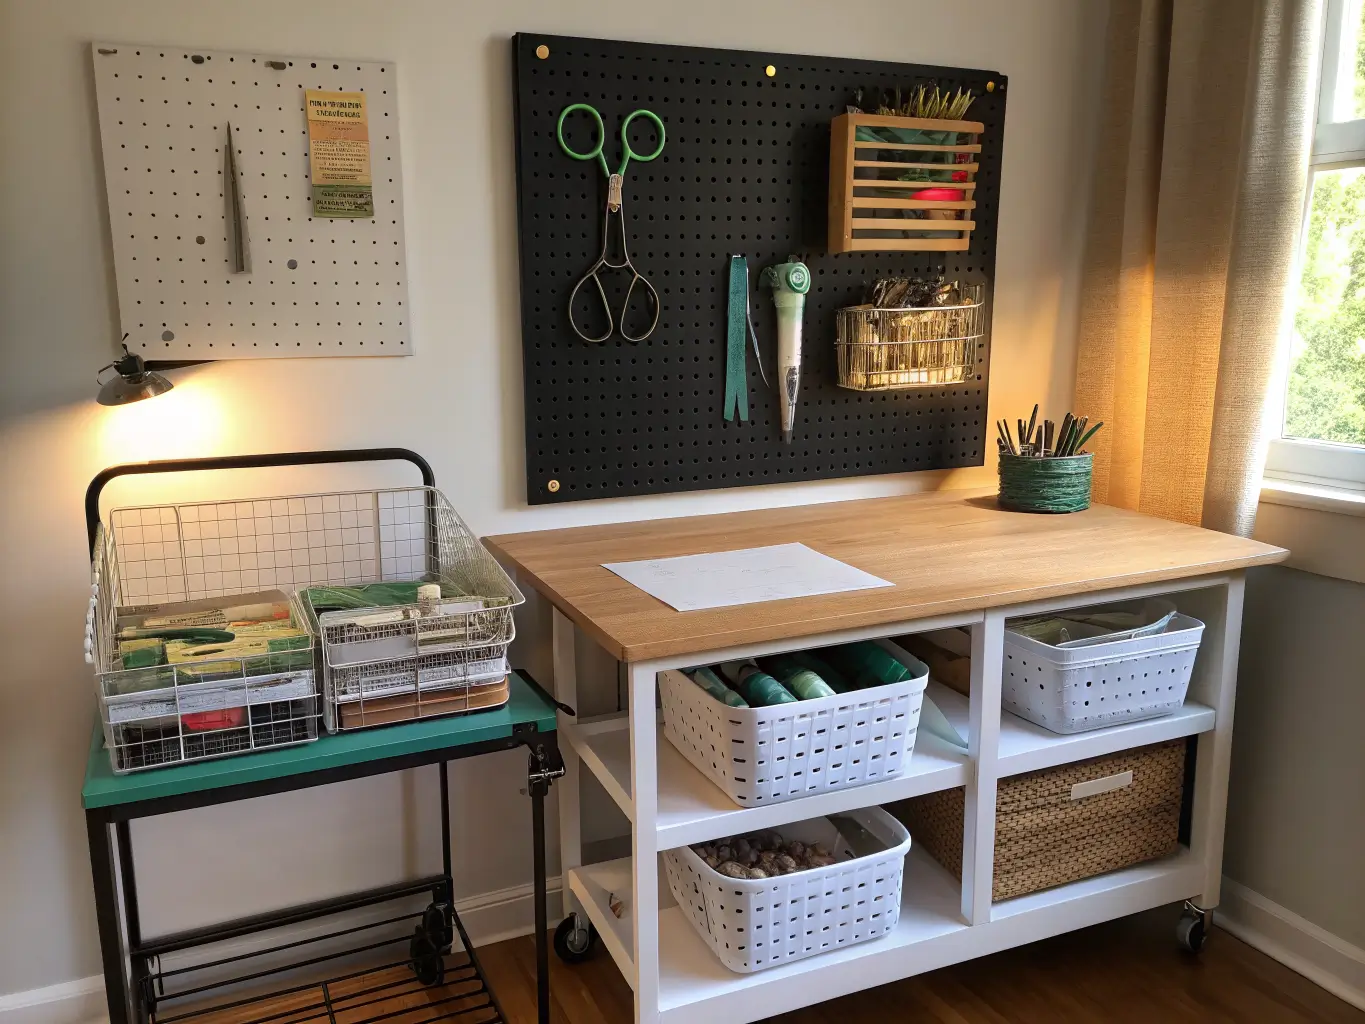
– Pegboard — genuinely the single most useful thing I added. Scissors, rulers, ribbon spools, paintbrushes all hang in sight, off the table, and it looks intentional instead of chaotic.
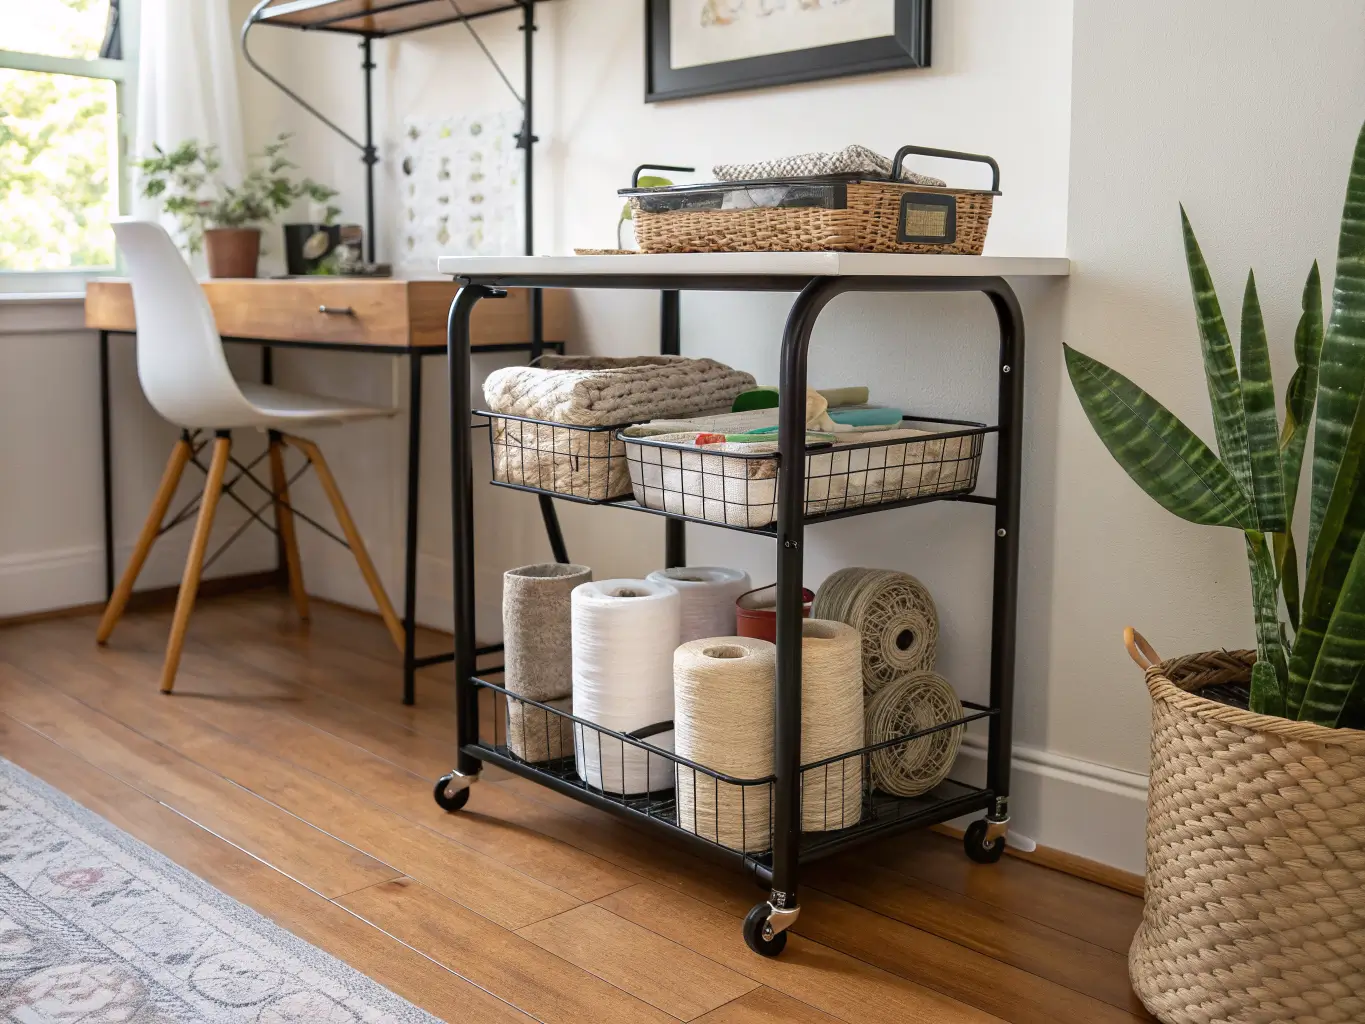
– A rolling cart that can travel between the desk and the craft table when a project needs both.
– Task lighting at both stations — a real desk lamp, not just the overhead fixture. My old setup had one ceiling light and it was useless for detail work at the craft table by 4pm in winter.
– Clear bins, labeled drawers, and baskets so you can see what you have without opening six containers to find washi tape.
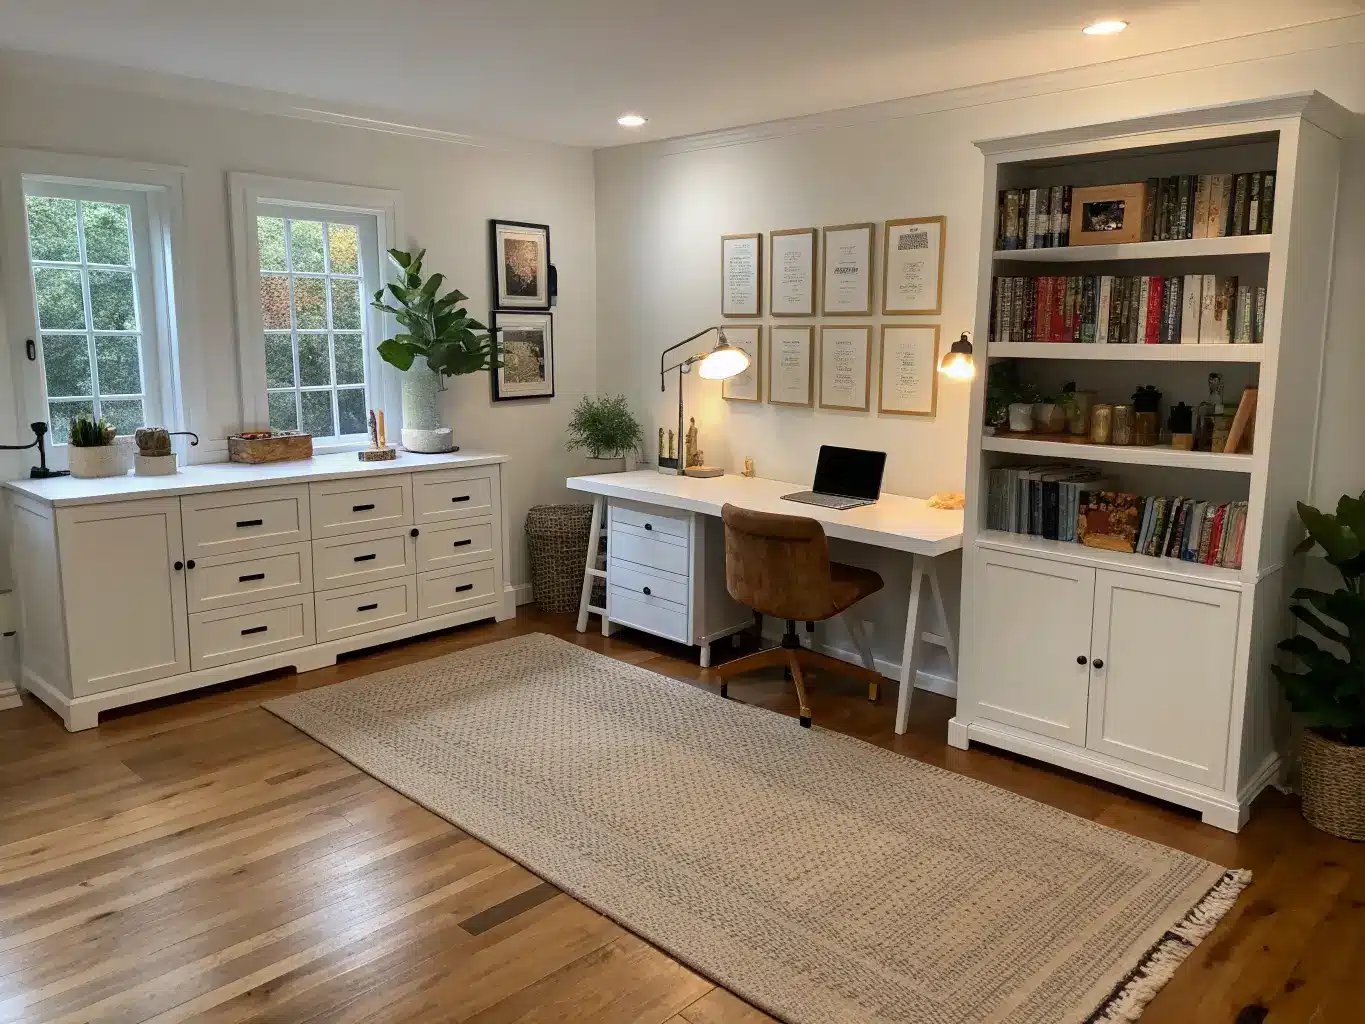
Optional Touches Worth Adding
Once the bones are in place, these are what make it feel like a room you’d actually want to sit in:
– An area rug under the craft table — this alone visually splits the room into two zones without a single wall.
– A plant or two. I put a 3-foot snake plant on top of a low bookcase between the two zones; it softens the hard edges of metal shelving and plastic bins.
– A cork or whiteboard near the craft side for sketches, swatches, and half-formed ideas.
– Acrylic canisters for buttons, beads, pens — clear storage keeps things visible without looking messy.
– Brass or black hardware on cabinets, a gold-base lamp, black picture frames — small metallic hits that keep the room from feeling like a supply closet.
– Woven baskets and linen curtains to warm up all that laminate and plastic.
How to Actually Put It Together
Start by emptying the room
Take everything out. Make a real list: computer, printer, sewing machine, fabric, paint supplies, packaging materials, reference books, finished projects that need somewhere to live. You cannot zone a room you haven’t inventoried.
Assign zones before buying furniture
Measure the room. Figure out which wall gets the best light — that’s your desk. The next-best wall or corner becomes your craft table. In my current room, the desk sits perpendicular to the window; the craft table runs along the interior wall where I don’t need to worry about glare on a screen but do need steady, even light for painting.
Decide what’s on display versus what’s hidden
Not everything needs to be visible. Printer, paper stock, backup supplies — into a cabinet with a door. Frequently used tools, pretty jars, a few favorite books — those can live in the open.
Build in this order
1. Anchor pieces first — desk, craft table, main storage unit, both chairs.
2. Vertical storage next — pegboard, wall shelves, hanging rails. Keep the floor clear; a cramped floor makes the whole room feel smaller than it is.
3. Group supplies by function — office supplies together, craft tools together, consumables together, in-progress projects in their own labeled bin so they’re not just sitting out on the craft table for two weeks.
4. Style surfaces sparingly. One lamp, one tray, one plant, one piece of art per surface. I used to pile decor onto every open inch of shelf and it just ate up usable space.
5. Add a third mini-zone if the room allows it — a small counter or rolling cart dedicated to wrapping gifts, packaging orders, or photographing finished work. Even a 2-foot strip of counter dedicated to this saves you from doing it on the floor.
Where I’d Spend and Where I’d Cut Corners
Spend on:
– The desk chair — you’re in it for hours, and a $60 chair from a big box store will wreck your back within a month. I learned this one the hard way and now I’m on my second, better chair.
– Lighting — a good adjustable desk lamp is $30–$60 and makes a real difference on close work.
– The craft table surface, if you’re cutting or gluing directly on it — a butcher-block or laminate top holds up far better than raw particleboard.
Save on:
– Storage bins — plain clear bins from a container store work exactly as well as the pricier “aesthetic” ones.
– The desk itself, if you don’t need drawers — a flat-pack or secondhand desk is fine as long as it’s stable.
– Decor accessories. This is not the room to buy a $150 vase.
My best find was a mid-century console table from a resale shop for $40 that I use as the craft table’s side storage — it’s not “craft room” furniture at all, but painted white and paired with black cabinet pulls, it fits right in.
Mistakes I Made So You Don’t Have To
– Using one surface for everything. I did this for the first six months. Every craft session meant clearing off work stuff, and every workday meant shoving craft supplies aside. Two surfaces, non-negotiable.
– Underestimating storage needs. Paper, fabric, and works-in-progress multiply fast. If you don’t have a mix of open and closed storage from day one, they’ll take over every flat surface within a month.
– One overhead light for two very different tasks. Screen work and detail crafting need different lighting. Fix this early — it’s a cheap problem to solve and an annoying one to live with.
– Overstyling the surfaces. A room with two jobs doesn’t need extra decorative clutter fighting for counter space. Edit hard.
– Same chair for both zones. Office posture and craft-table posture aren’t the same. Your body will tell you this eventually — better to plan for it upfront.
Keeping It Looking Right Over Time
Stick to one base palette across both zones so the room reads as one space, not two rooms stapled together. I kept white, warm oak, and black consistent throughout — even the label maker tape is black on white.
Match your bins, labels, and hardware finishes. It sounds fussy, but mismatched storage is one of the fastest ways a functional room starts to look like a garage.
Reassess every few months. Craft supplies creep. I do a quarterly pass where I dump out every bin, get rid of dried-up paint and scraps too small to use, and re-sort. Skip this and the room slides back into chaos by month four, guaranteed.
For seasonal refreshes, don’t touch the layout — just swap small things. A different throw pillow on the craft stool, a new print in the frame above the desk, fresh stems in a vase. Takes twenty minutes and keeps the room feeling current without any real cost.
If you want a more polished, less “workshop” feel, lean into brass lighting, framed art, and closed cabinetry. If you’d rather it feel like an active maker’s space, go the other way — open shelving, visible tools, baskets everywhere. Both are valid. Mine sits somewhere in the middle, and that’s exactly why it’s the first room in my house that finally works the way I actually use it.
For another angle on this, my office craft room combo guide covers the same space from a different starting point.





