
The Look: Modern Functional, Not Decorative-First
This isn’t a decor style you build around throw pillows and vases. It’s modern, minimal, and tech-forward — the kind of home office where the screens are the visual hero and everything else just supports them. Think matte black arms, a warm wood or white desktop, maybe a wall in soft gray or warm white behind it. No visual noise competing with two glowing rectangles you’re staring at for eight hours a day.
It’s built for remote workers, hybrid employees, coders, spreadsheet people, students, anyone who wants a primary work screen and a second one for reference. It works in a dedicated home office, a bedroom corner, a guest room desk, even a living room nook — as long as the desk is deep enough and the room doesn’t feel like an afterthought.
Quick snapshot:
– Time: 1–3 hours for a basic functional setup; half a day if you’re adding monitor arms, a docking station, and cable concealment
– Cost: $250 on the low end if you already own monitors and just need arms and accessories, up to $1,200+ for a full build with two new monitors, dual arms, and desk storage. A basic docking station alone runs about $20–$40
– Desk size: 47–72 inches wide minimum, with enough depth to sit 50–70cm (roughly arm’s length) from the screens
– Skill level: Beginner for the basic hookup, intermediate once you start mounting arms and routing cables
– Season: Year-round — this isn’t a trend that rotates, it’s infrastructure
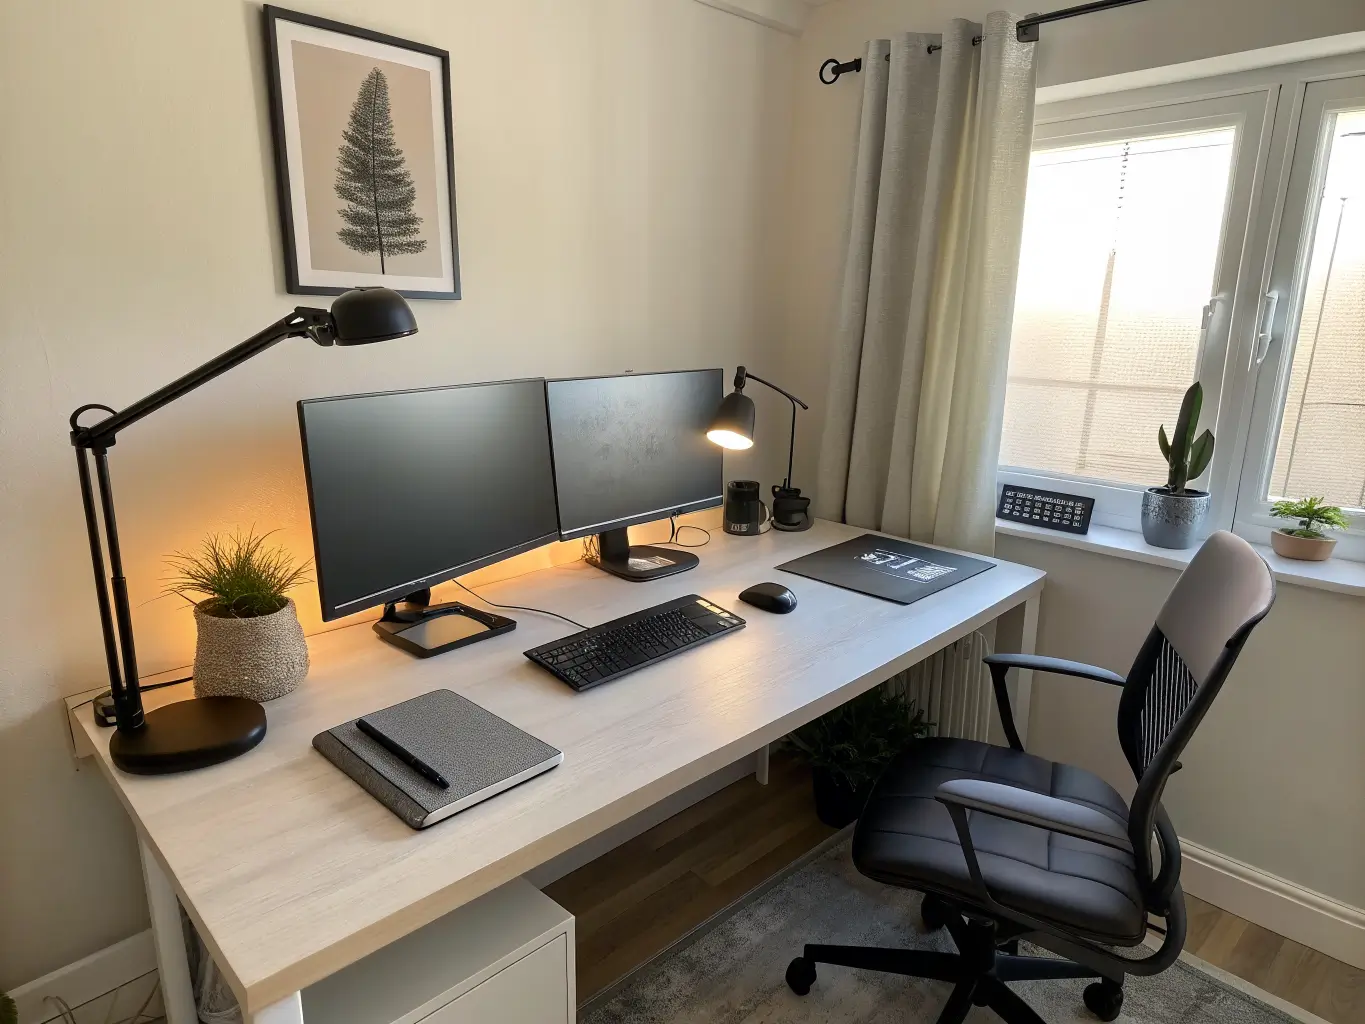
The Essential Pieces That Actually Make It Work
Two monitors, sized close to each other. They don’t need to be identical, but a 24-inch next to a 32-inch is going to look and feel lopsided. If you’re mixing sizes, the smaller one becomes your secondary screen.
A monitor arm — ideally a dual arm. This is the single upgrade that took my setup from “cluttered desk with wires everywhere” to something I wasn’t embarrassed to have on a video call. Arms free up desk space, make height-matching actually possible, and let you angle the second screen without wedging a stand under it. Budget $80–$200 for a decent dual arm; the cheap $40 ones flex and drift over time, which I learned after mine slowly sagged for six months before I replaced it.
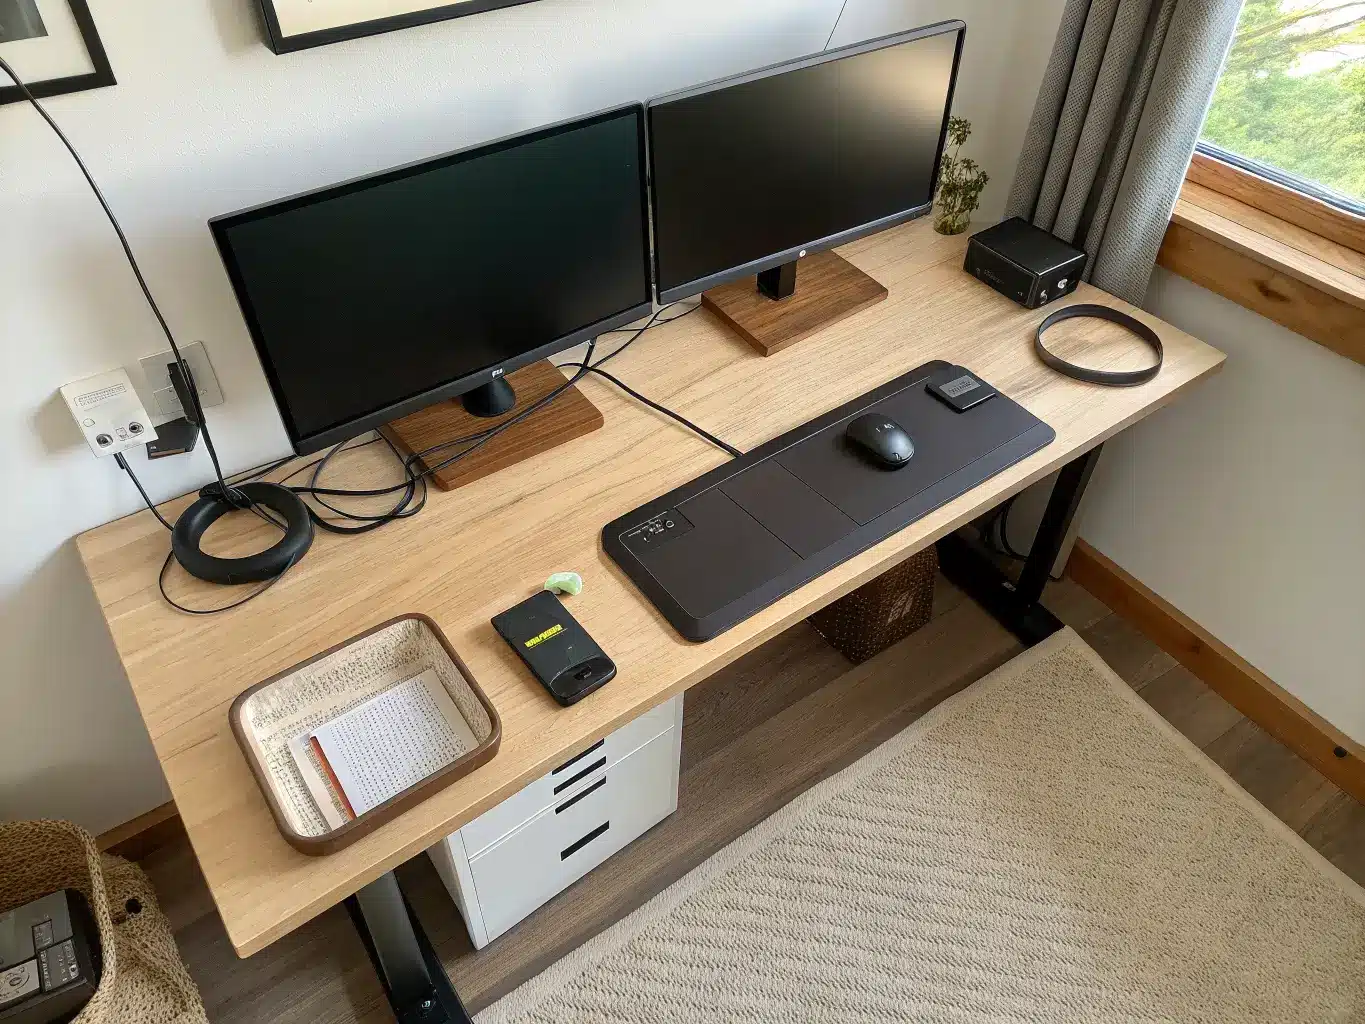
A desk that’s actually big enough. I tried to run this setup on a 40-inch desk once. The mouse had nowhere to go. You need room for both screens plus a keyboard and mouse centered to your primary monitor, not split down the middle between them.
Cable management: a tray, Velcro ties, or sleeves. Two monitors means double the cords. Nobody’s setup looks good with a rat’s nest hanging off the back edge.
A docking station or hub, especially if you’re running a laptop into two externals. One cable in, everything connects. Even a $20–$40 dock saves you from the daily plug-in ritual.
A desk mat. Felt, vegan leather, whatever — it visually anchors the whole setup and hides the fact that your cables aren’t perfectly invisible.
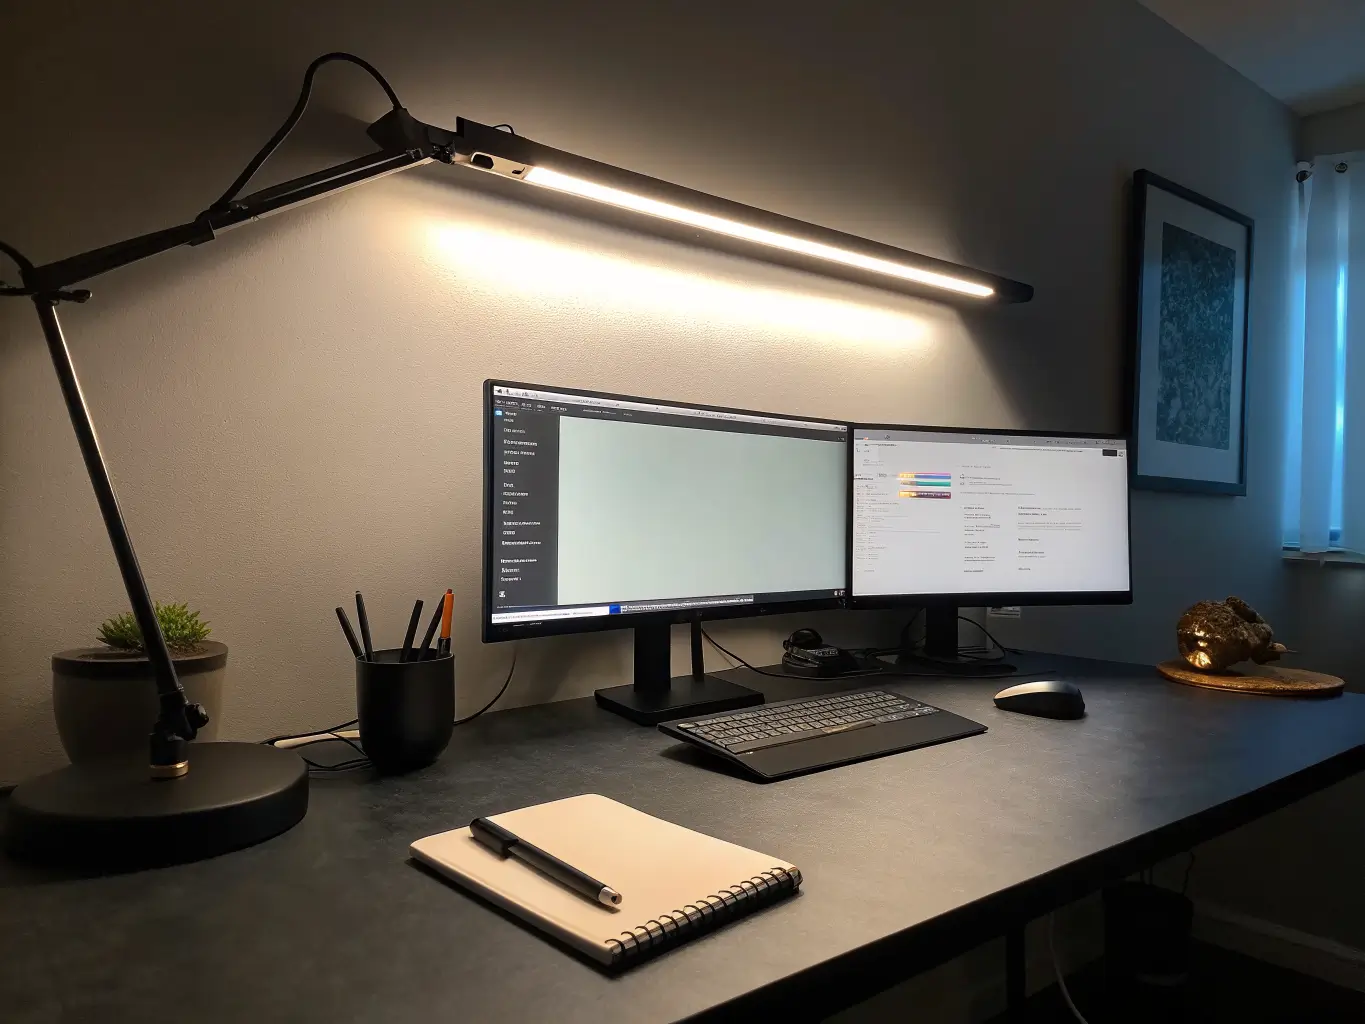
Task lighting. A slim LED bar or desk lamp balances out screen glare so you’re not lit entirely by monitor glow, which looks harsh on camera and feels worse by 4pm.
Minimal storage — a small drawer unit, a pen cup, one notebook holder. That’s it.
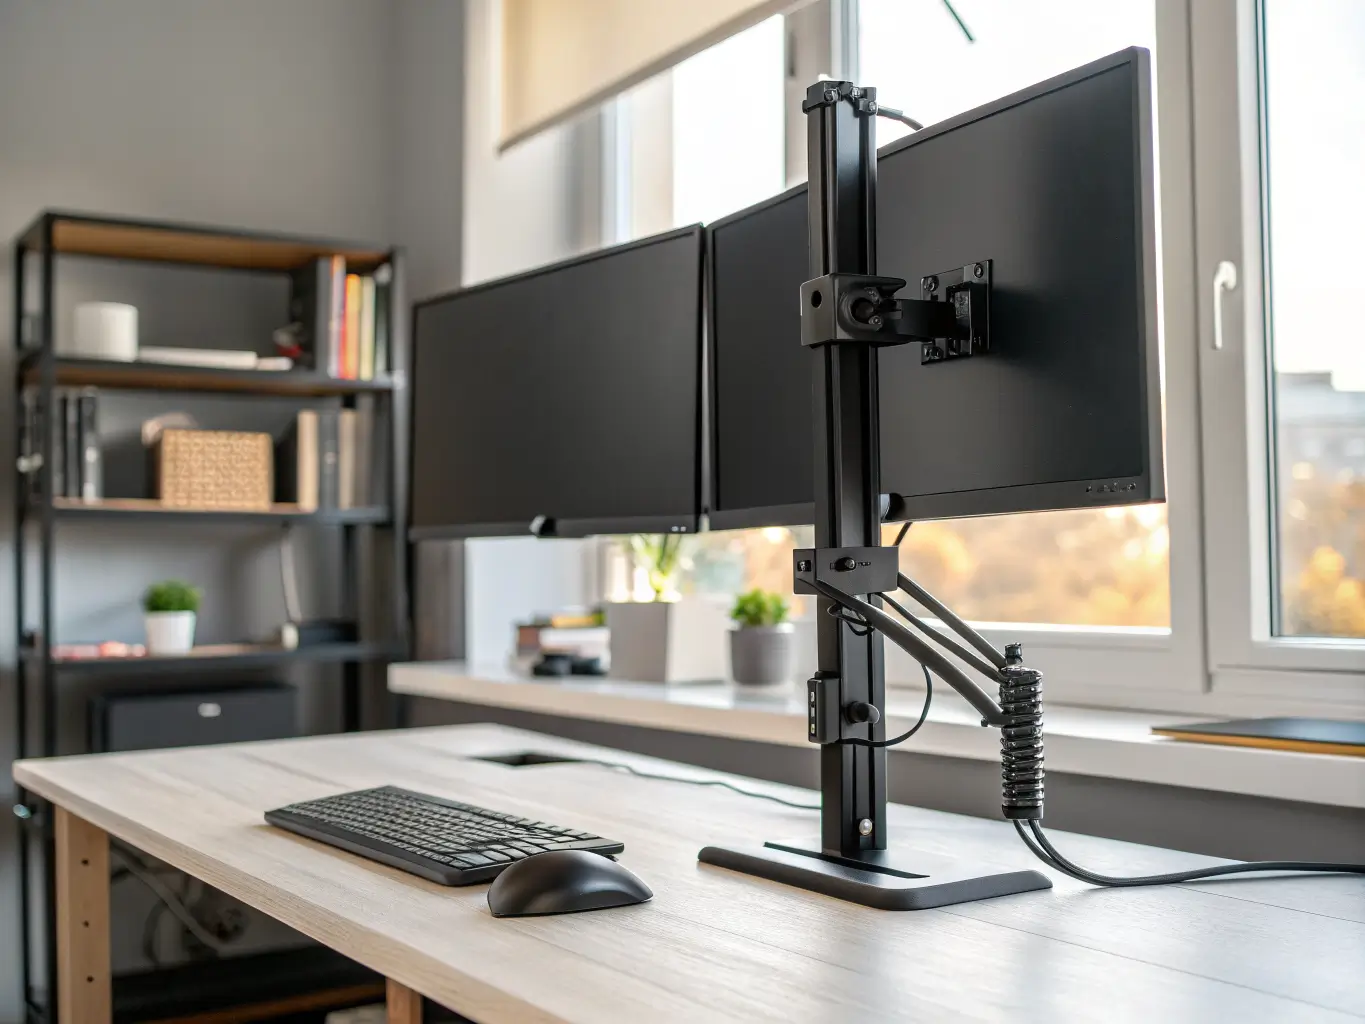
Optional Add-Ons Worth Considering
– A vertical laptop stand, if your laptop is now just a closed third screen you rarely touch
– A portrait-mode secondary monitor — genuinely great for writing, code, or long documents; I switched my second monitor to portrait for a few months and it changed how I read long PDFs
– A small plant or two — pothos, snake plant, ZZ plant, something that survives neglect, since desk plants get forgotten fast
– Brushed brass or matte black accents on lamp arms and pen holders to warm up an otherwise all-tech surface
– Seasonal swaps — a linen mouse pad and lighter desk mat in summer, something deeper-toned in fall
– Felt organizers or a fabric storage box to soften the sound and look of an otherwise hard, glossy desk
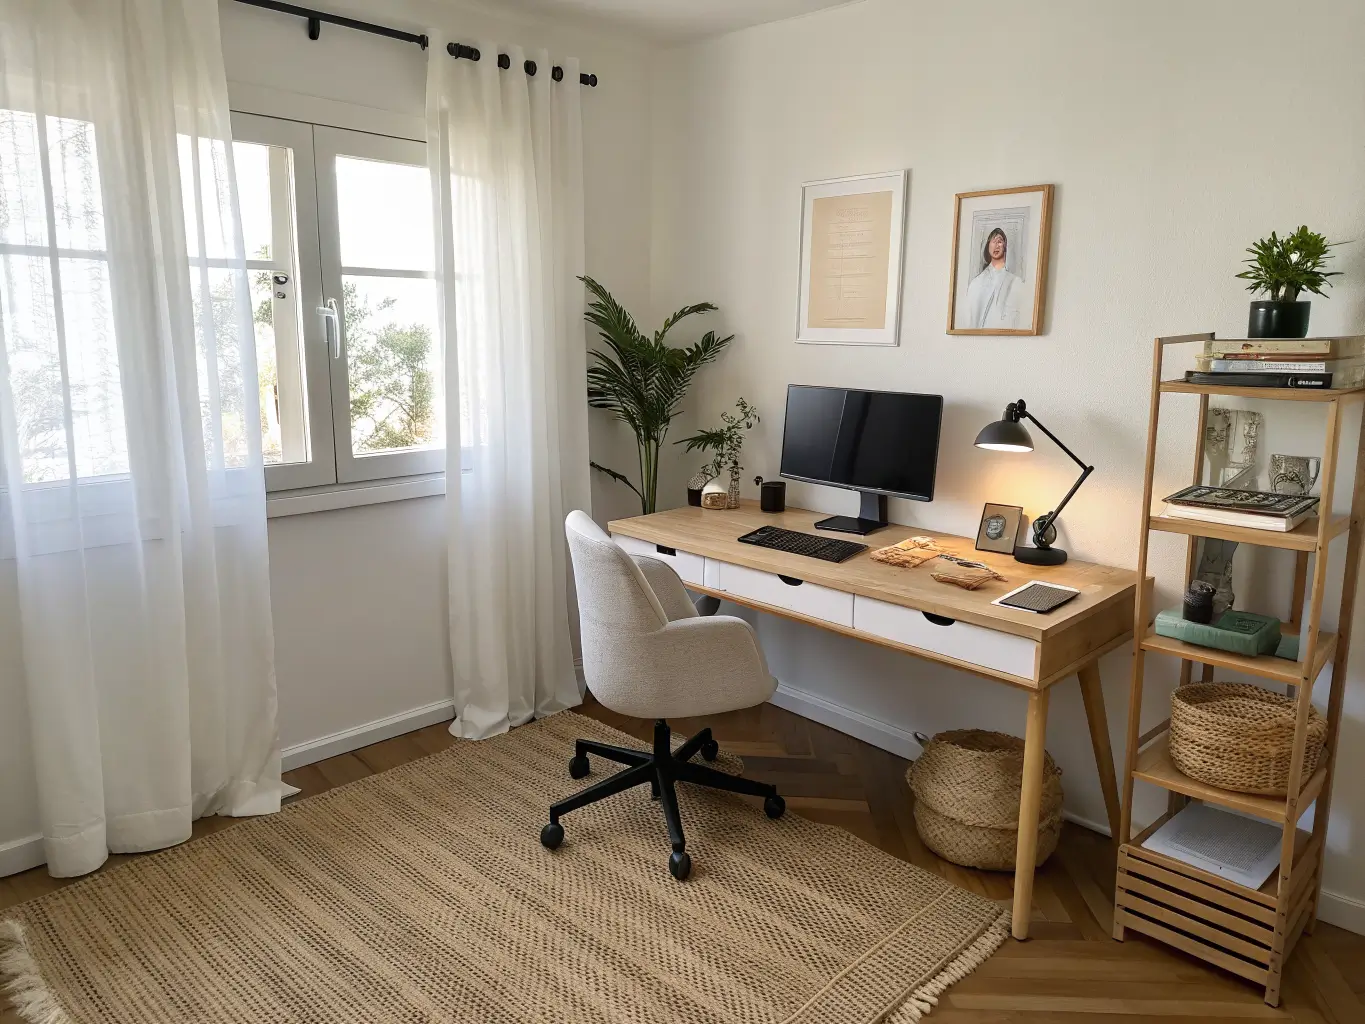
How to Actually Put This Together
Center your primary monitor, not the gap between the two. This is the mistake almost everyone makes first, including me. Your primary screen — the one you look at most — goes dead center in front of your chair. The secondary monitor sits adjacent, angled inward 15 to 30 degrees. If you center the gap instead, you’re twisting your neck toward the primary screen all day without realizing why you’re sore.
Match the top edges of both monitors, roughly at or just below eye level. Not the centers — the tops. This is what makes two different-sized monitors still look intentional instead of thrown together.
Pick one dominant finish and stick to it. Black arms, black accessories, white desk. Or white arms, oak desktop, beige accents. The fastest way to make a dual-monitor desk look like a tech-store display rack is mixing black arms with a silver lamp, a wood tray, and a neon mouse pad. Pick a lane.
Limit visible desktop items to 3–5. A lamp, a plant, a notebook, a pen cup. Done. The screens are the focal point — let them be.
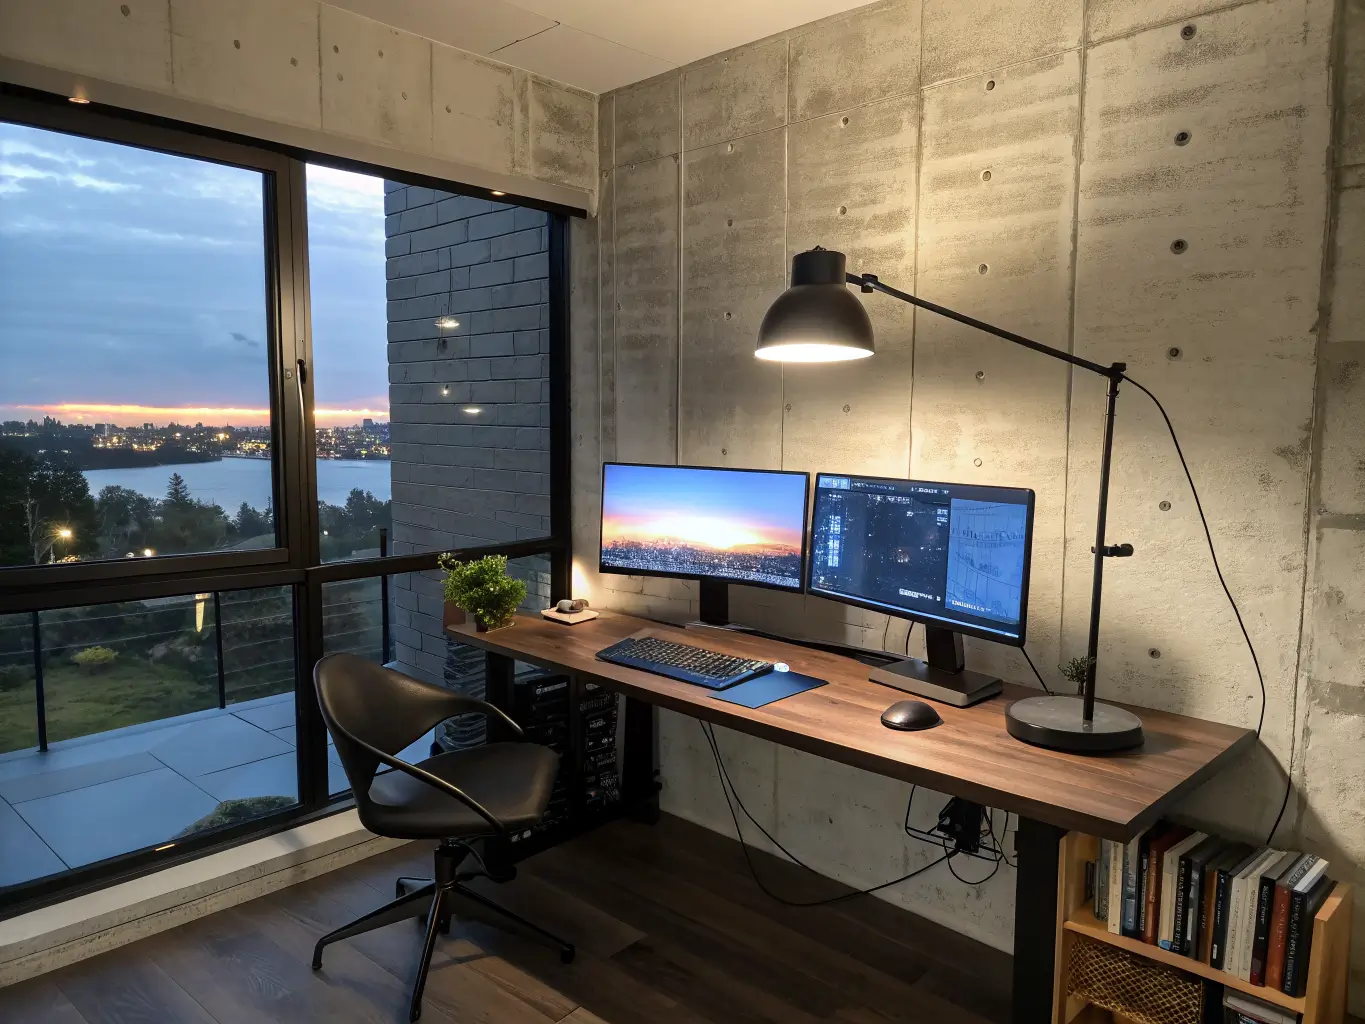
Setting It Up, Step by Step
1. Clear the desk completely and map out where everything goes before you mount a single thing.
2. Check your ports. HDMI, DisplayPort, USB-C — know what your computer supports before you buy cables or a dock.
3. Position the primary monitor directly ahead, secondary angled 15–30 degrees to the side.
4. Mount the arm before styling anything else. Cable routing and height adjustment are far easier with a clear desk.
5. Go into display settings and select “Extend these displays,” then drag the on-screen arrangement to match your physical layout — this part trips people up more than the hardware does.
6. Route cables first, decorate second. Hidden cables, then visible styling. Never the reverse, or you’ll be pulling everything apart again in a week (ask me how I know).
7. Add one or two accents last — a lamp on the outer edge, a small plant, nothing more — once the functional setup is comfortable.
Where People Go Wrong
– Centering the gap instead of the primary screen. Covered above, but it’s worth repeating because it’s the number one ergonomic mistake.
– Mismatched monitor heights. If your neck tilts up or down between screens, fix the height before you fix anything else.
– Overloading the desk with accessories. More than five items and it starts looking like a display shelf, not a workstation.
– Ignoring cables entirely. Dual monitors double your cord count. If you don’t manage it, it’s the first thing anyone notices.
– Buying a desk too small for the setup. No room for the mouse, no proper viewing distance, no chance the whole thing feels comfortable.
– Mixing finishes with no plan — black arms, white desk, silver lamp, wood tray, colorful mouse pad. Pick two, maybe three, materials and repeat them.
Keeping It Looking Good Long-Term
Stick to a two- or three-color palette — black/white/gray, white/oak/stone, charcoal/walnut/sand — and repeat at least one finish across two pieces, like the monitor arm and lamp base, or the desk mat and storage tray.
For budget upgrades, a cable tray or monitor arm delivers more visual improvement per dollar than buying a third monitor you don’t need. That’s where I’d spend first if I were starting over.
Seasonally, rotate small things: a plant, a warmer lamp bulb in fall, a lighter desk mat in spring. You don’t need to overhaul a functional setup every few months — you need to adjust the edges.
If you want to branch the style:
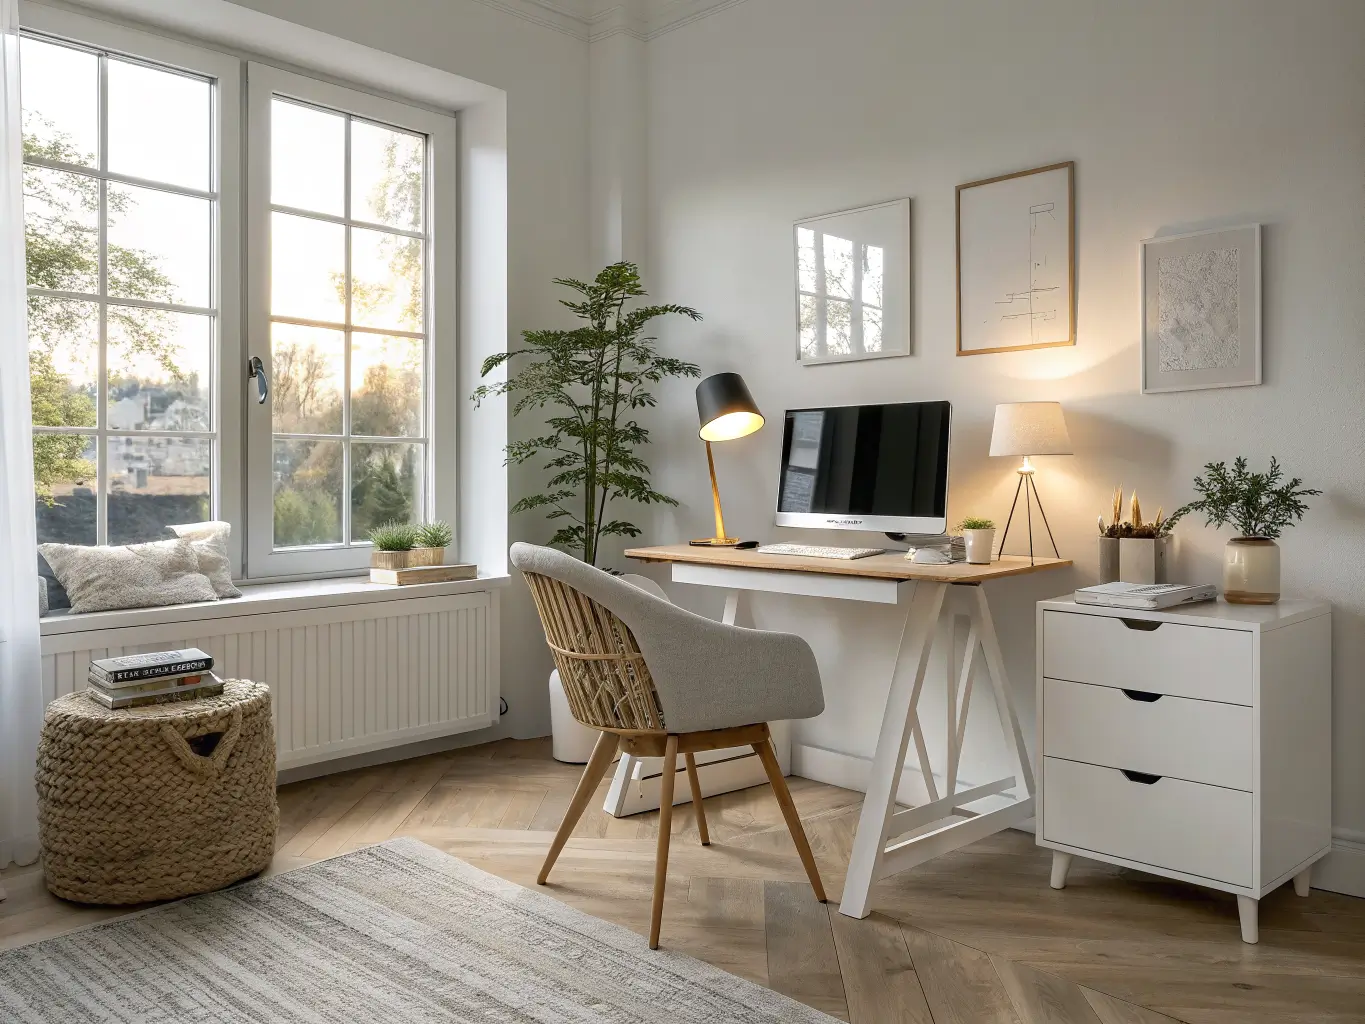
– Modern Scandi: white walls, light oak desk, black arms, neutral accessories
– Industrial minimal: black metal, gray tones, visible-but-tidy cable tray, dark wood or concrete accents
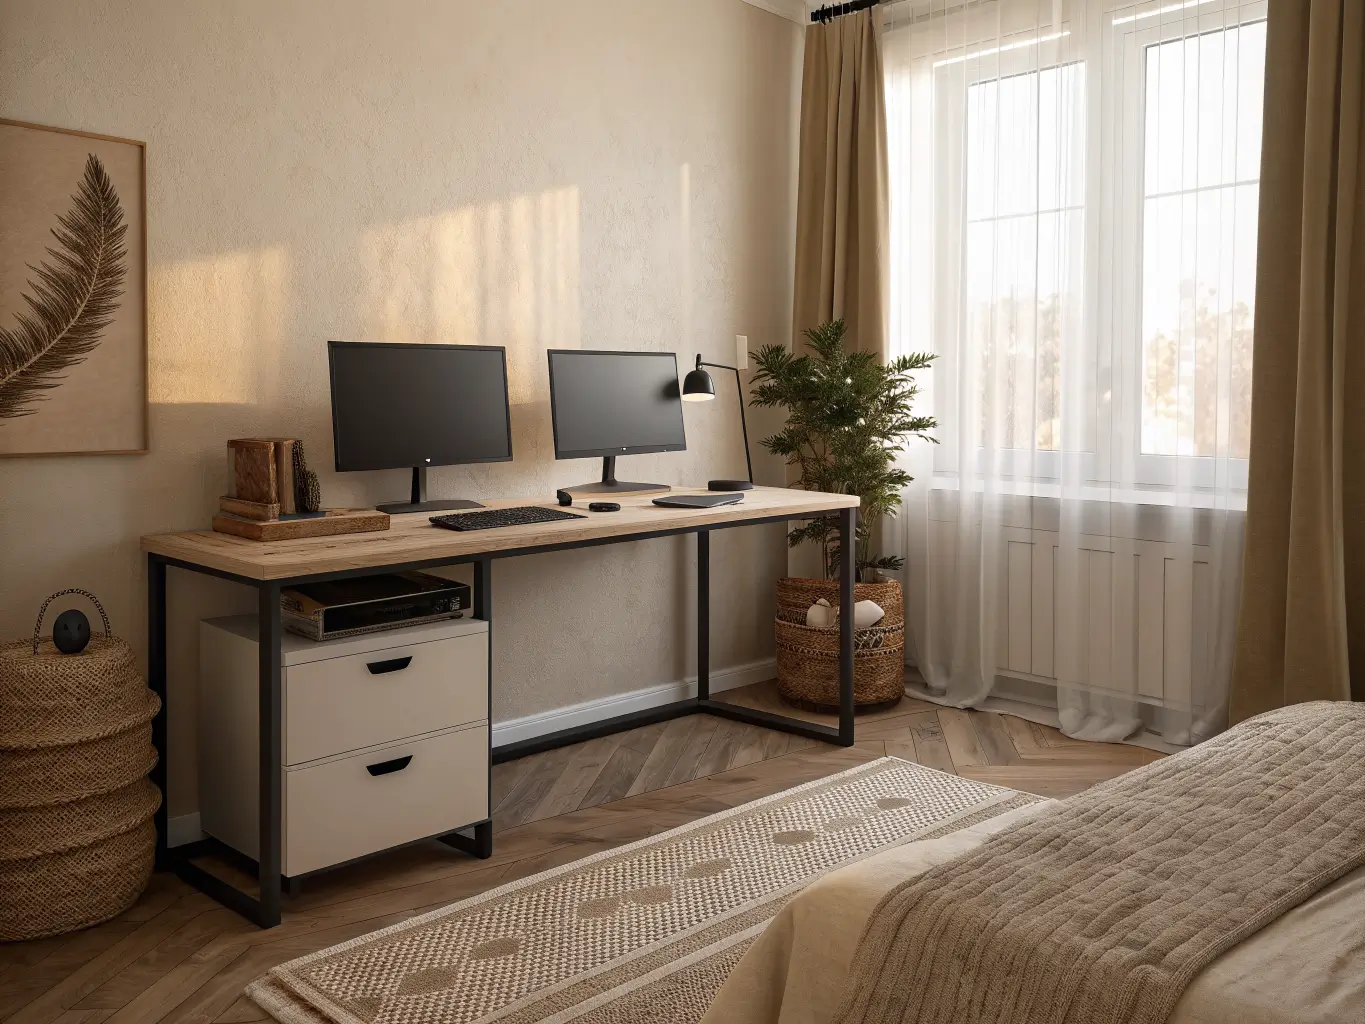
– Soft neutral tech: beige desk mat, warm white lamp, pale wood, matte black screens
And if the desk starts feeling cluttered again — it will, desks accumulate junk — remove one item before you add another. The dual-monitor setups that actually look good years later aren’t the ones with the most stuff. They’re the ones where someone kept saying no.
For another angle on this, my standing desk home office guide covers the same space from a different starting point.





