
I spent two years working at a desk that looked fine in photos and made my wrists ache by 11 a.m. before I finally admitted the problem wasn’t my posture — it was the desk. If you’re googling “standing desk home office”, you’re probably past the ergonomics research phase and stuck on the real question: how do I make this thing look like part of a room I actually want to sit in, instead of a beige cubicle I dragged home?
I’ve rebuilt my home office three times now. Once with a $180 single-motor desk that groaned like a dying appliance every time it moved. Once with too much stuff on the desktop because I thought “styled” meant “full.” What I landed on — a dual-motor frame, a walnut top, and a stupidly simple accessory list — is the version I’m giving you here.
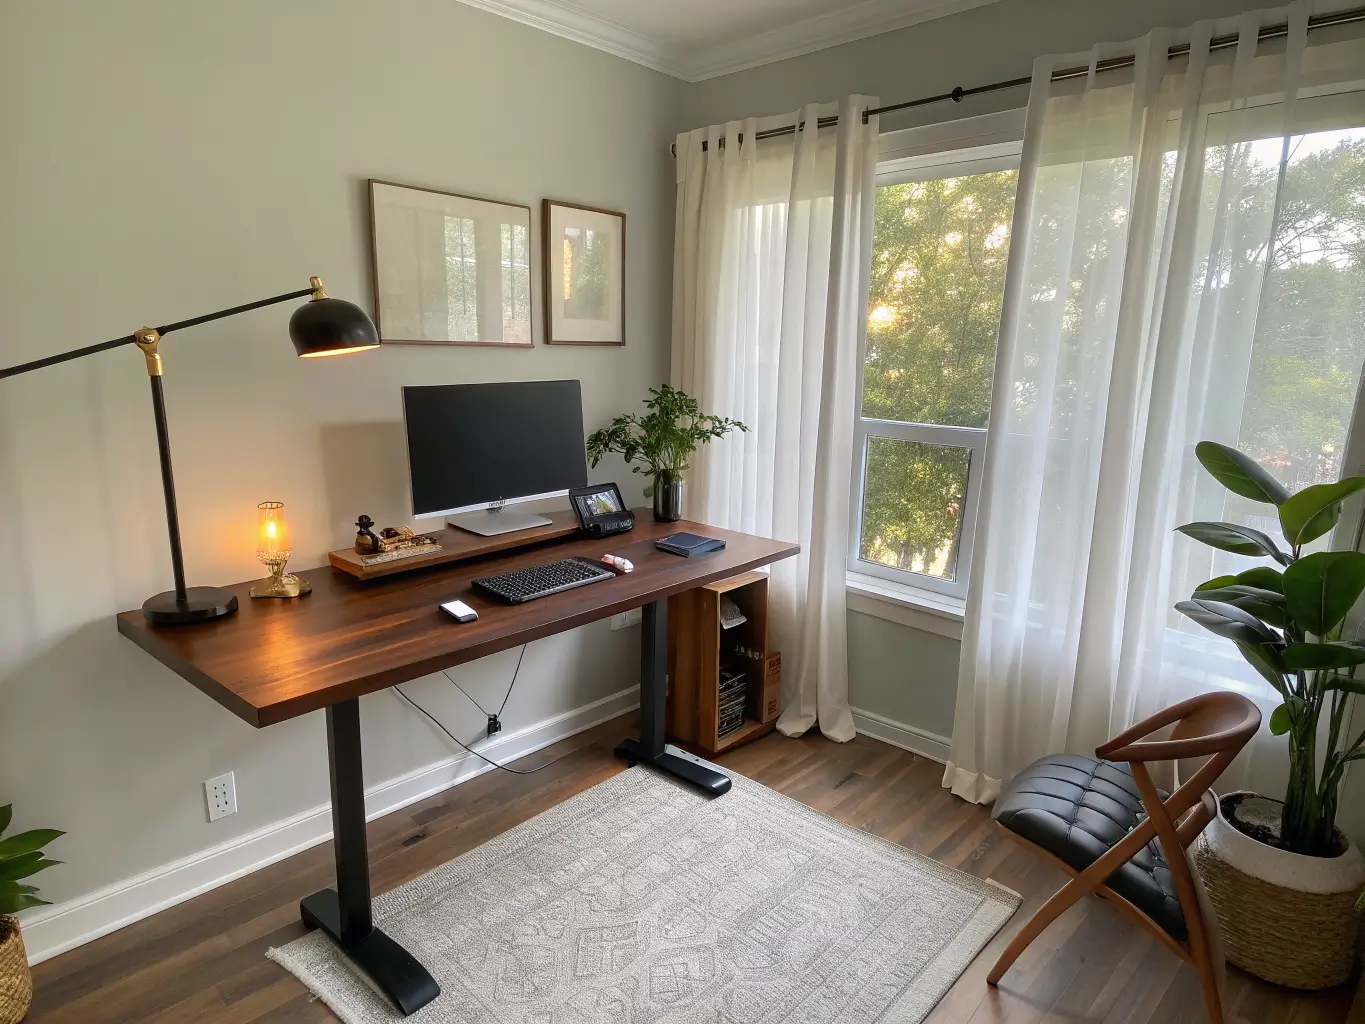
Quick Style Snapshot: What to Expect Before You Start
Time: Swapping in a new desk and doing basic styling takes 1 to 3 hours. If you’re adding a monitor arm, routing cables properly, and dialing in ergonomics, budget half a day. I did mine over a Saturday morning with coffee and it never felt rushed.
Cost: Here’s how the money actually breaks down:
– $100–$300 — basic electric desks, single motor, no frills
– $400–$700 — the real sweet spot for a home office: solid dual-motor frame plus a monitor arm, cable tray, and anti-fatigue mat
– $1,000–$2,000+ — premium builds with better materials, quieter motors, memory presets
– Some designer/luxury listings hit $4,000, which is a lot of desk
I spent $549 total on mine — $429 for the desk, the rest on a monitor arm and a leather desk pad. That’s the number I’d tell a friend to aim for.
Space: A 48 x 24 inch desktop handles one monitor comfortably. If you’re running dual monitors, go 55 to 60 inches wide — anything smaller and you’ll feel cramped by month two. Laptop-only people can get away with as little as 32 x 19 inches. Whatever size you pick, leave clearance around the frame’s legs so it doesn’t wobble and so cables have somewhere to go when the desk moves.
Skill level: Buying a ready-made electric desk and styling it is beginner-friendly. If you want to DIY a butcher-block top onto a separate lifting base, that’s an intermediate-to-expert project — I tried this once, under-measured the base plate, and had to return a $90 top. Measure twice.
Seasonality: None, really. This is a year-round setup because the appeal is function and clean lines, not a look tied to a season.
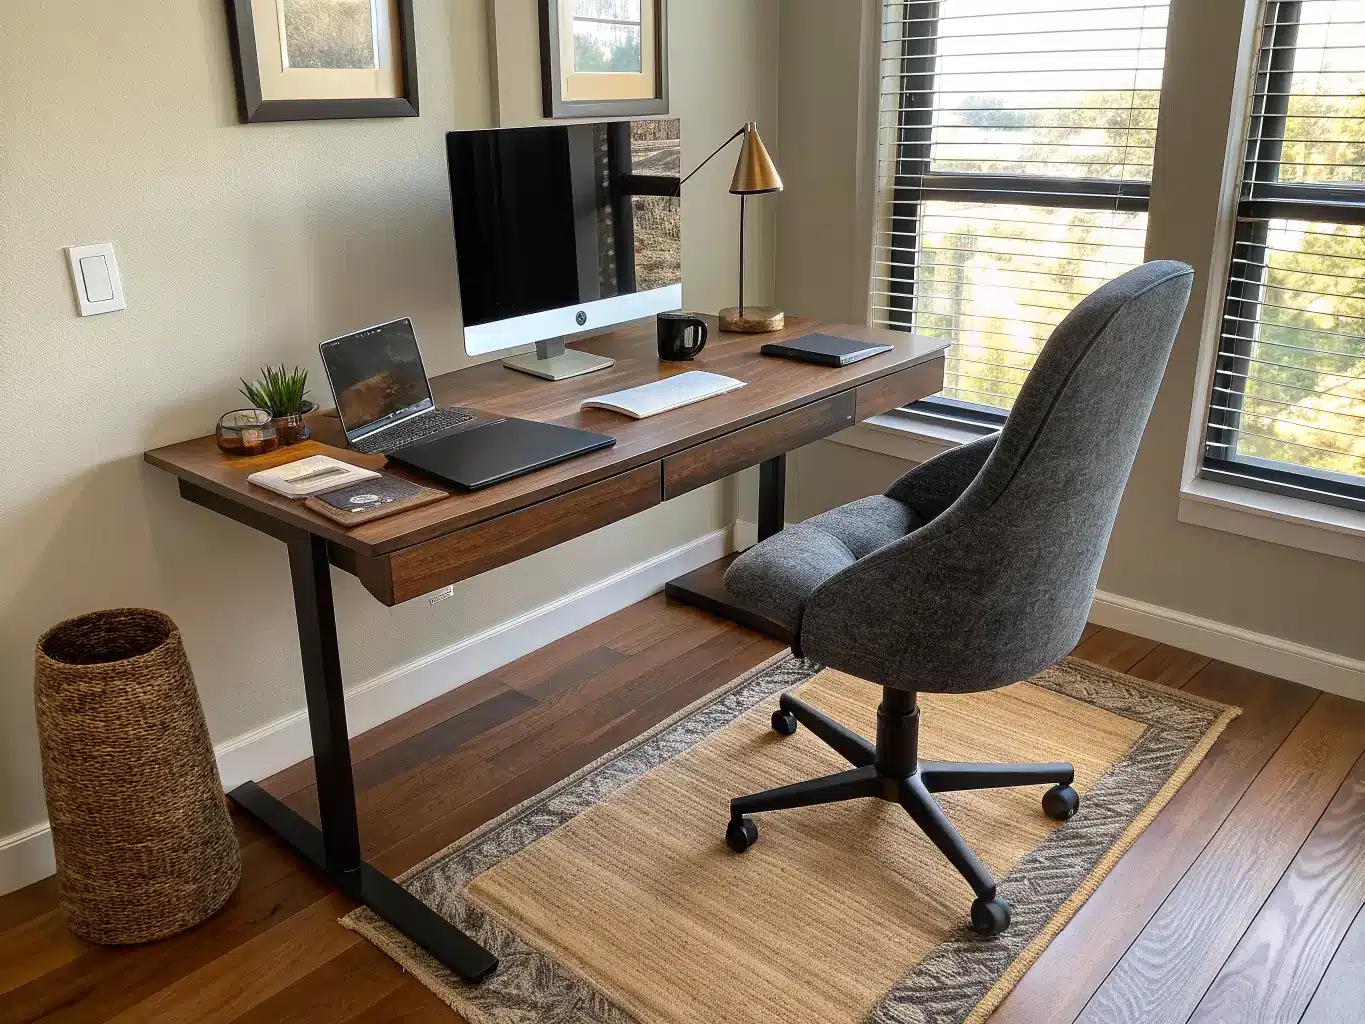
The Design Identity: Modern Ergonomic, Not Corporate
The style that works here is modern ergonomic — clean lines, tech-forward, minimal clutter. Think less “executive office” and more “the desk in a well-shot productivity app ad,” but achievable.
Colors and materials that read as current:
– Black steel frames (still the most common, ages well)
– White frames for brighter rooms
– Natural wood, walnut, or bamboo tops
– Butcher block for warmth
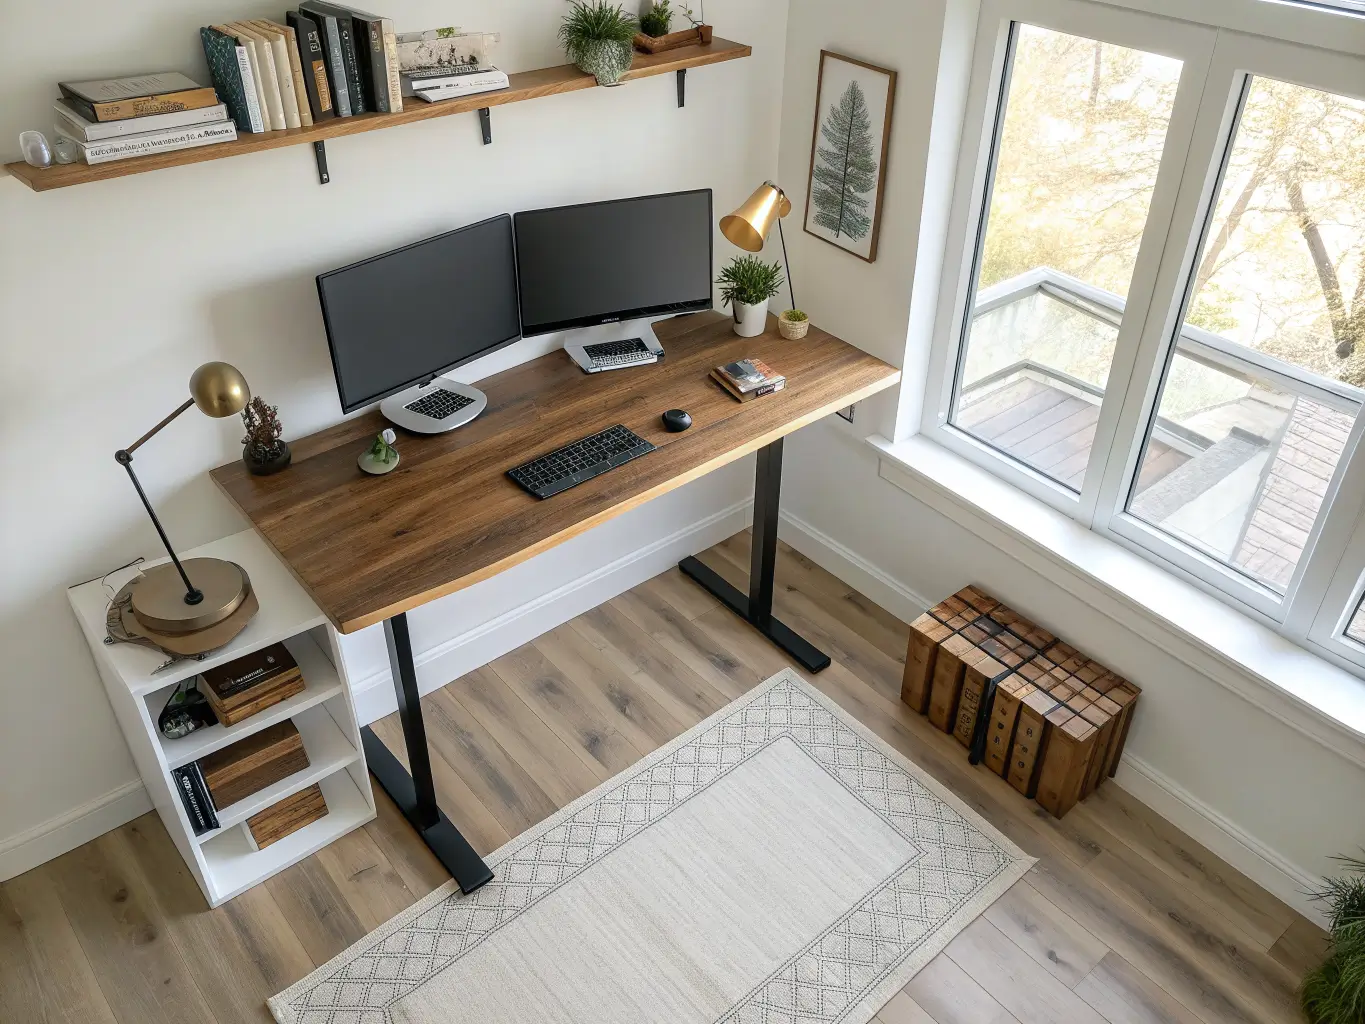
I went black frame with a walnut top. The wood softens what would otherwise be an all-metal, all-plastic setup, and it’s the single choice that got the most “wait, where’d you get that desk” comments.
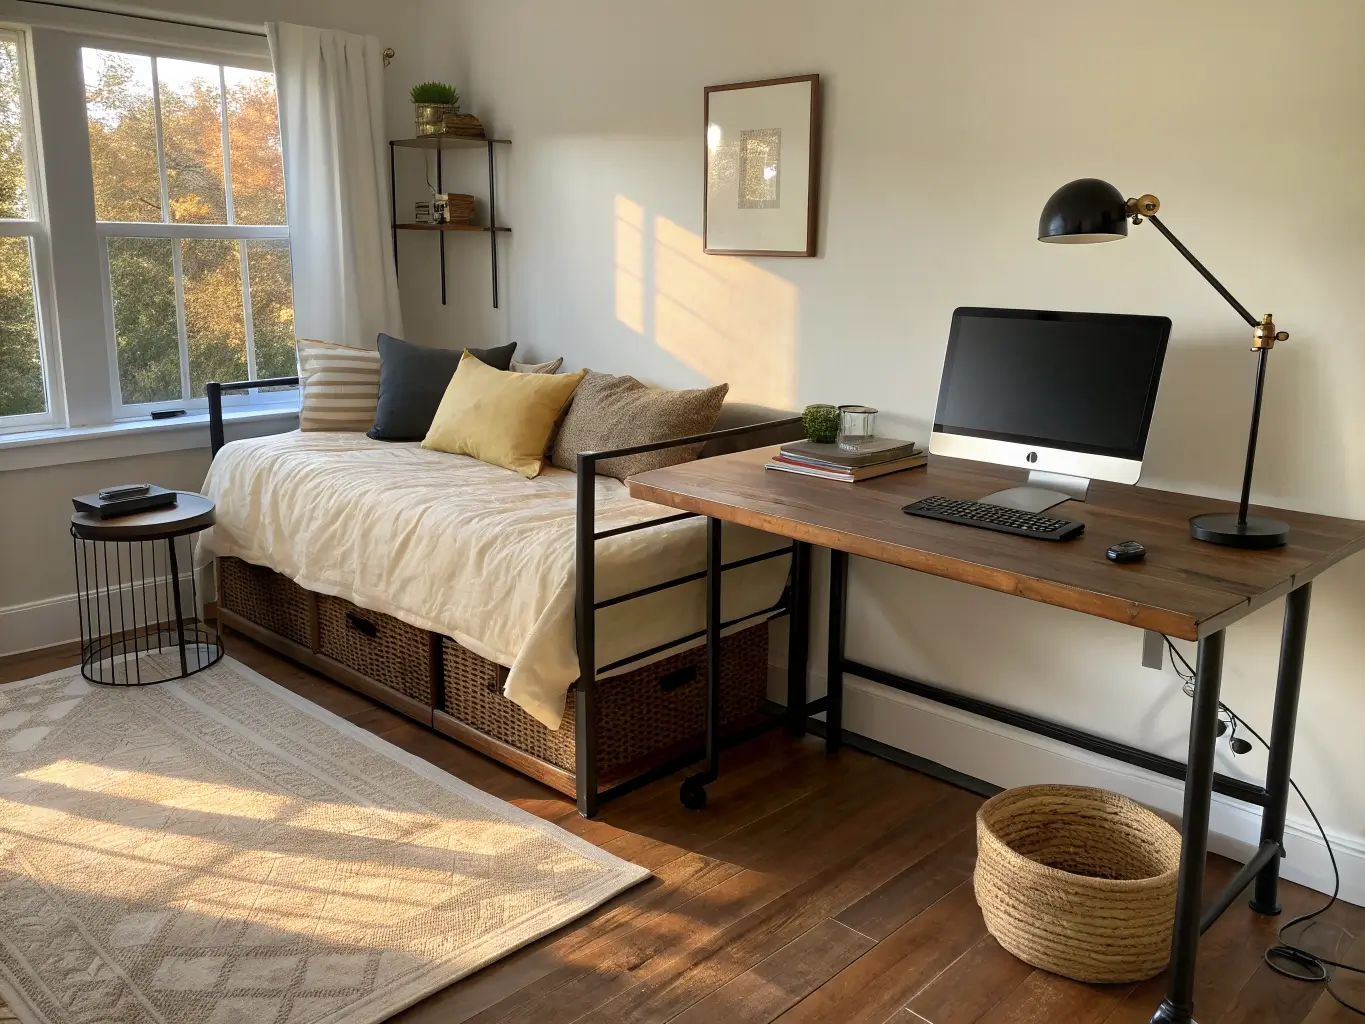
Who this is for: remote workers, hybrid employees, gamers, students, anyone logging real screen hours. Where it works: home offices obviously, but also bedroom corners, small apartment nooks, and shared workspaces — I’ve set up a version of this in a 9-foot-square guest room with no issues.
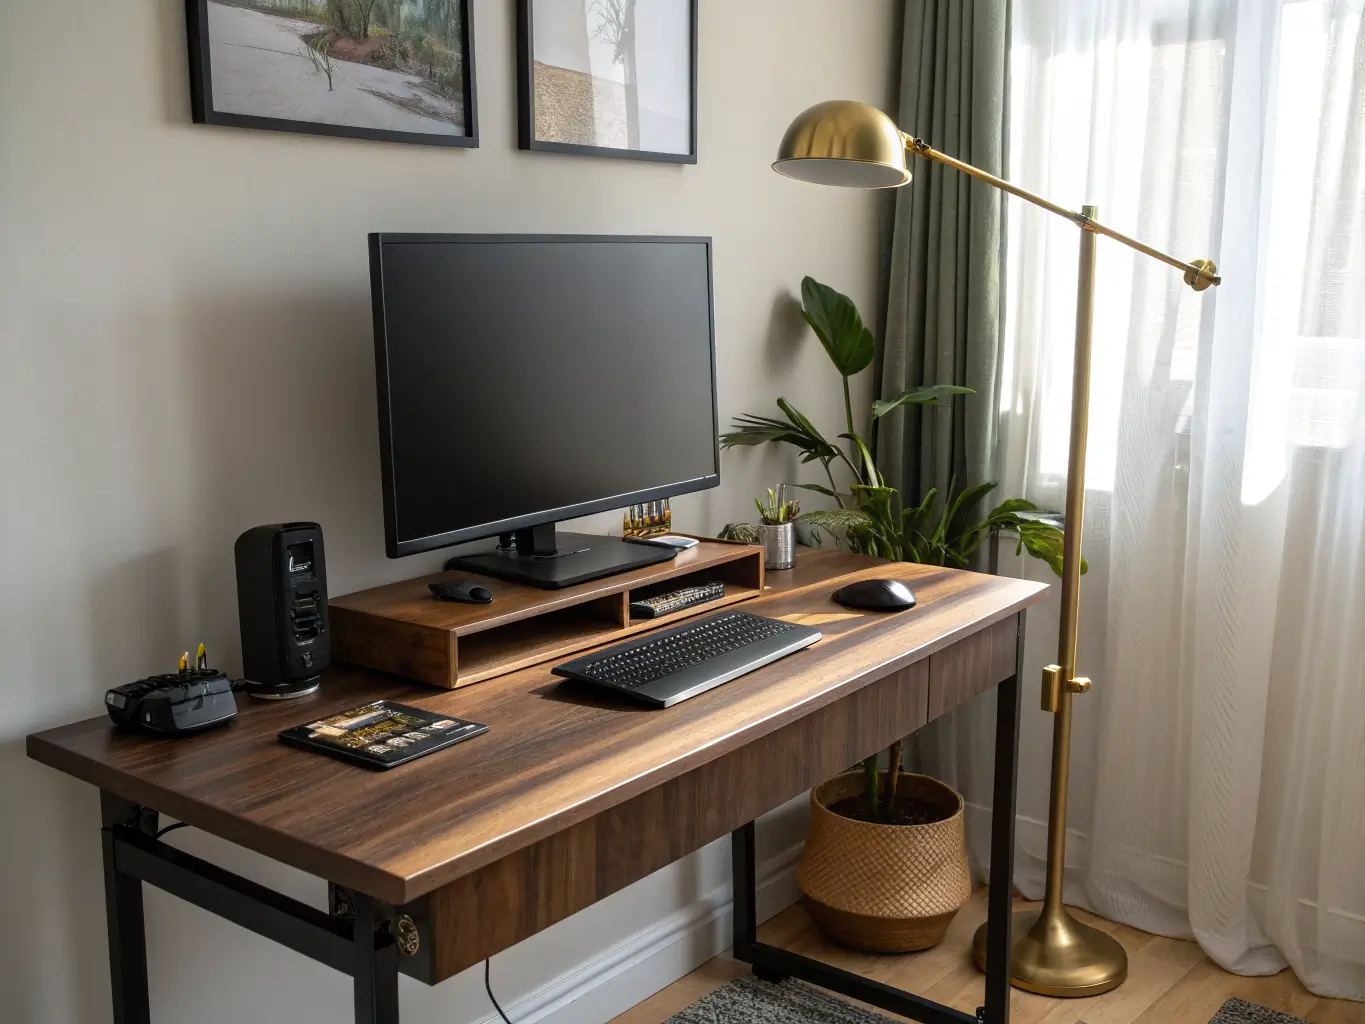
The Must-Have Pieces (Don’t Skip These)
– Electric standing desk frame + desktop. Dual-motor over single-motor, every time — quieter, steadier, faster to adjust. Sizes to know: 48×24, 54×26, 55×28 inches.
– A monitor arm. This is the one thing people skip and regret. Your monitor’s ideal height (top of screen at or slightly below eye level) has nothing to do with your desk’s ideal height. Without an arm, you’re compromising one or the other constantly.
– A supportive office chair. A standing desk doesn’t mean you stand all day — it means you alternate. The chair still matters.
– A desk mat or leather pad. Protects the surface, but also visually anchors your keyboard/mouse zone so the desktop doesn’t look like a flat, undefined slab.
– Cable management tray or clips. Standing desks move. Cables need slack, or you’ll yank a monitor off its arm the first time you raise the desk (ask me how I know).
– An anti-fatigue mat. If you’re actually standing part of the day, your feet will thank you within the first week.
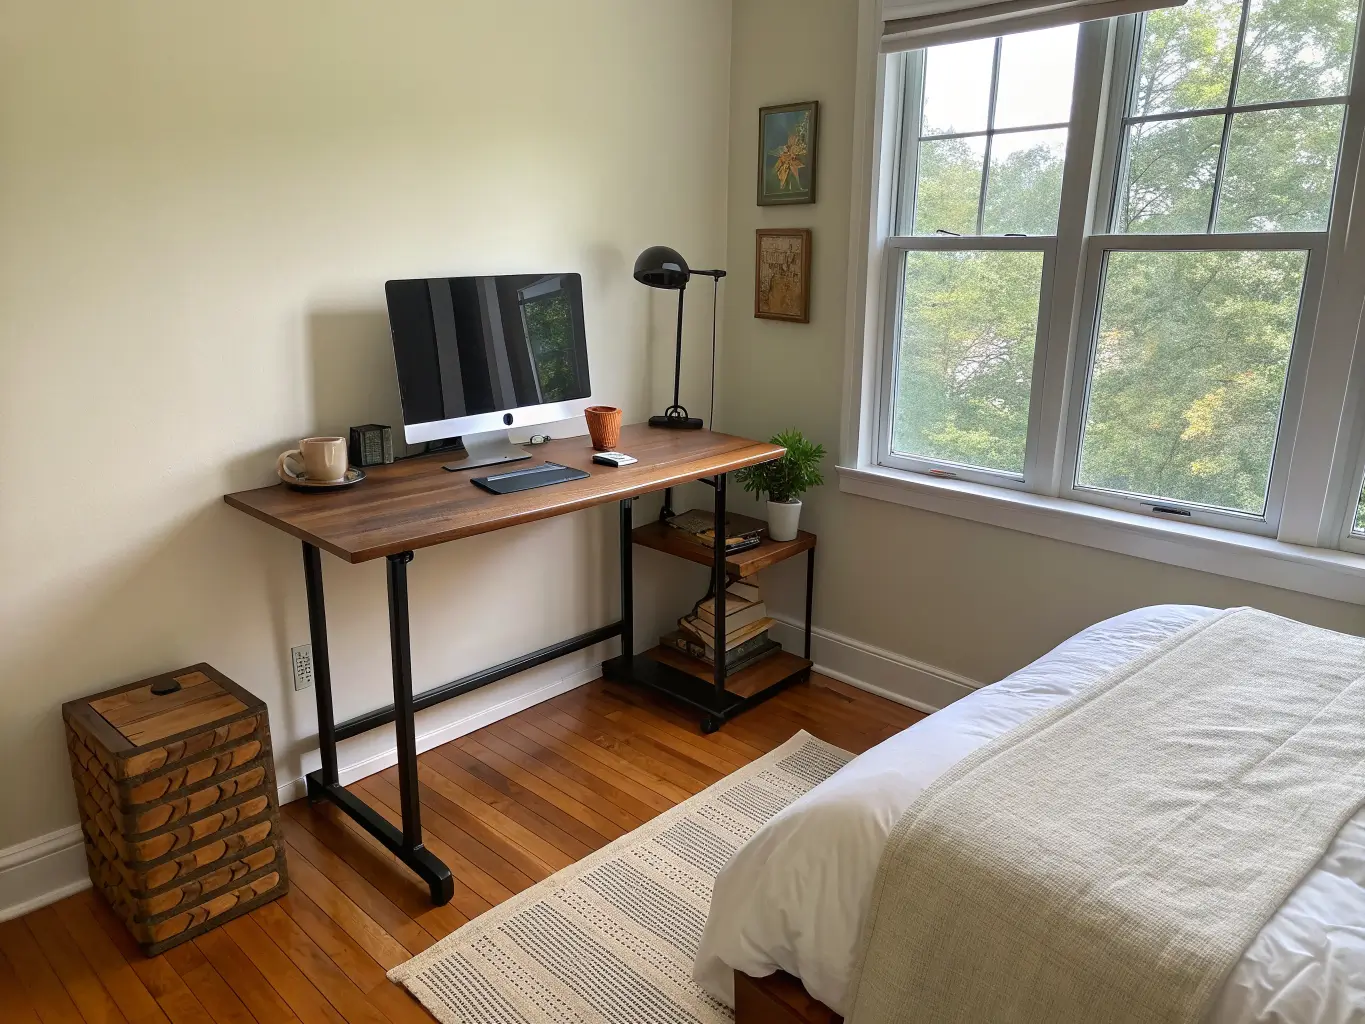
Optional Extras Worth Considering
– A small shelf or riser for layering, especially on wider desktops
– One plant or a few dried stems — something organic to offset all the metal and glass
– Brass, brushed nickel, or matte black accessories that pick up your frame’s finish
– A slim LED task lamp with an adjustable arm
– One or two neutral bins or a small tray for loose stuff, so it’s contained instead of scattered
How to Actually Put It Together
Keep the palette to three materials, max. Black metal, walnut wood, and one metal accent (brass or nickel) is plenty. Every extra material you introduce is one more thing that has to “match,” and that’s how desks end up looking assembled instead of designed.
Size your styling to your desk. A 48-inch single-monitor desk wants one lamp and one or two small objects — that’s it. A 55-to-60-inch desk can support dual monitors plus a proper tray or small printer zone without feeling packed.
Balance vertically, not just side to side. Center your monitor, put a lamp or plant on the opposite side of your keyboard zone, and let the monitor arm do the work of keeping the desktop itself clear.
Think in three zones:
1. Work zone — keyboard, mouse, monitor directly in your sightline
2. Cable zone — tucked under or behind, out of view
3. Decor zone — the small cluster of personal objects that makes it feel like your desk and not a showroom floor
Cap your desktop objects at 3 to 5. Lamp, plant, tray, notebook, one personal item. I once had a desk with two plants, a mug, a candle, a coaster, a phone stand, and a photo frame — it looked like a garage sale table, and I could never find my phone.
Setup Steps That Actually Matter
1. Measure your space before buying anything. Account for the desk’s full height range and how close it sits to walls or shelving when raised.
2. Confirm the height range fits you. Most electric desks accommodate users from about 3’11” to 6’8″, but cheaper models have a narrower range — check this before you buy, not after it arrives.
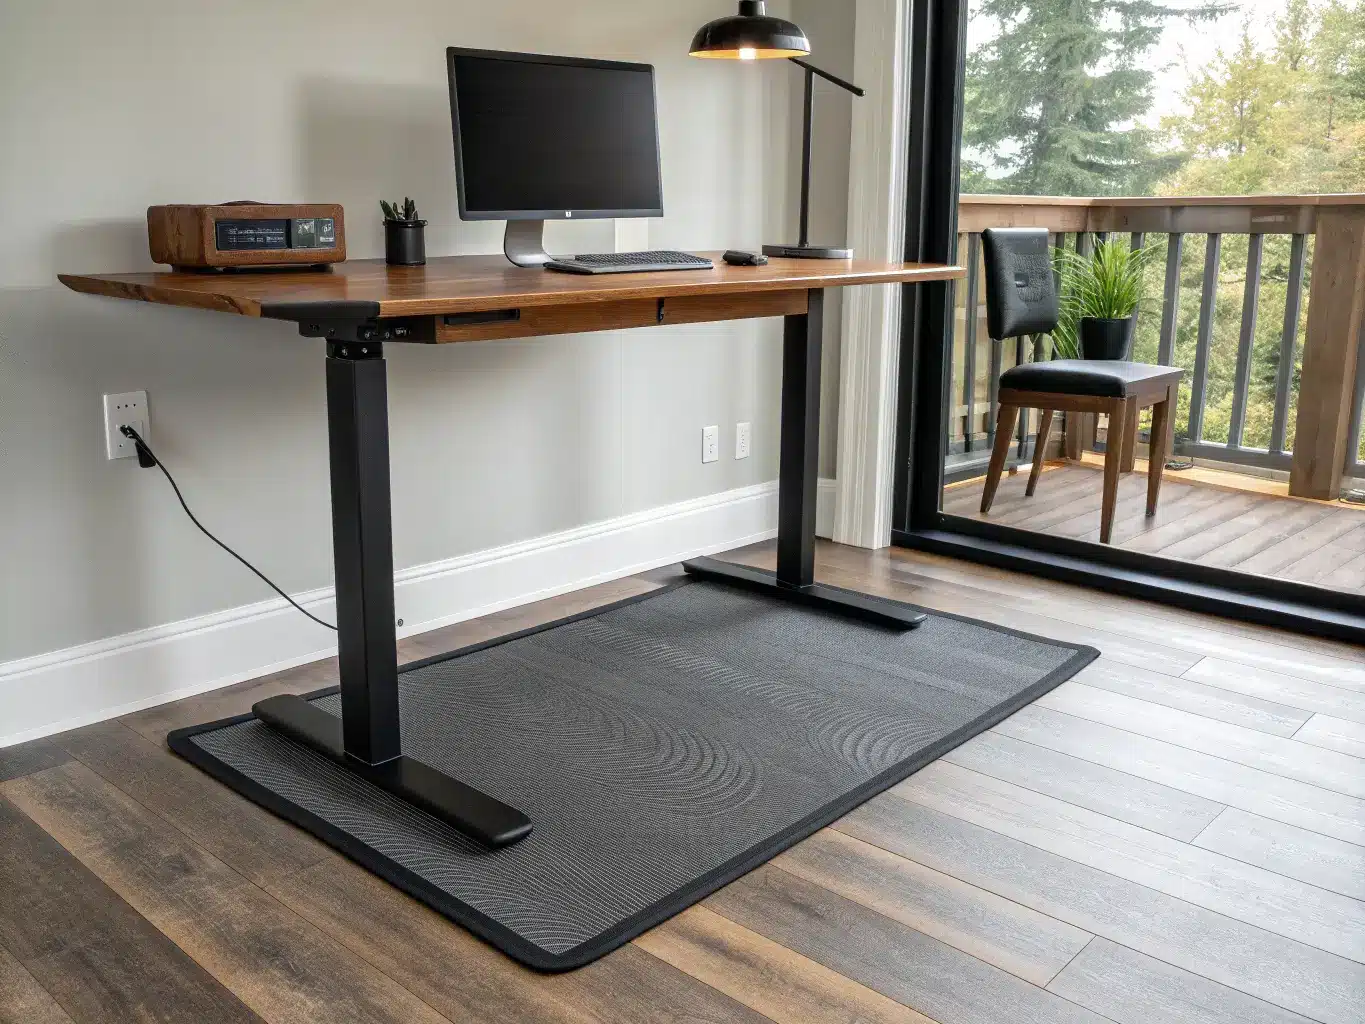
3. Plan your power source first. You need an outlet within reach and enough cable slack for the desk to travel its full range without pulling anything taut.
4. Decide your monitor setup before choosing desk width. Single monitor, dual monitor, or laptop-only — this determines whether you need 48 inches or 55-plus.
5. Set monitor height so the top of the screen sits at or just below eye level.
6. Position keyboard and mouse so your elbows stay near a 90-degree angle, both sitting and standing.
7. Install the monitor arm, then route cables through a tray or clip system so nothing snags when the desk moves.
Mistakes I’ve Made So You Don’t Have To
– Standing all day because I felt like I “should.” Your legs will hate you. Alternate — that’s the entire point of a sit-stand desk, not standing marathon sessions.
– Setting desk height without fixing monitor height first. I did this for months and blamed my chair for the neck pain. It was the screen.
– Skipping the monitor arm to save $60. Cost me more in ibuprofen than the arm would’ve cost outright.
– Overcrowding the desktop. Past 5 objects, a desk starts looking unstable even if it’s structurally fine. Visual clutter reads as chaos whether or not the surface is actually cluttered.
– Ignoring weight limits. Dual monitors, an arm, a lamp, and accessories can add up to 30–50 lbs on top of the desk’s own weight. Most solid electric desks handle 200–300 lbs, some go to 350+, but check before you stack gear on a budget frame.
Keeping It Looking Good Long-Term
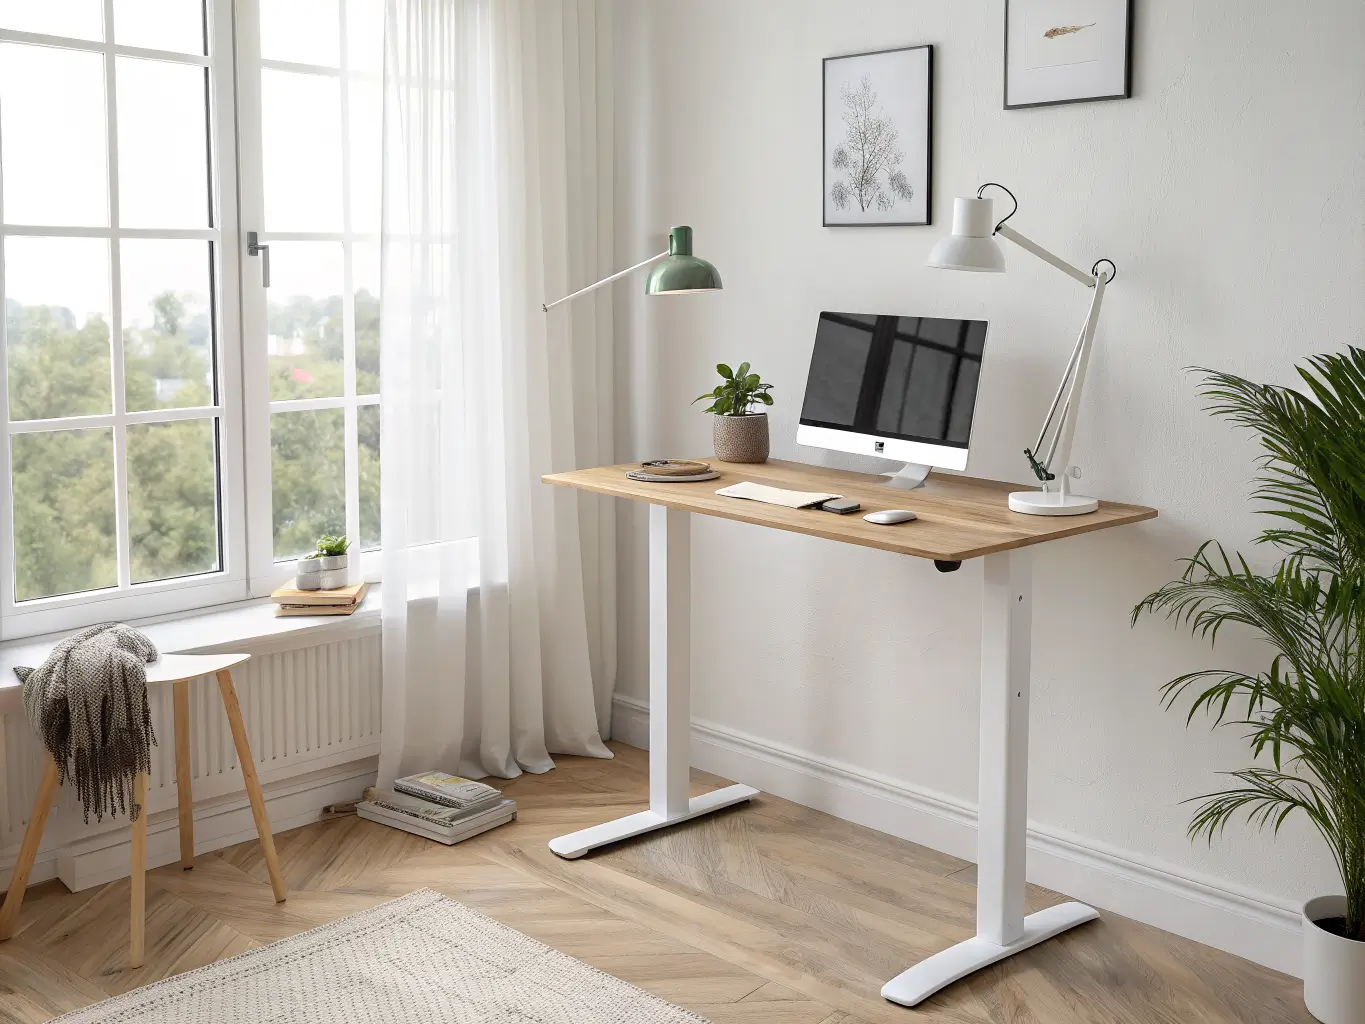
Stick to one tone family and don’t wander from it: warm wood plus black metal, or white plus light oak, or walnut plus matte black. Pick one and every future purchase gets measured against it.
Once a month, actually clear the desktop down to nothing and only put back what you use weekly. I do this the first Sunday of the month — takes four minutes and stops the slow creep of receipts, chargers, and random Amazon boxes that somehow always end up there.
Repeat one or two materials across your smaller accessories — bamboo coaster, bamboo pen tray, matte black stapler — so the setup reads as chosen rather than accumulated.
Seasonal swaps that don’t require touching the desk itself:
– Spring/summer: a small green plant, lighter desk accessories
– Fall/winter: a ceramic mug, a candle, something with more visual weight
The desk and frame stay neutral year-round. Only the small stuff moves.
Budget order of operations, if you’re building this up slowly: desk pad first, then cable tray, then monitor arm, then anti-fatigue mat — all before you consider upgrading to a pricier desk base. I’d rather see someone spend $300 on a decent frame and $200 on accessories than $500 on a frame with nothing to support it.
If you want to push the style further, standing desk + Japandi (bamboo, warm wood, very little on the surface) and standing desk + minimalist modern (white, light oak, sharp lines) are the two directions that photograph best and age slowest. Both work with the exact accessory list above — you’re just shifting the wood tone and how much white space you leave.
For another angle on this, my cozy home office guide covers the same space from a different starting point.





