
My craft room used to be a spare bedroom with a folding table, four plastic bins from Target, and supplies stacked so high I couldn’t find my rotary cutter for three weeks.
I know because I timed it, out of spite. That room taught me the hard way that a craft room aesthetic isn’t about pretty jars — it’s about building a system first and letting the pretty stuff sit on top of it. Here’s everything I’ve learned since, including the parts I got wrong.
What “Craft Room Aesthetic” Actually Means
The look people are chasing right now isn’t one single style. It’s a mashup: functional eclectic, where hard-working storage meets a decorative, personality-driven layer. You’ll see it borrow from modern minimalism, farmhouse, boho, vintage, industrial, and coastal — sometimes all in the same room.
What ties them together is the palette and materials, not a rigid style rulebook:
Base colors: soft white, warm beige, light gray, sage green, dusty pink, pale blue
Accent colors: teal, mustard, burnt orange, or a loud pink-and-orange wallpaper if you want drama
Materials: natural wood, butcher block, wicker, rattan, glass jars, metal shelving, pegboard, lucite, woven baskets
This aesthetic is for anyone whose hobby generates a lot of stuff — sewing, scrapbooking, painting, jewelry-making, crochet, mixed media, kids’ crafts. It works in a spare bedroom, a basement corner, a laundry-adjacent bonus room, or a repurposed closet. The only real requirement: one wall you can dedicate to storage, and one clear zone for actually working.
How Much Time and Money This Takes
Be honest with yourself about scope before you start pinning inspiration photos.
Weekend refresh: New bins, a shelf, some jars, maybe a lamp. Doable in two days.
Full zone-based setup: Storage systems, real task lighting, a wall treatment — this takes 1 to 3 weeks once you factor in assembly and installation, especially if anything needs to be mounted.
Built-in overhaul: Custom cabinetry, fitted shelving, specialty surfaces — this is a longer project and usually needs a contractor.
Budget-wise:
$200–$600: Thrifted table, bins from a discount store, DIY pegboard. This is where I started.
$700–$2,500: A proper work table or craft island, real shelving, pegboard, task lighting, matching organizers. This is the sweet spot for most people.
$3,000+: Built-in cabinetry, fitted storage, upgraded lighting, custom surfaces.
I spent about $900 rebuilding mine the second time, and almost all of it went to storage and lighting, not decor. That ratio matters more than people expect.
The Must-Have Pieces That Make the Room Work
Before you buy a single decorative object, get these right.
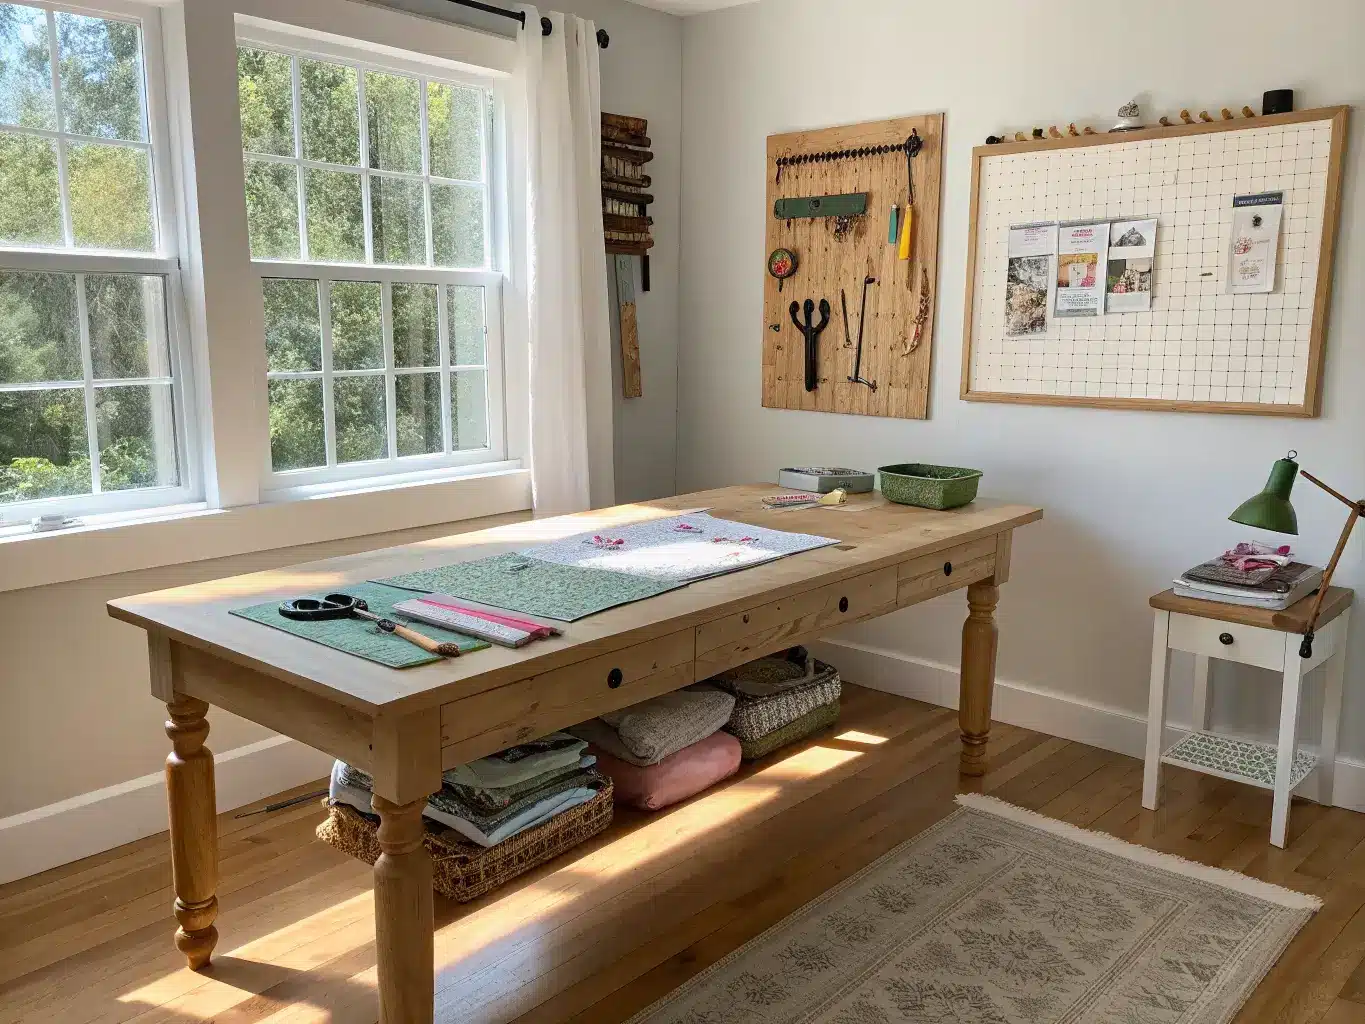
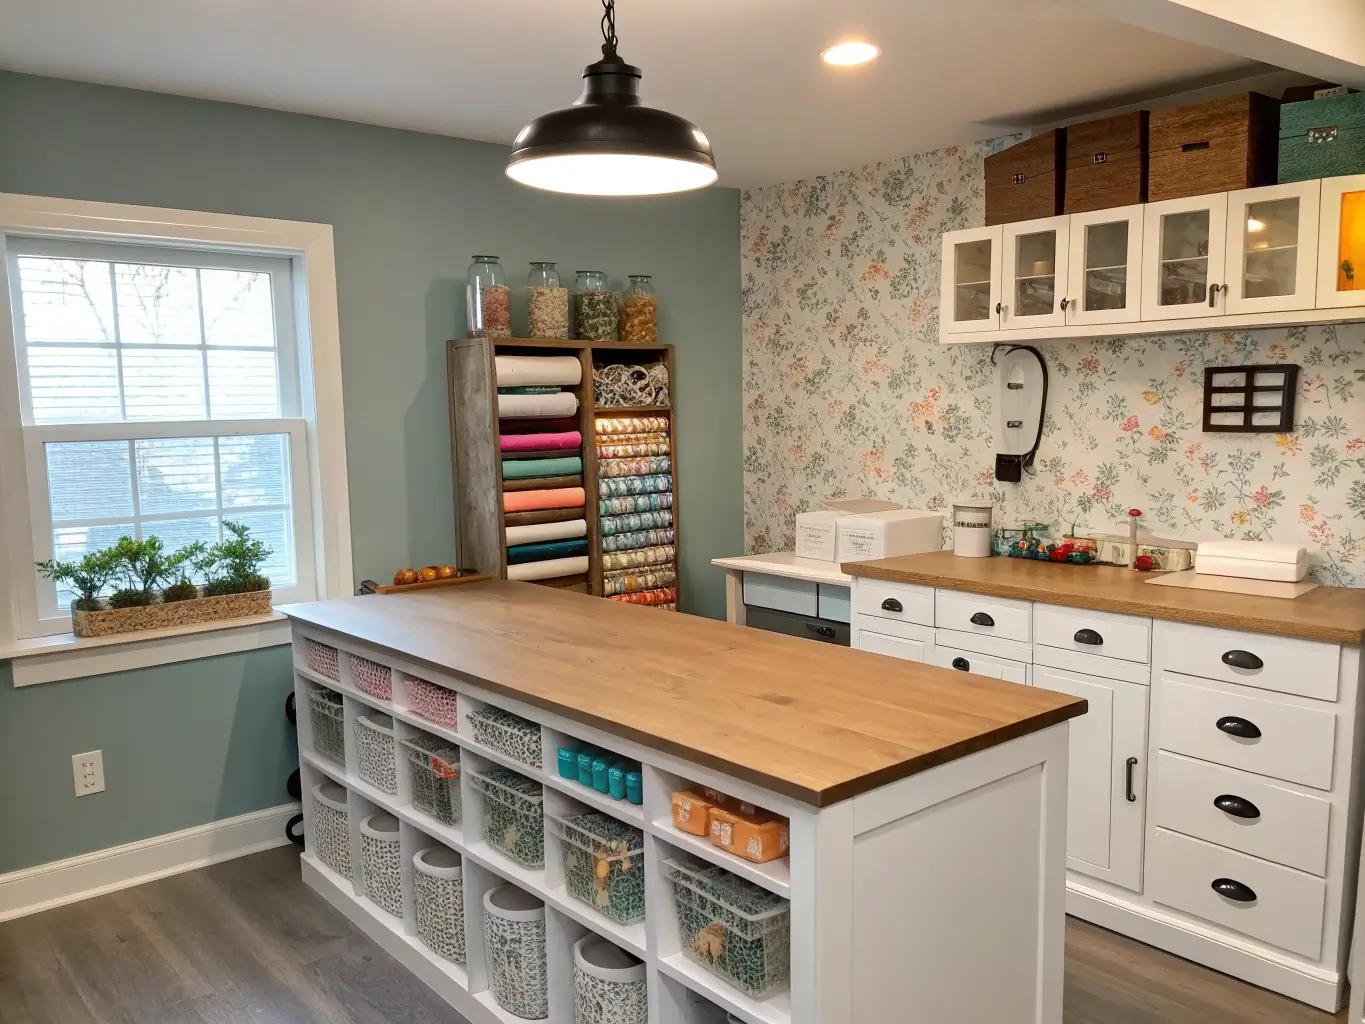
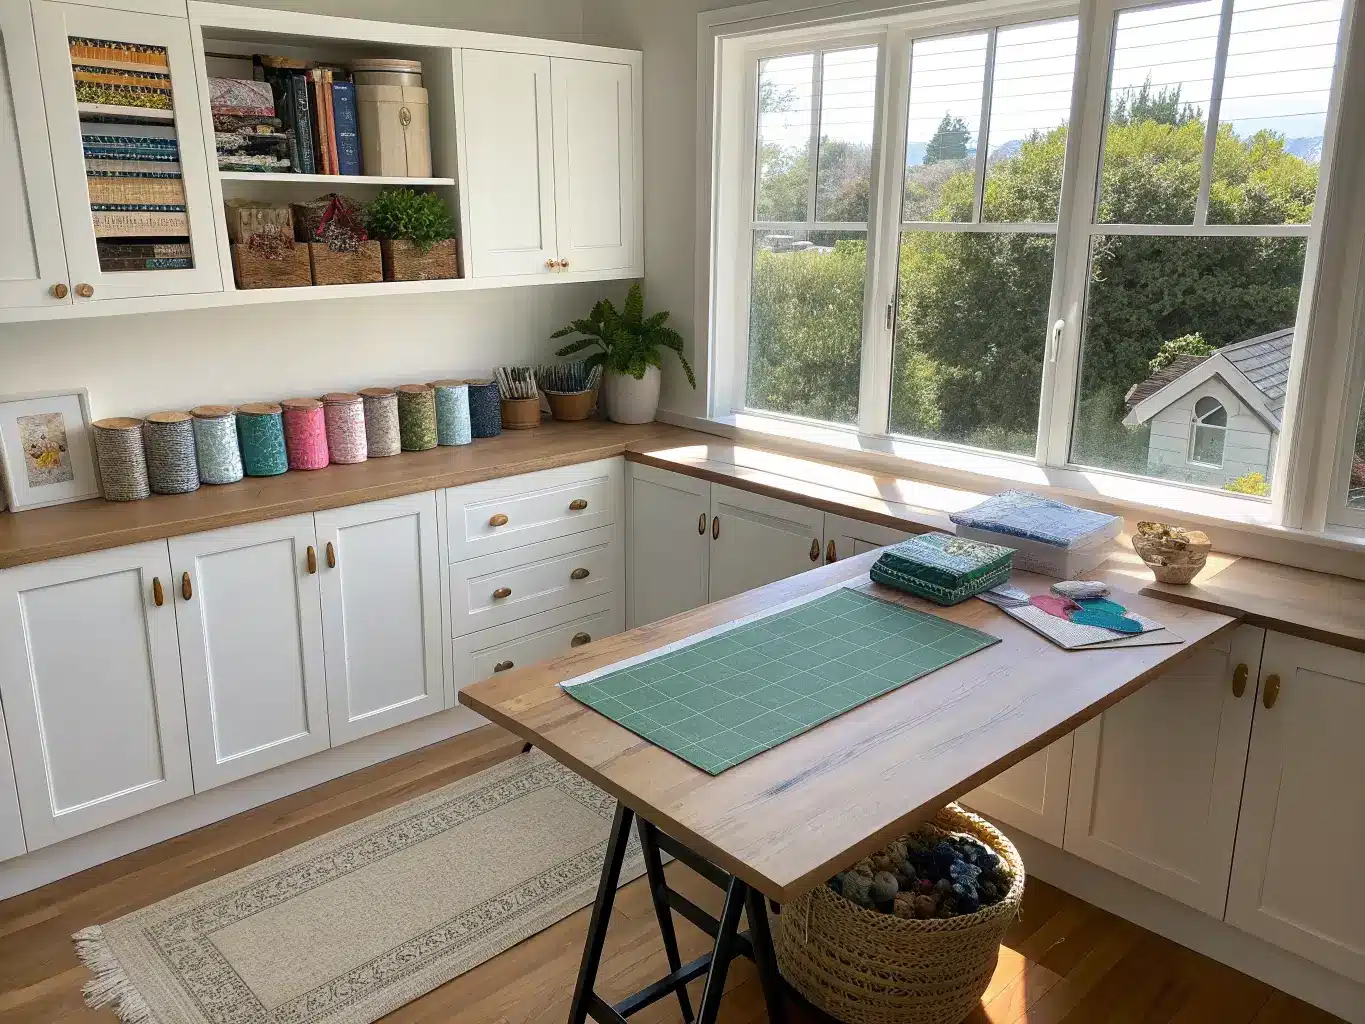
A large work table. Not a tiny desk. I made this mistake first — bought a 30-inch writing desk because it looked cute in a photo, and it fit exactly one cutting mat and nothing else. Get a table big enough to spread out an active project: at least 4 feet by 2 feet, more if you can fit it. Bonus points for drawers underneath or an island-style layout so you can walk around it.
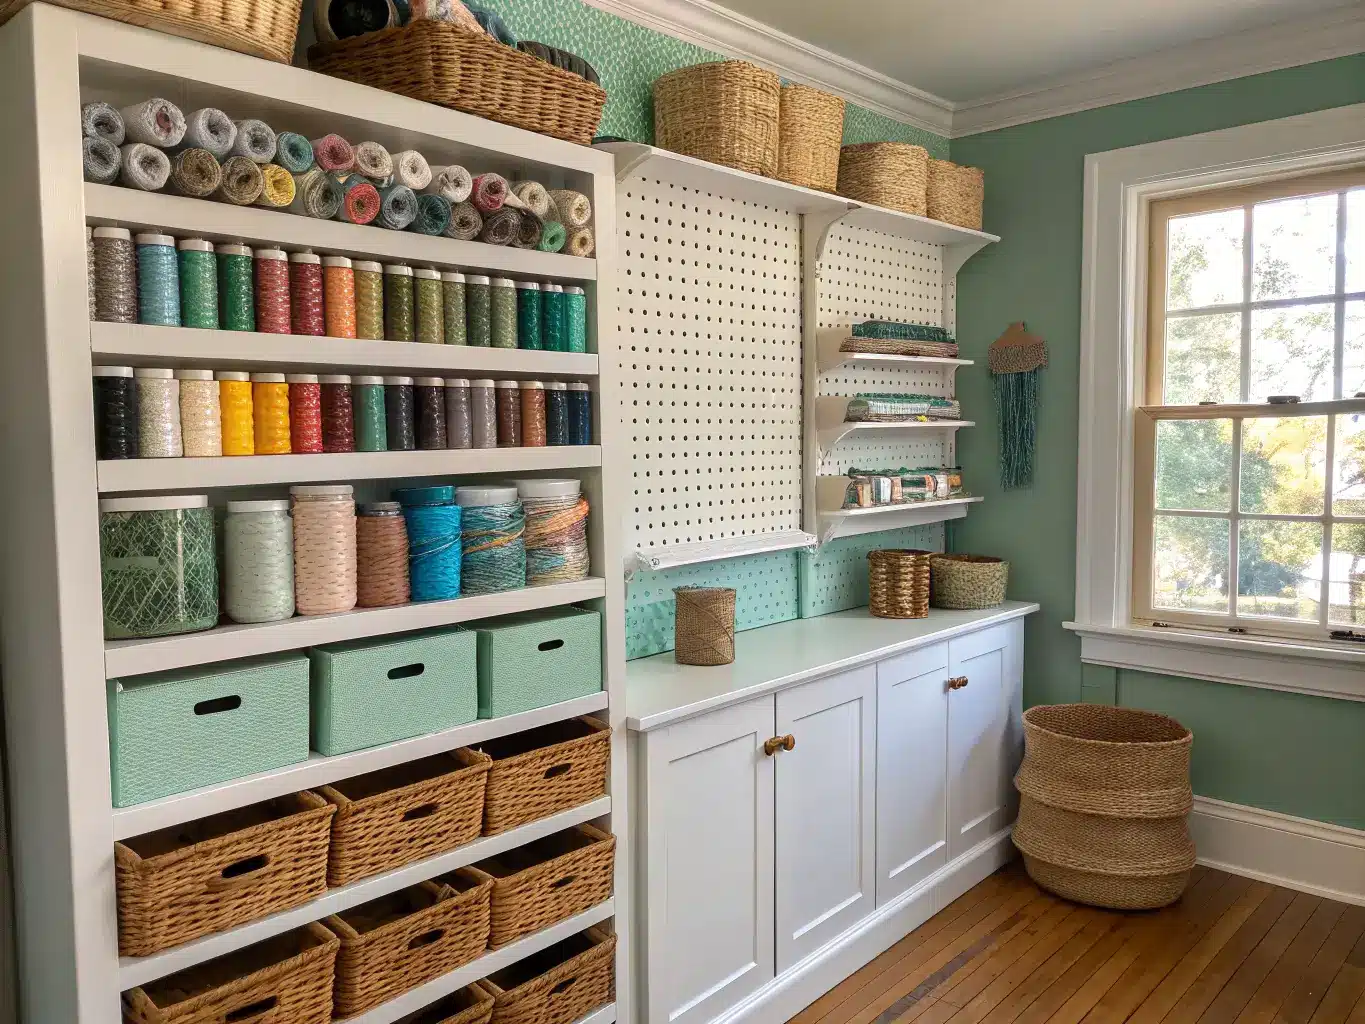
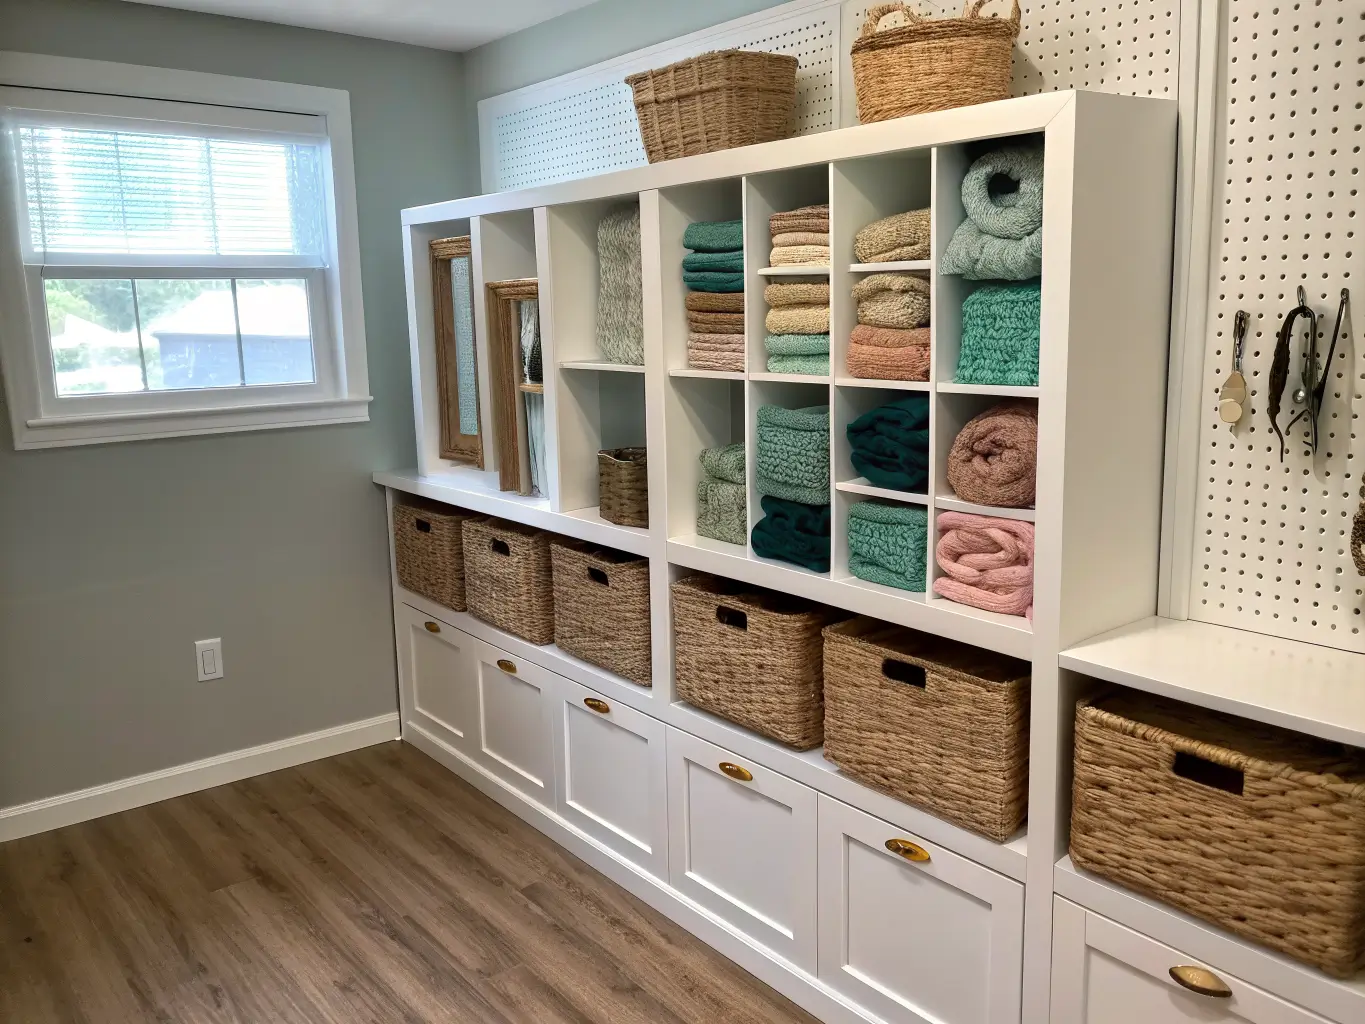
A vertical storage wall. Pegboard, modular shelving, hooks, wall-mounted cups. This is what frees up your floor and keeps tools visible instead of buried in a drawer. My pegboard wall holds scissors, rulers, and thread on hooks — anything I reach for weekly lives there, in sight.
Closed storage for the chaos. Cubby cabinets, drawer units, labeled bins. This is where scraps, bulk stock, and anything visually messy goes. Nobody needs to see your fabric scrap pile.
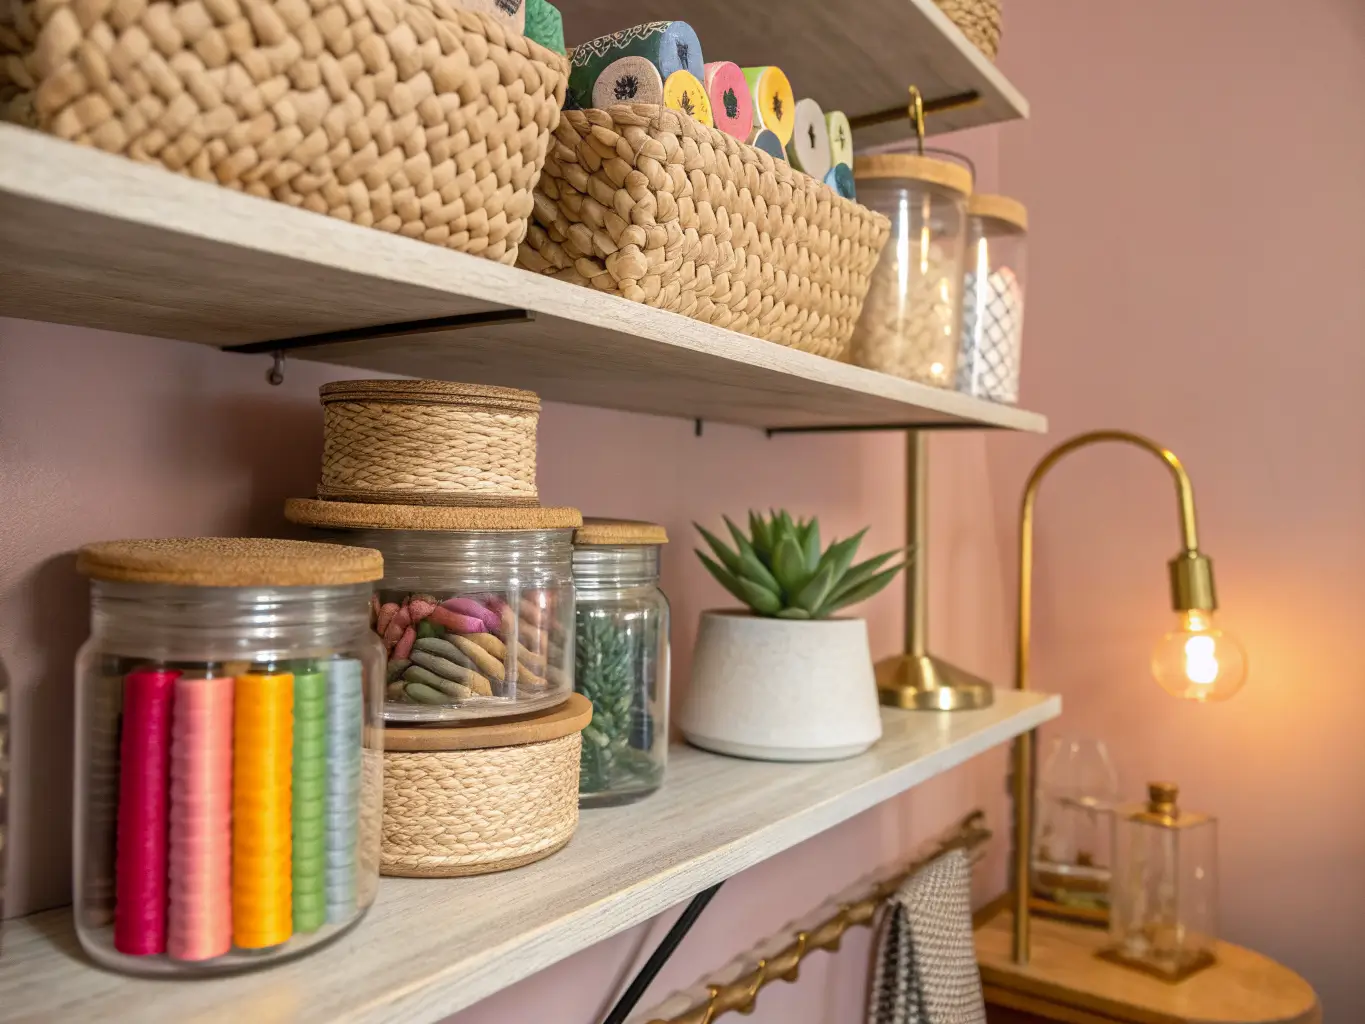
Pretty open storage for the good stuff. Glass jars for buttons, spools, paintbrushes, washi tape. These double as decor and inventory — you can see what you have without opening anything.
Task lighting. A desk lamp or sconce aimed directly at your work surface, on top of whatever natural light you’ve got. I didn’t take this seriously at first and did all my hand-stitching under a ceiling fixture that cast shadows exactly where my hands were. Not fun.
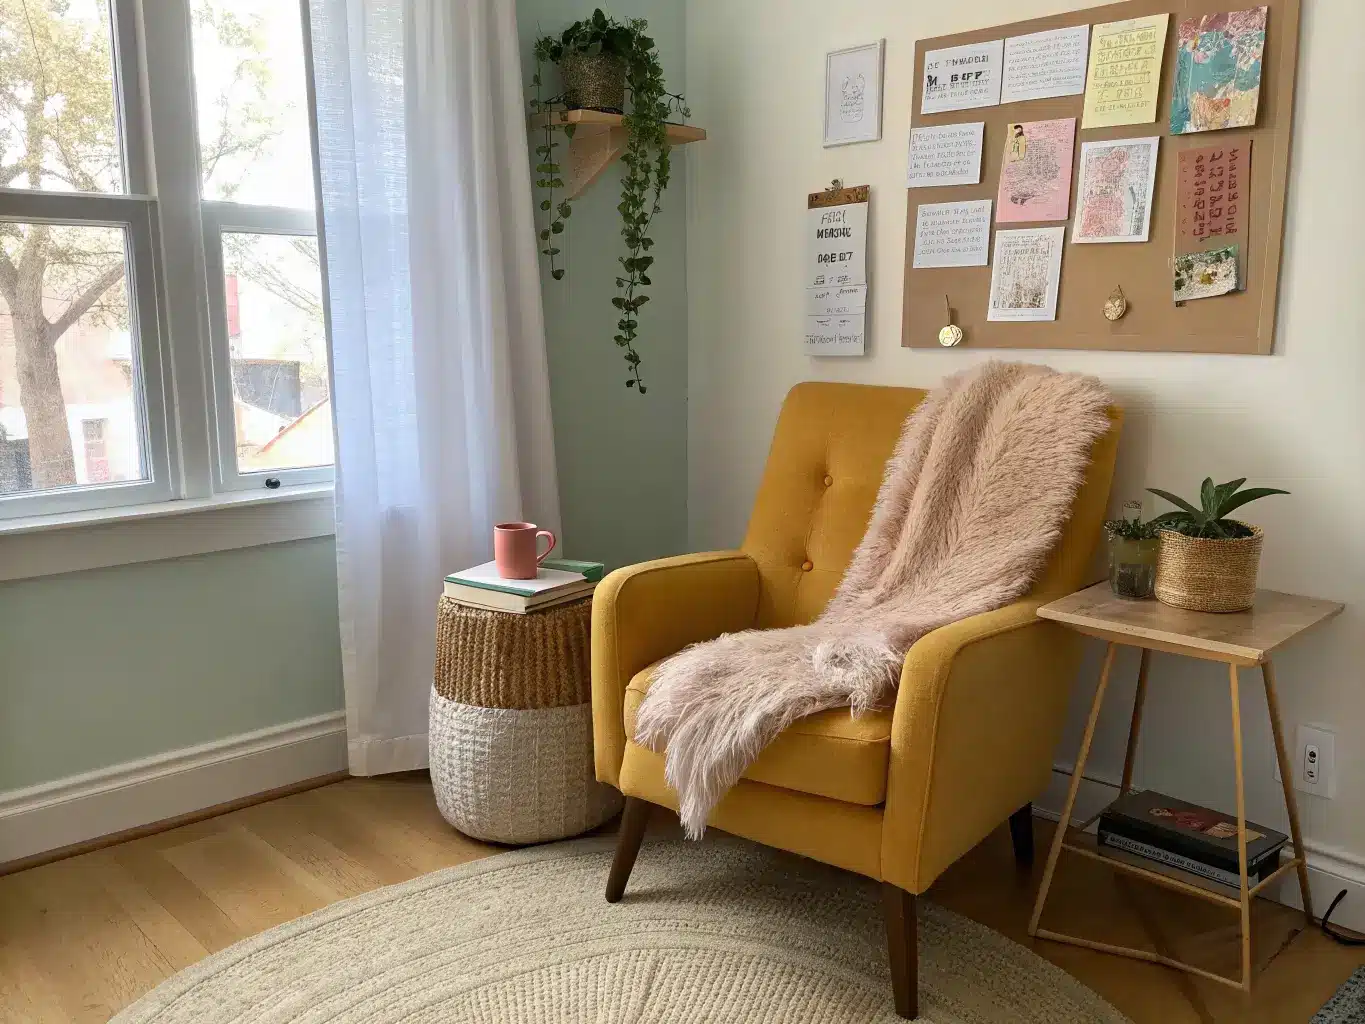
Real seating. A cushioned chair or stool you can sit in for three hours without your back giving out. A sheepskin throw over it adds softness if the chair itself is more function than form.
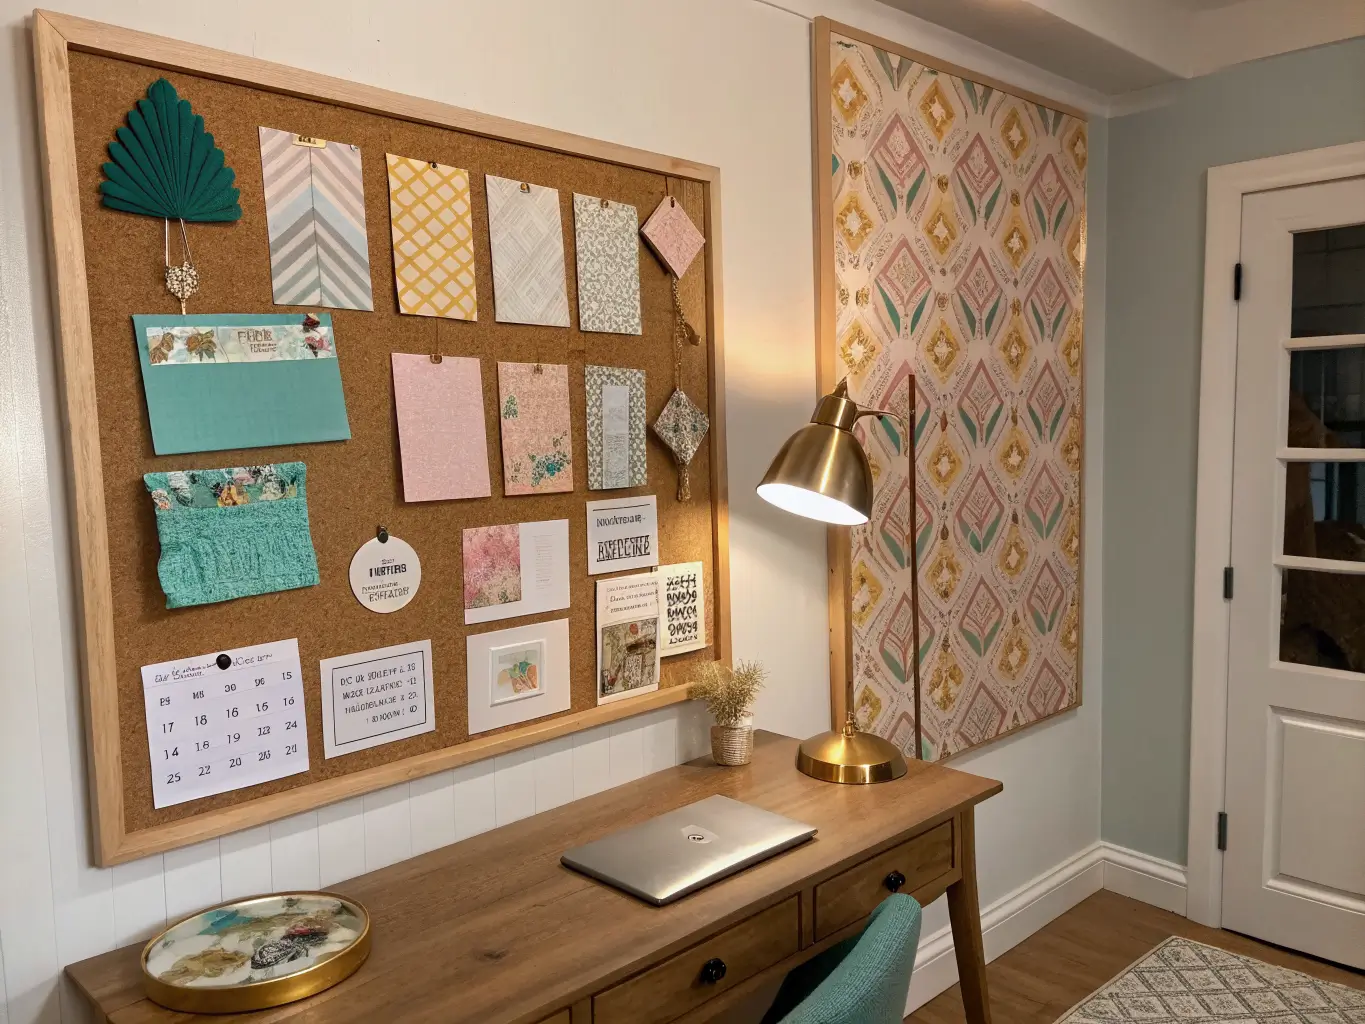
An inspiration wall. Corkboard, a wallpapered bulletin board, or a small gallery of pinned ideas. Gives the room identity beyond “storage closet.”
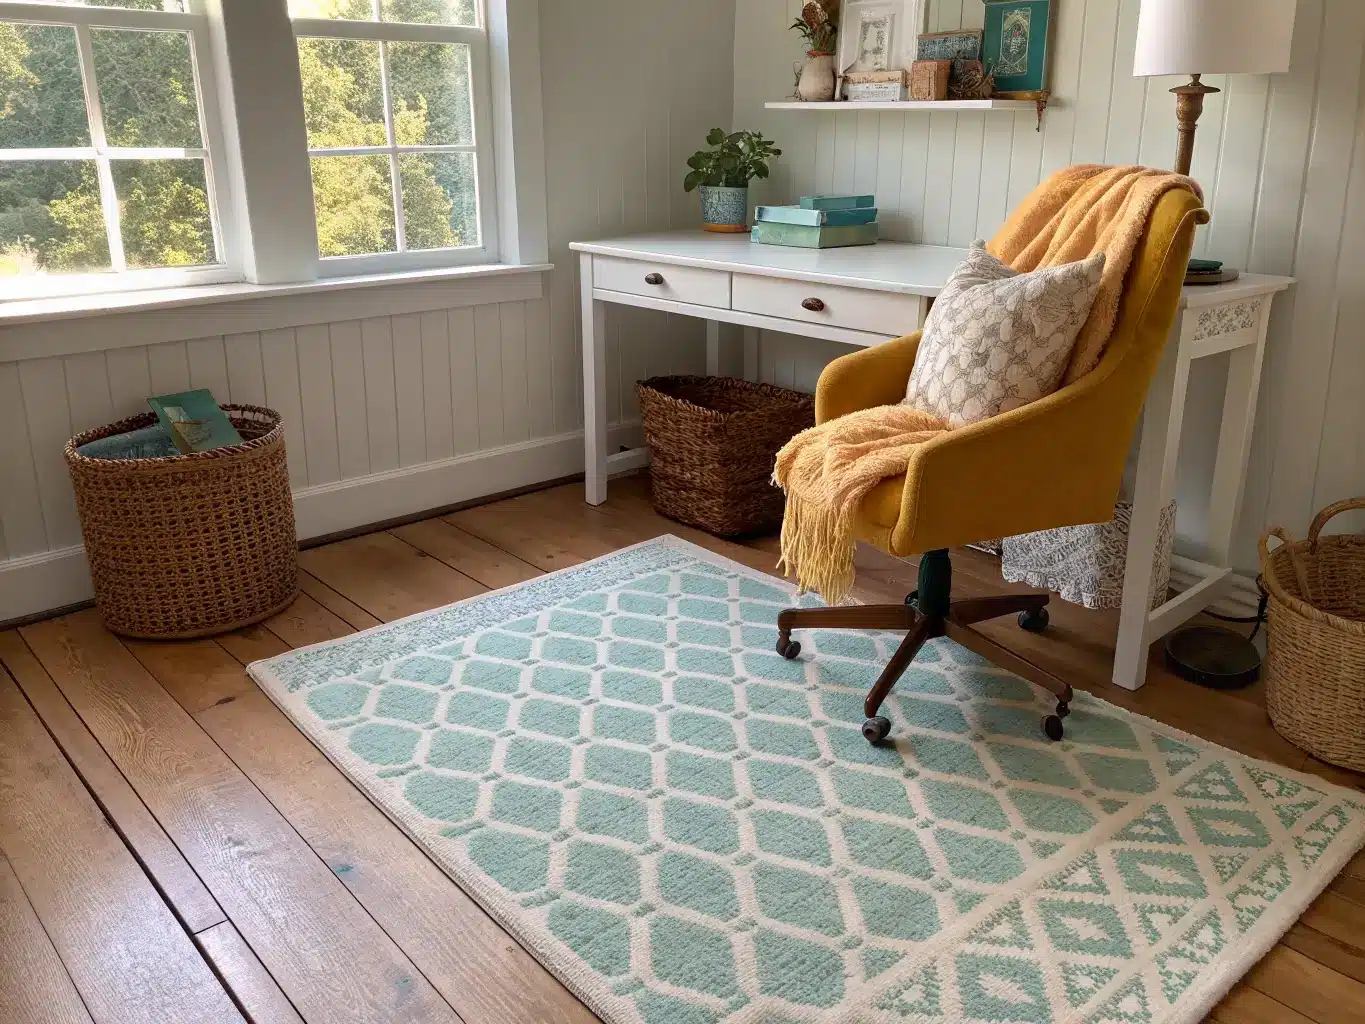
An area rug. Especially if you’ve got hard flooring. Adds warmth and makes the whole room feel finished rather than utilitarian.
Optional Layers That Add Personality
Once the essentials are in place, this is where you get to have fun:
Seasonal stems or a small plant — nothing that needs a lot of care, since your attention is going to be on your projects, not a fussy fern
Patterned textiles — curtains, a table runner, a cushion cover — cheap ways to shift the color story without touching furniture
A wallpaper accent wall — peel-and-stick makes this a weekend job, not a renovation. Floral, geometric, grayscale, even a palm print if you’re leaning coastal
Vintage pieces — an old suitcase, a retro filing cabinet, a thrifted desk — these are what push a room toward cottage or nostalgic rather than sterile
Metallic and acrylic accents — lucite tape dispensers, chrome shelf brackets, brass label holders — this is what makes a room feel modern instead of just organized
Natural texture — rattan baskets, a wicker chair, butcher block counters — softens all that metal shelving and pegboard
How to Actually Put It Together
Start with prep, not shopping. Pull every single supply out and sort it by category: fabric, paper, paint, tools, embellishments, finished projects, scraps. You cannot design storage for supplies you haven’t looked at in one place. I skipped this step the first time and bought bins that were the wrong size for literally everything I owned.
Decide open versus closed before you buy furniture. What do you want visible? What do you want hidden? This decision should happen before the shelving arrives, not after.
Measure your walls. Get exact wall spans before ordering shelving, pegboard, or cubbies — especially in a small room where six extra inches matters.
Put the table near the window. Natural light is free task lighting. Push storage and cabinets into the darker corners of the room instead.
Set up a cleanup zone. A scrap bin, a spot for labeled containers, a home for your most-used tools. This is the difference between a room that stays organized and one that slides back into chaos by week three.
Building the Look, Step by Step
1. Pick your wall base — a neutral paint or a statement wallpaper
2. Install the big functional pieces: table, shelves, cabinets
3. Add closed storage for the messy stuff
4. Layer in open storage — jars, baskets — for the good-looking stuff
5. Group supplies by color and type so the storage itself becomes a visual feature
6. Finish with the personal layer: framed finished projects, a plant, an inspiration board
That order matters. Buying decor before you’ve solved storage is how you end up styling around clutter instead of eliminating it.
Mistakes I’ve Made So You Don’t Have To
Too small a work surface. Covered above, but it bears repeating: undersized tables are the single most common regret.
Too much open shelving with nothing curated on it. Open storage only looks good when it’s edited. If your open shelves would embarrass you on video call, they need doors.
Skipping task lighting because the room “has a window.” Windows don’t help you at 8pm.
Grabbing whatever bins are cheapest instead of matching a system. Five different plastic tote brands in five different shades of “clear” reads as clutter no matter how organized the contents are.
Decorating every inch of every surface. A craft room needs breathing room to actually function — and to be easy to wipe down after a glue gun incident.
Not leaving room to grow. Craft supplies multiply. Leave at least one empty shelf or drawer for the stuff you haven’t bought yet.
Keeping the Room from Sliding Back Into Chaos
Stick to 2–4 main colors, max. Let your supplies — yarn, fabric, paint — provide the color chaos. Your bins, walls, and furniture should stay calm so the room doesn’t fight itself.
Repeat materials on purpose. If you’re using woven baskets, use them in more than one spot. Same with brass labels or white bins. Repetition is what makes a room read as designed instead of assembled from whatever was on sale.
Rotate sparingly. Swap out a few decor pieces seasonally, not the whole room. Consistency is what makes a workspace feel calm enough to actually sit down and create in.
Keep your workflow zones consistent. If your cutting station is in the back left corner, keep it there. Moving things around for the sake of “freshening up” undercuts the muscle memory that makes a craft room efficient.
Cheap Seasonal Refreshes
Swap floral stems, bin colors, or a runner instead of replacing storage
Refresh one feature at a time — a wallpapered accent wall, a new chair cushion, updated labels — rather than overhauling everything at once
Thrift a table or cabinet for a farmhouse or vintage lean; old furniture with a little wear does more for that look than anything new
Boho hybrid: natural wood, rattan baskets, a macrame hanging, layered patterned textiles
Modern hybrid: white walls, modular shelving, clear acrylic containers, lucite accessories
Coastal hybrid: white and sandy beige with ocean-blue accents, wicker baskets, driftwood, light wood surfaces
My room right now is somewhere between modern and boho — white pegboard wall, rattan baskets for yarn, one mustard-yellow accent chair I found at an estate sale for $40. It’s not one style. It’s just a room built around how I actually work, with the pretty stuff layered on after the function was solved. That’s the whole trick.
For another angle on this, my craft room decor guide covers the same space from a different starting point.





