
I spent two years walking past the far corner of my attic like it was a storage unit I’d inherited from a stranger. Christmas boxes, an old crib, a lamp that didn’t work. Meanwhile I was reading on the couch every night with the TV droning in the next room, wishing for somewhere quiet. It took me embarrassingly long to connect those two facts. The attic wasn’t dead space — it was just unclaimed.
If you’re wondering how to turn an attic into a reading nook, the good news is you don’t need a renovation. You need one good chair, the right light, and a plan for the sloped ceiling that’s currently making the space feel more awkward than it is.
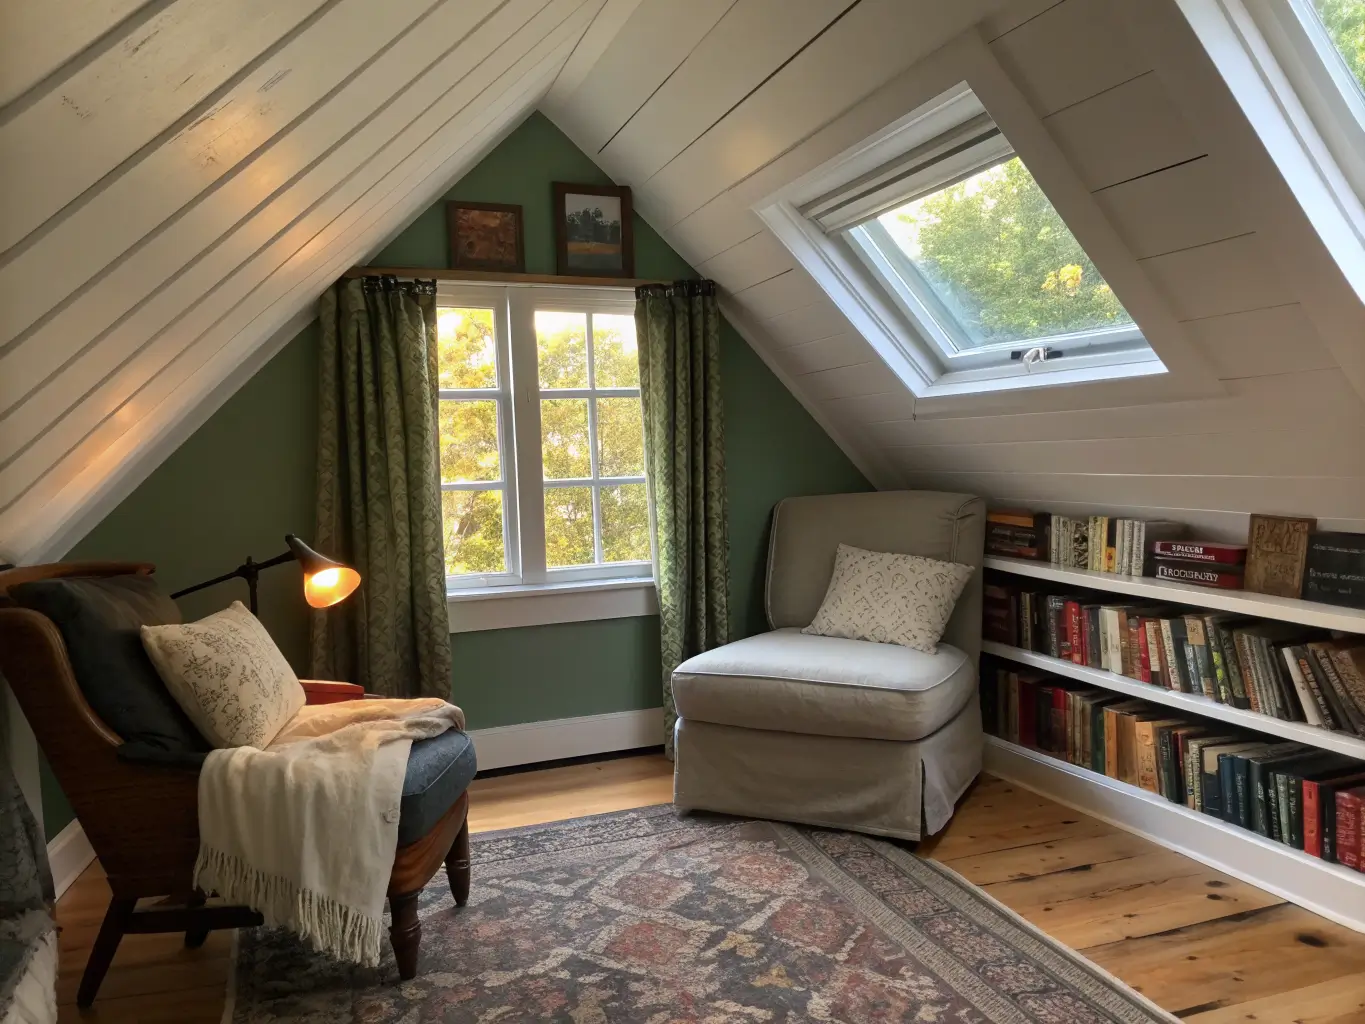
Quick Style Snapshot
Before you buy anything, get honest about scope.
Time: A styled-only nook — chair, lamp, textiles, done — takes one weekend. If you’re adding shelving, electrical, or built-ins, budget 2 to 6 weeks, because framing and insulation work doesn’t move at Pinterest speed.
Cost: A simple furnished nook runs $300–$900. A mid-range setup with real shelving and layered lighting lands $1,500–$5,000. Custom built-ins or a platform bench with storage push past $5,000.
Space needed: 25–100 square feet is plenty for a proper nook. You’re not furnishing the whole attic, just claiming one corner of it.
Skill level: Styling is beginner-friendly. Shelving, trim, and lighting are intermediate. Framing, insulation, and built-ins are expert territory — hire that part out unless you already know your way around a stud finder and a respirator.
Season: Works year-round, but attics genuinely shine in winter. Something about a low ceiling, a warm lamp, and a wool blanket makes the cold outside feel like it’s doing you a favor.
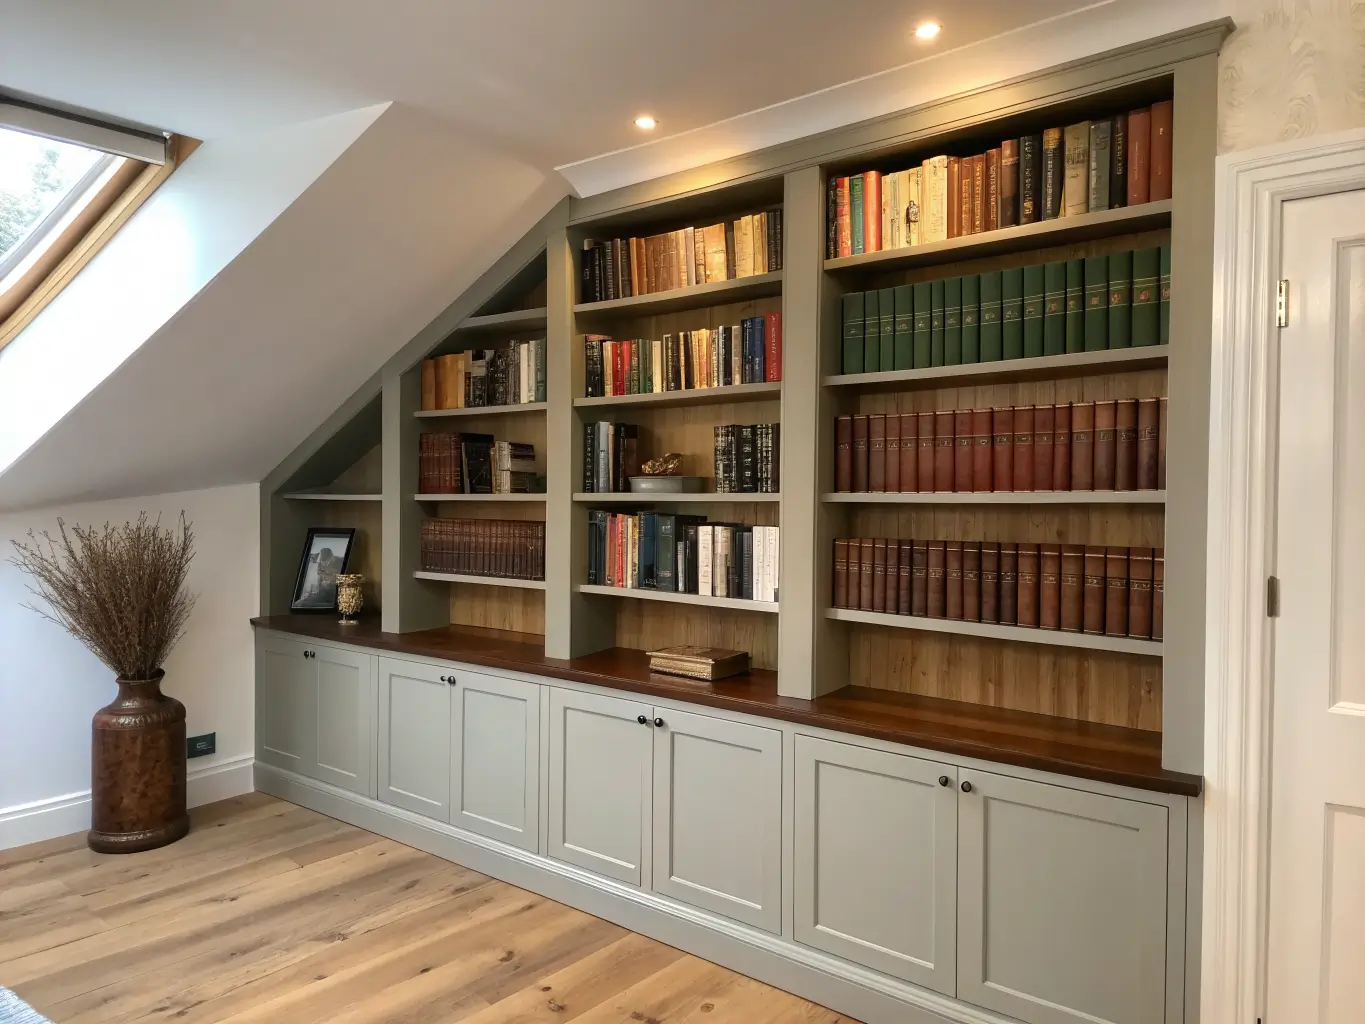
The Design Identity: Cozy Cottage Meets Library-Core
The look that works best up here isn’t sleek minimalism — it’s cozy cottage crossed with library-core, with a quiet-retreat mood running underneath. Think fewer hard edges, more texture. Current attic styling also leans into dark academia and vintage touches: stacked books, warm brass, deep wood tones.
Color palette that actually works in a dim attic:
– White, cream, warm beige, greige
– Soft blue or sage green for calm
– One deeper anchor tone — charcoal or walnut brown — so it doesn’t read as flat or sterile
Materials that carry the mood:
wood, linen, bouclé, wool, velvet, brass hardware, painted trim, shiplap (vertical shiplap especially, since it visually stretches a low ceiling), and built-in joinery where budget allows.
This setup is made for book lovers obviously, but also for remote workers who need one hour of actual quiet, and for anyone with an attic geometry problem — that dead triangle under the eaves nobody knew what to do with.
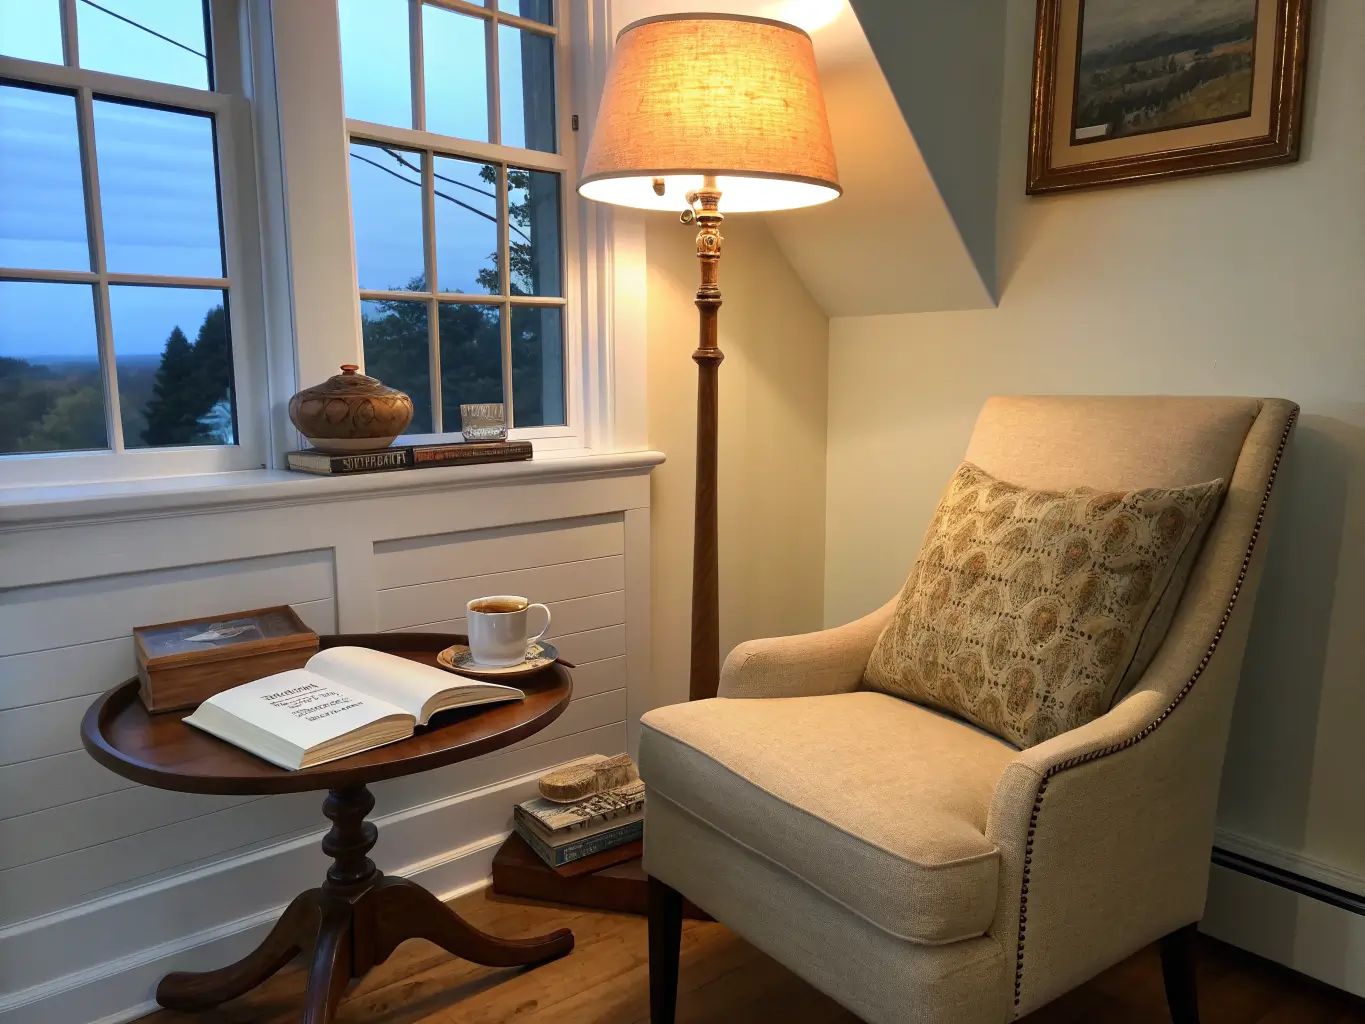
Must-Have Pieces for an Attic Book Nook
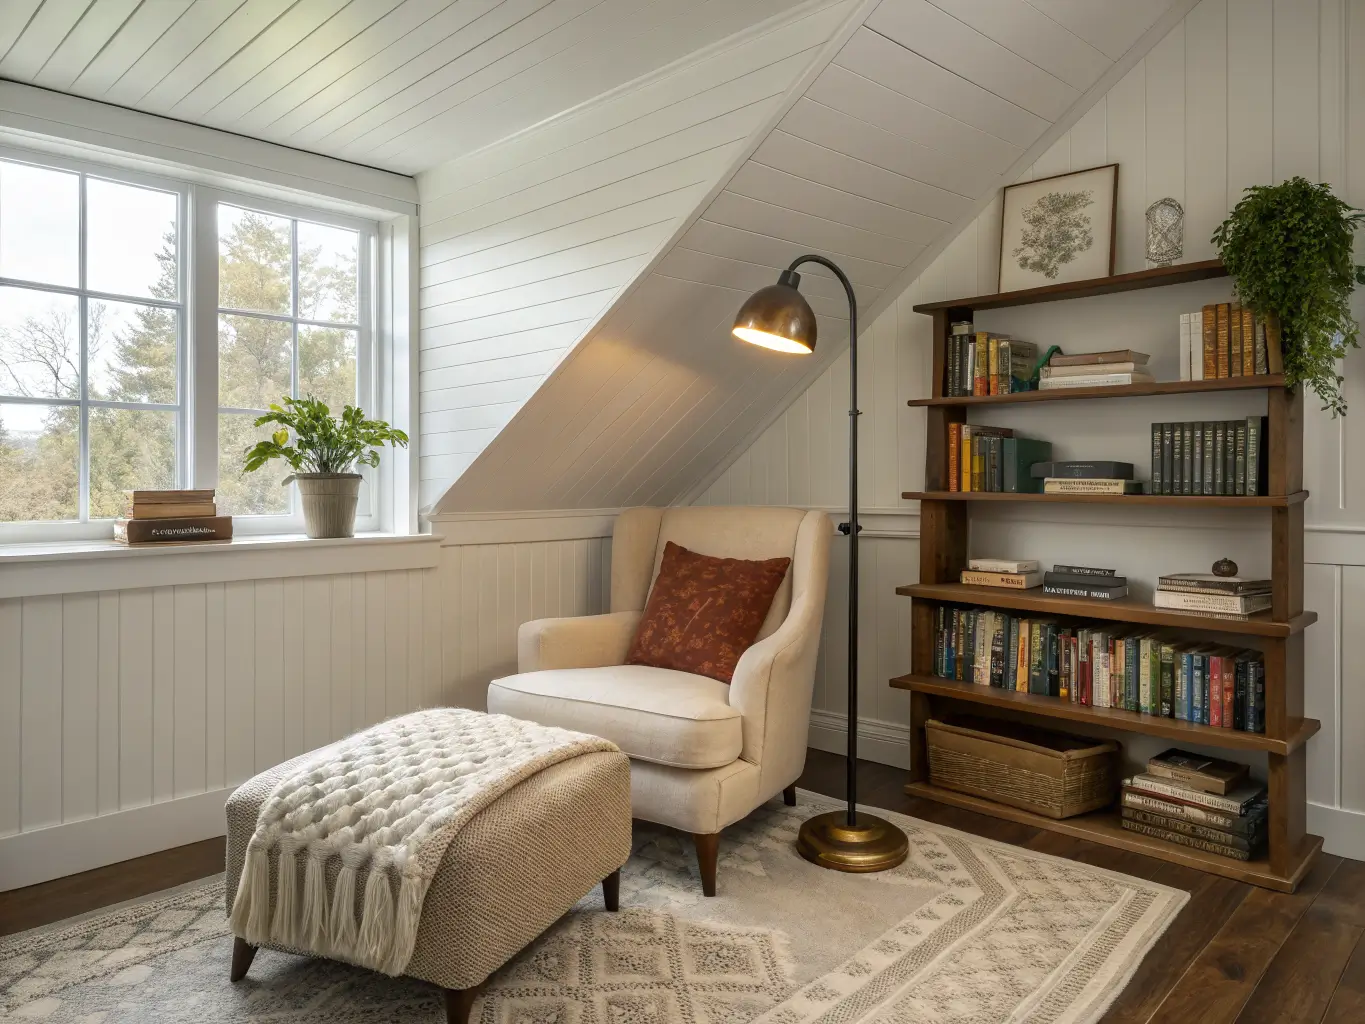
Hero seating. Pick one: a club chair, a slipper chair, a chaise, a window seat, or a small daybed. I went with a chair-and-ottoman combo because my attic’s headroom maxes out around 6 feet at the peak and tapers fast — a daybed would’ve eaten the one spot where I can actually stand up. Measure your headroom before you fall in love with a piece of furniture.
Book storage that respects the slope. Built-in shelves following the roofline look intentional instead of squeezed in. If built-ins aren’t in the budget, low bookcases or wall-mounted shelves under 30 inches tall work fine under a sloped ceiling — you just have to stop fighting the angle and build with it.
Task lighting — non-negotiable. Attics are dark by nature; small windows, few of them, weak ambient light. A tall floor lamp with a soft fabric shade, a swing-arm sconce mounted at shoulder height, or a small pendant if you’ve got the ceiling height. I made the mistake of relying on one dim overhead bulb for months and did most of my reading on my phone flashlight app basically. Don’t do that.
Soft layers. Throw blankets, floor cushions, a seat cushion with some give (not the flat foam pad that comes with cheap chairs), and a rug — even a small one, 4×6 feet, changes how the whole corner feels underfoot.
Architectural framing. Trim, crown molding, a painted ceiling, or shiplap on the knee wall. This is the difference between “leftover attic corner” and “designed nook.” It costs very little and does the most work.
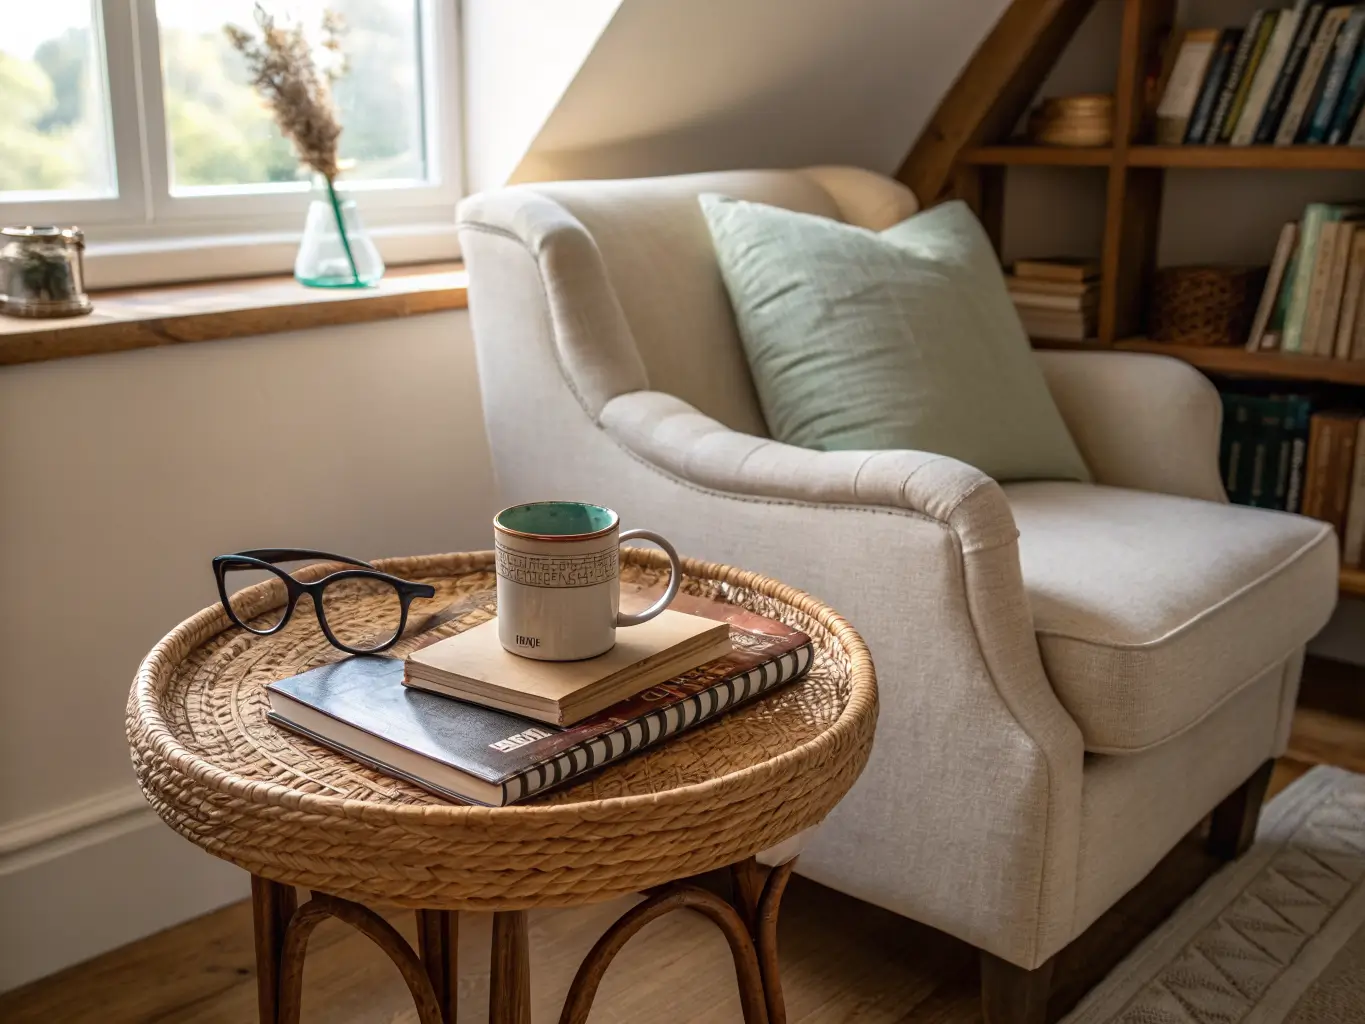
Functional extras: a small side table for your mug, a woven basket for extra blankets, an ottoman that doubles as storage, and — if you can swing it — an outlet nearby so you’re not running an extension cord across the floor like I did for an entire winter.
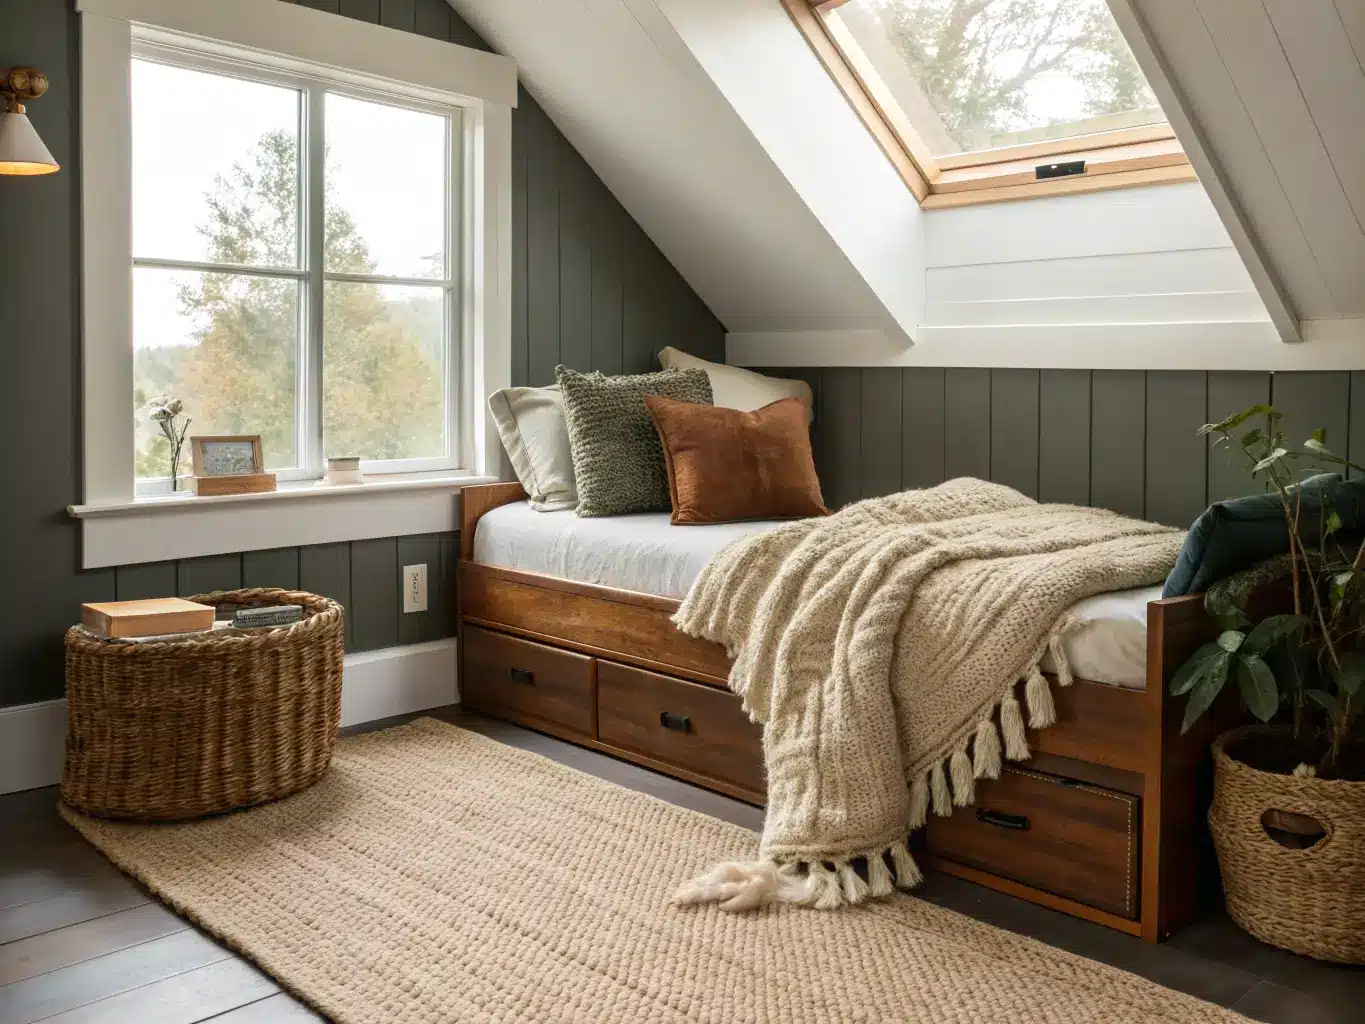
Optional Enhancements Worth the Extra Effort
Once the basics are in, these add personality without adding clutter:
– Organic touches — a small potted plant that tolerates low light (pothos, ZZ plant), a woven rattan tray, dried branches in a stoneware vase
– Luxe textures — a velvet lumbar pillow, a brass reading lamp, linen café curtains on the dormer window
– Atmosphere — LED strip lighting tucked behind a shelf edge gives a soft glow without another lamp cord to manage; string lights work too if you want something less architectural
– One piece of art or a botanical print, especially if your walls are plain drywall with nothing going on
Seasonally, swap a chunky knit throw and darker textiles in for fall and winter, then bring in lighter linen and pale colors come spring. It’s a five-minute swap that makes the whole nook feel current.
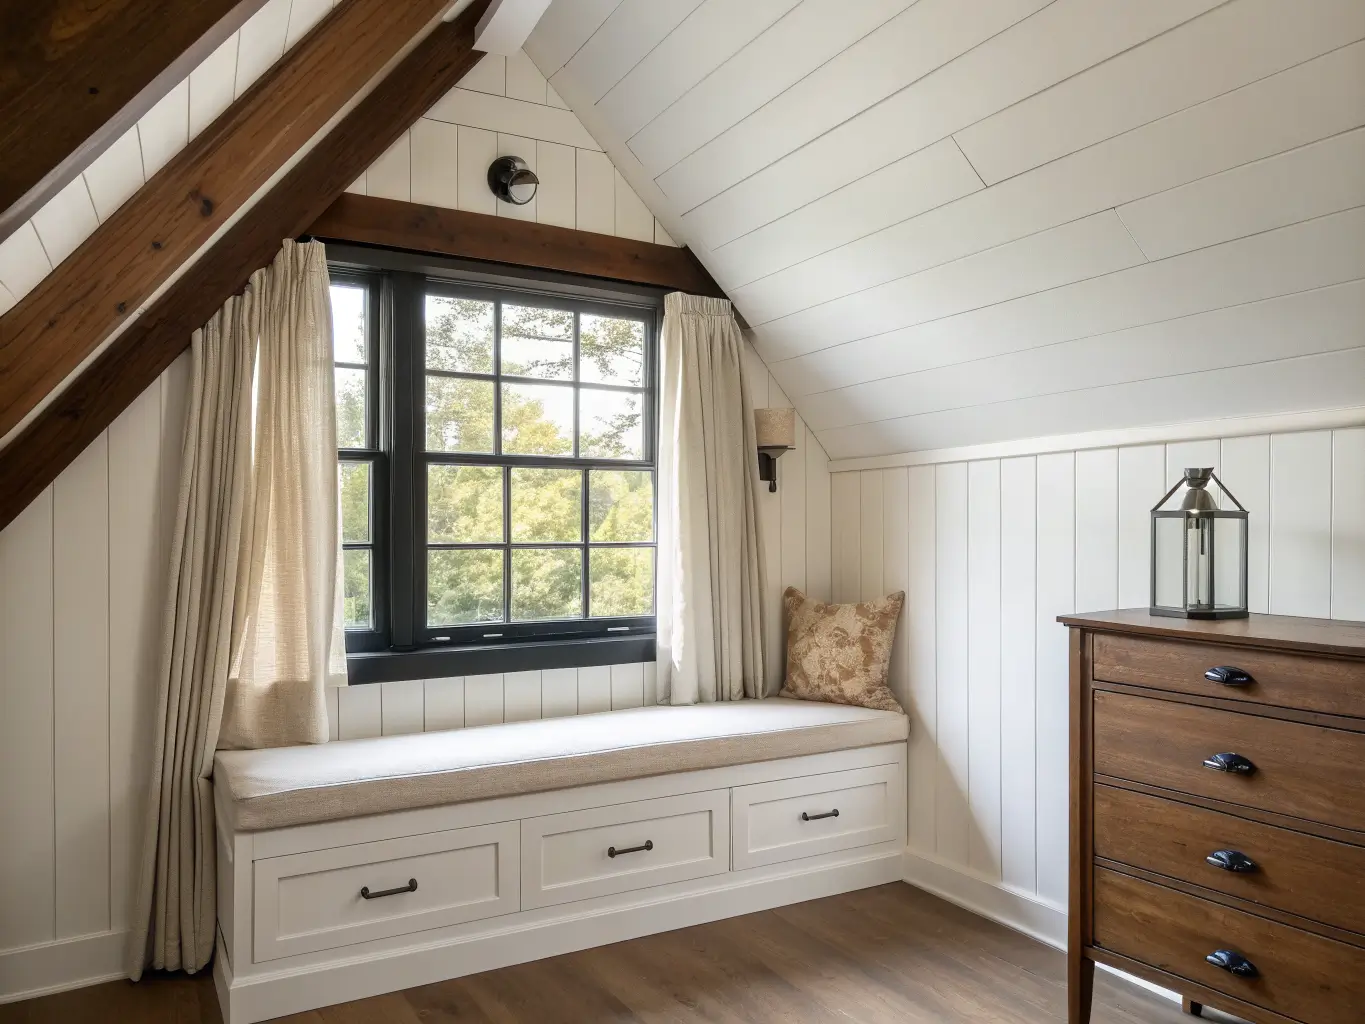
Pro Styling Tips: Working With the Slope, Not Against It
The sloped ceiling is the whole personality of an attic nook — use it.
– Put the seating where the headroom peaks, and let the roofline taper down behind or beside the chair. That’s what creates the snug, tucked-in feeling people are actually chasing when they say they want a “cozy” nook.
– Keep the palette light if the room is dim. Whites, warm neutrals, pale blues, and sage green bounce what little natural light you have. A dark, moody attic nook photographs great; it’s miserable to read in at 3pm in January.
– Add one dark anchor — a walnut shelf, a black-shaded lamp, a deep green pillow — so the light palette doesn’t go flat and washed out.
– Layer hard and soft materials. Wood shelf, painted trim, then linen cushion, wool throw, velvet pillow. That mix of textures is what makes a small space feel finished instead of sparse.
– Pick one focal point — the window, the chair, or the book wall — and build everything else around supporting it, not competing with it.
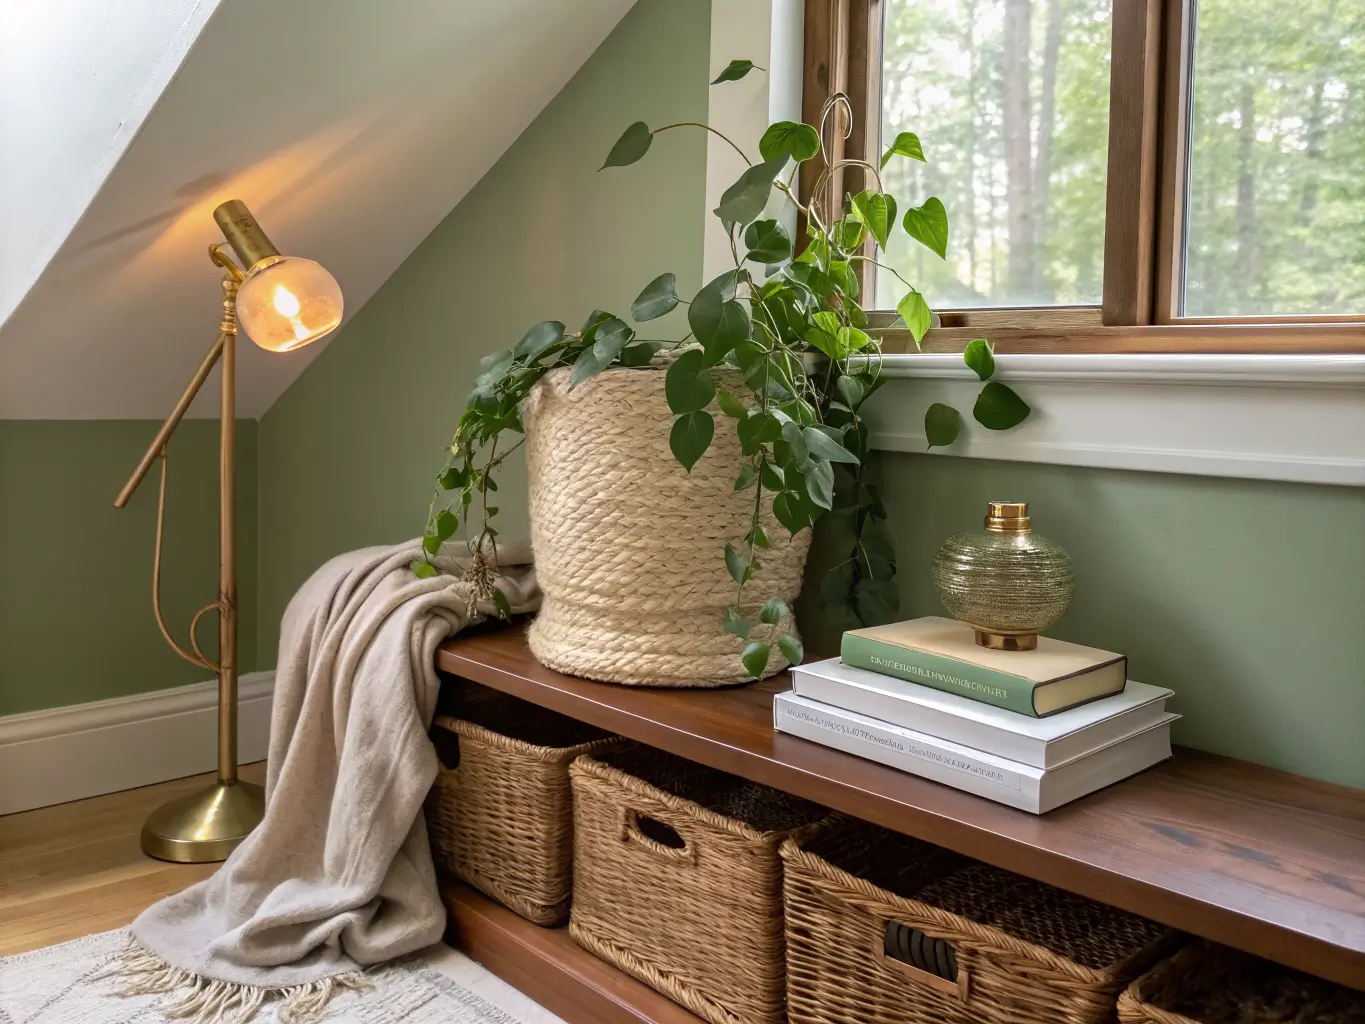
Setup and Execution: How I’d Actually Do This
Step 1 — Assess before you decorate. Decide if this is a weekend nook or a permanent built-in library corner. Check for existing insulation, airflow, structural obstacles (HVAC ducts, low beams), and whether you’ll need an electrician for outlets or sconces. This is the boring part everyone skips and regrets.
Step 2 — Clear it out completely. Every attic accumulates overflow. Pull it all out, sort it, and only let back in what actually needs to live there — ideally hidden in a storage ottoman or under-bench drawer, not stacked in view. A reading nook surrounded by Rubbermaid bins isn’t a reading nook.
Step 3 — Map your seating to the roofline. Measure headroom at the spot you’re eyeing. You want to be able to sit up straight without grazing the ceiling, and ideally stand at the front edge of the chair without ducking.
Step 4 — Build in this order:
1. Anchor piece (chair, bench, or daybed)
2. Book storage, following the slope
3. Primary reading light, plus a secondary ambient source if you can manage it
4. Textiles — rug, throw, pillows
5. Side table, tray, one or two personal objects
Step 5 — Highlight the architecture. If you’ve got a skylight, dormer, or exposed beam, don’t hide it behind furniture. Those features are the reason an attic nook feels special instead of like a chair shoved in a hallway.
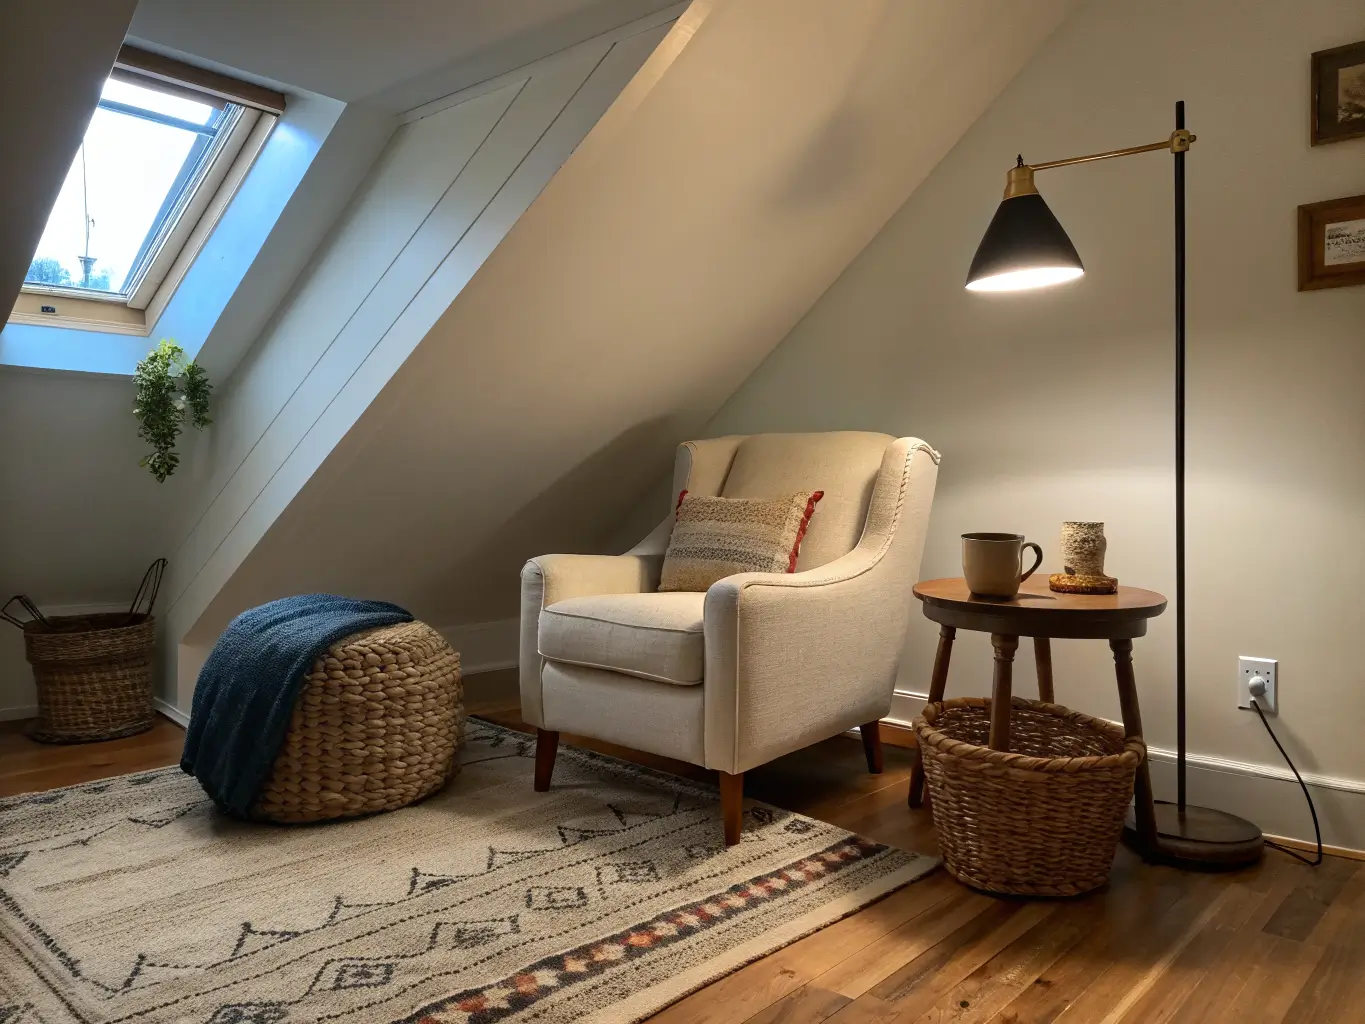
Common Mistakes That Undercut the Whole Idea
– Letting storage creep back in. The single biggest thing that kills an attic nook is treating it as storage-first, seating-second. Keep the sightline around your chair clear.
– Skipping the lamp. I said it above, I’ll say it again: attics are dark. A nook without dedicated task lighting gets used twice and then abandoned.
– Ignoring heat and airflow. Attics run hot in summer and stale year-round without help. A small fan, a vent, or even just cracking a dormer window on the right days makes a real difference to whether you’ll actually sit up there in July.
– Oversized furniture under a low ceiling. A deep, tall wingback chair that’s perfect in your living room will make an attic nook feel like a closet. Go low-profile — lower arms, lower back, more compact frame.
– Over-decorating. This is the one I got wrong first. I piled on pillows, three throws, a gallery wall, a diffuser, a candle, a second lamp “just in case.” It looked like a display, not a place to sit. I pulled two-thirds of it back out and the nook finally felt like somewhere I wanted to be.
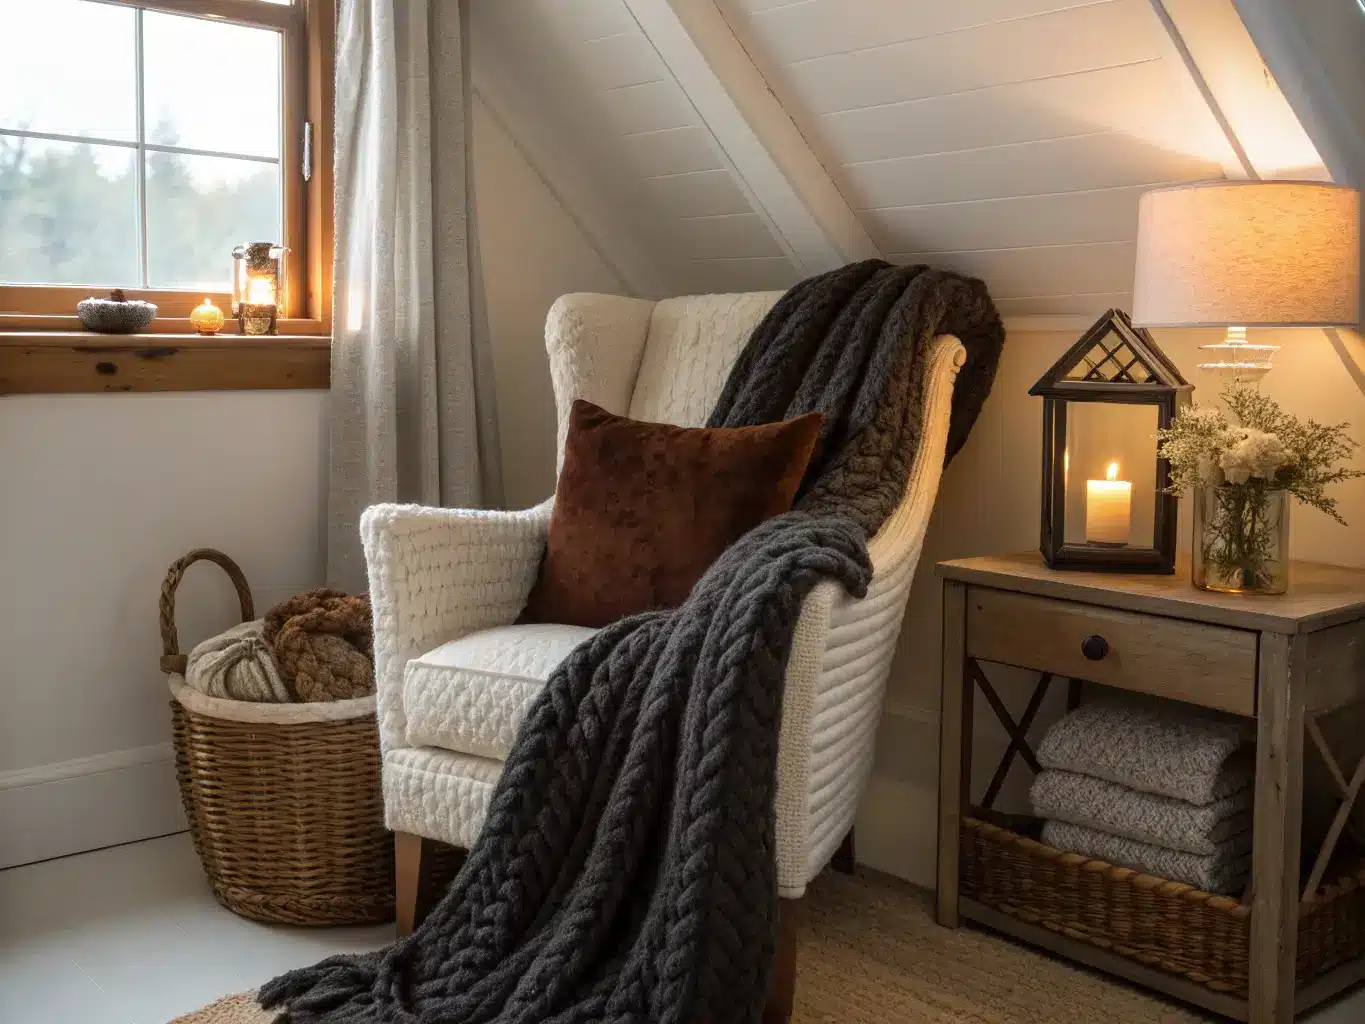
Keeping the Look Fresh Without Redoing Everything
Stick to 2–4 core colors across cushions, throw, shelf, and trim. It’s the fastest way to make a small, oddly-shaped space feel pulled together instead of thrown together.
Edit constantly. One lamp, one piece of art, one natural element (plant, branch, basket), and let the books be the visual texture. That’s usually enough.
Match your finish family — warm wood with brass, or painted white with natural woven fiber. Mixing three or four finish families in a 25-square-foot space is how nooks start looking cluttered even when they’re technically tidy.
Budget refreshes that actually move the needle:
– New pillow covers ($15–$40 each)
– A new throw blanket in a seasonal color
– Swap a dated lamp shade instead of replacing the whole lamp
– Baskets instead of built-in drawers for flexible, cheap storage
Cross-style variations if you want to push the theme further:
– Boho attic nook: rattan, layered textiles, a floor cushion instead of a second chair
– Coastal attic nook: pale blue, white, linen curtains, driftwood accents
– Dark academia attic nook: walnut, leather, stacked hardbacks, a single warm-toned lamp
– Modern cottage attic nook: painted trim, soft neutrals, simple open shelving
My attic corner still isn’t finished — I keep meaning to add a second shelf and never quite get to it. But it’s the spot I go to now instead of the couch, and that’s really the only metric that matters. The chair cost $180 secondhand, reupholstered myself over a bad weekend, and it’s still the best decorating decision I’ve made in that house.
For another angle on this, my cloffice ideas guide covers the same space from a different starting point.





