
Craft room shelving ideas are easy to find and hard to get right, because most of what’s out there is styled for a photo, not a person who actually uses 12×12 paper, six spools of ribbon, and a sewing machine every week. I learned this the expensive way, after building a gorgeous open-shelf wall that looked incredible for about three weeks before it turned into a landfill of half-finished projects and mystery bins. The shelving wasn’t the problem. My system was.
Here’s what I’ve figured out since then, through two full craft room rebuilds and a lot of trial and error with bins that didn’t fit, shelves that were too deep, and a thread rack I regret buying.
What This Look Actually Is
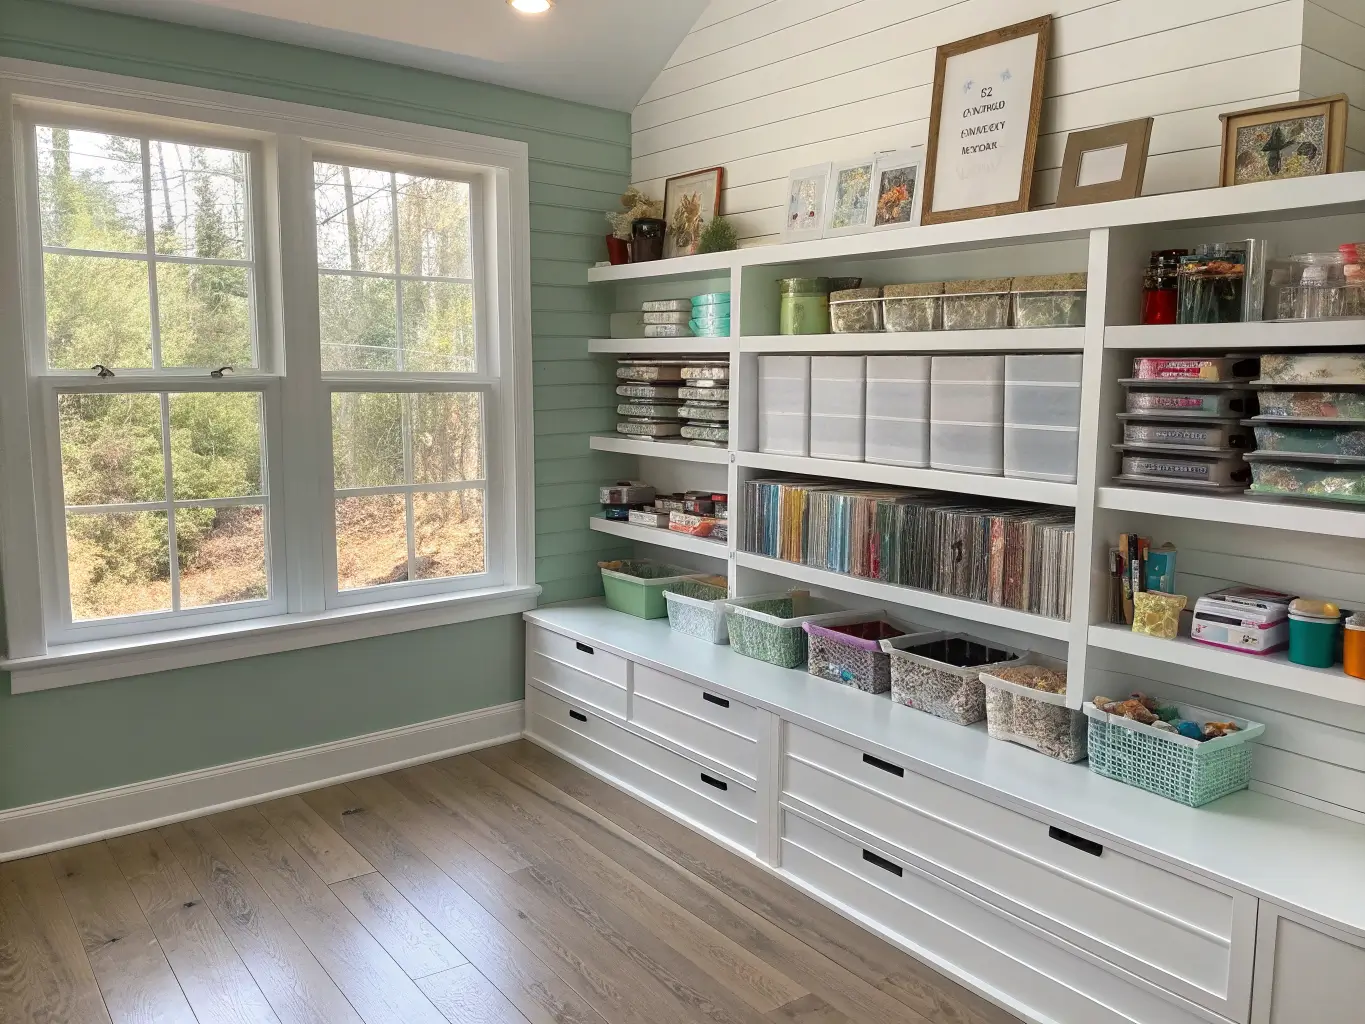
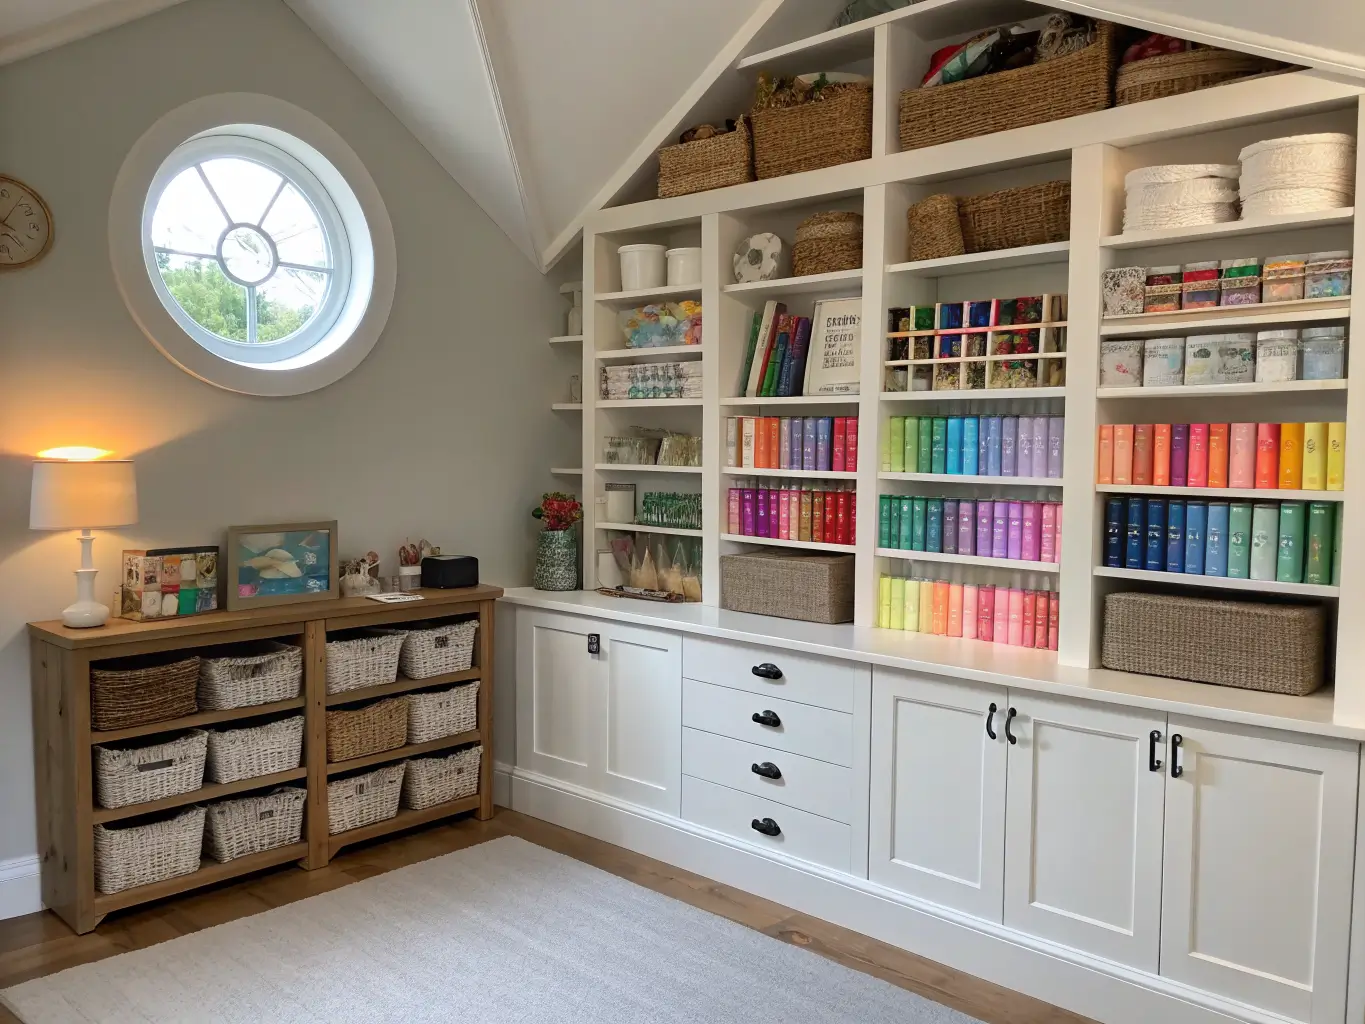
Craft room shelving isn’t one aesthetic. It’s a mash-up of modern farmhouse, clean minimalist, and cottage utility, and the common thread isn’t a color palette — it’s function. The best craft rooms I’ve seen (and the one I finally landed on) use white or wood shelving as a neutral backdrop so the actual supplies — rainbow paper, colorful thread, patterned fabric — become the decor.
Who this is for: anyone who needs to grab paper, vinyl, thread, beads, or fabric quickly and wants the room to look intentional instead of like a closet exploded. Where it works: spare bedrooms, closets, garage corners, laundry-adjacent nooks, even a single wall in a home office. Vertical shelving is the only reason any of this works in a small space — floor space is precious, wall space usually isn’t being used at all.
Time and cost, realistically:
– A quick refresh (new bins, labels, rearranging) — a few hours.
– A full wall system with mounted shelving, bins, jars, and labels — a full weekend, sometimes two if you’re anchoring anything heavy.
– Budget version: under $50 using thrifted bookcases, mason jars, and repurposed crates.
– A complete, well-organized setup: $150–$400, once you factor in matching bins, jars, and a couple of specialty pieces.
– Specialty items add up fast — a June Tailor Mega-Rak II thread rack alone runs about $50, so decide early which specialty organizers actually earn their keep.
Skill level: floating shelves and bins are a beginner project. Track shelving, pegboard walls, and anything load-bearing for a sewing machine needs more care — that’s where I’d call it intermediate to expert, mostly because of the anchoring, not the aesthetics.
The Pieces That Make It Work
You don’t need everything on this list. You need the right combination for what you actually make.
– Floating shelves, a few different lengths, for everyday-reach supplies and a bit of display.
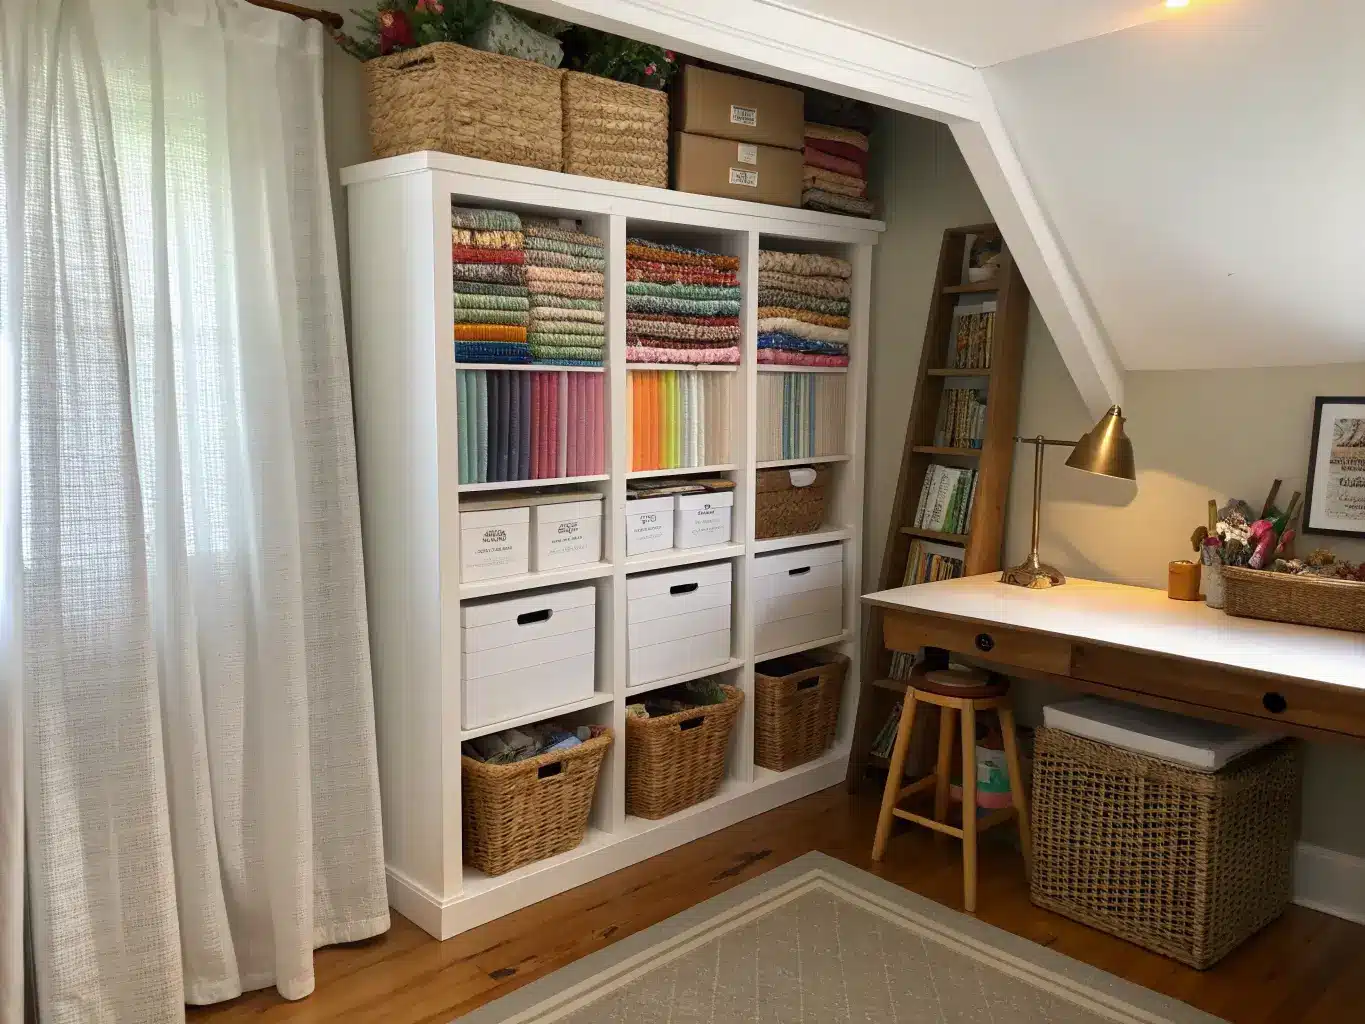
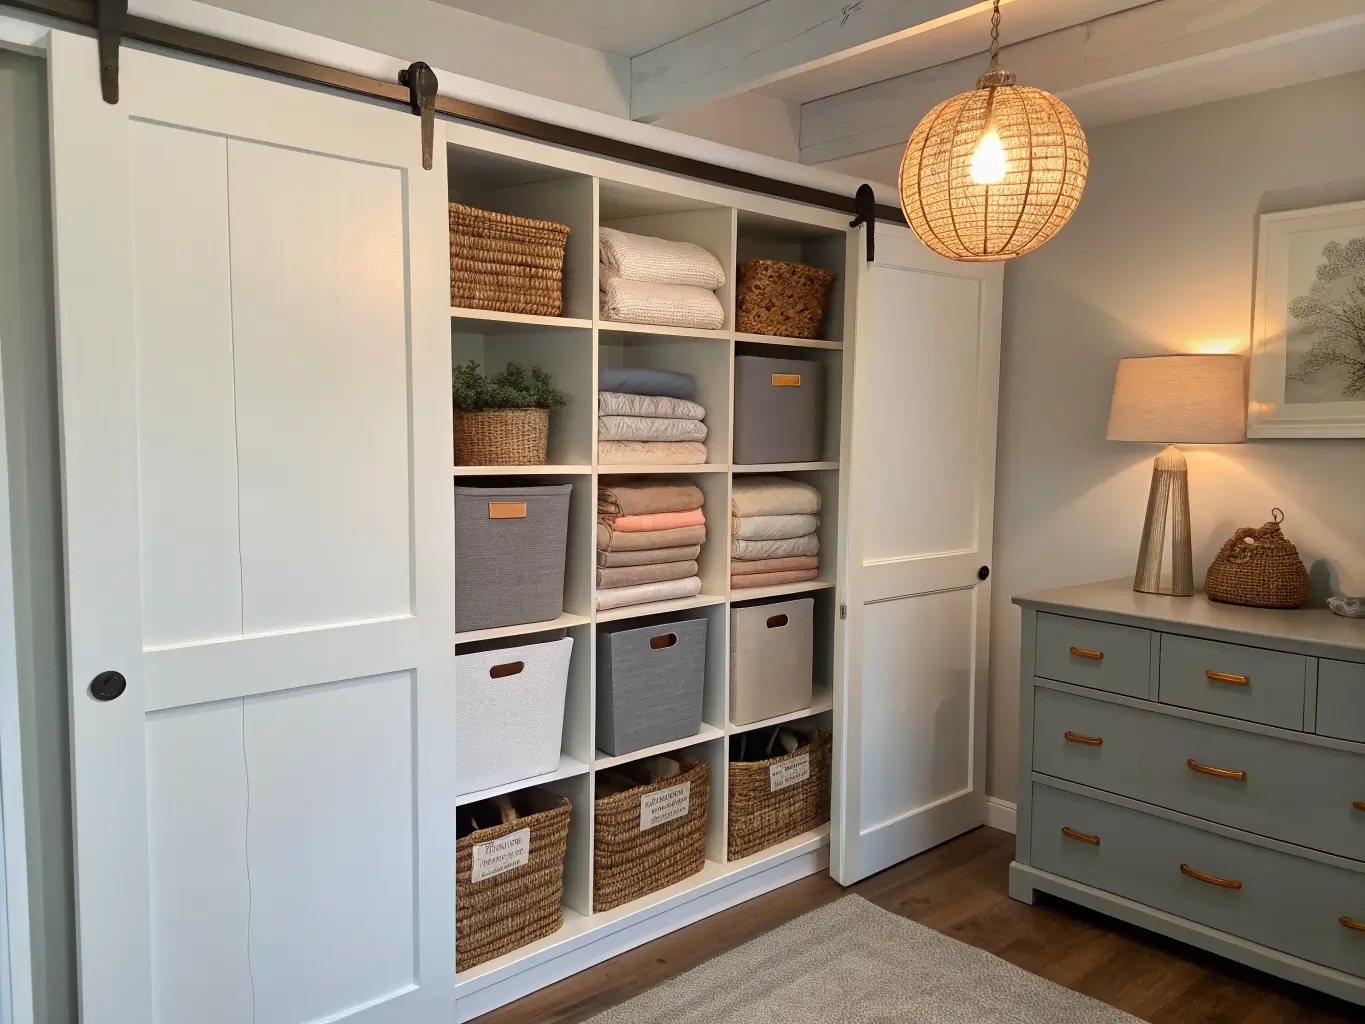
– Open bookcases or cube units for grouped bins and paper stacks — this is your workhorse storage.
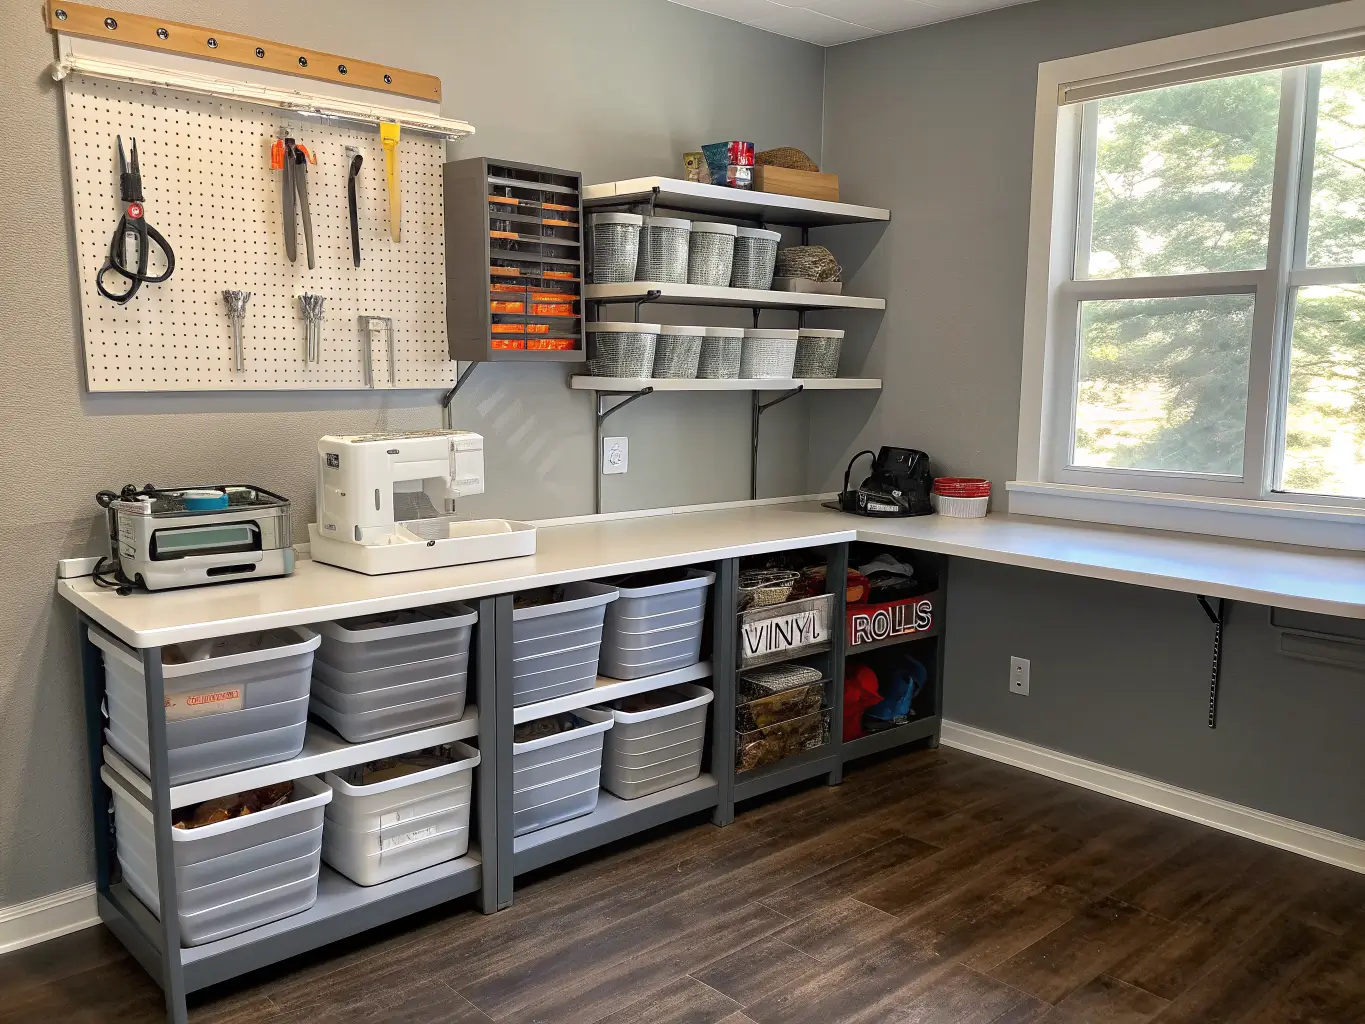
– Adjustable track shelving (standards and brackets) if you own a sewing machine, buy fabric in bulk, or your supply needs change often. This is the one upgrade I wish I’d made first instead of last.
– Clear acrylic bins for vinyl rolls, markers, and small tools — visibility matters more than people think.
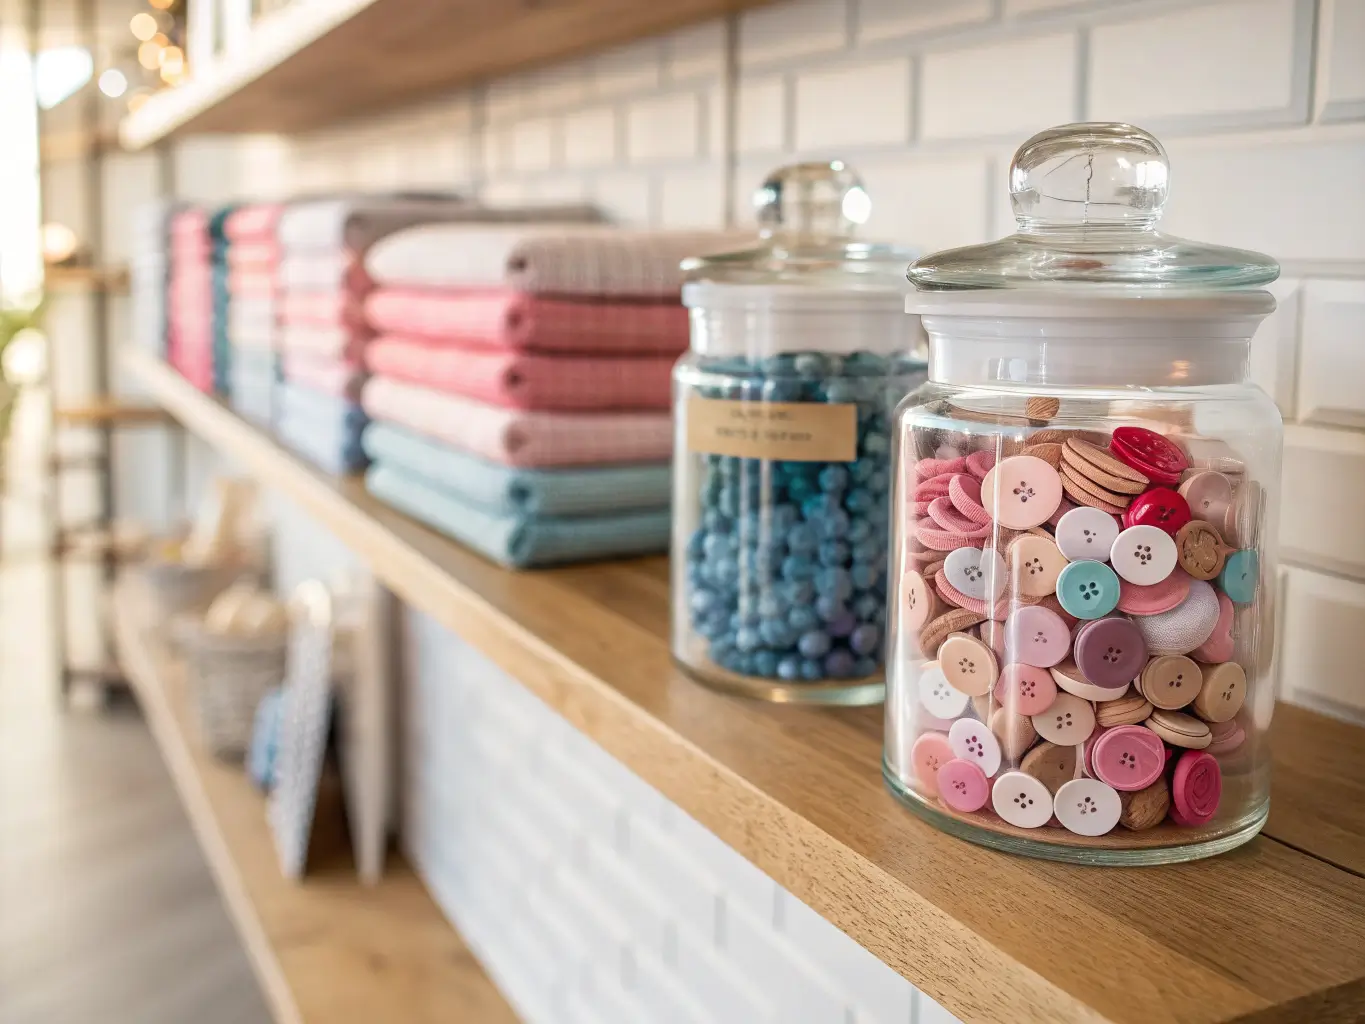
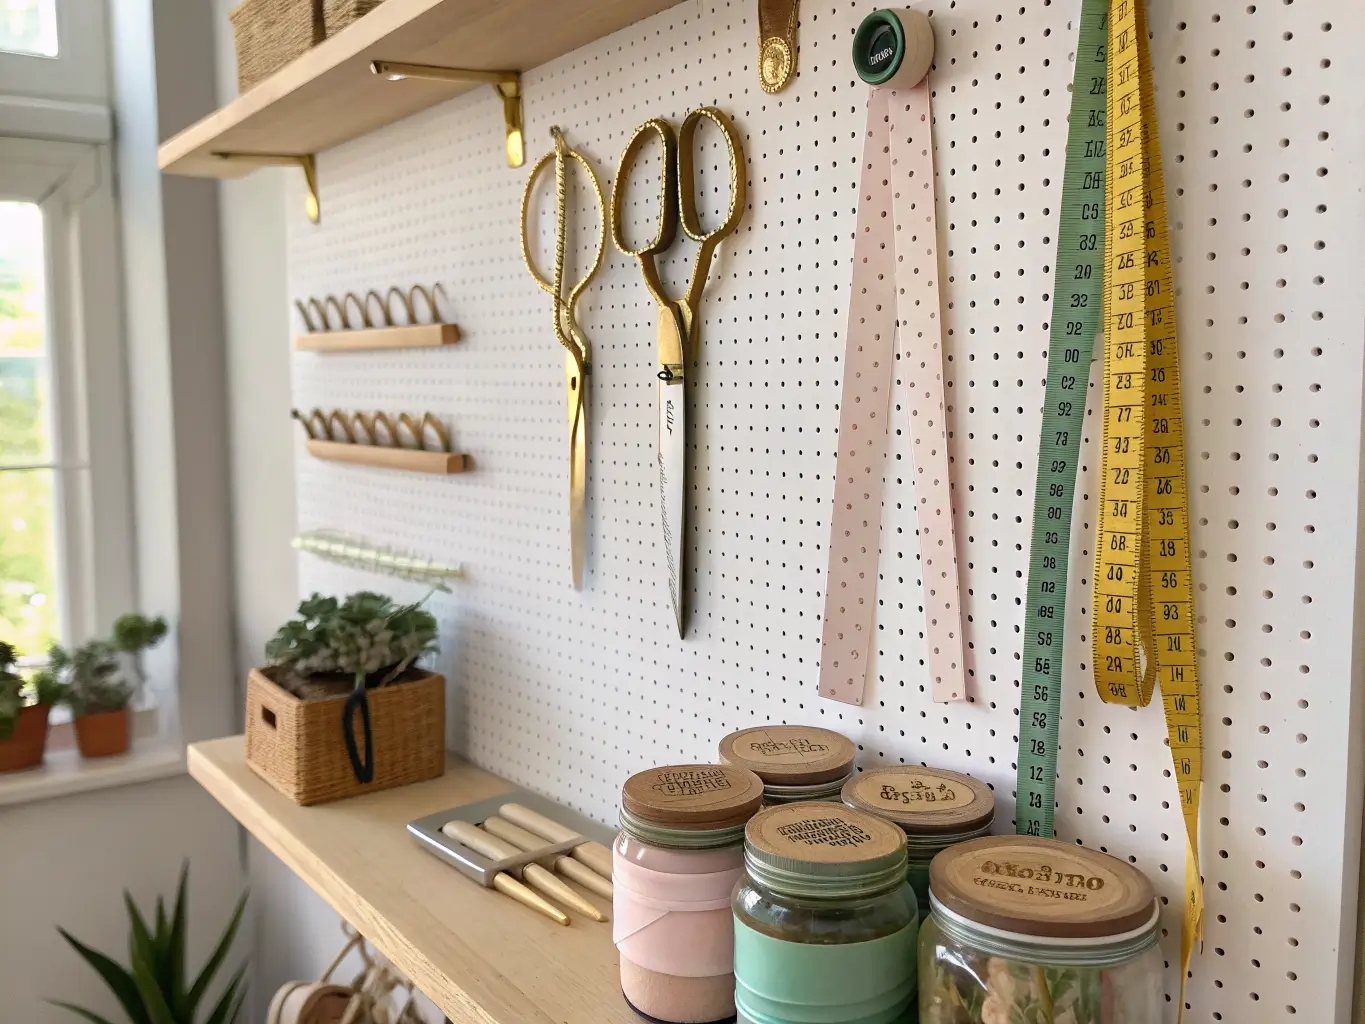
– Glass or apothecary jars for buttons, beads, and ribbon scraps. Mine are old spaghetti sauce jars, cleaned up and re-labeled. Nobody’s ever guessed.
– Magazine holders for 12×12 scrapbook paper, stored upright so it doesn’t warp.
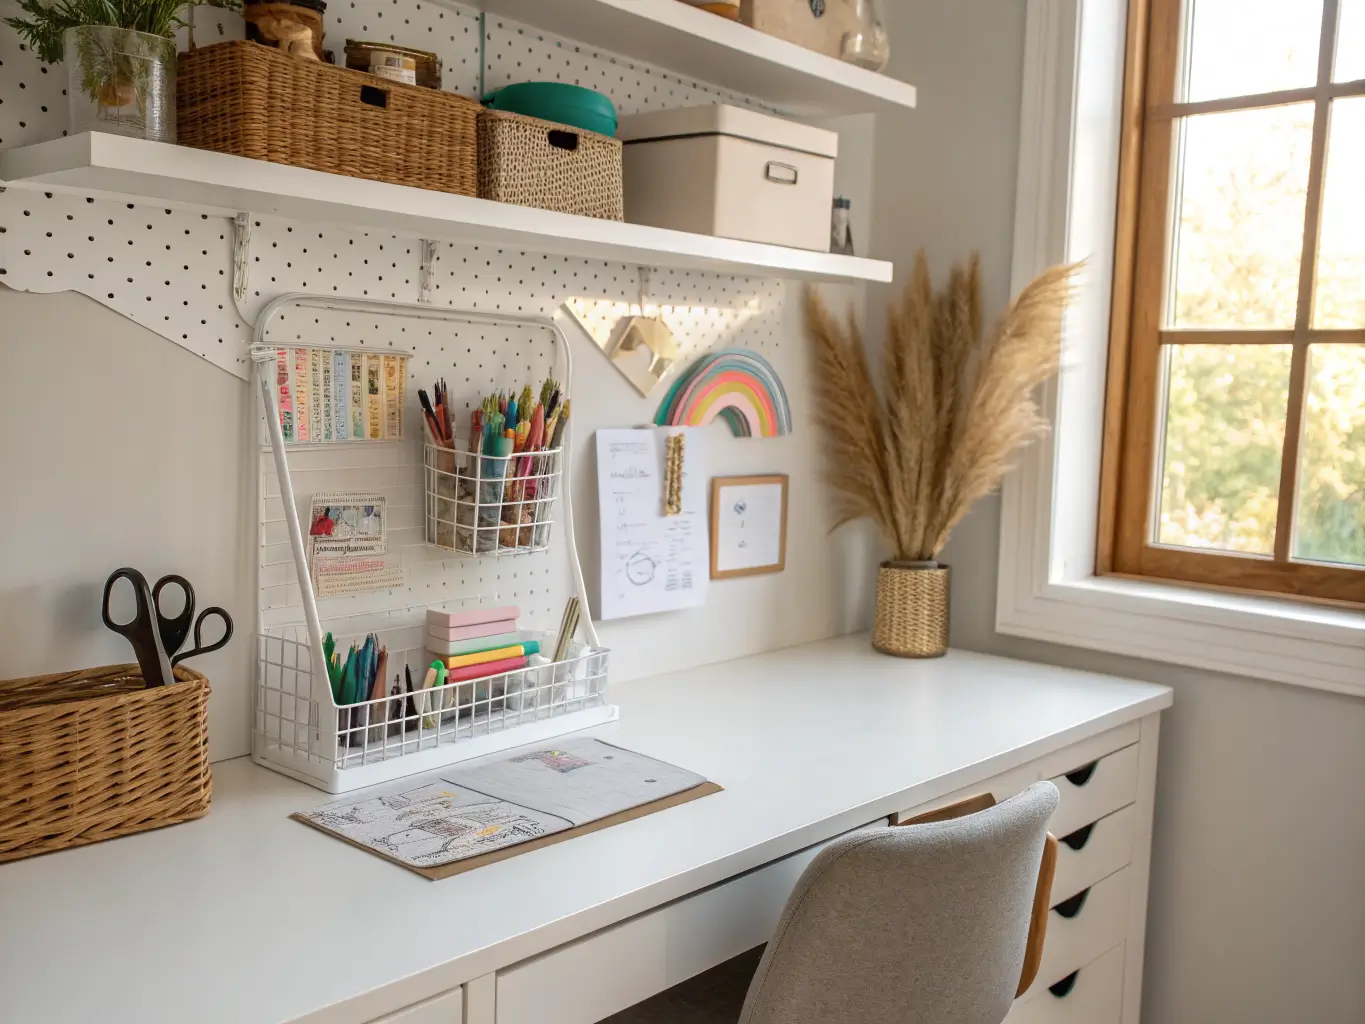
– Pegboard and hooks for scissors, rulers, and anything you reach for constantly.
– Woven baskets to soften an all-white or all-metal setup and hide the stuff that doesn’t need to be seen.
For the optional layer — the part that makes it feel styled instead of just organized — I like a strip of LED shelf lighting under the top shelf, some brass hooks instead of plain steel, and one or two framed finished projects mixed in with the jars. Small moves, but they’re the difference between “storage” and a room you actually like sitting in.
How to Put It Together
Start with inventory, not shelving. Sort everything into categories first — paper, fabric, thread, paint, tools, finished projects — before you buy a single bin. I skipped this step the first time and ended up with bins that were the wrong shape for what I owned. Expensive lesson.
Measure before you buy anything. Shelf depth and height need to match your containers, not the other way around. 12 inches of depth is the sweet spot for most craft supplies — deep enough for standard bins, shallow enough that you can’t shove things to the back and forget them. Save the deeper shelves (16″+) for bulky stuff like fabric bolts or a printer.
Then build in this order:
1. Install the shelving first, heaviest items on the bottom. A sewing machine or a stack of fabric bins has no business on a high shelf — that’s how shelving tips or people get hurt reaching for it.
2. Add bins and jars in matching sizes and finishes. This is the single biggest thing that separates “organized” from “organized and good-looking.” Mismatched tubs, even if they’re functionally fine, read as clutter.
3. Set up your grab zone — the shelf or drawer closest to your work surface — with scissors, adhesive, rulers, and thread. If you have to walk across the room for scissors twenty times a day, the layout’s wrong.
4. Use clear jars for small stuff: buttons, beads, ribbon scraps. You want to see what you have without opening five containers.
5. Style the top shelves last, with a few finished projects or color-grouped supplies. This is decor, not storage — treat it that way.
6. Add labels and lighting at the end, once everything has a home. Labeling too early just means relabeling later.
Where to Spend, Where to Save
Spend on:
– The shelving system itself, especially if it’s adjustable track shelving — this is structural, and cheap brackets sagging under fabric bins is a real thing I’ve dealt with.
– Anchoring hardware. Non-negotiable if you’ve got kids or pets in the house.
– One or two specialty organizers that solve a real problem (a thread rack, a vinyl roll holder) — but only if you actually use that material weekly.
Save on:
– Bins and jars. Dollar-store clear bins, repurposed mason jars, and thrifted baskets look just as good as the $40 designer versions once they’re filled and labeled.
– The bookcase or shelf unit itself. I found my current shelving — a plain white Billy bookcase — at a estate sale for $15 and just added new hardware.
– Labels. A label maker and cardstock will outperform fancy printed tags for a fraction of the cost.
Mistakes I’ve Made (So You Don’t Have To)
– Shelves too deep. My first craft room had 16-inch shelves throughout, which sounds generous until you realize everything in the back becomes invisible. I moved to 12-inch shelves for everyday supplies and only kept depth for the printer and paper cutter.
– Too many container types. I once had three different bin brands going at once — different plastics, different lids, different sizes. It looked like a garage sale even though everything technically had a place.
– Heavy things stored high. Don’t do this. A box of fabric bolts on a top shelf is a shelf-collapse waiting to happen.
– No labels. I told myself I’d “just remember” what was in each bin. Six months later I had four bins labeled, in my head, as “stuff.” Label everything, even the obvious ones — it keeps you consistent.
– Letting decor take over. It’s tempting to fill every shelf with cute jars and framed prints. But if the styling crowds out the actual working storage, you’ll start dumping supplies on the floor or the desk instead of putting them away. Function first, always.
Keeping It From Falling Apart Again
The real test of craft room shelving isn’t how it looks on day one. It’s whether it still looks good in six months, after you’ve bought more yarn than you planned to and finished (or abandoned) four projects.
Pick one shelving language and stick to it — all white, all wood, or a consistent wood-plus-acrylic combo — so new purchases don’t clash with what’s already there. Buy containers in sets, not one-offs, so you’re not chasing a matching bin every time you need more storage. And build in a seasonal edit: every few months, pull out what you’re not using, rotate finished projects off the display shelf, and make sure the “grab zone” still matches what you’re actually making right now, not what you were making a year ago.
Budget-wise, this whole system scales. A thrifted bookcase, some canning jars, and a few crates gets you 80% of the way there for under fifty dollars. The adjustable track shelving, the labeled acrylic bins, the brass hardware — that’s all upgrade territory, worth adding once you know your habits well enough to know what you’ll actually use.
The shelving is just the frame. What makes a craft room work is being honest about how you actually create, then building storage around that instead of around a picture you saved months ago.
For another angle on this, my craft room storage ideas guide covers the same space from a different starting point.





