
Every bay window I’ve ever lived with started as wasted space. Mine sat empty for two years with a sad little plant and a stack of magazines nobody touched, because I kept treating it like a display shelf instead of a place to actually sit down. A bay window reading nook only works when you stop decorating the window and start designing a seat — comfort first, styling second. Get that order backwards and you end up with a pretty corner nobody uses, which is exactly what I had.
Here’s everything I’ve learned building three of these, in three different houses, with three very different budgets.
What This Look Actually Is
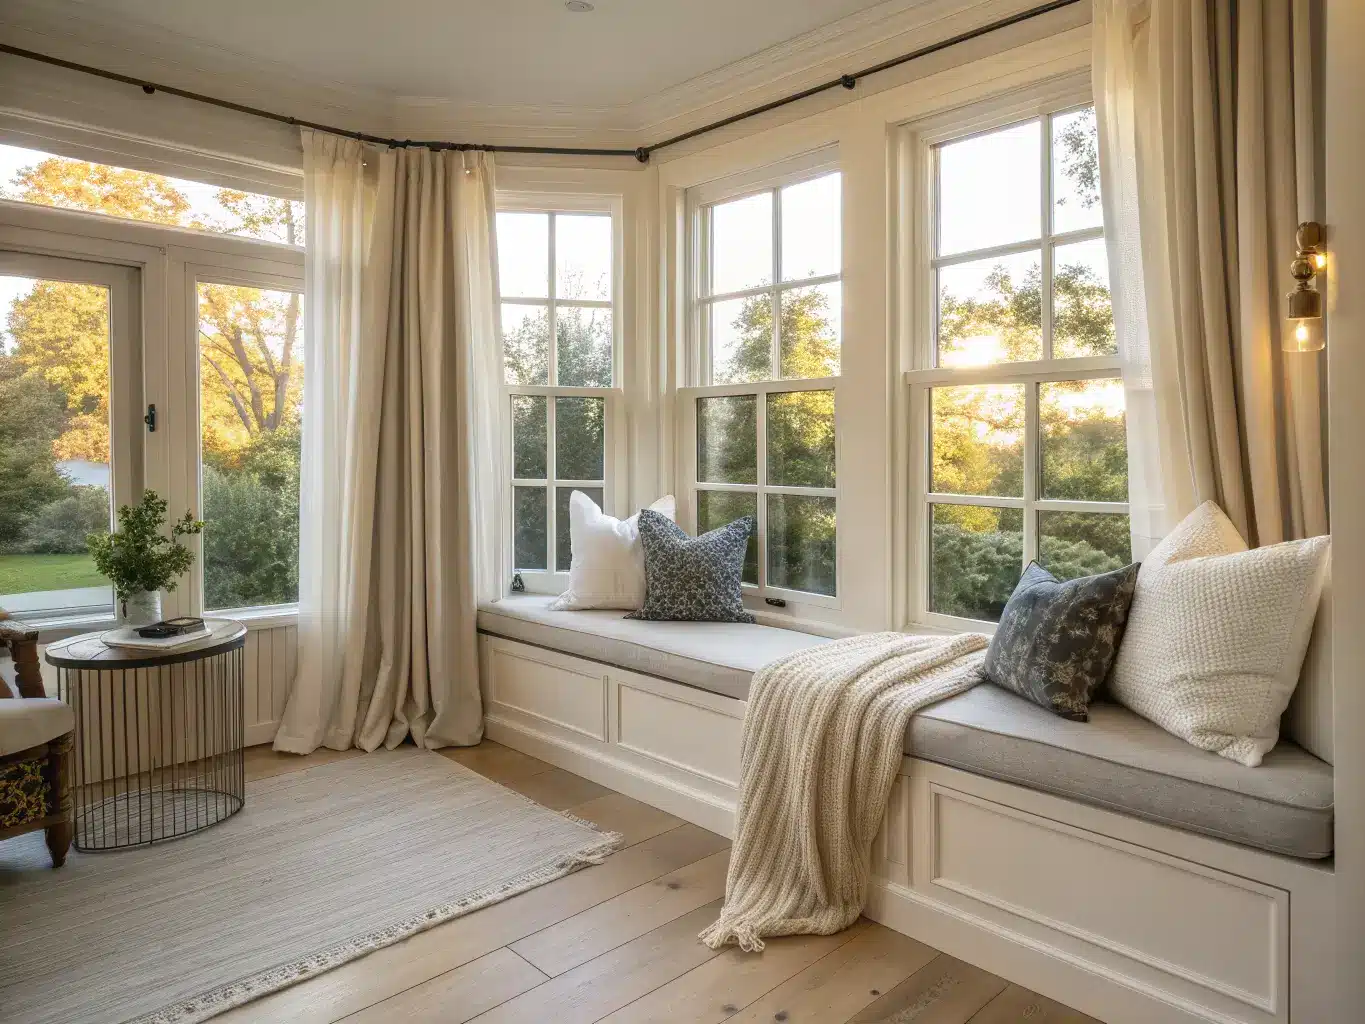
The style that keeps showing up in bay window nooks right now is cozy transitional — a little modern cottage, a little Scandi, sometimes leaning boho or coastal depending on what’s already in the room. It’s not fussy. Nobody’s doing tufted velvet and tassel trim anymore. It’s linen, warm neutrals, a chunky knit throw, natural wood. Tailored but soft.
Color palette that works almost every time: cream, oatmeal, dove gray, soft sage, dusty blue, with maybe one charcoal accent so it doesn’t go flat. Materials stay in the same family — linen upholstery, cotton throws, wood shelving, woven baskets. Nothing shiny, nothing that fights the daylight pouring in from three sides.
This works best in a bedroom, honestly — I’ve done a living room version and it’s fine, but a bay window in a bedroom becomes a genuine second room. It’s also great in home offices and breakfast nooks. Anywhere with a window seat and enough daylight to make sitting there worth it.
Who this is for: people who read, obviously, but also anyone with an awkward architectural feature they’ve been ignoring. If your bay window currently holds a lonely armchair nobody sits in, or worse, nothing at all, this fixes that.
The Pieces You Actually Need
Skip anything decorative until these are handled:
– A seat that fits the footprint — built-in bench, storage bench, banquette, or a plush armchair sized to the alcove. This decision comes first because everything else scales off it.
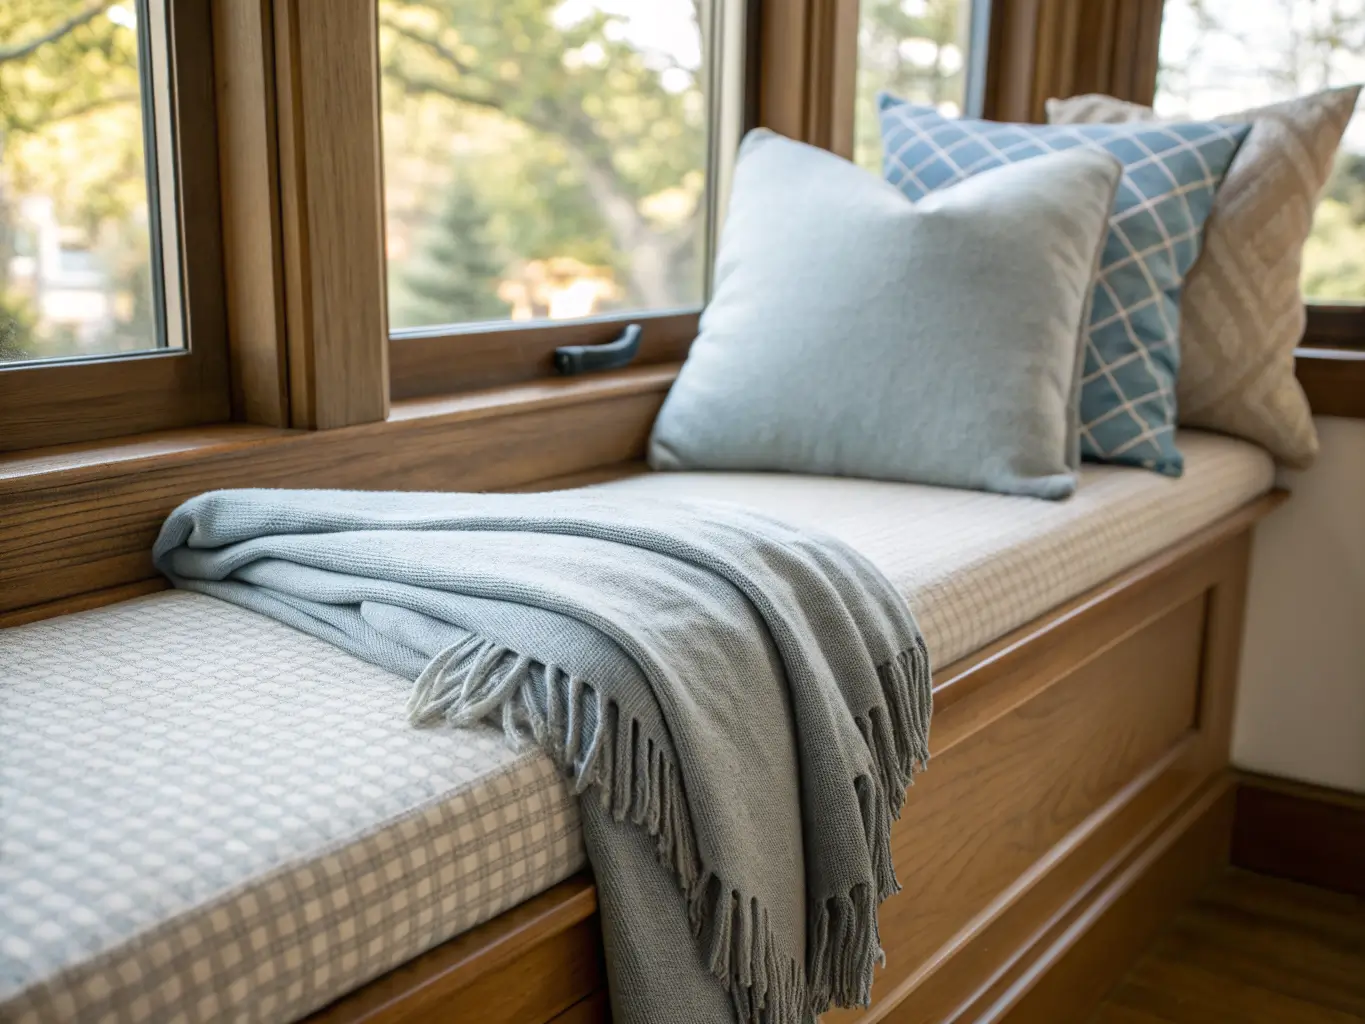
– A thick cushion. I cannot stress this enough after getting it wrong myself: 4 to 5 inches of high-density foam, minimum. My first attempt used leftover 2-inch foam from another project because I didn’t want to buy more, and it was unusable after twenty minutes. Sat in it once, moved it to the guest room, bought real foam within the month.
– 2 to 4 throw pillows, mixed sizes, for actual back support — not just decoration. If you’re not building a back cushion, stack pillows into the corners where the bay’s walls meet the seat. That angle becomes your backrest.
– A throw blanket — knit or linen, something with texture. This is the cheapest thing you’ll buy and it does the most visual work.
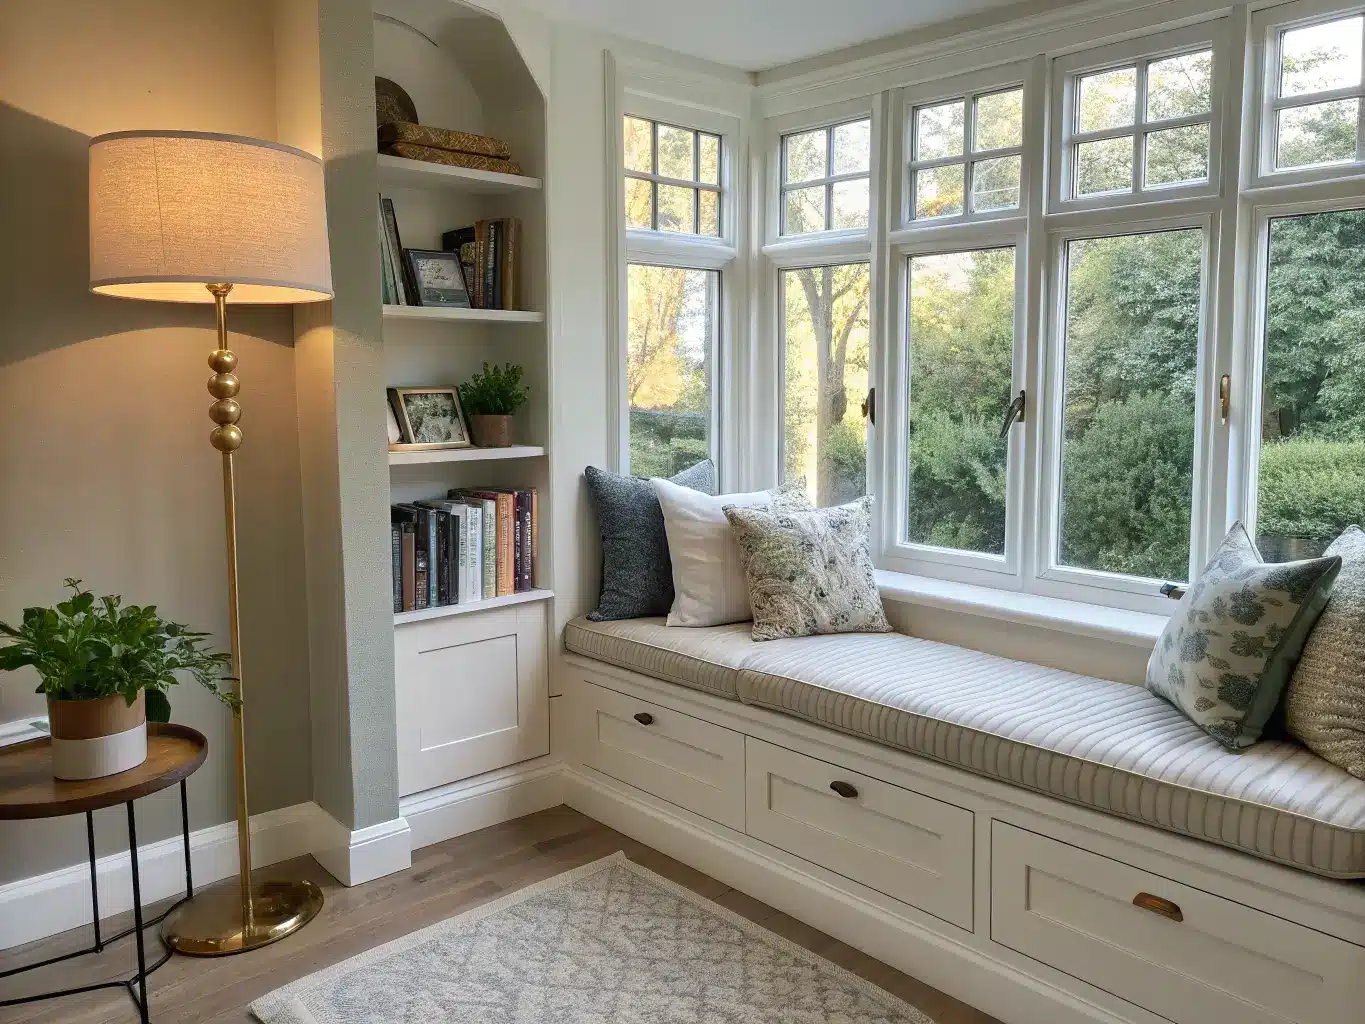
– Task lighting. A floor lamp, a sconce mounted to the side wall, or a small pendant on a dimmer. Daylight handles the day; you still need this for 8pm.
– A place for books — floating shelf beside the bay, a small bookcase, or storage built into the bench itself.
– Something soft on the window — sheer curtains or Roman shades, so you get privacy at night without losing light during the day.
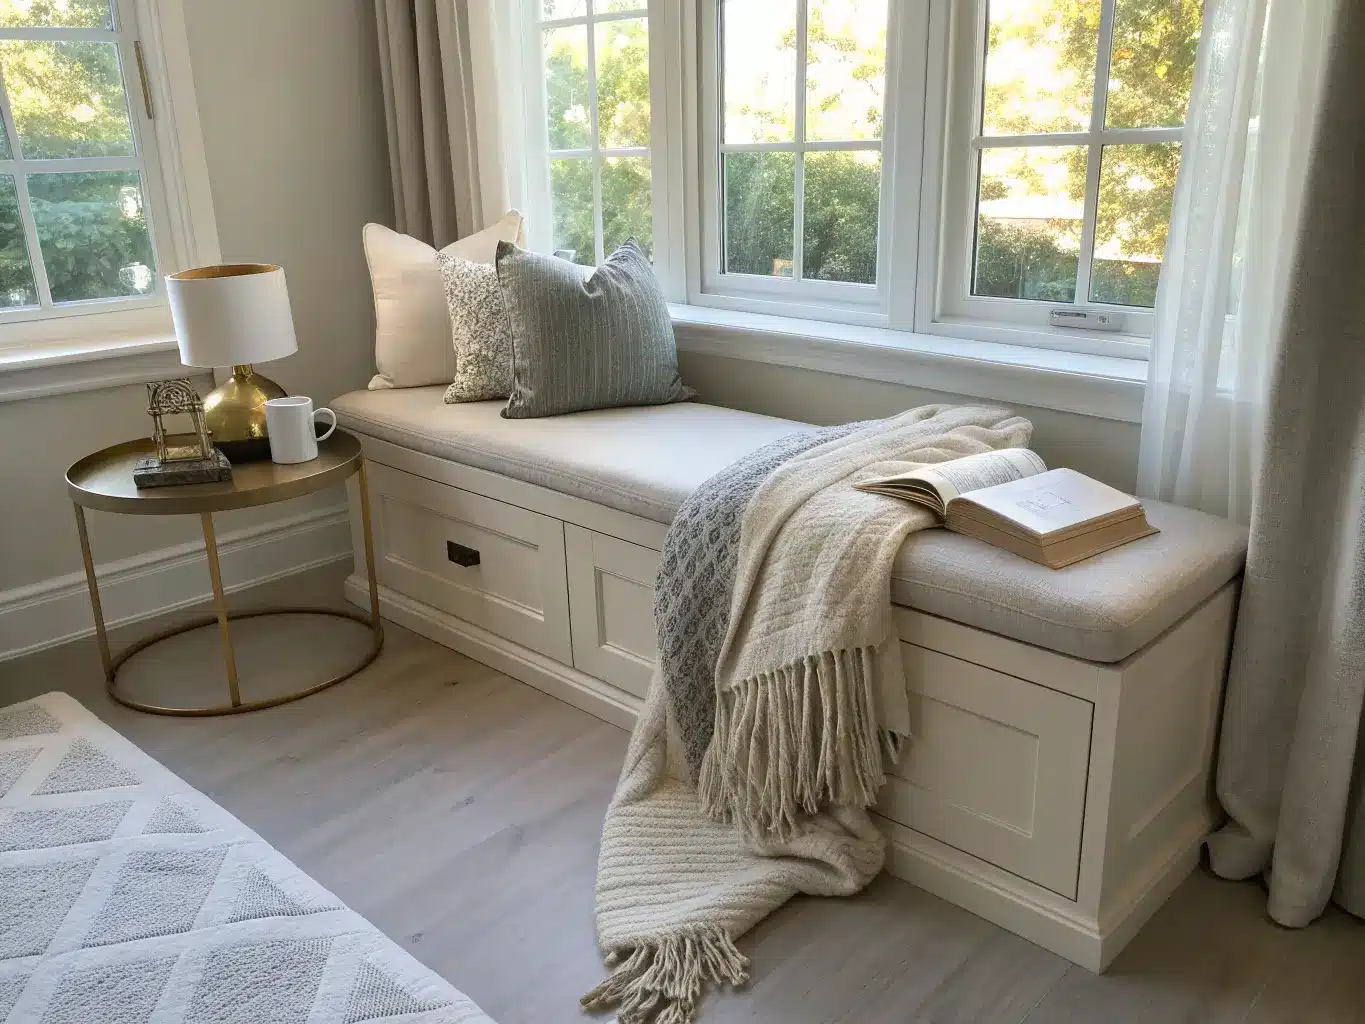
– A side surface for tea, glasses, whatever you’re reading. A narrow side table or a single floating shelf works.
That’s the whole list. Everything else is optional.
Budget: Where This Actually Lands
The range on this project is huge because “reading nook” can mean a chair you already own or a full carpentry build.
– $150–$500 — armchair (or one you already have), a throw, pillows, a small side table. This is a weekend project, start to finish.
– $300–$800 — custom-cut cushions specifically. If your bay window bench isn’t a standard rectangle, you’re paying for someone to template and cut foam to your angles, which is where this money goes.
– $800–$3,500+ — DIY storage bench: lumber, foam, upholstery fabric, hardware, finish. This is a real project, expect a few weekends.
– $2,500–$8,000+ — professional built-in with trim, hidden storage, sometimes electrical for sconces. This is the number that surprises people, but bay windows are rarely square, and custom carpentry for angled walls isn’t cheap.
Where to spend: the cushion foam and the seat itself. This is what you touch every time you use the nook, and cheap foam flattens in months.
Where to save: pillows, throws, and the side table. Thrift stores are genuinely good for this — my side table came from a estate sale for $12, a slightly wobbly little brass-legged thing that I tightened with a screwdriver and have used for four years.
Setting It Up: The Order Matters
1. Measure the bay before you buy anything. Template the angles with cardboard if you’re getting a custom cushion cut — one wrong measurement and you’ve got a $400 cushion that doesn’t sit flush in the corners. I learned this by eyeballing a bench cushion once and ending up with a half-inch gap on one side that drove me insane for a year before I finally replaced it.
2. Pick your seat type first. Bench, banquette, or chair — decide before you touch lighting or storage, because scale depends on this choice.
3. Clear the area completely. If there’s other furniture competing for attention near the bay, move it. The nook needs to read as one clear idea, especially in a bedroom.
4. Build up in layers: seat, then cushion, then pillows, then throw, then side table, then lighting, then books. Do it in this order and you’ll notice when something’s unnecessary — usually you’ll realize you don’t need that third pillow.
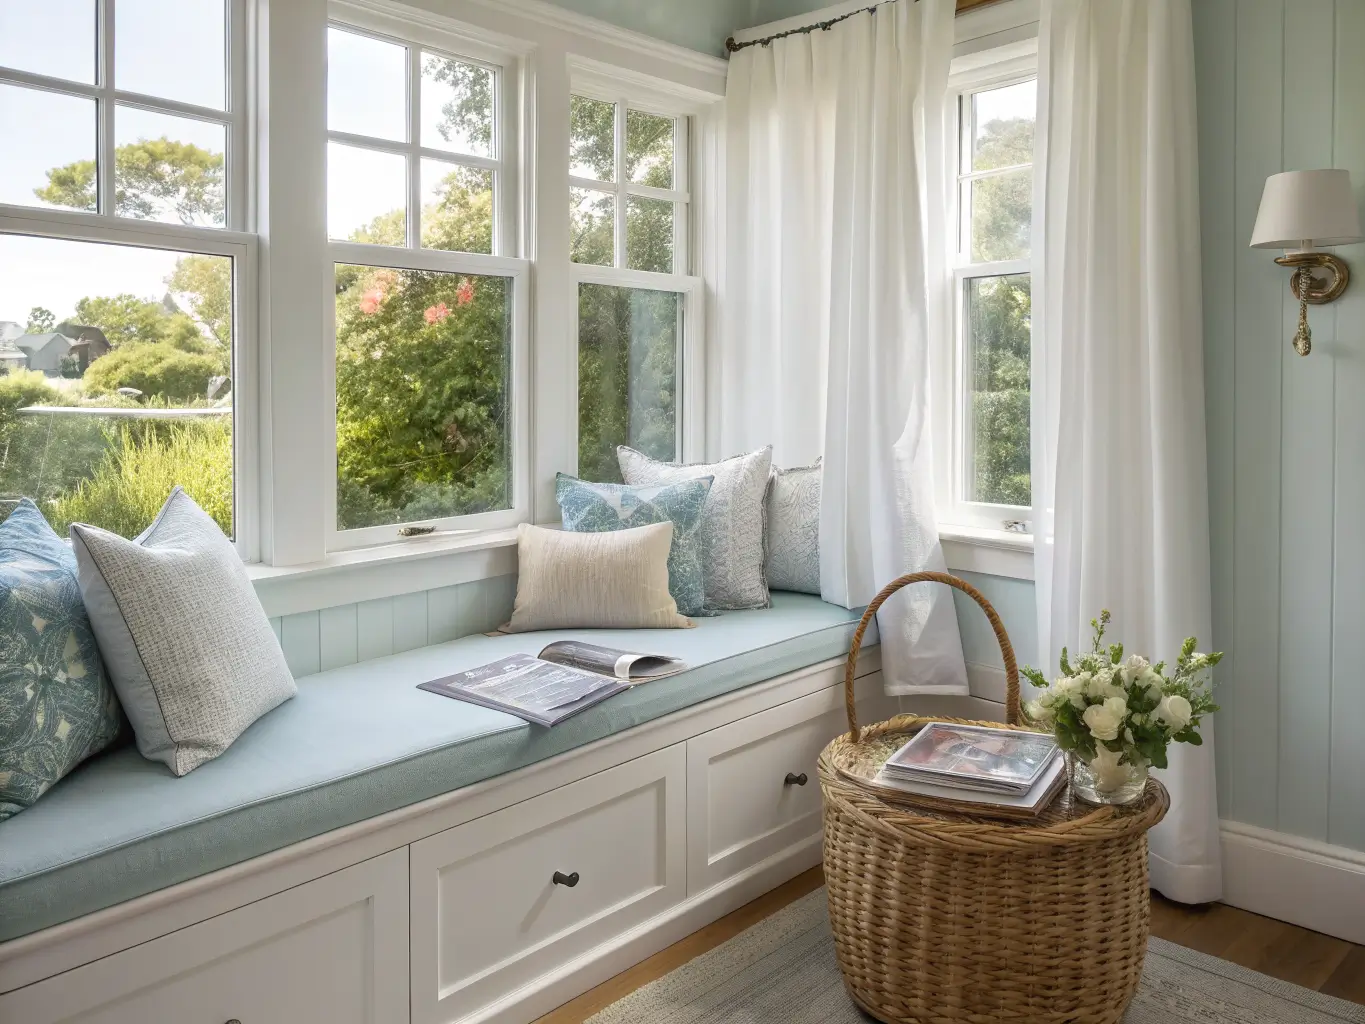
Styling It So It Feels Lived-In, Not Staged
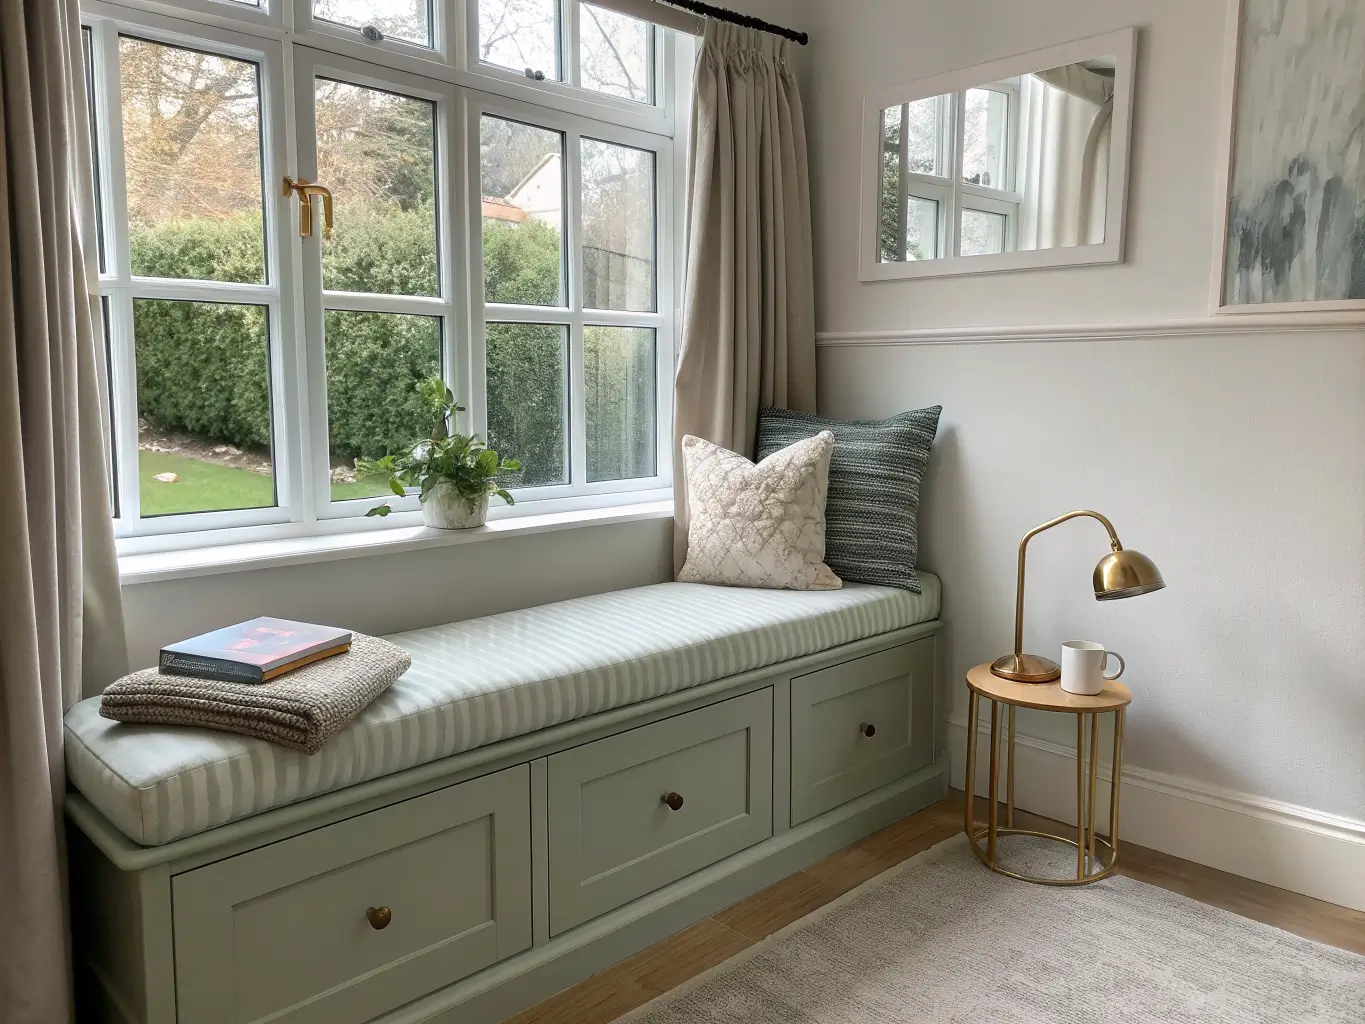
Start with comfort — the cushion is doing the real work here, not the decor. Then add back support: stacked pillows in the corners, or an upholstered back cushion if you built one in. Next, make it functional — books and a lamp within arm’s reach, because a reading nook you have to get up from to grab your book isn’t a reading nook. Soften the window itself with sheers or a Roman shade. And last, add the stuff that makes it feel like yours: one small plant, a framed print on the adjacent wall, the book you’re actually in the middle of instead of ones staged for looks.
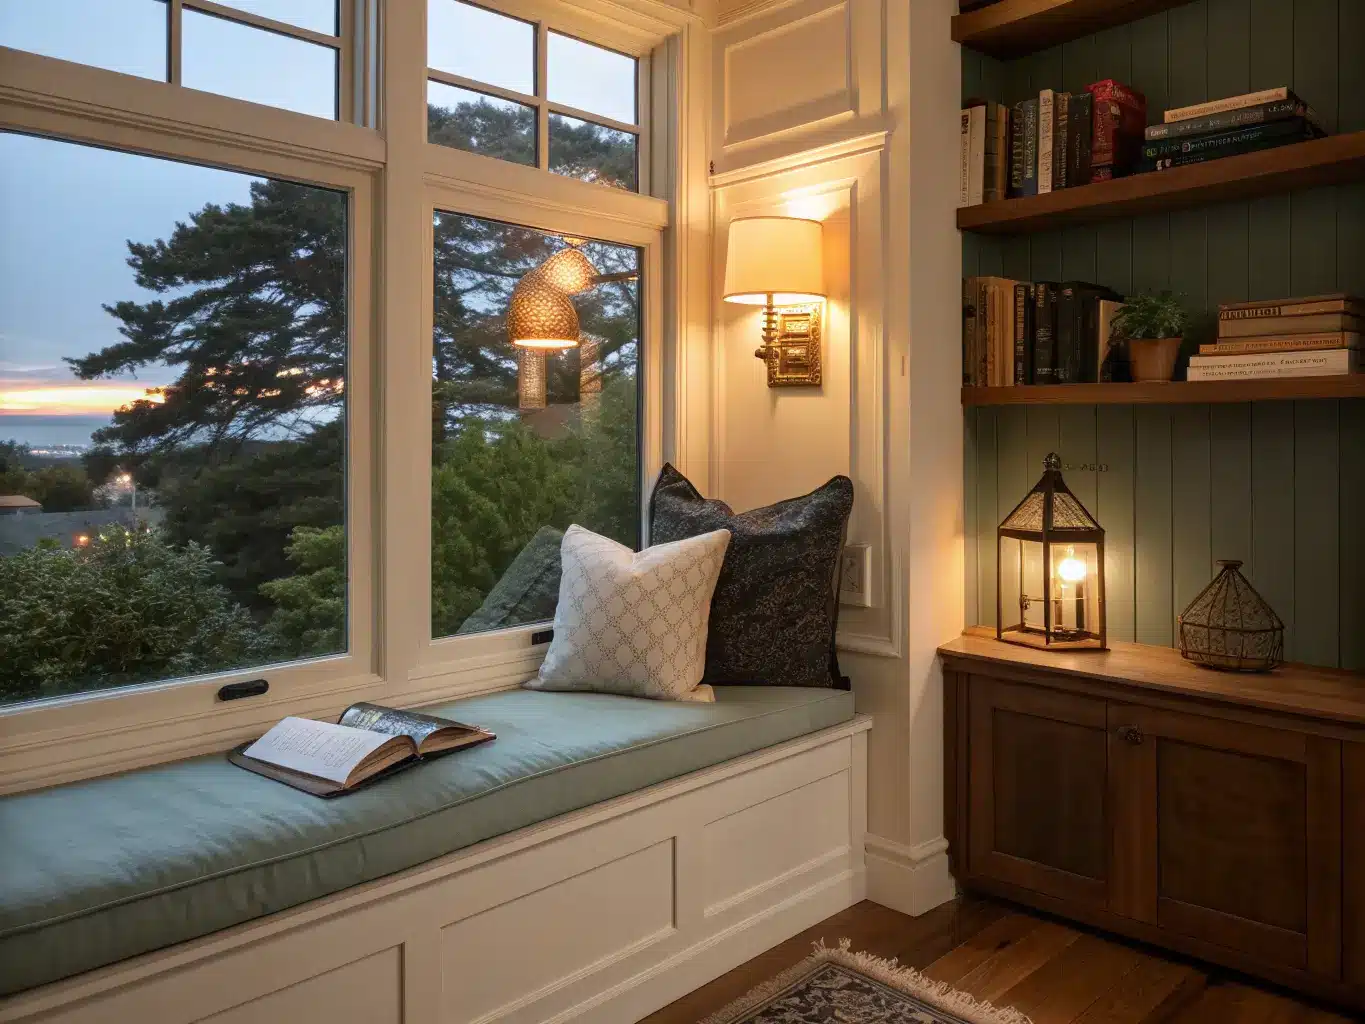
Mistakes I’ve Made So You Don’t Have To
– Cushion too thin. Covered this above, but it bears repeating — 4 to 5 inches, not less.
– Dark, heavy fabric on the seat. I tried a charcoal linen once because I liked it in the showroom. In the bay window, surrounded by light on three sides, it read as a black hole in the middle of the room. Light or neutral upholstery lets the window stay the star.
– No task lighting. Gorgeous by day, useless by 7pm. Add the lamp.
– Too many pillows. Six pillows on a window seat isn’t cozy, it’s an obstacle course. Two to four, max, and one has to move every time you sit down or you have too many.
– No storage plan. If you’re building a bench, put storage underneath. Otherwise every throw blanket and paperback ends up in a pile on the floor next to it within a month. Mine did, for exactly this reason, until I finally added a lift-top storage bench.
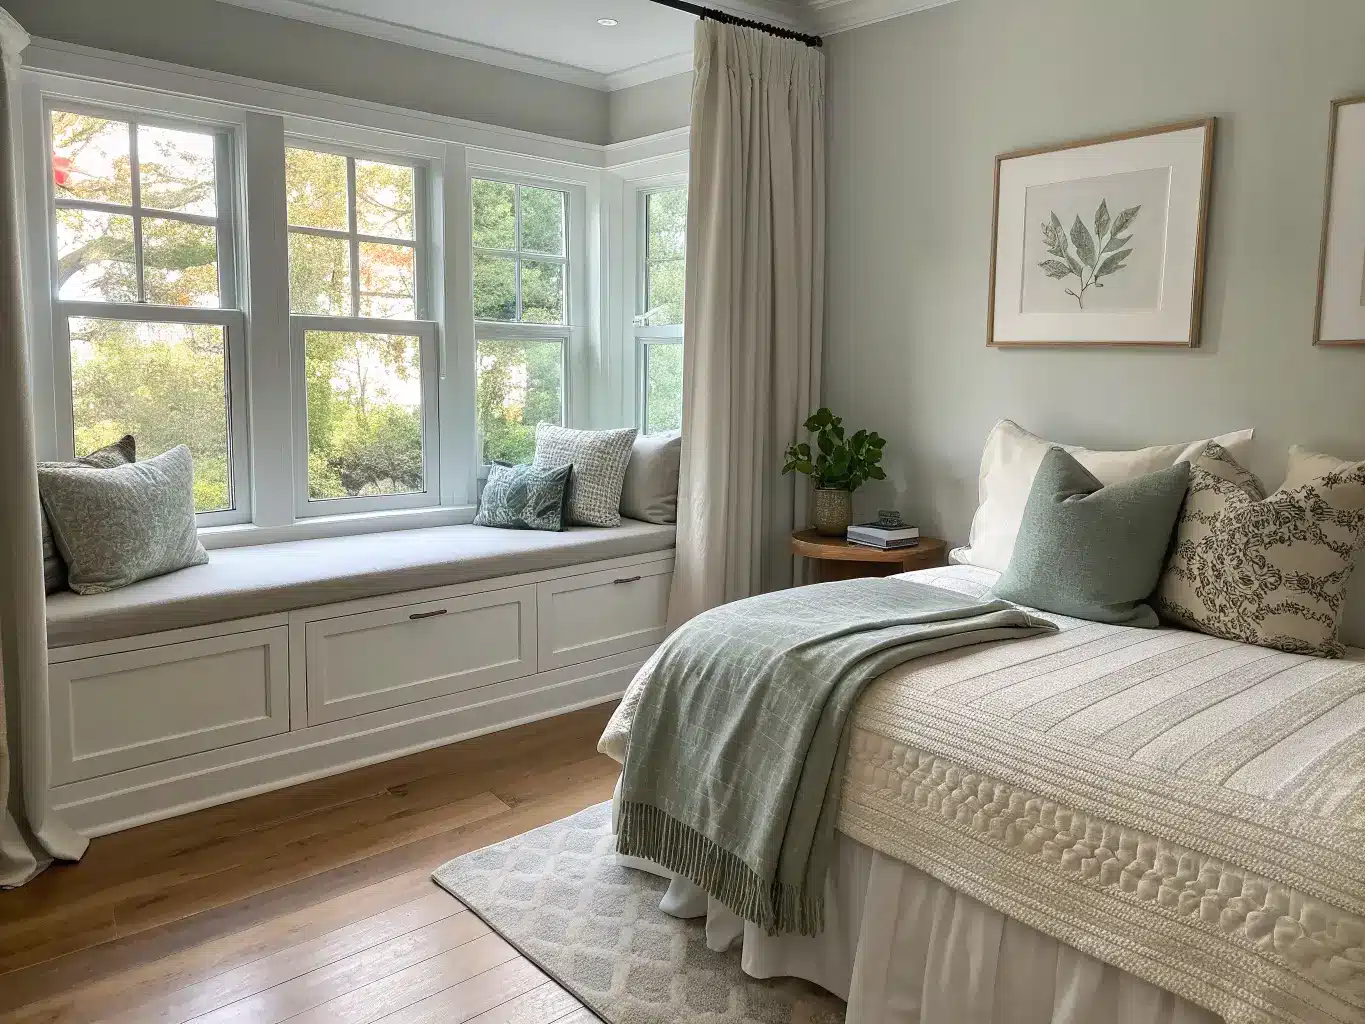
Keeping It From Going Stale
Stick to one palette family and don’t wander. If your bench is wood, let the shelf or side table be wood too, not a mismatched white one you found on sale. If your textiles are linen, keep everything else soft and matte — no glossy throw pillows fighting with the rest.
Leave one side of the bay visually quiet. This was the fix for my original overcrowded version — I pulled half the objects off the side table and suddenly the window itself became the focal point again instead of getting lost in stuff.
Seasonal changes are cheap and easy:
– Fall: swap pillows for rust, olive, or camel tones
– Spring/summer: go back to linen whites and pale blue
– Winter: add the heaviest knit throw you own, maybe two
If you’re starting small and building up: chair, ottoman, lamp, shelf. That’s phase one. Phase two is a custom cushion. Phase three, if you’re all in, is a full built-in bench with storage. You don’t have to do this all at once, and honestly, living with the simple version for a few months tells you a lot about what you’ll actually use.
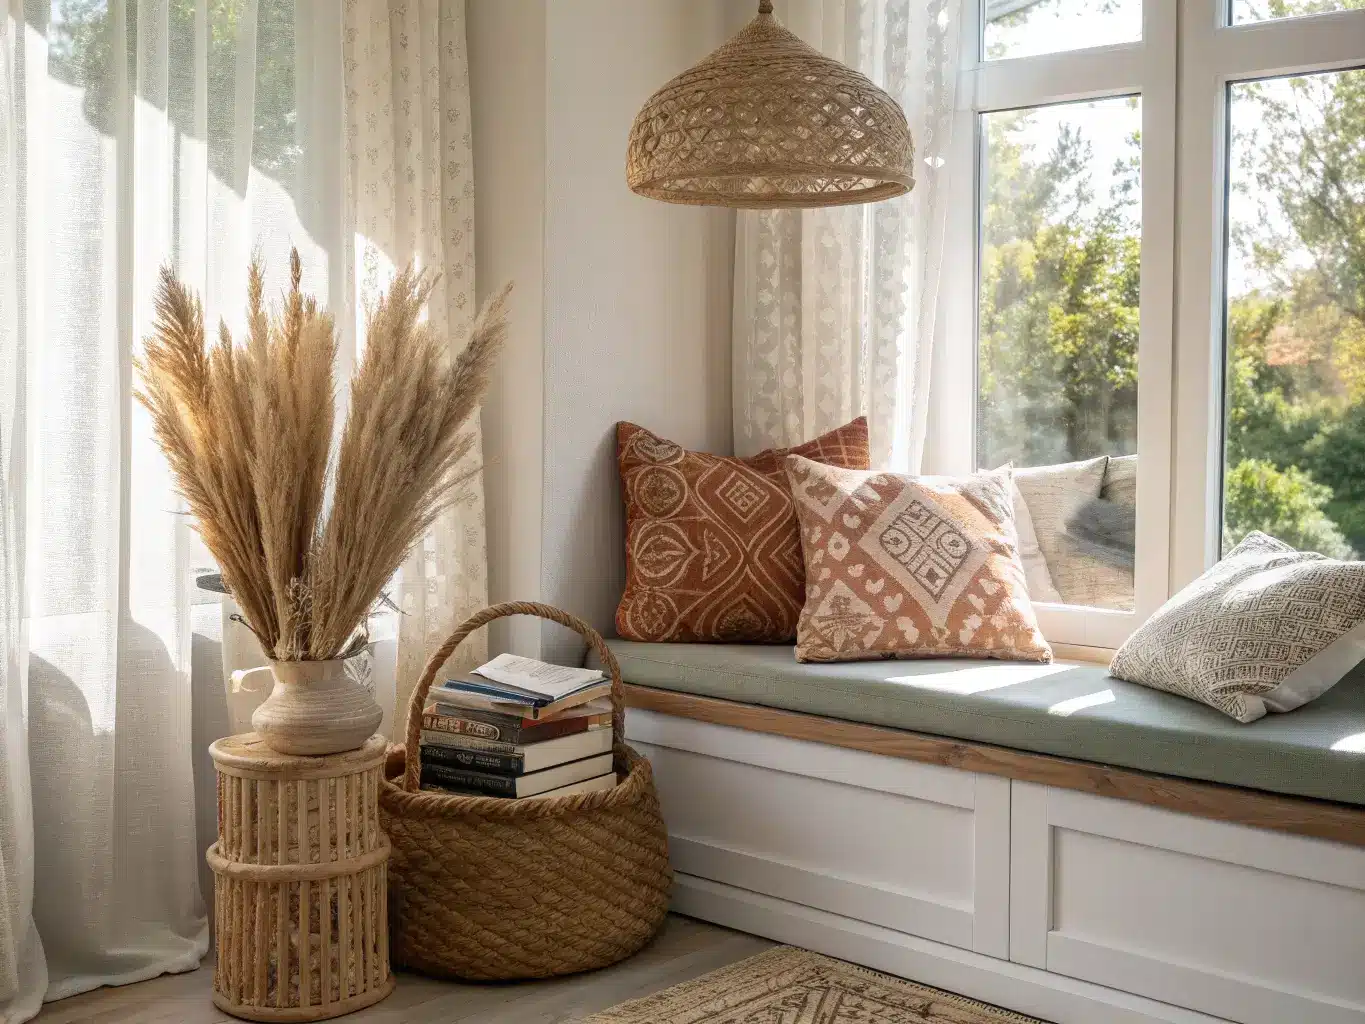
Mixing in other styles:
– Boho: woven basket, patterned pillows layered loosely, natural wood, nothing too matched
– Coastal: washed blue tones, crisp white trim, sheer curtains, pale oak side table
– Modern cottage: painted bench (soft sage or cream), a brass lamp, ticking-stripe or plaid pillows
The bay window was already doing the hard work — good light, good architecture, a natural focal point. My job was just to stop ignoring it and put a decent cushion in it.
For another angle on this, my window reading nook guide covers the same space from a different starting point.





