
Quick Style Snapshot: Time, Cost, and Space Needed
Setup time depends on how far you’re taking it. A basic nook — desk, some bins, a couple hooks — comes together in an afternoon. Add pegboard, shelving, and real lighting, and you’re looking at a weekend project, maybe two if you’re painting anything first.
Budget ranges wider than you’d expect:
– $50–$150 gets you a folding table, repurposed bins from around the house, and a few command hooks
– $300–$900+ gets you a real desk, a rolling cart, pegboard, floating shelves, task lighting, and proper drawer storage
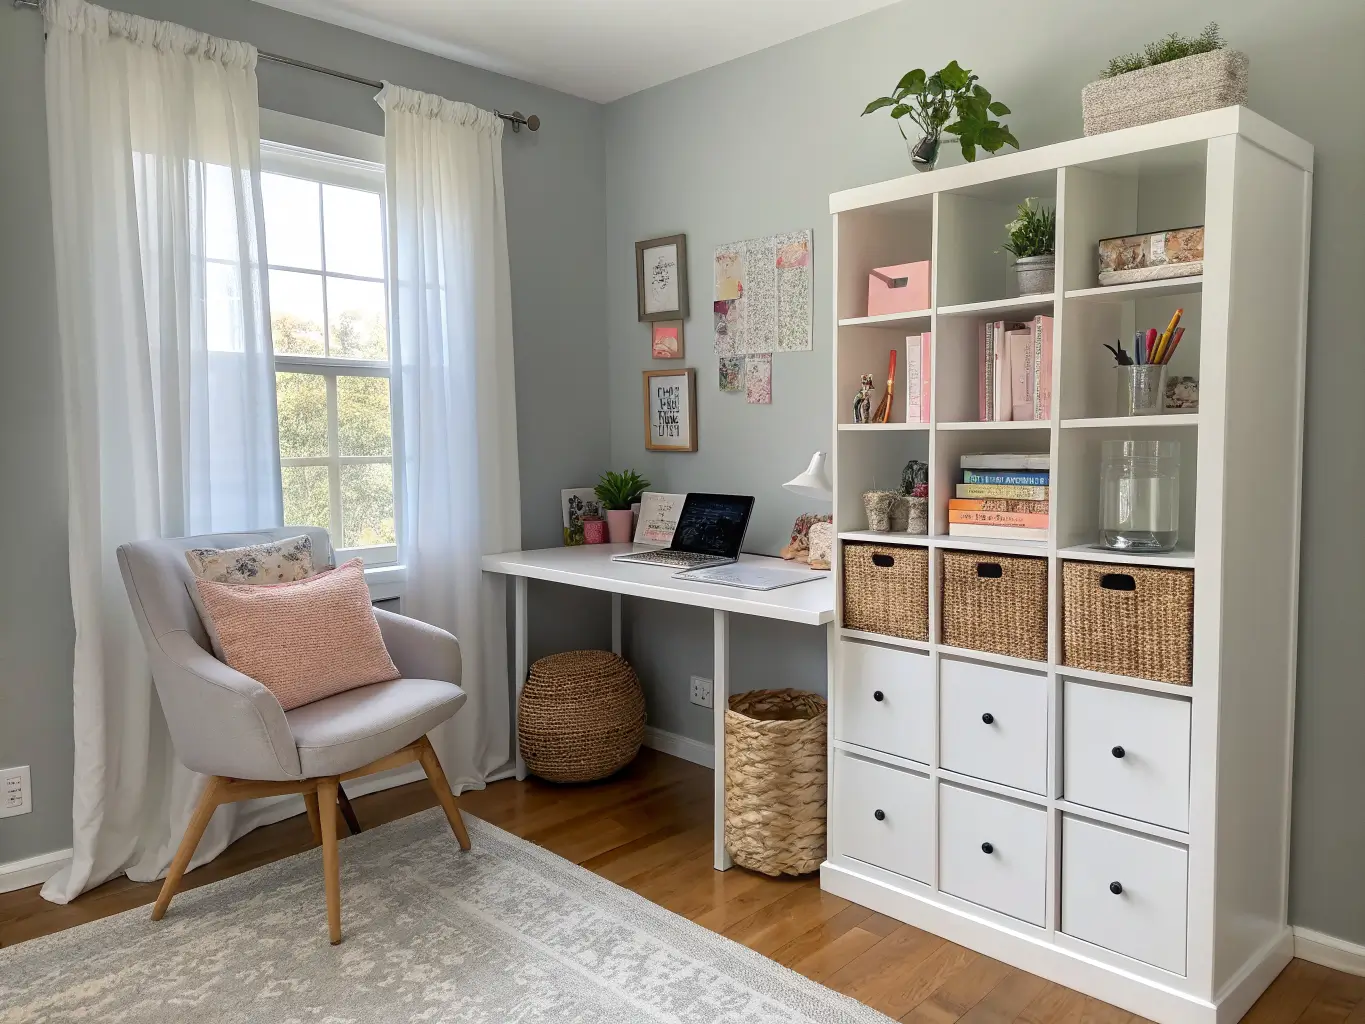
I used an IKEA KALLAX unit as my room divider and shelving combo, and it’s the one piece I’d buy again without hesitation — it runs anywhere from the low hundreds depending on size, and the cube inserts let you mix drawers, baskets, and open cubbies in one unit.
Best spaces for this: closets, corners, spare bedrooms, landings, laundry rooms, even a stretch of blank wall in a home office. You don’t need a spare room. You need about 4 linear feet and a plan.
Skill level: beginner to intermediate. Pegboard, shelves, carts, and labels are weekend-warrior easy. Fold-down wall desks and built-ins are the only pieces that push into “watch a few tutorials first” territory.
Seasonal appeal: this works year-round because the whole point is function, not decor trends. You refresh it with color swaps and bin rotation, not a redo.
What This Look Actually Is
The strongest small-craft-room look right now isn’t cute — it’s functional and airy, borrowing from modern utility storage, farmhouse warmth, and clean Scandinavian simplicity. Think white pegboard, pale wood shelving, and glass jars, not floral wallpaper and doily bunting.
The palette that works: white, soft gray, pale wood tones, beige, with one muted accent (blue, sage, blush) so the room doesn’t feel sterile.
The materials that repeat: pegboard, painted MDF or laminate shelving, clear acrylic or glass jars, wire baskets, metal cart frames, cork or fabric pinboards.
Who this is for: scrapbookers, quilters, card makers, vinyl crafters — anyone whose supplies multiply faster than their square footage. If you need to see your ribbon spools to remember you own them, this is your setup.
The Must-Have Pieces
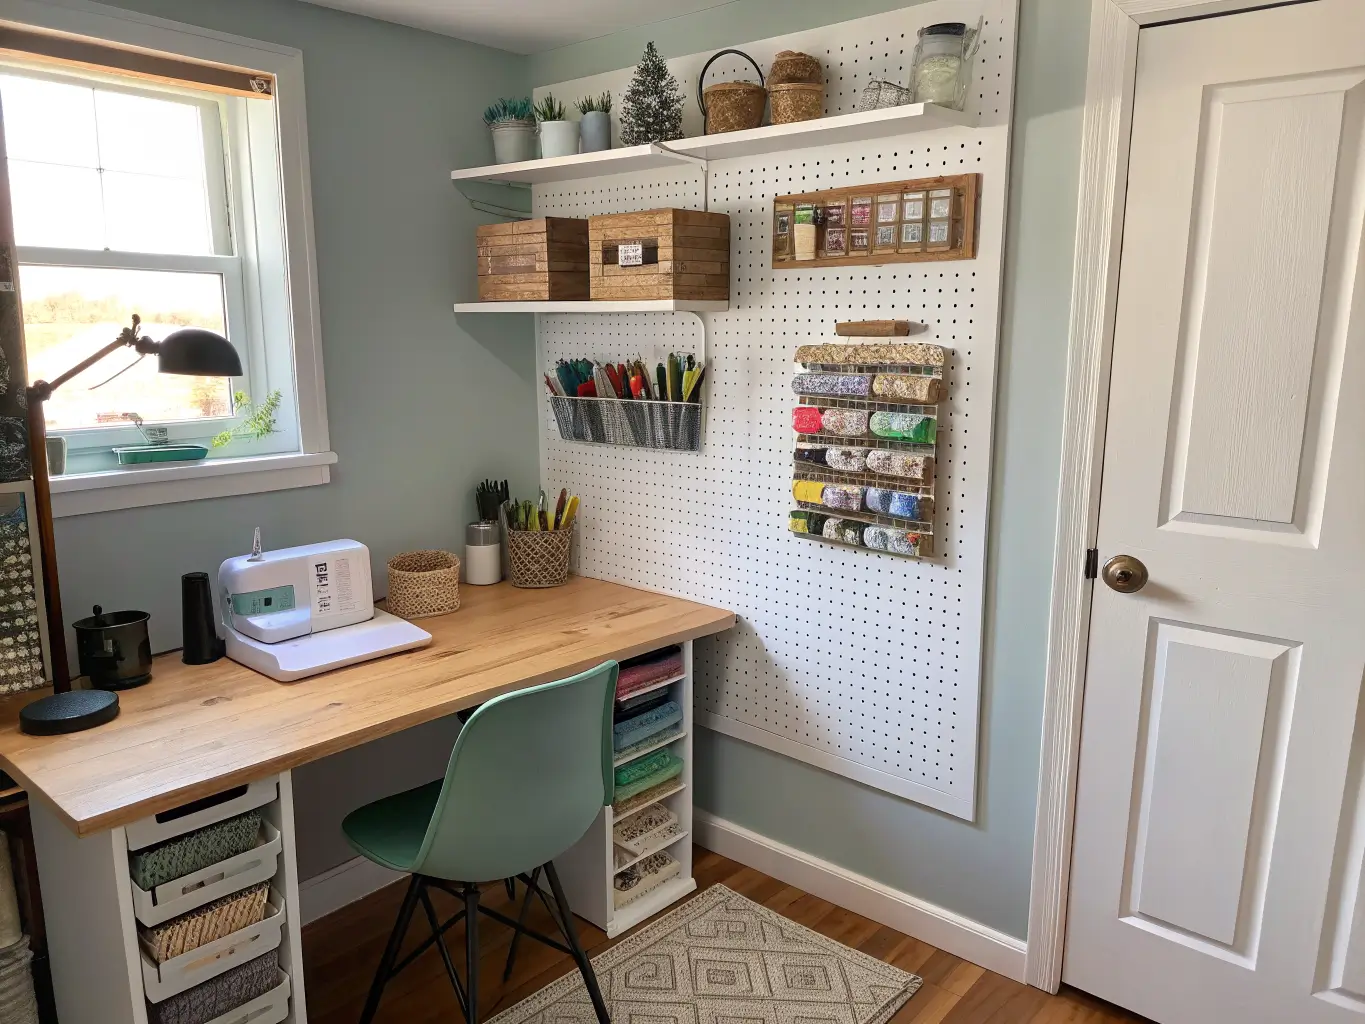
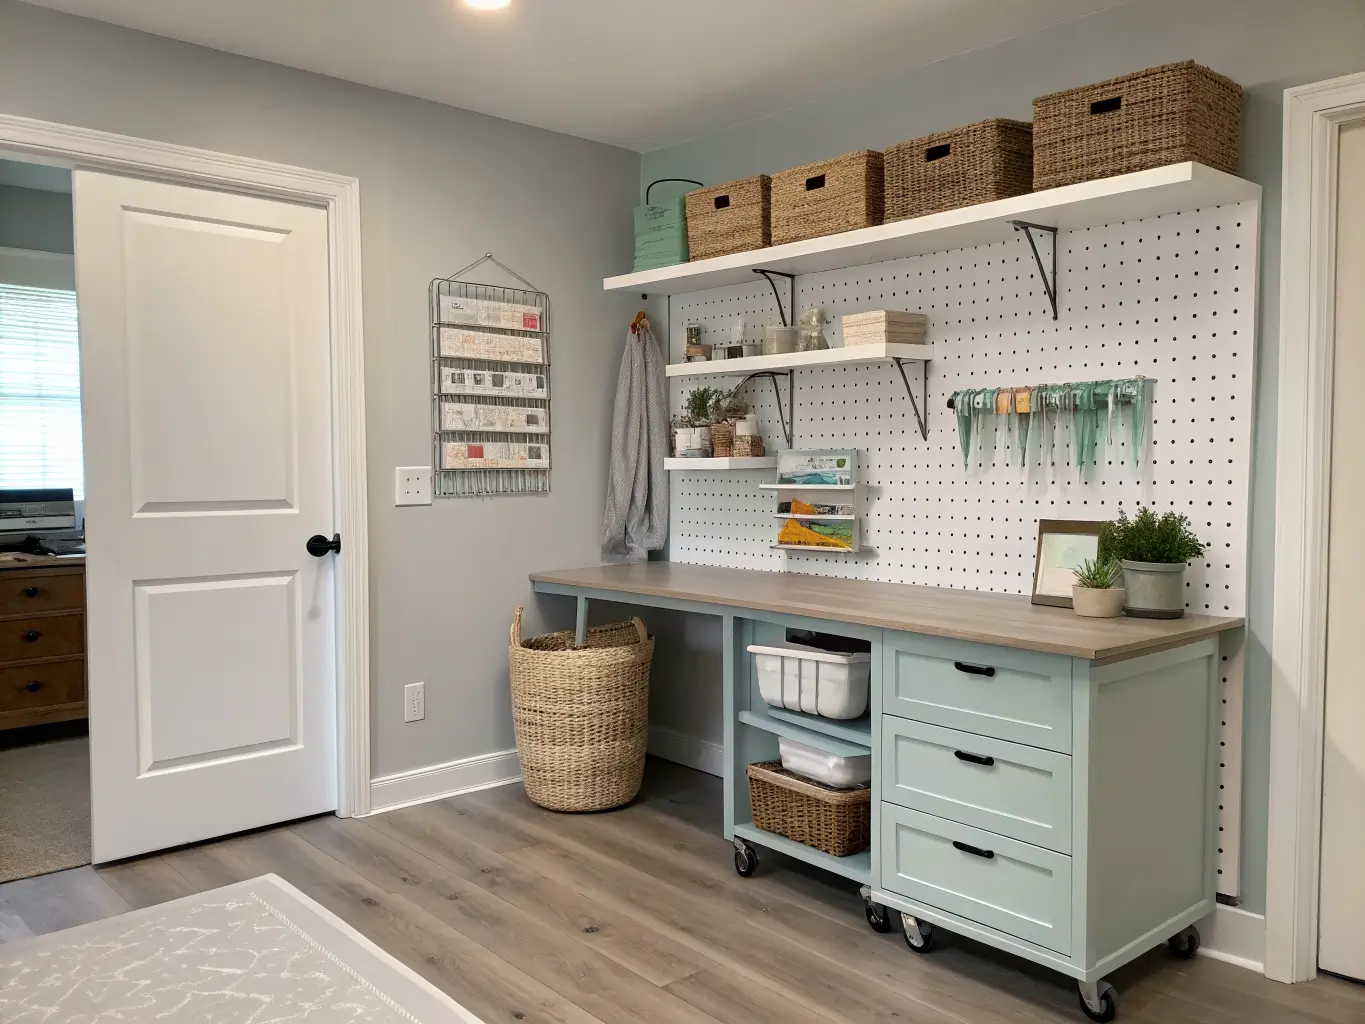
Pegboard or wall grid panel. This is the hero piece, full stop. I did a floor-to-ceiling pegboard on my closet’s back wall and it holds scissors, washi tape, rulers, and small bins on hooks — instant vertical storage with zero footprint. If you do nothing else on this list, do this.
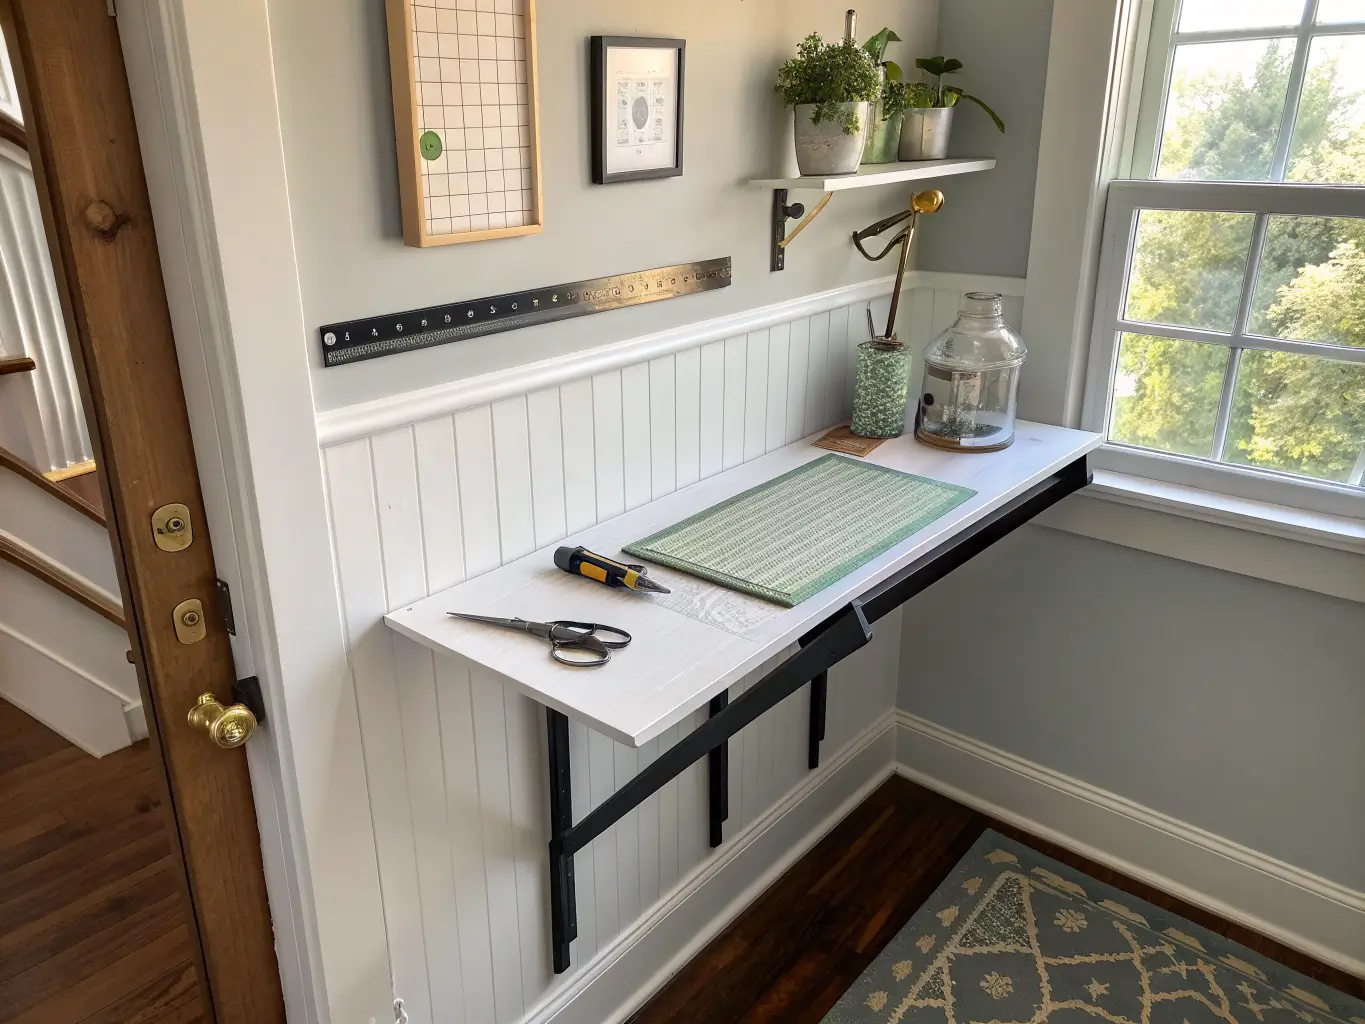
A compact desk or work surface. A narrow desk, a corner desk, or a fold-down wall table. Mine is 30 inches wide and 20 inches deep — tight, but enough for a cutting mat and a sewing machine side by side. Don’t go bigger than your room can spare; a desk that eats the walking path defeats the purpose.
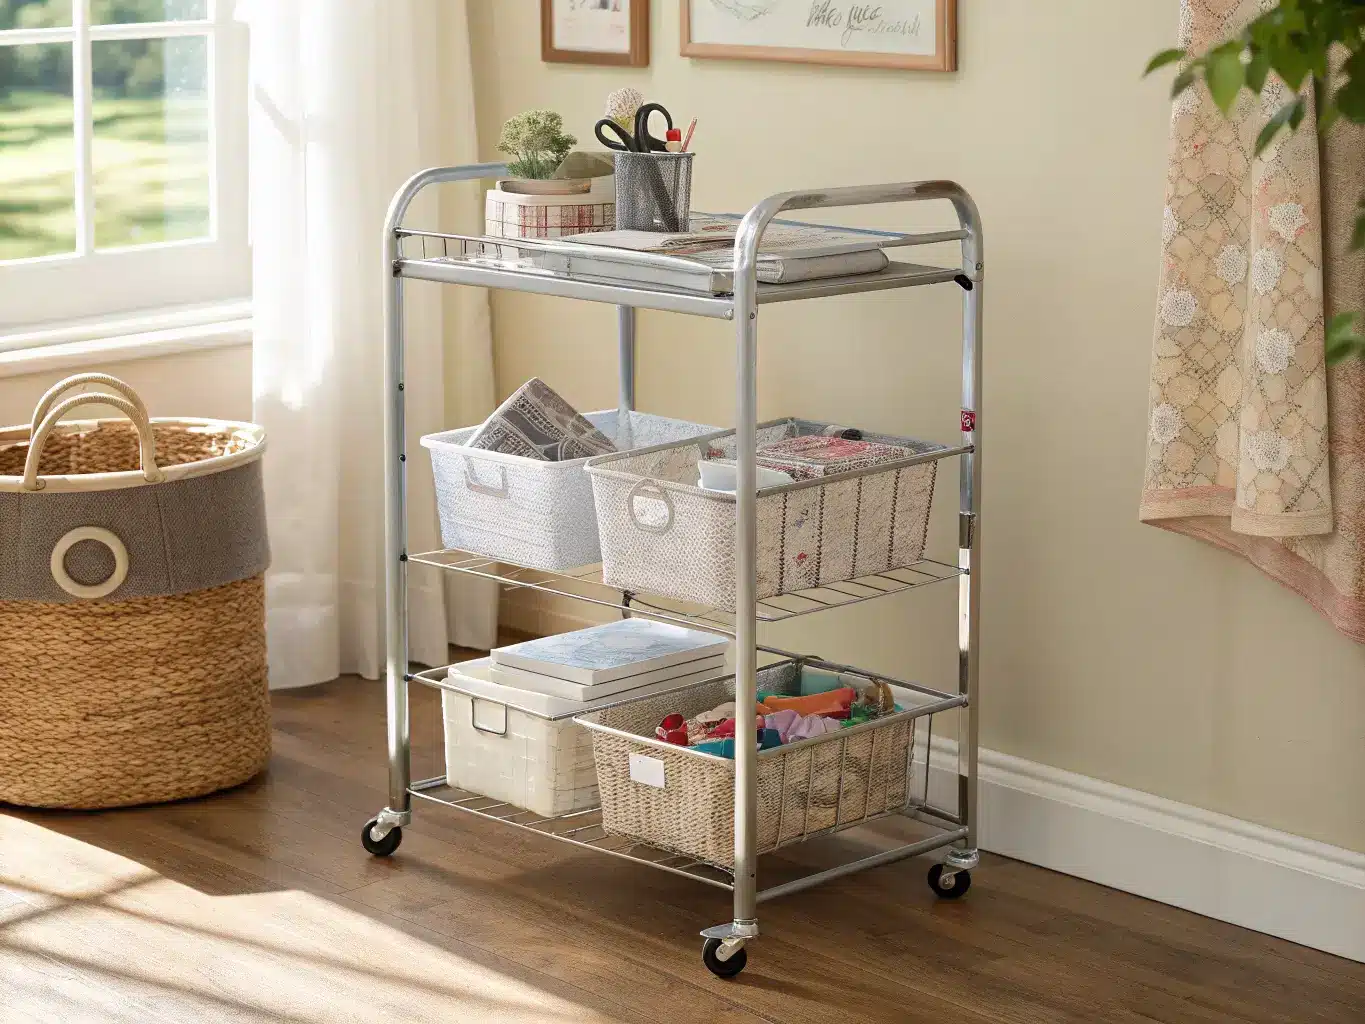
A rolling cart. A 3-tier cart is the most flexible piece you’ll own. Mine holds markers on top, paper in the middle, adhesives on the bottom, and it rolls out from under the desk when I need the surface and tucks away when I don’t.
Open shelving, floating or ceiling-high, for anything you want visible and in reach.
Clear bins and labeled containers. Sort by type or color — either works, but it has to be consistent or you’ll lose the whole point.
A magnetic strip for metal tools — scissors, craft knives, rulers with metal edges. Keeps blades off the desk and visible at a glance.
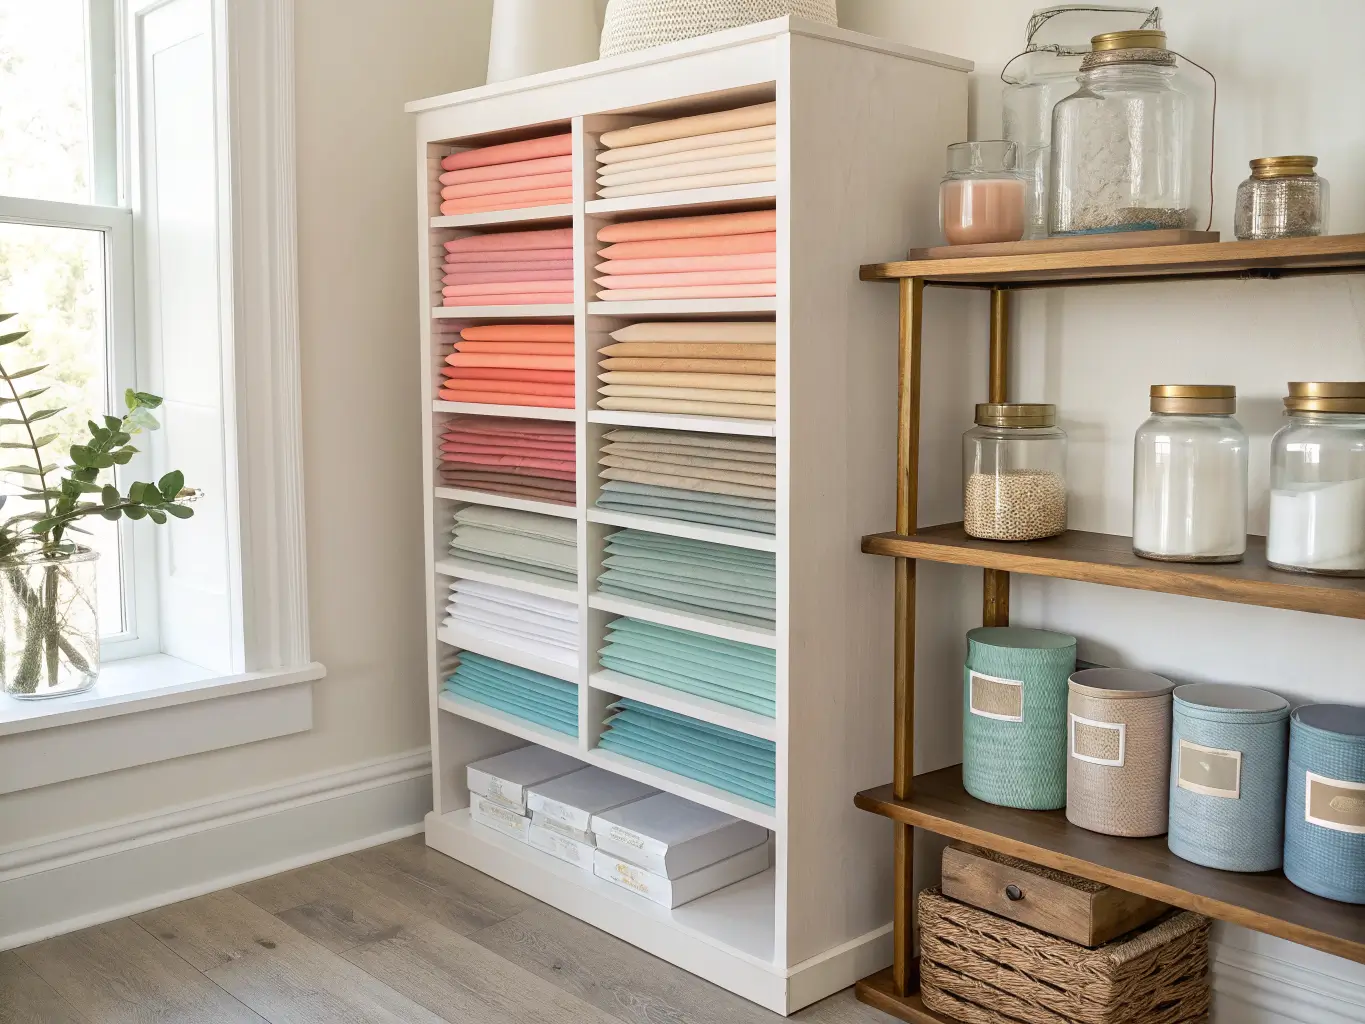
Vertical paper storage for 12×12 scrapbook paper. A flat stack in a drawer gets bent and forgotten. A vertical file rack keeps every sheet visible and flat.
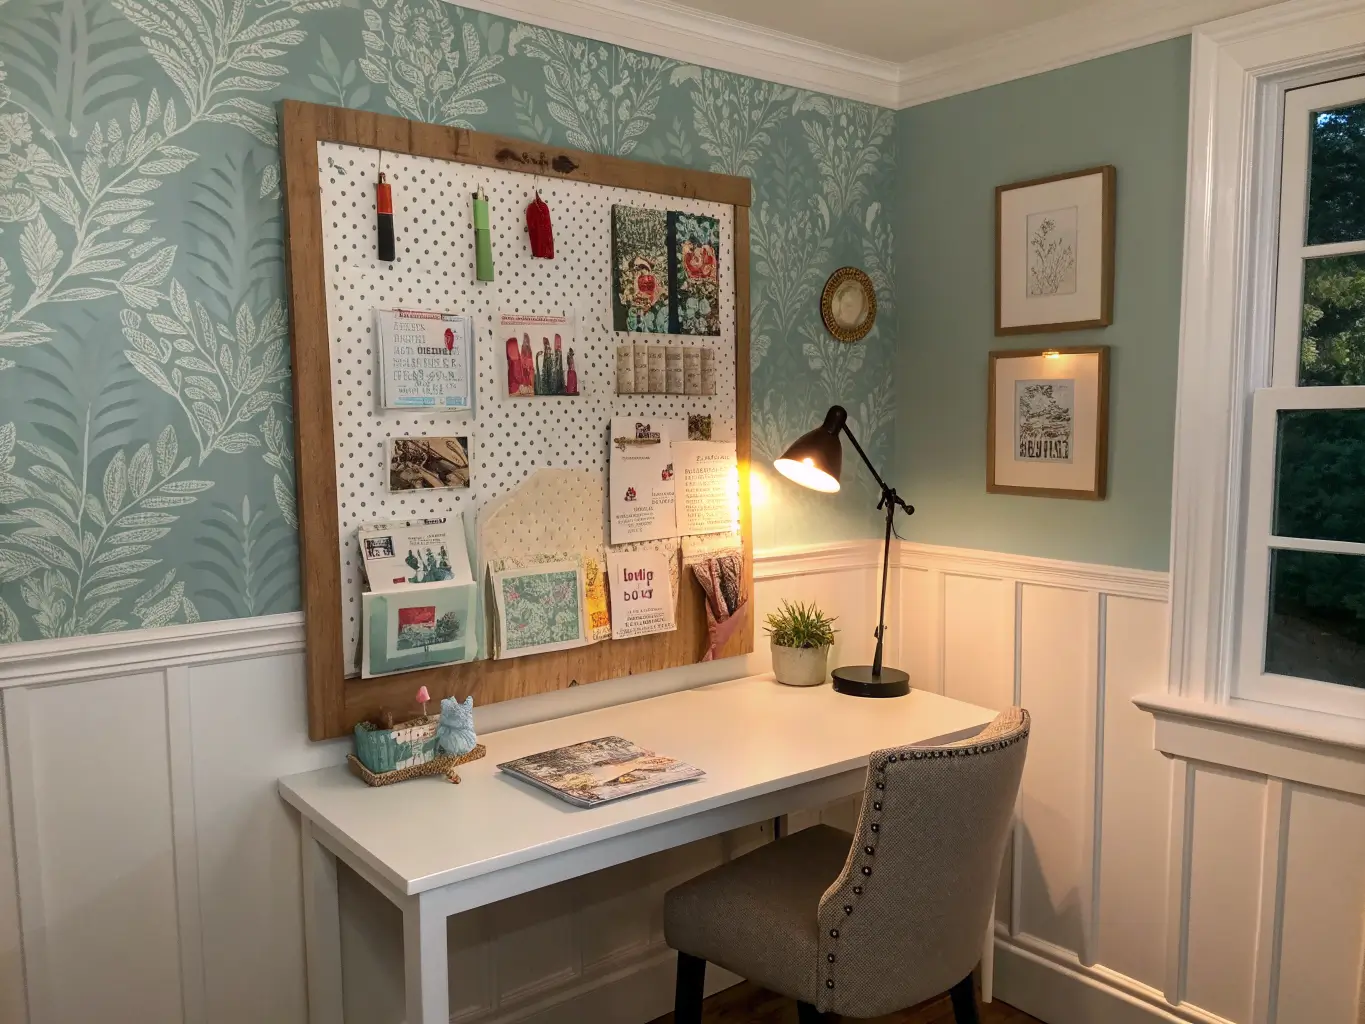
A pinboard or mood board. Cork, fabric-covered, whatever — somewhere for swatches, project notes, and the photo you’re matching colors to.
Optional Touches Worth Adding
Once the function is locked in, these add warmth without adding clutter:
– One accent wall or a strip of patterned wallpaper behind the desk — the rest of the room stays light so this doesn’t compete with your storage
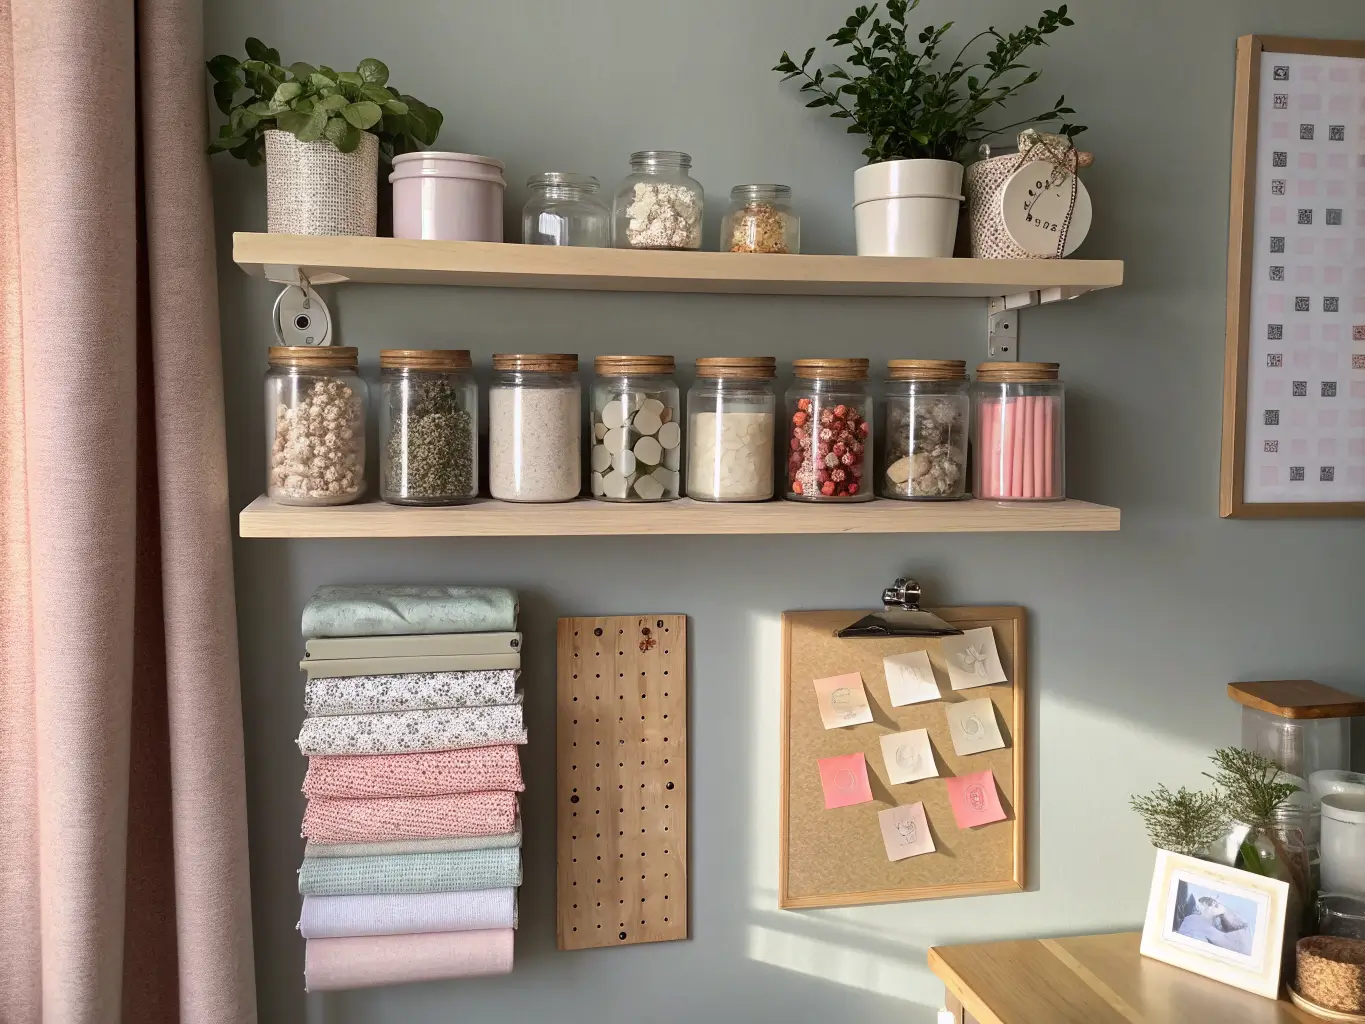
– Glass jars and canisters for buttons, brushes, and ribbon — storage that’s also decor
– Woven baskets for the stuff you don’t want on display but don’t want in a plain plastic bin either
– A little metal contrast — chrome cart frame, black wall hooks, brushed brass drawer pulls — against all that white
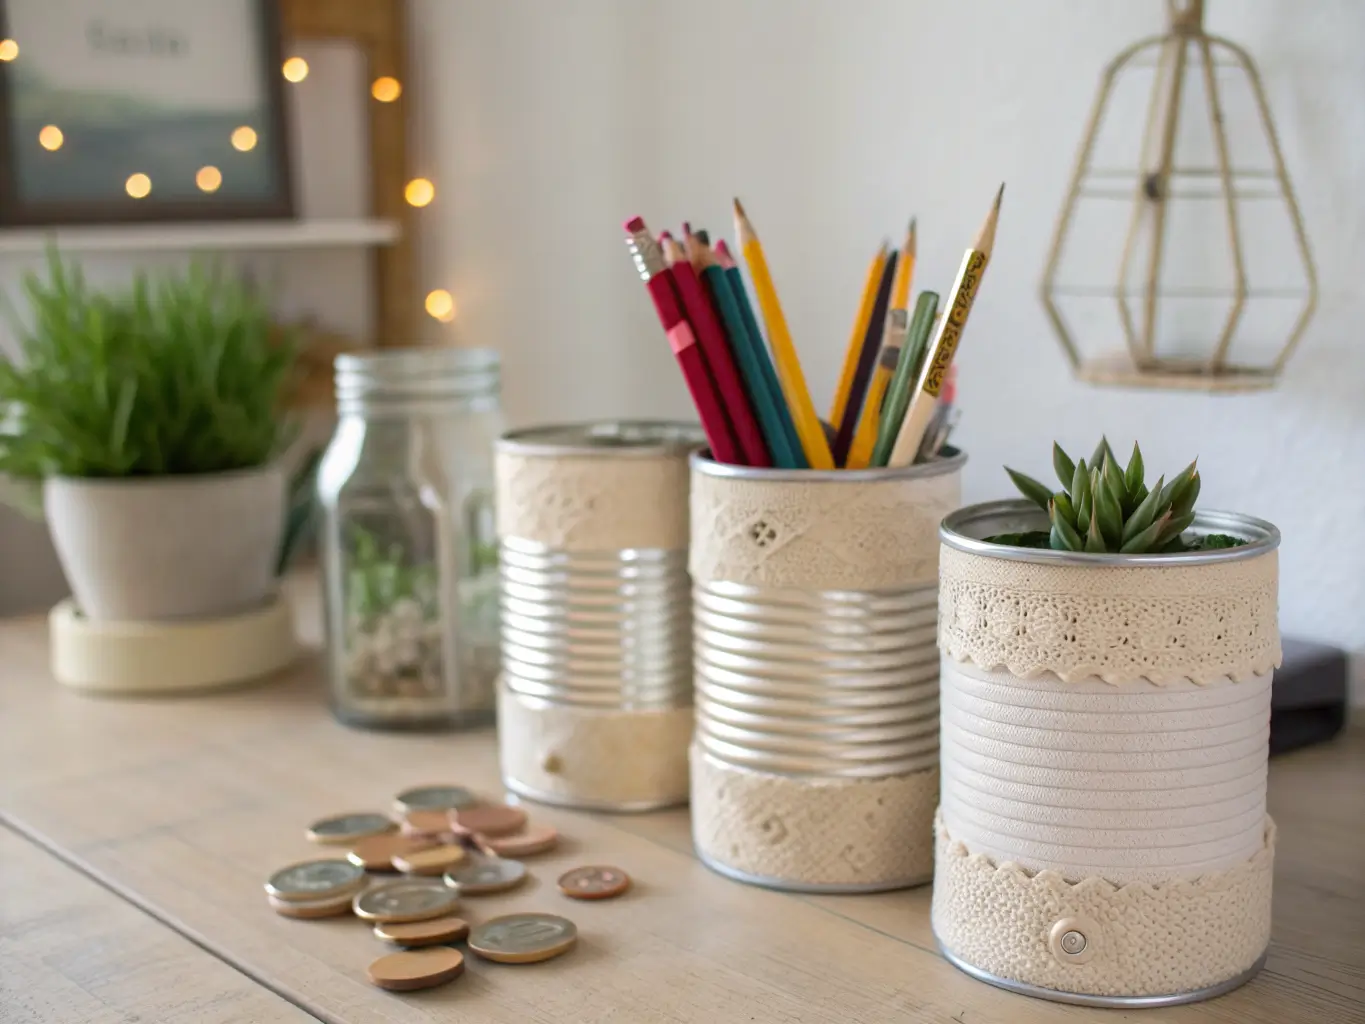
– DIY organizers: repurposed cans for brushes, a tension rod for ribbon spools, cardboard tubes taped together for vinyl rolls. I use three coffee cans wrapped in leftover contact paper for my paintbrushes and it looks more intentional than half the stuff I bought.
How to Put It Together, Step by Step
Go vertical before you go anywhere else. Walls first, floor second. This is the single biggest lesson from every well-organized small craft room, including mine — I wasted a month arranging floor bins before I put up pegboard, and the pegboard alone freed up more usable space than every bin combined.
Keep heavy things low, light things high. Your paper cutter and fabric bolts go on lower shelves. Washi tape and stamps can float near the ceiling because you’re not lifting them one-handed while balancing on a stool.
Color-code as decor, not just function. Sorting embroidery floss or cardstock by hue looks deliberate on an open shelf and makes finding the right shade instant. It’s organizing and styling in the same move.
Pick one focal zone. For me it’s the pegboard wall. Everything else in the room is quieter so your eye has one place to land instead of five competing sections.
Mix open and closed storage. Open shelves for the pretty stuff — your paper stock, your jars of buttons. Closed bins for the ugly necessities: extra bulbs, spare parts, half-used bags of stuffing. Nobody needs to see that.
Setting Up the Room
1. Purge before you buy anything. I skipped this step the first time and bought $80 worth of bins before I even knew what I owned. Go through supplies first — toss the dead markers, donate the fabric you’ll never use, then measure what’s left.
2. Measure the actual footprint. Closet depth, corner width, ceiling height for shelving — small spaces have zero tolerance for guessing. Measure twice, buy once.
3. Map zones by function: cutting, sewing, paper storage, display, and a staging spot for whatever’s mid-project.
4. Build around what you use most. Your daily tools go at arm’s reach from your chair. Everything else can live a step further away.
5. Place the desk first, then wall storage, then the rolling cart, then sort everything by category or color, then add your display layer — jars, pinboard, a couple framed prints. That order matters. Skipping to bins before you’ve placed furniture is how you end up rearranging three times, which I did, because I bought my cart before I’d measured where the desk would actually sit.
Mistakes That Sneak Up on Small Craft Rooms
– Buying containers before you have a layout. The bins should fit the plan, not the other way around.
– Leaving walls empty. Empty walls and an overloaded floor is the single most common failure mode in tiny craft spaces.
– Using opaque bins for everything. If you can’t see what’s in it, you’ll buy a duplicate. I own three glue sticks I forgot I had because they were buried in an unlabeled drawer.
– Letting unfinished projects sprawl. Keep one basket specifically for “in progress” — it contains the chaos instead of letting it spread to every surface.
– Skimping on lighting. A single overhead bulb isn’t enough for detail work. Add a clamp lamp or LED strip under your shelves — your eyes will thank you after an hour of cutting tiny pieces.
Keeping It Looking Pulled Together
Stick to a narrow palette. White or light gray base, one or two accent colors max. The second you introduce a third accent color, the room starts feeling like a supply closet instead of a designed space.
Repeat your materials. If your hardware is black, keep it black everywhere — cart frame, hooks, drawer pulls. Consistency reads as intentional even in a cluttered-by-nature room.
Edit what you display. Only put out things that are functional or genuinely pretty. A shelf of empty jars “for later” is clutter with better lighting.
Seasonal and Budget Refreshes
You don’t need to redo this room. You update it in layers:
– Swap ribbon colors, jar fillers, and pinboard art for the season — takes twenty minutes, changes the whole feel
– Add pieces over time: desk and bins first, shelving next, pegboard after that, lighting last if budget’s tight
– Borrow from farmhouse, Scandinavian, or cottage styles — they all support visible storage and soft neutrals, so mixing in a farmhouse-style shelf bracket or a cottage-style gingham liner doesn’t clash
– For a cheap refresh: repaint an old cabinet, swap in clear jars, add labels, or replace one bulky floor bin with a vertical wall system
The room I built two years ago still looks almost the same. What’s changed is the ribbon color in the jars and the art on the pinboard — twenty minutes of effort, and it feels new every time I walk in.
For another angle on this, my craft room ideas guide covers the same space from a different starting point.





