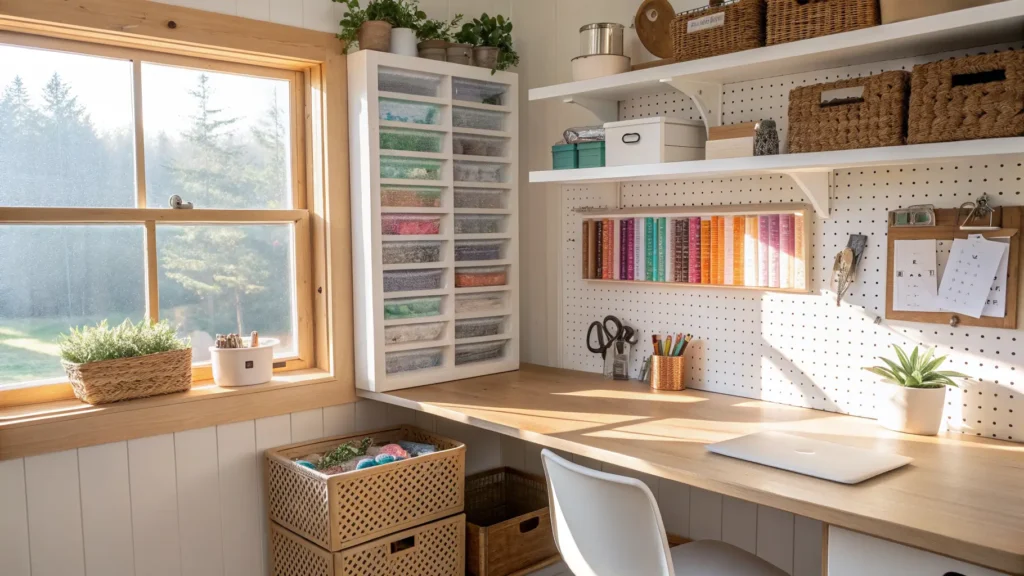
Craft Room Storage That Actually Works: A Small-Space, Budget-Friendly Guide
My craft room used to be a walk-in closet that I couldn’t walk into.
Vinyl rolls falling off a shelf every time I opened the door, ribbon spilling out of a shoebox, three half-finished projects buried under a pile of “I’ll deal with this later.” I redid it four times before I figured out what actually matters: craft room storage isn’t about buying pretty bins. It’s about sorting first, building vertically, and giving every single supply category its own home.
If you’re staring at a pile of vinyl, paper, and paint and wondering where to even start, here’s what I’ve learned works — and what wasted my money.
What This Style Actually Is
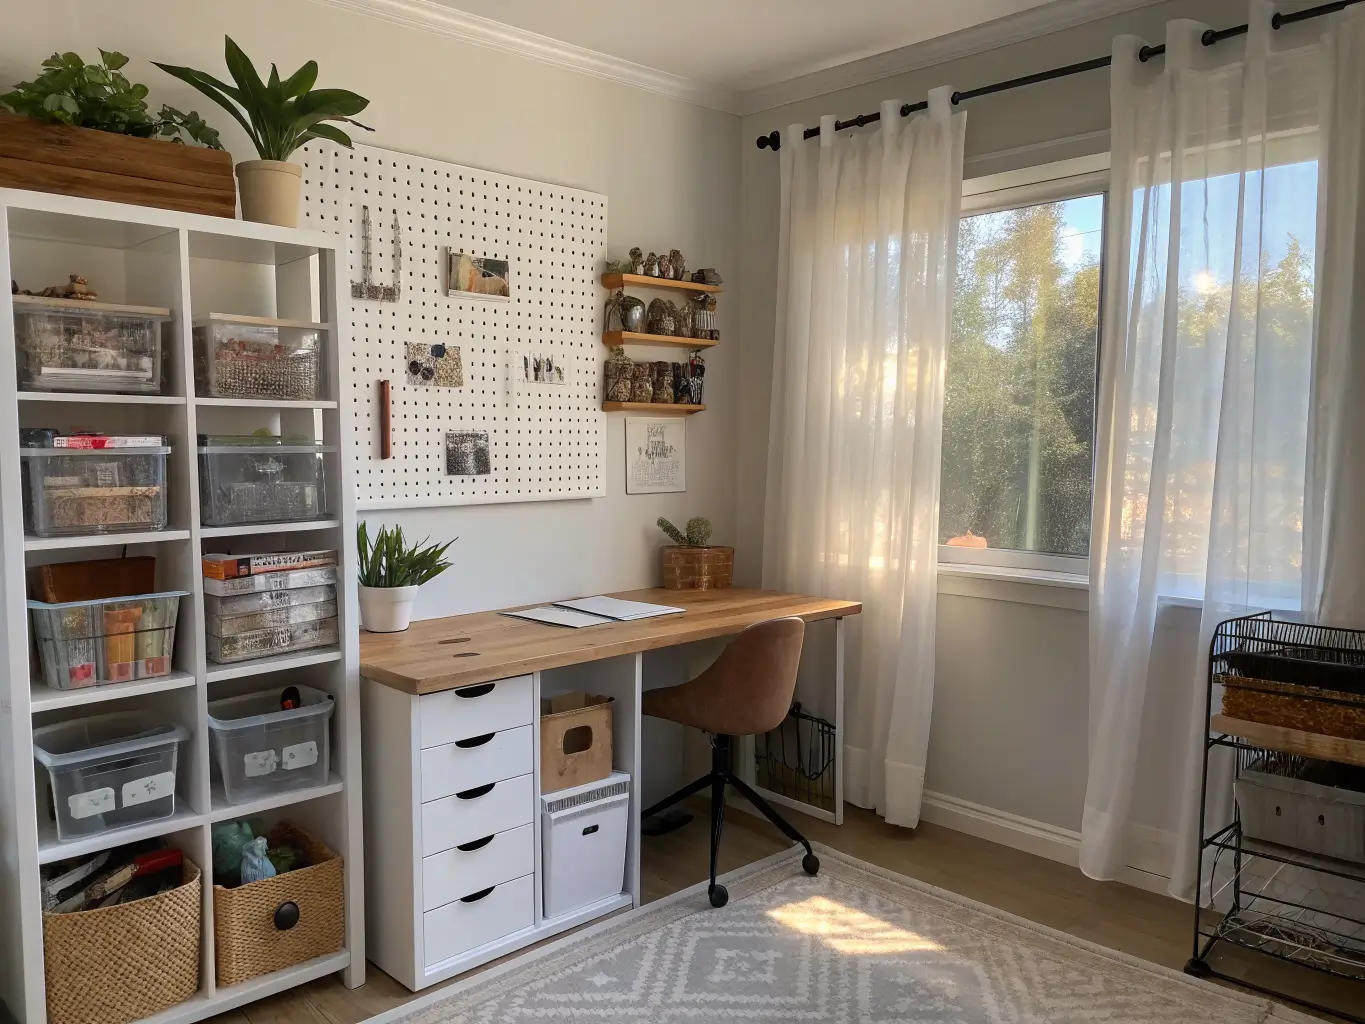
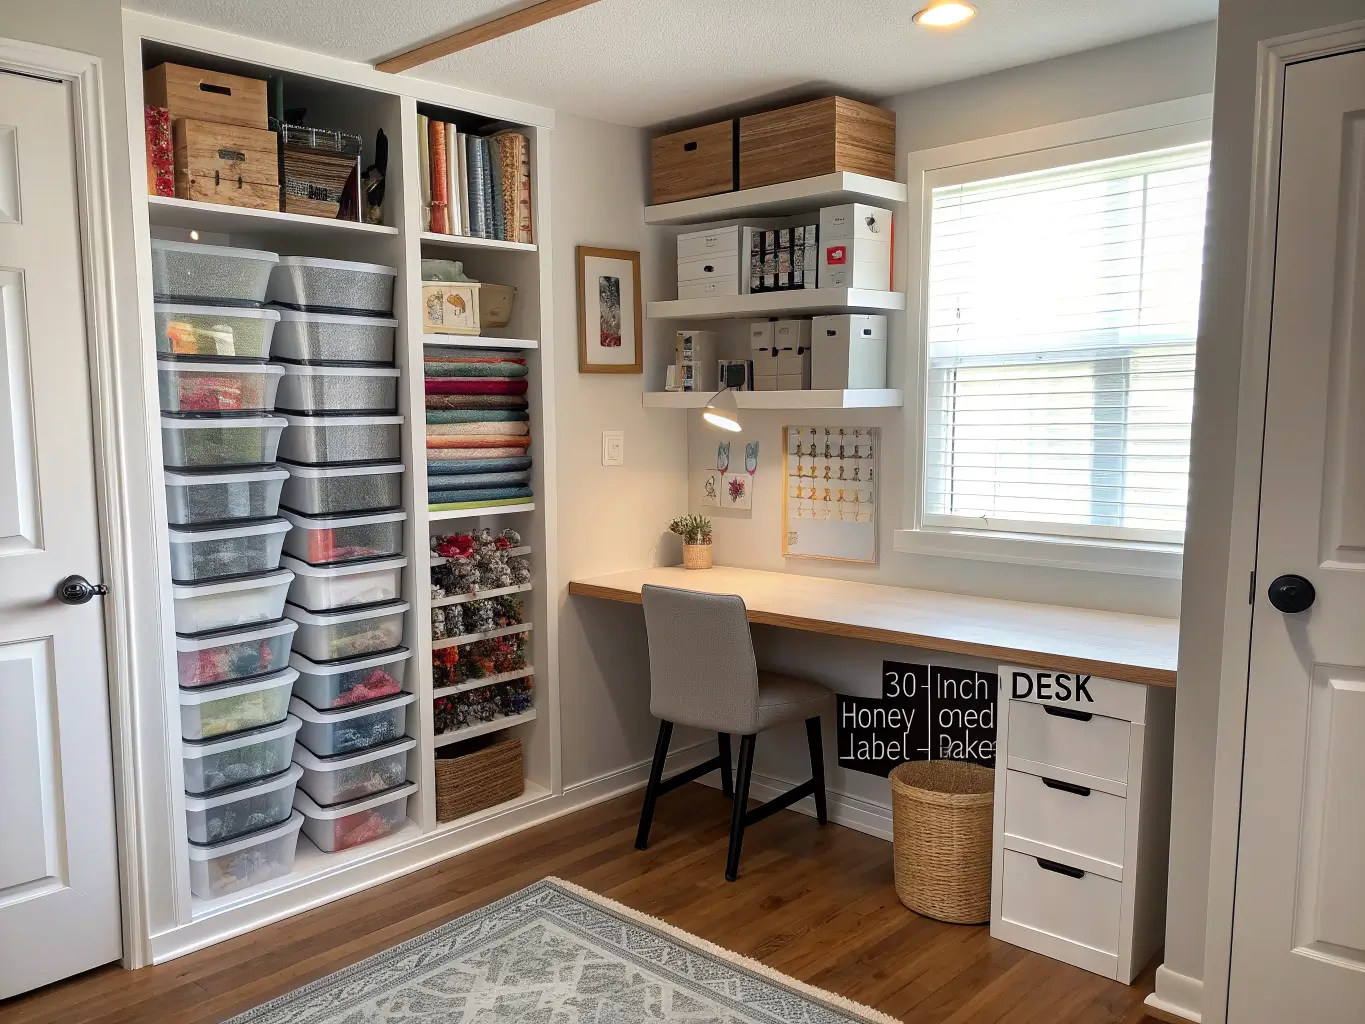
This isn’t a decorating project first. It’s an organization project that happens to look good when you do it right. The aesthetic that works best is clean, modular, and a little utilitarian — think white shelving, clear acrylic bins, natural wood, and labels that actually match. The craft supplies themselves provide the color. You don’t need to add much on top.
Who this is for: anyone working with paper, vinyl, fabric, yarn, beads, ribbon, or a Cricut who needs to see what they have without digging through drawers. If you can’t find your embroidery floss in under ten seconds, this guide is for you.
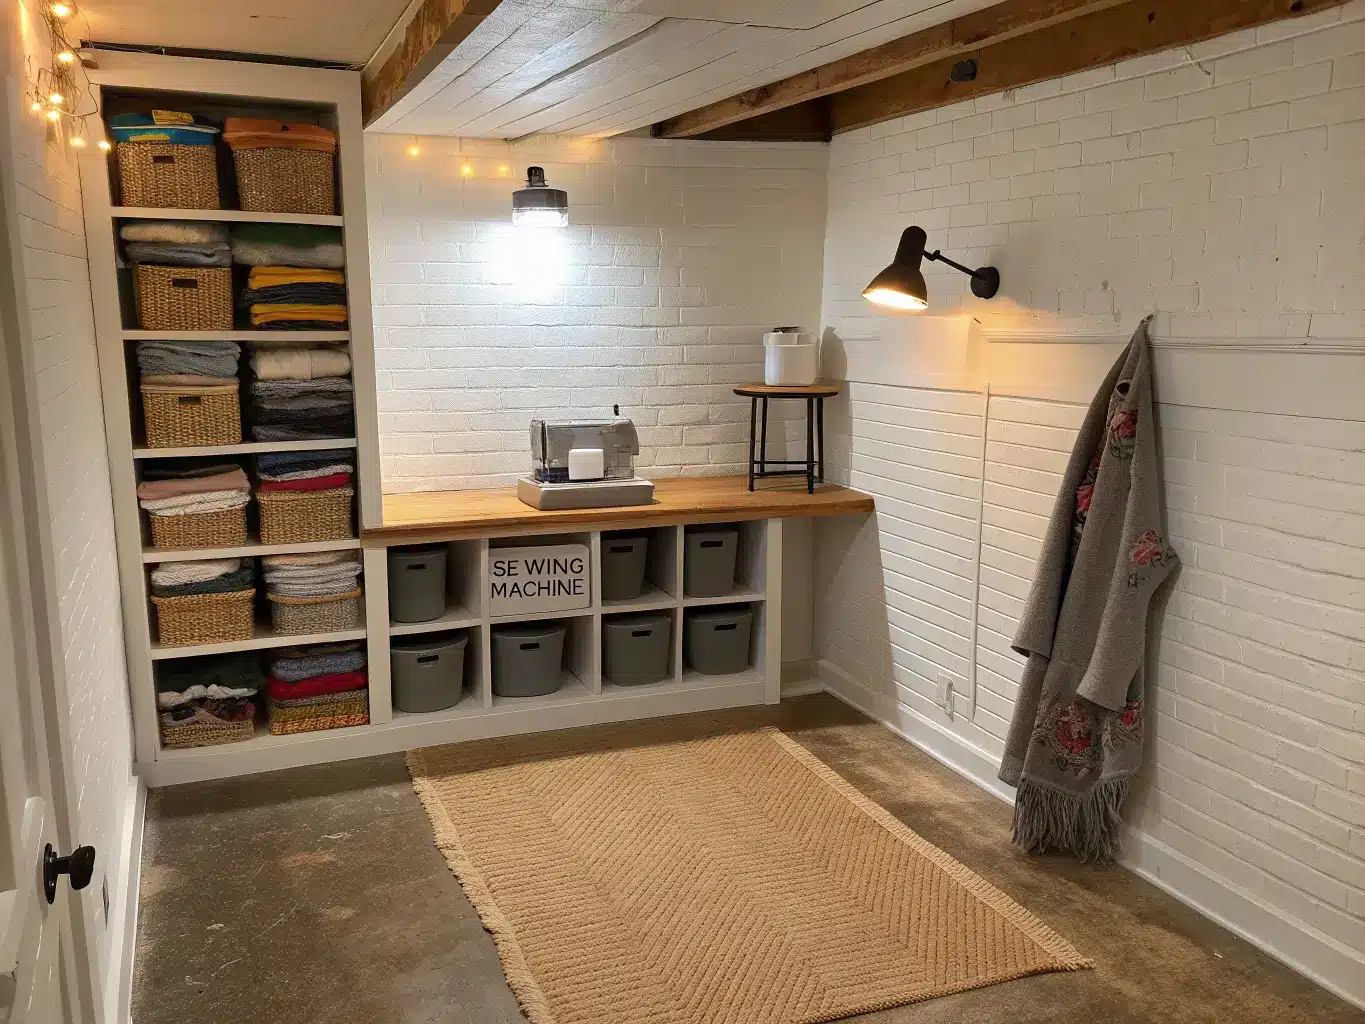
Where it works: a spare bedroom, a closet, a basement corner, a laundry room nook, even a desk tucked into a corner of your living room. The square footage matters less than the wall space. I’ve fit a fully functional craft zone into a 6-foot closet by giving up on floor storage entirely and going vertical.
Time and skill level: A weekend gets you a solid bin-and-shelf system. Beginner-friendly. Add a pegboard wall or slat wall and you’re in intermediate territory — nothing scary, just a drill and a level. Built-ins and custom cabinetry are a different project entirely; budget more time and possibly a contractor.
The Must-Have Pieces
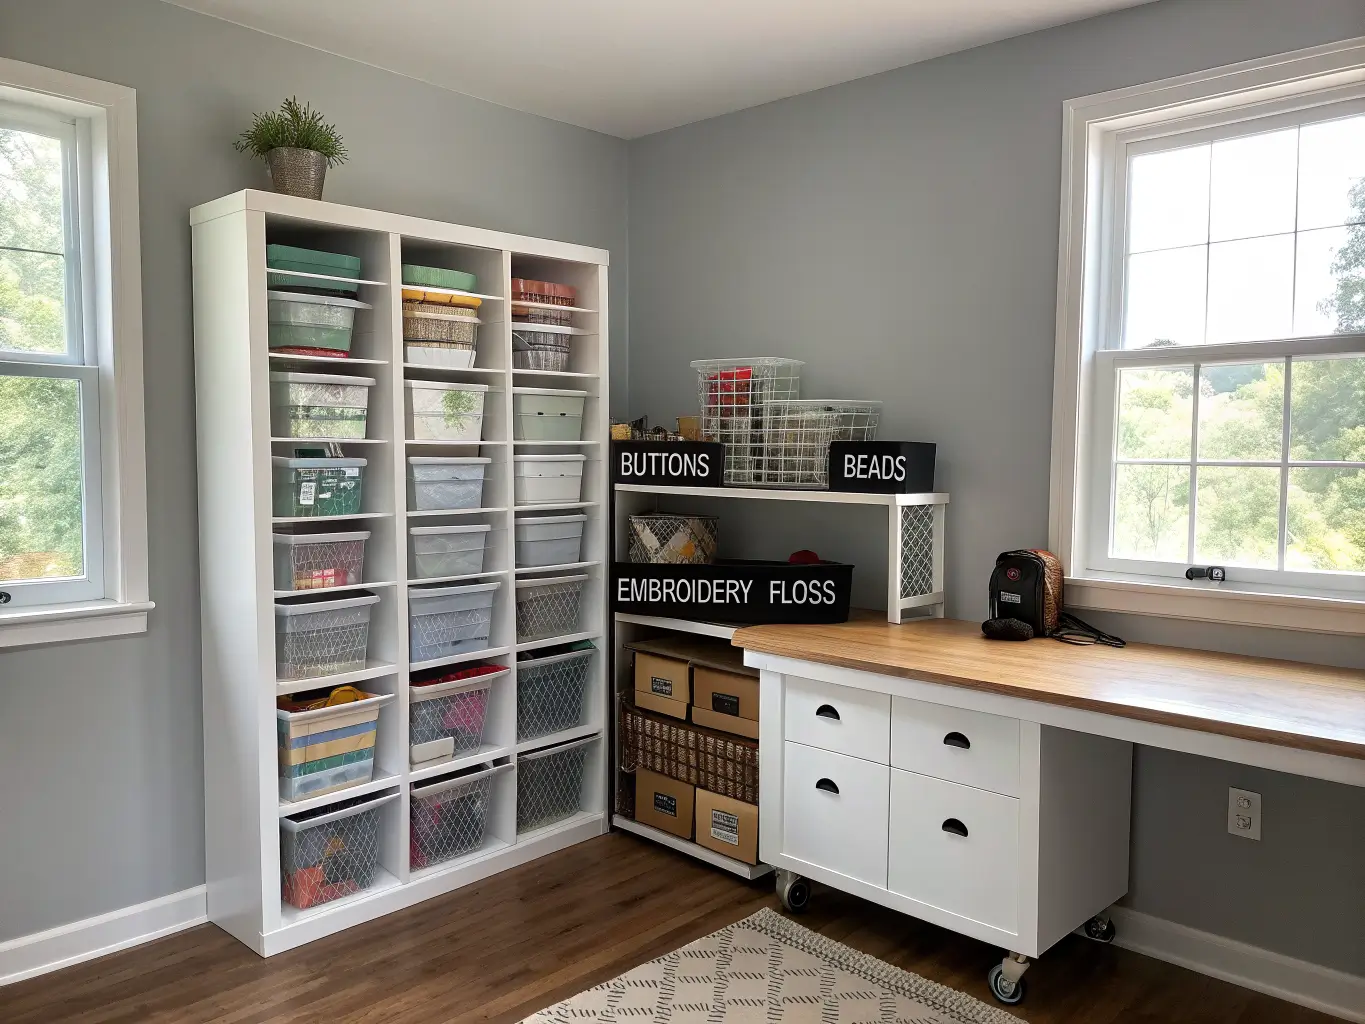
Before you buy anything, know that these six categories cover 90% of what a functional craft room needs:
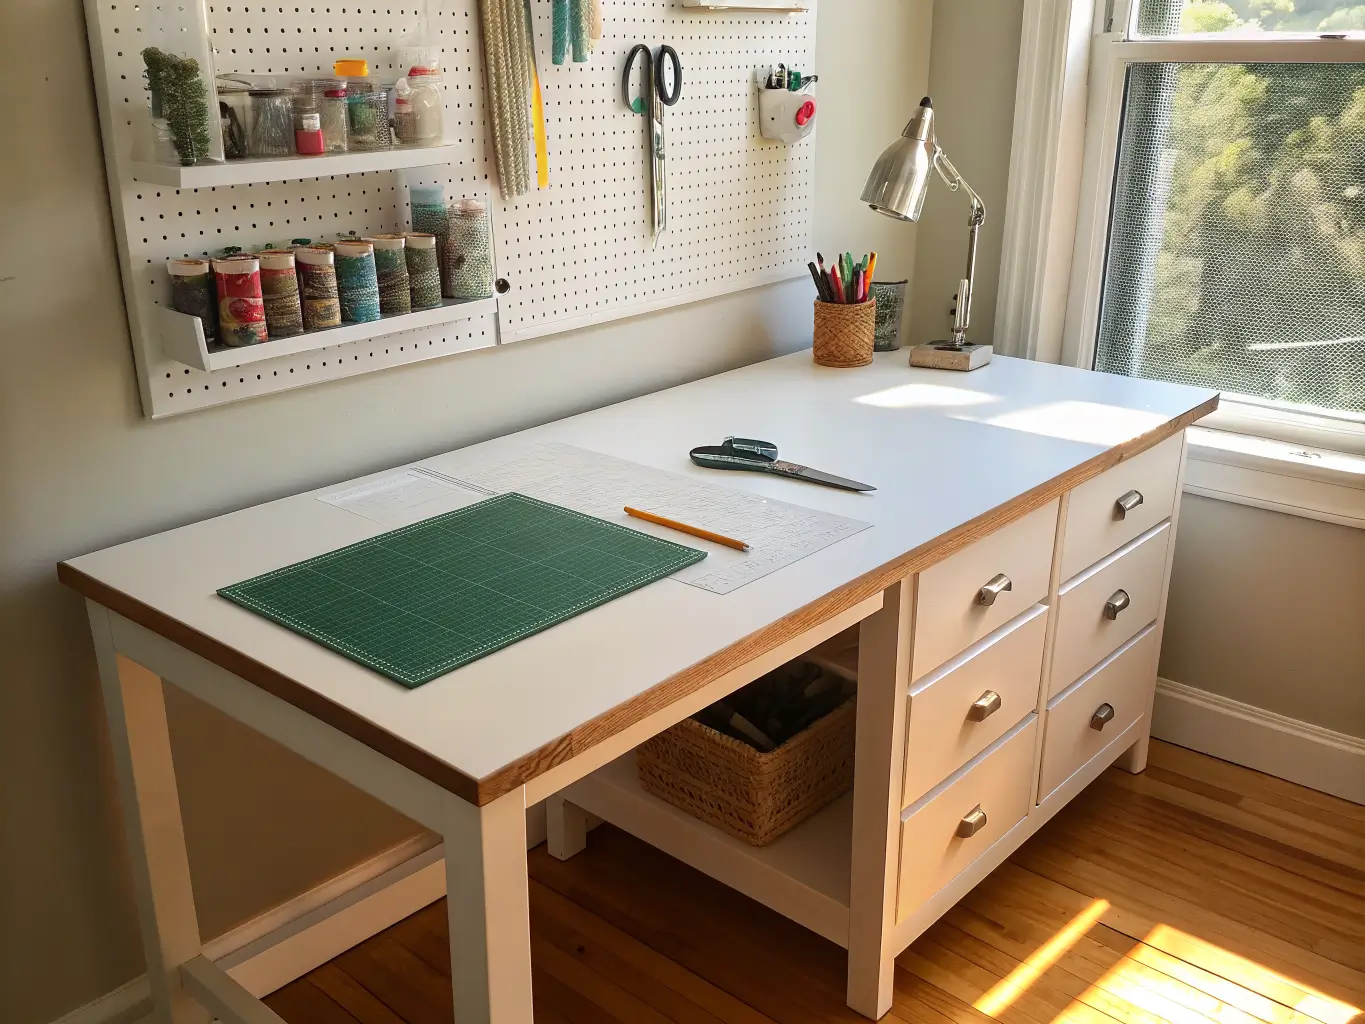
– A real work surface. Desk, table, or counter — big enough for a cutting mat plus elbow room. I use a 60-inch table against the wall near an outlet, because every machine I own needs power and I got tired of extension cords snaking across the floor.
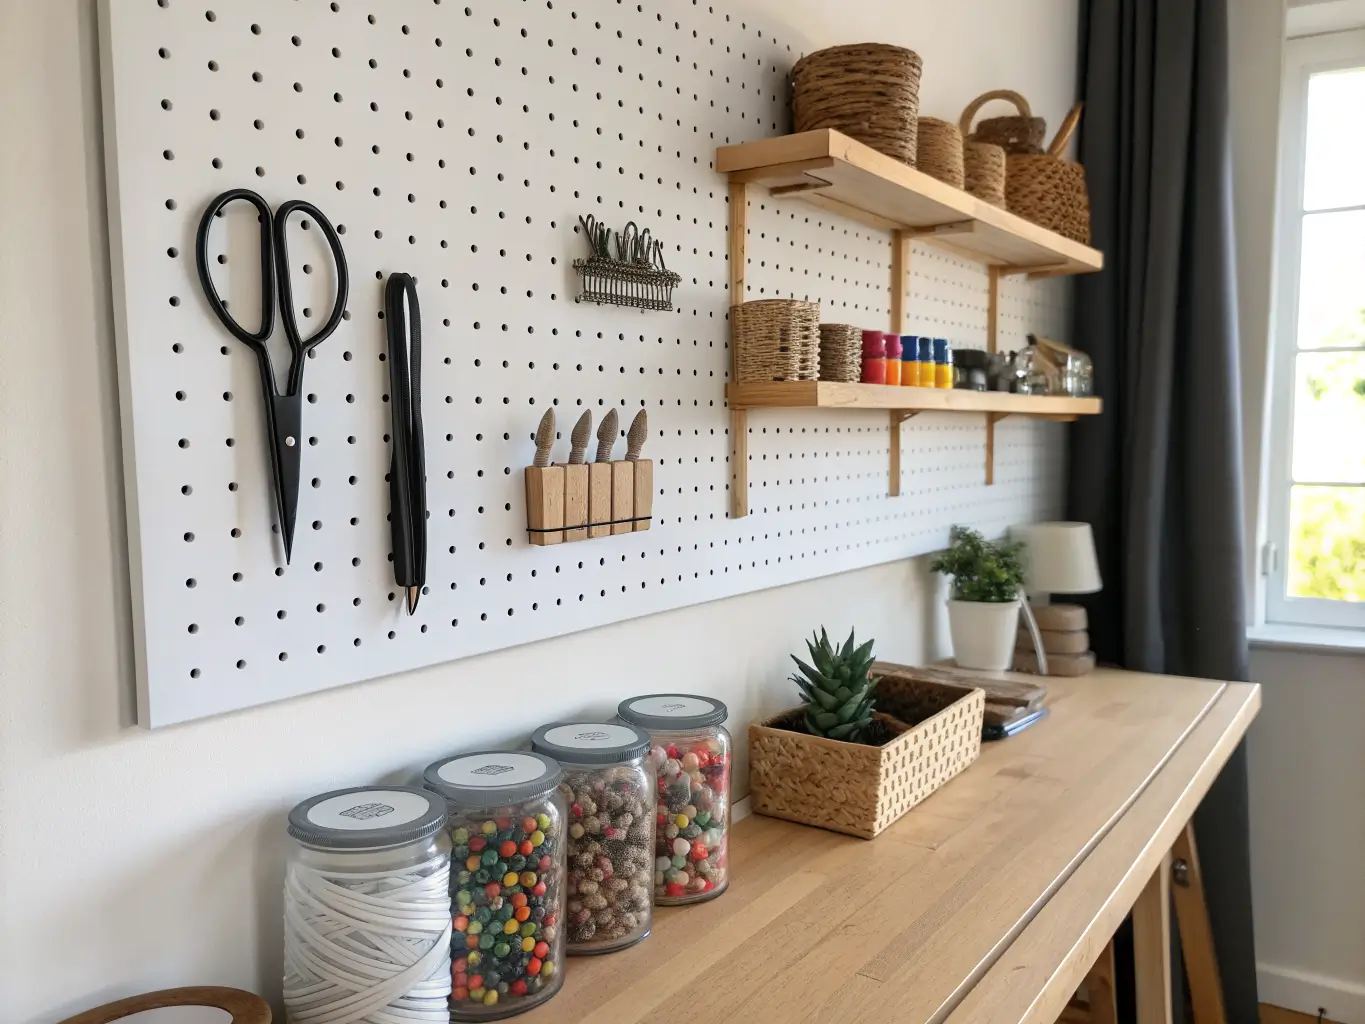
– Vertical storage. Pegboard, slat wall, or floating shelves above your desk. This is non-negotiable in a small room.
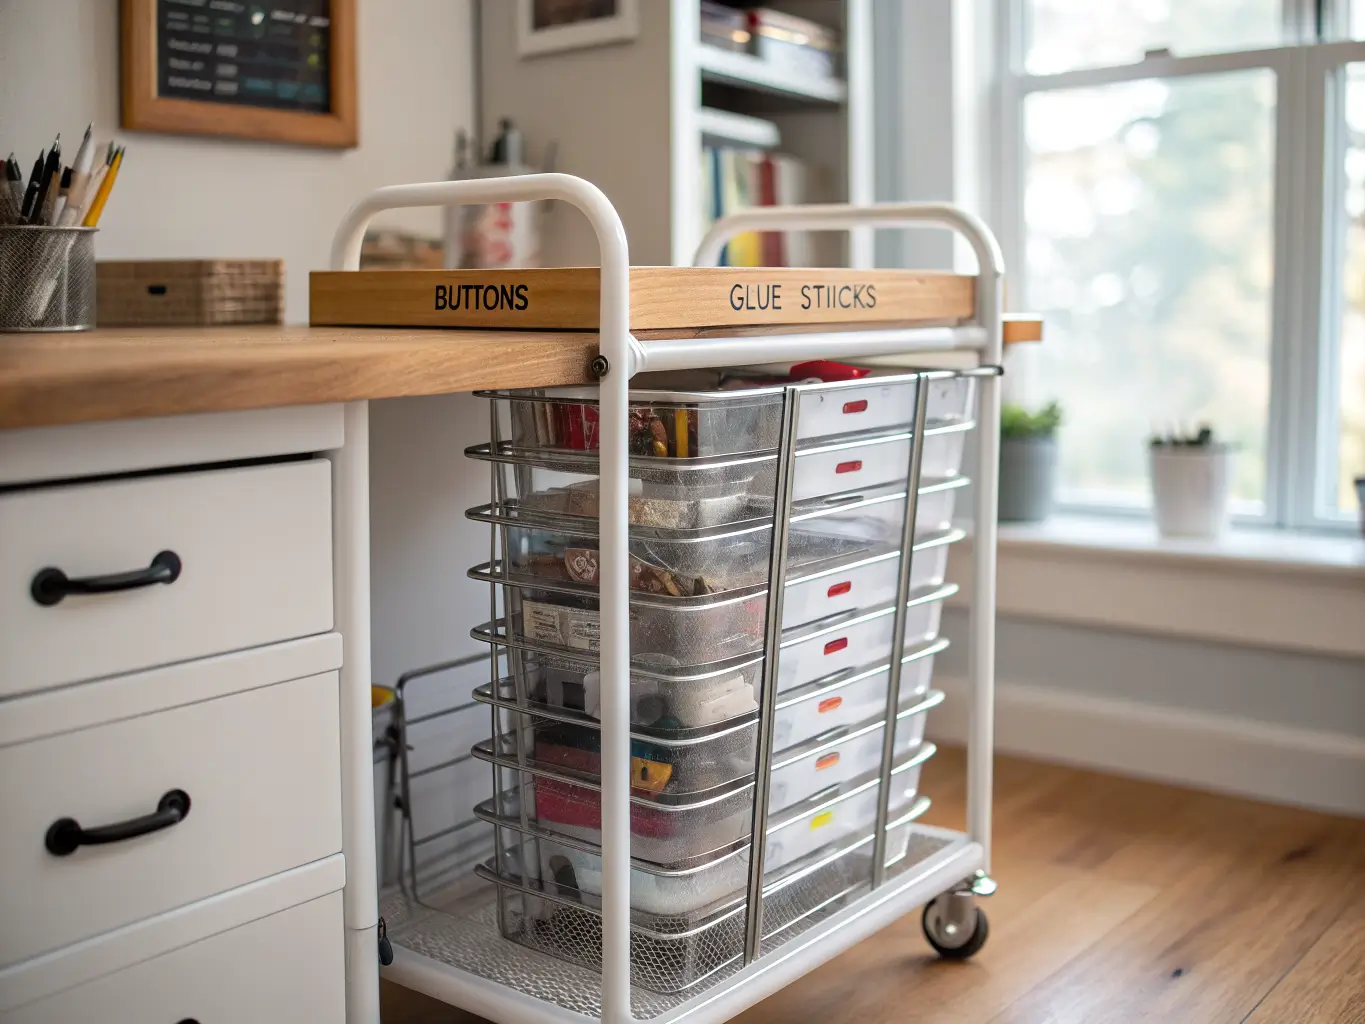
– Rolling or drawer storage for small stuff — buttons, glue, tools, anything you’d lose in a big bin.
– Clear containers for ribbon, vinyl, fabric scraps, and embellishments. You need to see what you have at a glance.
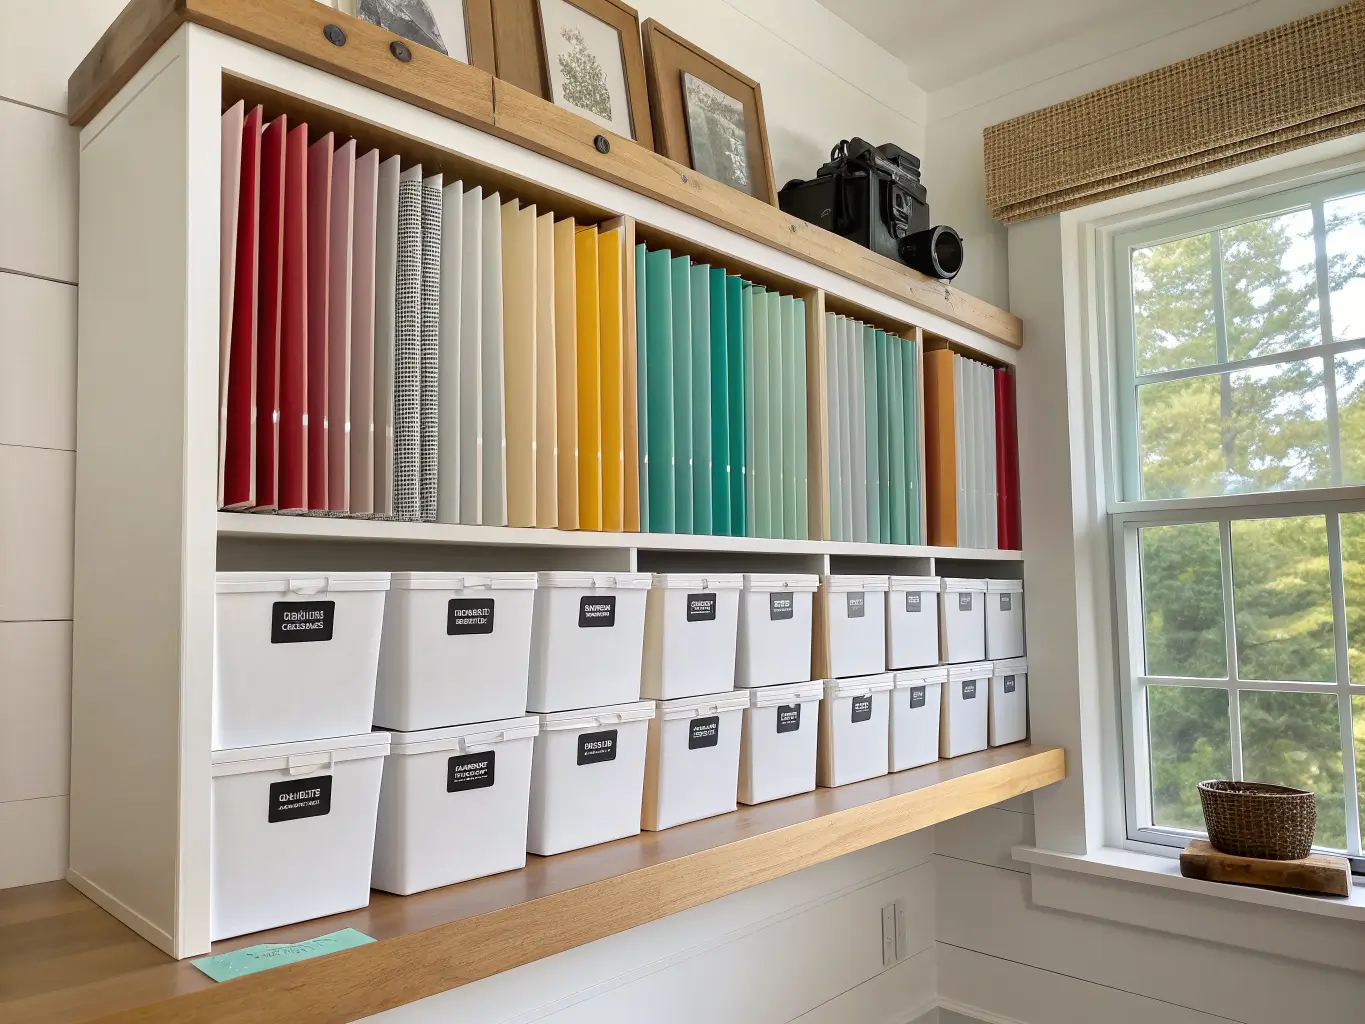
– Paper storage — magazine holders or vertical file slots sized for 12×12 scrapbook paper and cardstock.
– A labeling system. Doesn’t need to be fancy. A label maker and 15 minutes will save you more time than any organizer you buy.
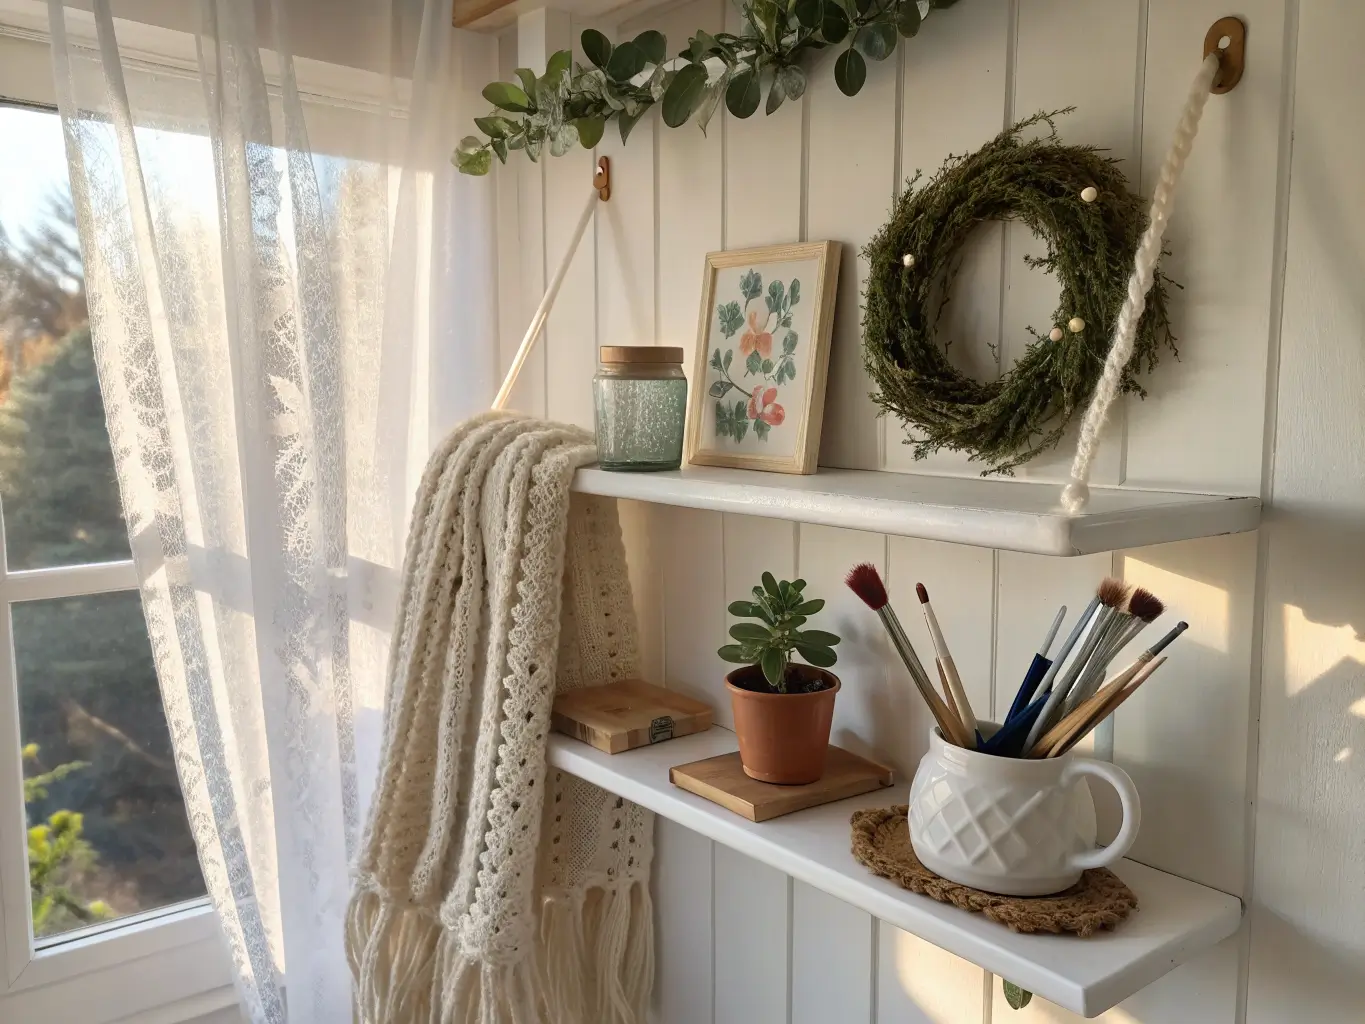
Optional but nice: woven baskets to soften the plastic-and-wire look, a wire cart with chrome hardware if you want it to feel a little more finished, and a shelf dedicated to just showing off finished projects. That last one does more for the room’s mood than you’d think — it reminds you why you’re doing this in the first place.
How to Actually Put It Together
Prep before you buy anything
Clear everything out first. I mean everything — every dried-up glue stick, every half-used stamp pad, every fabric scrap you’re “saving for something.” I filled two trash bags doing this and still felt like I’d barely made a dent.
Then sort by category, not by container size: paper, fabric, thread, vinyl, paint, embellishments, tools, works-in-progress. This step is the one people skip, and it’s the reason they end up with a garage full of bins that don’t fit anything properly.
Measure everything — your shelves, your wall span, your drawer depth — before buying a single organizer. I bought a rolling cart from Amazon that I thought would fit under my desk. It didn’t. Sat in the garage for two months before I gave it to my sister.
Build it in this order
1. Place your desk first, near an outlet, with room to spread out a cutting mat or fabric.
2. Add vertical storage above or beside it — pegboard, slat wall, or shelves. This is where your most-used tools live, at eye level, in reach without standing up.
3. Fill in lower storage with carts, cabinets, or bins for heavier and less-frequent items.
4. Switch small supplies to clear or labeled containers. Ribbon, buttons, beads, vinyl scraps — anything that gets lost in an opaque box.
5. Carve out one “works in progress” zone — a single tray or shelf. One. Not three. This is the difference between a room that stays organized and one that slowly turns into a disaster again.
6. Style last. Group your jars by color, line up your bins so labels face the same way, coordinate a few baskets. This is the 10% that makes it look intentional instead of just functional.
Budget: Where to Spend, Where to Save
You can start this entire project with jars, repurposed food containers, and shoeboxes and it will work. I did exactly that for the first year — old spaghetti sauce jars for beads, a cereal box covered in contact paper for washi tape. Nobody could tell, and it cost me nothing.
– Save on: paper storage (magazine holders are $3-6 each and do the job), small bins (dollar store containers work fine once labeled), baskets for backstock.
– Spend on: your desk (you’ll use it daily, buy one that fits your actual workflow), a good rolling cart if you need mobility, and any pegboard or wall system since it’s the backbone of the whole room.
– Reference points: basic craft furniture starts around $15.95 for small organizer pieces, mid-range rolling carts run $40-100, and full modular systems from places like The Container Store or Create Room can run several hundred dollars per section. None of that is required to start — it’s where you land once you know what you actually use.
The Mistakes I Made (So You Don’t Have To)
I bought bins before I sorted anything. Ended up with a stack of matching acrylic drawers that were the wrong shape for half my supplies. Sort first. Always.
I went all-open-shelving for a while, thinking it would look like a Pinterest photo. It looked like a garage sale. Dust settled on my fabric, and the visual clutter of every category on display at once made the room feel smaller, not bigger. Mix in some closed storage for backstock.
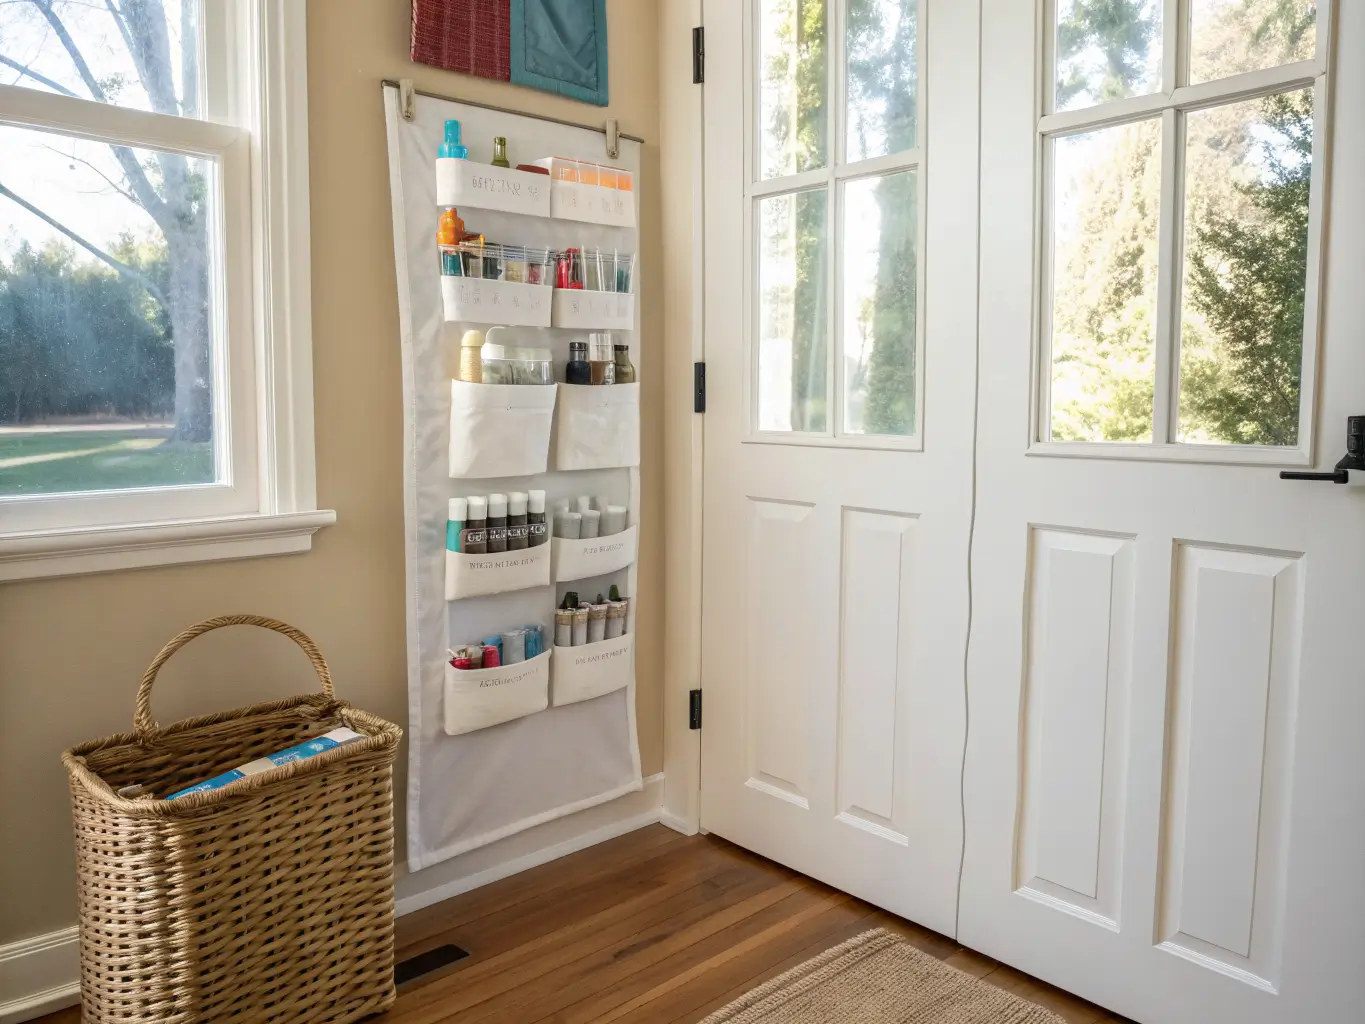
I ignored the back of my closet door for way too long. A $12 over-the-door organizer holds all my paint and adhesive now. Vertical space — walls, doors, corners — is your best asset in a small room. Use it before you buy more floor furniture.
I mixed daily tools with backstock. My cutting mat lived in the same drawer as spare mats I hadn’t opened in a year. Now the stuff I touch weekly stays at eye level. Everything else goes lower or further back.
I overfilled every bin “just to be safe.” An overstuffed bin is just a mess with a lid on it. If a category outgrows its container, that’s your sign to either purge or upgrade — not to cram harder.
Keeping It From Sliding Back Into Chaos
Stick to a repeated color palette — I use white, clear, and natural wood with black labels as my only accent. It keeps twelve different supply categories from looking like visual noise.
Revisit your categories every few months. New supplies creep in constantly if you craft often, and the fastest way back to clutter is letting new purchases sit on the desk “temporarily” instead of assigning them a bin.
For seasonal refreshes, I don’t overhaul anything — I just rotate whatever holiday supplies are active into the front-access bins and push the rest back. Costs nothing, takes ten minutes.
If you want a different look, the framework holds across styles:
– Modern: white shelving, clear bins, black text labels, minimal decor.
– Farmhouse: wood cubbies, wire baskets, neutral canvas bins.
– Rainbow display: skip the opaque storage entirely and let color-sorted ribbon, paper, and thread be the decor.
The system underneath — sort, go vertical, contain the small stuff, label everything — stays exactly the same no matter which one you pick.