
The Style: Part Organizer, Part Studio
Craft room decor has one problem that no other room in the house has: it has to look good AND survive an avalanche of ribbon spools, fabric scraps, and half-finished projects. I learned this the hard way when I turned our spare bedroom into a craft room three years ago and spent the first two months styling it like a Pinterest board — then spent the next six months re-doing it because none of it actually worked for how I craft.
If you’re staring at a spare room, a closet, or a random corner wondering how to make it functional without it looking like a supply closet threw up, here’s what actually works.
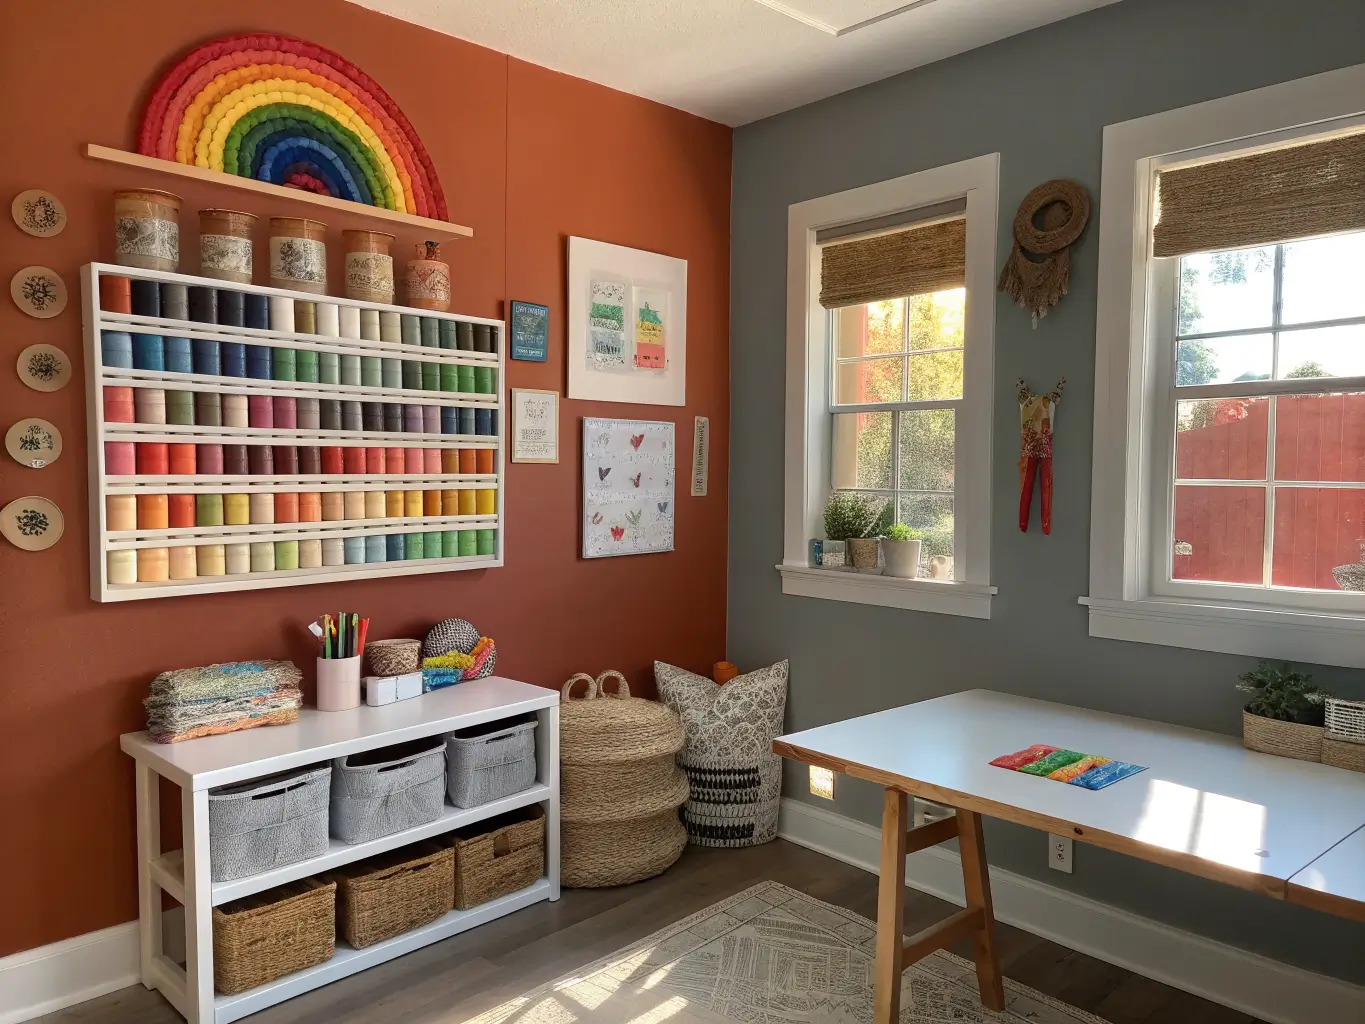
A good craft room isn’t really one design style. It’s a mashup — part functional organizer, part personal creative studio — dressed up in whatever aesthetic you already love. I’ve seen this done beautifully in modern farmhouse (think cubbies and black hardware), Scandinavian minimal (white walls, acrylic bins), boho (rattan baskets, warm wood), and full-on colorful eclectic (rainbow storage walls that double as art).
This is for you if you’re a sewist, scrapbooker, painter, gift-wrapper, or general hobbyist who’s tired of crafting on the kitchen table and packing everything into a closet when company comes over. It works in a spare bedroom, a basement corner, an under-stairs nook, or even a widened closet — the space size flexes, but the principles don’t.
Time and cost, realistically:
– A weekend and $150–$500 gets you a solid budget refresh — bins, a shelf unit, pegboard, some labels.
– $600–$2,500+ and 1–3 weeks gets you the full setup: a real worktable, modular storage, proper lighting, a decent chair.
I started at the low end and crept up over eighteen months. That’s honestly the smarter way to do it — more on that later.
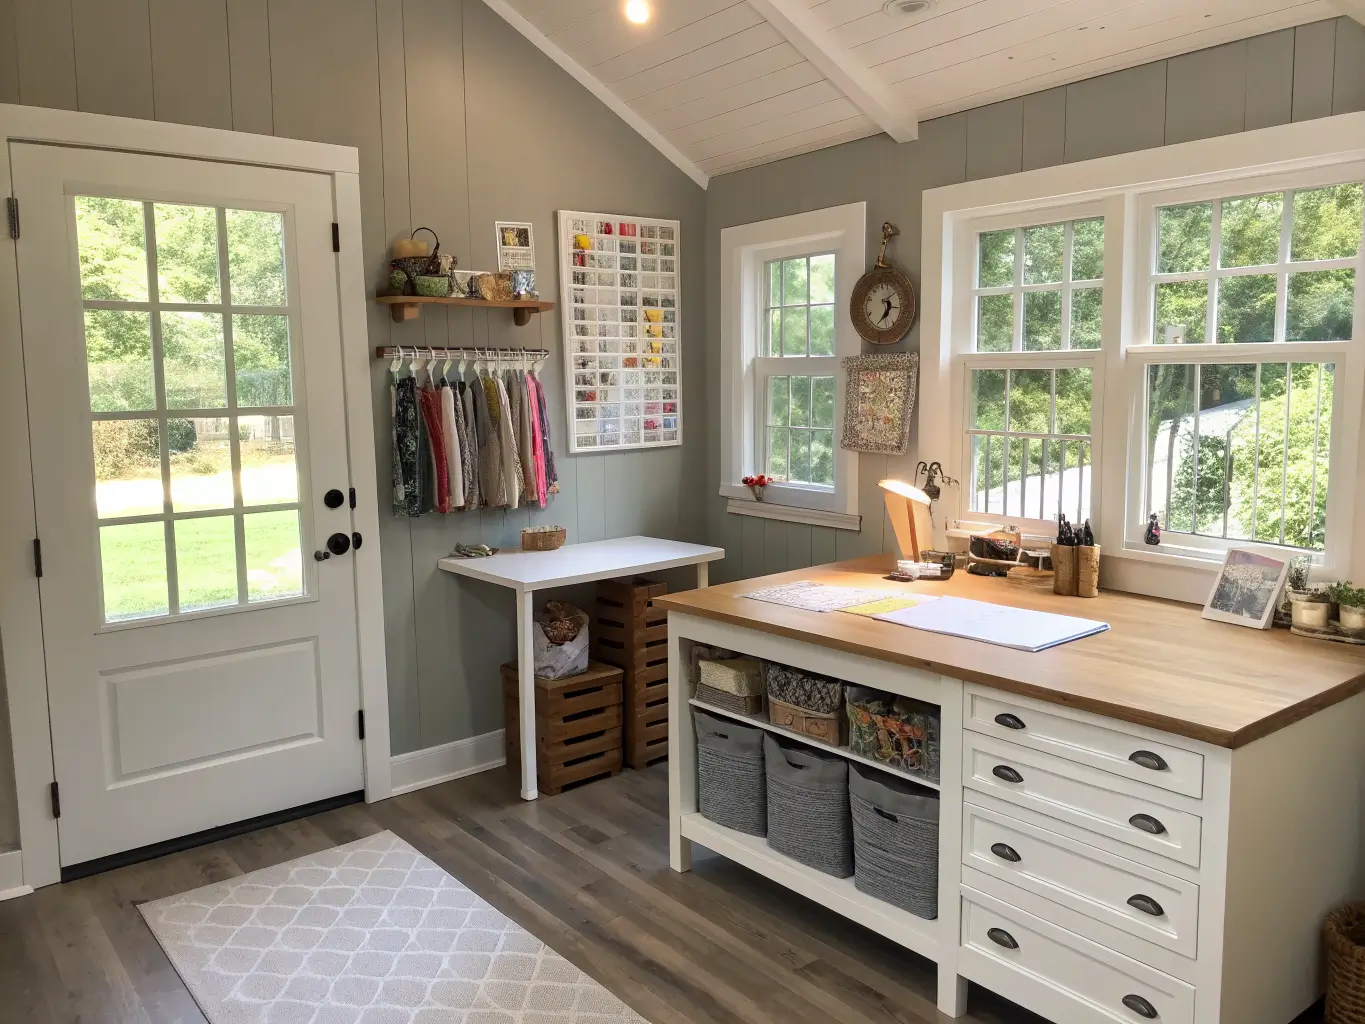
The Pieces That Actually Make a Craft Room Work
The worktable is non-negotiable, and bigger is better
Every craft room I’ve seen fail started with a desk that was too small. I made this mistake first — I put in a narrow 30-inch desk because it fit neatly against the wall, and within a week I was still doing all my actual cutting and layout work on the dining table.
Get a table you can spread out on. A 6-foot folding table or a secondhand dining table works better than a “craft desk” from a big box store. I ended up with a $40 solid-wood door-style table from a salvage yard, sanded and painted white, sitting on two IKEA Alex drawer units. Total cost: about $220, and it’s outlasted three “proper” craft desks I almost bought instead.
Storage: mix open and closed, don’t pick one
This is the single biggest style mistake I see in craft rooms — people either go all-open (Instagram-pretty for a week, chaos by week three) or all-closed (functional but soulless, feels like a supply closet).
The fix is a mix:
– Closed cabinets or bins for backstock — the fabric you’re not using this month, extra glue sticks, bulk paper
– Open shelves or pegboard for what you touch weekly — scissors, current project, the ribbon spools you actually reach for
I keep maybe 20% of my supplies on open display. Everything else lives behind a door. That ratio is what keeps a room looking curated instead of cluttered.
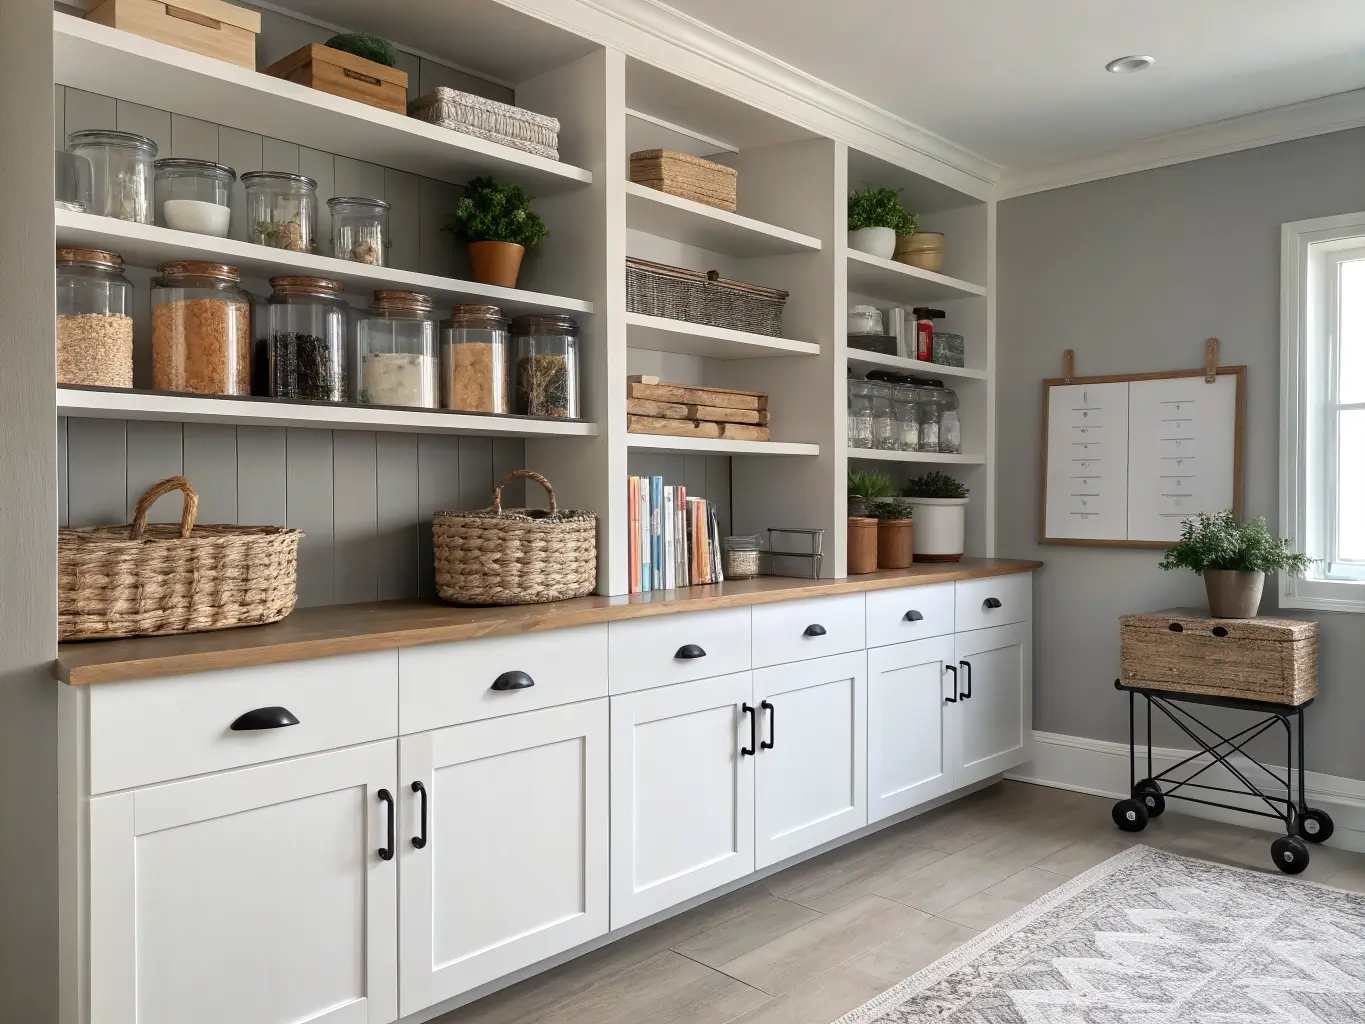
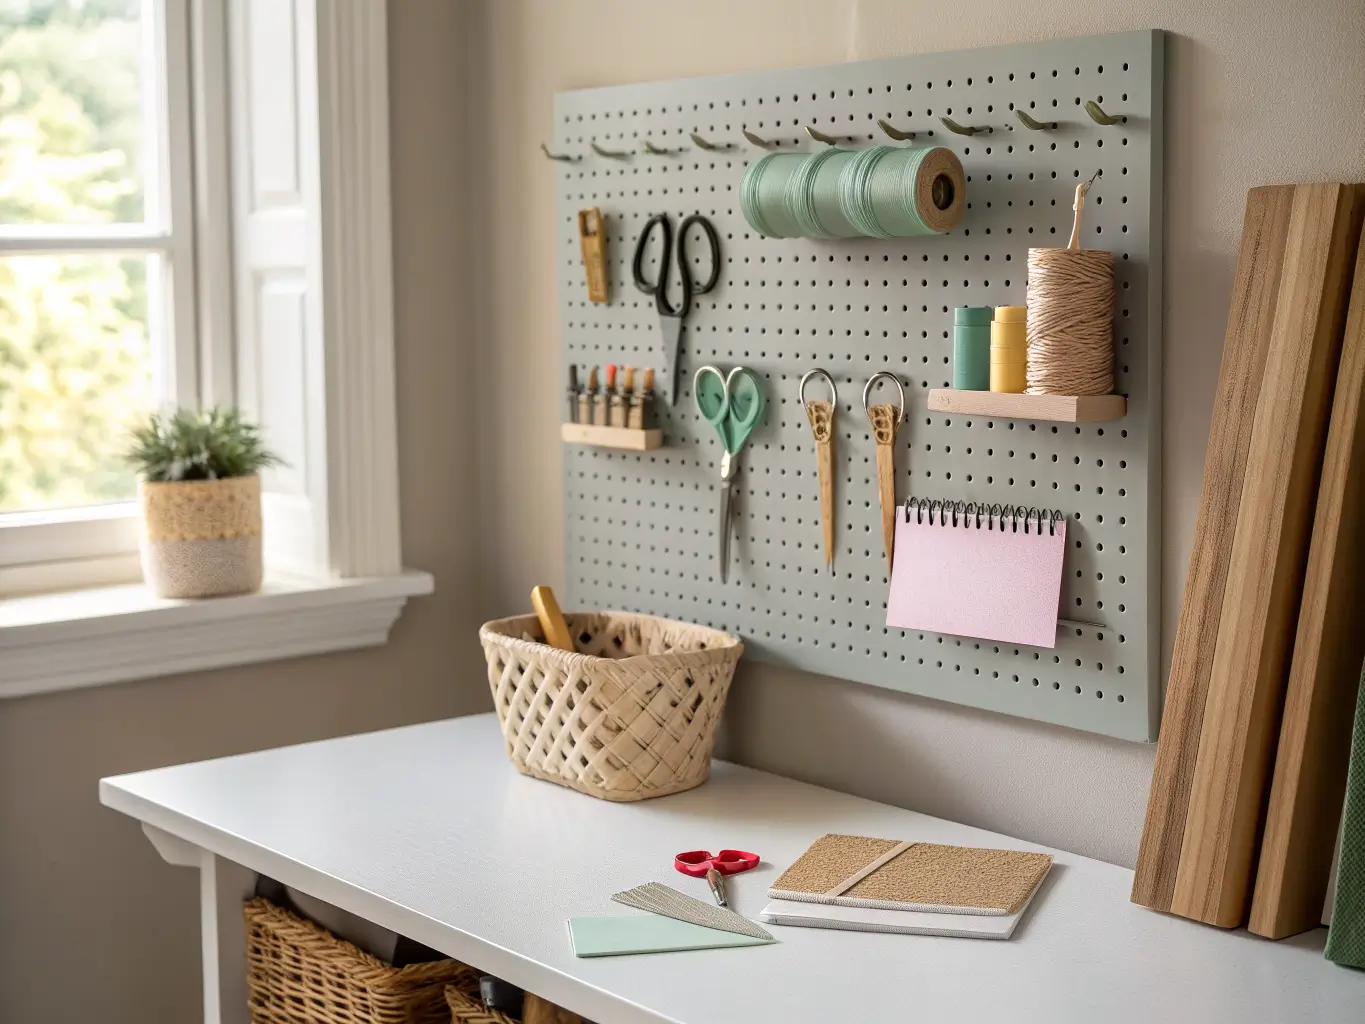
Pegboard deserves its own mention
If you take one thing from this article, make it this: put up pegboard. A 4×4-foot pegboard panel, painted to match your wall, costs under $30 and holds scissors, hooks, ribbon spools, small baskets, and rulers without eating a single inch of floor space. Mine is mounted above the worktable, and it’s done more for organization than any storage cart I’ve bought.
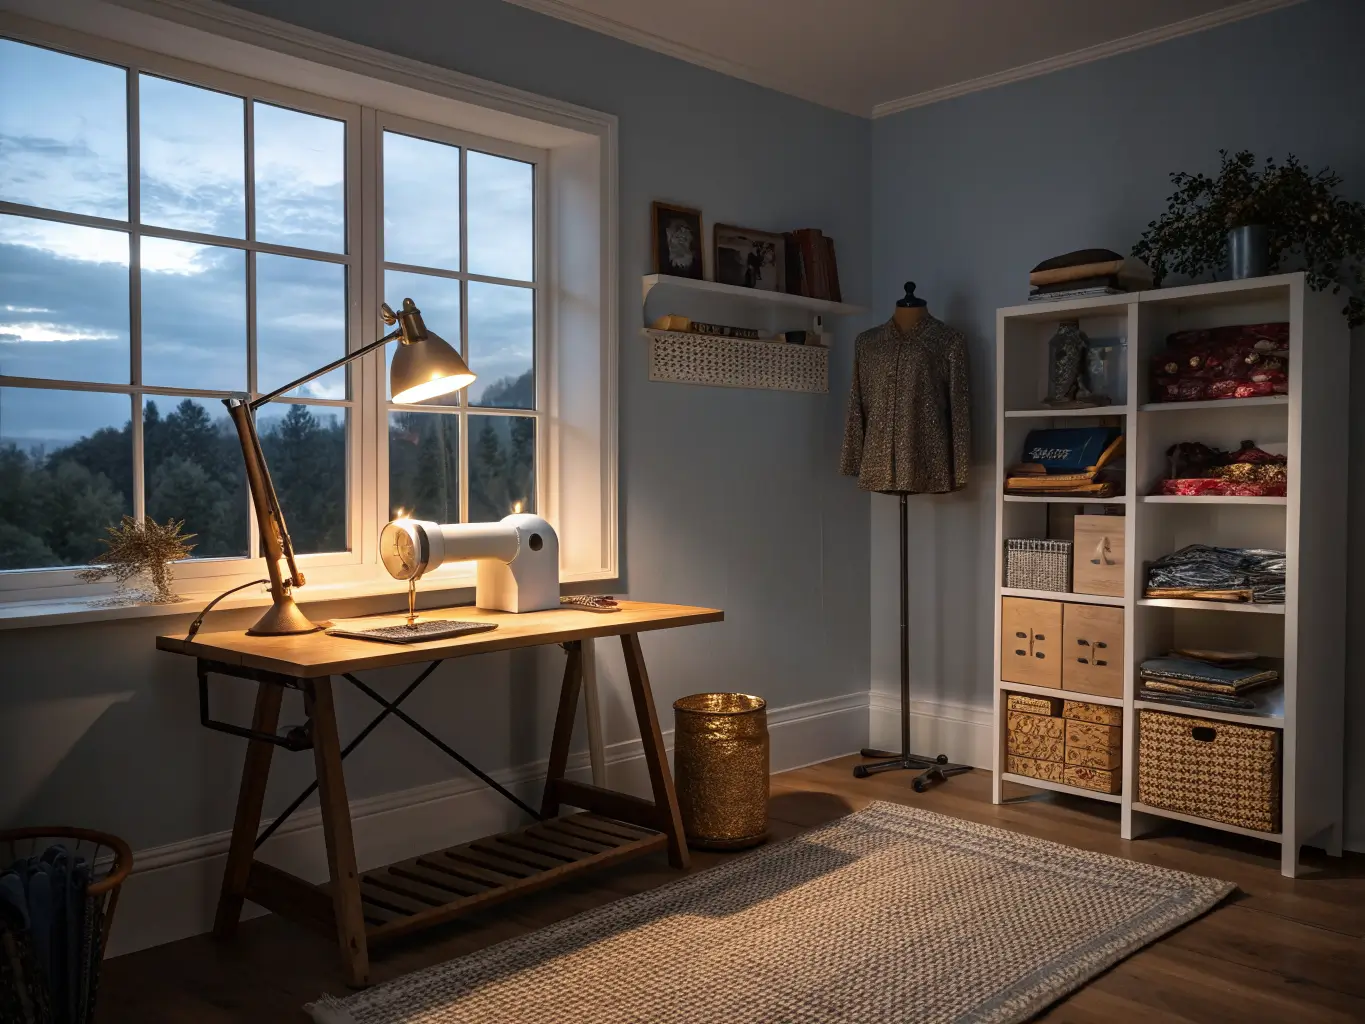
Lighting matters more than people think
I painted my craft room a soft dove gray, loved it in the paint swatch, and then discovered under my old ceiling fixture that every fabric I cut looked a shade darker than it actually was. Bad lighting doesn’t just make a room feel dim — it messes with color accuracy, which matters a lot if you’re painting, sewing, or matching paper.
– Put your main worktable near a window if you can.
– Add a task lamp with a daylight-temperature bulb (5000K) at the work surface.
– If you’re doing detail work — embroidery, card making — a clip-on LED lamp ($15–$25) aimed directly at your hands is worth more than any overhead fixture.
A chair that can handle three-hour sessions
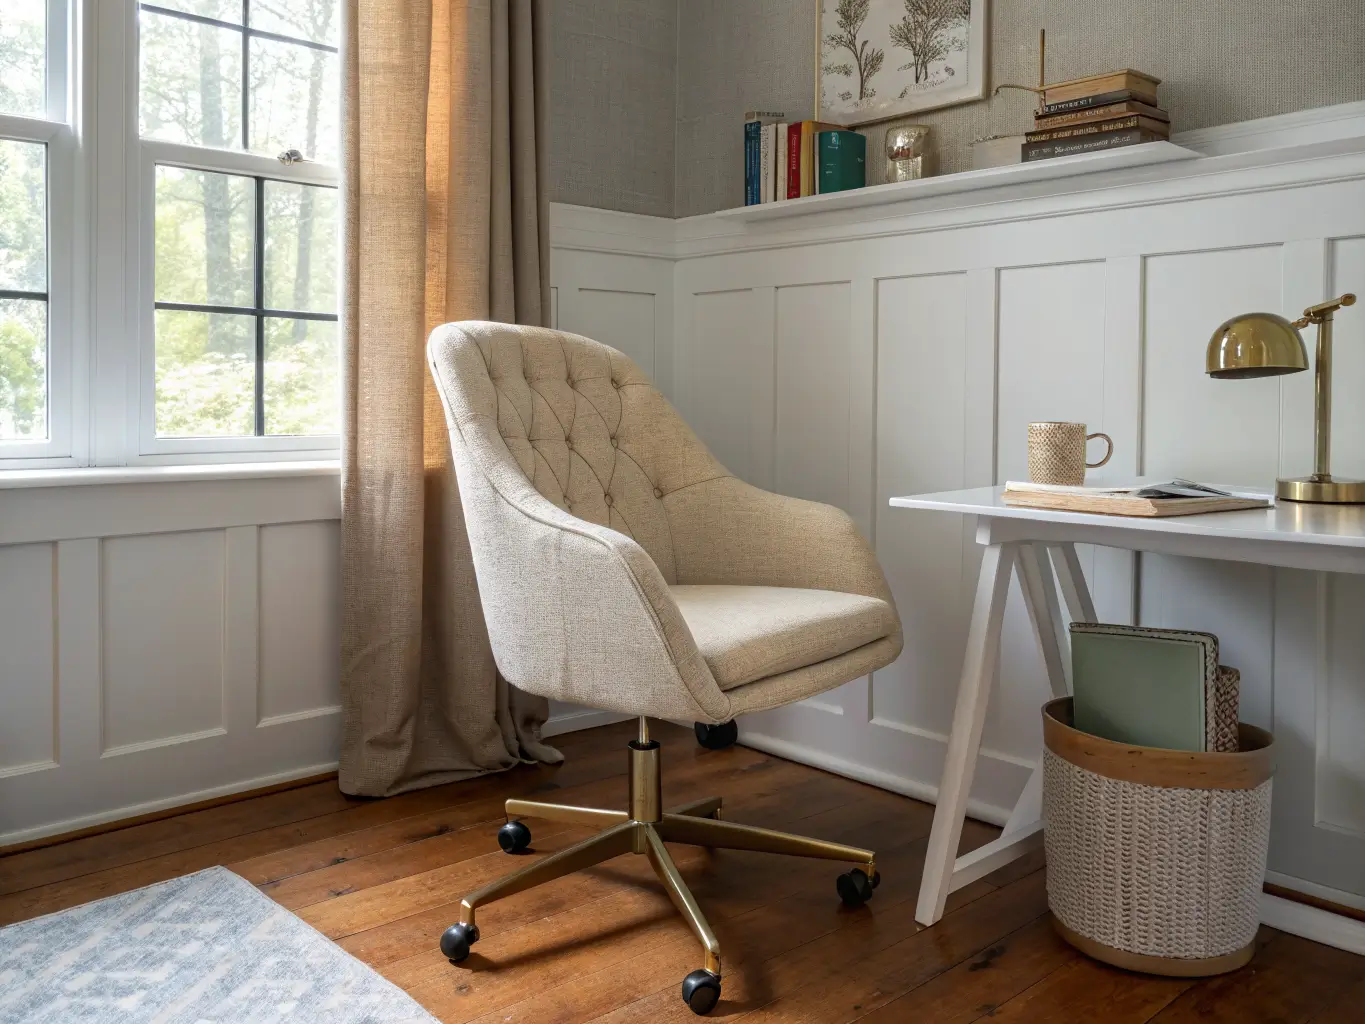
Don’t put a dining chair in a craft room. I did this for a year and my back still remembers it. A secondhand office chair with lumbar support, even reupholstered to match your room, beats a pretty chair that hurts to sit in.
How to Put It Together, Step by Step
1. Map your zones before you buy anything. Cutting, sewing, painting, wrapping, storage, “in-progress” — decide what you actually do and give each activity its own few square feet. I skipped this step originally and ended up with my sewing machine and my paper-crafting supplies fighting for the same table space every single time.
2. Place the big stuff first. Table, cabinets, shelving unit — get these in position before you think about a single decorative object.
3. Go vertical immediately after. Pegboard, wall shelves, hooks. This is the cheapest, most effective square footage you have, especially in a small room.
4. Style the open shelves like you’d style a bookshelf. Mix labeled bins with a plant, a stack of design books, one framed print. Don’t fill every inch — negative space (the empty gaps you leave on purpose) is what makes shelves look intentional instead of jammed.
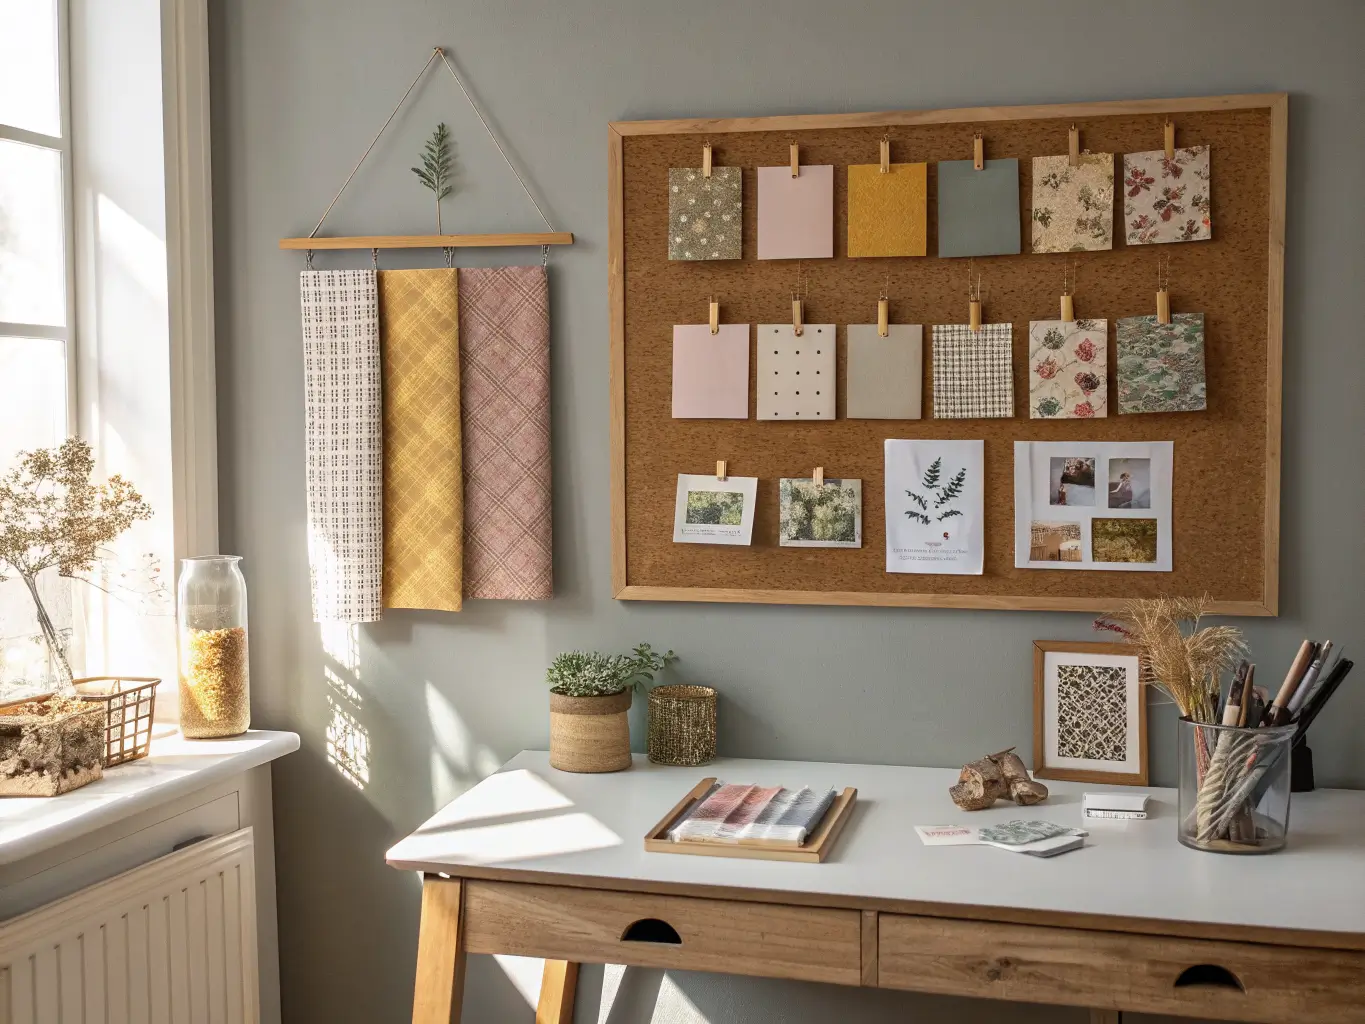
5. Build one inspiration wall. Cork board, gallery wall, a fabric swatch collage — something that’s just for you, not for storage. Mine is a cork board with finished cards pinned up next to fabric scraps I loved and never used. It’s the one part of the room that has nothing to do with function, and it’s my favorite part of the room.
6. Add comfort last. Rug, better lighting, a real chair. This is the layer that turns “storage room” into “room I want to spend time in.”
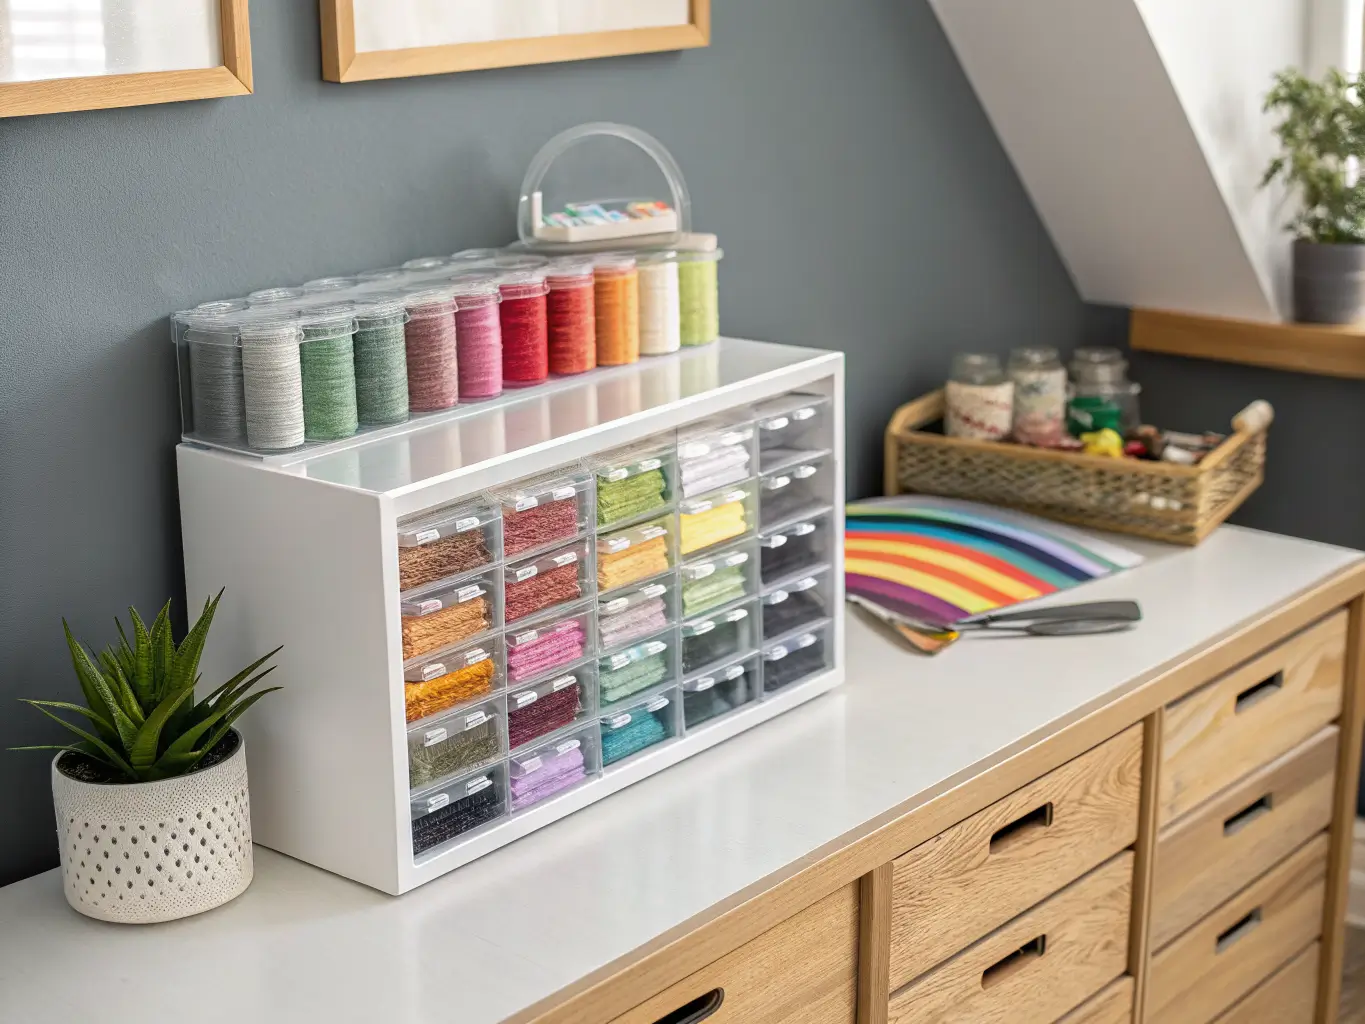
7. Color-code where it makes sense. My embroidery floss is sorted by hue in a clear drawer organizer, and it looks like a piece of art on its own. Sorted-by-color storage does double duty as decor — it’s one of the few organizing systems that’s genuinely pretty.
Budget: Where to Spend, Where to Save
Spend on:
– The worktable (you’ll touch this every session — cheap ones wobble and the surface scratches)
– Lighting (bad light undermines everything else)
– A chair with real support
Save on:
– Storage bins — dollar store and Target bins work exactly as well as $18 designer versions once they’re labeled and lined up
– Wall decor — I framed three $4 fabric swatches instead of buying art, and it looks more personal than anything I could’ve bought
– Pegboard and basic wood shelving — both are DIY-friendly and cheap at any hardware store
Common Mistakes I’ve Made So You Don’t Have To
– Buying decor before storage. I bought a vintage brass lamp for this room before I owned a single labeled bin. Pretty lamp, chaotic room. Fix your storage problem first.
– Undersizing the table. Covered above, still worth repeating — a small table is the #1 regret I hear about and the one I lived through myself.
– Overfilling open shelves. If you can’t see the shelf itself between objects, you have too much on display. Move half of it behind a door.
– Skipping the walls. So much floor-space anxiety in small craft rooms disappears the moment you add pegboard or a hanging shoe organizer for supplies.
– No cleanup zone. Without a bin specifically for scraps and a tray for “unfinished projects,” clutter creeps across every surface within a week. I now have a $12 bin labeled “SCRAPS” that gets dumped weekly, and it’s saved my sanity.
Keeping It Fresh Without Redoing the Whole Room
You don’t need to overhaul a craft room every season — you need small, repeatable swaps:
– Rotate a couple of throw pillows or a rug runner for the season
– Swap framed art or the inspiration wall content every few months
– Add faux florals or a new plant in fall/winter when live ones struggle in low light
For cross-style variations, the bones stay the same, only the finishes change:
– Boho: rattan baskets, warm wood tones, layered woven textiles
– Modern: acrylic bins, white walls, a single lucite or molded chair
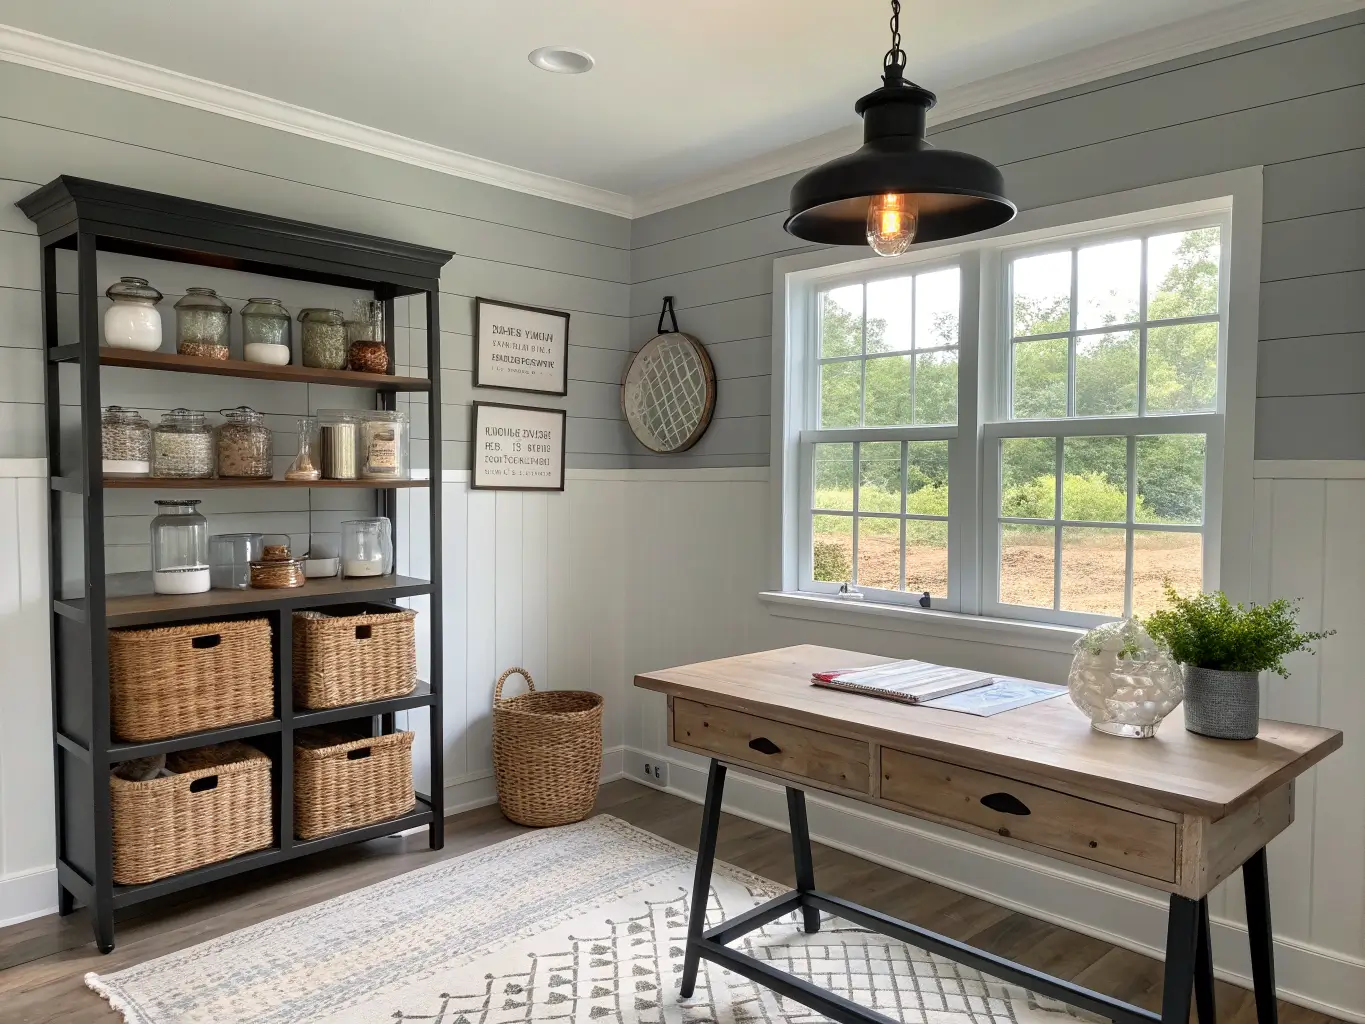
– Farmhouse: cubby storage, glass jars with labels, black metal hardware
– Colorful eclectic: a bold accent wall, rainbow-sorted supplies, a gallery wall of finished projects
Start with shelving and bins. Upgrade the chair next. Add wallpaper or a better light fixture when the budget allows. That’s the order I’d do it in again if I started from scratch — and honestly, given how many times I rearranged my own room before it clicked, starting in the right order would’ve saved me a full year of trial and error.
For another angle on this, my craft room ideas guide covers the same space from a different starting point.





