
What a Vintage Study Room Actually Is
A vintage study room is the easiest style to get wrong in a way I can’t quite explain until I see it — and the easiest to get right once you understand why it works. I redid my own study three times before I figured out the difference between “looks like a museum exhibit” and “looks like someone’s grandfather actually worked here for forty years.” The second one is what you want. Here’s how to get there.
This style pulls from classic study, Victorian, mid-century, and rustic vintage design all at once. You’re not recreating one specific decade — you’re building a workspace that feels collected over time, the way a good study naturally would if someone actually used it for reading, writing, and thinking for years.
Who this is for: readers, writers, remote workers who are tired of looking at a white desk and a ring light, journal-keepers, and anyone who owns more books than they’ve admitted to their partner.
Where it works: home offices, spare bedrooms, attic nooks, converted closets, that weird alcove under the stairs nobody knows what to do with. I did mine in a 9×11 spare bedroom, and I’ve seen it done just as well in a 4-foot-deep closet with the door removed.
Colors and materials, specifically:
– Warm brown, walnut, mahogany, deep forest green, burgundy, mustard, muted teal, and cream
– Wood, leather, brass, bronze, wool, linen, and cane
Skip cool grays and stark white. They fight everything this style is trying to do.
Time, Cost, and Skill Level — Real Numbers
Time: A weekend gets you a simple refresh — new lamp, rug, a few accessories. A full room with painting, furniture sourcing, and placement takes 2 to 5 days spread out, mostly because good secondhand desks don’t show up on your schedule.
Budget breakdown:
– Thrifted refresh: $250–$800. Used desk, secondhand chair, a lamp, a rug, small decor. This is where I started — I found my desk at an estate sale for $140 and it needed nothing but a coat of wax.
– Mixed new-and-vintage: $900–$2,500. Solid wood desk, real leather chair, brass lamp, a proper rug, shelving, framed art. This is the sweet spot for most people.
– Higher-end classic study: $3,000+. Antique furniture, designer upholstery, chandelier lighting, walnut or mahogany pieces bought new from a proper maker.
Skill level: Beginner to intermediate for styling. Intermediate to expert if you’re refinishing wood or reupholstering — I would not recommend reupholstering your first chair be a tufted leather wingback. Learn on something smaller.
Seasonal appeal: Year-round. The whole look runs on warm wood and ambient light, not pumpkins or beach glass, so it doesn’t need seasonal overhauls to keep working.
The Must-Have Pieces That Make the Room Read as Vintage
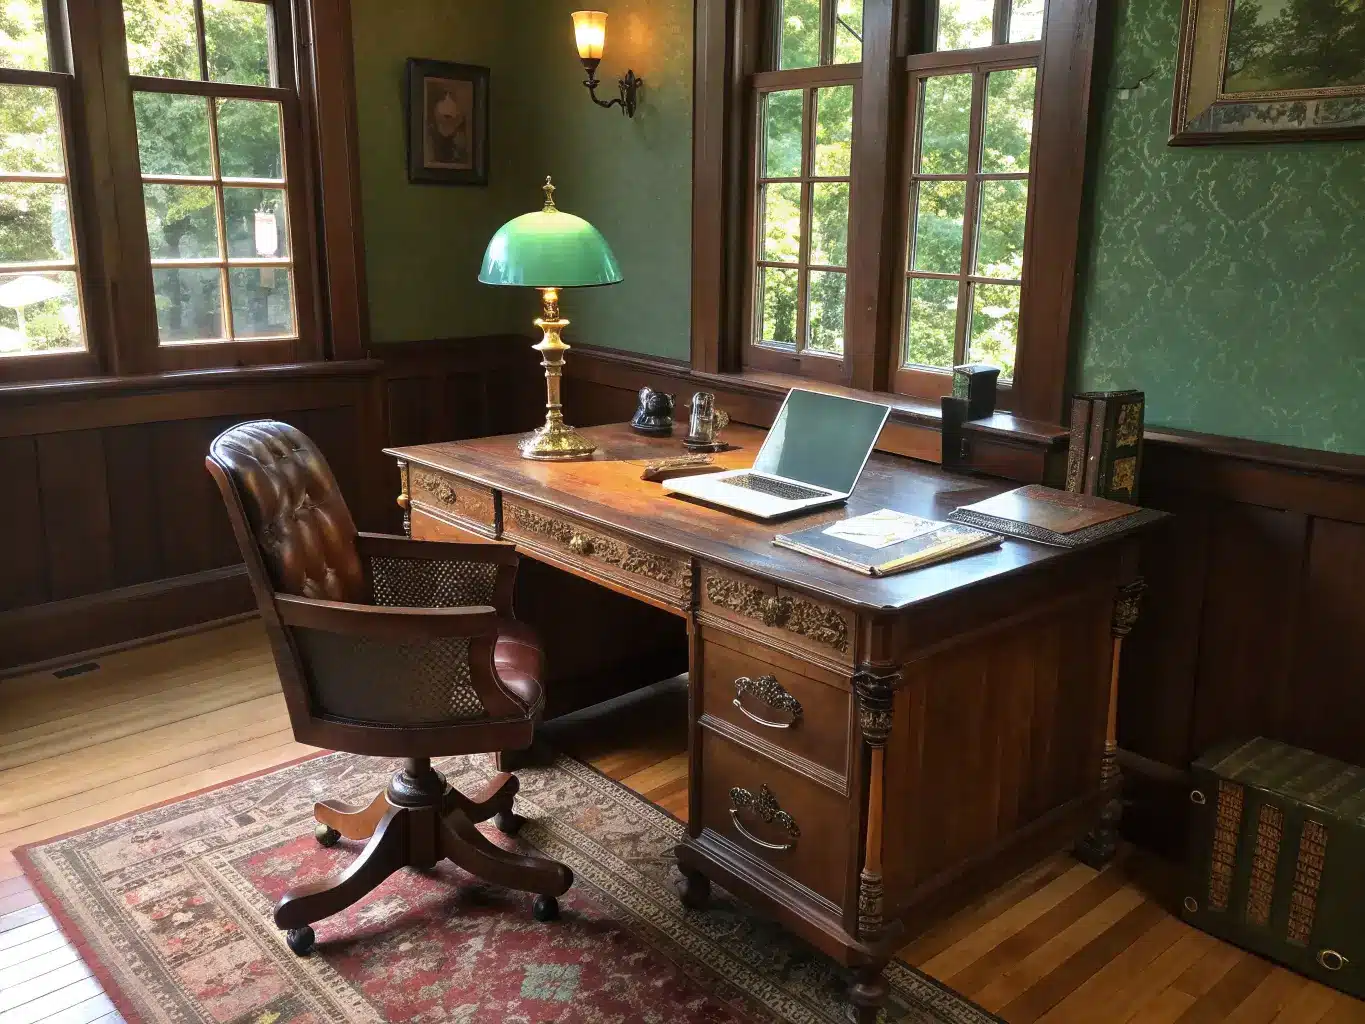
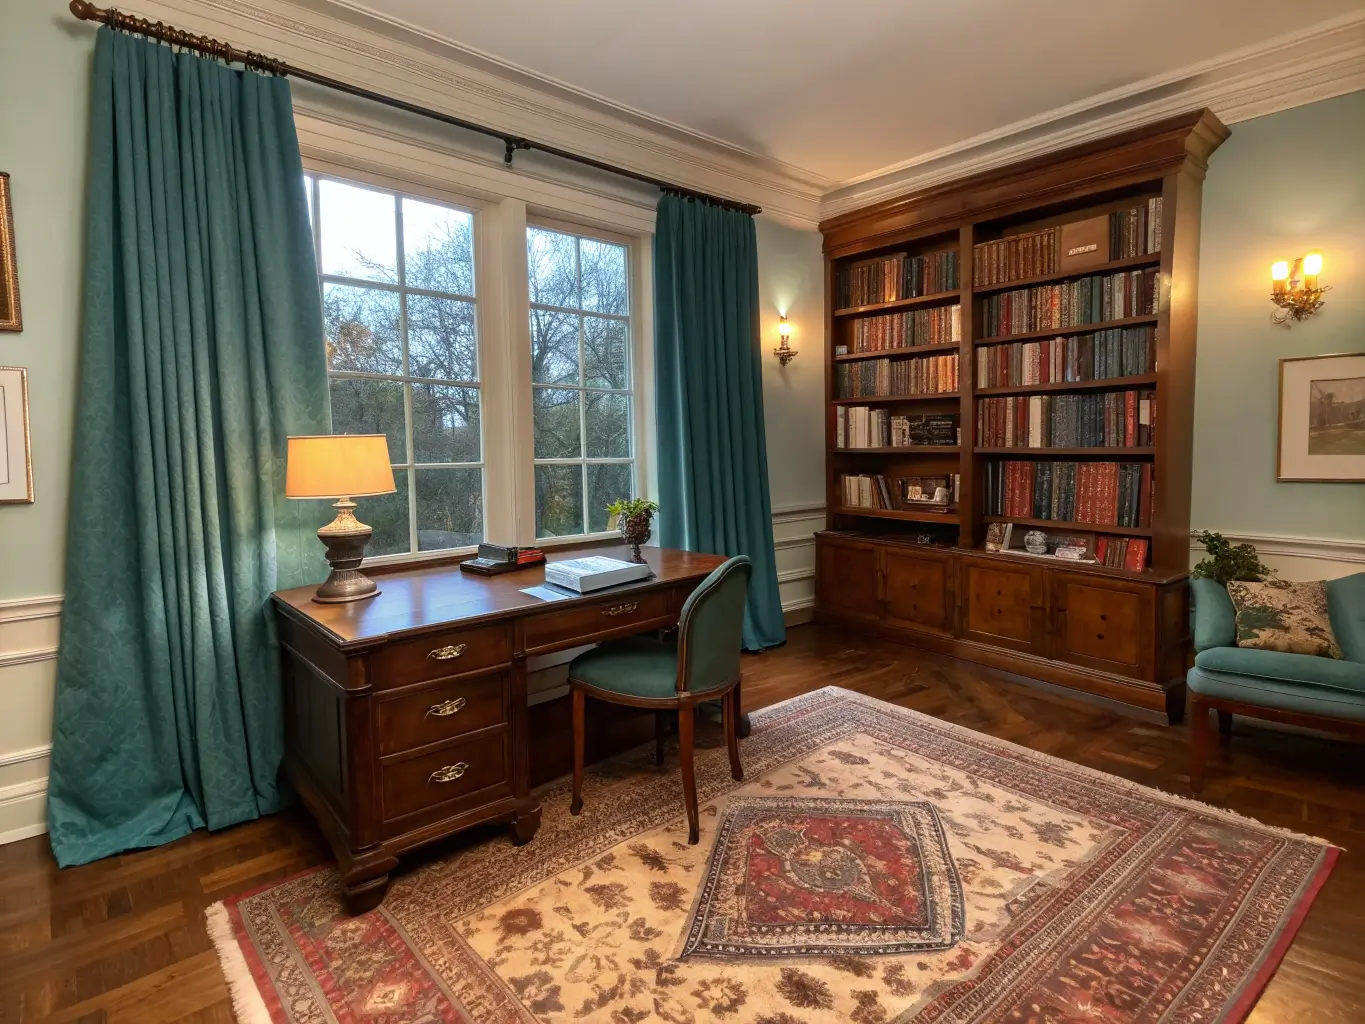
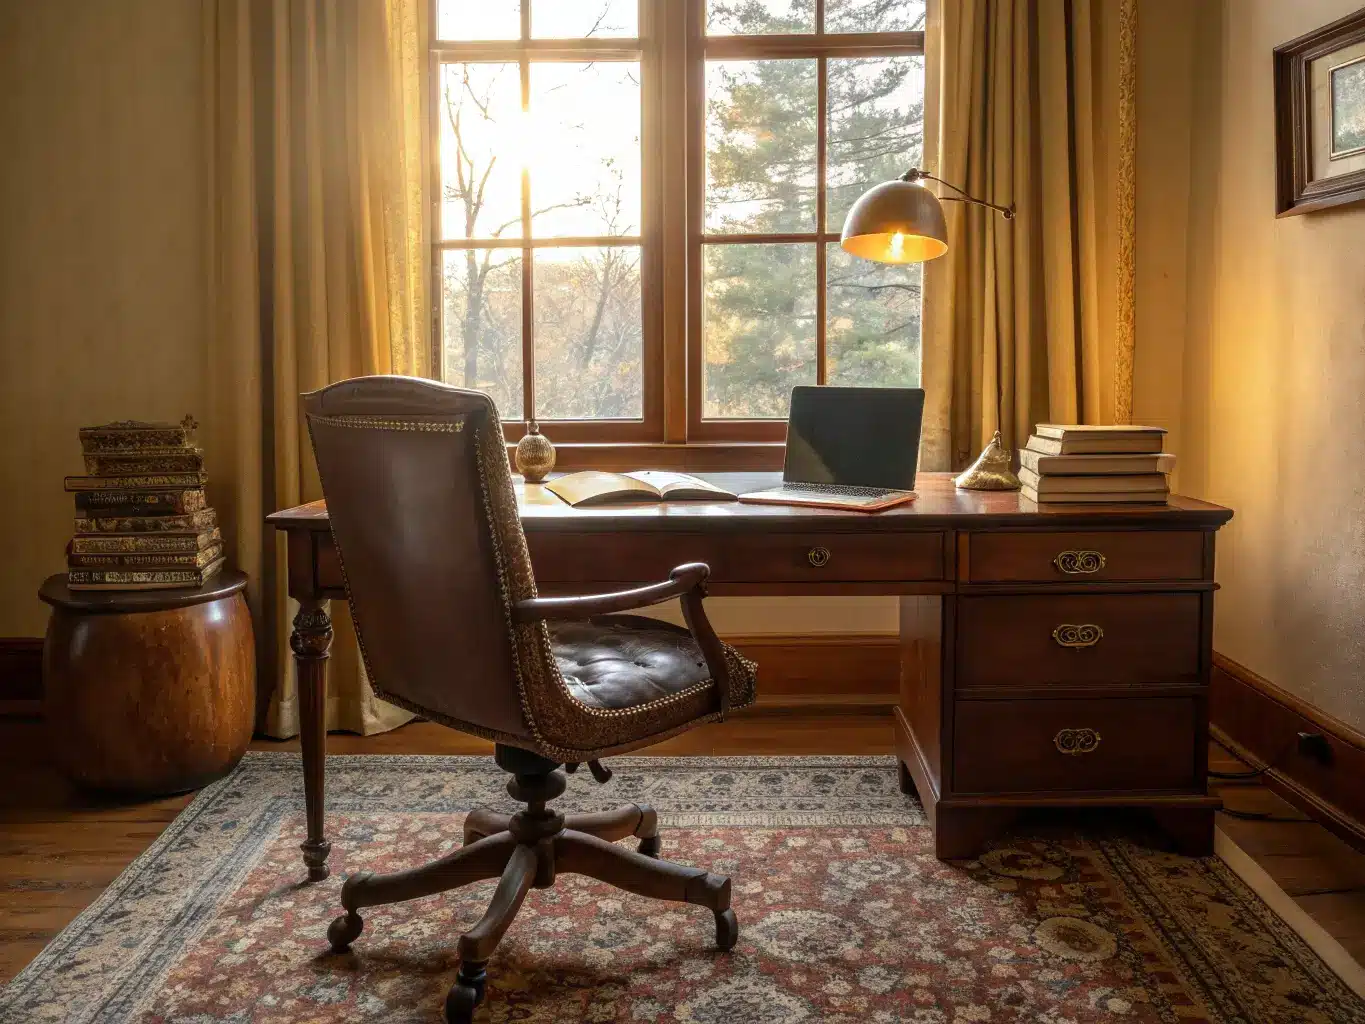
The desk is your hero piece, full stop. Look for an antique or antique-style wooden desk — walnut, mahogany, or oak — with carved detailing or a patina that shows use. This is the one item worth spending real money on or hunting for patiently. Mine has a water ring on the top left corner from decades before I owned it. I left it. It’s the most convincing thing in the room.
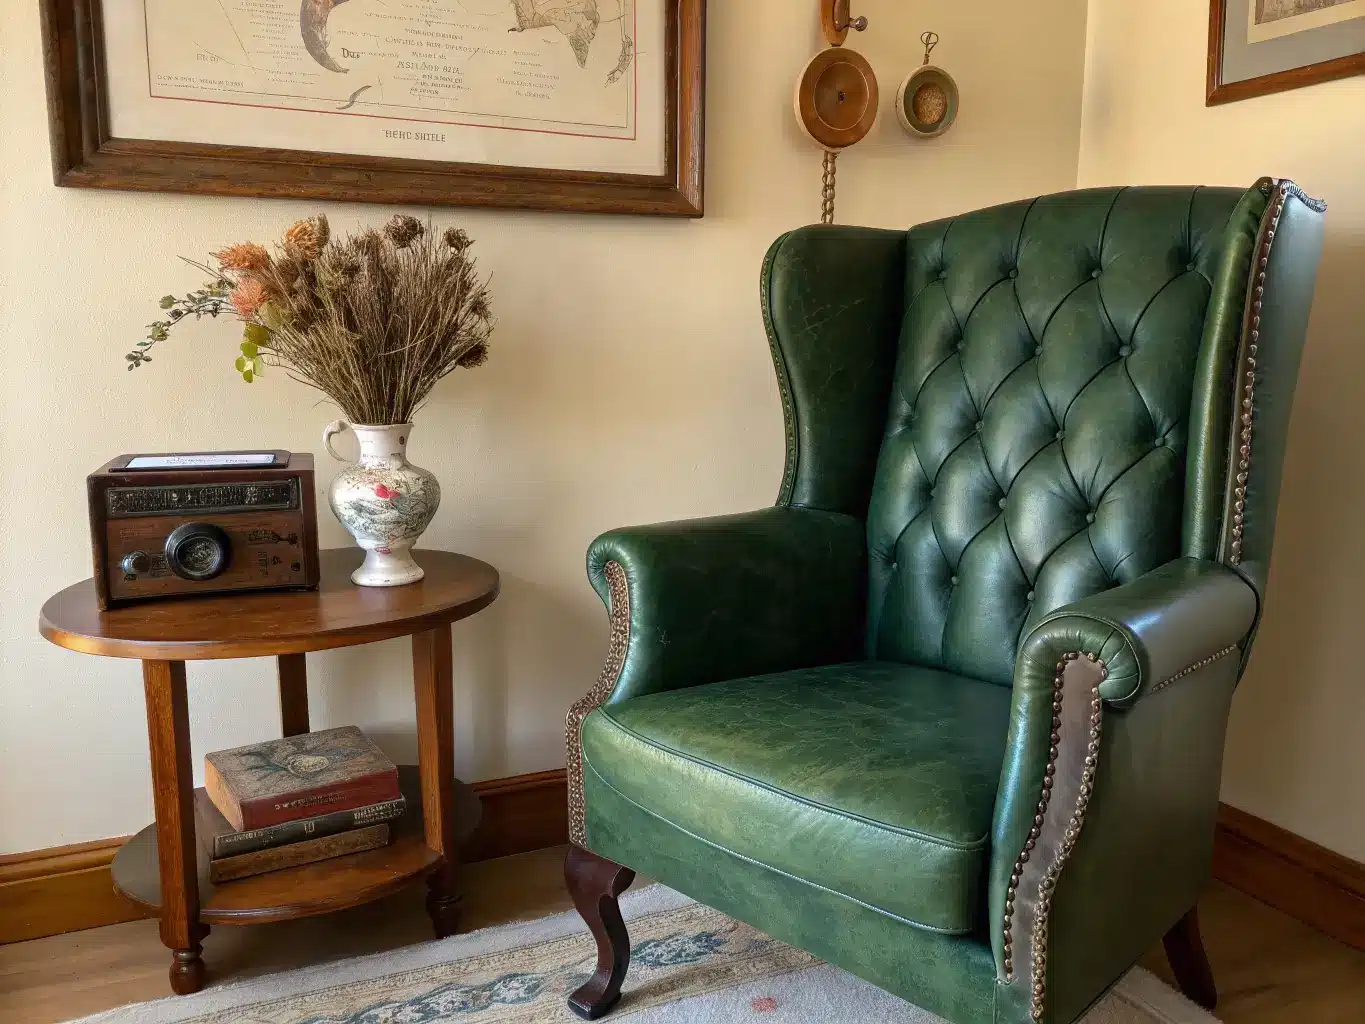
A leather or upholstered wood chair. Deep-tufted leather, cane-backed, a small Bergère, or a wingback all work. Prioritize comfort over looks here — I bought a beautiful cane-backed chair first that destroyed my back after twenty minutes, and it now lives in a corner as a “reading chair” that nobody reads in. My actual desk chair is a less photogenic leather task chair with better lumbar support.
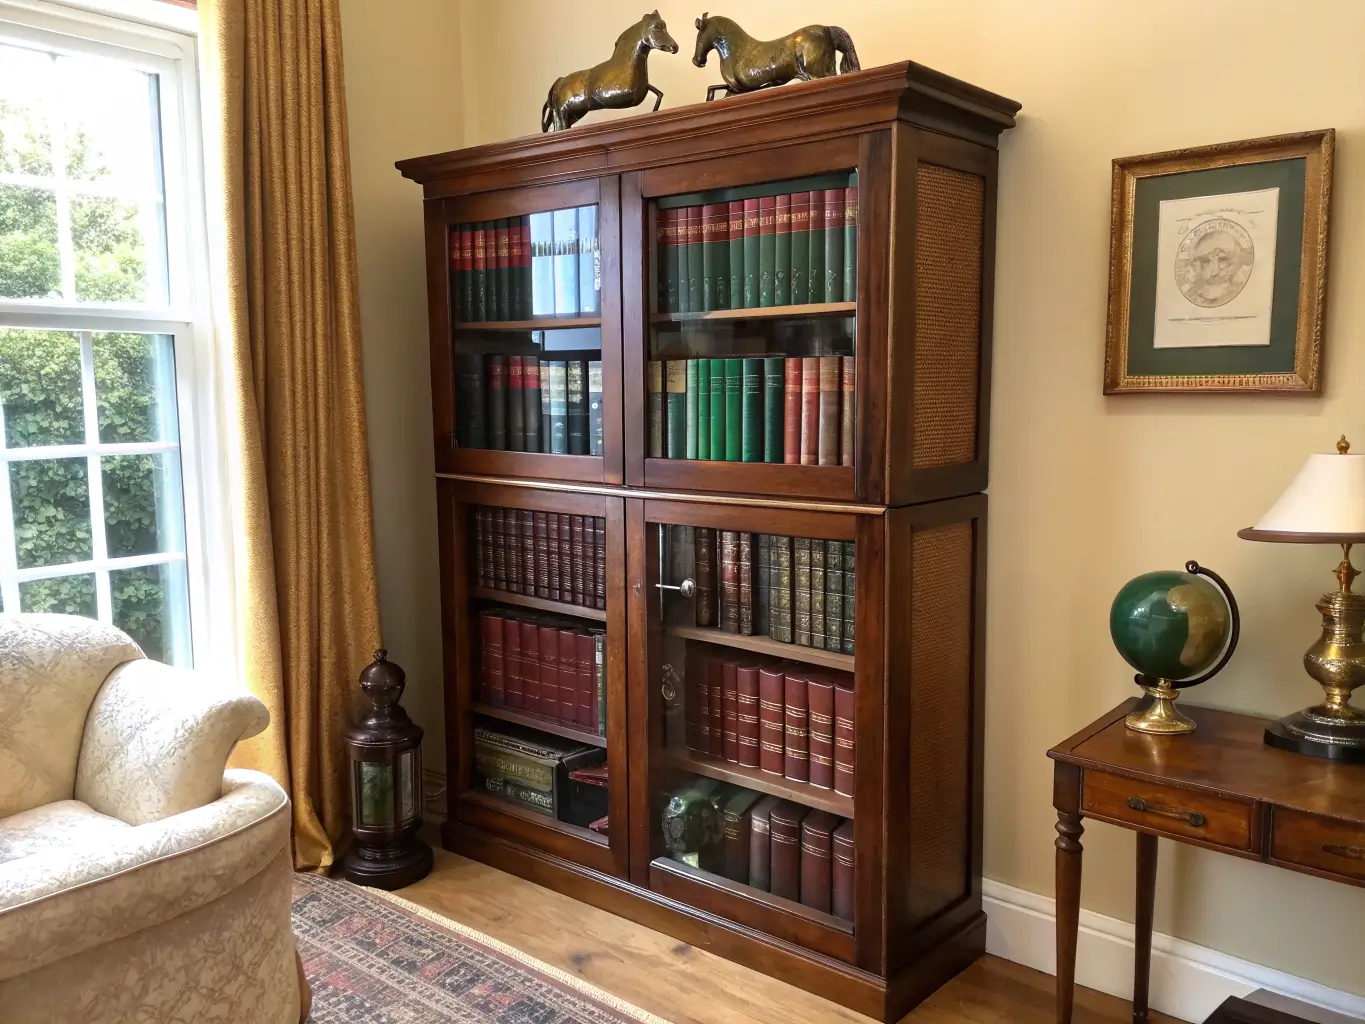
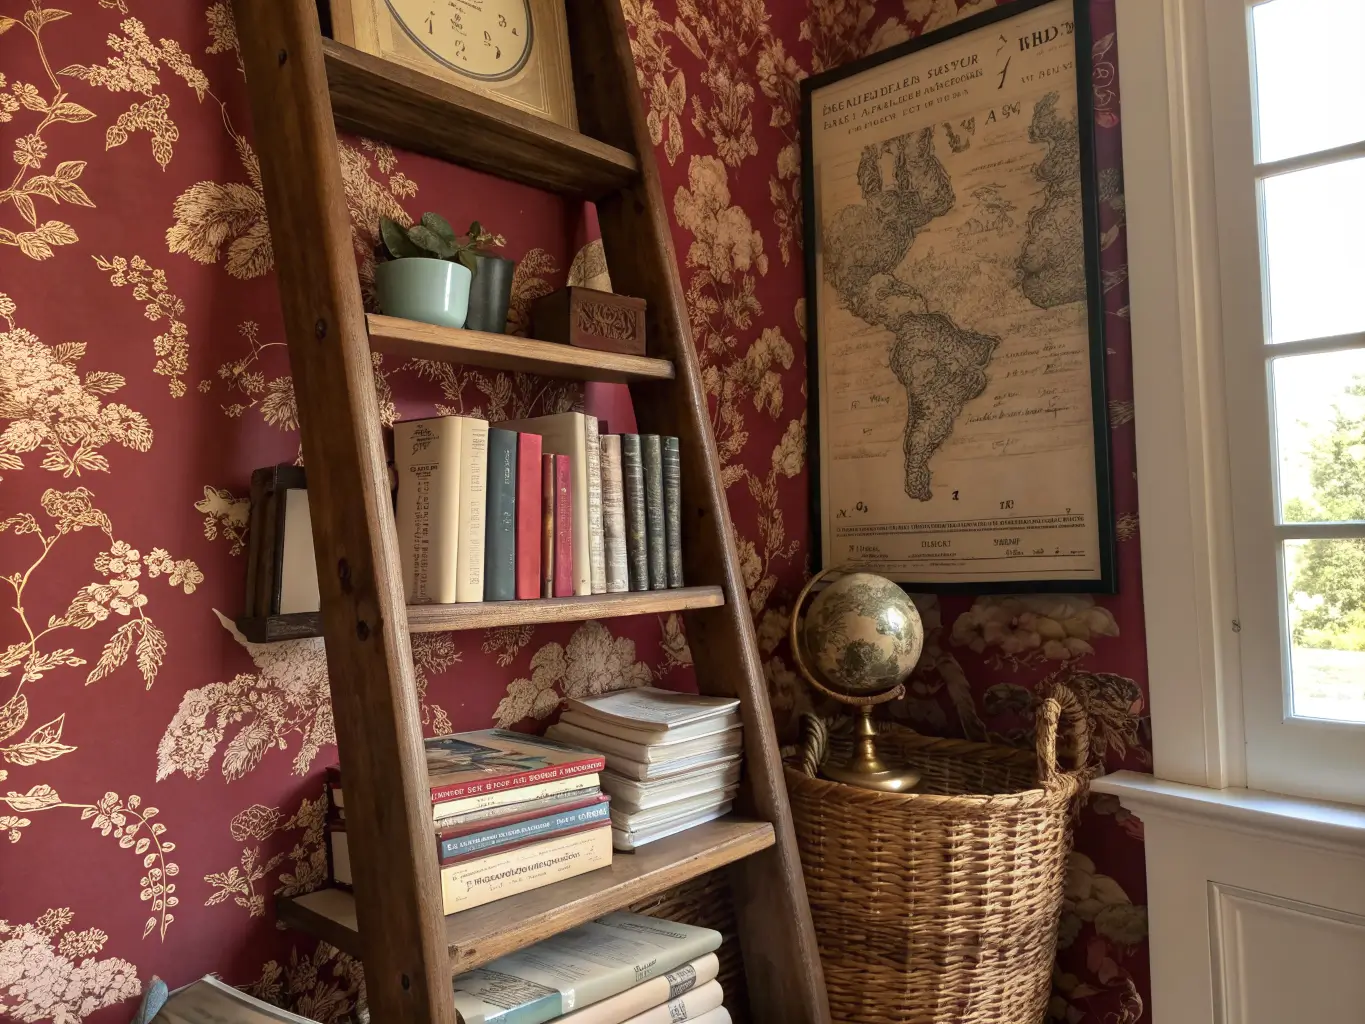
Bookshelves with actual character. Barrister bookcases (the stacking kind with glass fronts), open wood shelving, or a ladder shelf. Books should be visible, not hidden behind cabinet doors — that’s half the atmosphere.
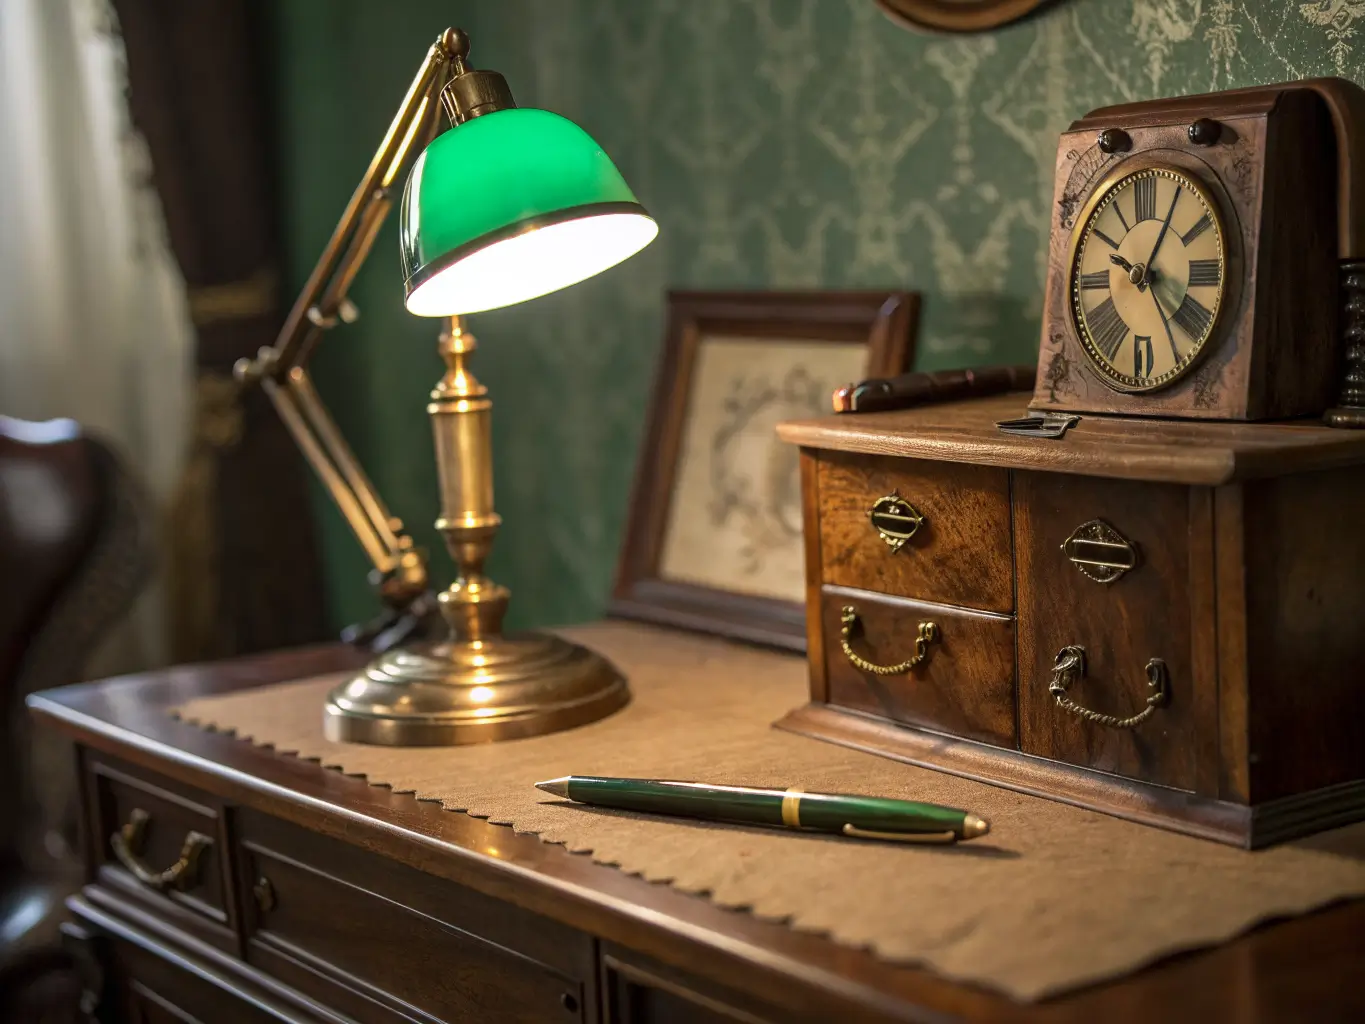
Warm task lighting. A brass banker’s lamp with a green glass shade is the single most recognizable object in this whole style. Bronze desk lamps and stained-glass table lamps work too. Avoid anything with a cool white or daylight bulb — go for warm white, 2700K if you’re buying LED bulbs, so the light itself looks aged.
Signature accessories, used sparingly:
– An old globe
– A framed antique map
– A clock with visible mechanical hands
– Bookends (brass or marble)
– One or two leather-bound books, not twenty
A patterned area rug. Persian-style or an Oriental-inspired traditional pattern in muted, warm tones. This grounds the desk visually and softens the room acoustically — a hard-floored study with no rug echoes in a way that kills the mood.
Heavier window treatments. Textured curtains or vintage-style blinds. Thin, sheer curtains read modern-minimalist, which works against you here.
Optional Upgrades Worth Considering
– A chandelier or pendant light if you’re leaning Victorian — this is a bigger commitment but it changes the whole ceiling plane
– Wallpaper behind the desk in damask, toile, or a deep botanical print, even just on one wall
– Brass or antique gold hardware on drawer pulls to echo your lamp
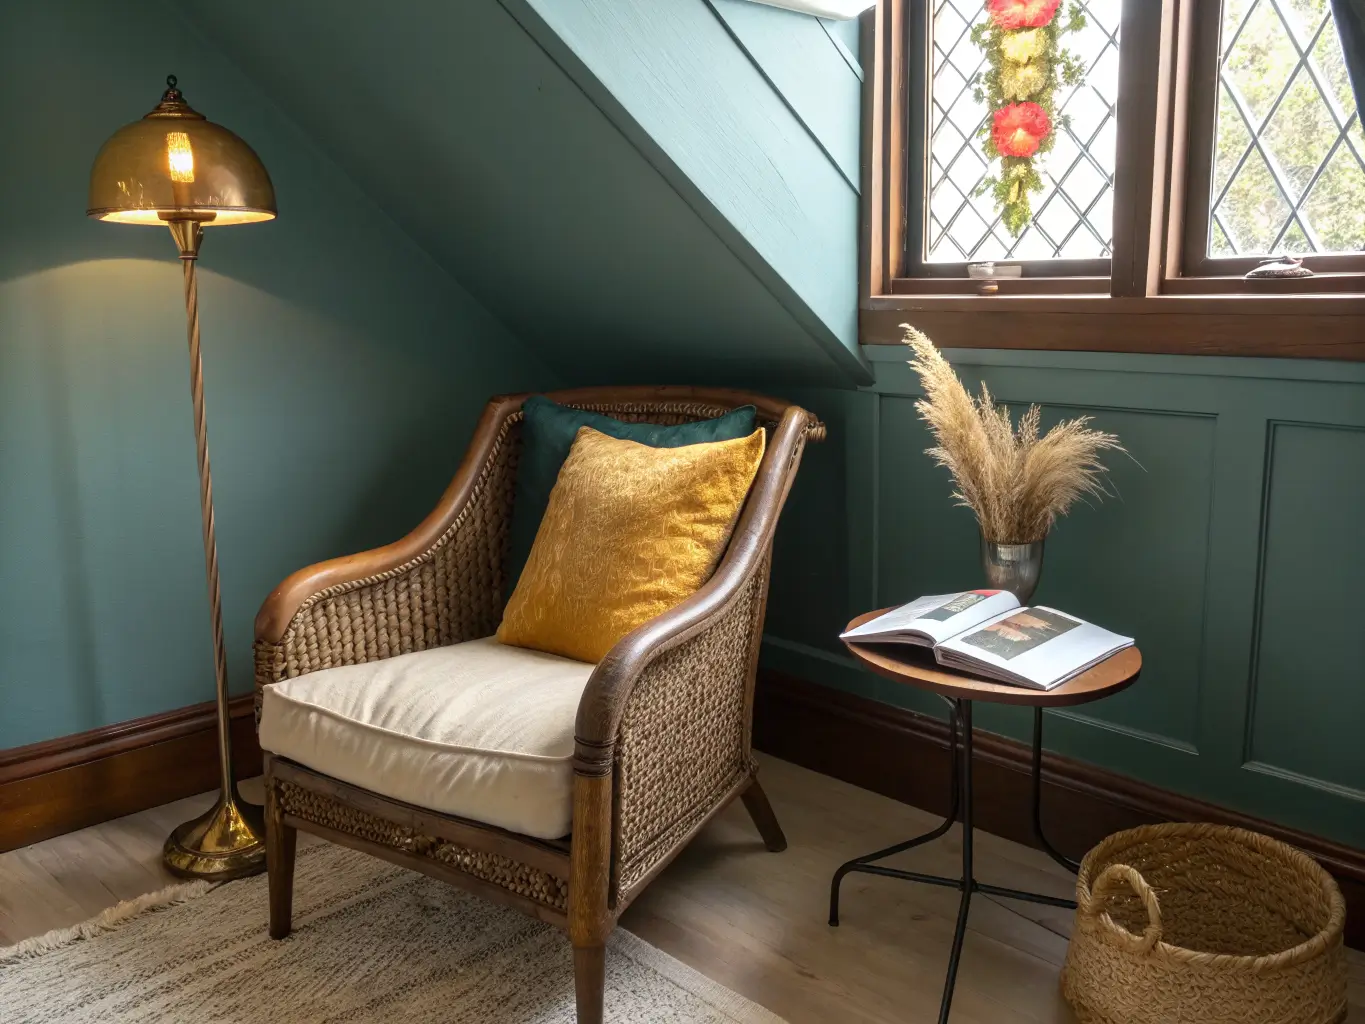
– Dried flowers or a woven basket to keep things from feeling too stiff and formal
– A record player or old radio — I have a $30 thrifted radio that doesn’t even work, and it still earns its spot on the shelf
How to Actually Put the Room Together
Step 1: Clear out the modern clutter first. Cords, random chargers, mismatched plastic bins — anything that visually screams 2024 breaks the spell immediately. Deal with cable management before you buy a single decor item.
Step 2: Decide the room’s real job. Writing nook, reading room, hybrid office, or full library-style study. This determines desk size. A slim writing table works in a corner; a proper pedestal desk needs a real room.
Step 3: Put the desk near natural light if you can. A window to the side of the desk, not directly behind or in front of your face, works best for both mood and glare.
Step 4: Size your rug to the space, not just the desk. You want enough room that the chair can roll or swivel without catching an edge — as a rule of thumb, leave at least 24 inches of clearance behind the chair for pushing back from the desk.
Step 5: Build in this order — desk and chair first, then storage, then lighting, then small decor last. I did mine backwards the first time, buying decor before I even had a chair, and ended up with a gorgeous globe sitting on the floor for three weeks.
Step 6: Layer your lighting. Overhead ambient light, a task lamp on the desk, and ideally one accent light somewhere else in the room — a small lamp on a shelf works. Layered lighting is what keeps the room from having hard shadows that make it feel like a basement.
Step 7: Finish with two or three meaningful objects, not ten. Pick the map, the clock, the globe — whatever means something to you — and stop there.
Step 8: Let modern tech exist openly. Trying to hide your laptop or monitor entirely makes the room feel like a costume set. Set the laptop on the desk, let it sit next to the brass lamp. The contrast is part of what makes it feel real instead of staged.
Mistakes That Make the Room Look Like a Theme Park Instead of a Home
– Bright white or daylight-toned bulbs. This is the single fastest way to kill the mood. Warm light is non-negotiable.
– Too many small objects everywhere. Curated beats crowded every time. If you can’t remember where you got something or why you bought it, it probably shouldn’t be on the shelf.
– Choosing a chair for looks alone. You will resent a beautiful chair that hurts your back within a week. Sit in it for at least ten minutes before buying, always.
– Going full costume with one era. An all-Victorian or all-mid-century room can tip into feeling like a set piece. Mixing eras — a Victorian desk with mid-century lamp, say — reads richer and more real.
– No storage plan. Books and papers pile up fast without a shelf or drawer system, and clutter breaks the look faster than almost anything else.
Keeping the Room Cohesive Over Time
Stick to your tight palette — warm woods, muted greens, brown leather, brass, cream — so new additions don’t fight old ones. Every time I’ve bought something that broke this rule (a bright red desk organizer, in my case, from a moment of poor judgment at a home goods store), it sticks out like it’s under a spotlight until I move it somewhere else in the house.
Repeat your finishes. If your lamp is brass, let your drawer pulls or picture frames pick up brass too. Consistency in metal and wood tone does more for cohesion than any single statement piece.
Keep the desktop mostly clear. Rotate two or three objects seasonally instead of letting everything accumulate at once.
Seasonal and Budget Refreshes
Seasonal tweaks cost almost nothing: swap in a heavier wool throw for winter, add dried stems or seasonal reading stacks, switch to darker floral arrangements without touching the furniture at all.
Budget-friendly moves that make a real difference:
– Thrift wood shelves and refinish with a walnut gel stain — about $20 and an afternoon
– Reupholster a plain chair in a deep burgundy or forest green fabric instead of buying new
– Stain a plain flat-pack desk to mimic aged wood rather than buying antique
Cross-style variations, if you want to lean a direction:
– Vintage + Mid-Century: tapered wood legs, simpler chair lines, mustard and teal accents instead of burgundy
– Vintage + Victorian: ornate wallpaper, tufted upholstery, darker wood, a small chandelier
– Vintage + Rustic: distressed wood, a little industrial metal, maps and globes, warm brown textiles throughout
The room that actually works isn’t the one that matches a mood board perfectly. It’s the one where the water ring on the desk and the radio that doesn’t turn on both earned their place.
For another angle on this, my study room decor guide covers the same space from a different starting point.





