Study Room Ideas That Actually Get Used (Not Just Photographed)
Here’s the thing about study room ideas: most of what you’ll find online looks incredible in a photo and falls apart after two weeks of actual use. I learned this the hard way when I turned the awkward corner of my spare room into a “study nook” that was really just a desk with nowhere to put anything, under a pendant light that cast my own shadow across my laptop. Pretty for about four days. Then it became a pile-everything-here zone because there was no storage plan and the lighting made it miserable to work in after 4pm.
A study room that works has to solve two problems at once — it needs to look like a place you want to sit down in, and it needs to function like an actual workspace. Below is how I’d build one now, knowing what I know.
What Style Actually Works Here
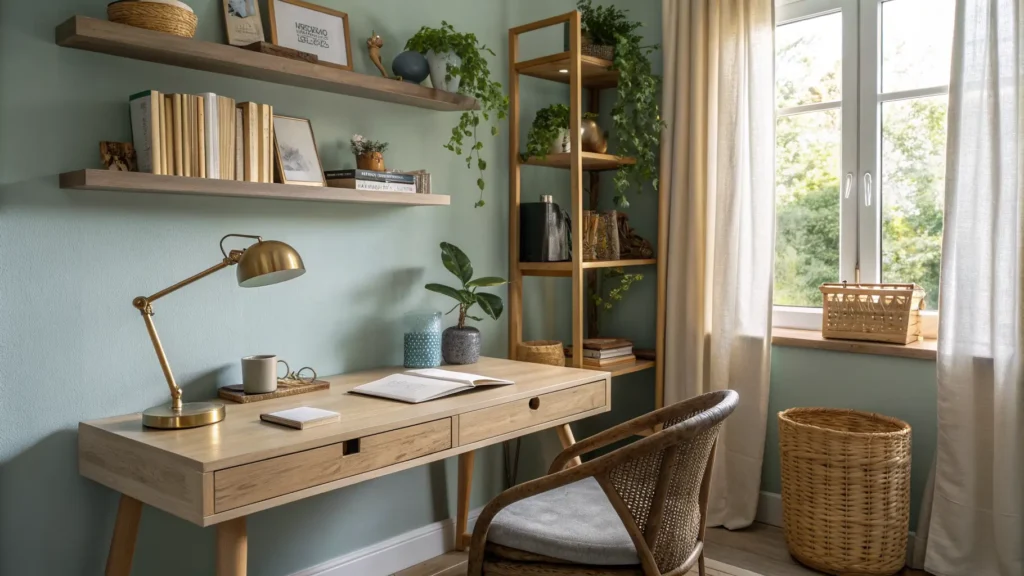
The dominant look right now — and the one I’d point almost anyone toward — is modern minimal with built-in organization. Think light wood, soft wall color, closed and open storage mixed together, nothing shouting for attention. It’s not the only option, but it’s the one that ages well and doesn’t fight you when you’re trying to concentrate.
A few variations worth knowing:
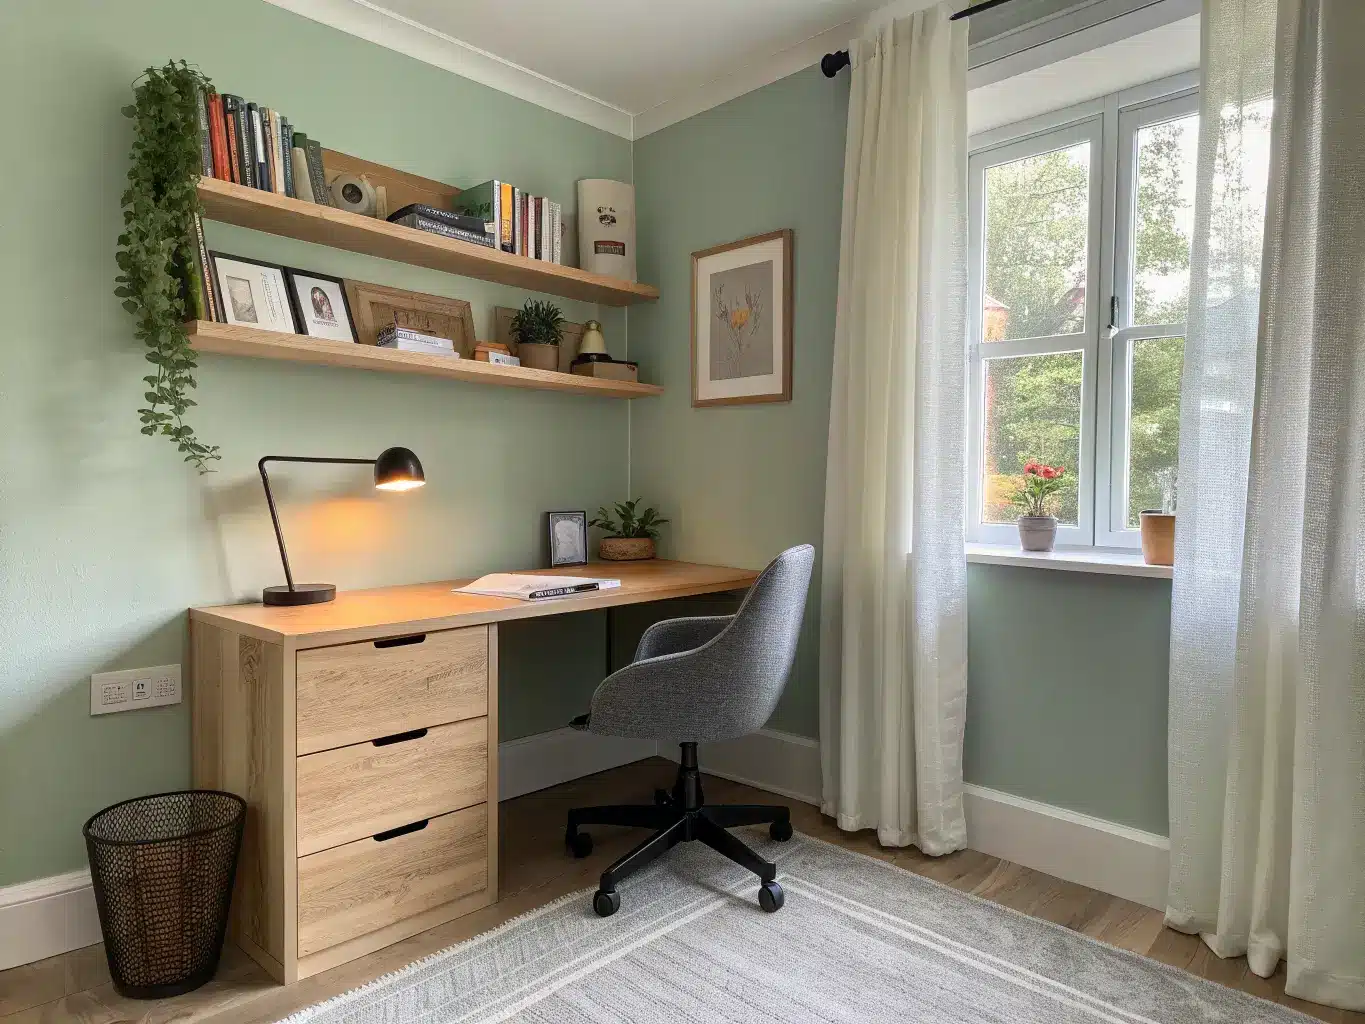
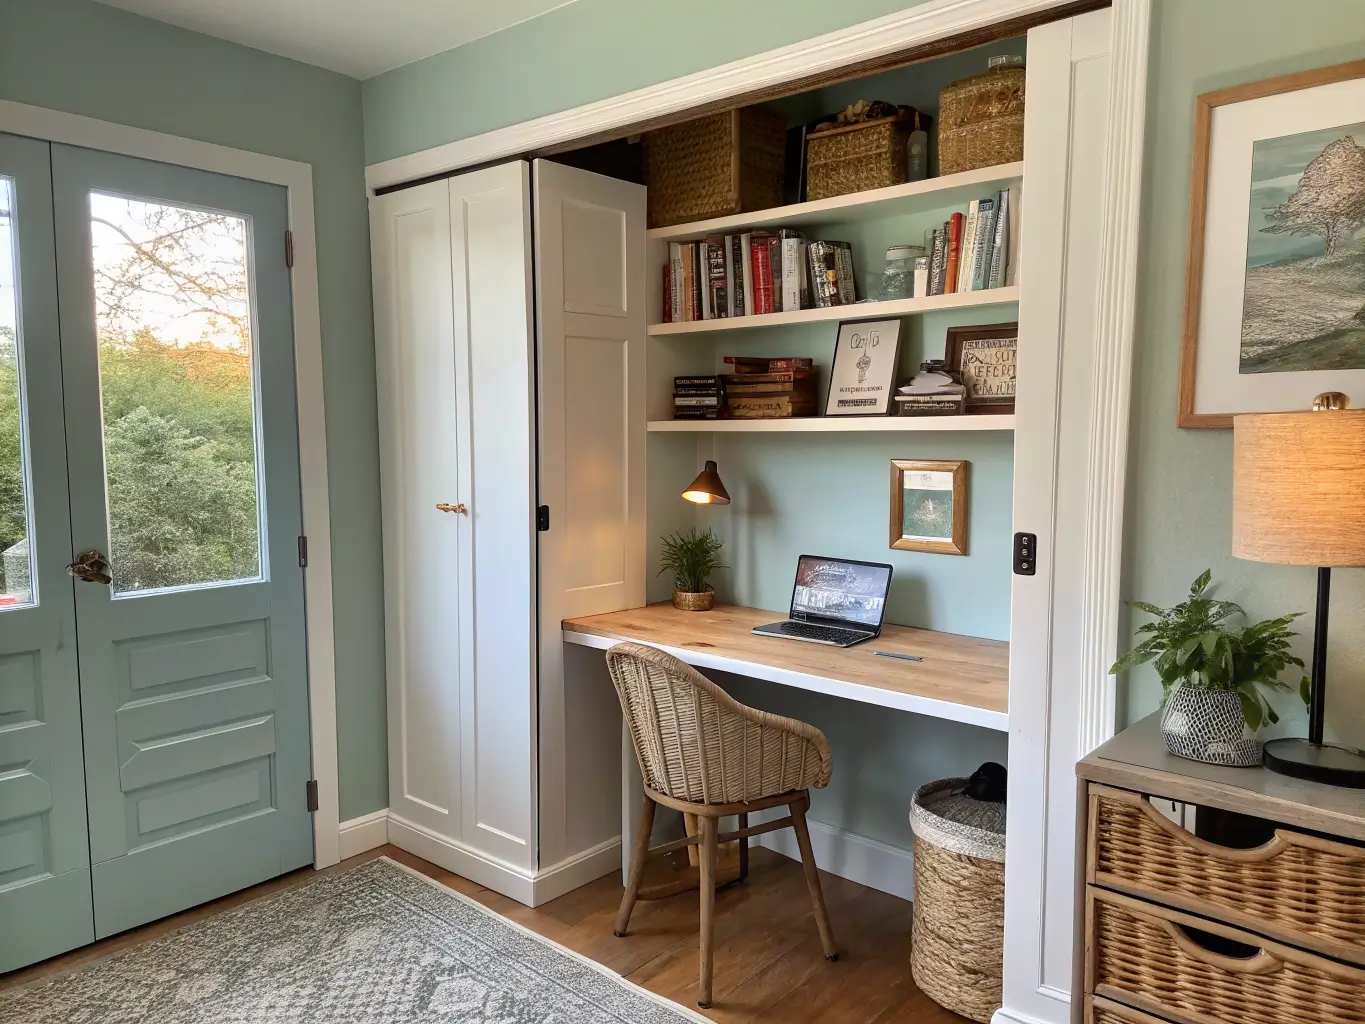
– Corner study nooks — for tight bedrooms or shared rooms
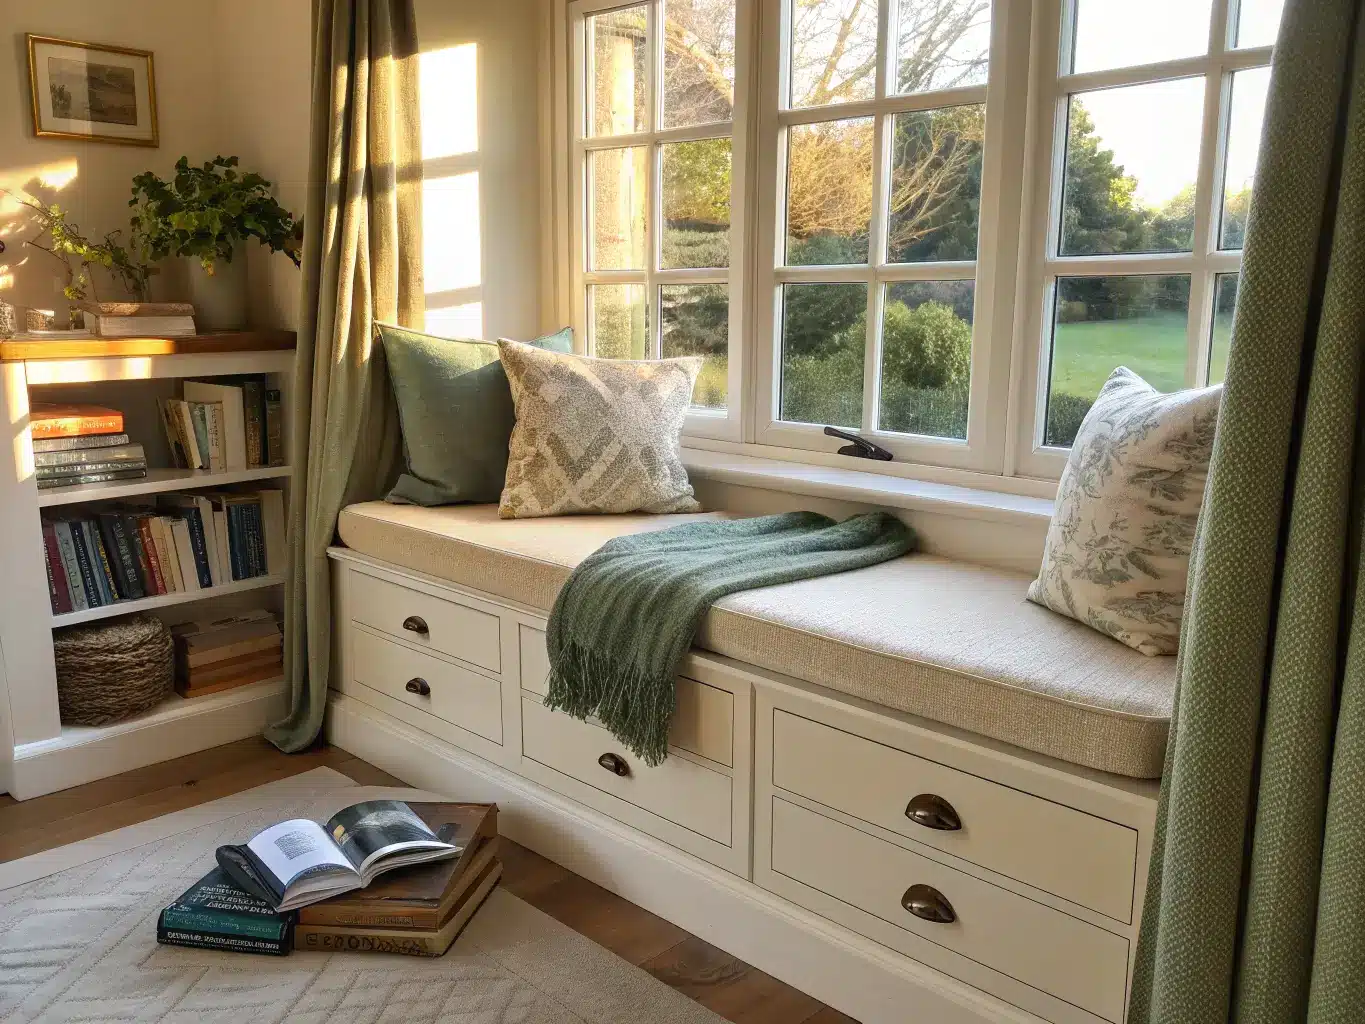
– Window-seat studies — a bench with storage underneath, built into an alcove
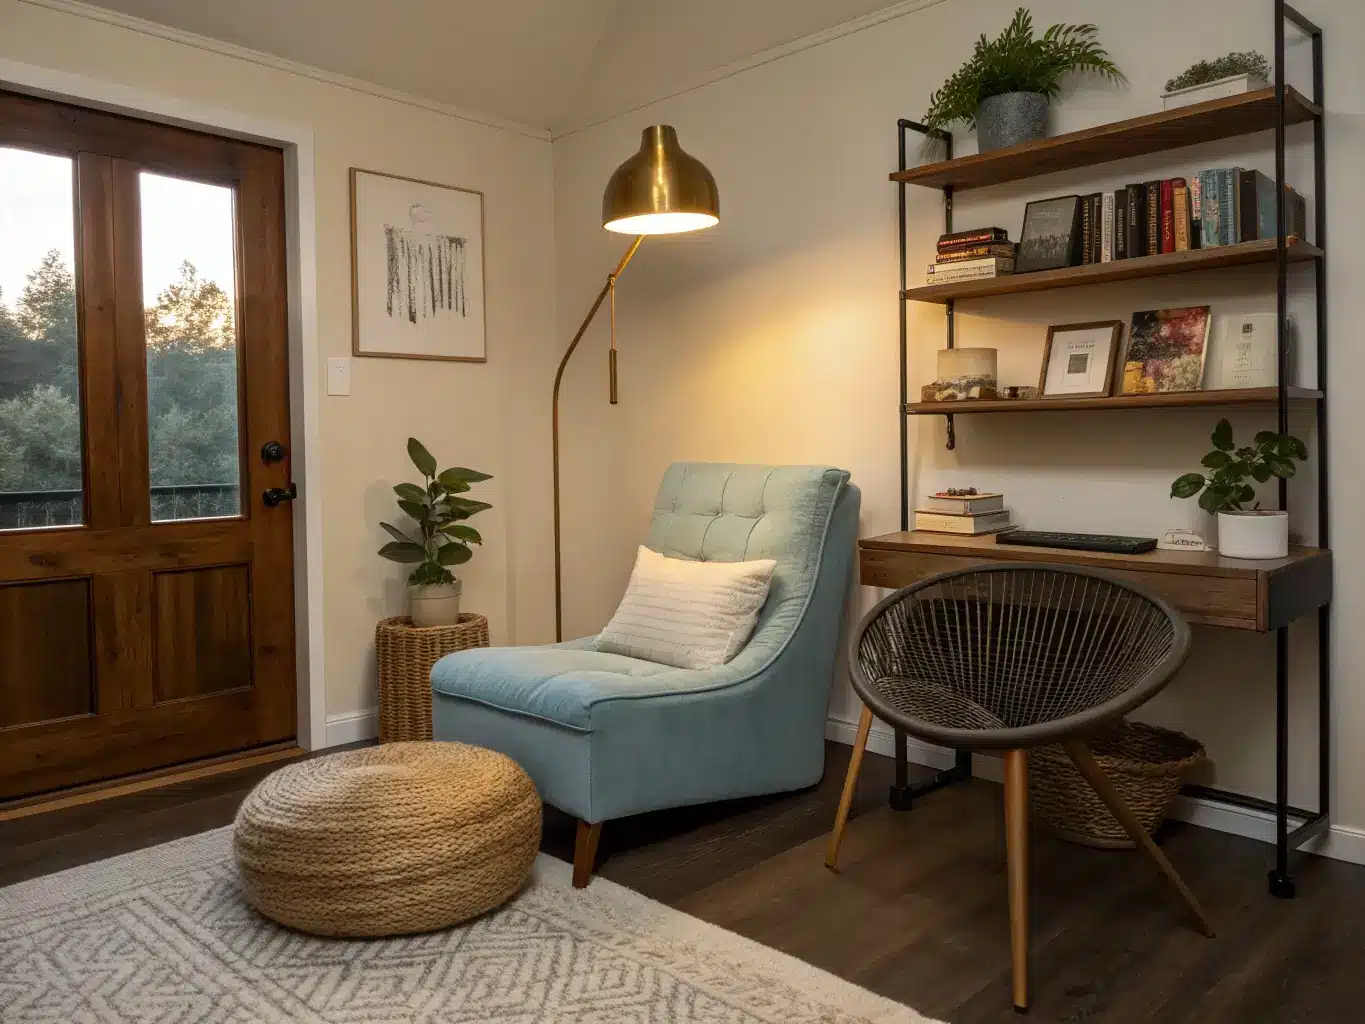
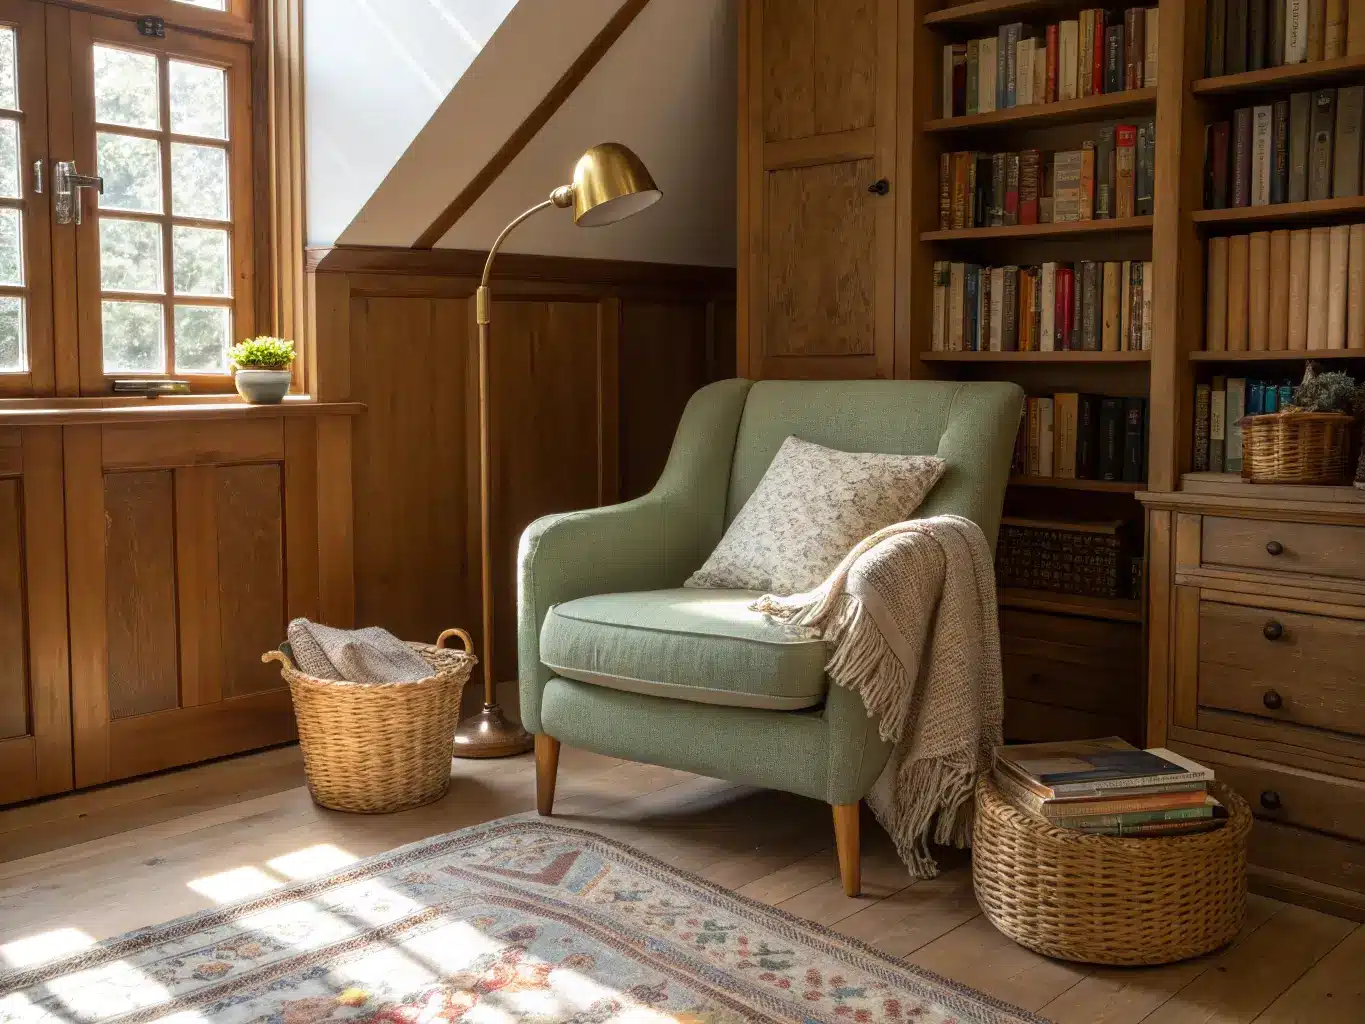
– Hybrid study-lounge spaces — a desk plus a reading chair or small sofa, popular for kids’ rooms and shared family zones
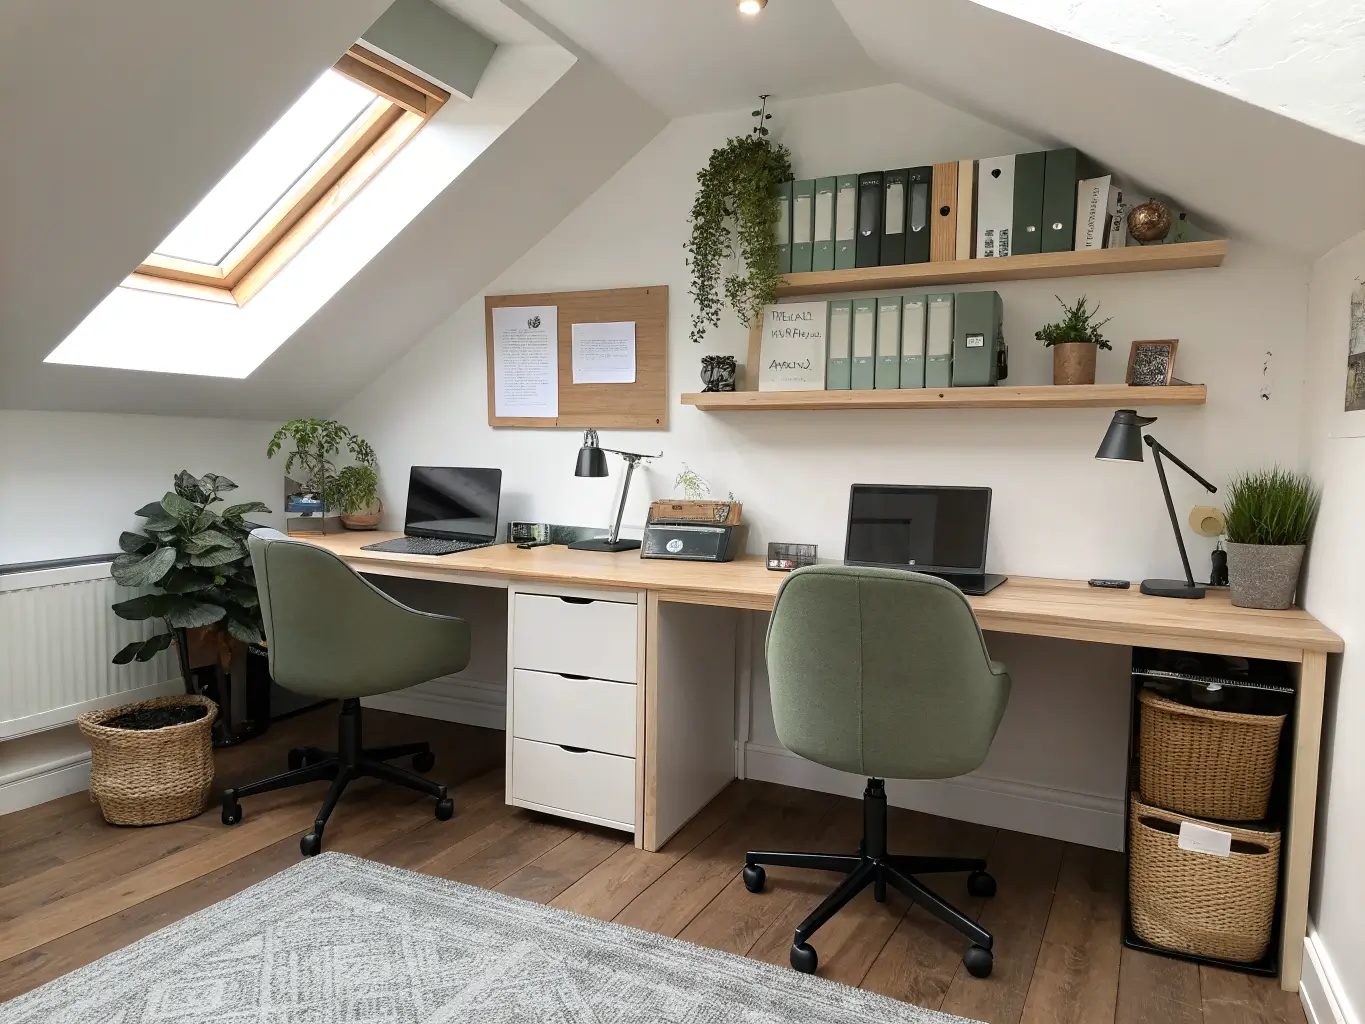
– Family dual workstations — twin desks or one long shared table for siblings
This works for students, remote workers, teens who need to actually shut a door and focus, and anyone with a spare room, closet, or dead corner doing nothing. It fits in home offices, sunrooms, basements, lofts, and yes — closets. I’ve seen a study nook built into a reach-in closet with the doors removed, and it looked more intentional than half the “real” home offices I’ve toured.
Palette that keeps a study room calm: soft blue, sage green, off-white, warm neutral, with charcoal or black as a grounding accent. Materials that show up again and again — light wood, linen, cork, a little leather, brushed metal hardware. Skip high-contrast, busy patterns near the desk. Your eyes need somewhere to rest, and it’s not on a bold geometric wallpaper six inches from your monitor.
Time, Cost, and Skill Level — Set Expectations First
– Time: A simple desk-and-lamp setup takes a weekend. A built-in with shelving and electrical work can run 1–2 weeks, longer if you’re waiting on custom carpentry.
– Cost: You can start functional with a desk, chair, and lamp for a few hundred dollars. Add floating shelves, an ergonomic chair, and proper lighting and you’re solidly into mid-range territory. Built-ins and custom cabinetry are where the budget jumps — that’s the line between “styled room” and “custom room.”
– Skill level: Arranging furniture and decor is beginner-friendly. Floating shelves, wall treatments, and cable management are intermediate — doable in a weekend if you’ve hung anything on drywall before. Built-in desks and integrated storage are expert-level or a call to a carpenter.
– Seasonal appeal: Year-round. The bones stay the same; you just rotate textiles, art, and plants.
The Must-Have Pieces
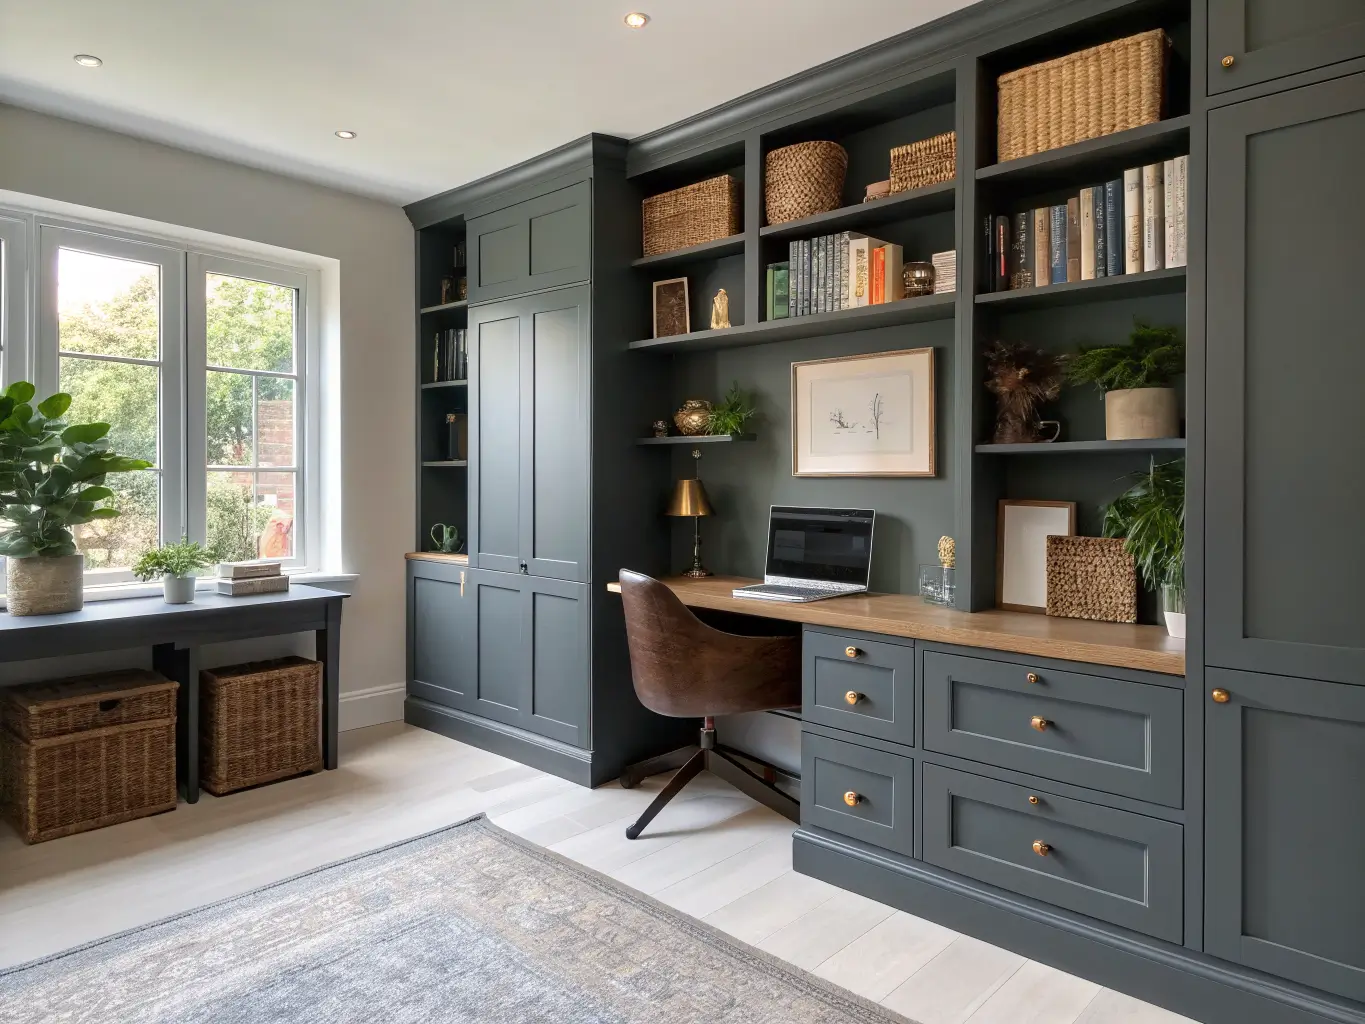
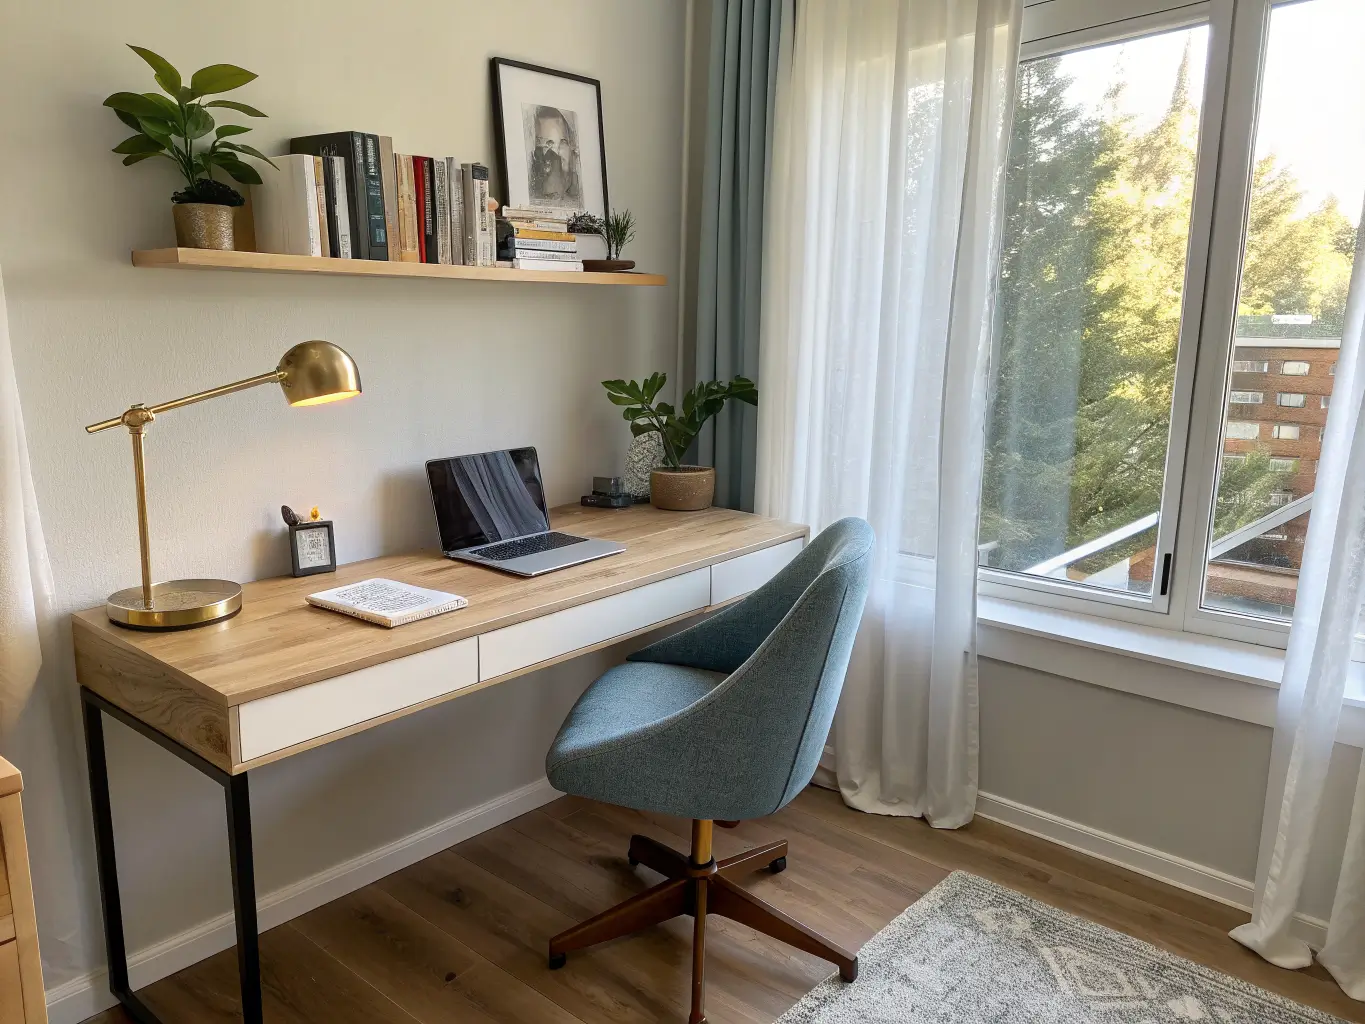
The desk. Your options: a wall-mounted floating desk (best for small rooms — keeps the floor visually open), an L-shaped corner desk (best if you need real surface area), a built-in with integrated shelving (best long-term investment), or one large shared table (best for siblings or a homework-lounge hybrid). I switched from a boxy corner desk to a floating desk against my window wall and the room instantly felt 30% bigger — no legs, no bulk underneath, just a clean line.
An ergonomic chair. Not optional, not the place to save money. A chair that looks great but doesn’t support your back will undo the entire room’s purpose within a month. You’ll stop using the desk and end up back on the couch with a laptop on your knees, which defeats the whole point of building this room.
Task lighting, layered. One overhead fixture is never enough. You need:
– Natural light during the day (desk near, not directly under, a window)
– A desk lamp for close task work
– A secondary source — floor lamp, sconce, or under-shelf lighting — for evening use
Storage — open and closed, mixed. Floating shelves for books and display, closed cabinets or drawers for the stuff you don’t want visible, baskets for loose supplies. This is the single biggest difference between a study room that stays tidy and one that becomes a dumping ground.
Window treatments. Sheer curtains that cut glare without blocking light. If your desk faces a window and you skip this, you’ll be fighting screen glare by 2pm every sunny day.
Comfort and focus accessories: a corkboard or pinboard, a charging station with actual cable management (not a nest of cords behind the desk), a rug to define the zone and soften sound, one or two plants.
Signature pieces, if you want personality: a wallpapered accent wall behind the desk, a floor-to-ceiling book wall, a window-seat bench with storage underneath, or leather seating if you want the room to feel a bit more grown-up and less like a dorm.
Optional Upgrades Worth Considering
Once the basics are solid, these add polish without adding clutter:
– Organic touches — a snake plant or pothos on the shelf, low-maintenance and it softens all the hard surfaces of a desk setup
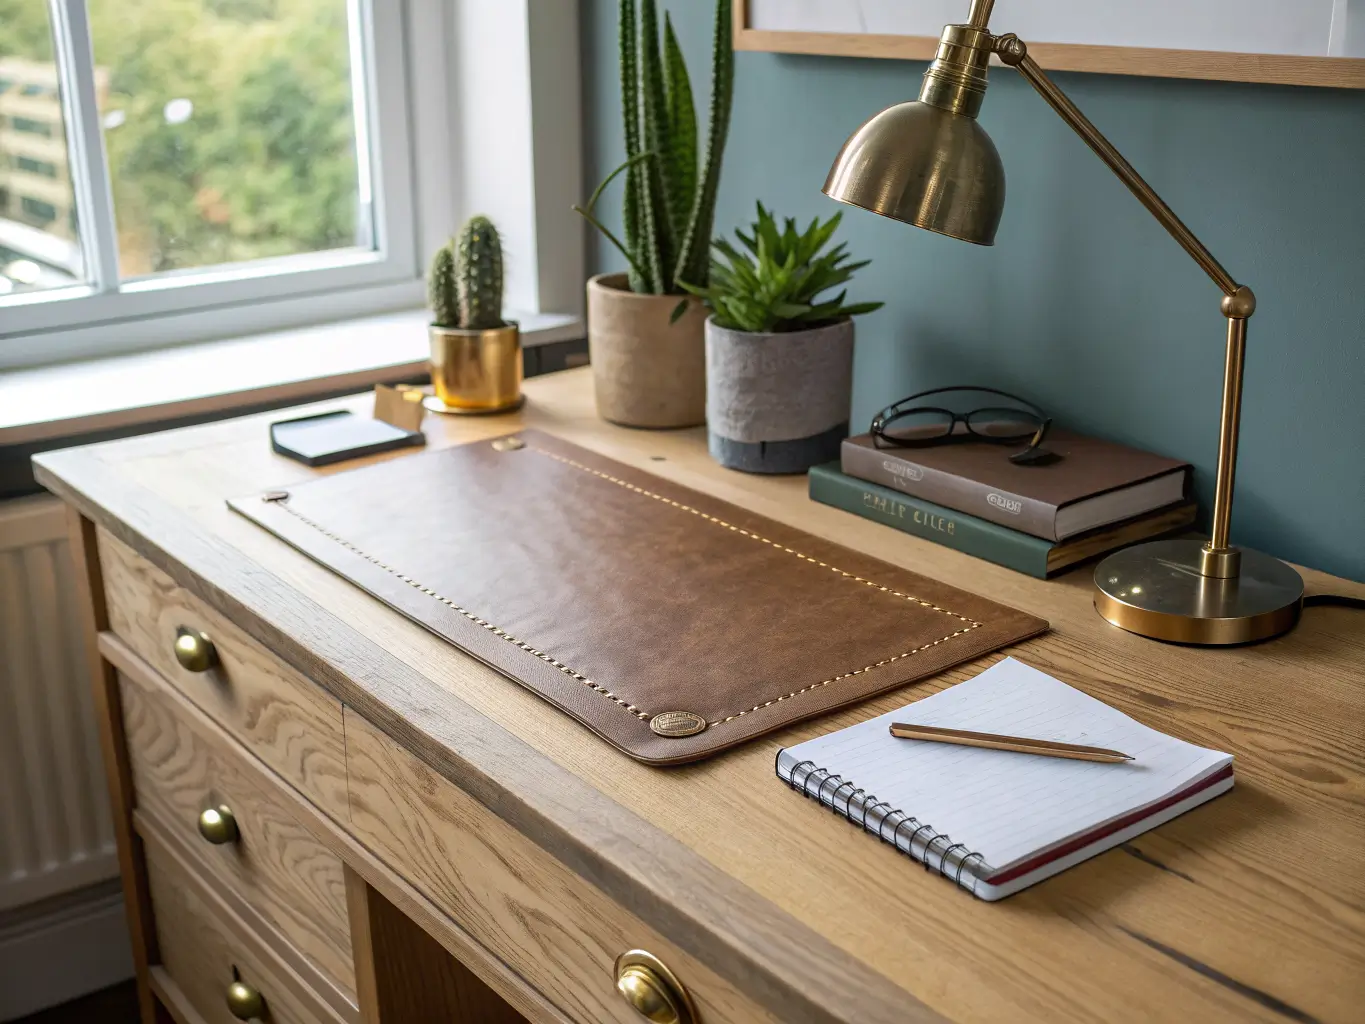
– Metallic or luxe accents — brass drawer pulls, a gold-frame mirror, a leather desk pad — these show up a lot in more polished, feminine study room concepts
– Textural layers — a linen curtain, an acoustic wall panel, a wool rug — genuinely helps with sound in a room with hard floors and a closed door
– Seasonal swaps — change the throw, the artwork, the desk accessories. Leave the furniture alone.
How to Actually Set It Up, Step by Step
1. Pick the quietest spot you have. Not the prettiest — the quietest. A corner away from the TV room or the front door beats a gorgeous bay window in a high-traffic hallway every time.
2. Position the desk near natural light, not directly facing or backing into it. Facing a window head-on means glare on your face during video calls; backing fully into one means glare on your screen. Angle the desk perpendicular to the window if you can. This one adjustment fixes more study-room complaints than almost anything else.
3. Plan outlets and cords before you finalize furniture placement. Figure out where your charging station lives and how cords get from the desk to the outlet without crossing a walkway. A cheap cable raceway or a cord clip strip under the desk solves 90% of this for under $20.
4. Clear the space completely before you style it. Empty room, then build up. It’s tempting to work around what’s already there, but starting clean is the only way to actually see the layout.
5. Decide the room’s job before buying anything. Single user? Shared sibling station? Homework-plus-reading lounge? This decision determines whether you need one desk or two, a loveseat or just a chair, one bookshelf or a full wall of them.
6. Build in this order: desk and chair first, main light second, then vertical storage (shelves or built-ins), then decor last — one or two framed prints, the pinboard, a small plant, the rug. Resist decorating before the function is nailed down. I did this backwards once, hanging art and arranging a bookshelf before I’d even tested where the desk should sit, and ended up rearranging the entire wall three times to make the furniture actually fit.
7. If the room is big enough, zone it. Separate the computer work area from a reading corner or a break spot. Even a 10×10 room can hold a desk plus a small armchair if you’re intentional about the traffic path between them.
The Mistakes I See (and Made) Most Often
– Relying on one overhead light. It’s flat, it’s often the wrong color temperature, and it doesn’t help at all with screen glare. Layer it with task lighting, always.
– Choosing the chair for looks over support. A beautiful rattan chair with no lumbar support gets abandoned in under a month. I know because I own one, sitting empty in the corner right now, holding a stack of magazines instead of a person.
– Overcrowding the desktop. If there’s no dedicated storage, everything ends up on the desk surface. Build the storage first, then you won’t need to pile.
– Going bold with color where you’re trying to focus. A saturated accent wall right behind your monitor sounds fun until you’re three hours into a work session and it’s visually shouting at you. Save the bold color for a spot you glance at, not stare into.
– Ignoring sound. A hard-floored room with no rug or curtains echoes, and in a shared house that means every hallway conversation. Soft materials aren’t just decor — they’re acoustic control.
– Pushing the desk flush against a window without thinking about glare. Test it at the time of day you’ll actually be working before you commit to the position.
Keeping It Looking Good Long-Term
Stick to three tones, max — one wood finish, one wall color, one accent color. This is the single easiest rule for keeping a small study room from feeling chaotic. My rule of thumb: if I’m standing in the doorway and I can count more than three dominant colors, something needs to go.
Match your finishes. If your shelf is a warm oak, don’t bring in a cool gray desk. Consistency in wood tone and frame finish makes a pieced-together room look designed on purpose.
Edit ruthlessly, on a schedule. Once a month, clear anything that isn’t actively being used off the visible surfaces. Books you finished, papers you don’t need, cables you’re not using — into a drawer or out of the room entirely.
Scale your styling to your room size. A tiny nook needs a slim desk and almost no tabletop decor — one plant, one frame, done. A full spare room can handle a built-in wall or twin workstations without feeling busy.
Budget Moves and Seasonal Refreshes
If you’re starting cheap, do it in this order: floating shelf, corkboard, a decent desk lamp, a couple of storage baskets, one plant. That’s maybe $150–200 total and it solves lighting, storage, and personality before you ever touch custom carpentry.
Seasonally, swap the throw pillow or cushion cover on your chair, rotate the artwork, change what’s on the desk (a different mug, a new small object). Leave the big furniture alone — the whole point is that the bones don’t need to move for the room to feel refreshed.
And know that this room can grow with you. A closet nook today can become a built-in station with closed storage next year. A single desk for one kid can become twin desks as siblings both need homework space. Build the base right, and the upgrades layer on without a full redo.