
What This Style Actually Is
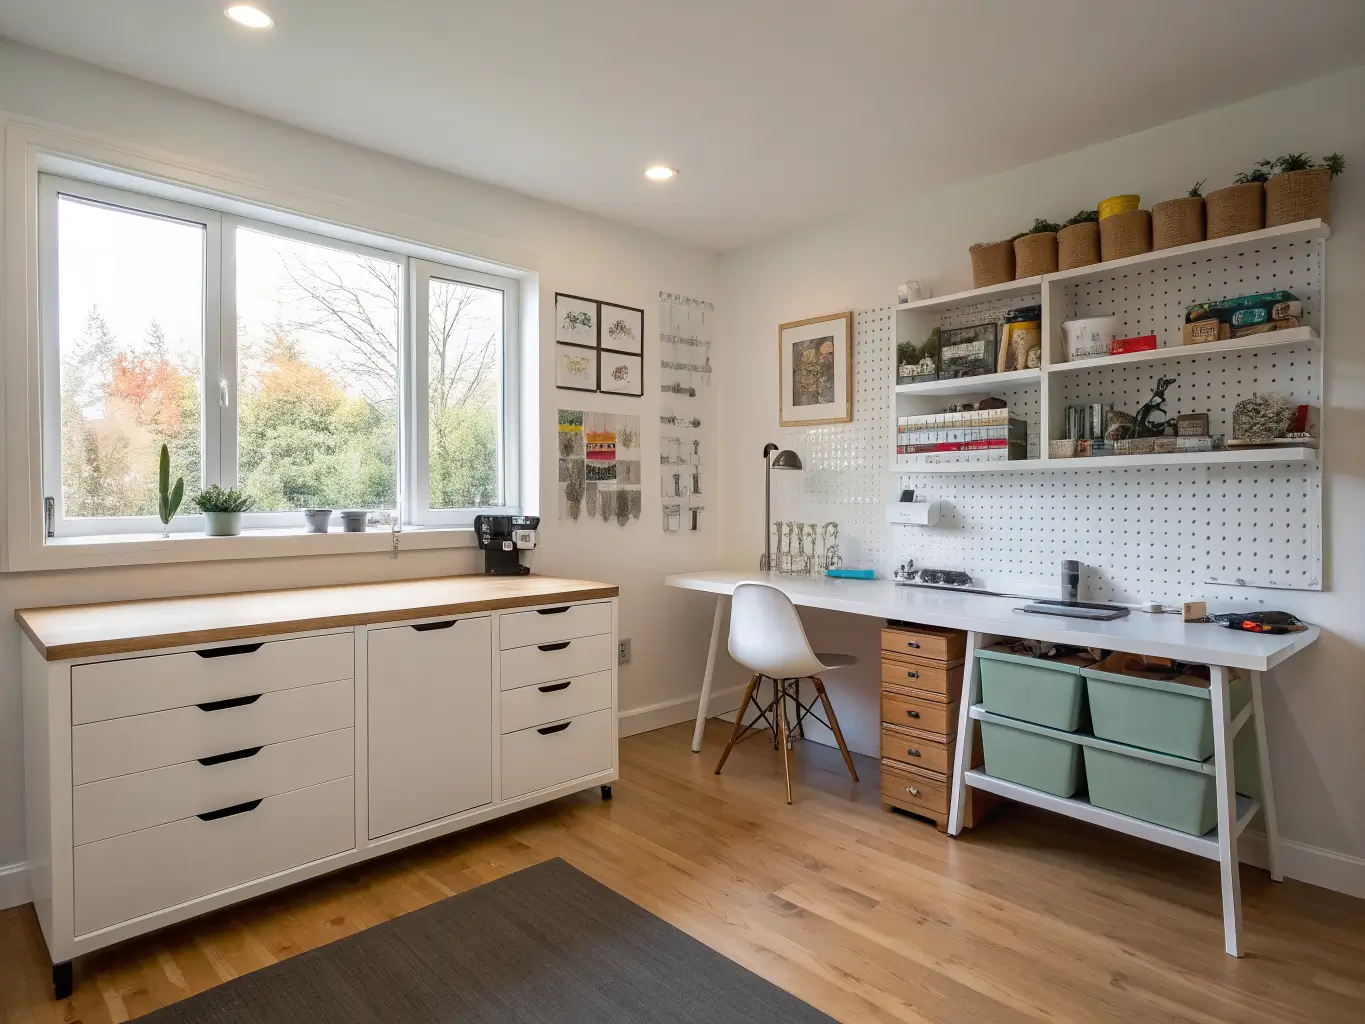
The IKEA craft room look is Scandi-organized-studio: white and light wood surfaces, modular cube storage, a pegboard doing the visual heavy lifting, and everything labeled like a tiny hardware store. It’s not precious. It’s not styled-for-Instagram-only. It’s the room where you can see everything you own in under five seconds, because craft supplies you can’t find are craft supplies you’ll rebuy.
This works for scrapbookers, card makers, sewists, quilters, Cricut users, and anyone running a home craft business out of a spare room. It also works shockingly well as a kid zone — IKEA’s own kids’ room concepts lean on the same open-shelf-plus-desk formula, just at a lower height.
Where it fits: a spare bedroom, a basement corner, a guest room that moonlights as a studio, or literally a 6-foot stretch of wall in a bedroom. I’ve seen all four work. The layout scales; the principles don’t change.
Time, Cost, and Space — the Real Numbers
Setup time: A day, if you’re assembling ready-made pieces — KALLAX, ALEX, a SKÅDIS pegboard, a simple desk. Give yourself a full weekend if you’re mounting wall storage, running task lighting, or actually planning zones instead of just placing furniture where it fits.
Cost:
– Budget setup ($100–$300): LAGKAPTEN tabletop + ALEX drawer unit as legs, one SKÅDIS pegboard, a handful of bins.
– Mini studio ($500–$1,500+): Multiple KALLAX units, a rolling cart, closed cabinet storage, task lighting, and a full organizer system for small parts.
I started at the low end and it cost me more in the long run — I underbought storage, hit capacity in four months, and had to redo the whole wall. If you know your supply volume is going to grow, size up on storage now.
Space: Anything from a corner to a full 12’x14′ room. Measure your wall width, desk depth, and ceiling height before you order anything — IKEA’s room planner tool lets you input your actual dimensions, and it will save you from ordering a KALLAX unit that’s two inches too deep for your alcove. Ask me how I know.
Skill level: Beginner-friendly for standard assembly. Bump to intermediate/advanced if you’re wall-mounting cabinets or mixing depths between units — that’s where measuring mistakes turn expensive.
The Non-Negotiable Pieces
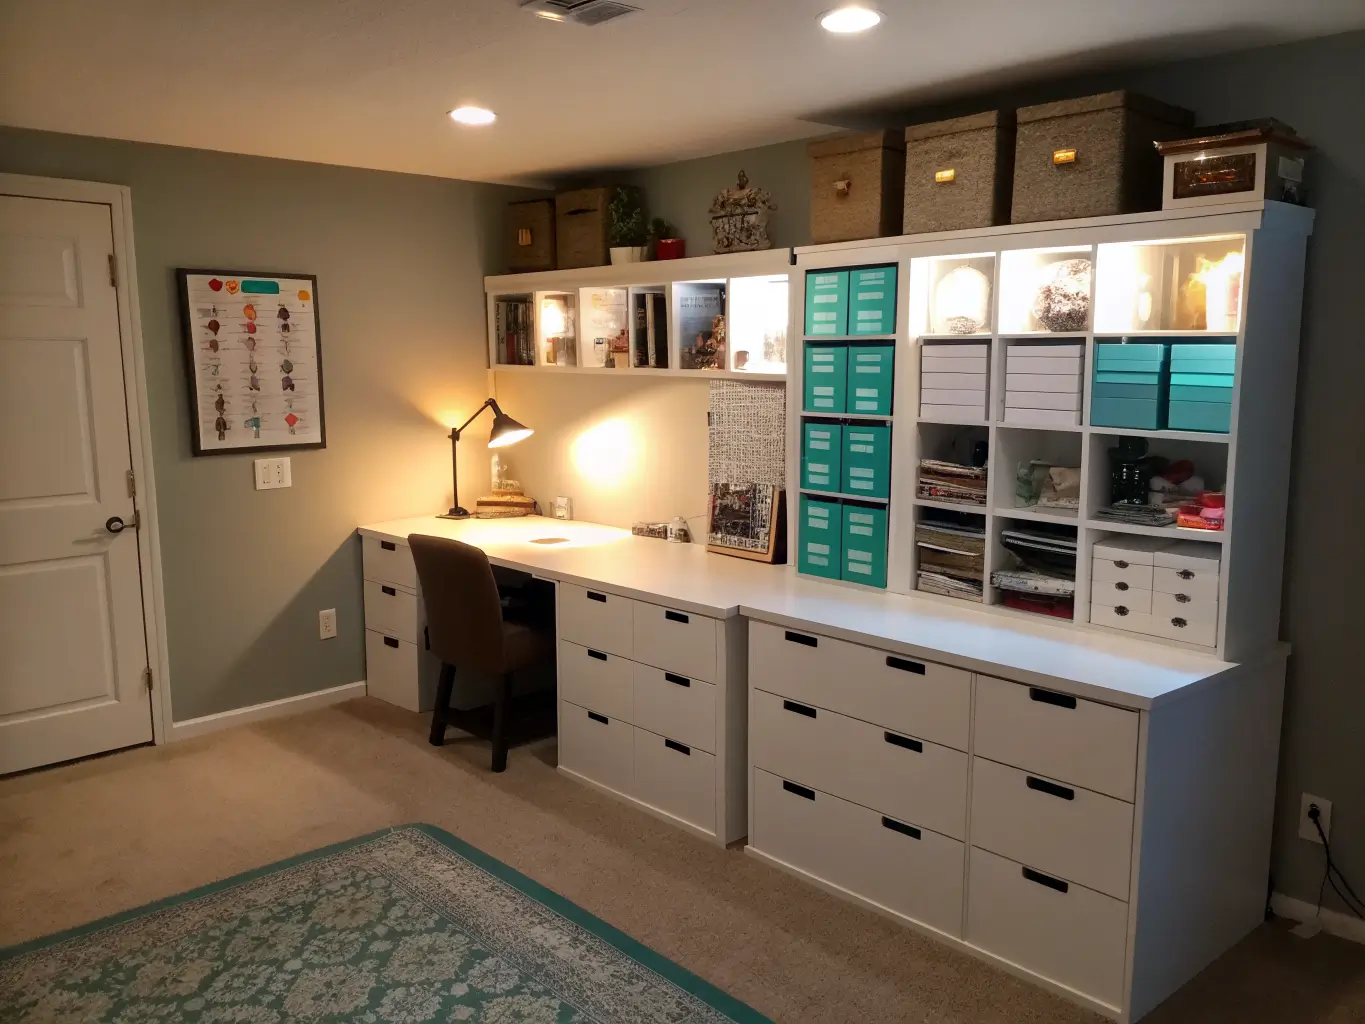
The work surface. A LAGKAPTEN tabletop on ALEX drawer units (instead of legs) gives you a desk and storage in one purchase. This is the single best value move in the whole room. Mine is 63″ wide, and that’s the minimum I’d go if you’re using a sewing machine and a cutting mat at the same time.
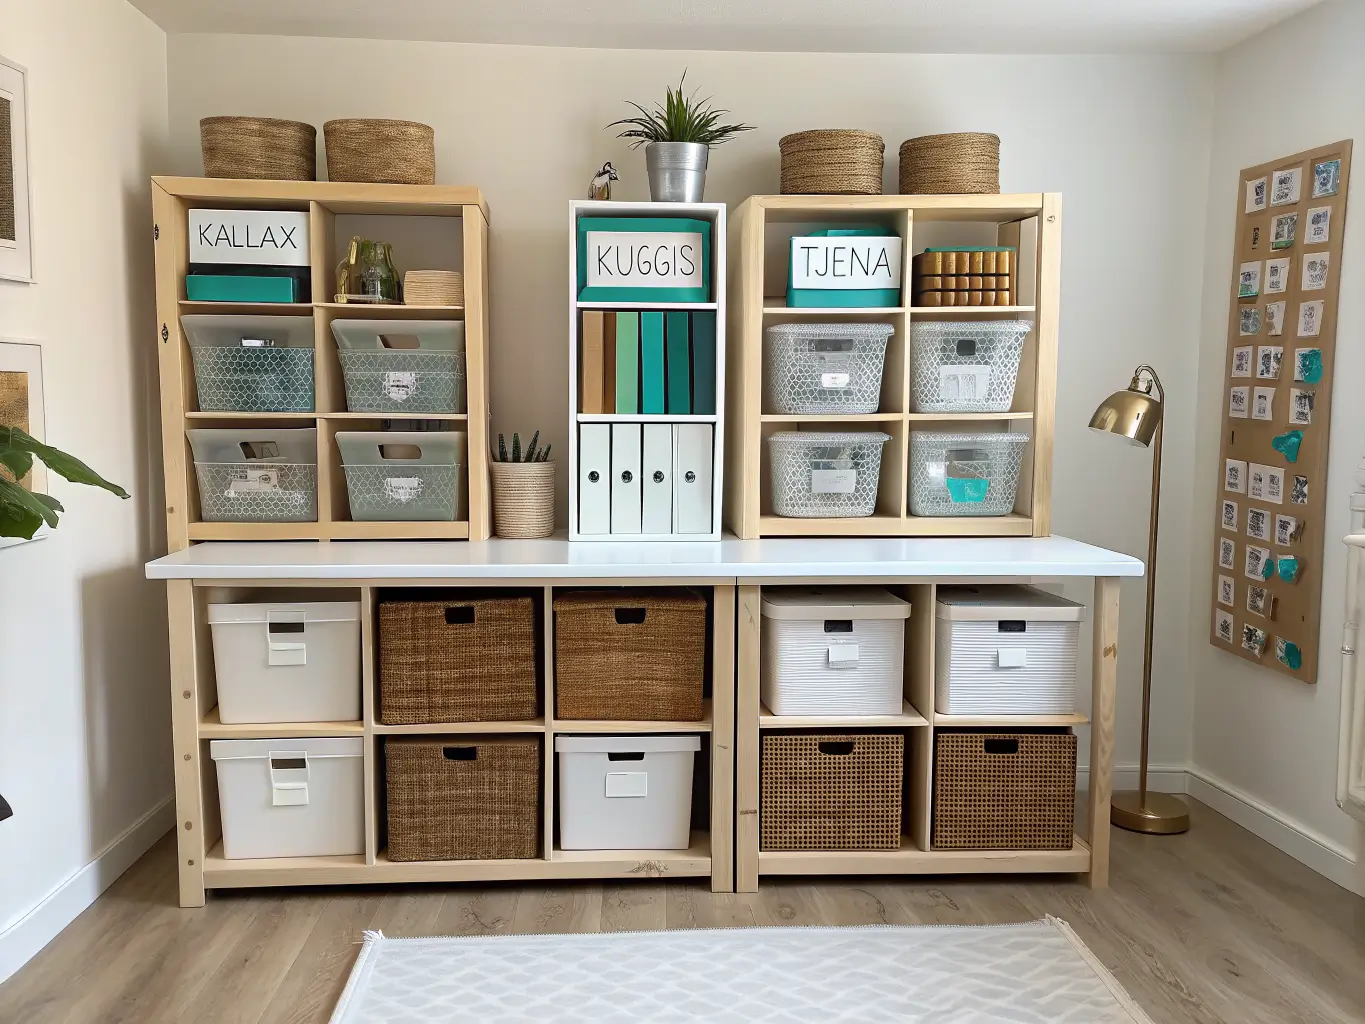
KALLAX shelving. This is the backbone. Cubbies fit fabric bolts, paper stacks, project boxes, and bins interchangeably, and you can orient it horizontal or vertical depending on your wall. I have two units flanking my desk instead of one giant wall of it — makes the room feel less like a warehouse.
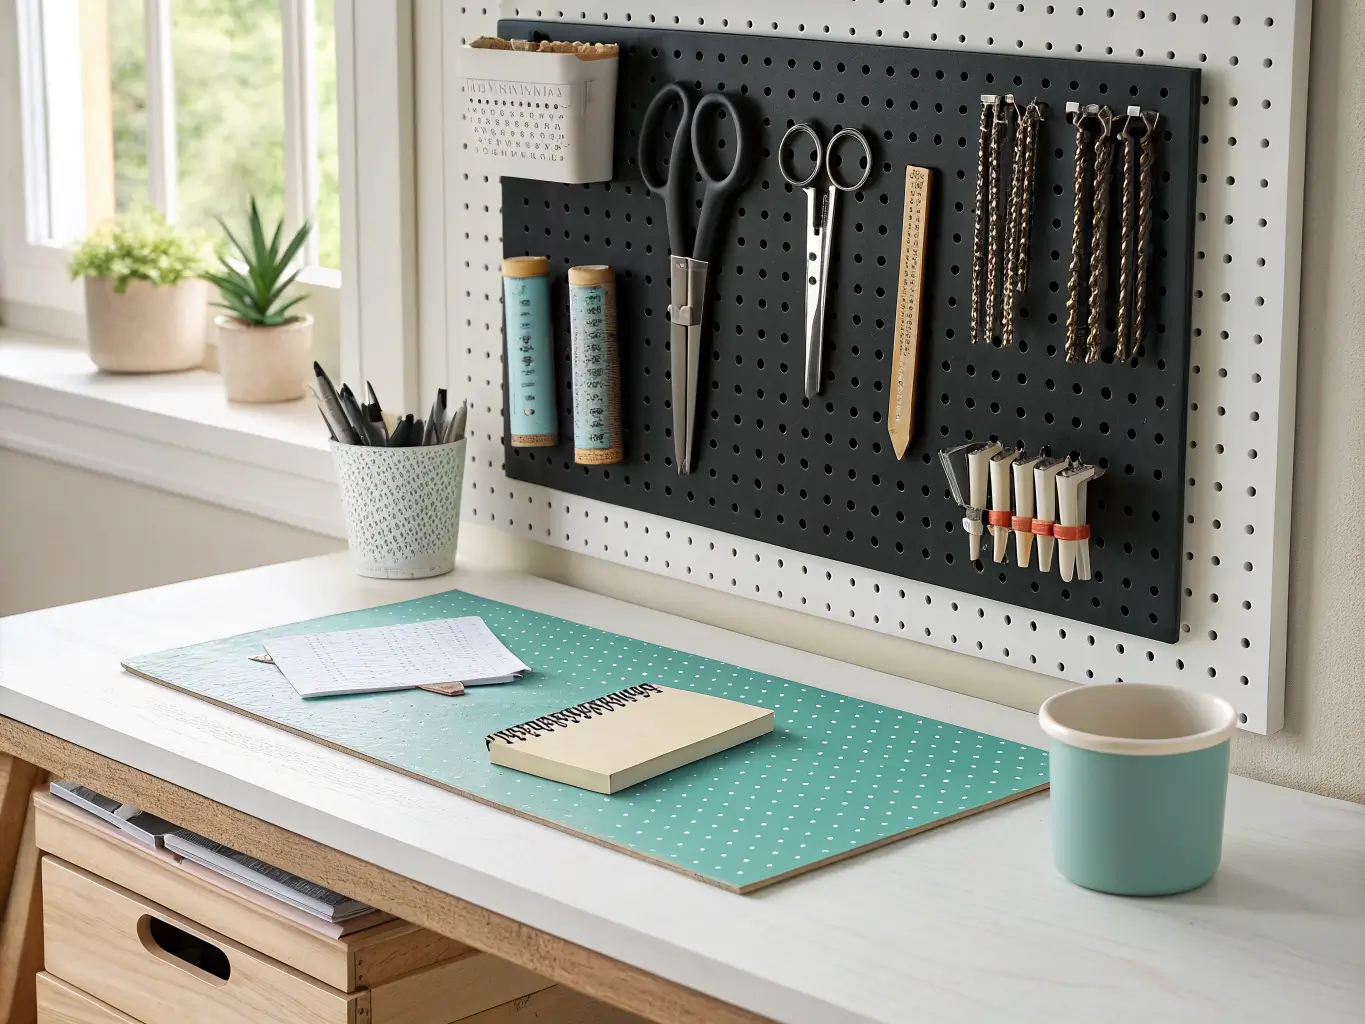
SKÅDIS pegboard. Mount it directly above the desk, at arm’s reach. This is where scissors, rulers, tape guns, and anything you touch daily lives. The mistake almost everyone makes (myself included, round one): hanging every tool you own on it. A packed pegboard is just clutter that’s vertical instead of horizontal. Mine holds twelve items. Everything else lives in drawers.
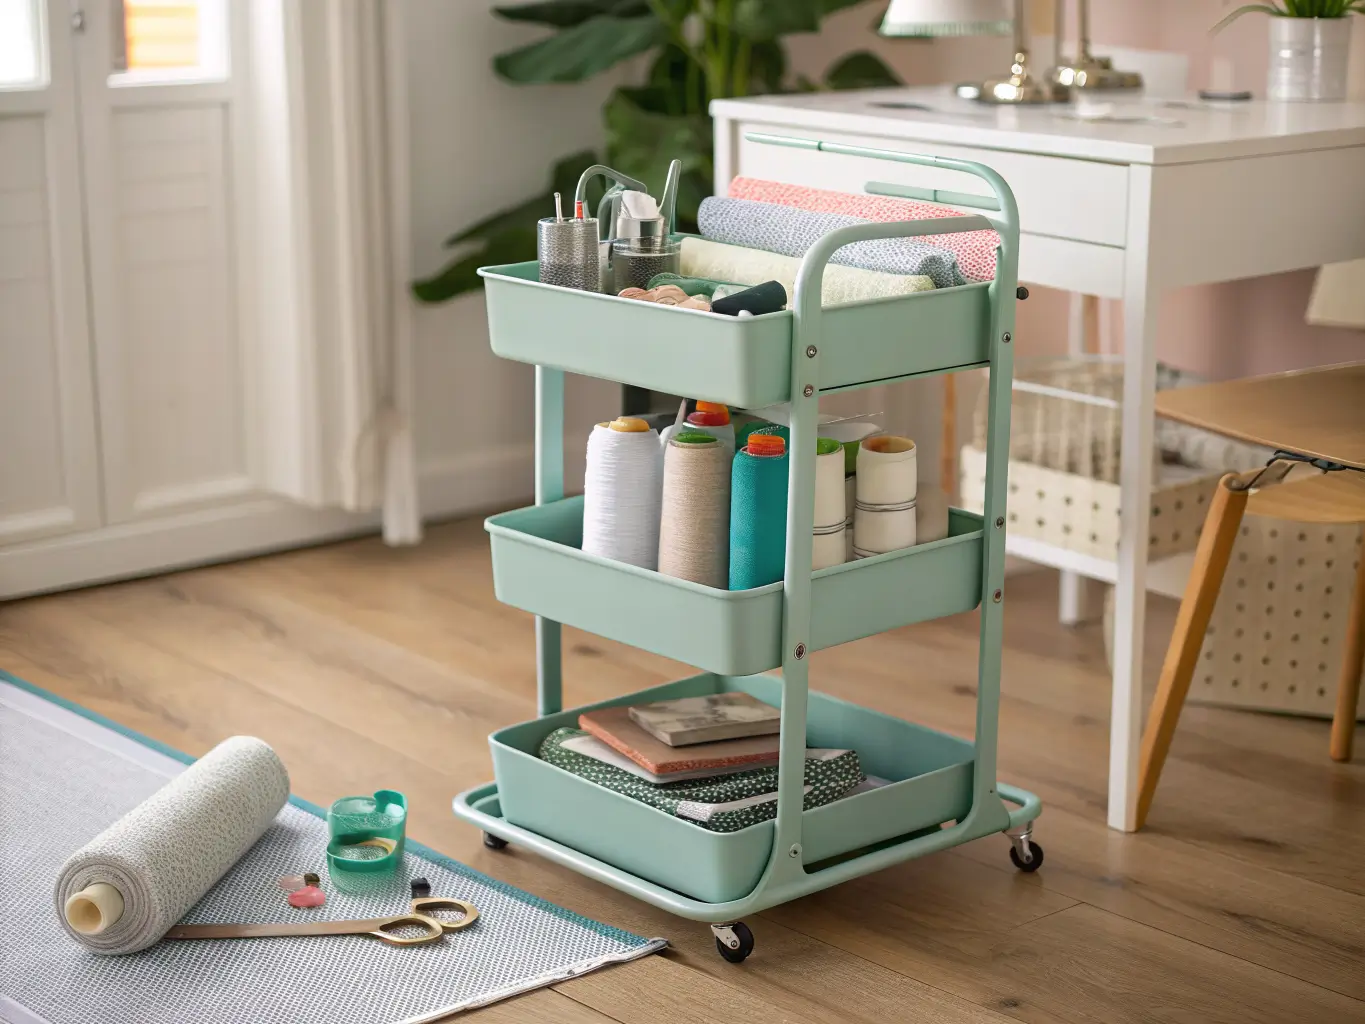
A rolling cart (RÅSKOG or similar). Good for current, in-progress projects only — not general storage. Mine holds whatever I’m actively working on plus adhesives, because it rolls next to whatever surface I’m using that day.
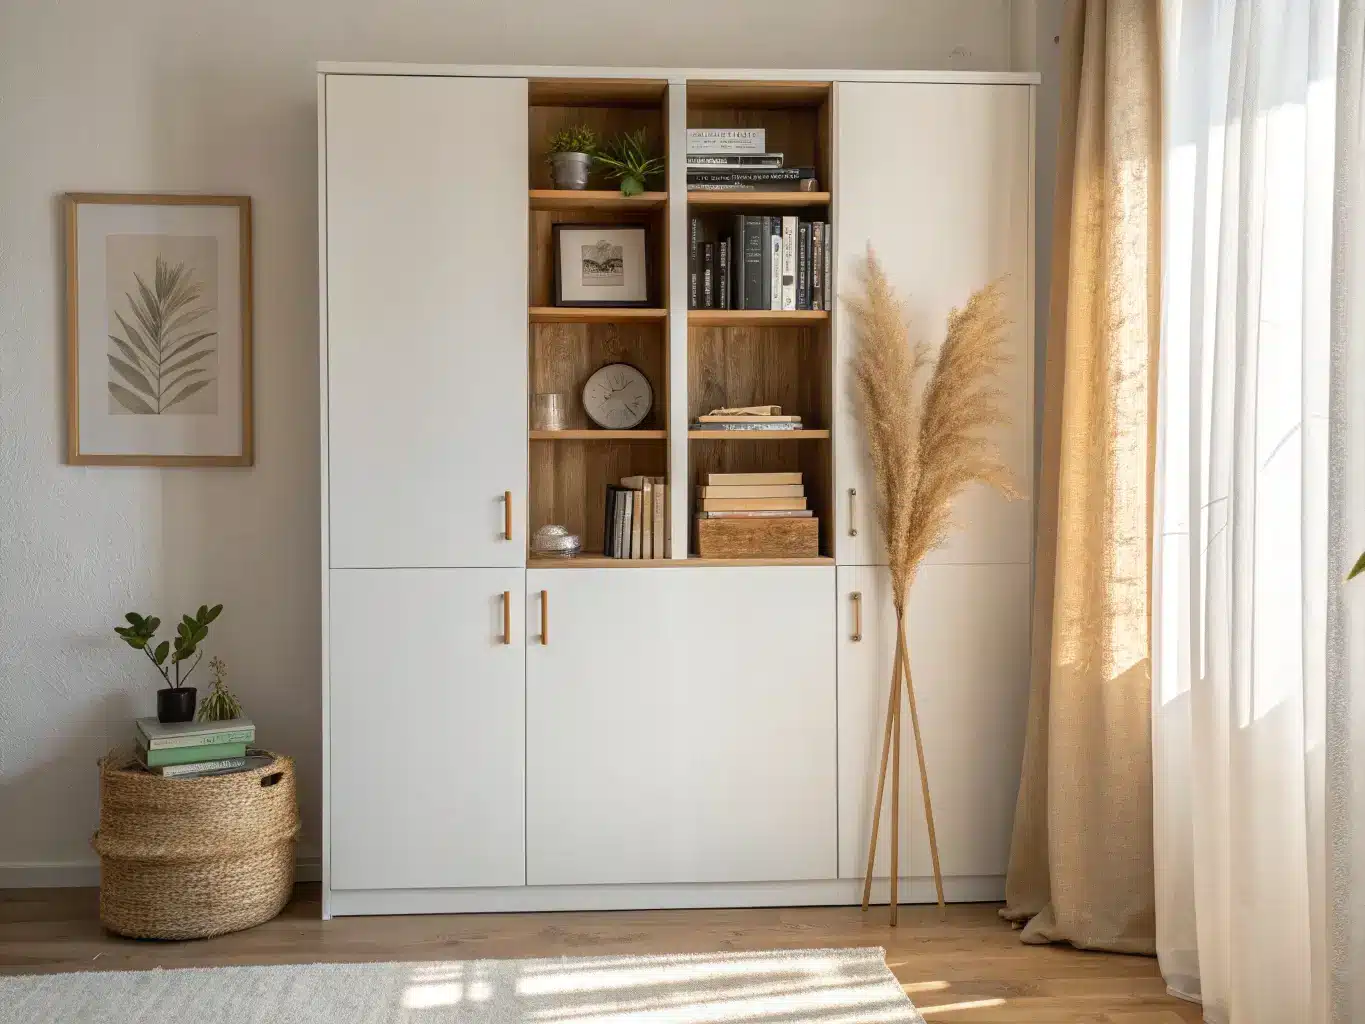
Closed storage (BILLY bookcase or cabinets). For the machine you use twice a year, bulk cardstock, or anything that doesn’t need to be looked at daily. Closed doors are doing real work here — they’re the difference between “organized” and “visually exhausting.”
Small-part containers. KUGGIS bins, TJENA boxes, VARIERA inserts, SAMLA totes, KOMPLEMENT drawer dividers — pick two or three of these systems, not all five. Consistency in container type is what makes a room read as organized rather than thrifted-together.
Nice-to-Haves, Not Must-Haves
– Task lighting under shelves or cabinets — genuinely changes how a desk feels to work at, especially in a basement or windowless room
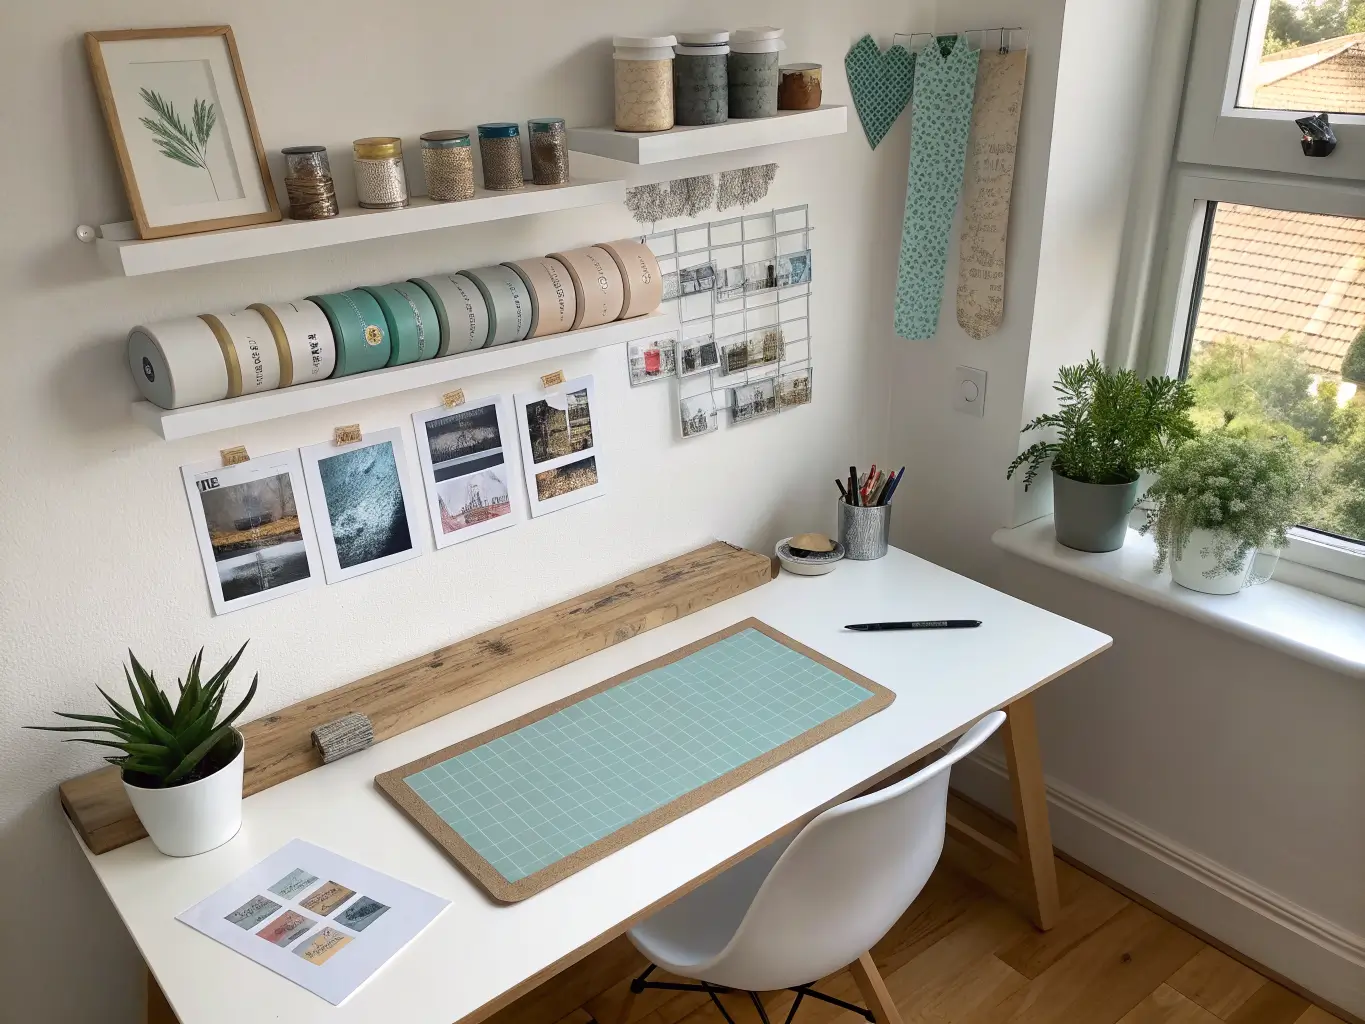
– MOSSLANDA picture ledges for washi tape rolls or finished work on display
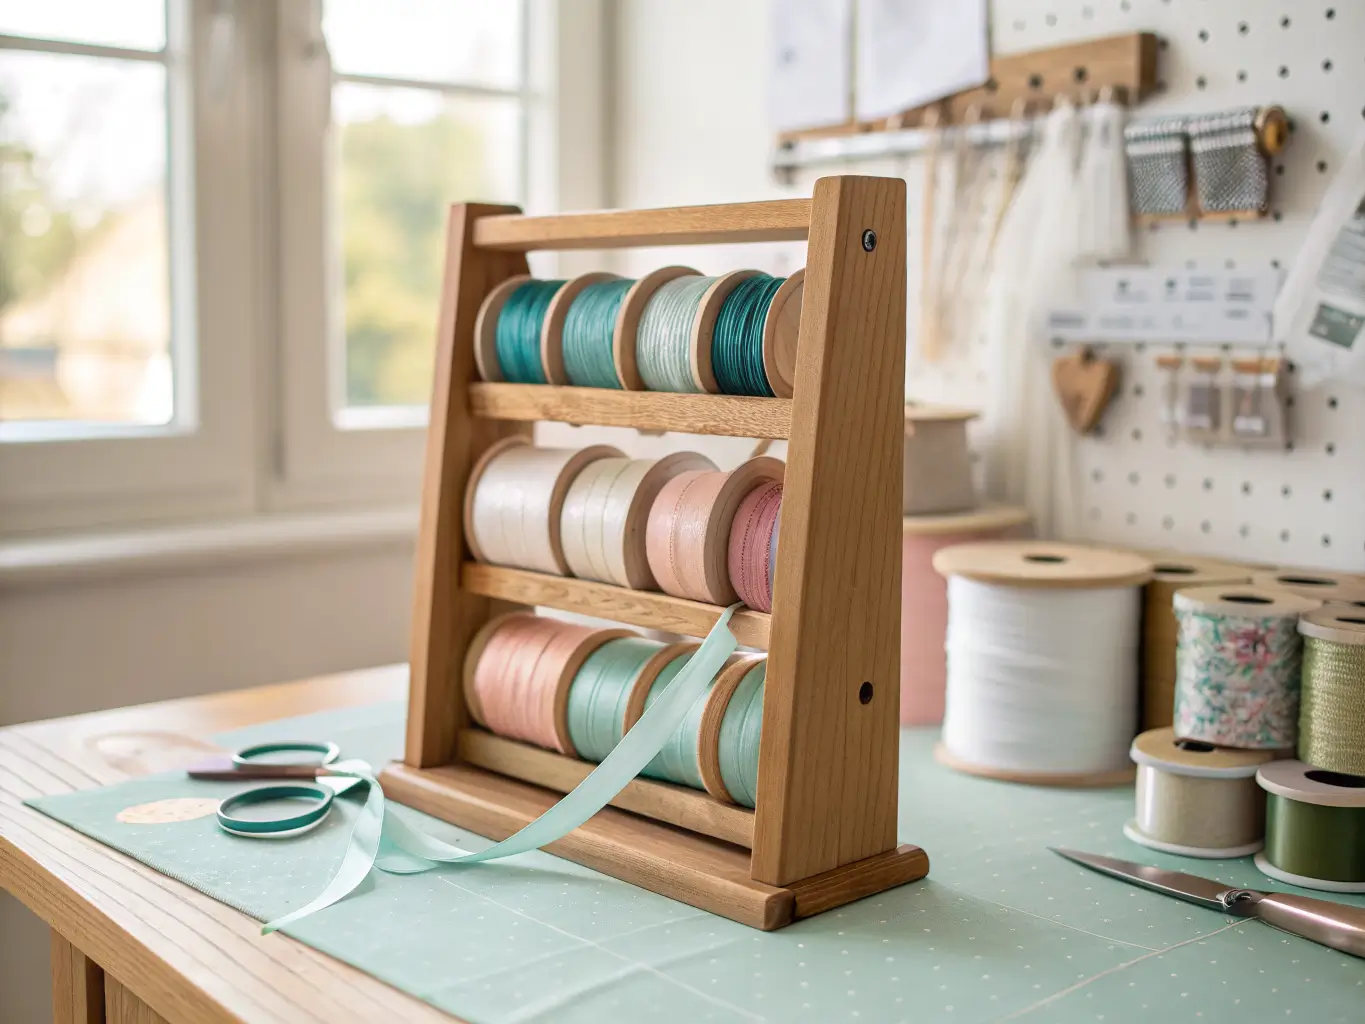
– A repurposed BEKVÄM spice rack as a ribbon holder — this is the one hack in this whole list that photographs better than it functions, but it does function
– A few metallic or brass bins as accents, not primary storage — three gold containers on an otherwise white/wood shelf reads styled; twelve reads try-hard
– Kid-height open shelving if this is a family space — reach-height matters more than aesthetics here
How to Actually Put It Together
Start with sorting, not shopping. Before you order a single KALLAX unit, pull every craft supply you own into one pile and sort it: paper, fabric, tools, machines, adhesives, current projects. This tells you what storage you actually need. Buying bins before sorting is the single most common mistake I see — and the one I made first — because you end up with beautiful matching containers that don’t fit what you own.
Build in this order:
1. Desk first. Everything else gets placed relative to it.
2. ALEX drawers flanking or under the desk for daily tools.
3. SKÅDIS mounted at eye level above the desk — curate hard, only your most-used dozen items.
4. KALLAX for bulk categories — paper, fabric, bins — placed within a step or two of the desk, not across the room.
5. Closed cabinets last, for anything you touch less than monthly.
Work zone logic beats category logic. Instead of labeling bins “paper” and “tools,” try zones: “cut,” “assemble,” “current project.” This mirrors how you actually move through a task instead of how a store organizes inventory.
Dominant hand matters. Put your most-reached-for storage on your dominant-hand side of the desk. Small thing, huge daily difference.
Finish with one styled moment. A lamp, a small plant, a tray, a framed print — something that isn’t storage. Otherwise the room reads as a stockroom, not a studio.
Mistakes That Quietly Wreck the Room
– Storage before sorting. Covered above, worth repeating — it’s the #1 cause of mismatched, wasted space.
– All-opaque bins. If you can’t see what’s inside without opening it, you’ll forget you own it. Mix in clear containers for anything you reach for often.
– Heavy stuff up high, daily stuff far away. Gravity and ergonomics both matter. Bulk fabric bolts belong on a low or mid shelf, not balanced on top of a KALLAX unit at head height.
– Overstuffed pegboards and shelves. More visible ≠ more organized. A pegboard with forty tools on it is just clutter with better posture.
– Ignoring workflow entirely. A gorgeous room where you have to walk across it eight times to finish one card is a bad room, no matter how it photographs.
Keeping It From Feeling Chaotic Long-Term
Limit your palette. White, light wood, black, and exactly one accent color. I use a dusty teal in mine — on labels, one lamp, a couple of bins — and it’s the thing that makes the whole room feel planned instead of accumulated.
Repeat your container system. Don’t mix five bin brands and three label fonts. Pick one labeling approach (I hand-letter mine on kraft tags) and use it everywhere.
Reset-ability is the real test. A good craft room lets you clear the desk in under two minutes at the end of a session. If cleanup takes twenty minutes, your storage-to-desk ratio is off.
Refresh seasonally without rebuilding. Swap a tray, change a basket color, rotate the artwork above the pegboard. The bones stay put; only the accents move.
Let it grow with you. Start with one desk, one KALLAX unit, one pegboard. Expand only when you actually hit capacity — not because a new IKEA catalog came out. My original setup lasted four months before I needed more. Yours might last two years. Build for what you have, not what you imagine you might collect.
Consider the hybrid. Craft room plus guest room, craft room plus home office, craft room plus kid zone — all of these work, and honestly, most spare rooms need to pull double duty anyway. My craft corner shares a wall with a daybed. Nobody’s ever complained about the pegboard while sleeping over.
For another angle on this, my craft room storage guide covers the same space from a different starting point.





