
What a Cozy Craft Room Actually Is
A cozy craft room blends two things that don’t naturally go together: serious functional storage and soft, personal decor. Think warm neutrals, light wood, woven baskets, and a few pastel or muted-green accents, layered over genuinely smart organization — pegboards, labeled jars, open shelving. The style pulls from cottagecore, shabby chic, modern farmhouse, and transitional decor, depending on which direction you lean.
Who this is for: quilters, sewists, knitters, cardmakers, scrapbookers, Cricut users, painters, embroidery folks — anyone whose hobby generates a lot of small, specific supplies that need to be both stored and findable.
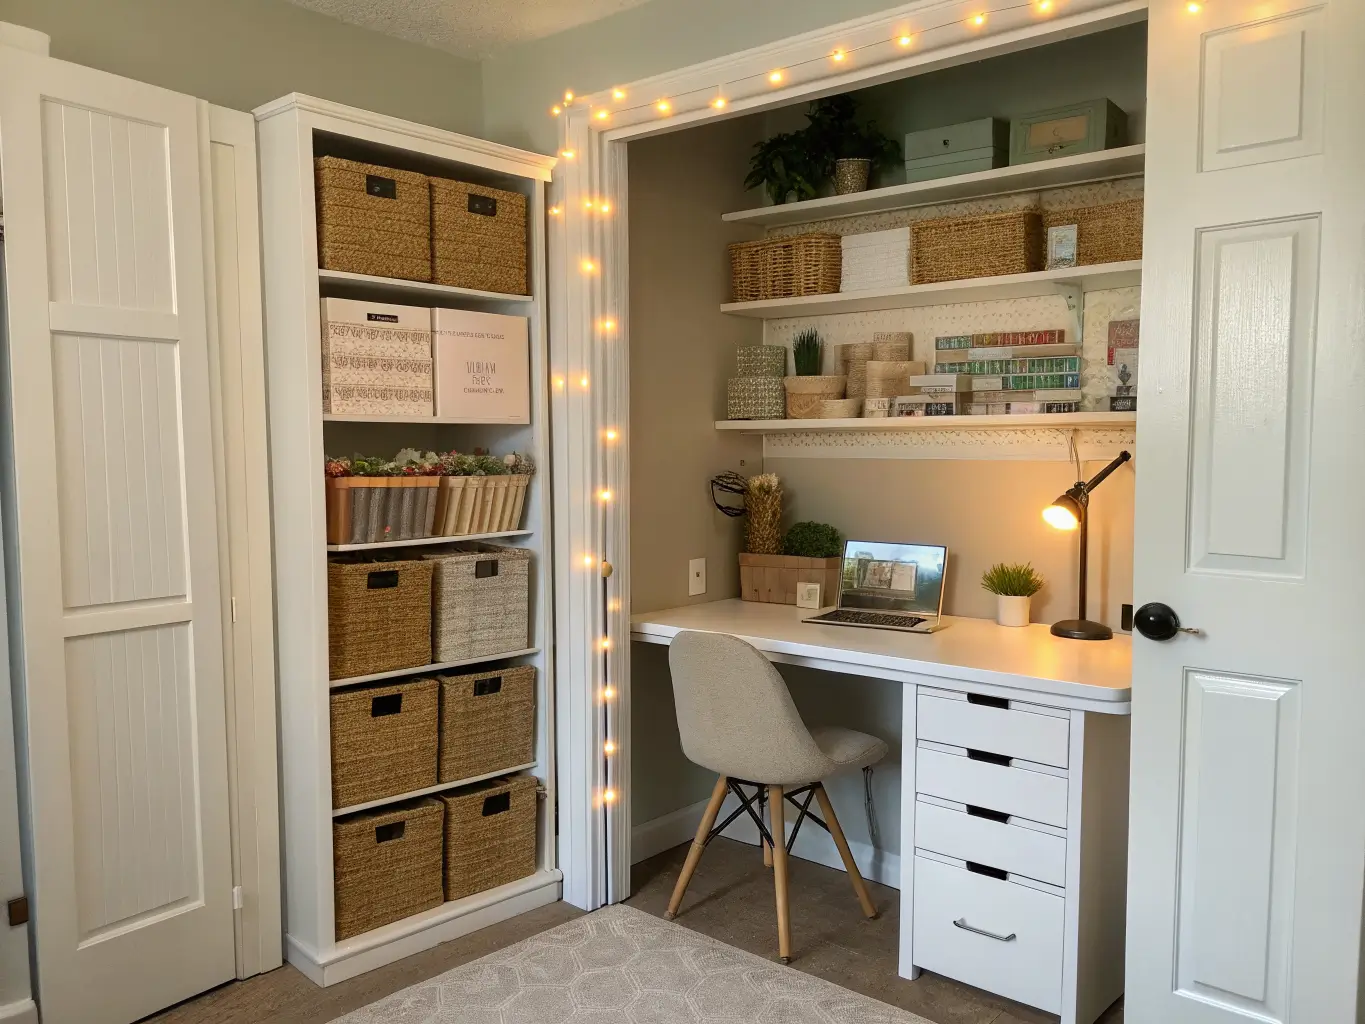
Where it works: a full spare bedroom, a basement corner, a converted closet, a landing at the top of the stairs, or a 6-foot stretch of wall in your home office. I started mine in a closet with the doors removed. Two years later it’s a full room. You don’t need square footage to start — you need a system.
Time and cost, realistically: A simple styled corner comes together in an afternoon with a folding table, a rolling cart, and some bins from Target. A full room — desk, shelving, seating, lighting, labeling — is a weekend project at minimum, and the budget spans widely. I’ve seen great setups built for under $200 using thrifted furniture and dollar-store containers, and I’ve also spent close to $1,200 on a proper adjustable-height desk, a wall-mounted pegboard system, and a rolling cart from a craft storage brand. Both versions work. Neither is wrong.
Skill level: Beginner to intermediate for almost everything here. You only need advanced skills if you’re building custom cabinetry or rewiring for better lighting.
The Must-Have Pieces That Actually Make the Room Function
Skip decor shopping until these are handled. In order of importance:
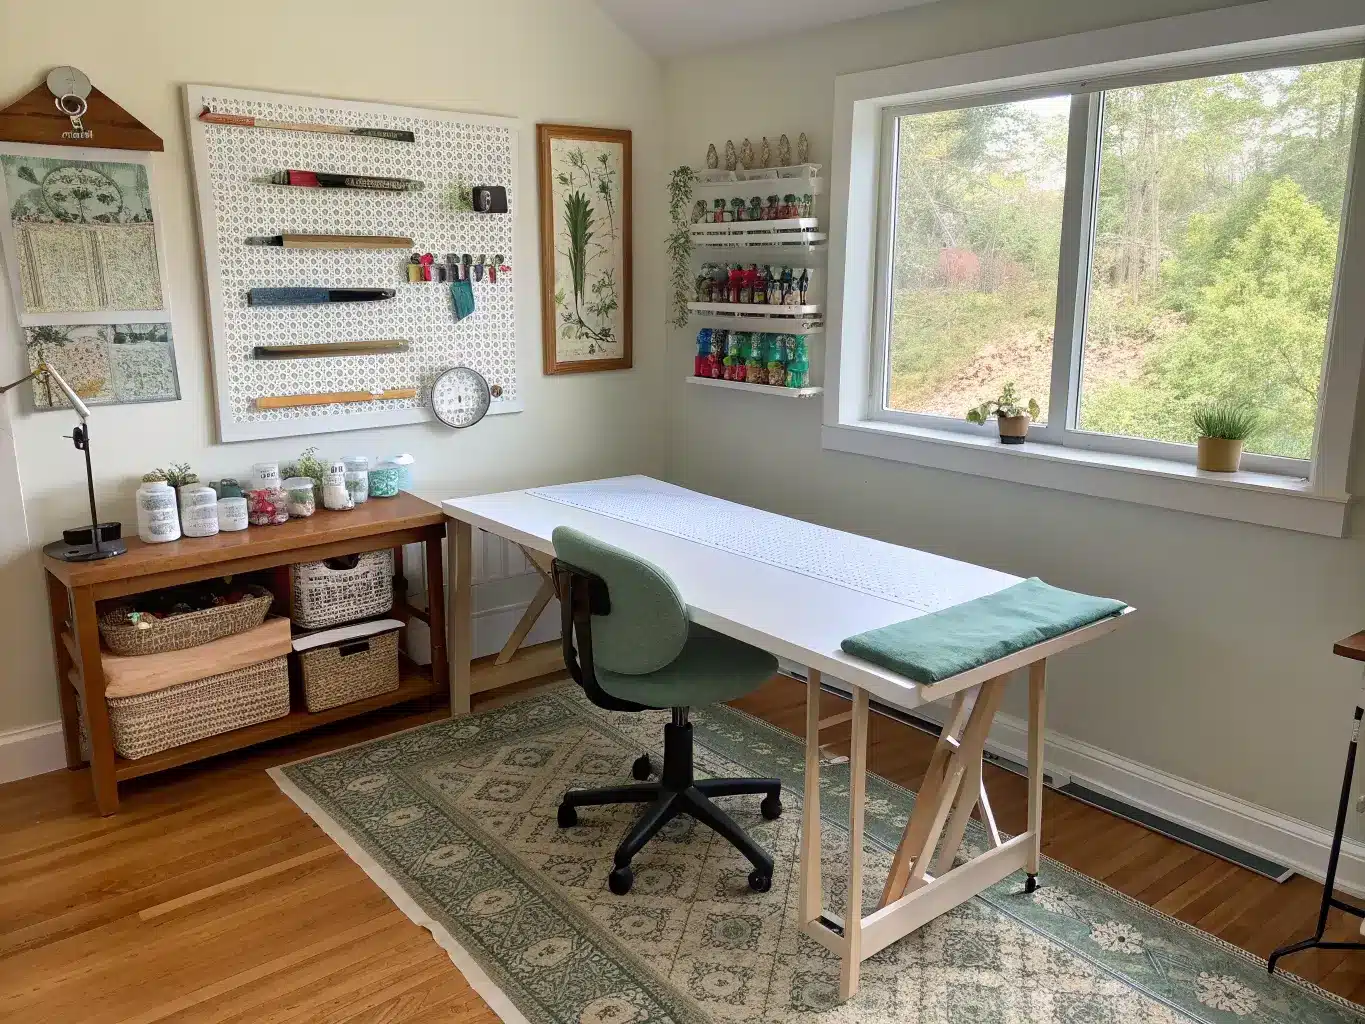
– A large worktable, not a dainty desk. This is the mistake I made first — I bought a narrow 30-inch writing desk because it looked cute in the corner. I couldn’t cut fabric on it, couldn’t lay out a scrapbook spread, couldn’t do anything requiring elbow room. I replaced it within three months with a 5-foot folding banquet table draped in a fitted tablecloth, and it changed everything. Give yourself at least 48 inches of surface width if your craft involves cutting, tracing, or laying things flat.
– An ergonomic chair with lumbar support. You will sit here for hours. A stiff dining chair will wreck your back by month two.
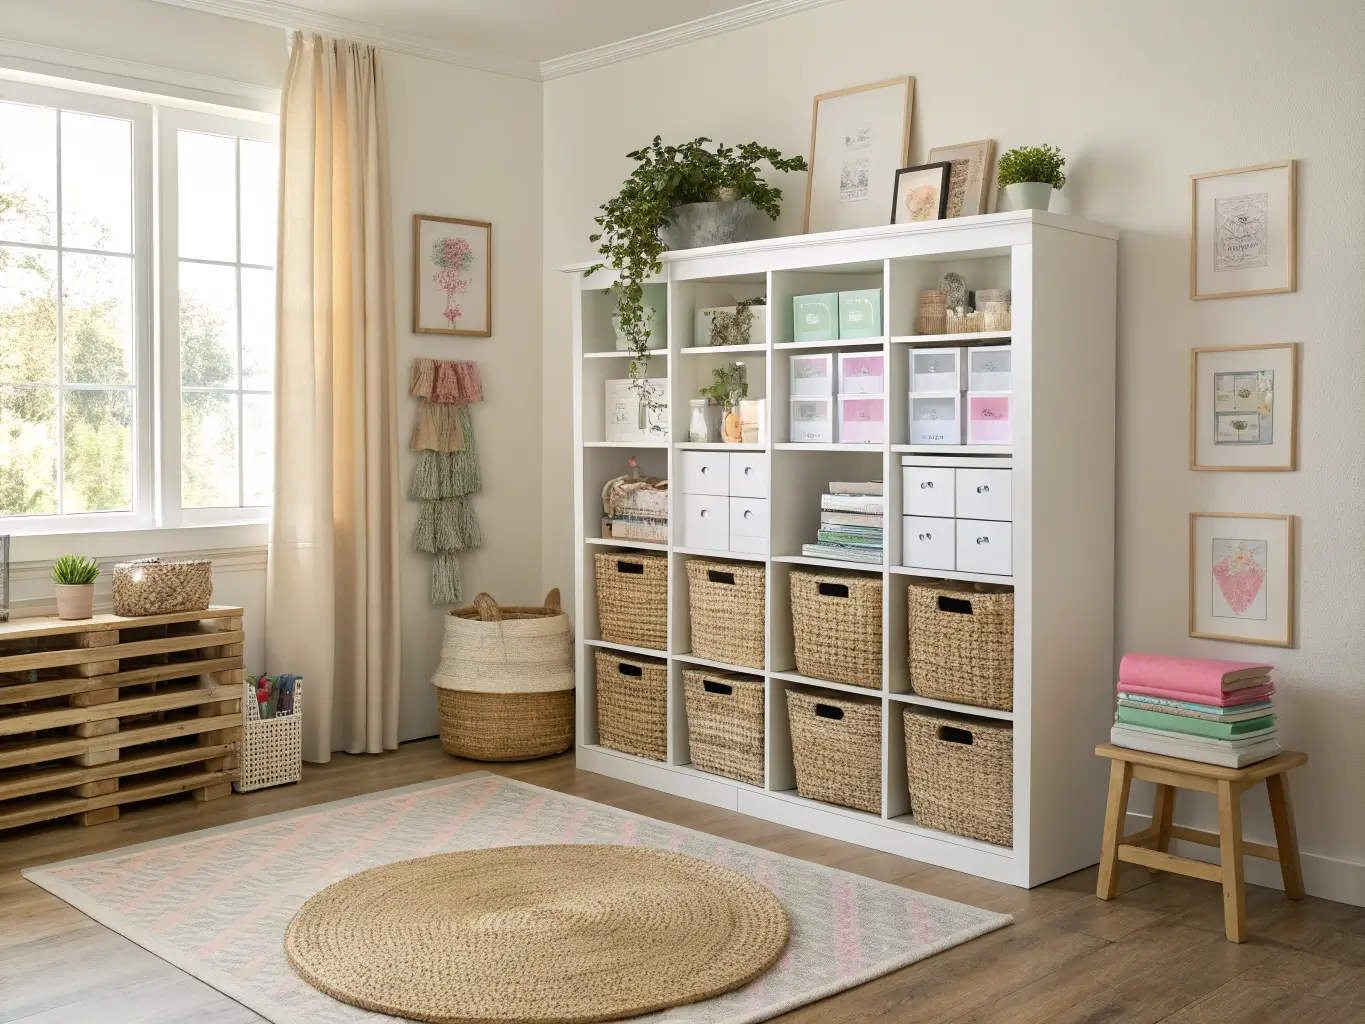
– Vertical storage — shelving, cubbies, or a wall system. Going up instead of out is what makes small rooms work. Floating shelves, an IKEA KALLAX unit, or a full slat wall system all do the job.
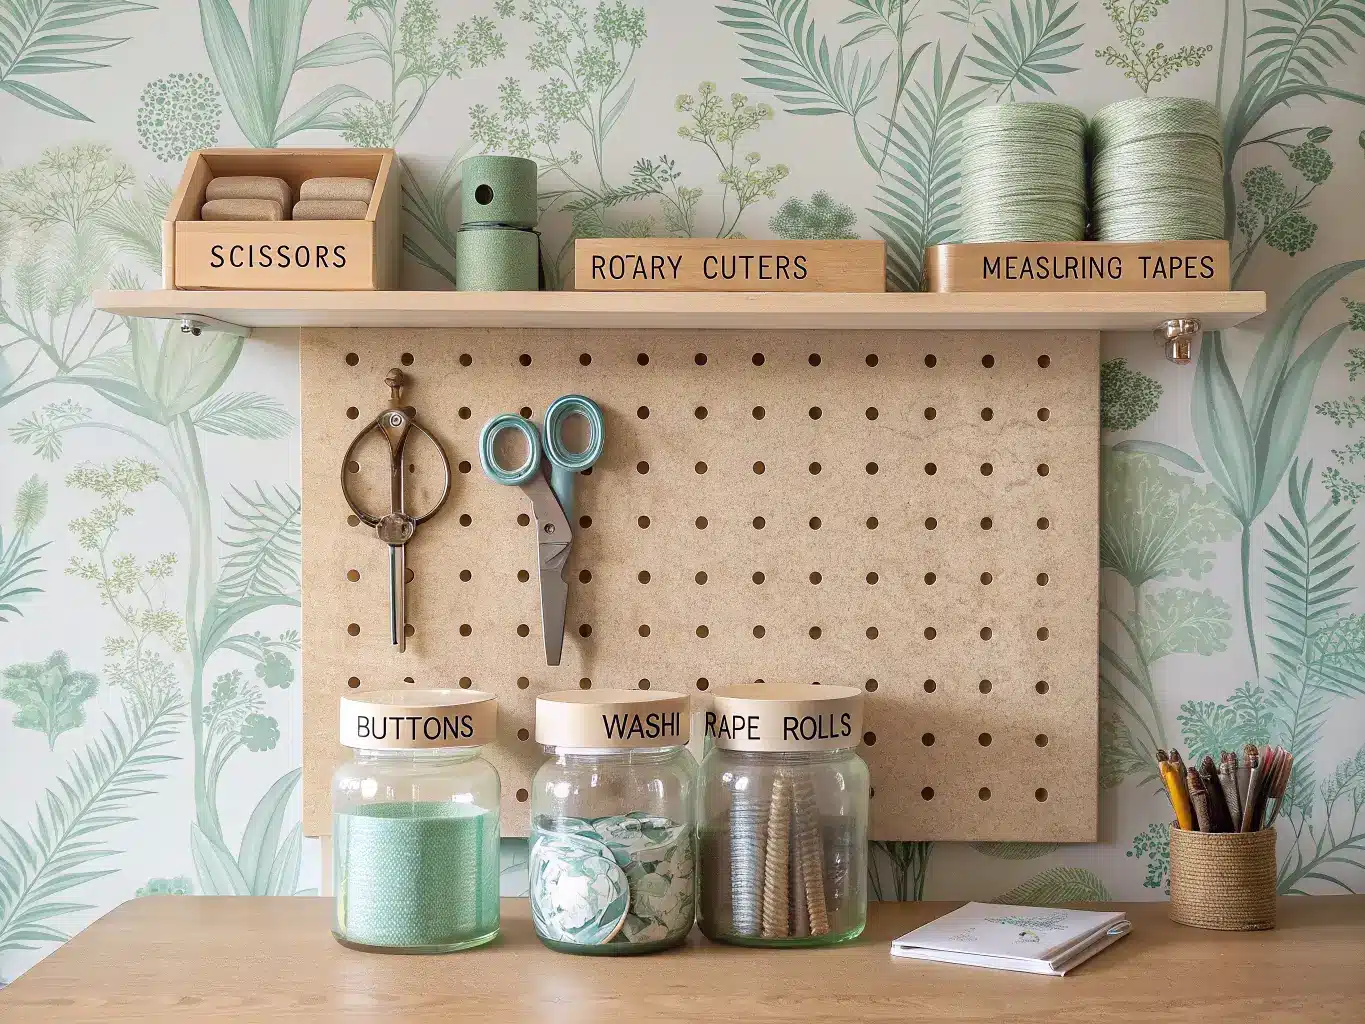
– A pegboard. Mount one above or beside your worktable for scissors, rotary cutters, rulers, and anything you reach for constantly. Mine holds 14 tools and freed up an entire drawer.
– Clear bins and labeled jars. Buttons, thread, beads, washi tape — anything small needs to be visible, not buried in an opaque tote where it’ll never surface again.
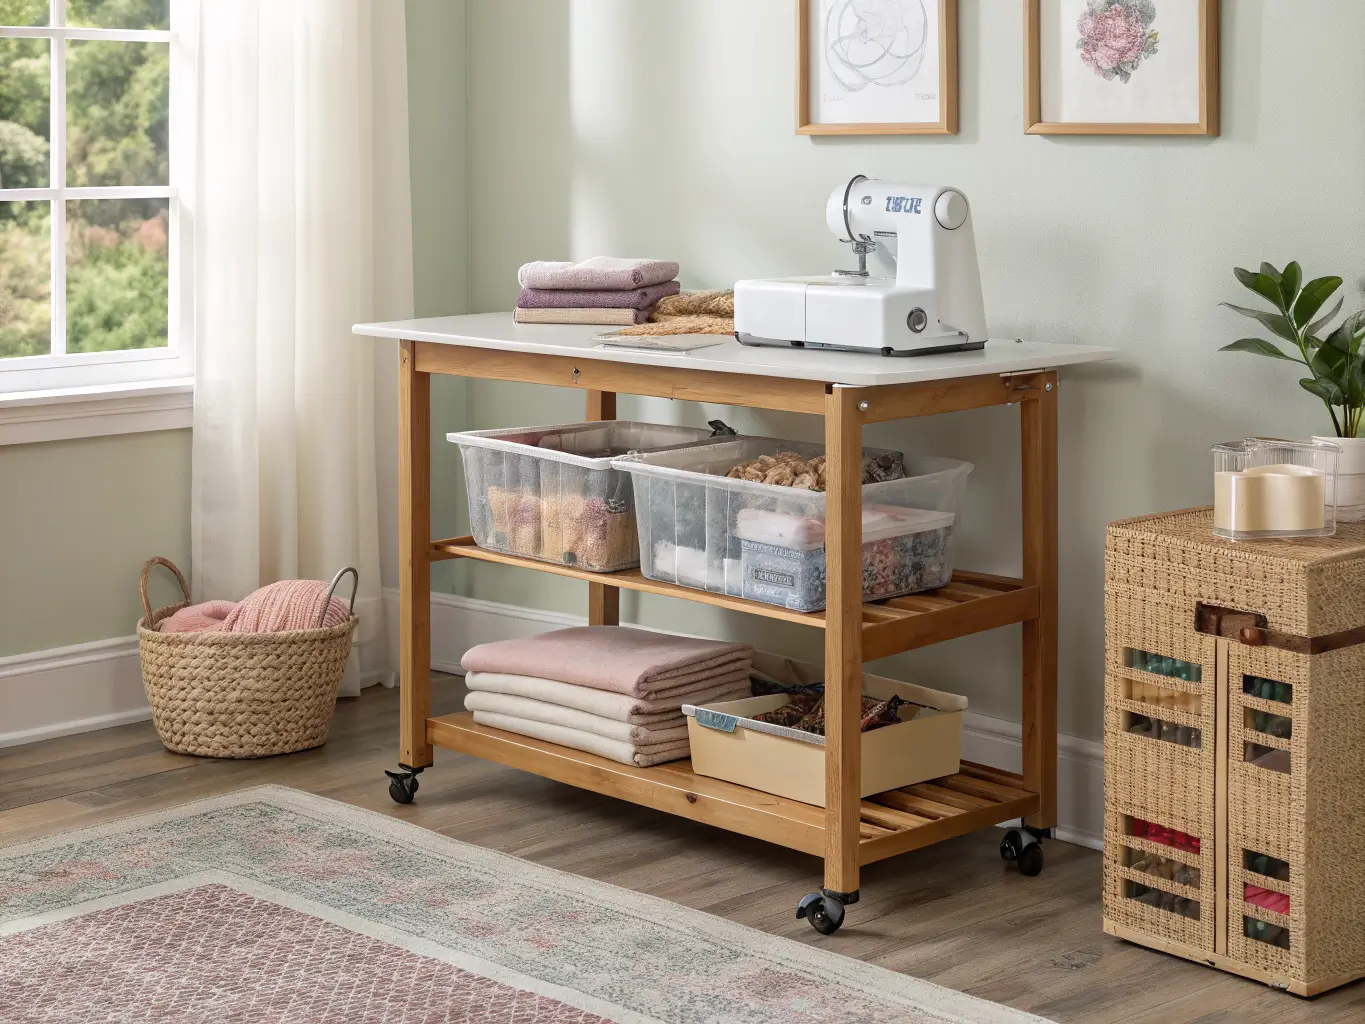
– A rolling cart. The classic three-tier utility cart (roughly $40–60) is the single most useful thing I own in this room. I move it between my table and my sewing machine depending on the project.
– Task lighting. A cozy overhead glow is not enough for detail work. Add a desk lamp with a true daylight bulb (look for 5000K color temperature) directly over your workspace.
– Textiles for warmth. A rug, a cushion, a throw over the chair back. This is what keeps the room from feeling like a supply closet.
– One inspiration spot. A mood board, a small gallery wall of finished projects, or a single framed print. Just one.
Optional Touches That Push It From Functional to Cozy
Once the essentials are in place, layer in the things that make the room feel like yours:
– Warm white fairy lights along a shelf edge or window frame — not blue-toned LEDs, which read cold and clinical
– A small plant or a few stems in a jar near the window
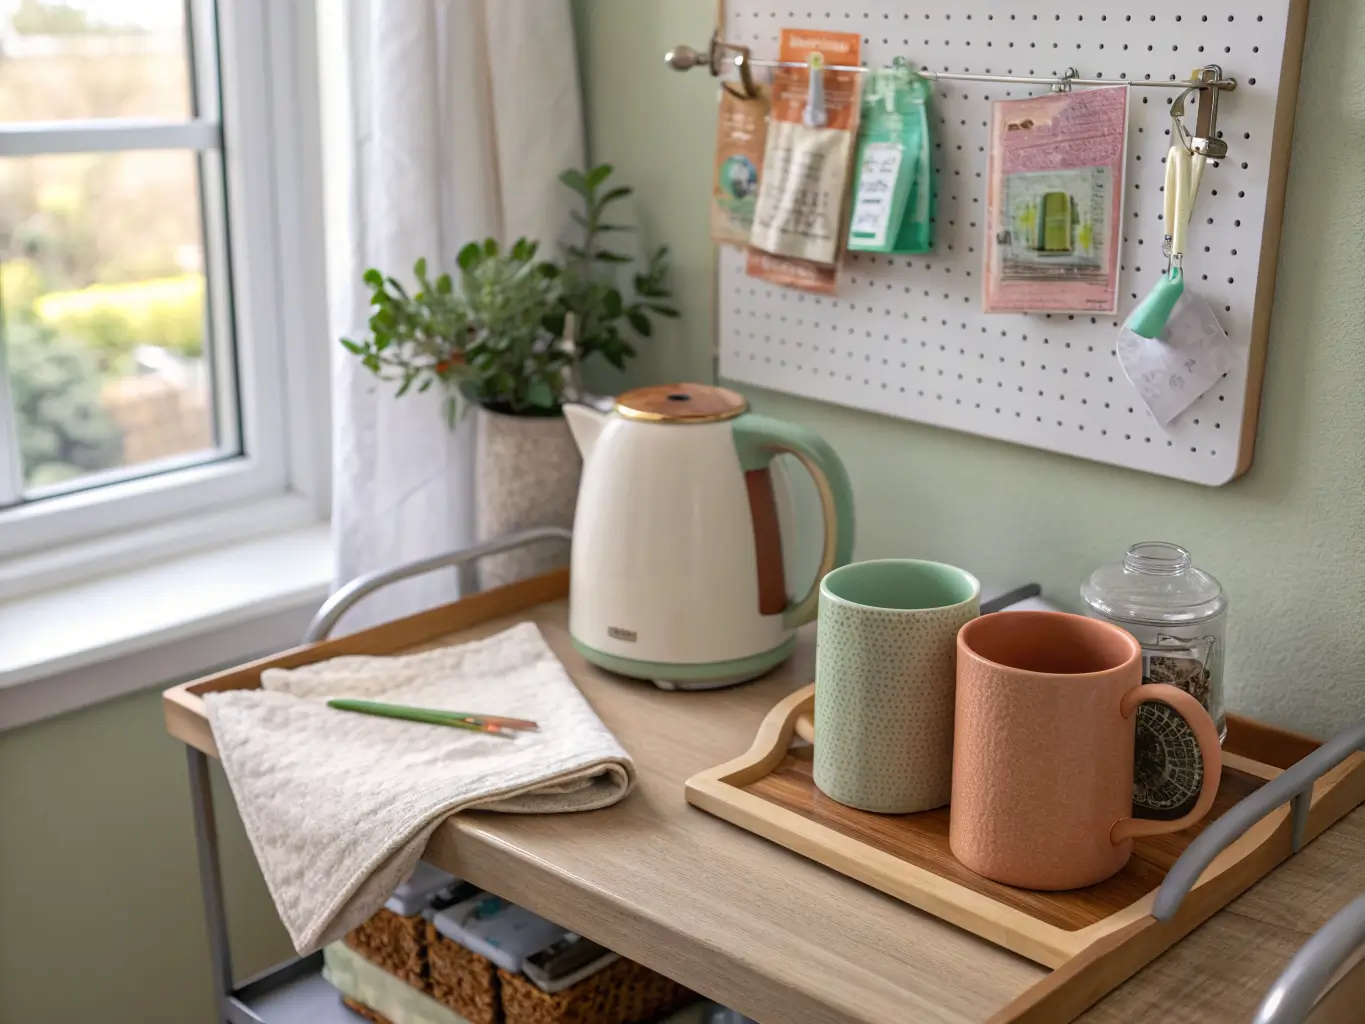
– A mini coffee or tea station on a shelf or cart corner, if you’re prone to marathon crafting sessions like I am
– Peel-and-stick wallpaper on one wall to define the space without a full renovation — I did a soft botanical print on the wall behind my pegboard and it reads like a design choice, not an afterthought
– A metallic tray under your desk accessories for a slightly more polished, studio feel
– A floating shelf dedicated to craft books and technique guides
How to Put It Together, Step by Step
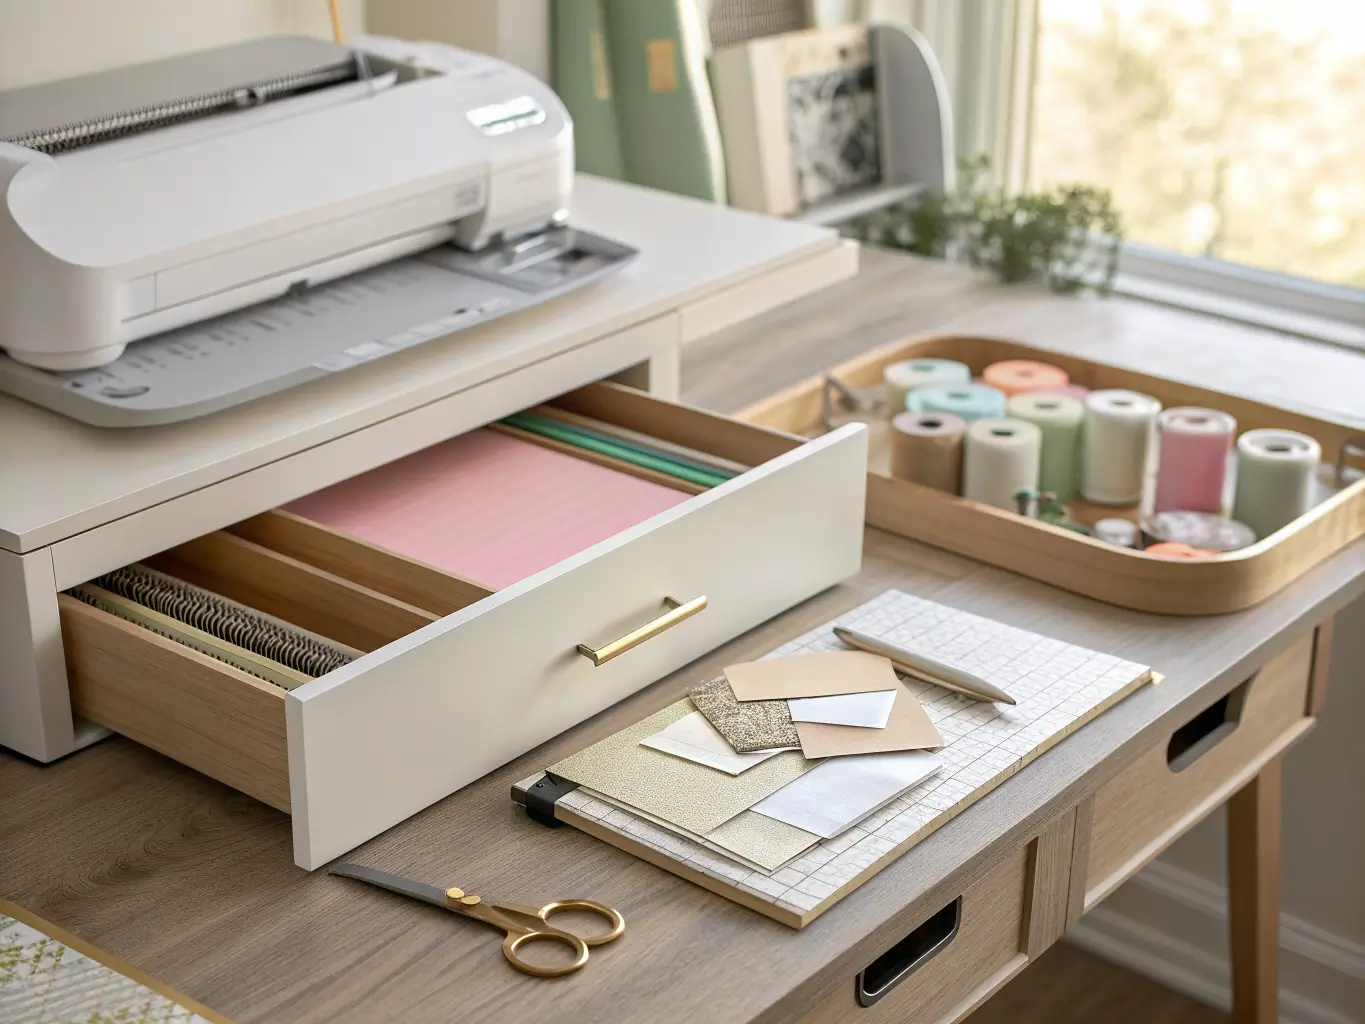
Start by naming your craft. Sewing needs a table that can hold a machine plus cutting space. Yarn crafts need bins deep enough for skeins and needle organizers. Paper crafts need flat, wide drawers. Don’t build a generic room — build yours.
Sort before you shop. Pull everything out, group it by type or project, and only then figure out what storage you’re missing. I skipped this step my first time around and ended up buying bins that didn’t fit anything I actually owned.
Position your table near a window. Natural light matters more than any lamp. One trick worth knowing: put the window on your non-dominant side so your working hand doesn’t cast a shadow across your project.
Install storage before you decorate. Shelving, the pegboard, the cart — get the bones in first.
Then build in this order:
1. Anchor the room with the table and chair.
2. Go vertical with shelving or a wall system.
3. Add visible containers — clear jars, labeled boxes, baskets.
4. Bring in warmth — rug, cushion, curtain, throw.
5. Finish with personality — art, plants, lights, the coffee corner.
Mistakes That Undercut the Whole Room
– A desk that’s too small. I said it above, but it bears repeating because it’s the single most common misstep.
– No real task lighting. Ambient coziness is nice; it won’t help you thread a needle at 9pm.
– Storing everything in opaque bins. If you can’t see it, you’ll forget you own it and rebuy it. Ask me how many rotary cutter blades I have duplicates of.
– Decorating every surface. A workspace covered in knickknacks stops being a workspace. Leave breathing room on the table.
– Ignoring your chair. A $30 folding chair under a $500 desk setup is a bad trade.
– Mixing all supplies together instead of zoning by activity. Cutting station, storage wall, machine station — keep them distinct even in a small room.
Keeping the Room Looking Pulled Together Over Time
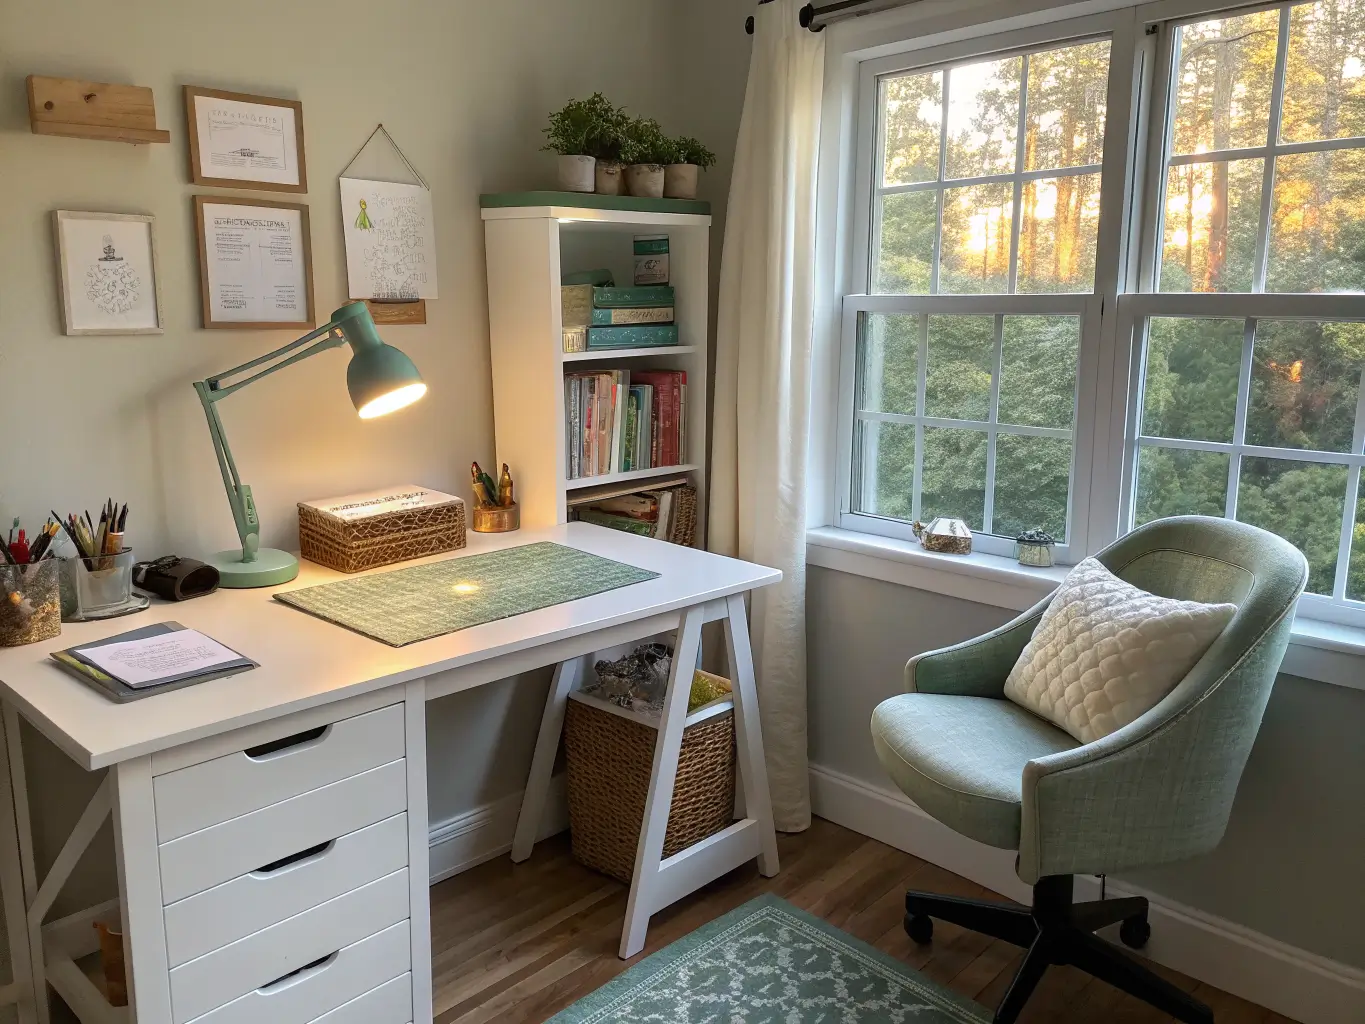
Pick a tight palette and stick to it. Soft neutrals as your base, one or two accent colors on top. I run white, natural wood, and a dusty sage green through mine — every bin, basket, and cushion pulls from that same trio.
Repeat your materials. If you use woven baskets on one shelf, use them again elsewhere instead of introducing a new material every time you add storage.
Leave some surfaces empty. An organized room has negative space. A cluttered one doesn’t.
Rotate small things, not everything. Swap the art, swap a finished project on display, swap a seasonal accent. Leave the bones alone.
For seasonal refreshes, I switch out a few things each quarter — florals in spring, warmer rust-toned textiles in fall, extra string lights and a heavier throw in winter. None of it touches the storage system, because the storage system is the part that actually has to keep working.
On budget evolution: start with dollar-store bins and secondhand shelving. Upgrade piece by piece as you figure out what you actually need more of — a bigger cart, better lighting, specialty thread storage. My pegboard was a $22 impulse buy that turned out to be the best purchase in the entire room. My “nice” acrylic drawer unit, bought early and full price, sits half-empty because I overestimated how much ribbon I actually own.
Build the function first. The coziness follows naturally once the room actually works for what you make in it.
For another angle on this, my craft room decor guide covers the same space from a different starting point.





