Craft Room Organization: A Complete Guide to Storage That Actually Works (Small-Space & Budget-Friendly)
Craft room organization only becomes a real problem once you own enough supplies to bury a desk. I know because mine got buried three times before I figured out what actually works. If you’ve got vinyl rolls sliding off shelves, a fabric pile that’s technically a fire hazard, and a drawer of “unfinished projects” you’re avoiding eye contact with, this is for you.
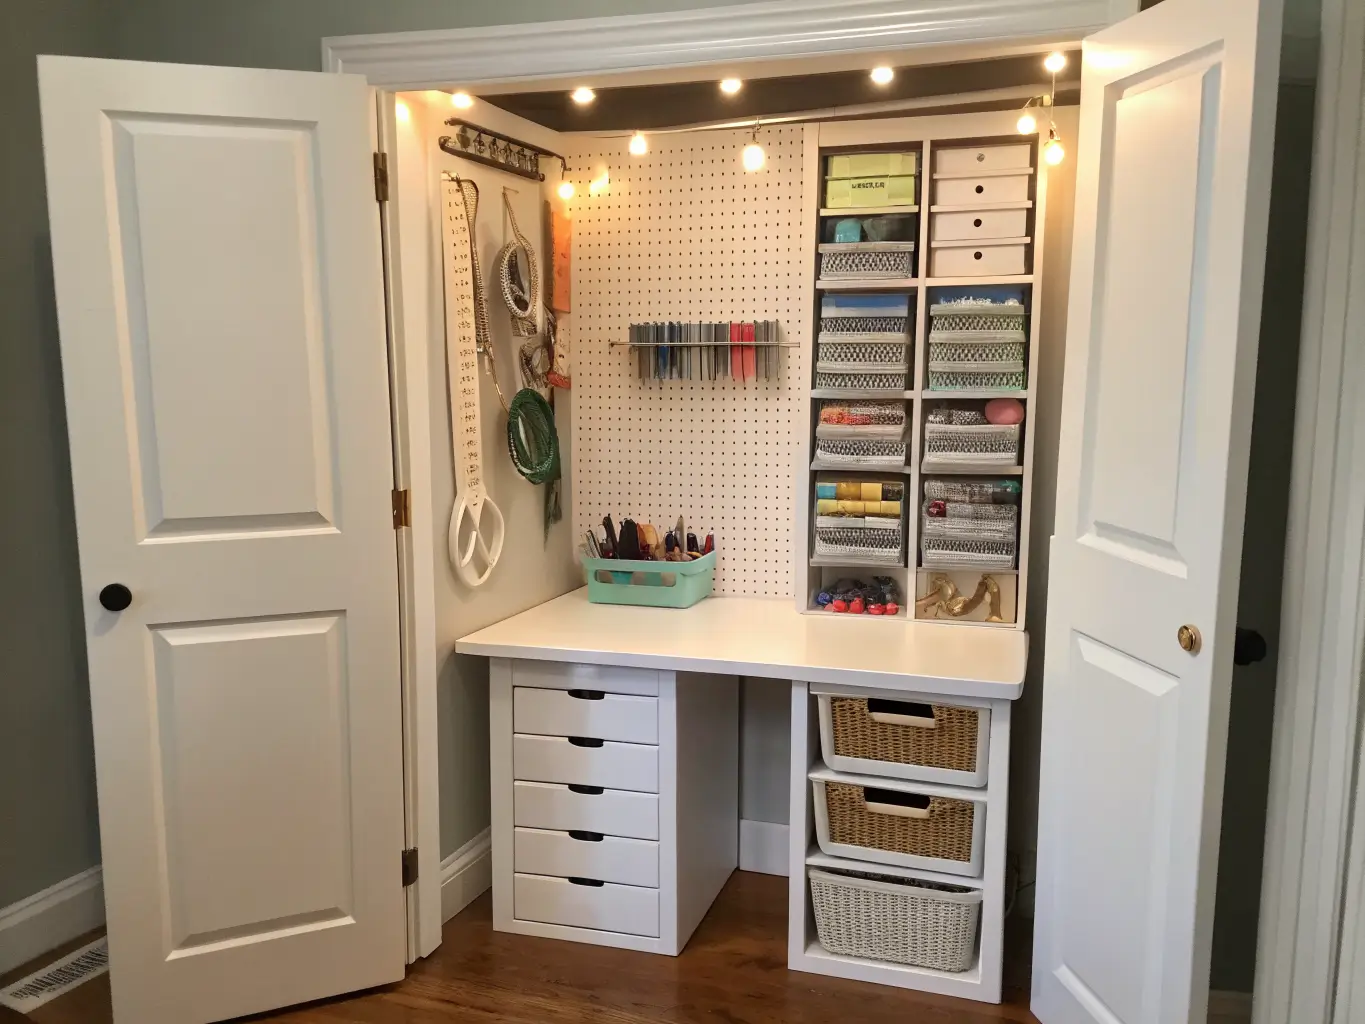
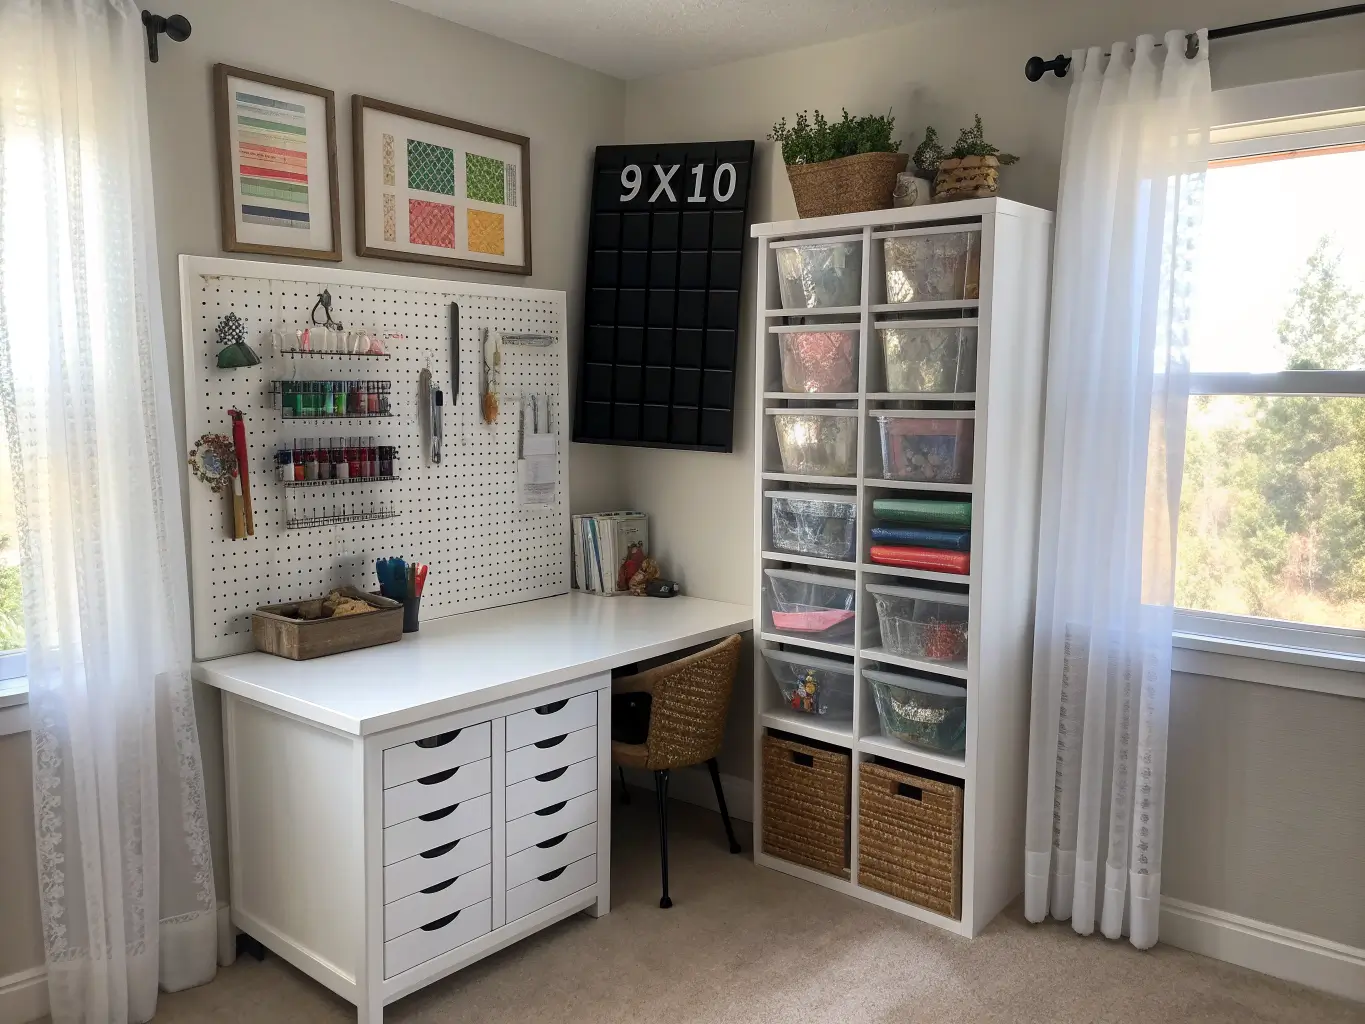
I’ve rebuilt my craft space in a spare bedroom twice, downsized it into a closet once during a move, and now run it out of a 9×10 room that finally works the way I need it to. Here’s everything I learned getting there.
Quick Style Snapshot: Time, Cost, and Space
Time needed: A basic reset of a small craft corner takes 2–4 hours if you’re just re-sorting what you have. A full room organization — sorting, purging, buying storage, labeling, setting up zones — is realistically a 1–2 day project. I blocked out a Saturday for mine and still finished labeling drawers on Sunday morning with coffee in hand and my patience running low.
Cost, broken into three tiers:
Budget refresh ($20–$100): Dollar Tree bins, repurposed pickle jars, thrifted baskets, a roll of label tape. This is where I started and it worked fine for a year.
Mid-range setup ($150–$600): Real shelving, a drawer tower, pegboard, a rolling cart. This is where most people land, and it’s where I am now.
Full studio build-out ($600+): Modular cabinetry, a proper workstation, IKEA PAX wardrobes repurposed as craft storage, wall-to-wall systems. Only worth it if you’re crafting as a business or you’ve got the space and budget to match.
Space needed: Anything from a coat closet to a full spare room. If you’ve got floor space, an L-shape or U-shape layout gives you the best reach — desk on one wall, storage wrapping around the corner. In a smaller footprint, go vertical instead of wide.
Skill level: Beginner to intermediate for almost everything here. You need intermediate-to-advanced DIY skills only if you’re building custom pegboard walls or installing a desk platform yourself.
Seasonal appeal: This is a year-round project. The system is built around workflow, not decor trends, so you’re not redoing it every October. Seasonal touches are small accents layered on top — not a room overhaul.
The Design Identity: Functional, Not Fussy
The look that actually holds up over time isn’t the heavily styled, magazine-perfect craft room. It’s what I’d call functional maximalist organization — clean lines, a lot of visible storage, and a system built around categories and labels rather than decorative clutter.
Colors and materials that show up again and again:
– White or soft neutral shelving and cabinetry as the backdrop
– Clear acrylic bins and drawers so you can see what’s inside without opening anything
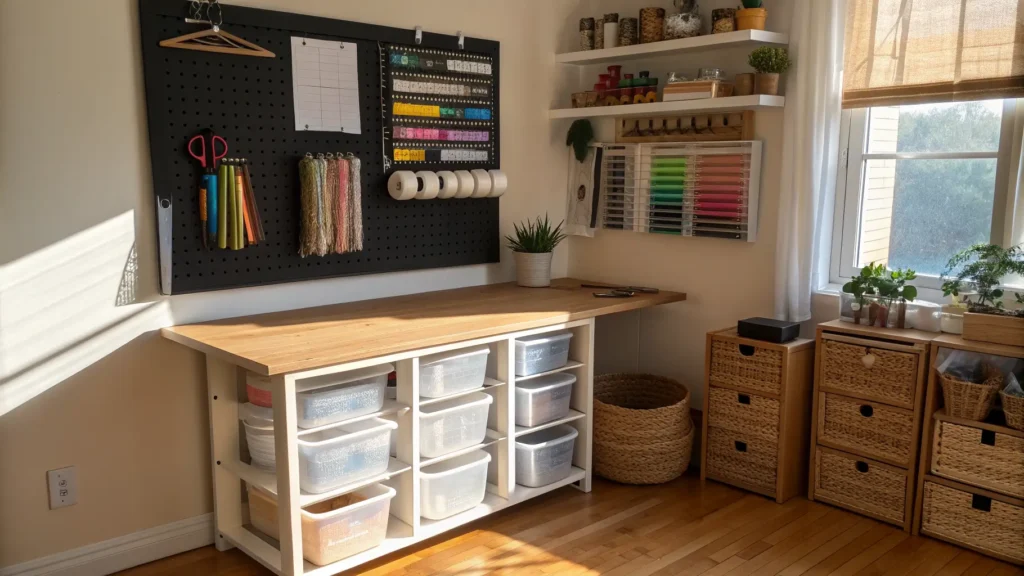
– Natural wood for warmth (a butcher block desktop, a few woven baskets)
– Black metal accents — shelf brackets, cart frames, label holders — for contrast
– Rainbow-sorted supplies as the actual color in the room
This style is built for crafters juggling multiple mediums — paper, vinyl, fabric, yarn, beads, paint — plus the eternal pile of bulky backstock nobody wants to talk about. It works in spare rooms, closets, office corners, basements, even a laundry room nook if you’re desperate. I’ve done the closet version. It’s tight, but a closet with good shelving and a pegboard on the back wall holds more than you’d think.
Must-Have Pieces: What Actually Earns Its Spot
A real work surface. Not a folding table. You need enough depth to cut, assemble, and spread out a project without knocking things off the edge. I use a 30-inch deep desk and I still sometimes wish it were bigger. If your room allows it, an L-shape setup gives you a cutting zone and an assembly zone without moving your chair.
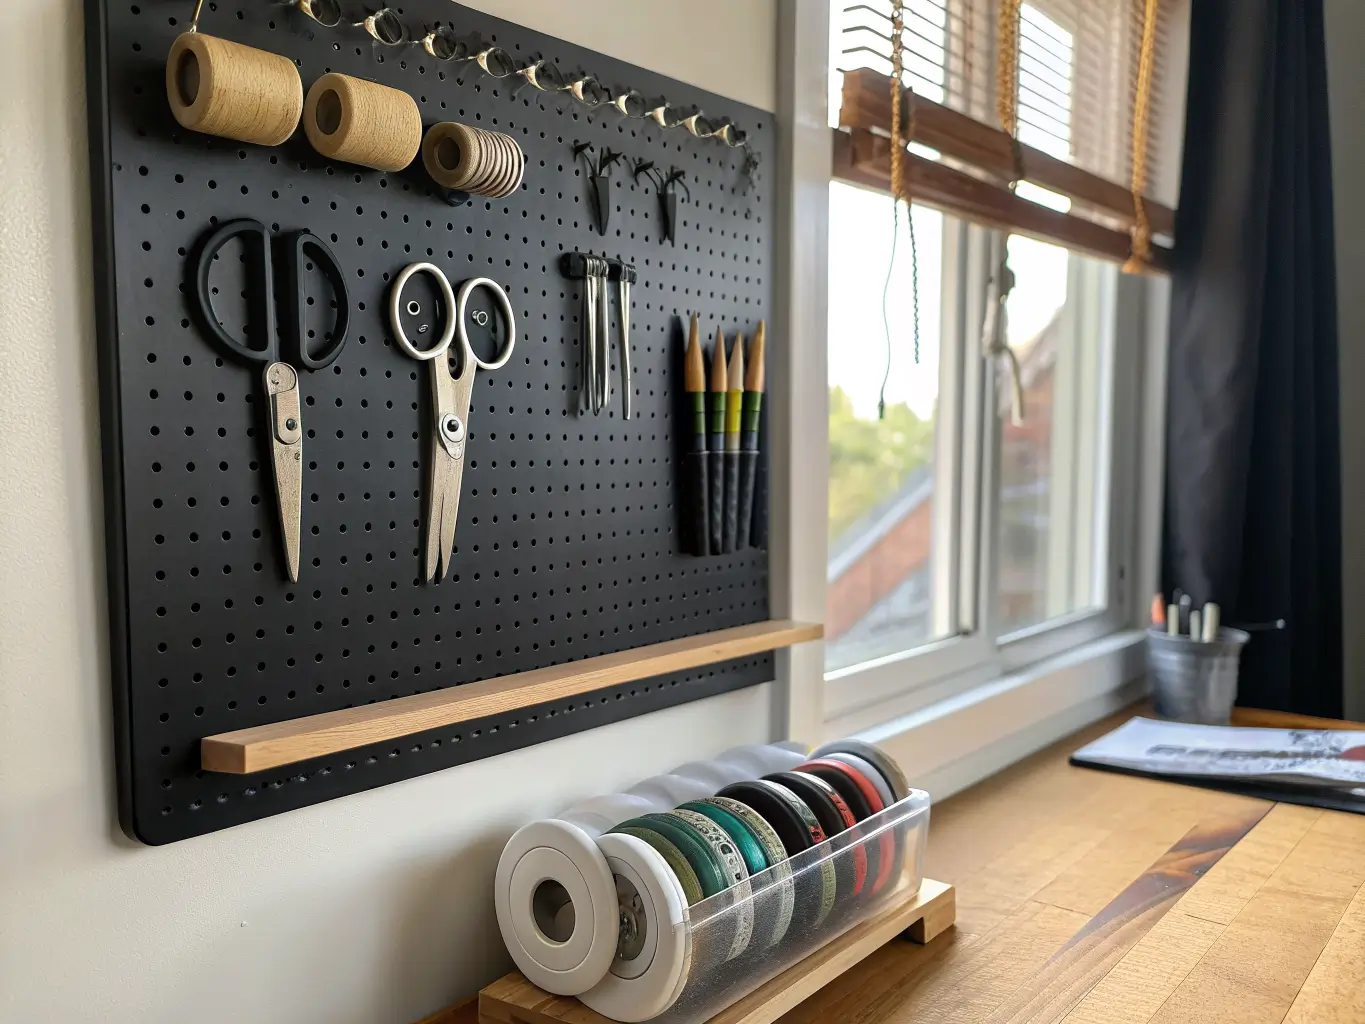
Pegboard. This is the single most repeated recommendation across every craft organizer I’ve talked to or read, and it’s earned that reputation. Mine holds scissors, rulers, a rotary cutter, paintbrushes, and a row of small hooks for ribbon spools. It keeps your most-used tools visible and off the desk entirely.
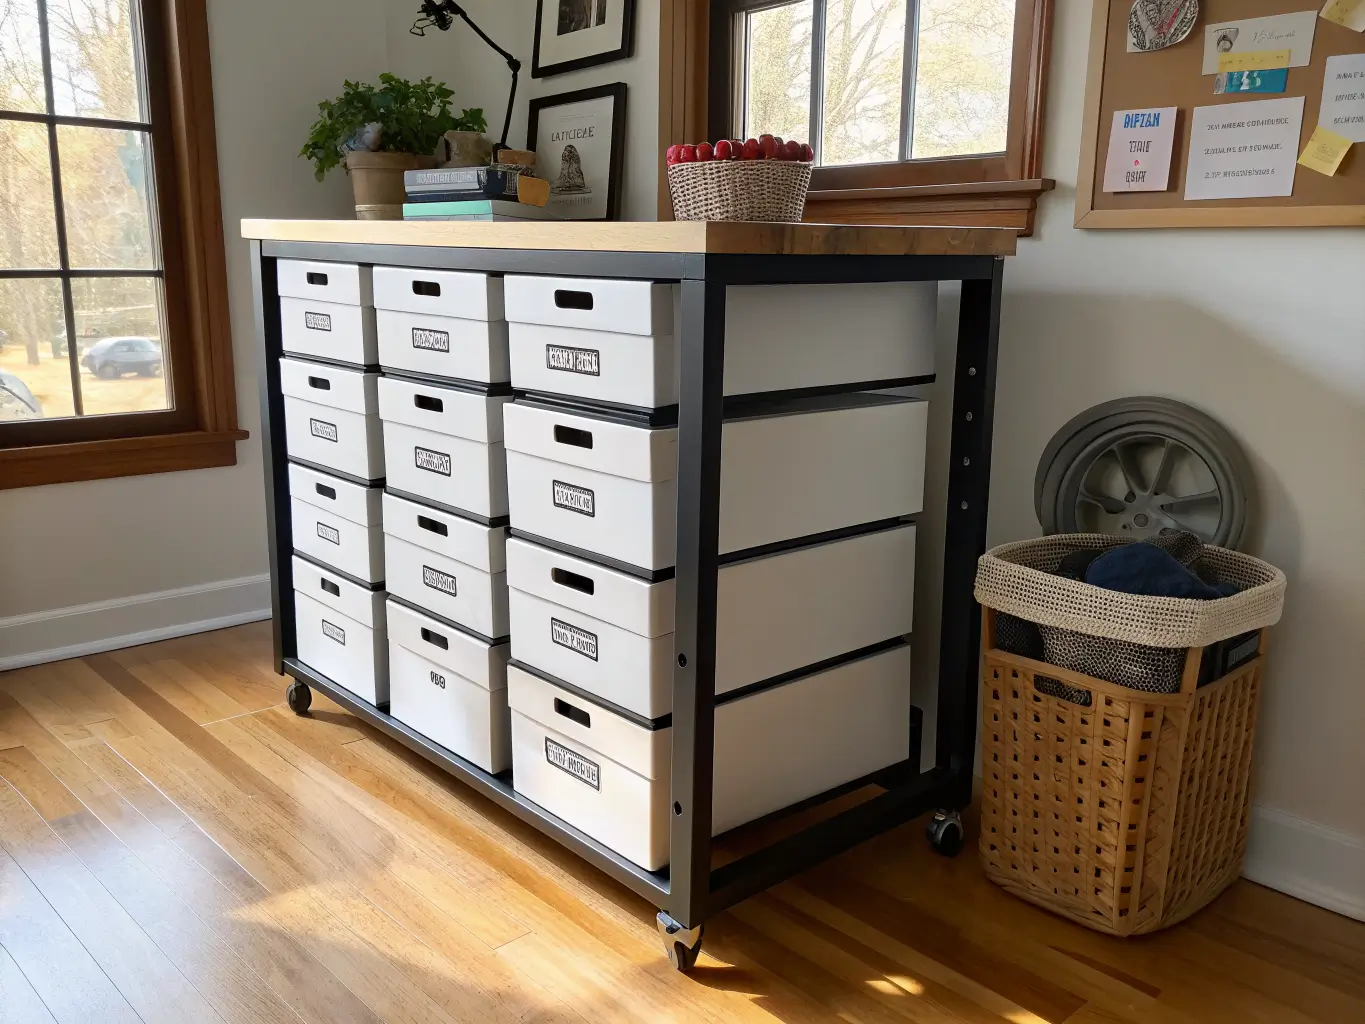
Clear bins and stackable drawers. Labeled, see-through, and sorted by category. I use a 12-drawer rolling cart for vinyl scraps, stickers, and stamps, and clear shoebox-sized bins on shelves for bulkier stuff like yarn skeins.
A rolling cart. Mine sits next to my desk and holds whatever I’m using that week — right now it’s adhesive vinyl and transfer tape. When the project changes, the cart’s contents change. It’s the one piece of storage that flexes with what you’re actually doing.
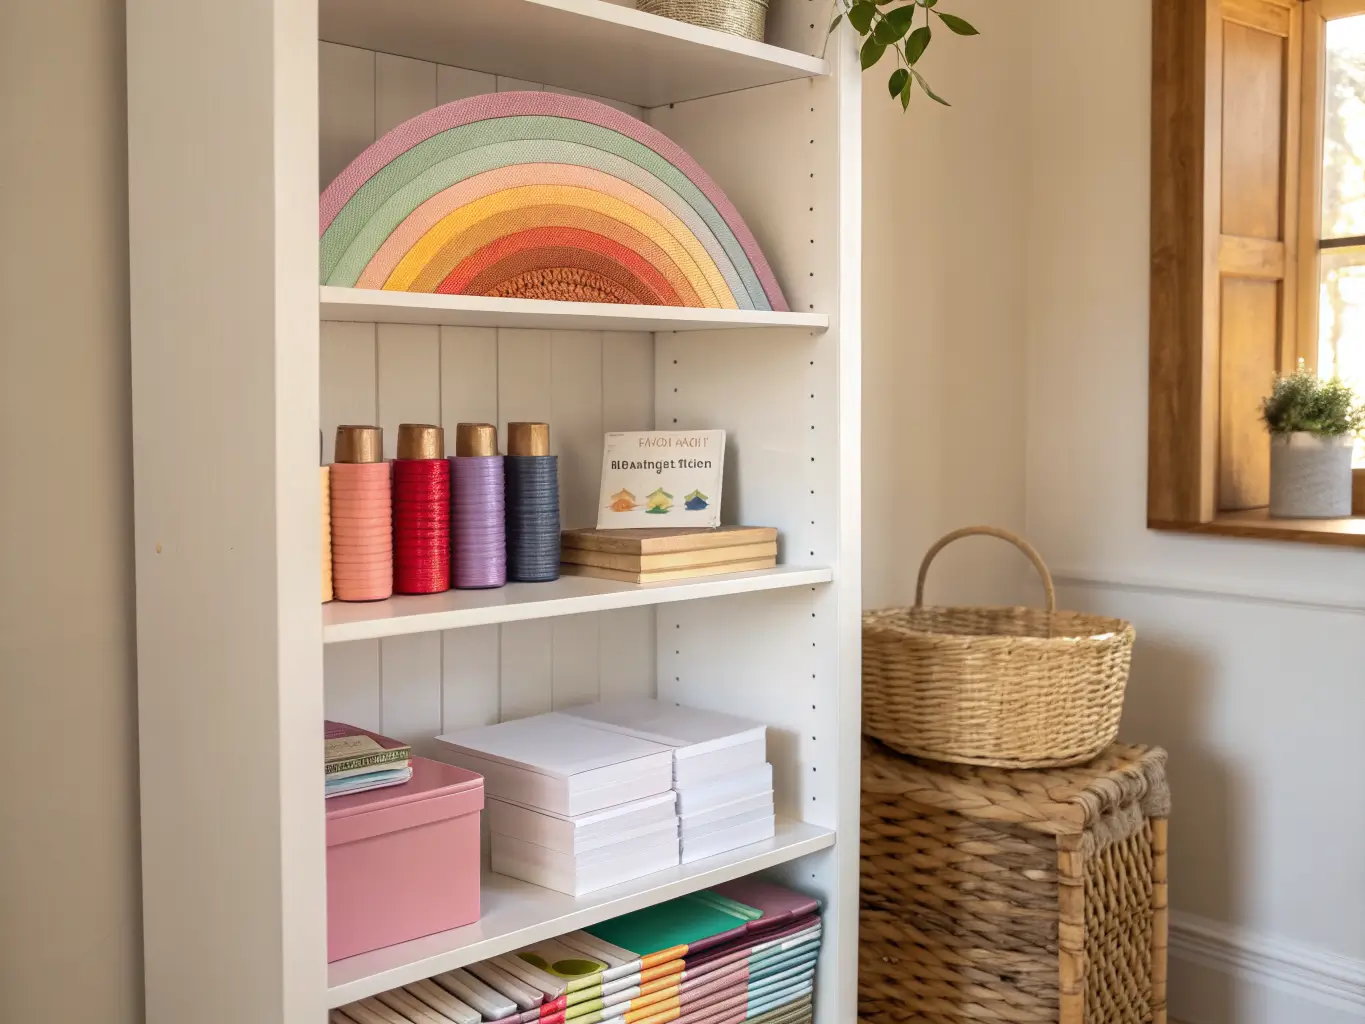
Open shelving. For paper stacks, project baskets, and anything that looks good enough to leave visible. Open shelves also just make a room feel like it was designed on purpose, instead of a closet that exploded.
Labels. Non-negotiable. I resisted this for way too long, telling myself I’d remember what was in each bin. I did not remember. Label the drawers, the jars, the bins, everything. A $15 label maker paid for itself in the first month.
Specialty holders — a lazy Susan for paint bottles and glue, magazine files for cardstock, a dowel rod mounted on the wall for ribbon spools, small divided trays for beads and buttons. These solve the specific annoying problems that generic bins don’t.
Optional Touches That Make It Feel Like Yours
Once the system works, layer in the stuff that makes it feel like a room you want to be in, not just a supply closet:
– Woven baskets or rattan bins to soften all that acrylic and metal
– Brass label holders or a chrome cart frame if you want it to feel a little more polished than utilitarian
– A framed print or two above the pegboard — mine’s a cheap botanical print in a thrifted frame, and it keeps the wall from feeling like a hardware store display
– Rainbow-ordered thread, markers, or vinyl on open shelves — this is genuinely one of the best tricks for turning storage into decor without adding a single decorative object
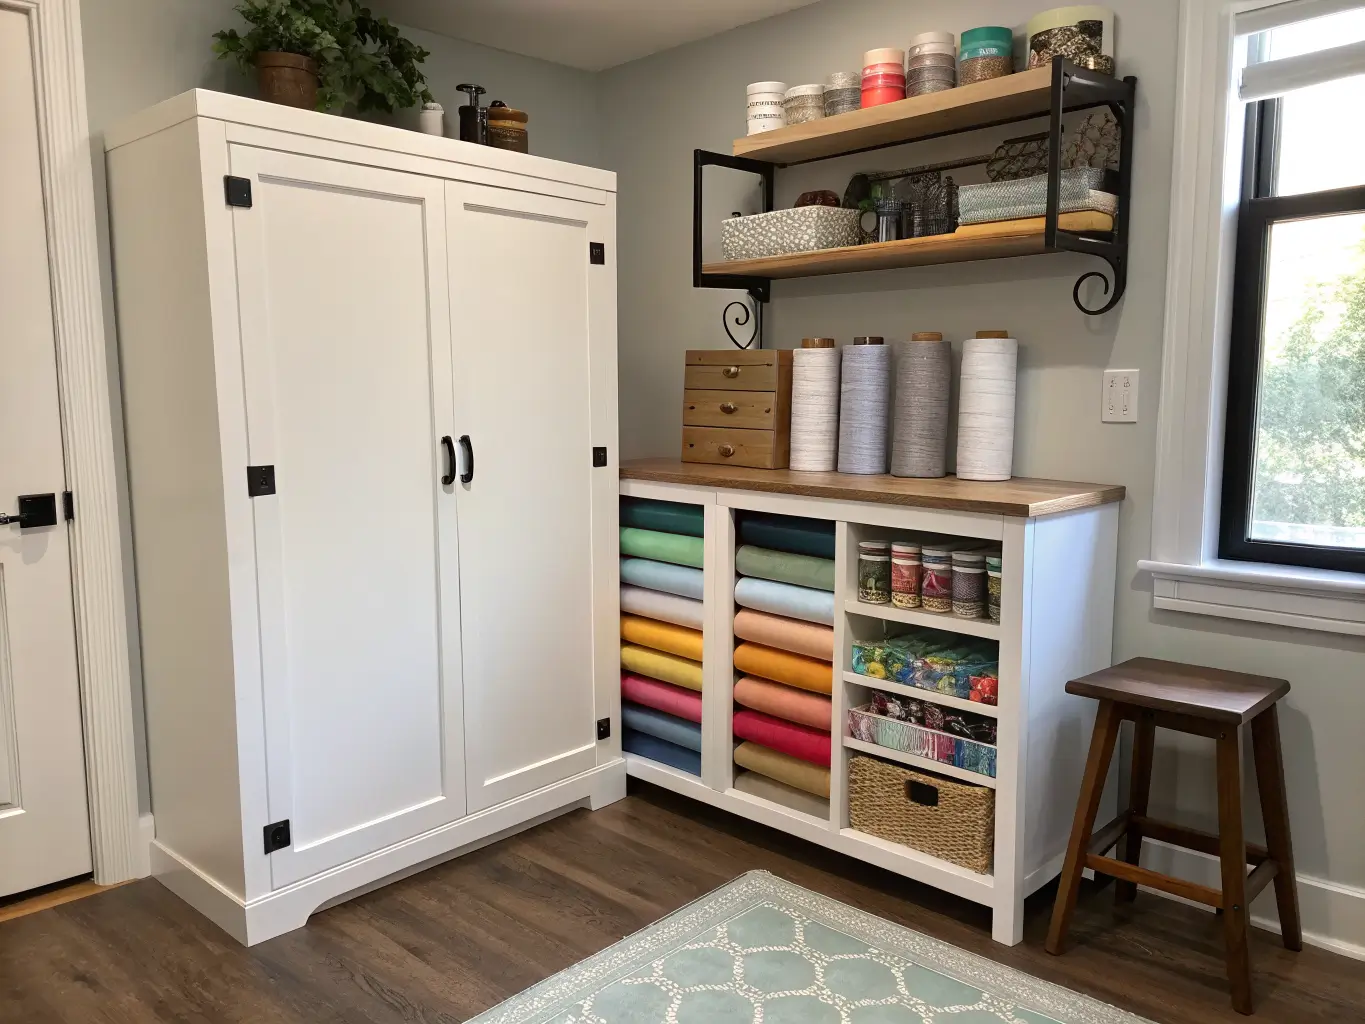
– Closed cabinets for backstock — nobody needs to see your fourteen backup rolls of adhesive vinyl. Hide the overstock, display the good stuff.
How to Set It Up, Step by Step
Prep before you buy anything
Start with a full inventory. Physically pull everything out and sort into rough categories: paper, fabric, tools, adhesives, embellishments, active projects. This is tedious and it will take longer than you think — mine took an entire evening just for the paper and stickers.
Purge as you sort. Broken tools, dried-out markers, fabric scraps too small to use, duplicate rulers you bought because you couldn’t find the first one — get rid of it now. I donated an embarrassing number of scrapbook kits I bought in 2016 and never touched.
Measure your storage zones before buying bins. Shelf height, drawer depth, cubby width. I bought a set of bins once that were a half-inch too tall for my shelf and had to return the whole set. Measure twice, buy once.
Assign zones based on what you actually do: cutting, assembly, painting, sewing, wrapping, in-progress storage. Not every craft room needs all of these — build around your actual hobbies, not a generic list.
Build the room in this order
1. Anchor with the big furniture first — desk, shelving, cabinets. Get the traffic flow right before anything else.
2. Mount vertical storage — pegboard, wall rails, floating shelves — above or beside the workstation.
3. Place supplies by how often you use them. Daily tools at eye level or arm’s reach. Bulk stock goes up high or behind closed doors.
4. Sort small stuff into labeled containers — divided trays for beads, small drawers for buttons and clips, jars for anything you want visible.
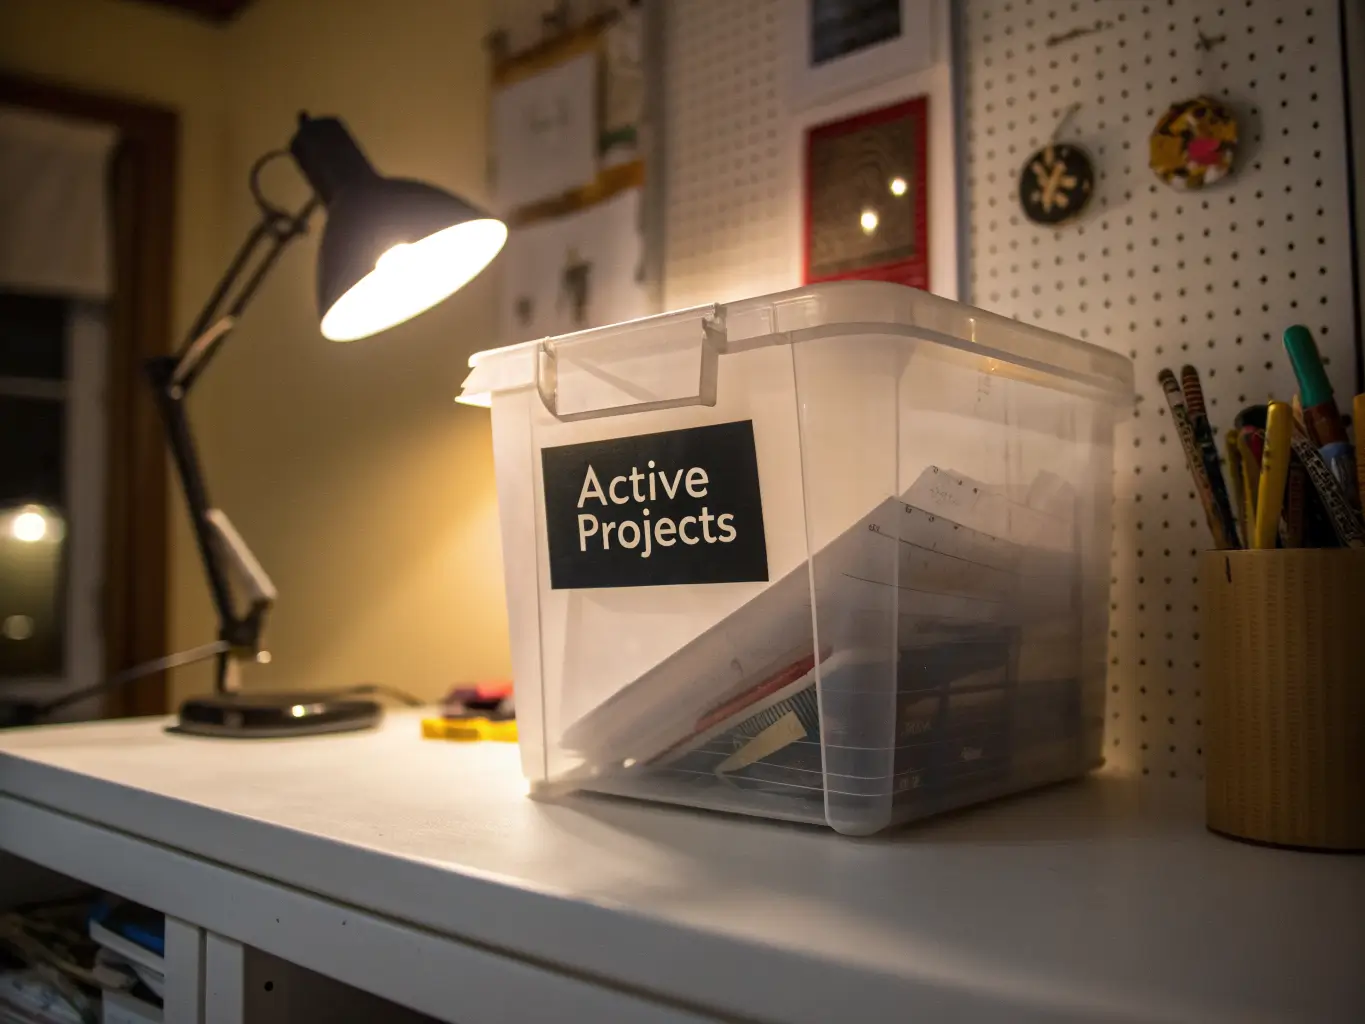
5. Set aside one bin, and only one, for active projects. This was the single biggest fix in my own space. Before this, unfinished projects colonized every flat surface in the room. Now they live in one labeled bin, and when it’s full, that’s my signal to finish something before starting anything new.
6. Style last. Lamp, small plant, a piece of art — add these only after the actual system is working. Decorating first and organizing around it is backwards, and it’s exactly the mistake I made the first time.
Mistakes That Undo All This Work
Buying containers before you sort. I did this exact thing with a set of matching bins from Target that ended up being the wrong shape for literally everything I owned. Sort first. Buy second.
Overbuilding the system. More categories and more bins sound organized but often just mean more maintenance than you’ll keep up with. If you need a legend to remember what’s in each container, it’s too complicated.
Ignoring the walls. Floor and desk space fill up fast. Vertical storage — pegboard, wall shelves, hanging rails — is where most of your capacity actually lives.
No dedicated spot for unfinished projects. Without one, they spread. Everywhere. See above.
Skipping labels because “I’ll remember.” You won’t. I didn’t.
Displaying everything. Open storage looks great in photos and chaotic in real life if you put all of it on show. Keep active, pretty supplies visible. Hide the backstock in closed bins or cabinets.
Keeping It From Sliding Back Into Chaos
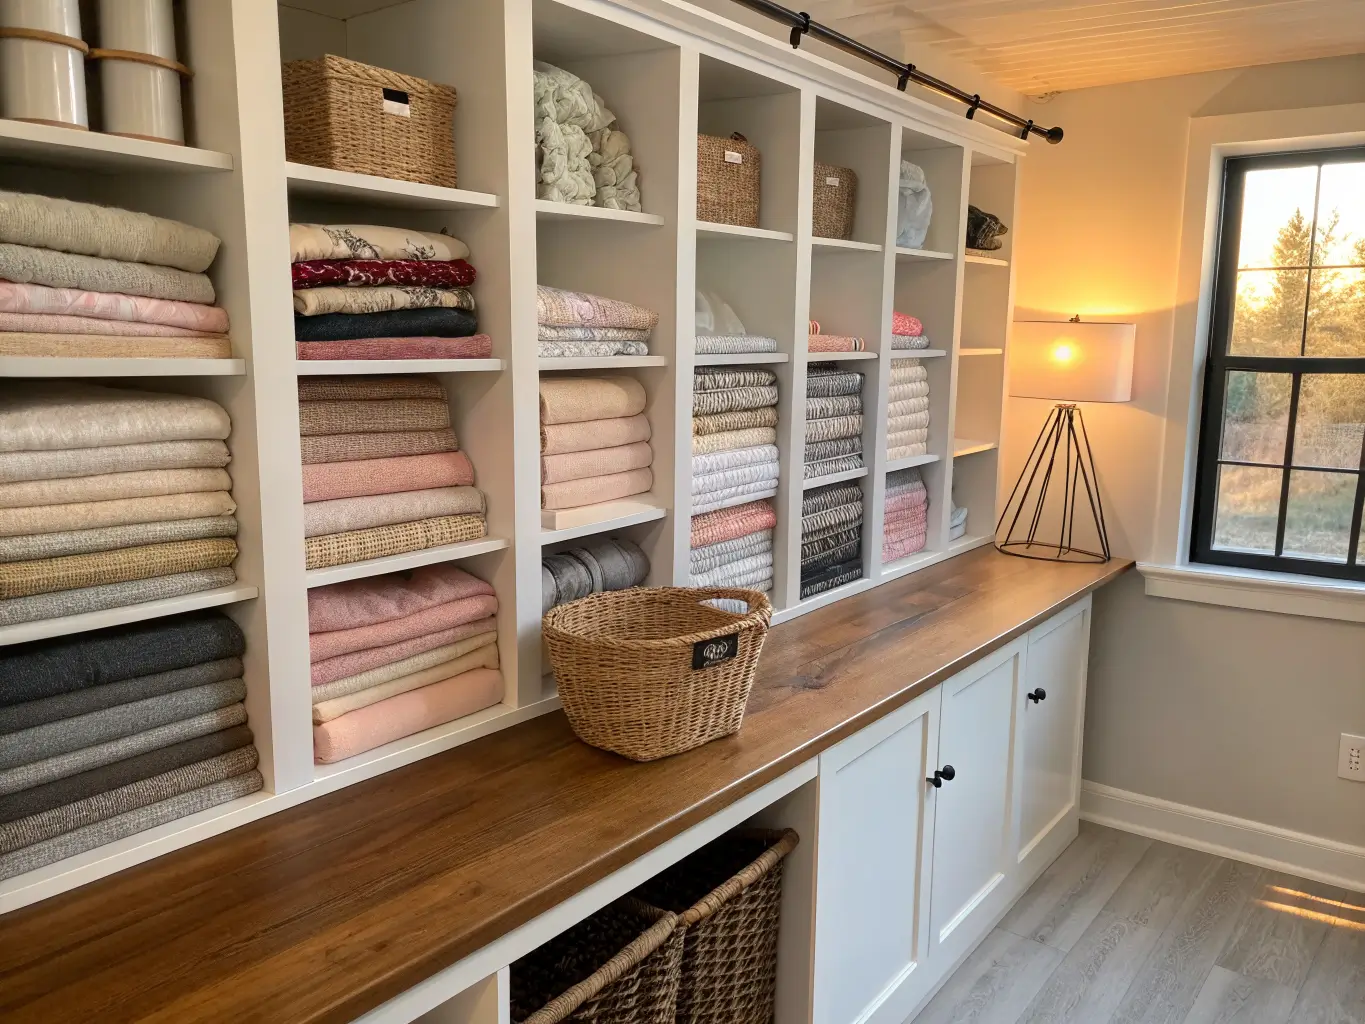
Pick a limited base palette and stick to it. White shelving, black labels, clear bins — let your actual supplies (thread, vinyl, paper) provide the color instead of trying to color-coordinate the furniture too.
Keep categories physically separate. Fabric with fabric, paper with paper, vinyl with vinyl. Mixing categories to save space always backfires — I tried combining my ribbon and yarn storage once because I was out of bins, and it turned into a tangled mess within two weeks.
Do a two-minute tidy at the end of every session. Scraps in the trash, tools back on the pegboard, unfinished work into the WIP bin. This single habit does more than any storage product.
Only display your best-looking categories. Color-sorted markers or a wall of vinyl rolls reads as intentional decor. A shelf of assorted craft odds and ends does not. Be selective about what stays visible.
Budget Moves and Seasonal Refreshes
On a tight budget: Reuse glass jars for beads and buttons, repurpose shoeboxes with fabric covers, hit Dollar Tree for bins and labels. My first setup was almost entirely secondhand containers and it looked better than some of the “real” storage I bought later.
Seasonal updates without redoing the room: Swap label colors, rotate a couple of decor pieces, add seasonal ribbon to an open shelf. The underlying system doesn’t need to change with the calendar — only the surface details do.
Cross-style combinations that work:
– Farmhouse: white shelves, black labels, natural wood and baskets
– Minimalist: all clear bins, white cabinetry, storage mostly hidden
– Boho: woven baskets, warm wood tones, brass hardware
– Rainbow-organized: an entire wall of visible, color-sorted supplies as the room’s main visual statement
Long-term evolution: Start simple — a shelf-and-bin system is enough for most people starting out. Add the rolling cart, then the pegboard, then move toward built-ins only once your supply volume actually demands it. I went from a $60 closet setup to a $400 room over about three years, upgrading only when I outgrew what I had. Don’t build the $600 studio on day one for supplies you might not even keep collecting.
The system that sticks isn’t the prettiest one. It’s the one that’s easy enough to put back together after a messy project at 11pm when you just want to go to bed.