
What This Style Actually Is
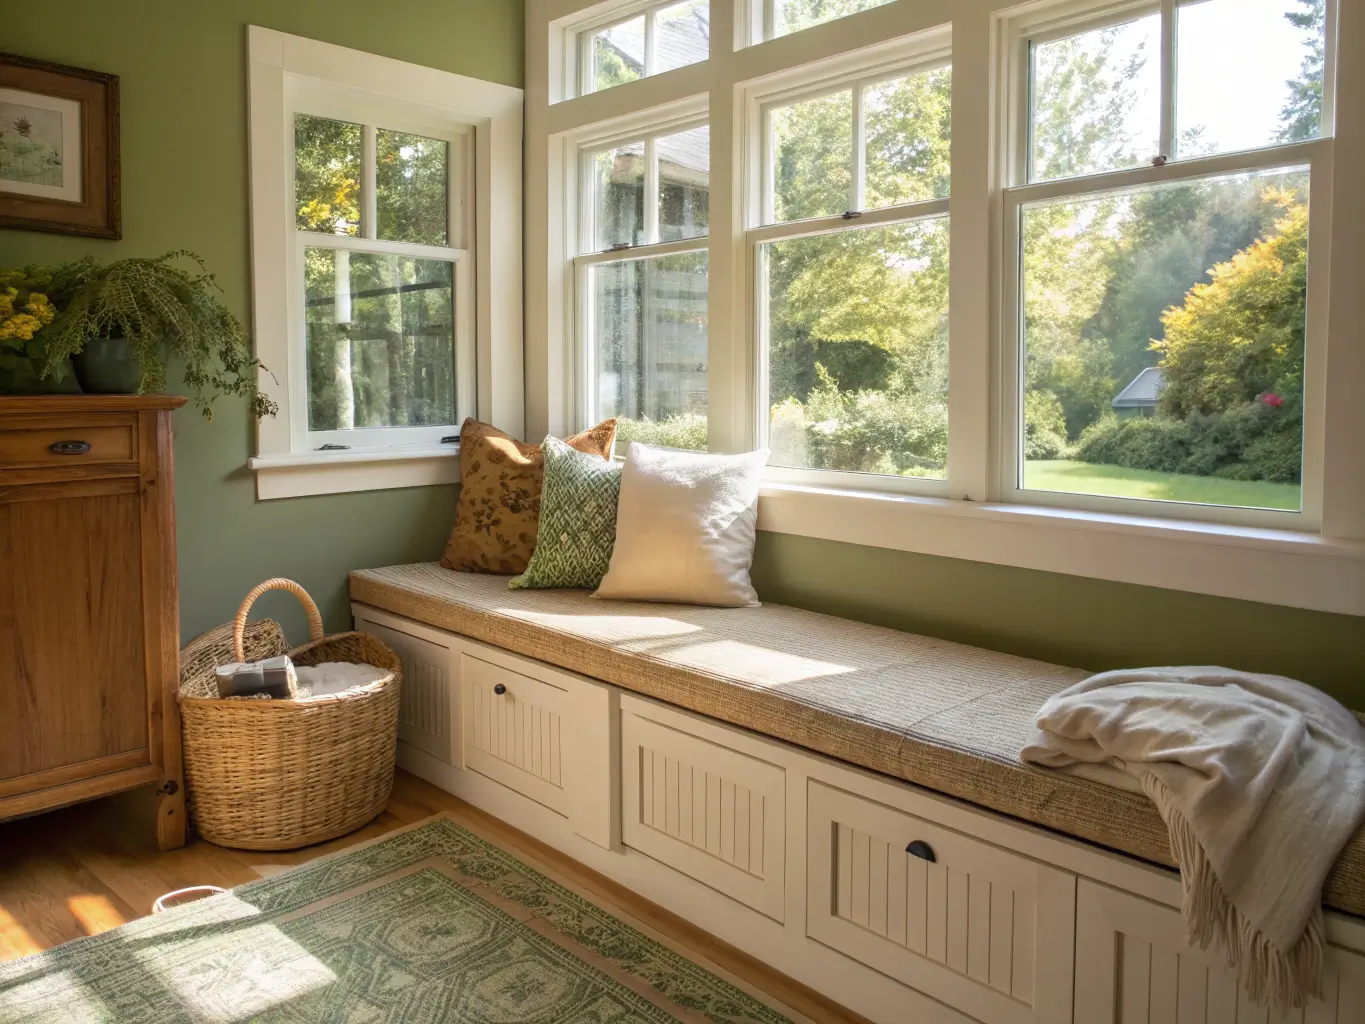
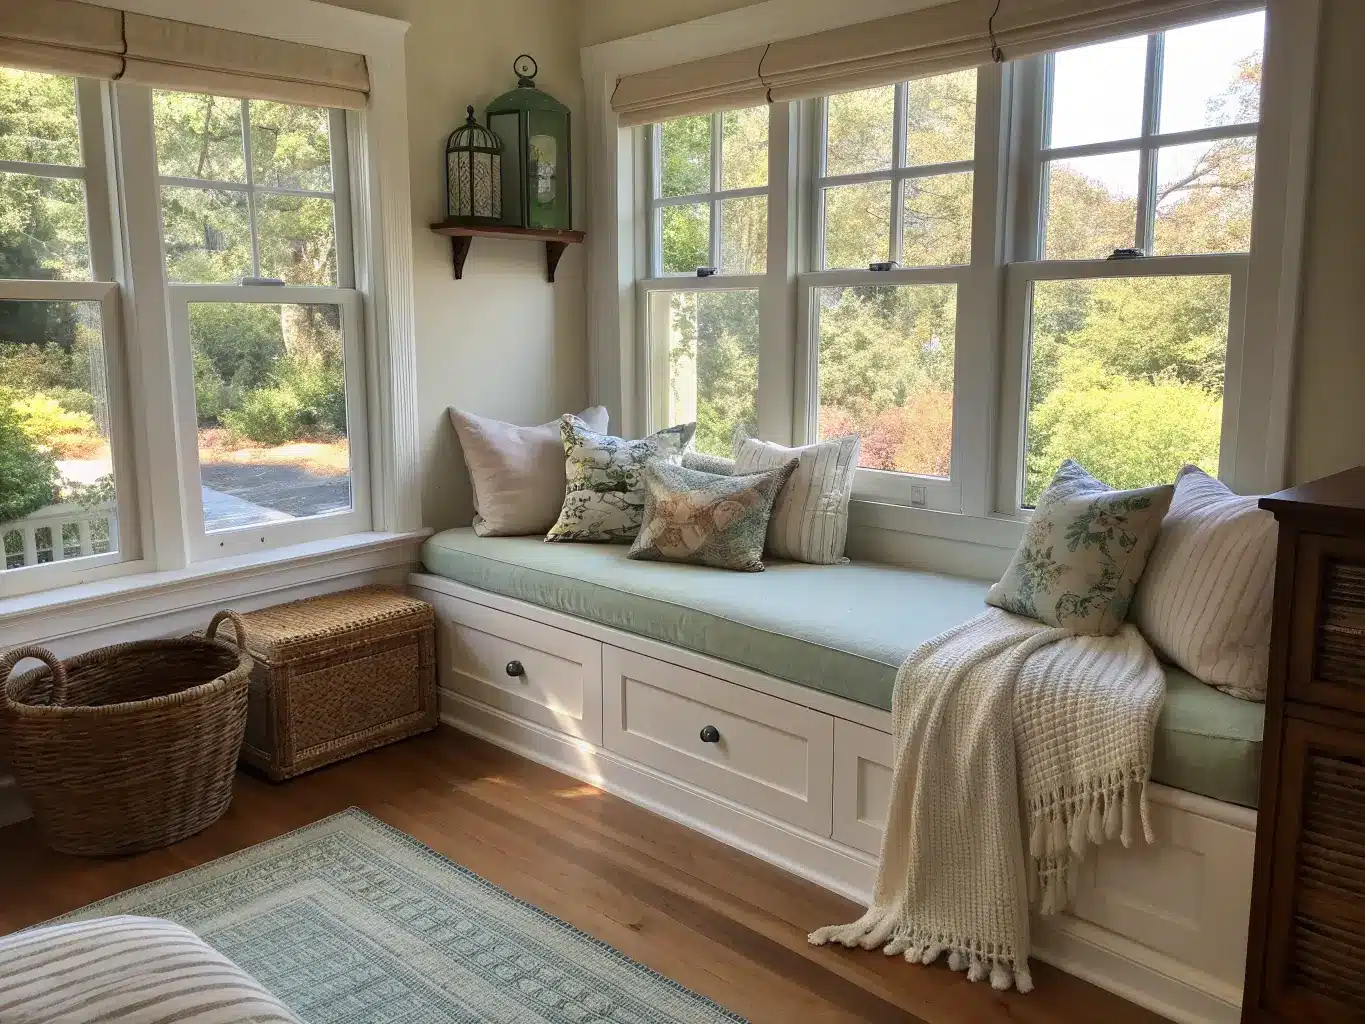
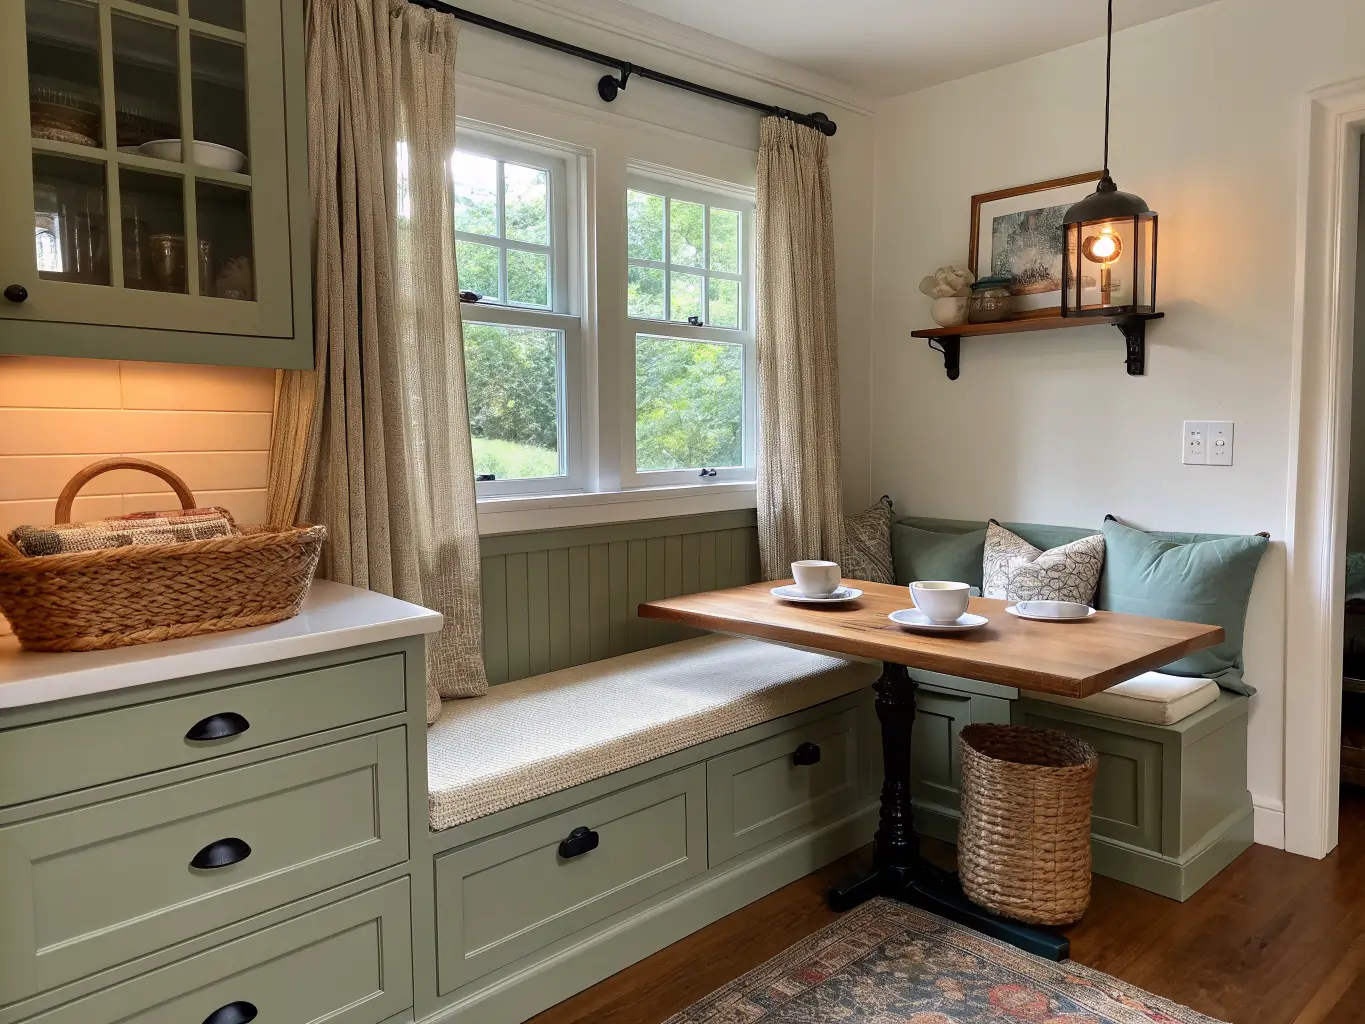
A window reading nook isn’t one design style — it’s a hybrid. Mine leans Scandinavian-meets-coastal: warm white trim, linen cushion, a woven basket for blankets. Yours might lean cottage with café curtains and a floral cushion, or modern farmhouse with a sage-painted bench and black hardware. The common thread isn’t the aesthetic, it’s the function: a dedicated spot near natural light, built for sitting still with a book for more than ten minutes.
This works for:
– Apartment dwellers who need one “retreat” corner without a spare room
– Kids who need a quiet spot that isn’t their bed
– Anyone with a bay window, dormer, or awkward wall nook that’s currently dead space
– Tea drinkers and journalers just as much as readers — this isn’t only a book thing
It works best in living rooms, bedrooms, bay windows, dormers, and even a wide kitchen window if you’ve got the depth for it.
Time, Cost, and Skill Level — Be Honest With Yourself Here
Time:
– Chair-and-textiles nook: 1–3 hours, start to finish
– DIY bench with cushion: 1–2 days including paint drying time
– Built-in with millwork and lighting: days to weeks, depending on whether you’re hiring it out
Cost, realistically:
– Budget refresh ($75–$250): secondhand chair or bench, a cushion, a throw, a lamp. This is where I started — $40 chair from a estate sale, $30 cushion insert, $20 thrifted lamp rewired by my dad.
– Midrange DIY ($250–$900): plywood bench you build yourself, foam cushion custom-cut, slipcover, side table, maybe open shelving.
– Built-in/custom ($1,000–$5,000+): framing, millwork, upholstery, integrated lighting. This is a carpenter-and-upholsterer project, not a weekend one.
Skill level:
Beginner if you’re arranging a chair. Intermediate if you’re building a bench with storage — I’d done basic woodworking before and it still took me a full Saturday plus touch-up time. Expert territory once you’re adding flanking bookshelves or wiring in a sconce.
Space needed:
You want at least 36 inches of window width to make this feel intentional rather than cramped. 48–60 inches is where you can actually stretch your legs out, which matters more than people think — my first nook was 34 inches wide and I spent two years sitting sideways with my knees against the wall before I admitted it wasn’t working.
The Pieces That Actually Make It Work
The seat
This is the one place I’d tell you not to cheap out on comfort, even if you cheap out on price. Options:
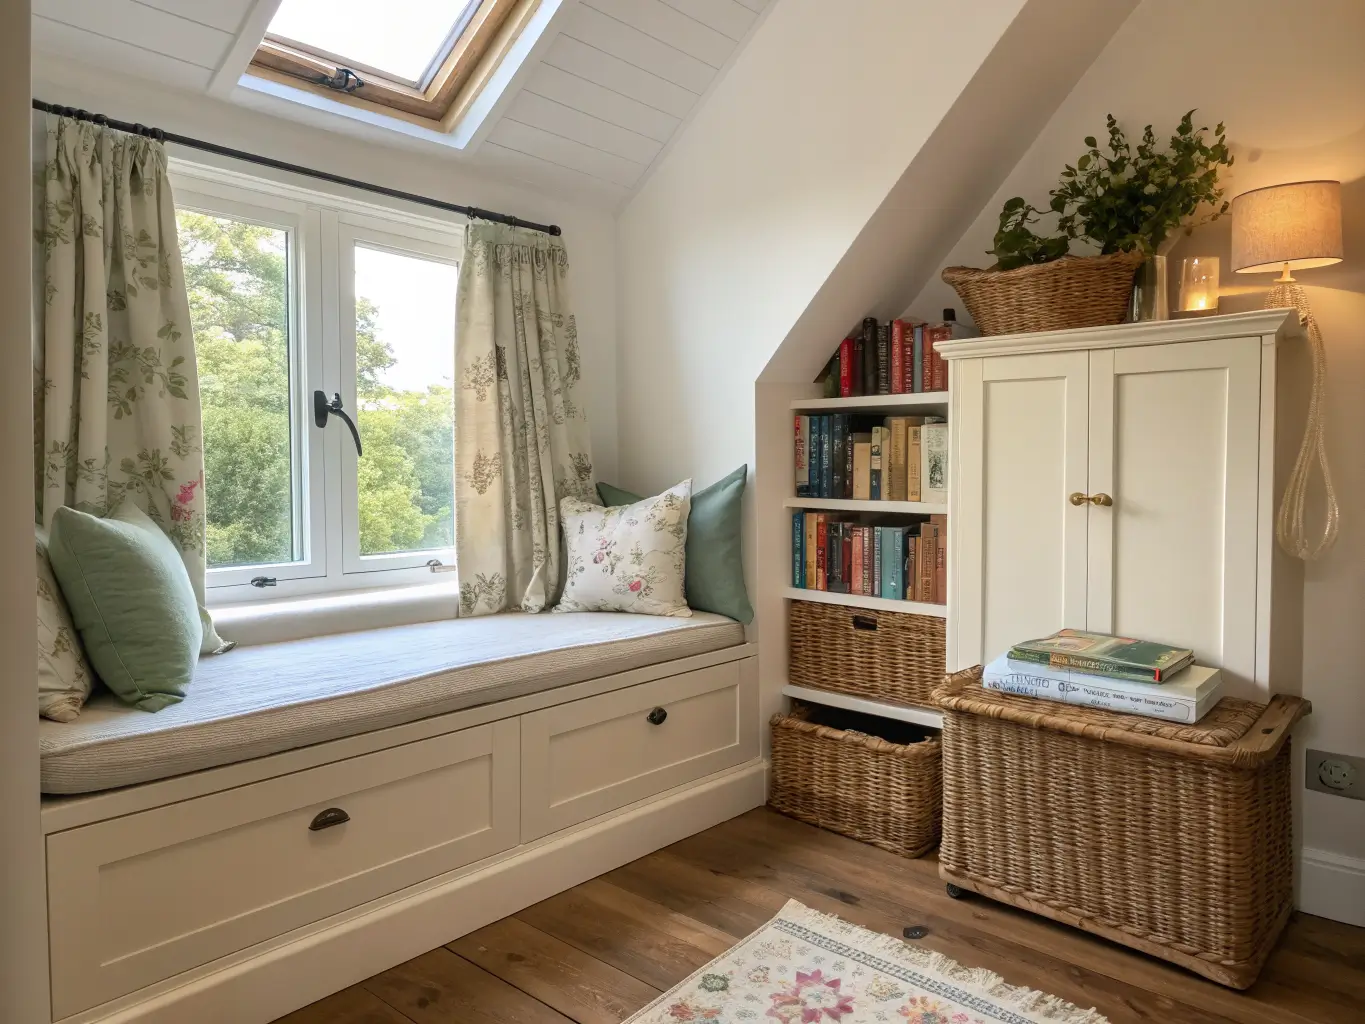
– Built-in bench — best if you’re staying long-term and want hidden storage underneath
– Storage bench (freestanding) — nearly the same payoff, zero carpentry required
– Deep armchair — works if your window nook is more “chair by the window” than true bench seat
– Daybed-style seat — best for wide bay windows where you want to actually lie down
Seat depth matters more than anything else on this list. A 24-inch deep seat lets you tuck your legs up and lean into the corner — actual lounging. An 18-inch seat keeps you upright, more like a dining bench. I built my first bench at 18 inches because I was trying to save plywood, and it reads more “waiting room” than “curl up with a book.” Rebuilt it at 24 and it’s a completely different piece of furniture.
The cushion
Go with a 3-inch minimum foam cushion, high density if you can find it, in a washable cover. Anything thinner and you’ll feel the bench through it within twenty minutes. I used a 2-inch cushion in my first version and ended up doubling it up within a month.
Layering on top
– One firm, structured pillow (12×18 lumbar works well against a window frame)
– One softer, squishier pillow for actual lounging
– One throw blanket, draped not folded — folded blankets look staged
Two to four pillows total. More than that and you’re just clearing pillows off the seat every time you want to sit down, which defeats the purpose.
Light — the part everyone forgets
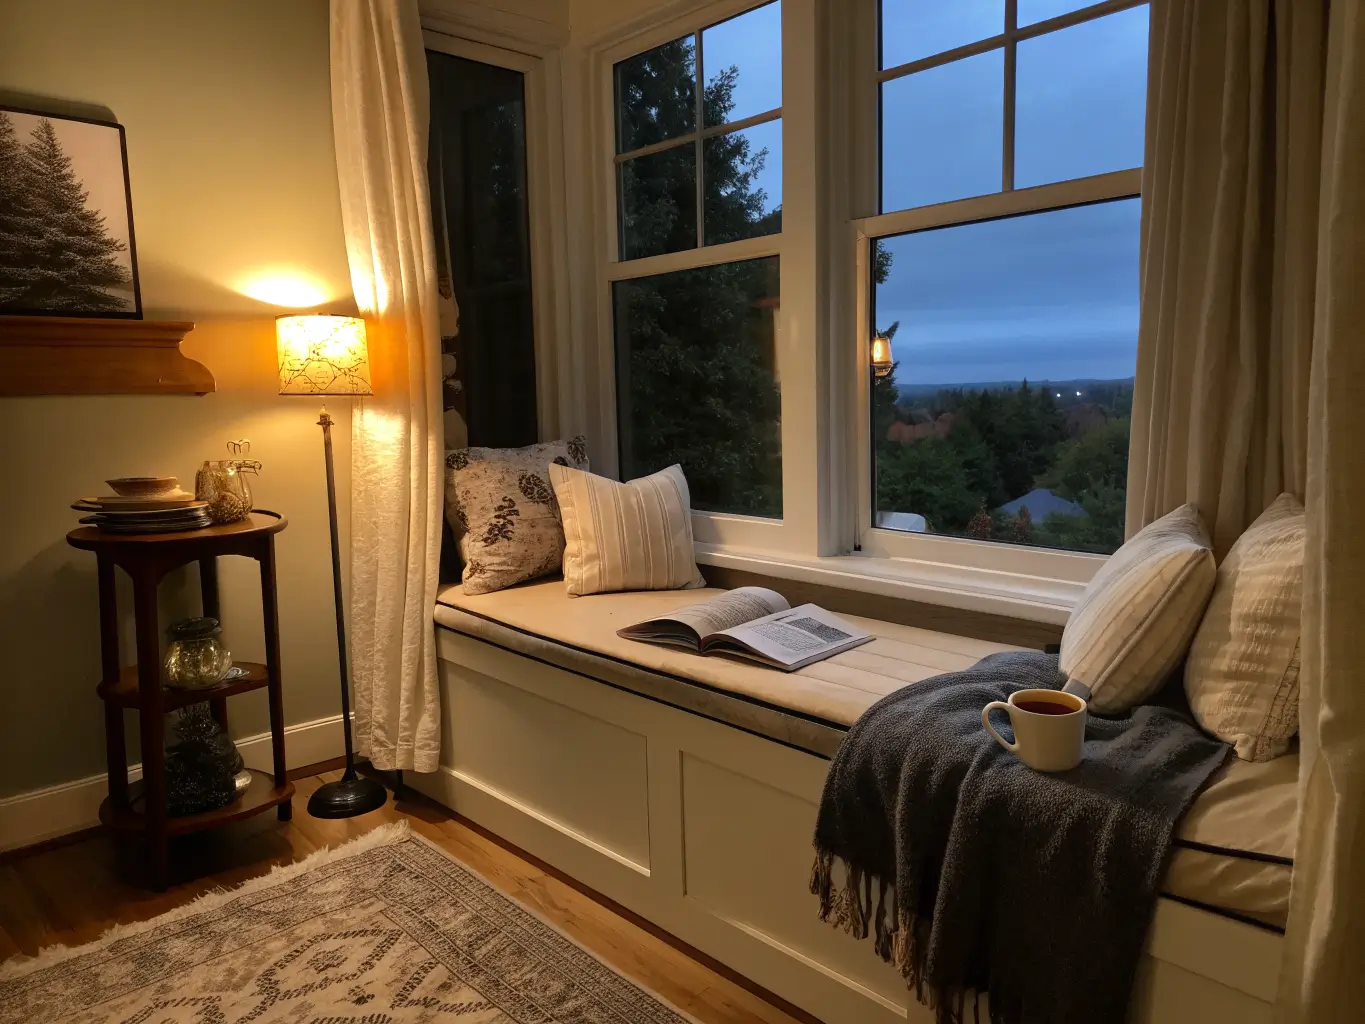
Daylight is free but it disappears at 5pm in winter. You need a dedicated light source:
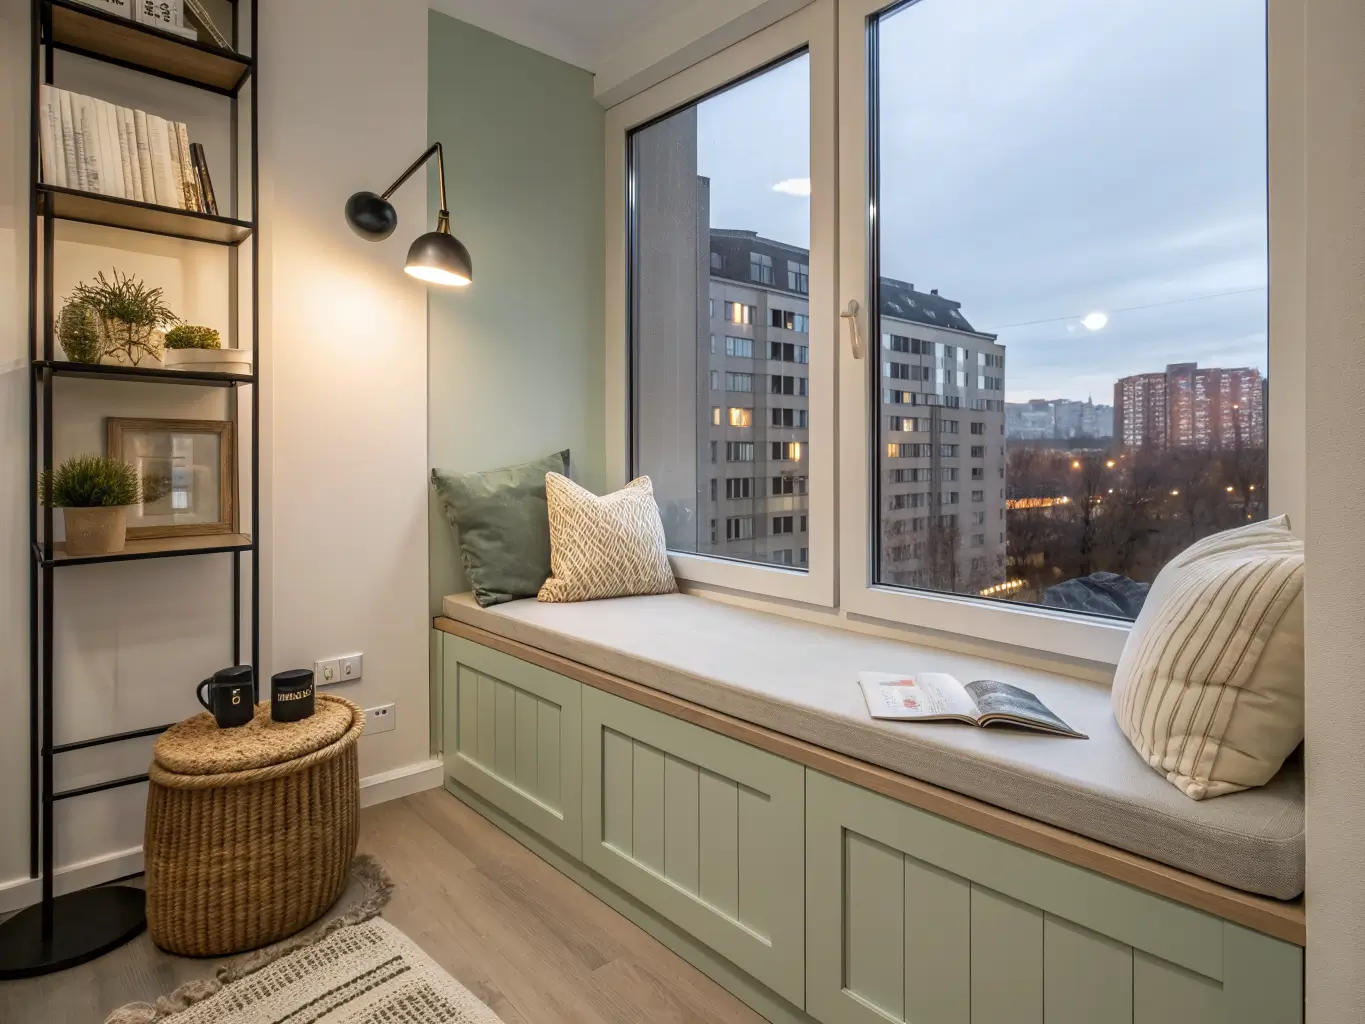
– A wall sconce mounted at shoulder height when seated (best if you’re building in)
– A slim floor lamp tucked into the corner
– A rechargeable clip-on light if you’re renting and can’t drill anything
Add lighting last, after the seat is finished, and test it while actually sitting there. I hung a pendant that looked great from across the room and cast a shadow directly over my book the second I sat down. Sconces at eye level or slightly above solve this; overhead fixtures almost never do.
Side surface
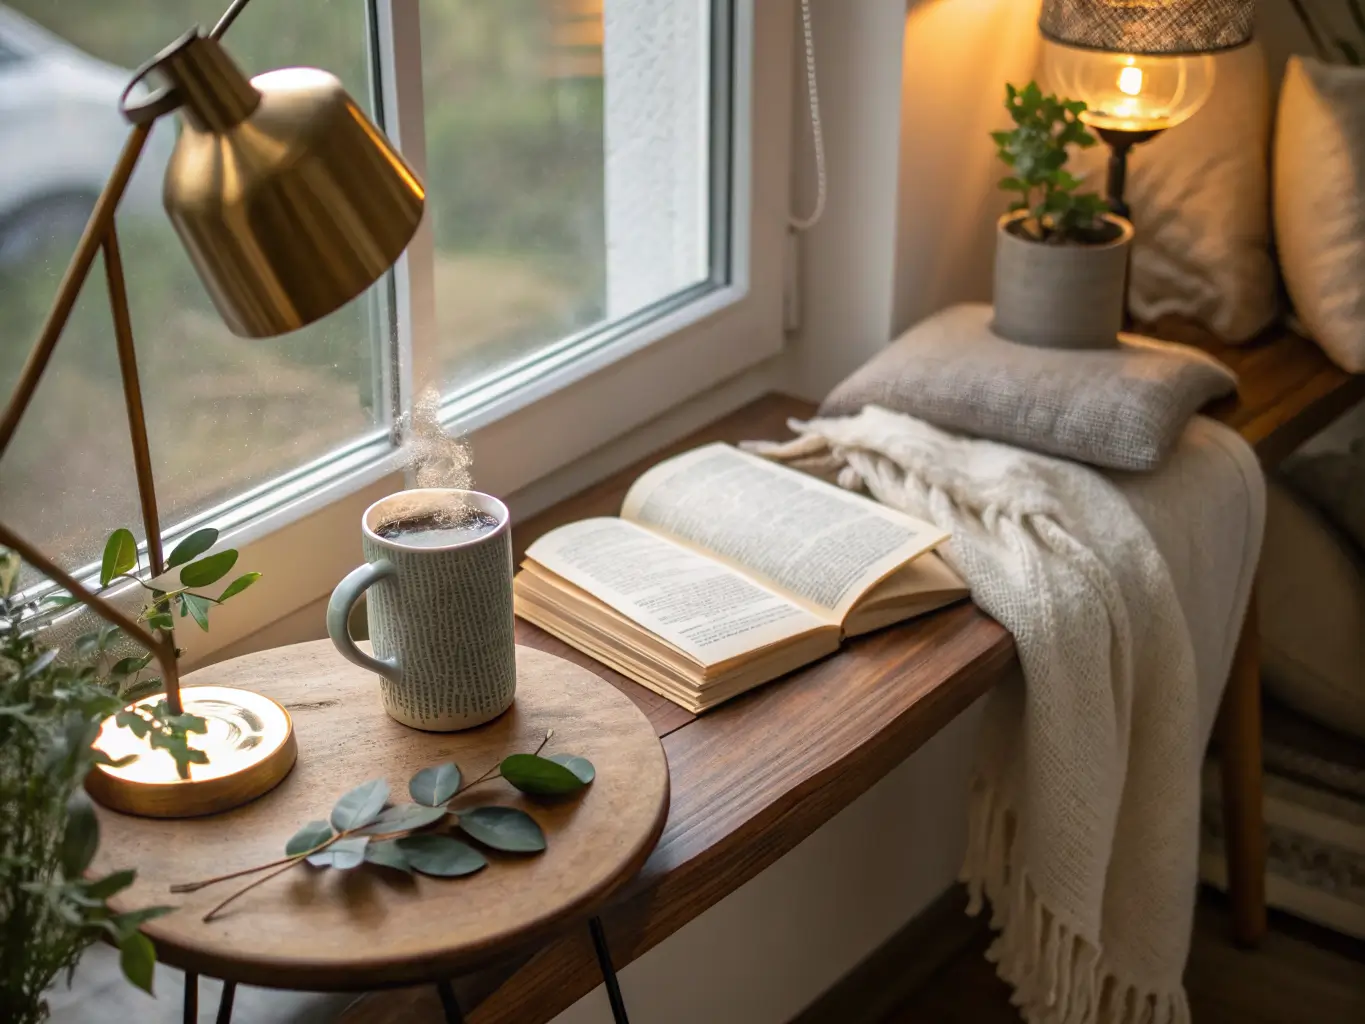
A small side table, a built-in ledge, or even a floating shelf at arm height. You need somewhere for tea, glasses, your phone. Skip this and everything ends up on the cushion next to you, which is how you knock a mug over onto a $200 cushion. Ask me how I know.
Window treatment
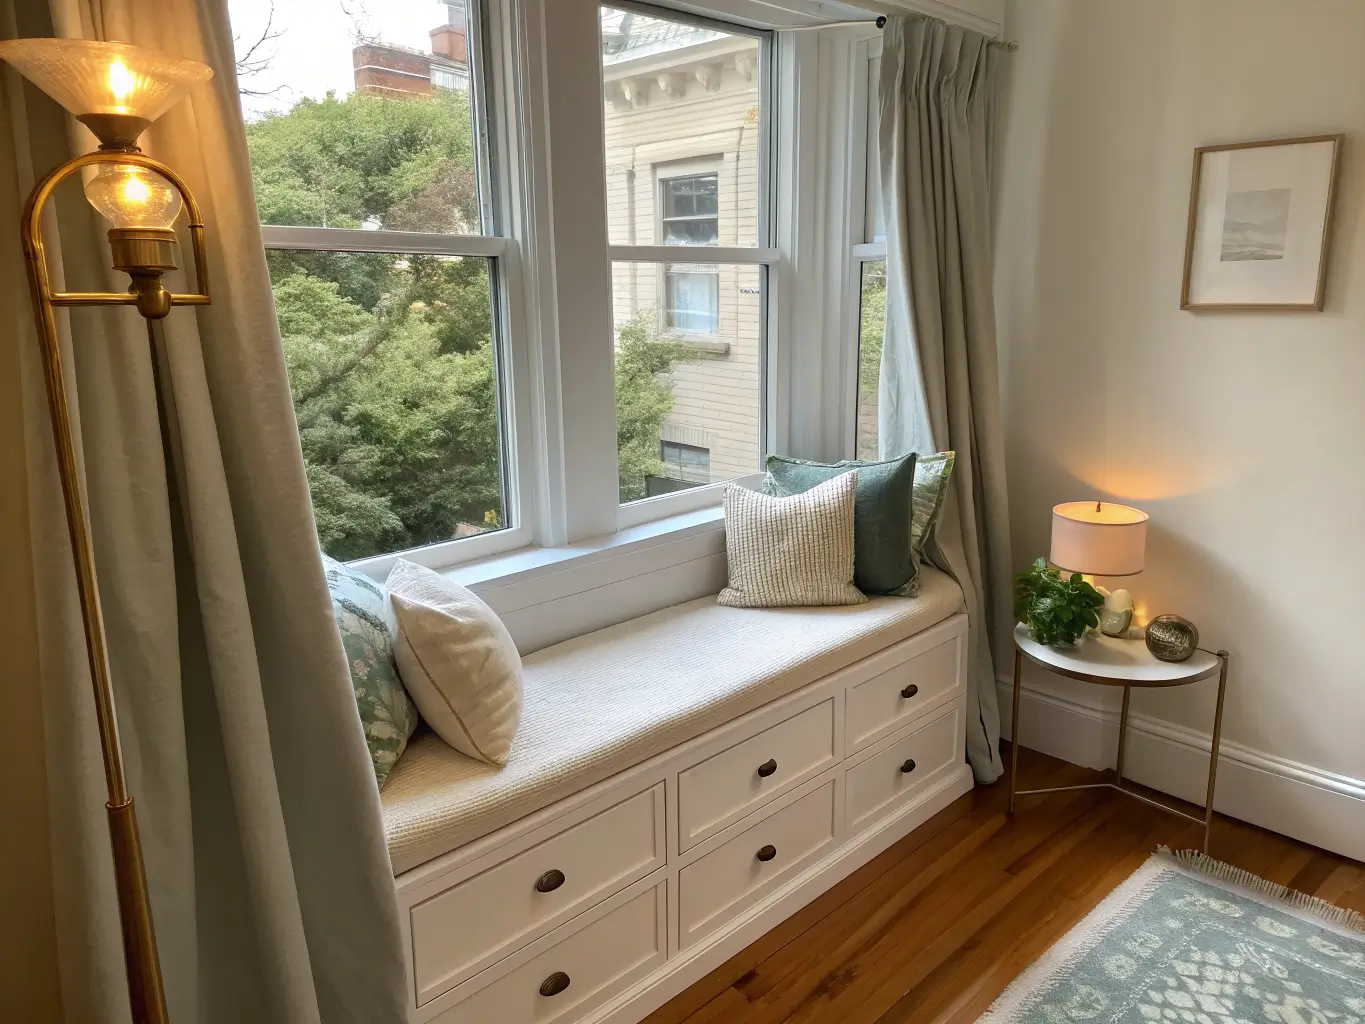
– Sheer or linen curtains if you want light without losing all privacy
– Café curtains (cover just the bottom half) if the nook is close to street level
– Woven wood shades for texture and partial light control
– Cellular/thermal shades if the window is older and drafty — this matters more than people expect in January
Storage
Drawers under a built-in bench, baskets tucked beside a freestanding one, or a narrow bookcase flanking the window. This is where a nook either stays tidy or turns into a pile within a month. Build in storage even if you think you won’t need it.
Putting It Together, Step by Step
Before you buy anything, measure:
– Window width
– Sill height off the floor
– Floor-to-sill clearance if you’re building a bench that needs to sit under the window
Decide early: is this a seat-first design (you’re building or buying a real bench/window seat) or a light-first design (you already have a chair, you’re just relocating it to the best light in the room)? That decision changes your whole shopping list.
Check your light direction before committing to the spot:
– South-facing windows give the most consistent light all day
– East-facing is ideal for morning reading, dimmer by late afternoon
– West-facing means gorgeous late light but real glare risk — I learned this the hard way with a west-facing nook that was unusable between 4–6pm without blackout-lined curtains
Build the layers in this order:
1. Seat + cushion
2. One blanket, two to four pillows, side table
3. Lighting — test it seated, at night, before finalizing placement
4. Shelving or baskets if space allows
5. One or two personal objects — a framed photo, a small plant, a candle. This last step is what makes it feel lived-in instead of styled for a photo. My nook didn’t feel like “mine” until I put my actual coffee mug collection on the side shelf instead of a decorative bowl I never used.
Mistakes I’ve Made (So You Don’t Have To)
– Choosing looks over comfort. That vintage cane chair was beautiful and had zero cushioning. I lasted four reading sessions before swapping it out.
– Ignoring sun direction. Glare off a laptop or the page of a book will make you abandon a nook fast. Test the spot at the time of day you’ll actually use it, not just when you’re shopping.
– Overfilling the space. Tall side tables and too many throw pillows block the one thing that makes a window nook a window nook — the window. Keep everything below the sill line where you can.
– No dedicated light. A nook that only works in daylight hours is a nook you’ll use half as often as you think.
– Skipping insulation near old windows. If your window is original to a pre-1980s house, you will feel the draft in January. A cellular shade or a heavier curtain isn’t optional in cold climates — it’s the difference between using the nook in winter and abandoning it until spring.
Keeping It From Feeling Thrown Together
Stick to a tight palette. Warm white, cream, sage, sand, and one wood tone. That’s it. My nook is cream cushion, oak-toned bench, sage on the wall behind — three colors, done. The second I tried adding a mustard pillow “for interest,” it looked like a garage sale display.
Repeat one or two materials. If you’ve got linen on the cushion, echo it in the curtains. If there’s brass on the lamp, keep it on any hardware nearby. Mixing five different finishes is what makes a corner feel patched together instead of planned.
Limit surface decor to a lamp, a small book stack, and one decorative object. Resist the urge to style it like a magazine spread — it needs to look like someone actually sits there.
Updating It Without Starting Over
– Winter: swap linen for wool, add a heavier knit throw
– Summer: cotton and linen only, lighter palette, maybe swap the wool throw for a lighter cotton one folded at the foot
– Budget refresh: thrift the seat, use washable pillow covers you can rotate, repurpose an old dresser as a bench base instead of buying new
Cross-style combos that work:
– Boho + coastal: woven wood shades, cream textiles, pale wood tones, a basket for blankets
– Scandi + modern: clean-lined bench, muted sage paint, a black sconce, one or two pillows max
– Cottage + traditional: café curtains, a floral cushion, built-in shelving on either side
The nook that gets used isn’t the one that photographs best. It’s the one where the seat is deep enough, the light doesn’t glare, and there’s somewhere to put your mug down. Get those three things right and the styling almost takes care of itself.
For another angle on this, my reading nook in bedroom guide covers the same space from a different starting point.





