
What This Style Really Is
Craft room ideas online tend to fall into two useless categories: Pinterest fantasy rooms with a $4,000 custom cabinet wall, or vague “add some baskets!” listicles that don’t tell you anything. I’ve built three craft rooms in three different houses — a closet conversion, a spare bedroom, and now a converted garage corner — and the thing nobody tells you upfront is that the room fails or succeeds based on decisions you make before you buy a single cute bin.
Let me walk you through what actually works.
A good craft room isn’t a decor style, it’s a
This works whether you’ve got a full spare bedroom or you’re carving 6 square feet out of a bedroom corner. I did the closet version first — a standard 3-foot-deep coat closet with the doors removed, a $40 pegboard from the hardware store, and a fold-down shelf for a table. It was ugly for the first month because I hadn’t figured out the storage yet. More on that below.
– A corner setup: a few hours, roughly
– A full room: plan on a weekend for the physical setup, longer if you’re actually sorting years of accumulated ribbon and half-used paint. Budget
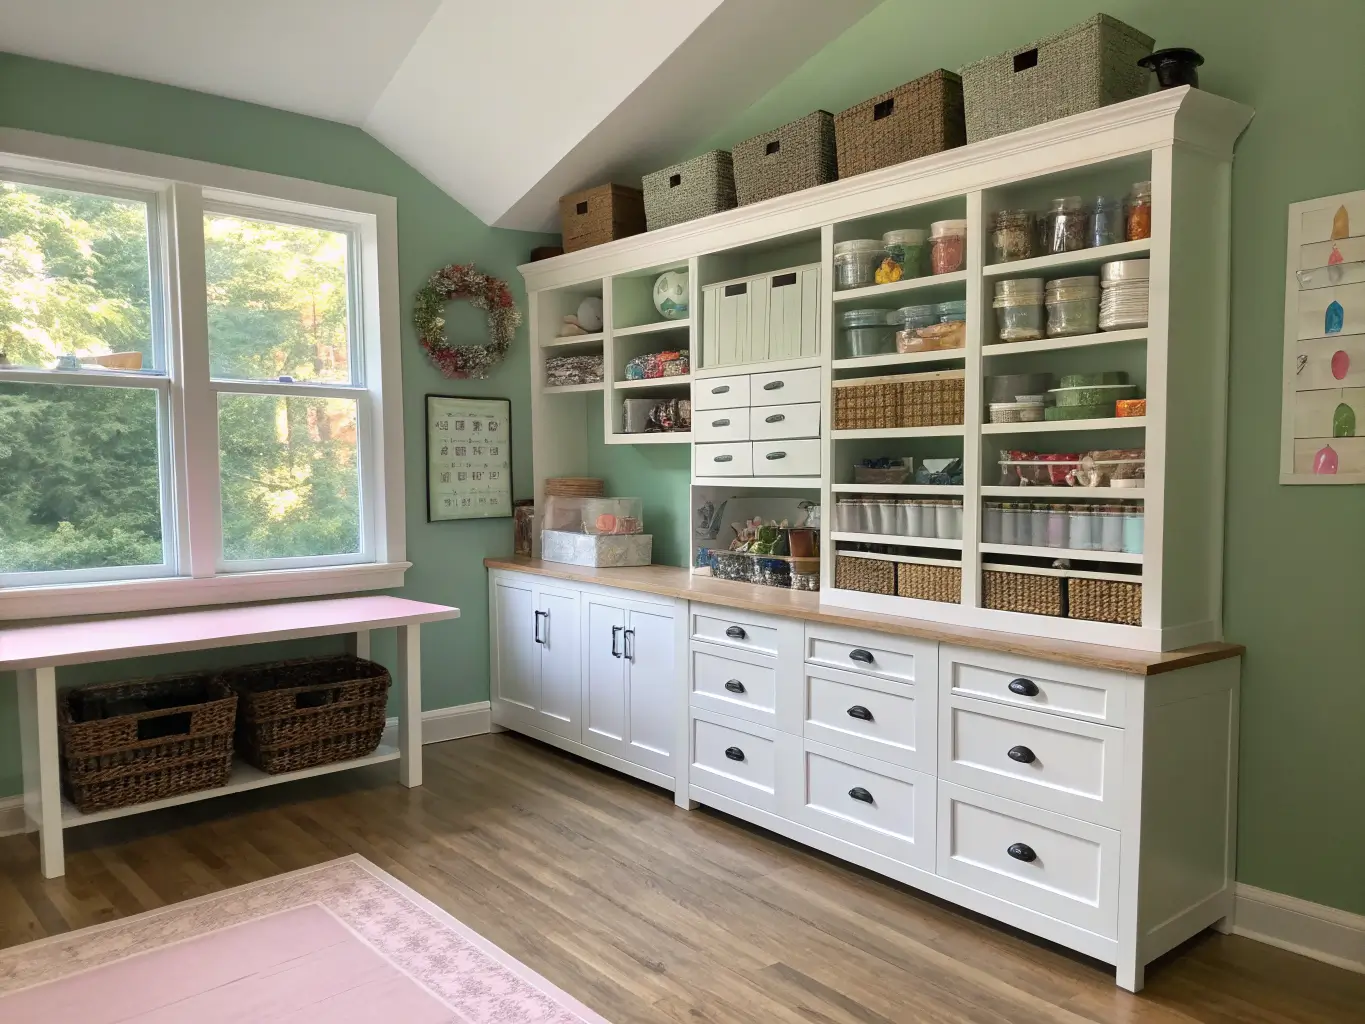
The Pieces That Actually Matter
Skip the styling until you have these sorted. In order of importance:
This is the single most common mistake I see and the one I made myself the first time — I used a 30-inch-wide desk and outgrew it in about three weeks because fabric doesn’t fold itself down to desk size. Aim for
Pegboard is the most-repeated recommendation in craft room design right now, and it earns it. Mount it so your most-grabbed tools — scissors, rulers, cutting tools — sit
This is where all-open shelving setups go wrong and start looking like a craft store back room instead of a workspace. Open shelving for what you touch weekly — paper, current project bins, frequently used tools. Closed cabinets or opaque bins for overflow, seasonal supplies, and anything you’d rather not see every day. I learned this the hard way in the spare-bedroom version: I put everything on open shelves because it photographed well, and within two months it looked like a yarn store had exploded.
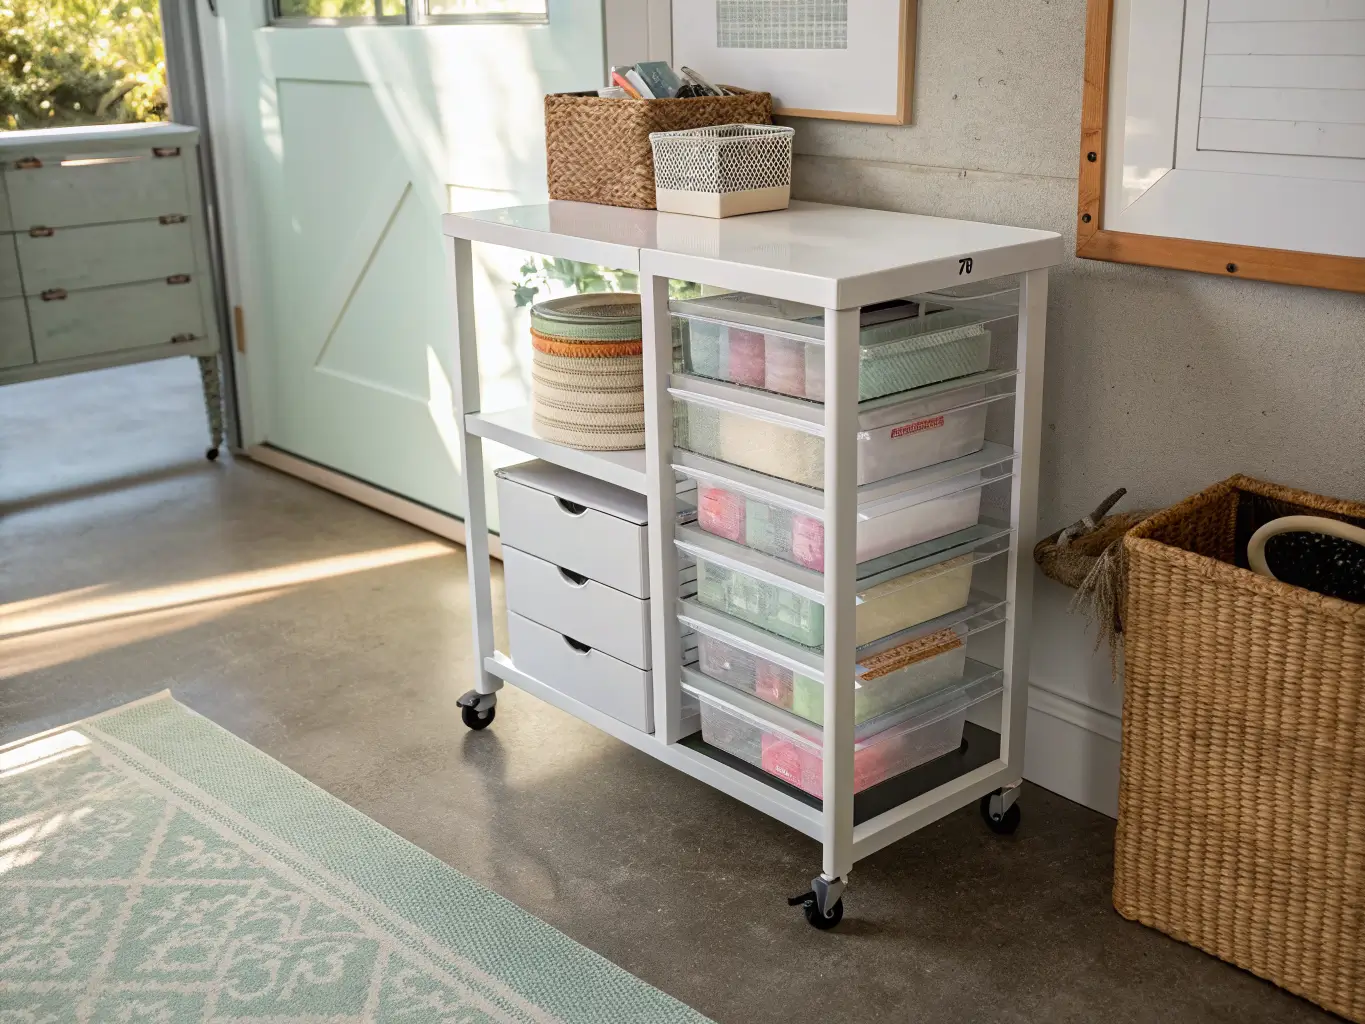
The single best $60–$100 you can spend if your space is tight or multi-use. A 3-drawer rolling cart (the classic clear-plastic Raskog-style ones run about $40–$70) tucks under a table and rolls out when you need it — genuinely the most useful thing in my current setup.
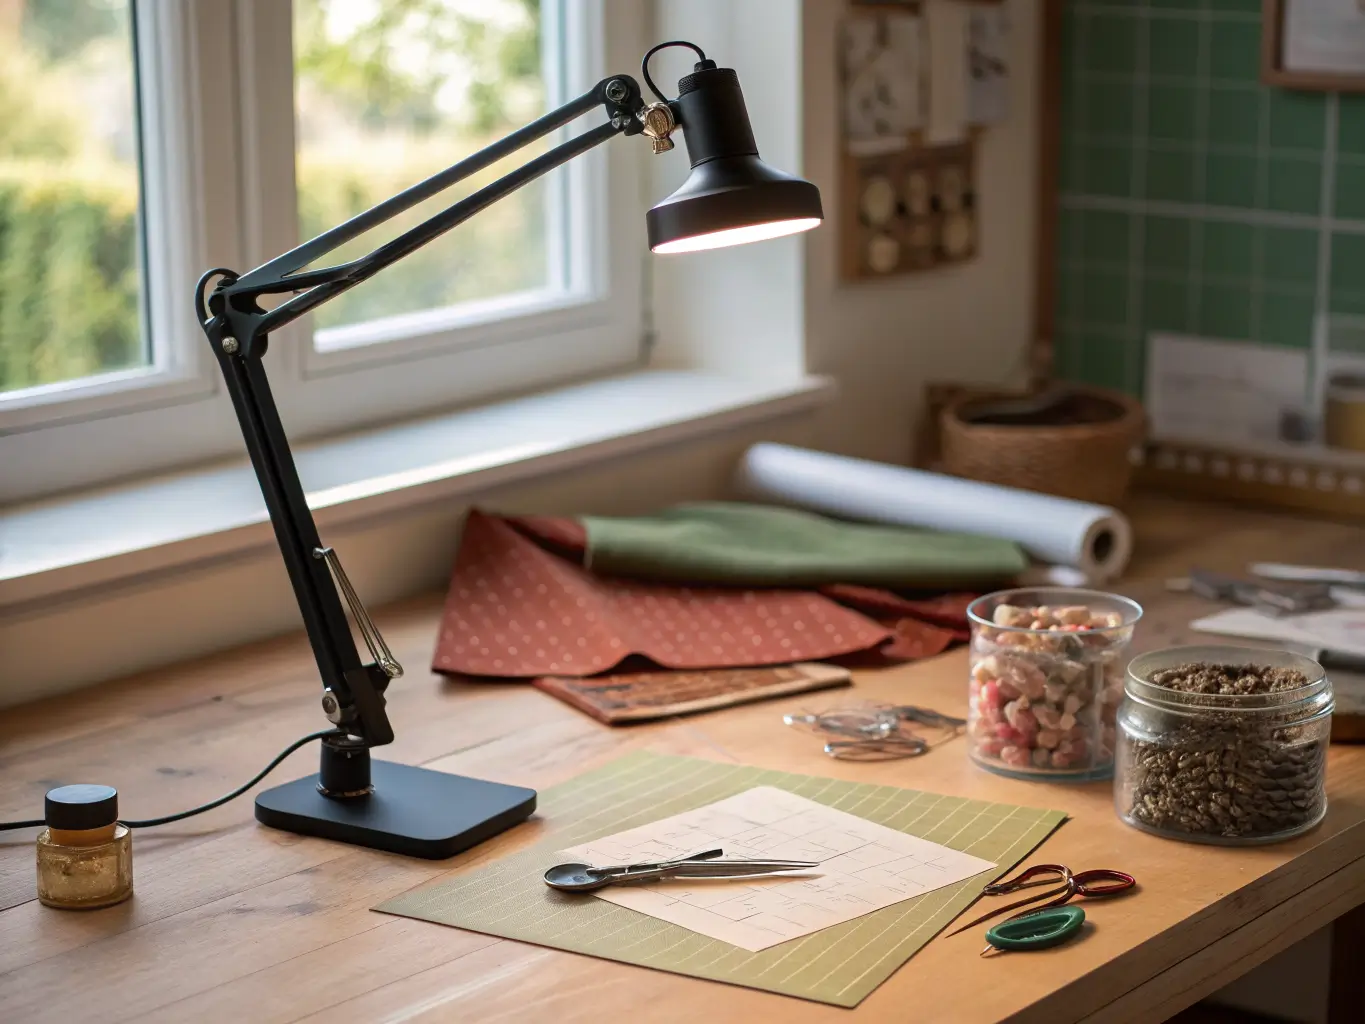
Natural light near a window matters for color accuracy, but don’t rely on it alone. Add a
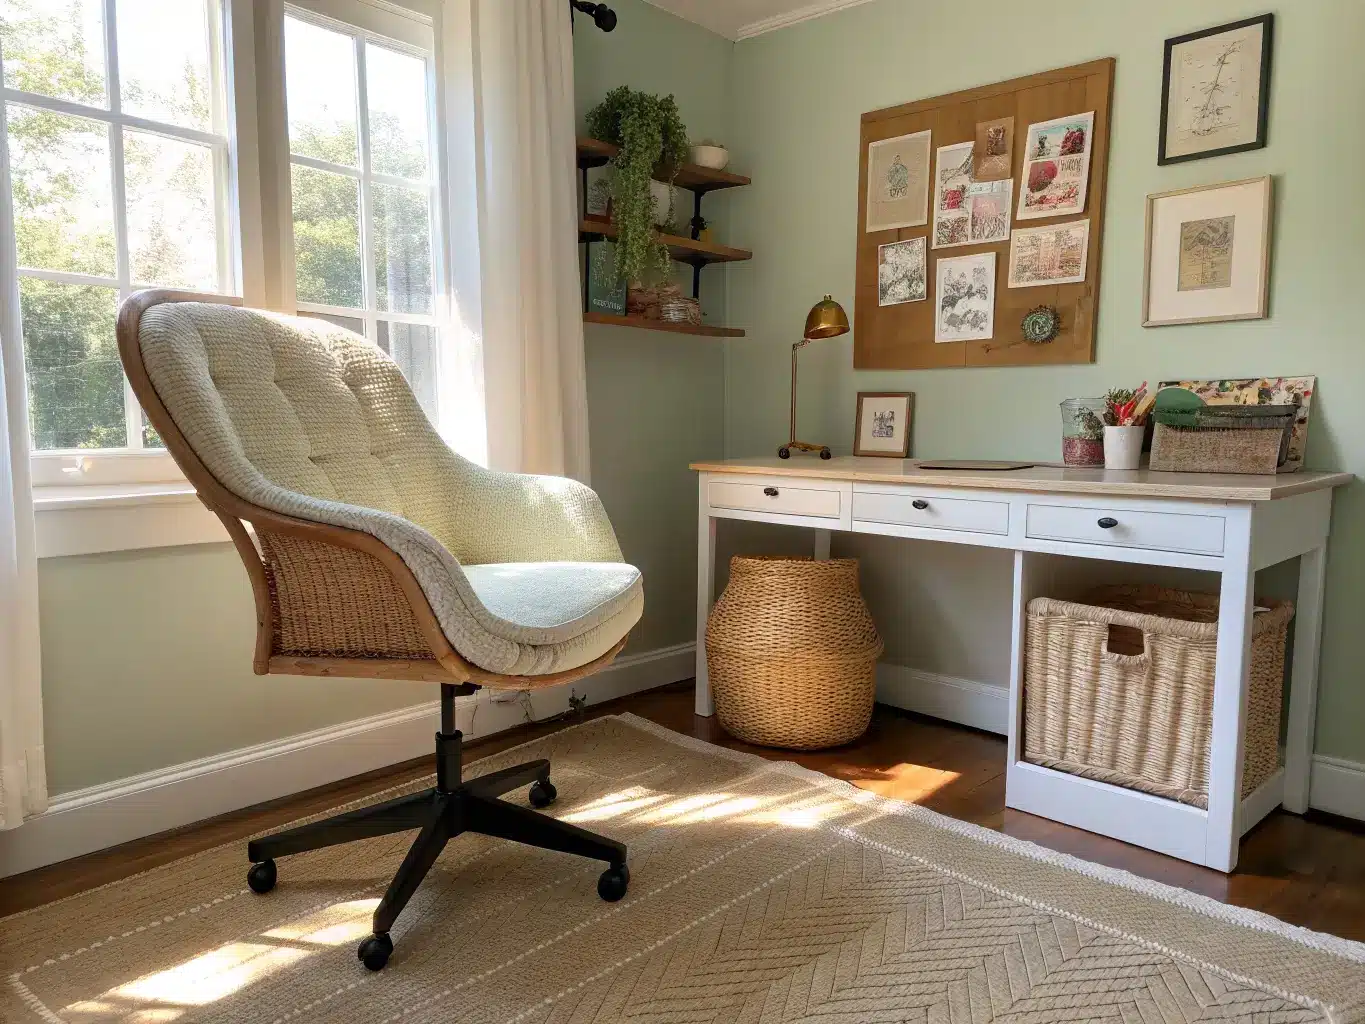
An adjustable swivel chair or stool. Crafting sessions run long; a $30 folding chair will end the session before you’re ready.
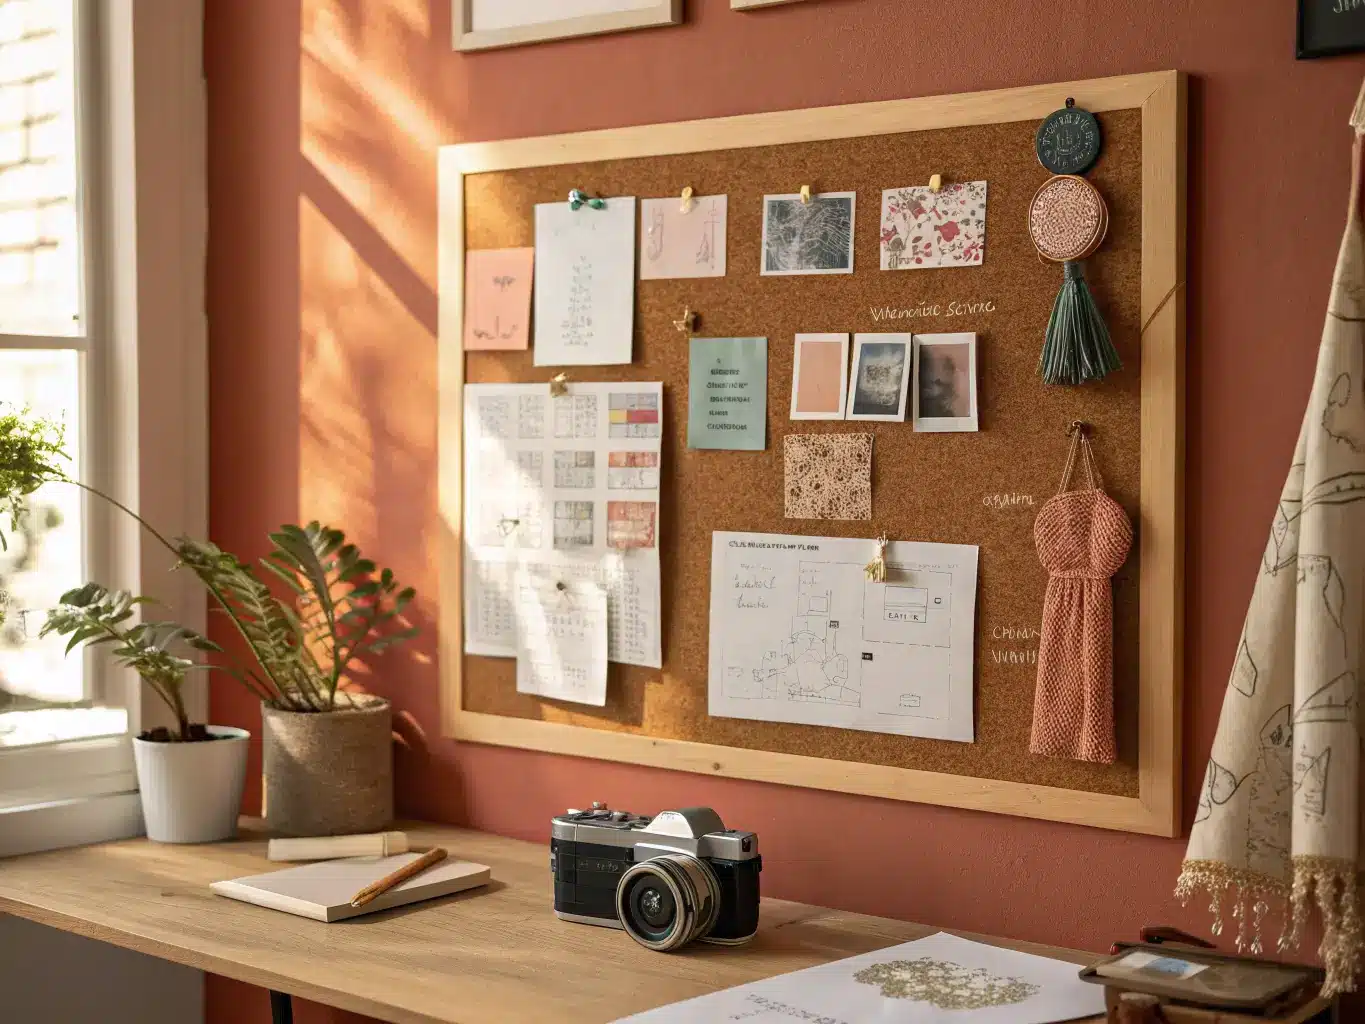
Cork board, chalkboard, or a small gallery wall for swatches, sketches, and finished pieces. Keep it to one wall or one board — more than that and it competes with your actual storage.
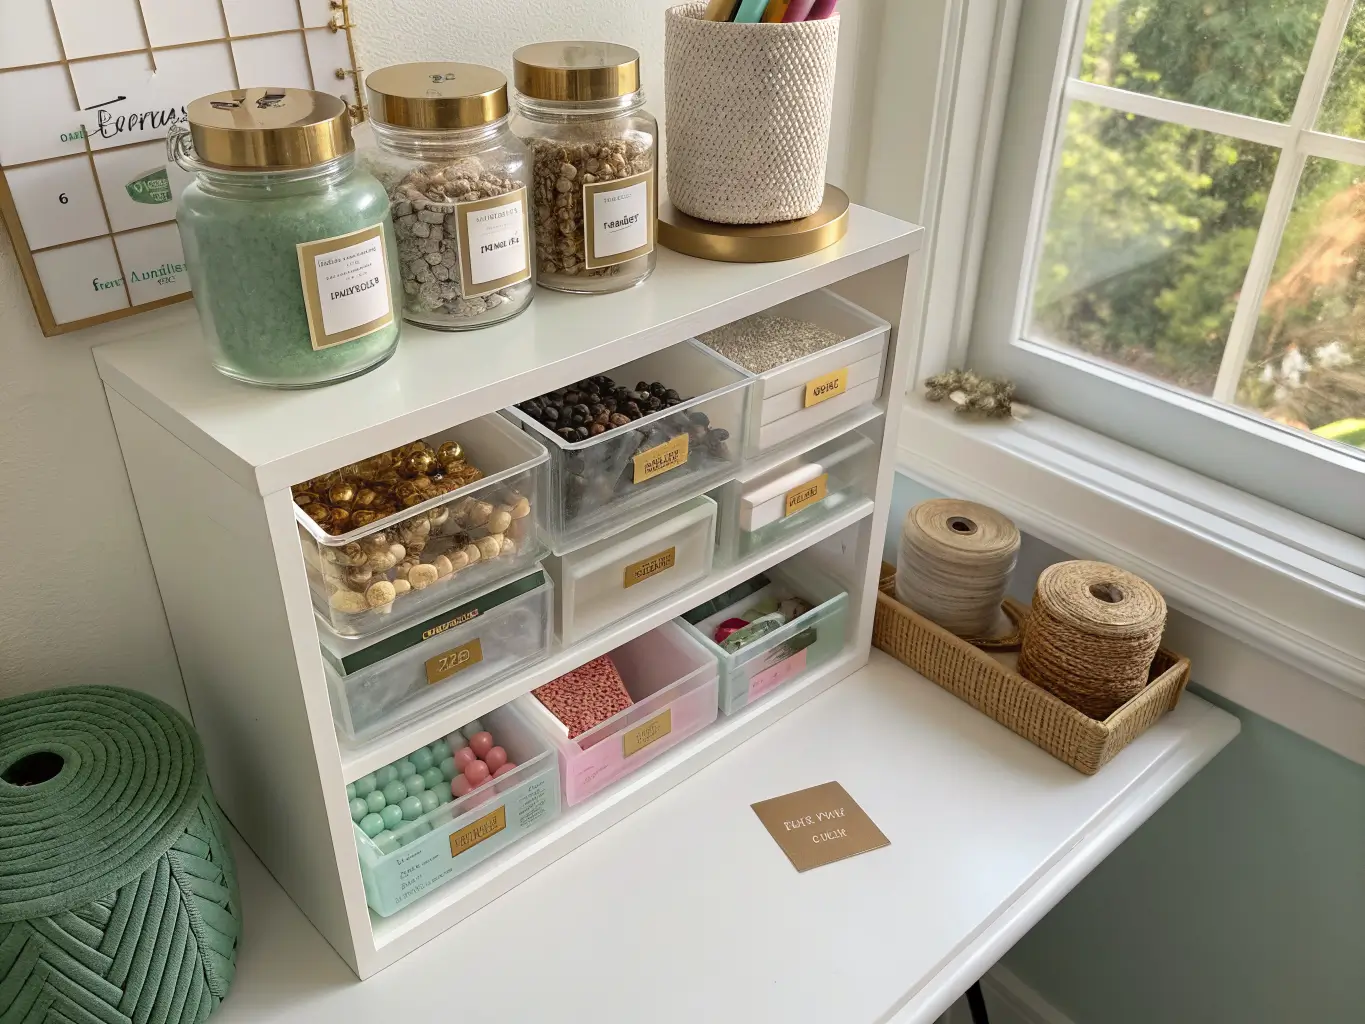
Glass jars, tins, drawer dividers, labeled acrylic bins for buttons, beads, adhesives, markers. This is where the room either looks curated or looks like a junk drawer exploded — labels do more visual work here than almost anything else you’ll buy.
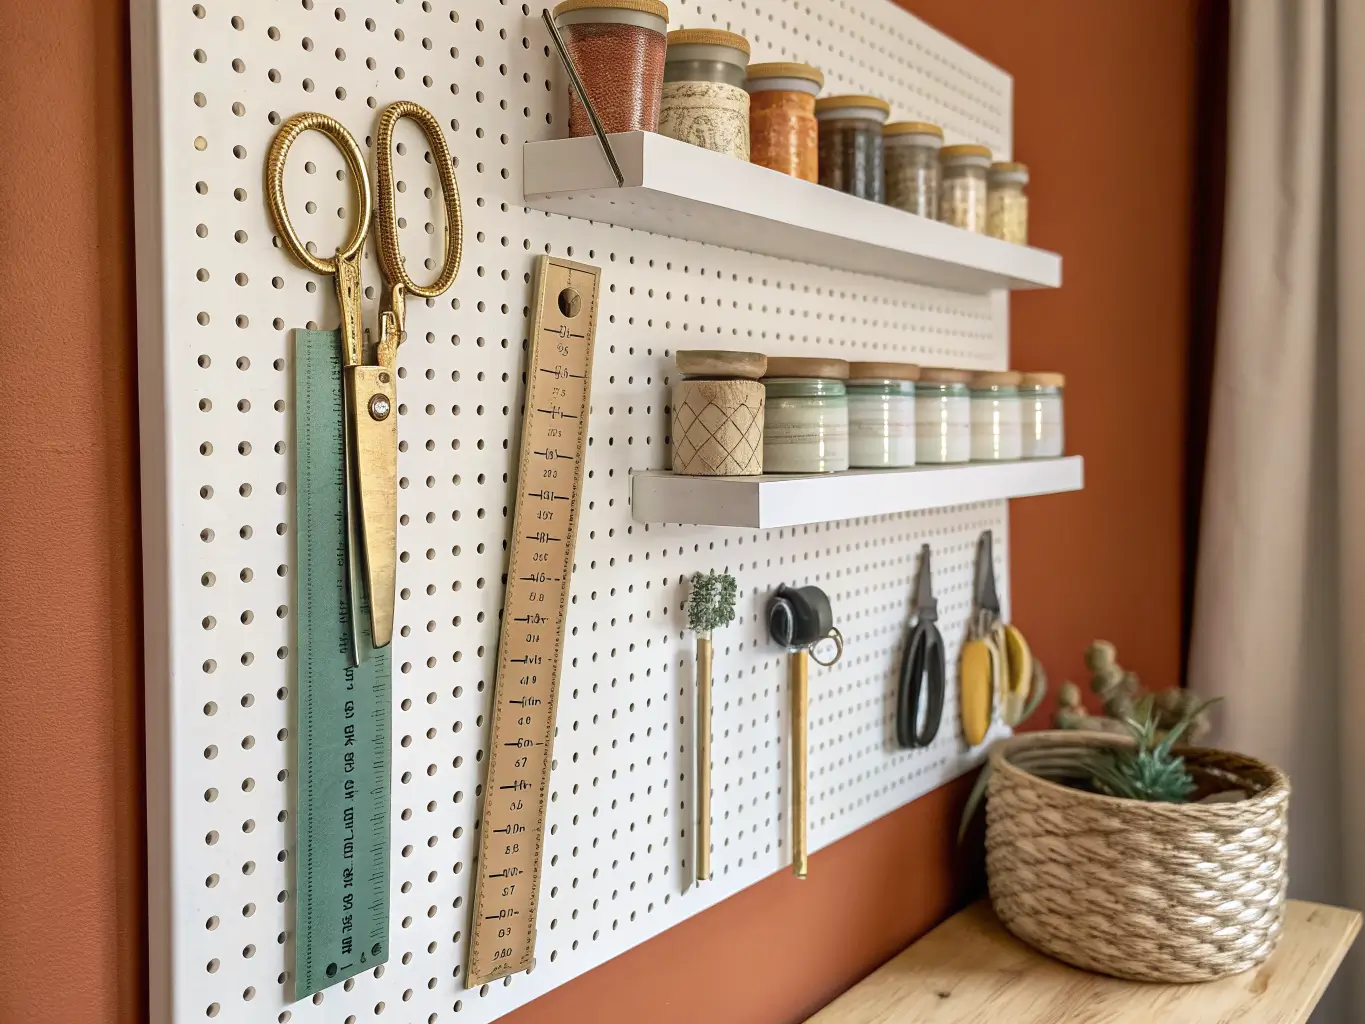
Optional Layer: Making It Look Like a Room, Not a Supply Closet
Once the function is locked in, add:
–
–
–
–
–
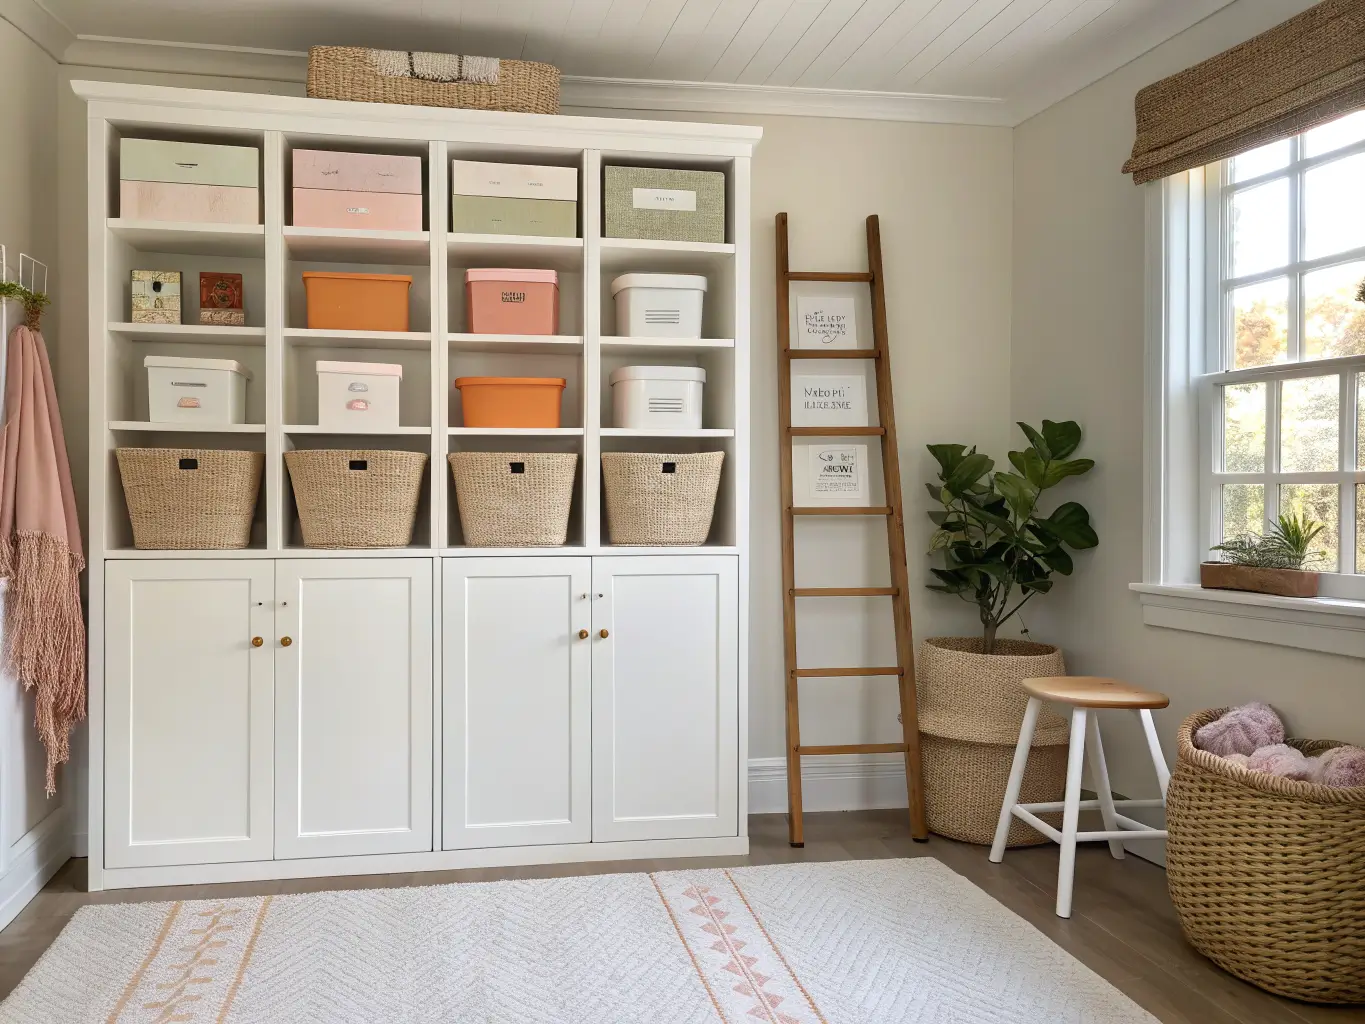
How to Actually Put the Room Together
Step 1: Edit before you organize.
Don’t buy storage until you’ve gone through your supplies and admitted what you’re never going to use. I had four unopened bags of felt from a project I abandoned in 2019. Get rid of that stuff first — buying bins to organize things you don’t need is just expensive clutter.
Step 2: Measure, then place the workstation first.
Everything else in the room is planned around the table, not the other way around. Position it near the window if you can — natural light matters more for accurate color work than any lamp you’ll buy.
Step 3: Build zones if you do more than one craft.
A cutting zone, a sewing zone, a paint zone, a Cricut/tech zone, and — critically — an
Step 4: Add vertical storage next.
Pegboard, shelves, hooks, wall-mounted bins. Use the height of the room — a common failure in small craft rooms is stopping storage at eye level and leaving 3 feet of wall above completely empty.
Step 5: Sort supplies by category, not by “stuff.”
Paper by color, fabric by type or weight, yarn in labeled bins, tools in jars, notions in drawer dividers. This single habit is the difference between a room that looks styled and one that looks like storage.
Step 6: Add one decorative layer, and stop.
Rug, art, a few plants, framed finished projects. One layer. Adding more starts competing with the actual workspace.
Mistakes I’ve Made So You Don’t Have To
–
–
–
–
–
–
Keeping It From Falling Apart Again
The room looks great on day one. The real test is month three. A few habits keep it that way:
–
–
–
And if you don’t have a spare room: don’t wait for one. My first craft space was a closet with the doors off. It worked. A corner, a garage wall, an under-stairs nook — all of it works once the storage logic is right. The room doesn’t need to be big. It needs to be organized around how you actually craft, not how it photographs.
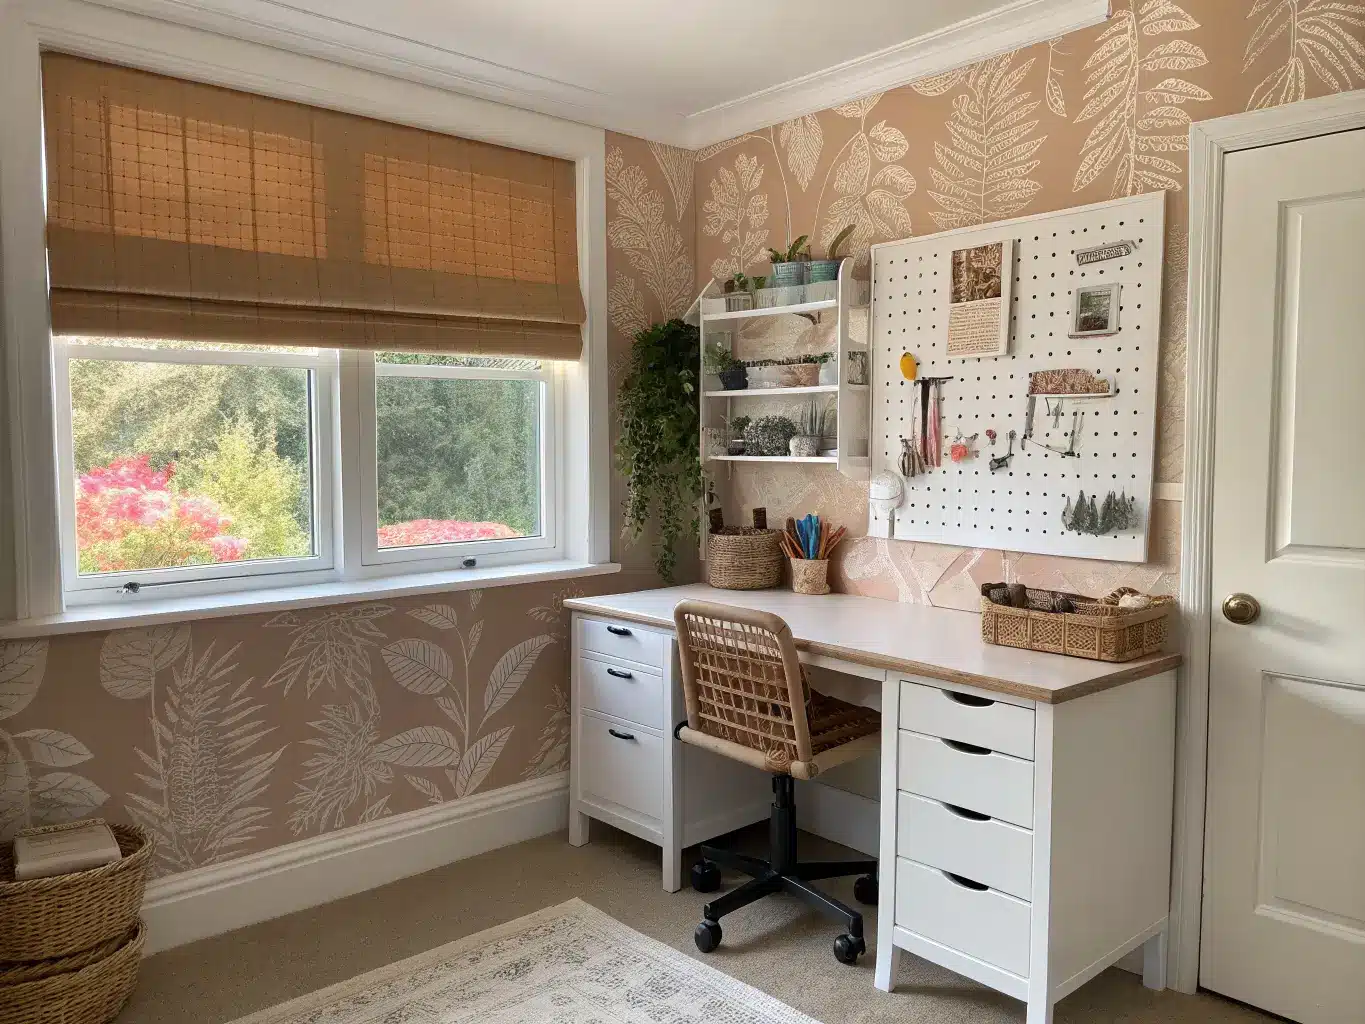
For another angle on this, my craft room decor guide covers the same space from a different starting point.





