
If you’ve ever tried to cram a desk into a leftover corner and ended up with a workspace you avoid instead of use, you know the real problem isn’t the size of the room.
It’s that most desk setups are designed for offices with square footage to spare, not for the 6-foot alcove next to your bedroom window. I’ve built three study nooks in three different rentals, and the one that finally worked was in a closet that used to hold winter coats. Small study room ideas don’t need more space — they need better decisions about the space you already have.
What This Look Actually Is
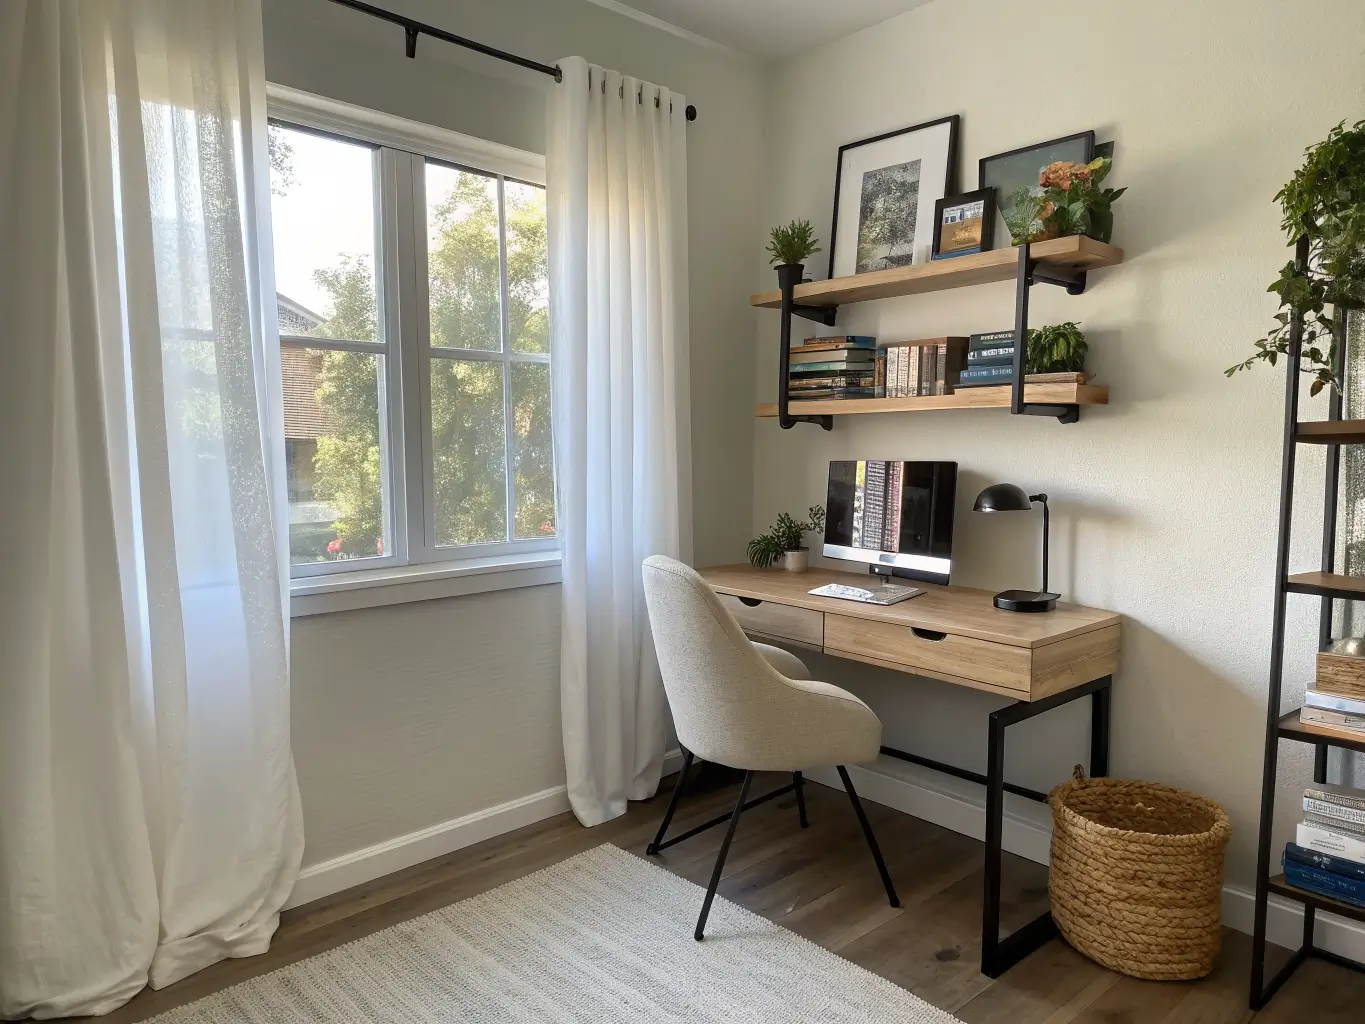
The style that works in a small study room isn’t really one style. It’s a mashup of modern, Scandinavian, and plain functional thinking — light colors, clean lines, nothing on the desk that doesn’t need to be there. I’d describe it as “the room gets out of the way so you can concentrate.” That’s the whole design brief.
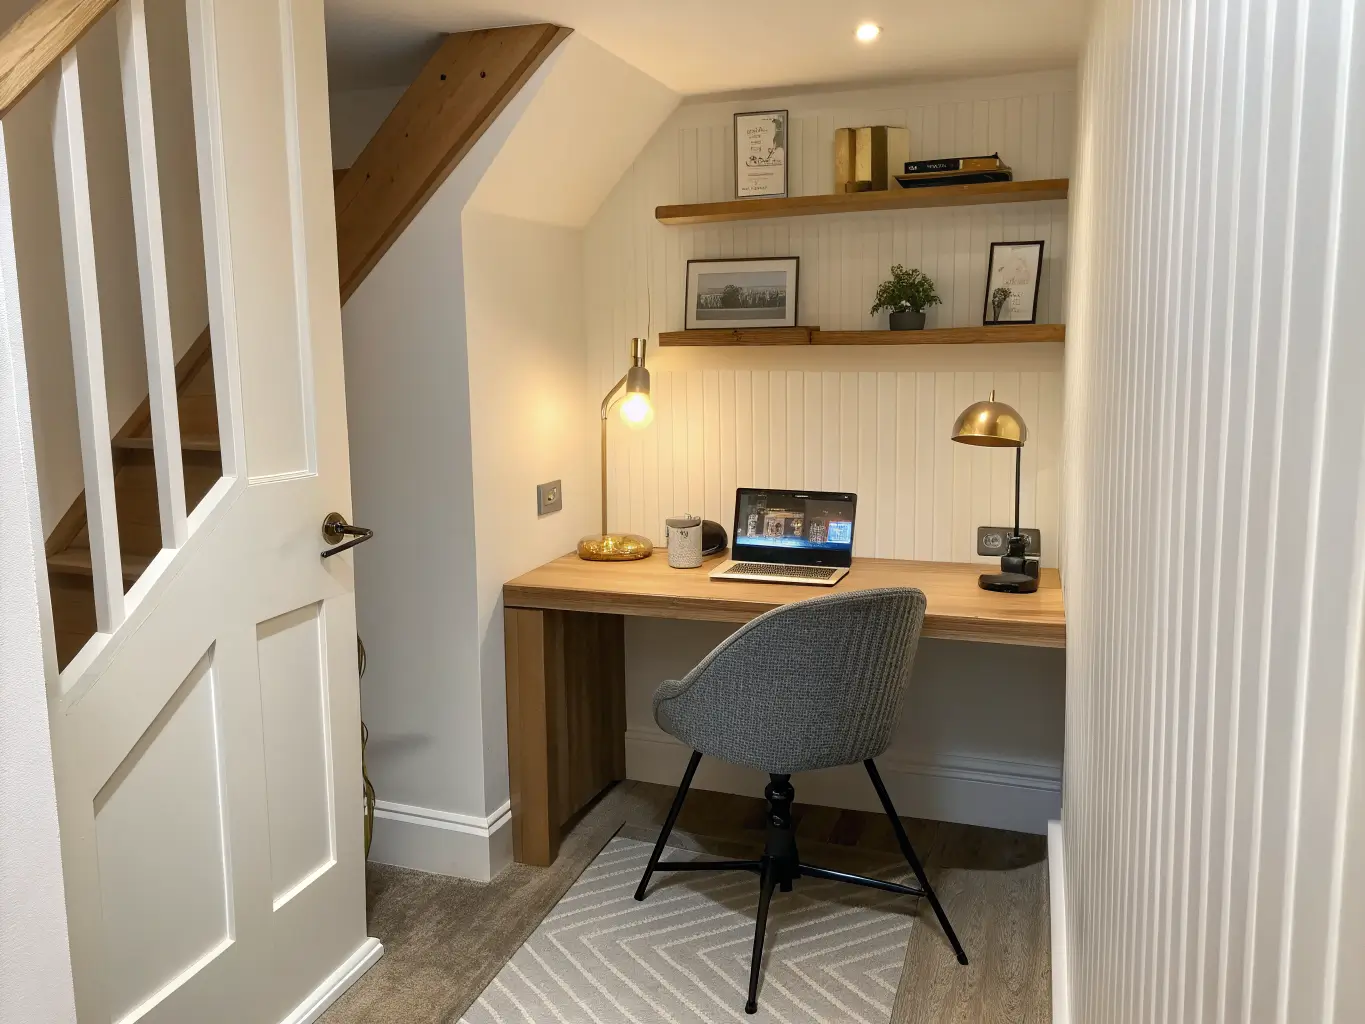
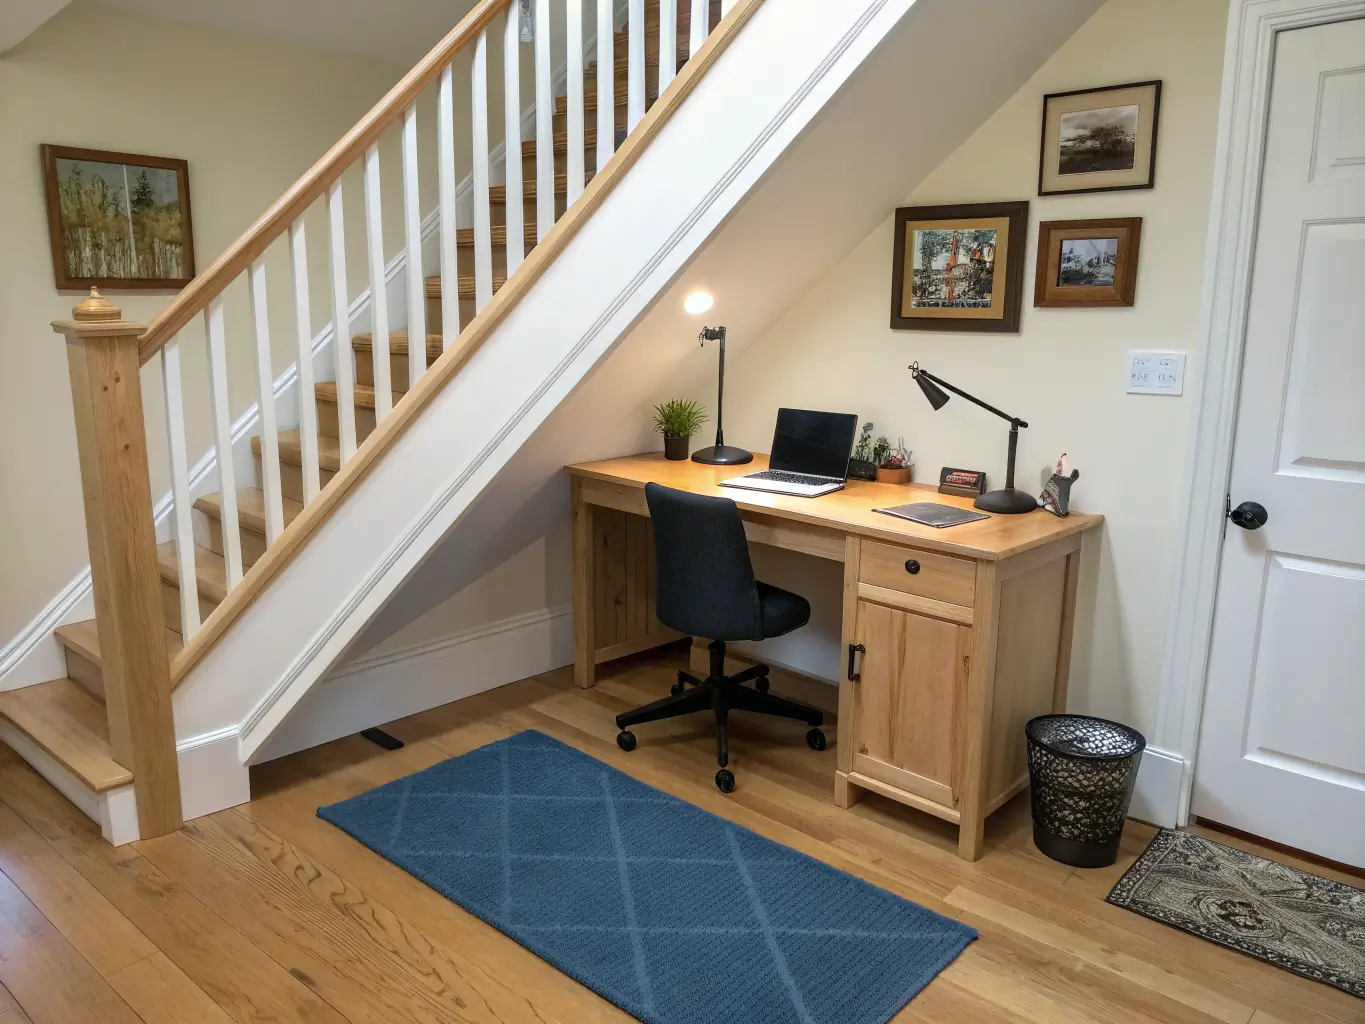
This setup is for renters who can’t knock down walls, remote workers sharing a one-bedroom with a partner, parents who need a homework spot that isn’t the kitchen table, and anyone whose “office” is actually 15 square feet next to a window. It works in bedroom corners, hallway alcoves, under a staircase, or — my personal favorite — inside a closet you gut and rewire.
Time and cost, realistically:
– A basic desk-chair-lamp-shelf setup takes 1–3 hours to put together once the pieces arrive.
– Converting a closet or hiding cables properly adds 1–2 days, mostly waiting for paint to dry and figuring out where the outlet actually is.
– Budget version: $150–$400 for a compact desk, a slim chair, a lamp, and basic shelving.
– A setup that actually looks intentional — wall-mounted desk, real shelving, an ergonomic chair, proper cable management — runs $500–$1,500+, depending on whether you go IKEA or custom.
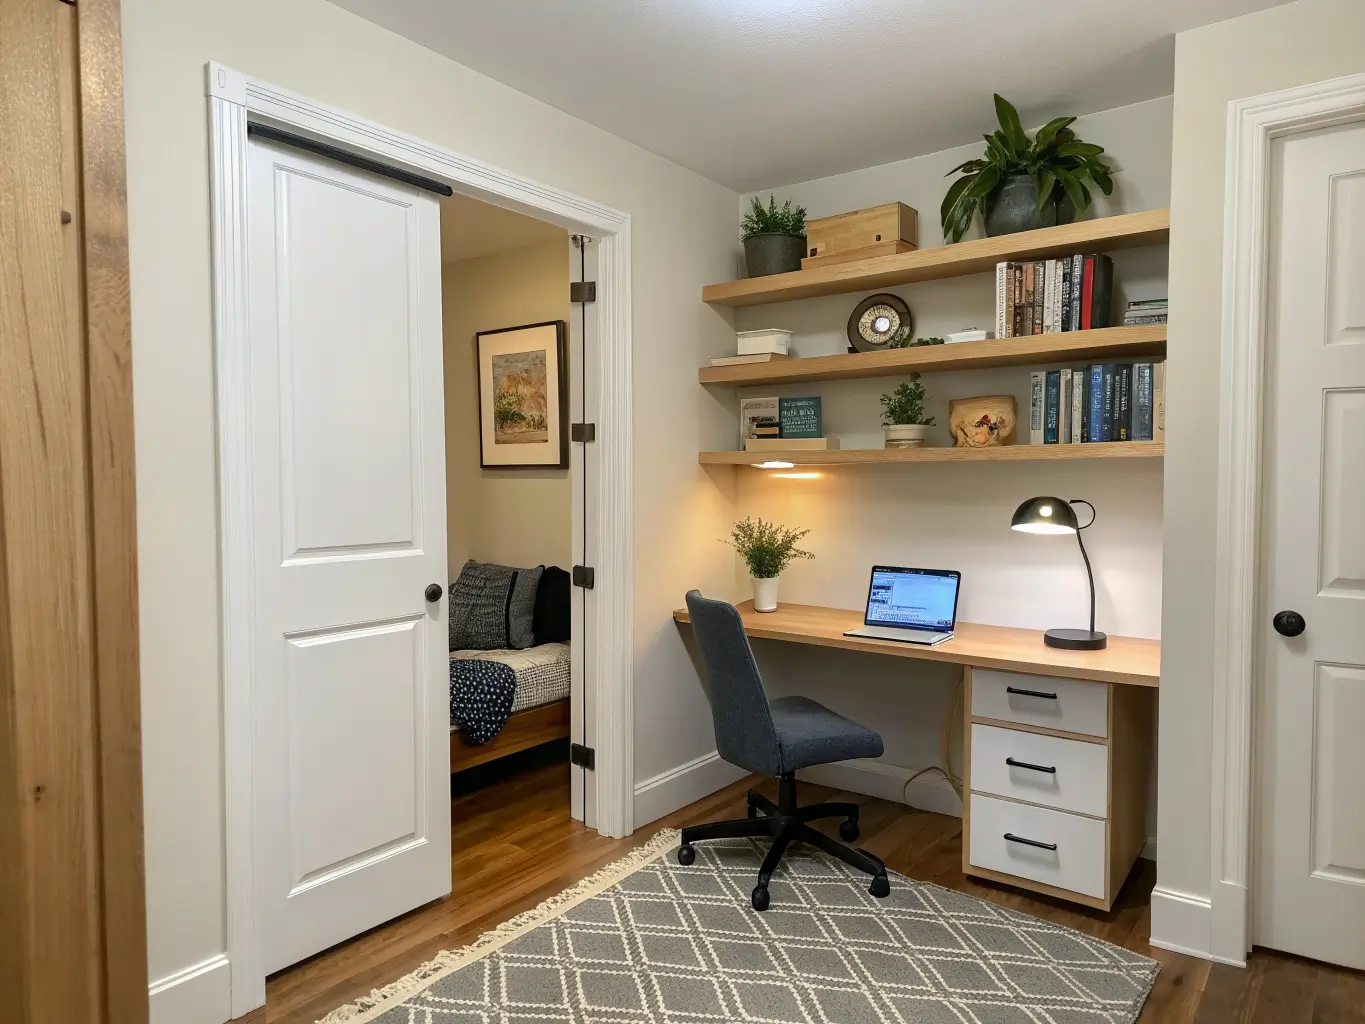
I started with the $150 version. It looked like a dorm room. The upgrade to real shelving and a wall-mounted desk cost me about $600 total and made the same 6×6 space feel like an actual room instead of an afterthought.
The Pieces That Make a Small Study Room Function
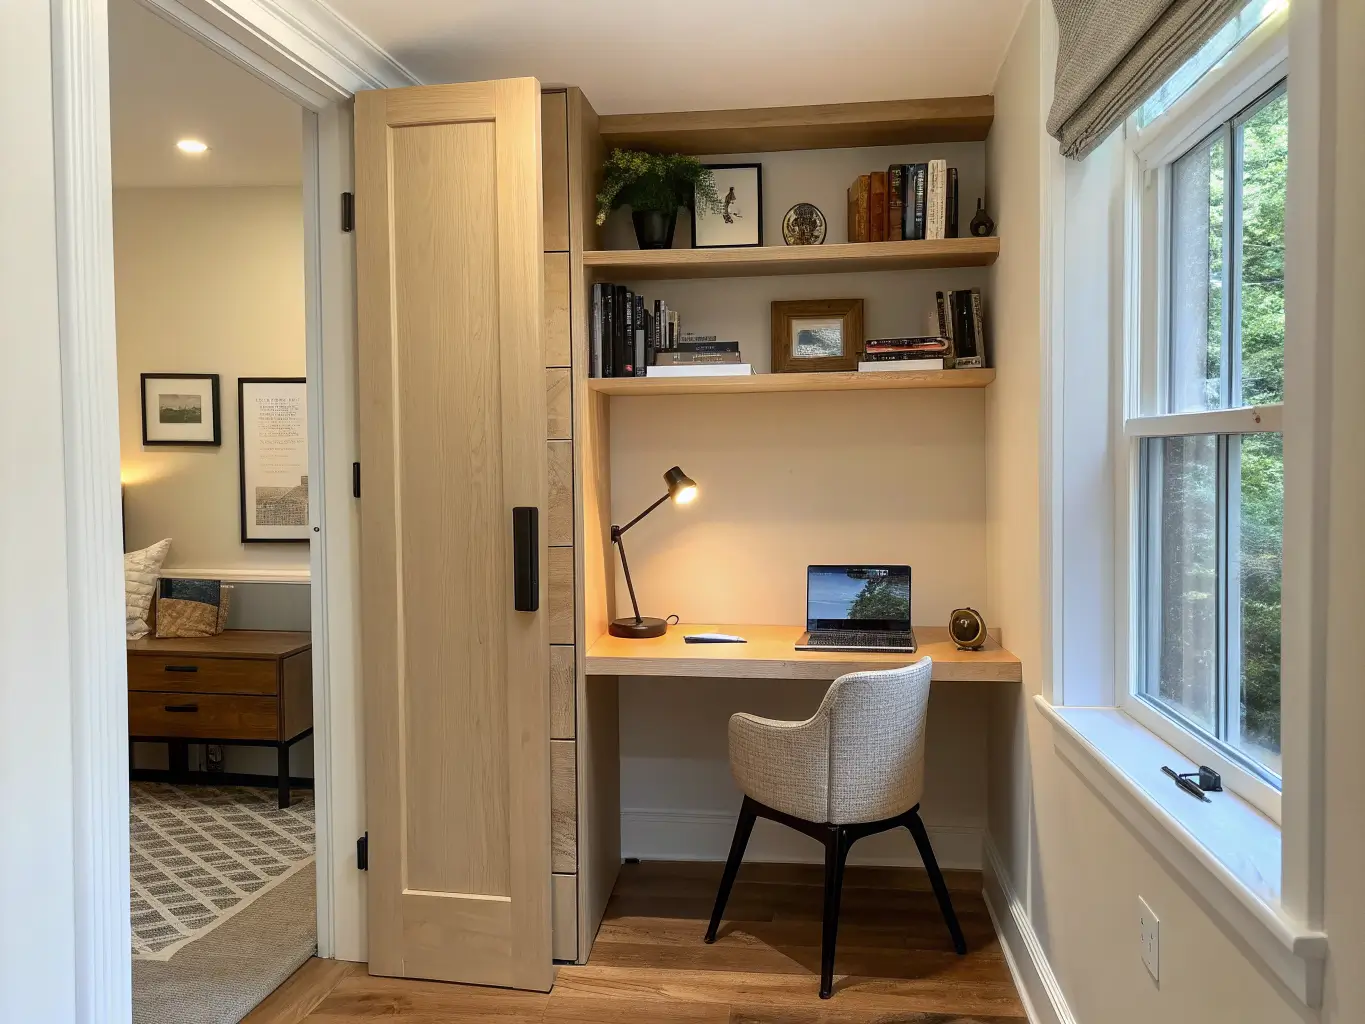
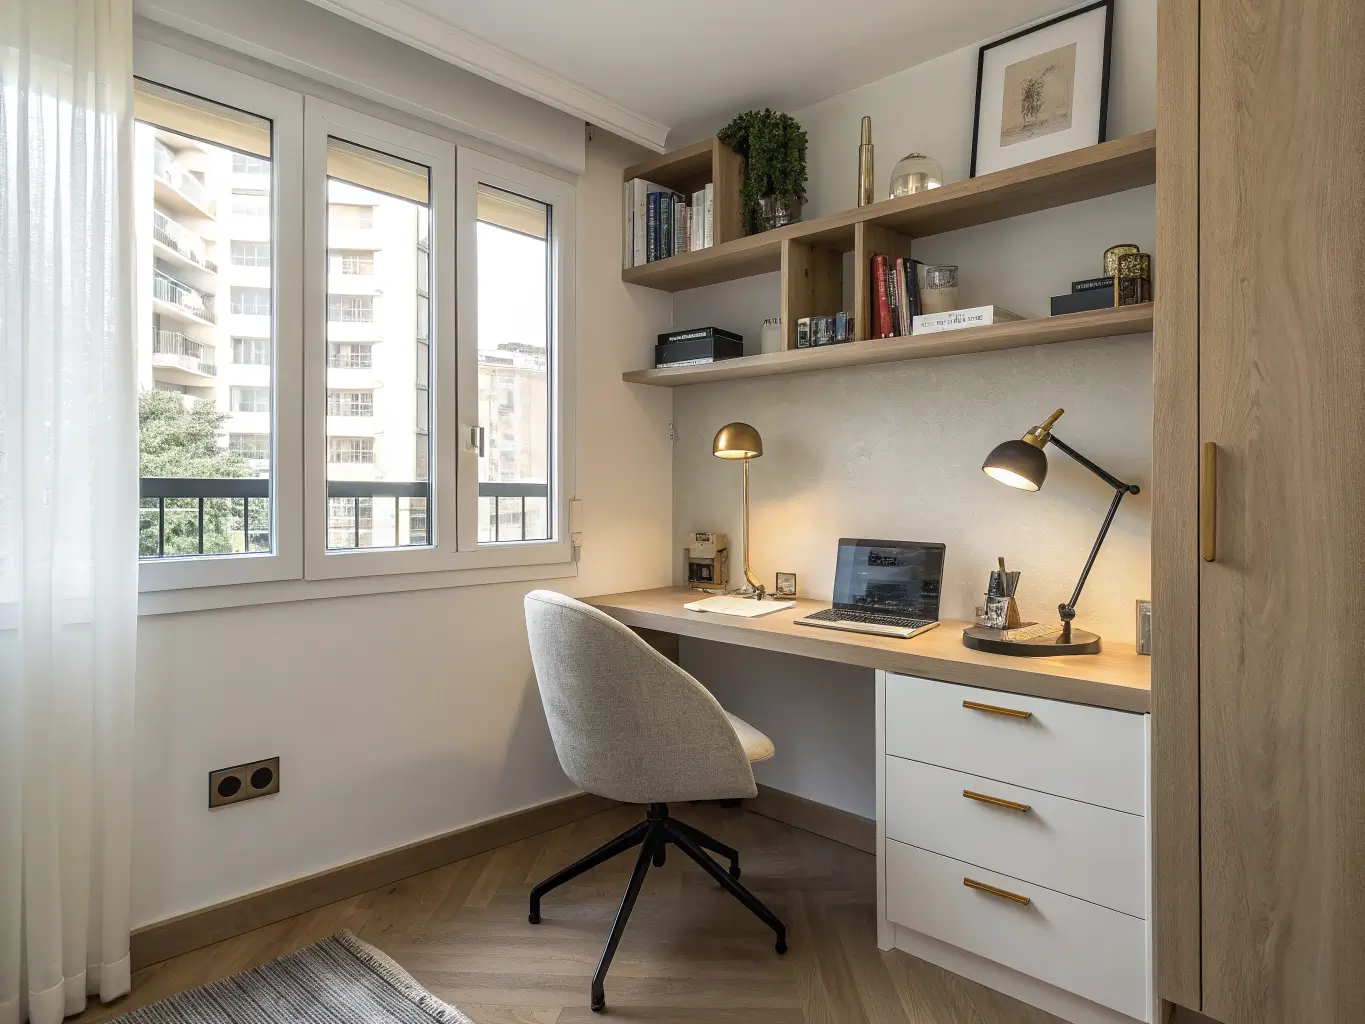
The desk is the one decision you can’t undo cheaply, so get the depth right. Anything deeper than 24–30 inches (roughly 55–60 cm) starts eating into your walking space in a small room. I made this mistake first — bought a 32-inch-deep desk because it was on sale, and I had to turn sideways to get past my chair every single day. Wall-mounted or fold-down desks solve this entirely if your room is under 7 feet wide.
Skip the office chair you’d put in a corporate cubicle. You need a slim-profile chair with real back support, not a bulky mesh throne that eats three feet of floor space when you push back from the desk.
Light in three layers, not one. This is the single biggest fix I made to my own setup. I used to work under just the ceiling fixture and wondered why my eyes hurt by 9 PM. Now I run:
– One ambient/overhead light (soft, not harsh)
– One task lamp aimed directly at the work surface
– One small secondary light — a plug-in sconce or LED strip — so the room doesn’t feel like an interrogation room after dark
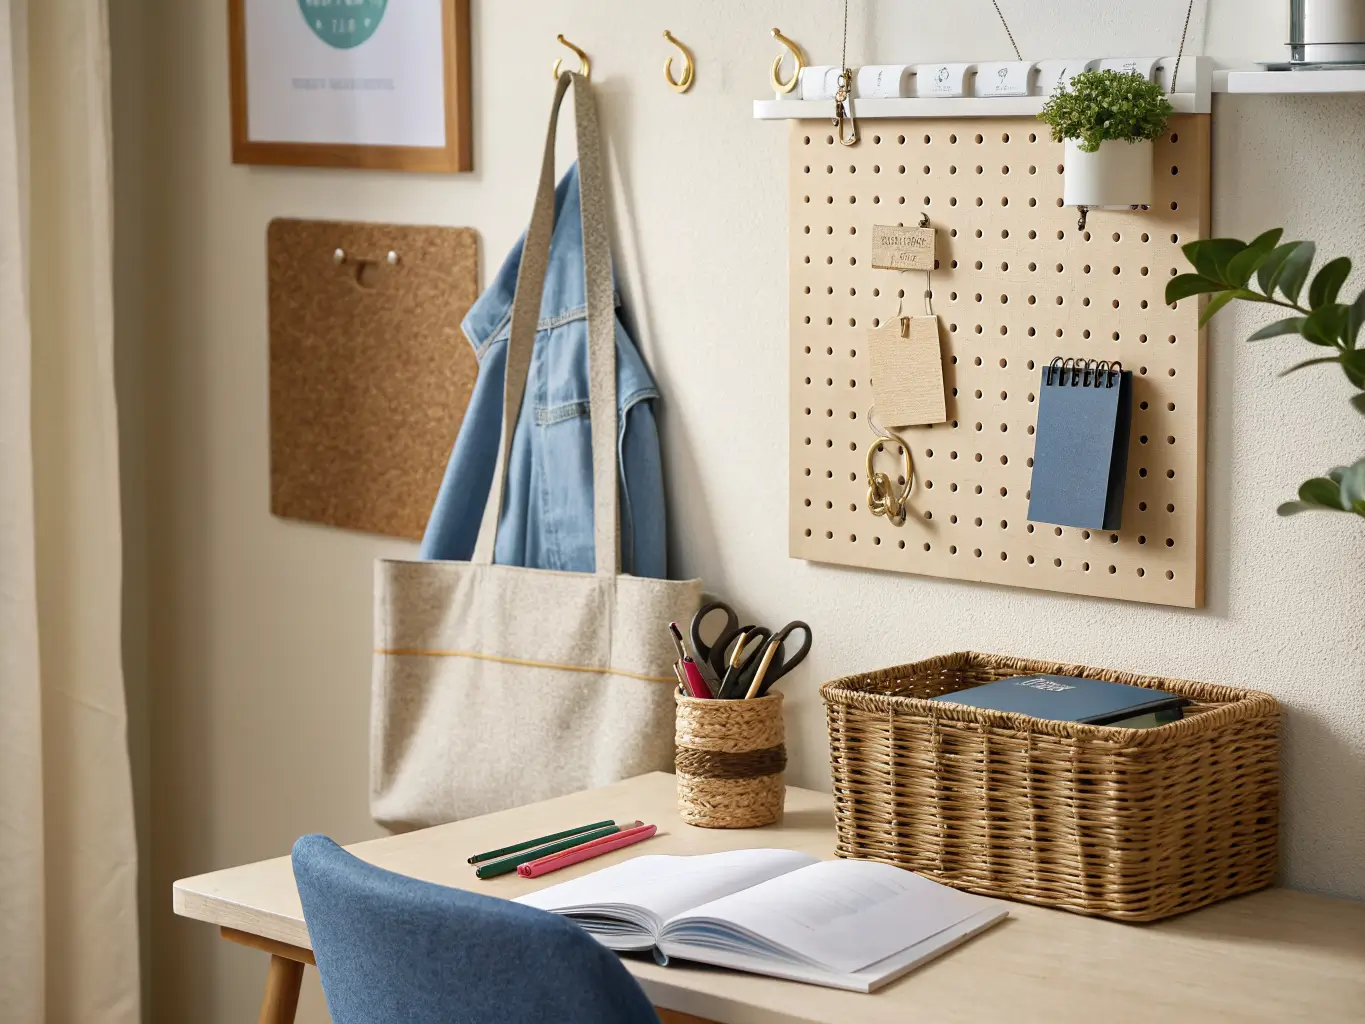
Storage has to go vertical. Floating shelves, a tall narrow bookcase, a pegboard, or a cork grid — anything that lifts your stuff off the floor and off the desk. My closet conversion has three floating shelves stacked above the desk instead of a single bookcase taking up 14 inches of floor depth I didn’t have.
Cable management isn’t optional in a small room. Cords are more visible when there’s less room for them to hide in. A $15 cable channel stuck to the back of the desk leg fixed what used to look like a rat’s nest every time I glanced down.
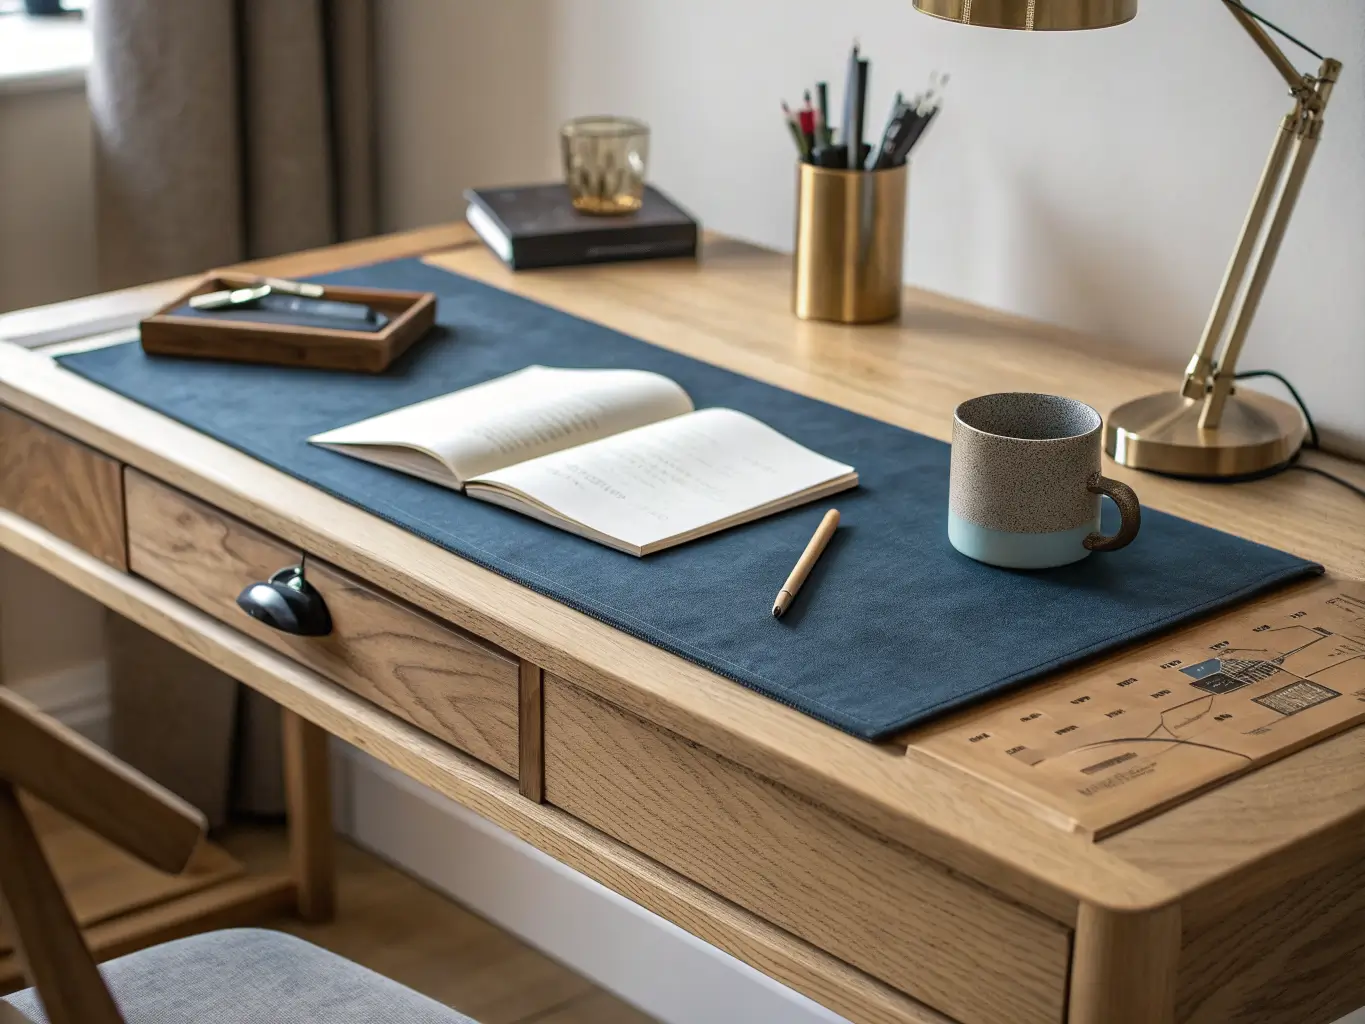
Keep the desktop nearly empty. A pencil cup, a small tray, a charging dock. That’s it. Everything else lives in a drawer or on a shelf.
One plant, one print — not a gallery wall. A single 6-inch pothos or a black-and-white framed print gives the corner personality without competing for visual space with your monitor.
Nice-to-haves, if budget allows
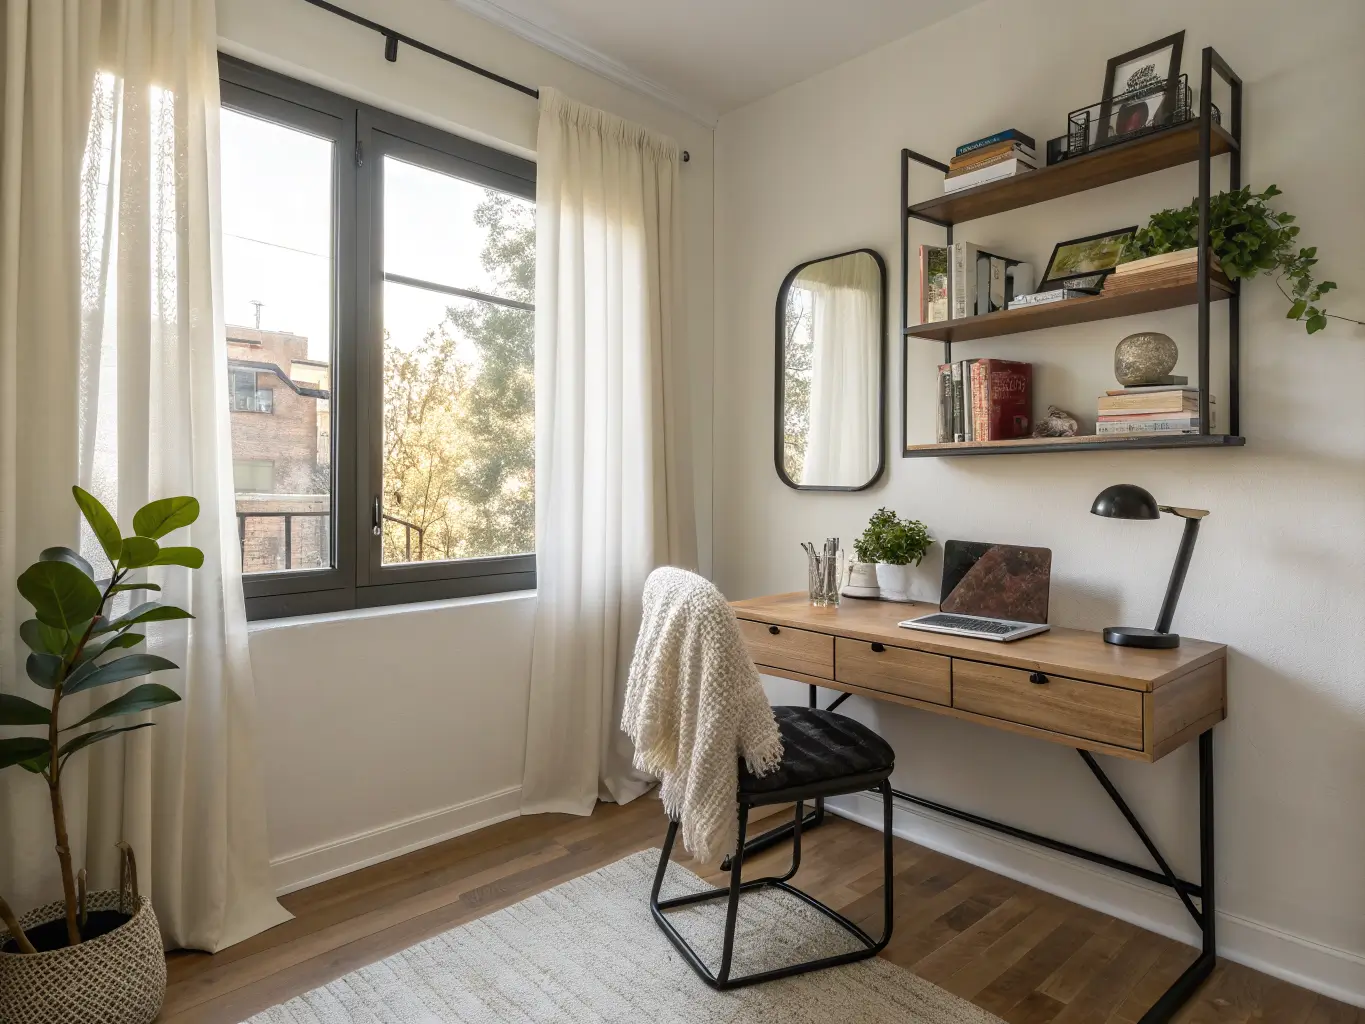
– A mirror angled to catch window light — this genuinely makes a windowless closet nook feel less like a closet.
– A small low-pile rug to define the zone if it’s part of a bigger room.
– Textured wall treatment — vertical wood slats or a subtle panel — behind the desk as a focal point.
– Brass or black metal hardware on drawer pulls or the lamp base, kept minimal so it accents rather than dominates.
Putting It Together Without It Looking Like a Storage Closet
Limit your palette to three tones. One wall color, one wood tone, one accent. I run cream walls, light oak shelving, and a single ink-blue desk mat as my accent. That’s it. The second I tried adding a green plant stand and a rust-colored throw pillow to “warm it up,” the whole nook looked busy instead of considered.
Light colors aren’t just pretty here — they’re functional. Off-white, cream, pale grey, soft beige all bounce available light around a room that probably doesn’t have much to begin with. My closet nook has one small window; without the pale walls, it would feel like working inside a shoebox.
Give the room one focal point. Mine is the shelf above the desk — three shelves with books stacked horizontally, one small plant, one print leaned against the wall instead of hung. Everything else in the room stays quiet so your eye actually lands somewhere.
Balance what’s visible with what’s hidden. Pens, chargers, and papers live in a drawer. The one notebook I’m using this week sits out. That’s the whole system.
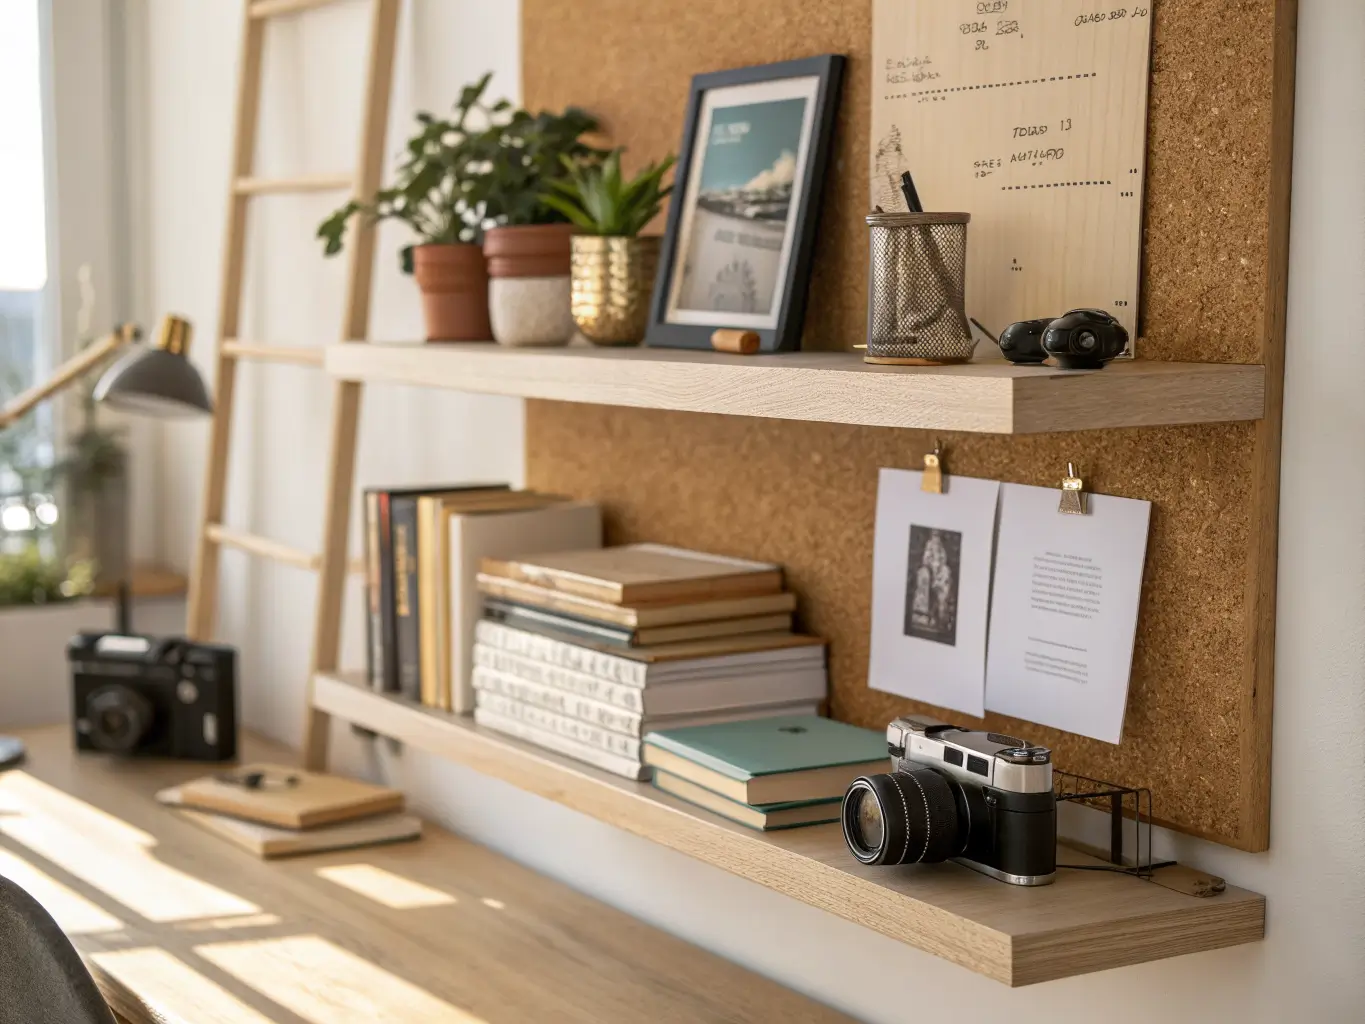
Layer texture instead of adding more stuff. A woven basket under the desk, a cork board on the wall, the grain of real wood shelving — these add warmth without adding clutter, which matters a lot when you don’t have square footage to spare on decorative objects.
Setting It Up: Order of Operations
Before you buy anything, measure the wall width, the depth of the nook, where the outlets are, and how far the door swings if you’re working in a closet. I skipped this step once and bought a beautiful fold-down desk that couldn’t actually fold all the way down because a light switch was in the way. Measure twice, order once.
Decide your layout type up front: corner desk, wall-mounted, fold-down, closet conversion, or under-stair station. Each has different mounting and clearance needs, so pick before you shop.
Build in this order:
1. Desk and chair first — get the anchor pieces placed.
2. Task lighting next — you’ll immediately notice if the angle is wrong.
3. Storage — mount shelves above the desk, not beside it, to keep floor space clear.
4. Cables — run them now, before decor goes up and you’re working around finished shelves.
5. Decor last — plant, print, desk accessories.
Position the desk near your window if you have one at all. Natural light does more for a small study room than any lamp you can buy. If you’re converting a closet with zero natural light, lean into LED strip lighting under the shelves — it’s cheap, it’s dimmable, and it fixes the “working in a cave” problem instantly.
Where People Go Wrong
They buy a desk that’s too big for the room. I’ve said this twice now because it’s the mistake I see most — and the one I made myself. Stick to that 24–30 inch depth rule unless your room can genuinely spare more.
They rely on one ceiling light and wonder why they’re exhausted by 8 PM. Glare and shadow from a single overhead fixture will wear you down faster than the actual work does. Layer your light.
They decorate the desk instead of the room. Every tray, frame, and knickknack on the work surface is square inches you can’t use for actual work. Move decor to the walls and shelves; keep the desk for tools you touch daily.
They forget storage until the clutter’s already a problem. Plan vertical storage before you move in, not after six months of papers piling up on the floor.
They let cables show. It’s a small detail that reads as a big mess in a small room, precisely because there’s nowhere for the eye to look instead.
They go dark and moody because it looks good on Pinterest. Charcoal walls and black furniture can look sharp in a photo of a large room. In an actual 6×6 nook, heavy contrast just makes the walls feel closer than they are. Save dark tones for a single accent — a lamp base, a desk mat — not the whole palette.
Keeping It Looking Right Over Time
Repeat the same wood tone and metal finish across every piece — desk, shelf brackets, lamp base — so nothing looks like it wandered in from a different room. Reset the desktop weekly: file the papers, dust the shelf, put the pens back in the cup. It takes four minutes and it’s the difference between a nook that looks intentional and one that slowly turns into a junk drawer with a chair.
When you want a refresh, change the small stuff: a new desk mat, a better lamp, a repainted accent wall. I’ve swapped my desk mat three times in two years — cream, then a rust tone for one winter, back to ink blue — and it completely resets how the corner feels without touching the furniture.
Seasonally, add a chunkier knit throw on the chair back in winter and swap it for a woven cotton one in summer. Small texture change, zero cost, real difference.
If you eventually want to level up the whole setup, the natural next step is swapping a freestanding desk for a wall-mounted one, or finally gutting that spare closet you’ve been eyeing. That’s exactly how my current study nook came to exist — one very determined weekend and a $600 budget turned an old coat closet into the only room in my apartment where I actually get things done.
For another angle on this, my study room decor for students guide covers the same space from a different starting point.





