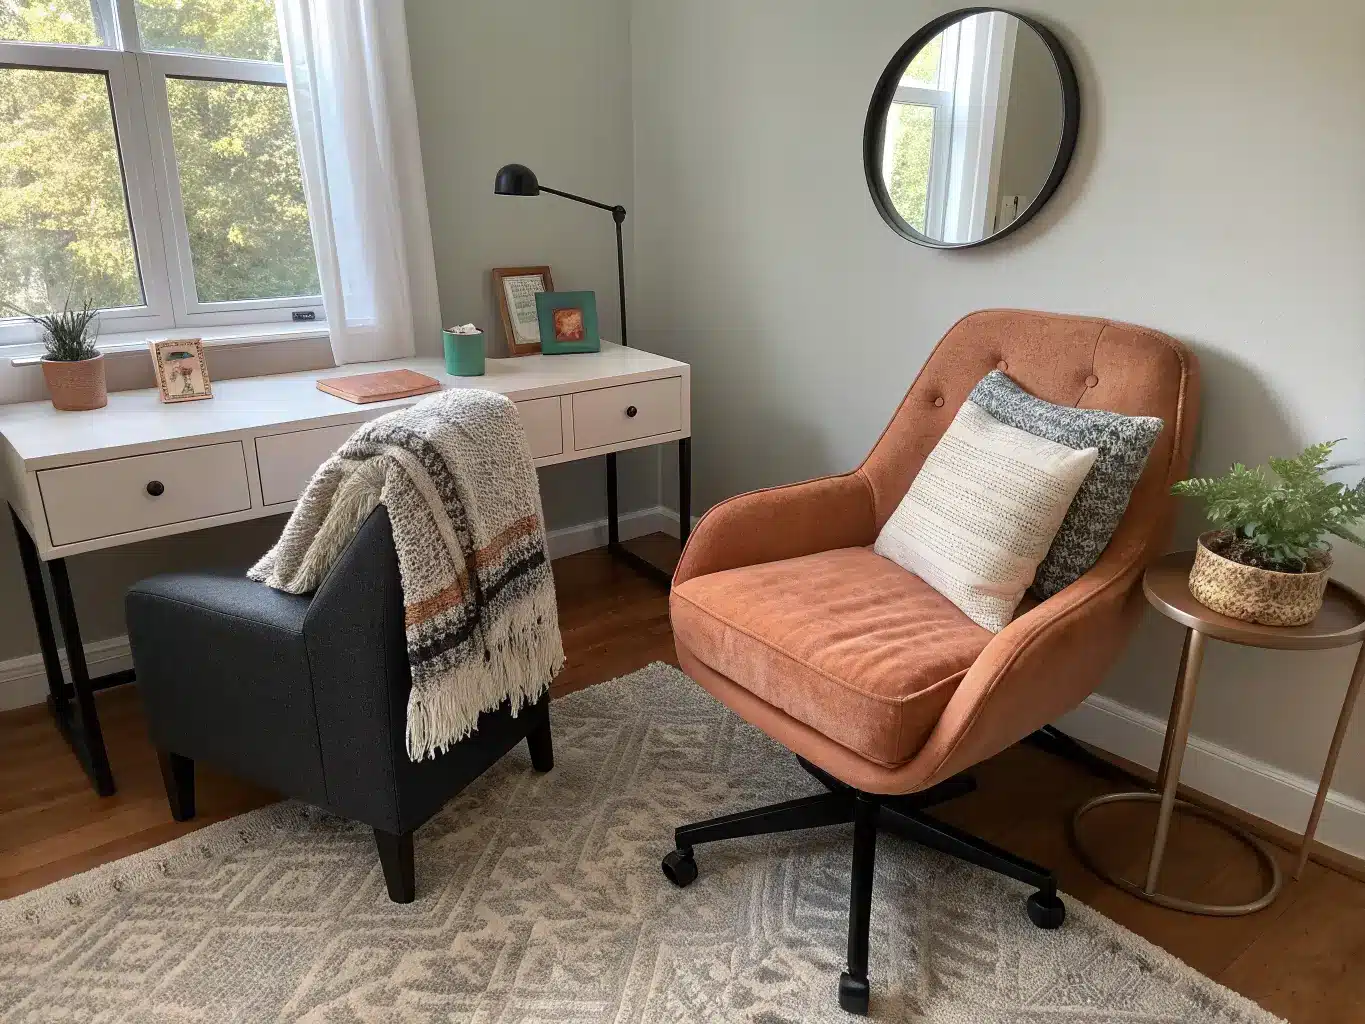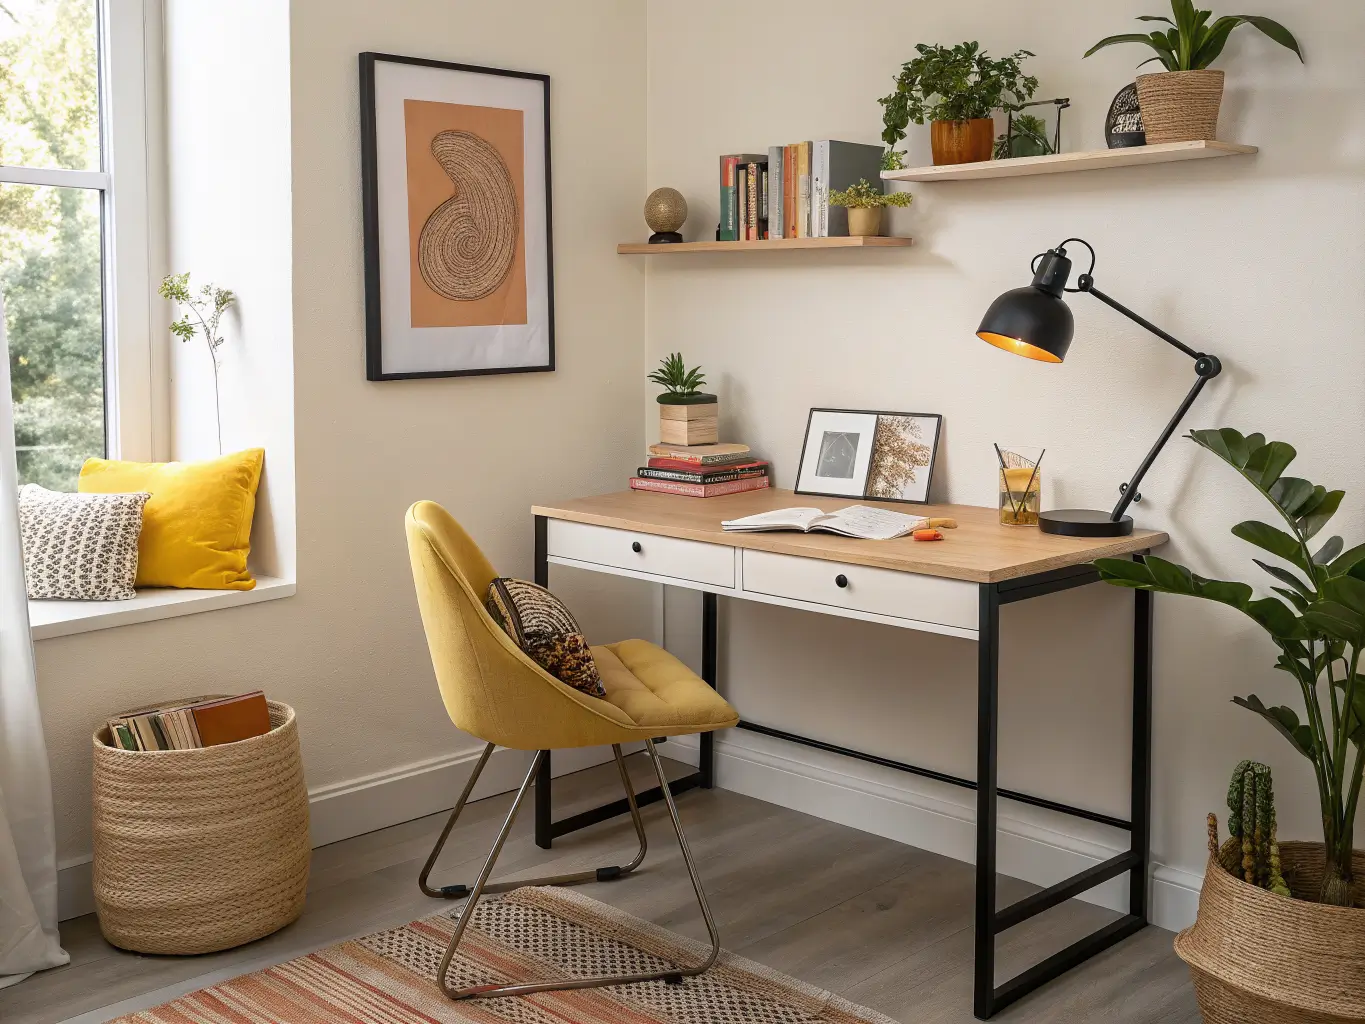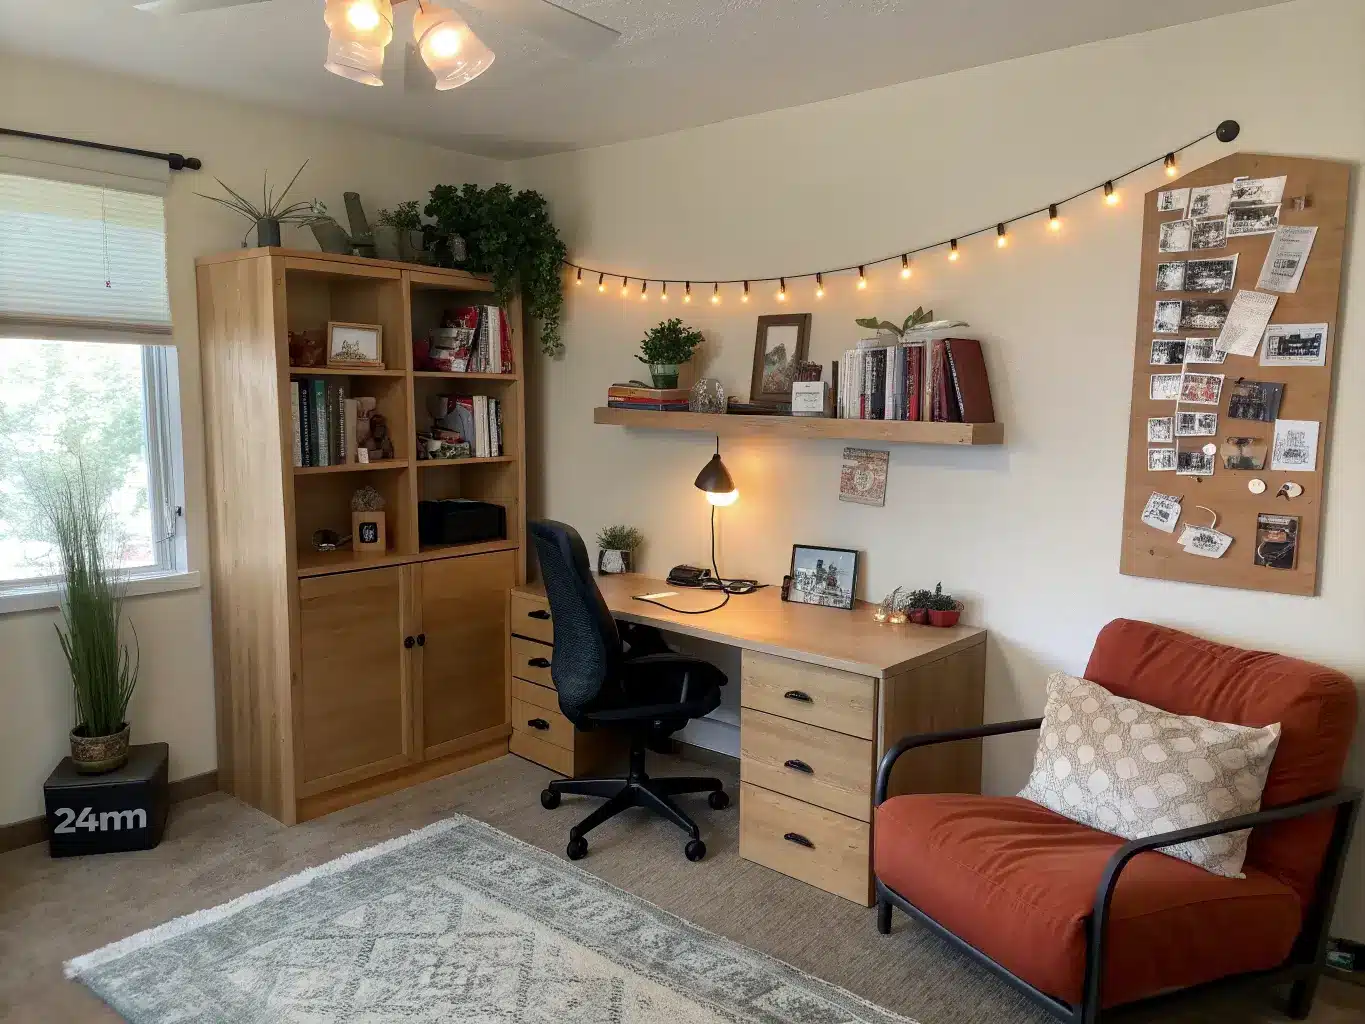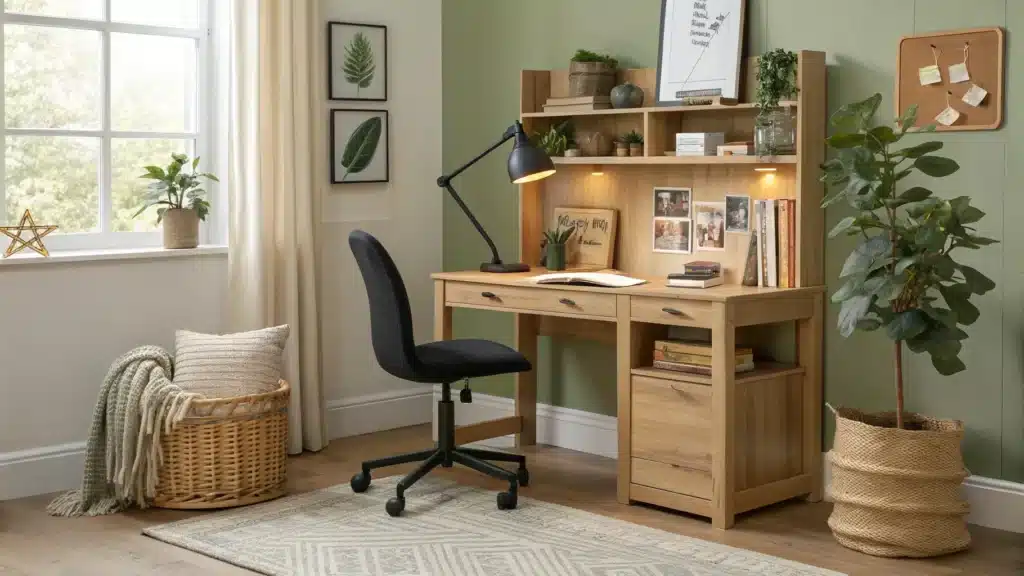
Quick Style Snapshot
Time: A basic refresh — new lamp, some shelving, cord cleanup — takes a weekend. If you’re painting, assembling furniture, or converting a closet into a nook, budget 1–2 weeks working evenings and weekends. The fastest improvement, hands down, is defining a dedicated desk zone and fixing the lighting. That alone changes how a room functions.
Cost: Plan on $250–$1,500+. A no-frills setup — IKEA desk, basic task chair, clip-on lamp, a few wall shelves — lands around $300–$500. Go higher if you want an ergonomic chair, custom shelving, and a lounge chair for reading breaks; that’s where the budget climbs past $1,000.
Space: A corner works fine. So does a closet with the doors removed, a bedroom alcove, or a quiet spot in a shared family room. A full dedicated room is nice but not necessary — I’ve built a solid study nook in a 3-foot-wide gap between a dresser and a window.
Skill level: Beginner to intermediate. Assembling a desk and hanging a shelf is beginner-level. Wall-mounted floating shelves that actually hold books without sagging, and cable management that doesn’t look like a rat’s nest six weeks later — that’s intermediate, mostly because it requires patience, not talent.
Seasonal appeal: This is a year-round space, but it’s easy to refresh for fall semester or a new school year with cheap swaps — new desk mat, different throw pillow, a rotated art print.
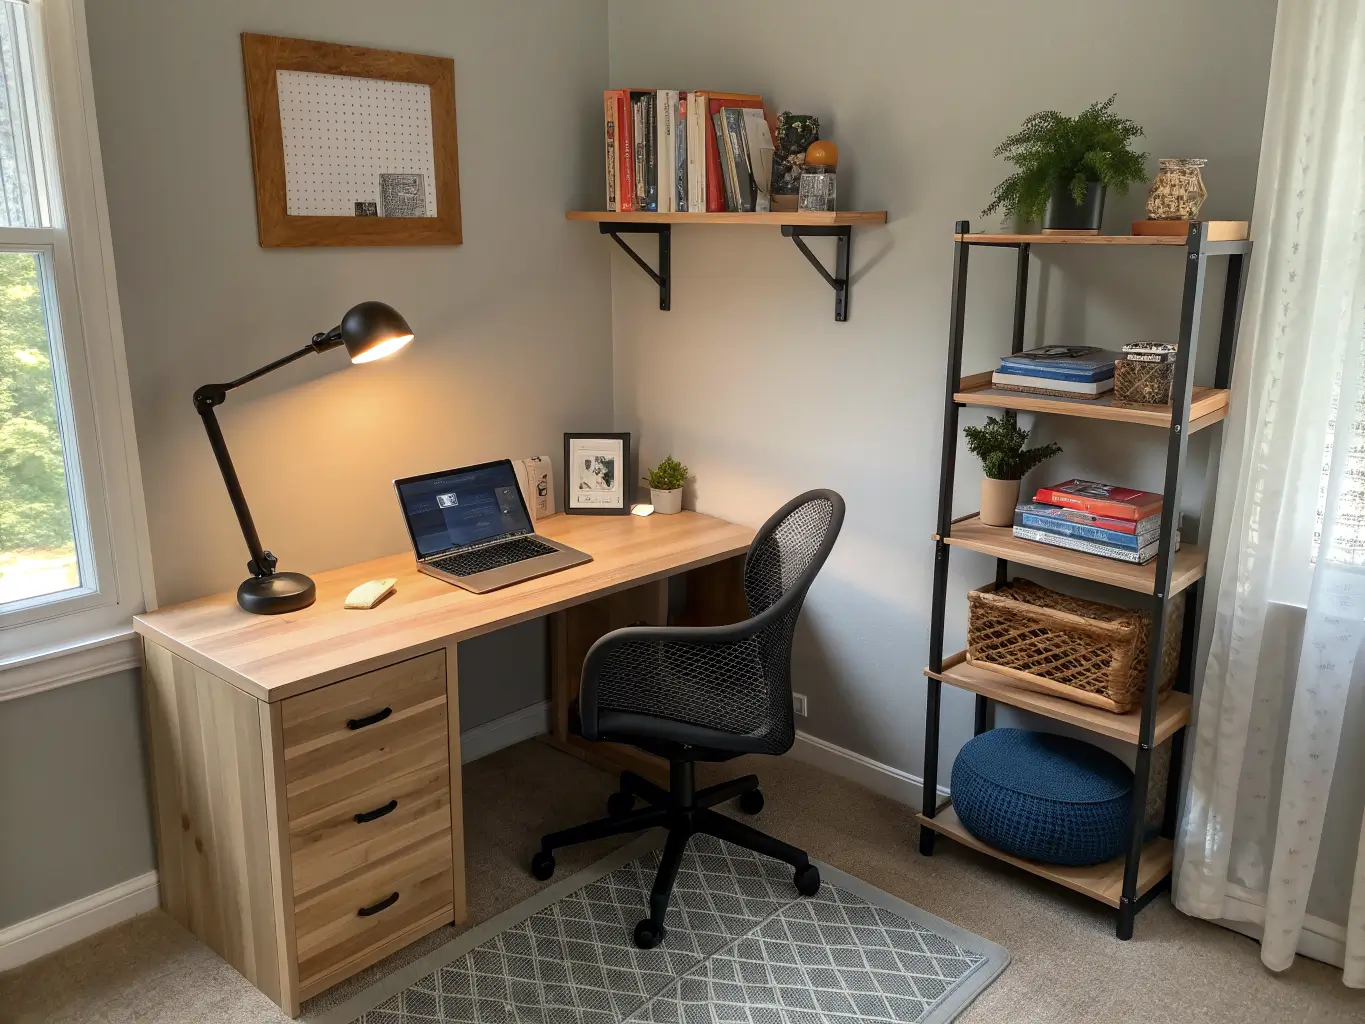
What Kind of Room This Actually Is
A teen study room isn’t a mini home office and it isn’t a bedroom nook with a desk shoved in. It’s its own thing — functional enough for real homework, personal enough that a 15-year-old doesn’t feel like they’re sitting in a waiting room.
The style that works best blends modern minimalism (clean lines, limited clutter) with cozy contemporary (soft textures, warm lighting) and a layer of personalization that’s entirely theirs — band posters, a corkboard covered in ticket stubs, whatever. Strip out the personalization and the room feels sterile. Skip the minimalism and it becomes a junk drawer with a desk in it.
This setup is for teens doing homework, online classes, reading, journaling, and increasingly, small-group study over video call. It works in bedrooms, shared rooms, lofts, converted closets, and any quiet corner with an outlet nearby.
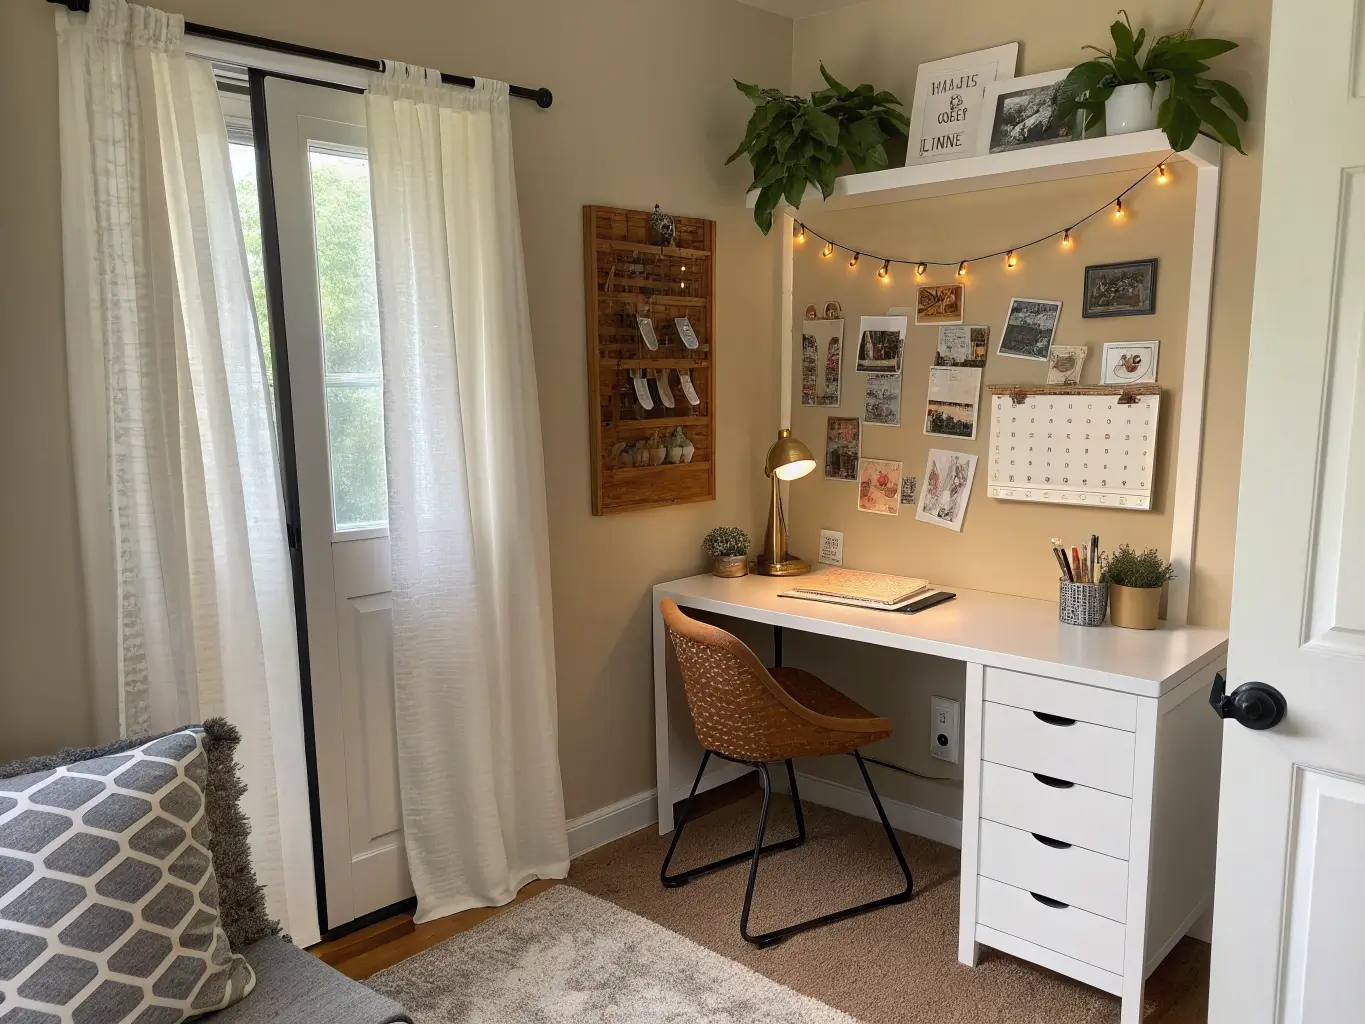
The Must-Have Pieces
Don’t skip these. Everything else is decoration; these are the bones.
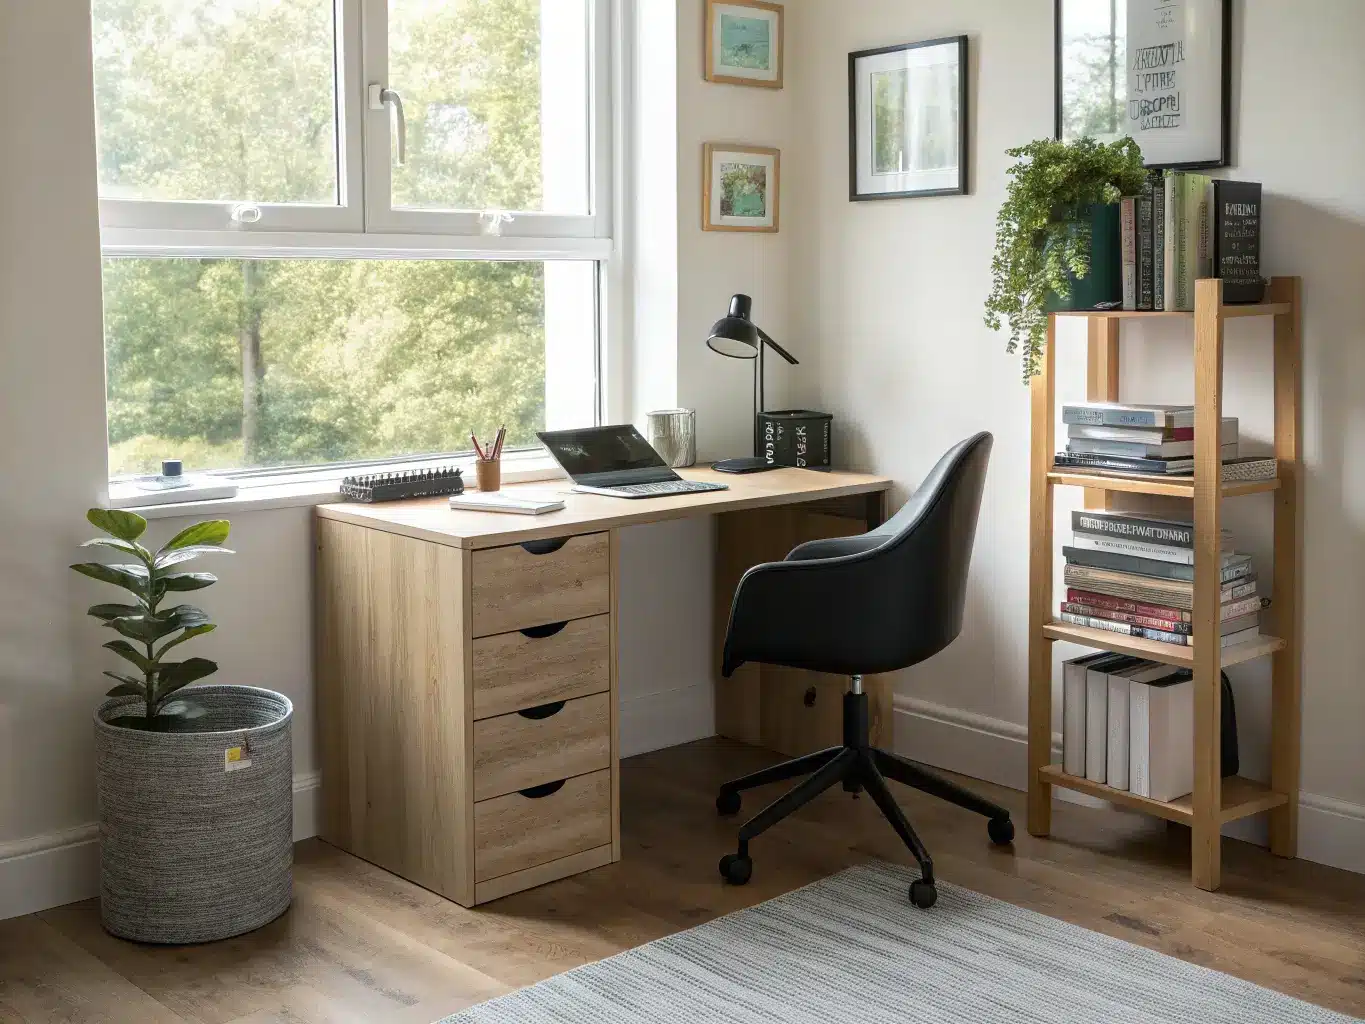
Desk: Aim for 40–48 inches wide and 20–24 inches deep. I made the mistake of buying a cute 30-inch writing desk from a vintage shop once — looked great, held a laptop and nothing else. A notebook wouldn’t even lie flat next to it. Bigger than it looks like you need is the right call.
Chair: A task chair with adjustable height and real back support. If the room is tight, get one that tucks completely under the desk — don’t let a chair eat your walkway.
Task lighting: A proper adjustable desk lamp, not just the overhead fixture. Look for around 4000K color temperature (that’s a clean, neutral white, not yellow-warm or blue-harsh) and enough output to hit 500–700 lux on the work surface. Translation: bright enough to read fine print without leaning in.
Vertical storage: Floating shelves, a wall file rack, a peg rail, a corkboard. Anything that gets stuff off the desk and onto the wall.
Cable management: An under-desk tray, right-angle plugs, short cables. This is the detail everyone skips and immediately regrets.
A focus tool: Whiteboard, corkboard, or wall calendar for tracking assignments and deadlines.
A comfort layer: A small rug or accent chair if this space is doing double duty as a hangout spot too.
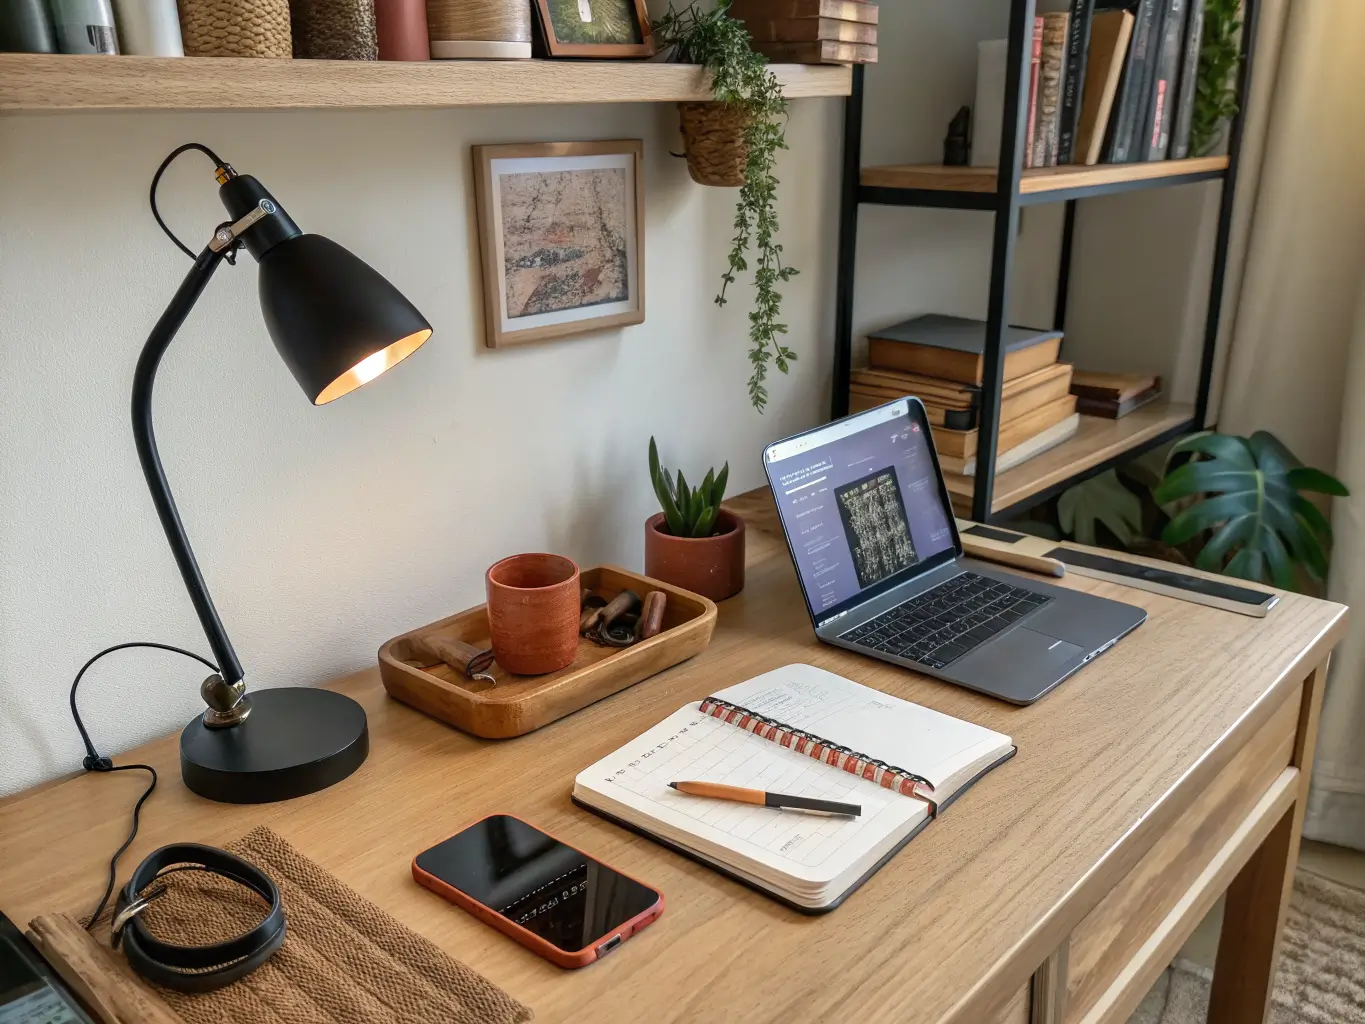
Optional but Worth Considering
Once the essentials are in place, these make the room feel finished:
Seasonal accents — throw pillows, a rotating art print, a new desk mat. Cheap ways to refresh without touching furniture.
A low-maintenance plant. A pothos or snake plant on the corner of a shelf does more for the room’s mood than people expect, and it survives teenage neglect.
Small metallic touches — a black metal pen cup, a brass clip lamp, a mirrored tray for desk odds and ends. Small doses only; this isn’t a glam room.
Flex seating — a beanbag or compact lounge chair for reading breaks. If the study room is also where friends hang out, this earns its keep fast.
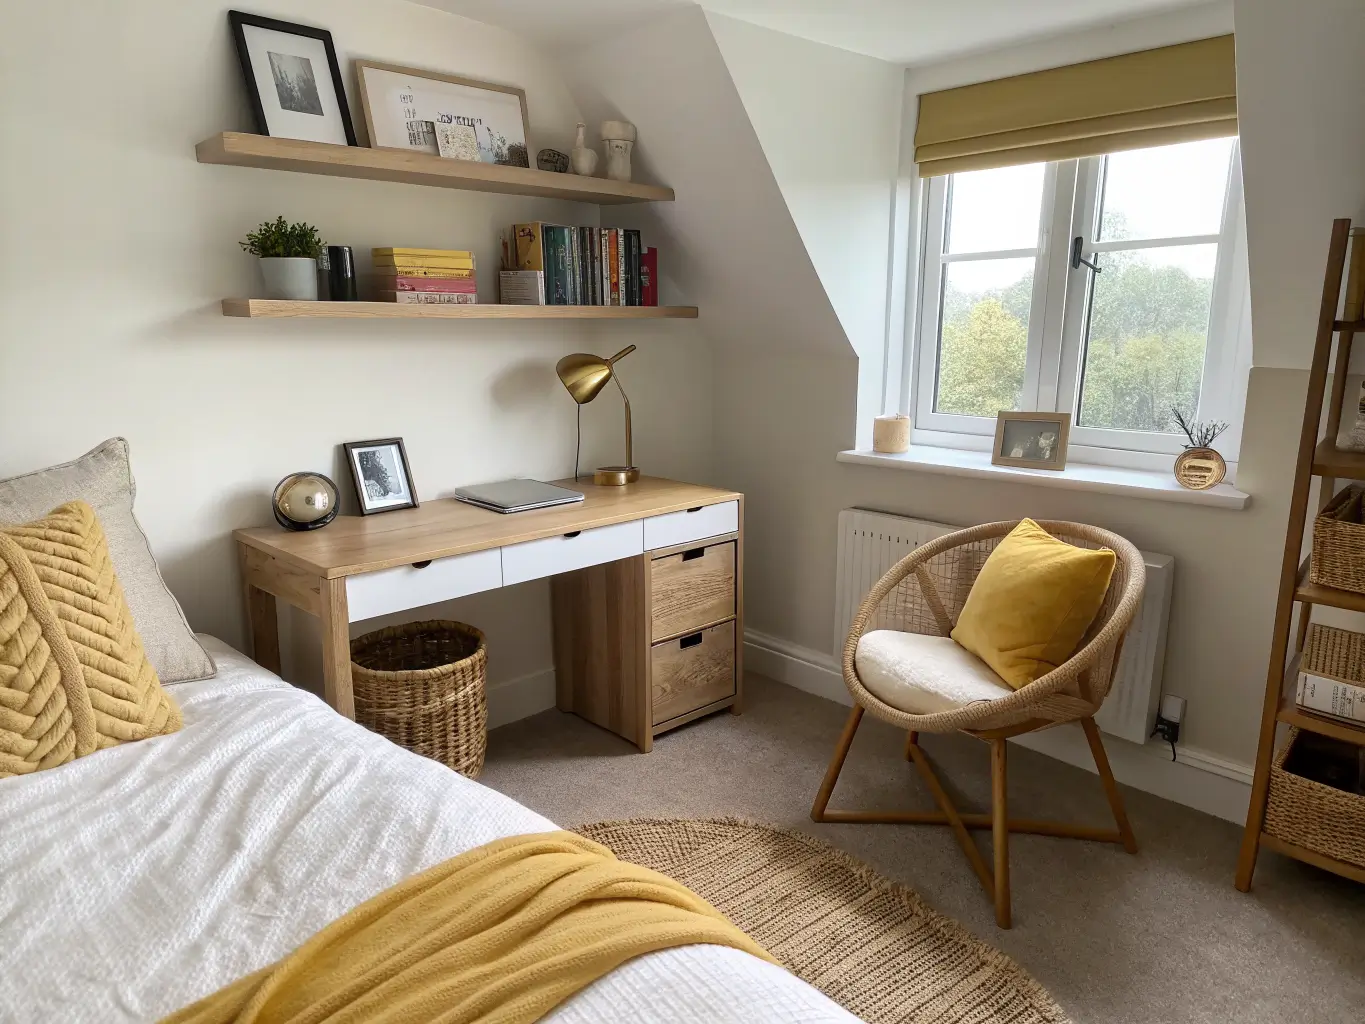
How to Actually Put It Together
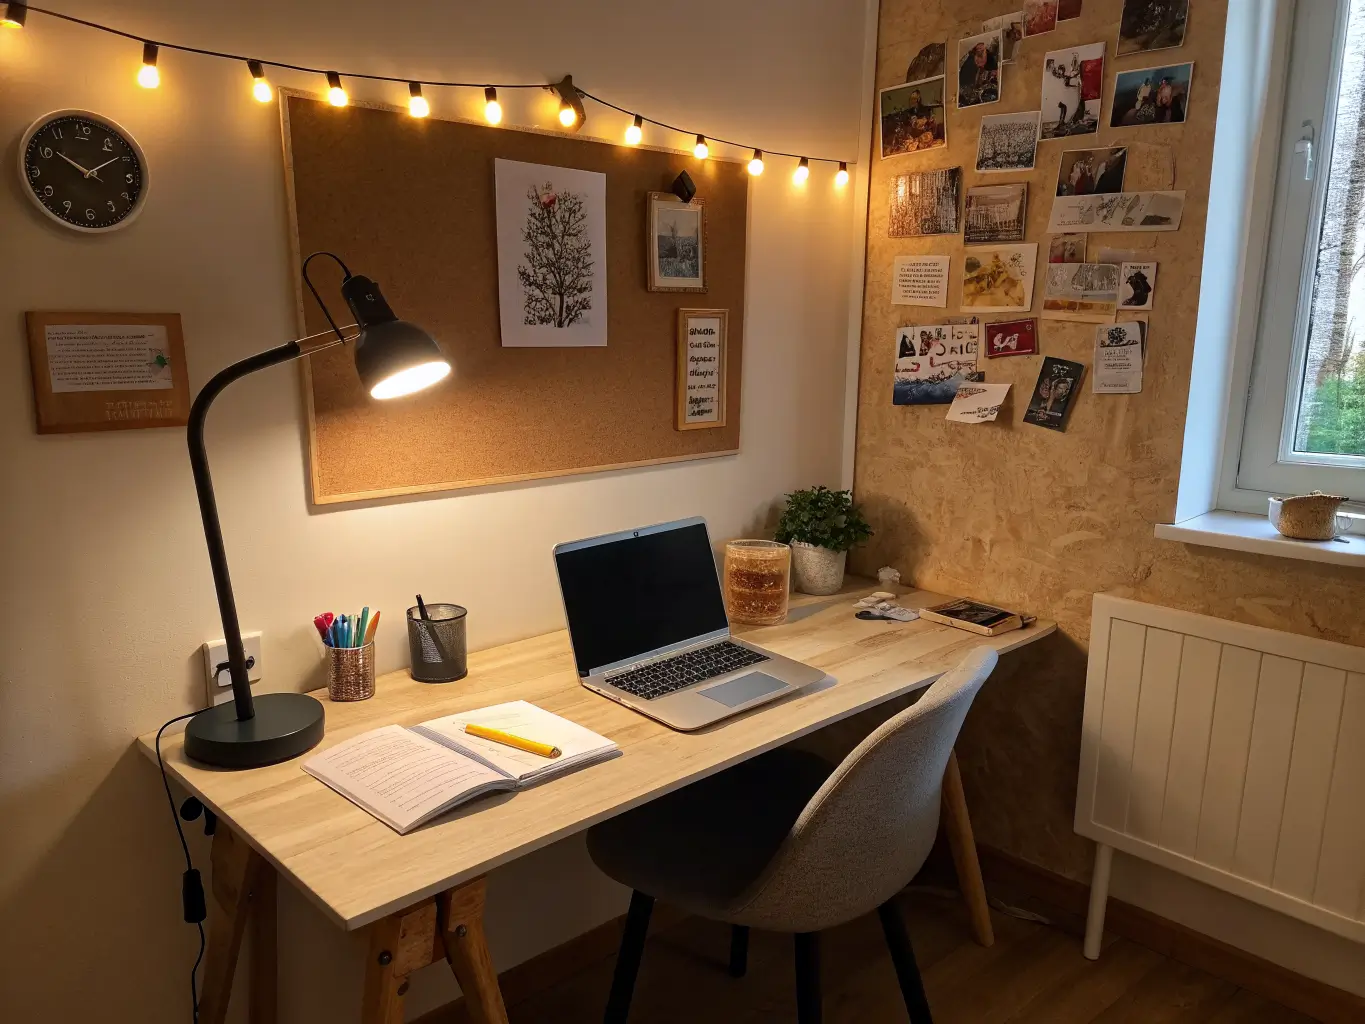
Layer your lighting in three levels. Ambient light (overhead or a floor lamp), task light (the desk lamp doing the real work), and accent light (a string light or small lamp just for mood). One overhead bulb doing all three jobs is why so many study spaces feel harsh or exhausting after an hour.
Physically separate the desk from the bed. This is the single biggest mistake I see, and I made it myself for almost a year. My daughter’s first setup had her desk facing the foot of her bed, four feet away. She did homework lying down within a week, phone in hand, desk chair holding laundry. Once I moved the desk to the opposite wall, away from the bed and away from her vanity, the desk actually got used for its job.
Pick a calm base color, then add one accent. Start with something like soft white, warm beige, greige, or muted sage on the walls or main furniture. Then let the teen pick one accent color — cobalt, terracotta, butter yellow — and use it in just one or two spots: a lamp, a cushion, a set of file folders. This keeps the room from feeling like a paint chip explosion while still letting them personalize it.
Build up, not out. In a small room, floor space is the scarcest resource. Floating shelves above the desk, a wall-mounted file organizer, a pegboard — all of this keeps the desk surface and the floor clear.
Create micro-zones on the desk itself. A small tray for homework-in-progress, a separate spot for charging devices, a container for pens and art supplies. Without this, the desk becomes a catchall within a month — I know because that’s exactly what happened to the first version of this setup in my house.
Setting It Up: Room Prep and Order of Operations
Before buying anything, clear the space completely and actually measure it — wall width, walkway clearance, and how much room the chair needs to pull back. I skipped this step once and bought a desk that technically fit against the wall but left no room to sit down comfortably. Returned it, measured properly the second time, saved myself another mistake.
Pick a low-traffic wall. Avoid putting the desk directly across from the bed (too tempting to end up horizontal) or in front of closet doors (you’ll be moving the desk every time someone needs a jacket).
Decide up front: is this study-only, or study-plus-lounge? That decision changes your chair choice, your lighting plan, and how much floor space you need to reserve.
Then build in this order:
1. Anchor pieces first — desk, chair, lamp.
2. Closed storage next if clutter is already a problem — bins, drawers, anything with a lid or door.
3. Open shelving after that, for books and display items.
4. Personalization last — posters, a corkboard, framed art, a plant. This is what makes the room feel like theirs instead of a furniture showroom.
Keep the desktop itself limited to what’s needed that semester: laptop, notebook, pen cup, maybe one focus object. Everything else lives in the storage you just built.
Mistakes That Quietly Wreck a Study Room
Desk too close to the bed or vanity. Distraction city. Give it its own wall.
Desk too small or too shallow. Stick to the 40–48 inch by 20–24 inch range. A laptop and an open notebook need real surface area.
Relying only on overhead light. Layer it — ambient, task, accent — or expect eye strain within an hour of homework.
Cords everywhere. Under-desk trays and short cables fix this in under 20 minutes and it’s the highest-impact cheap fix on this whole list.
Overdecorating the wall right behind the desk. A busy gallery wall directly in the sightline while trying to focus adds visual noise exactly where you don’t want it. Move the big personality wall to the side.
Ignoring the chair. A cute chair that hurts to sit in for 45 minutes doesn’t get used. Comfort and support come before style here.
Keeping the Room Feeling Put-Together Over Time
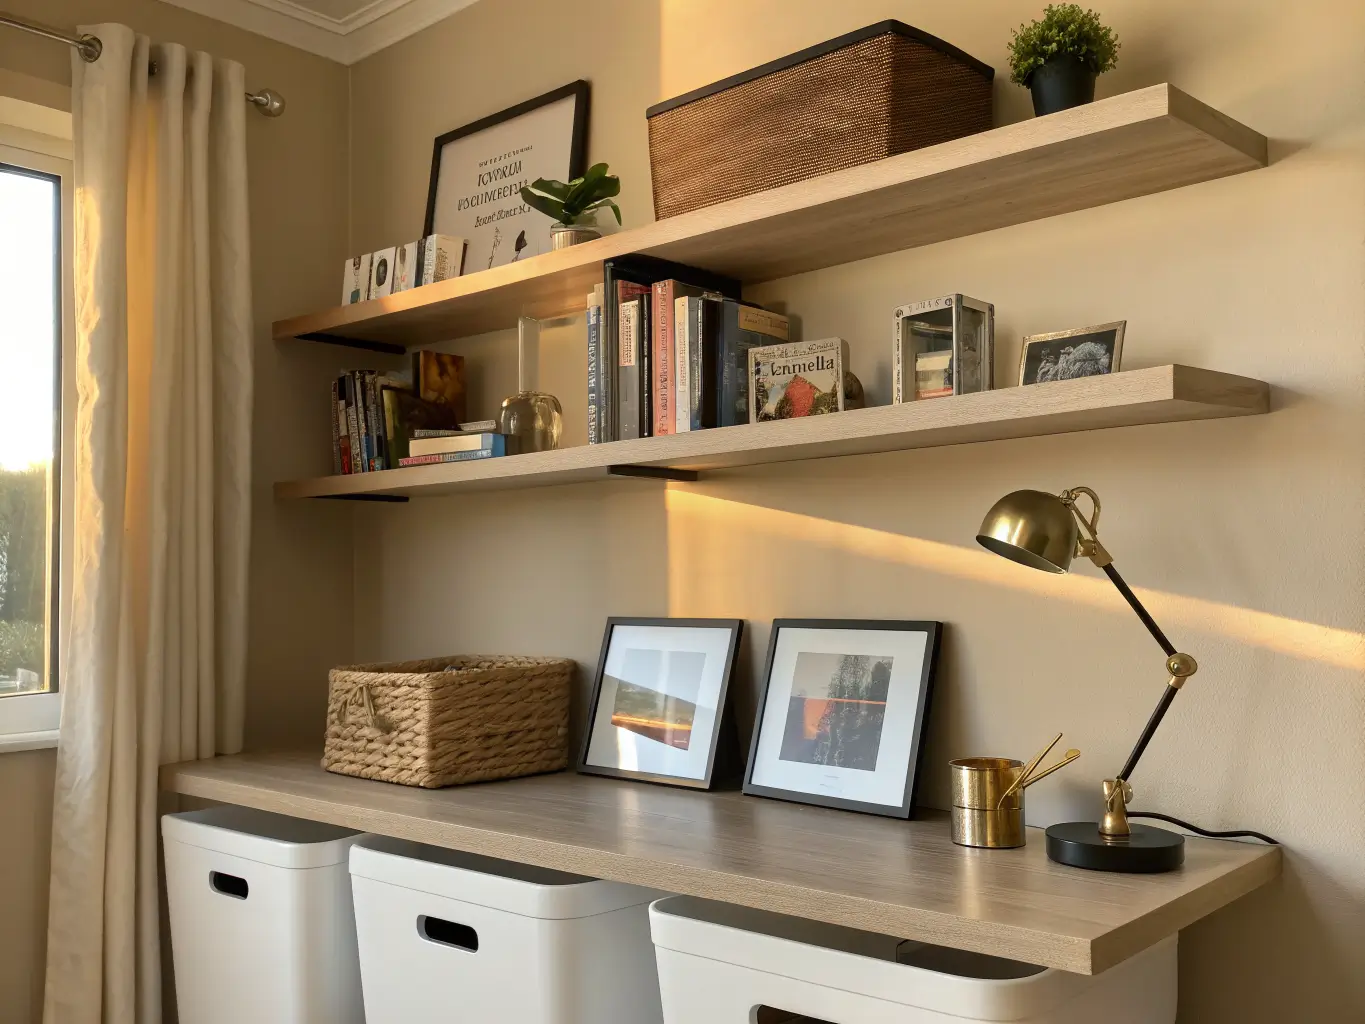
Limit the palette to 2–3 main colors plus one accent and stick to it as you add pieces. Repeat finishes across the room — say, black metal hardware, light oak wood tones, and white storage bins — so the shelf, the lamp, the chair, and the organizers all read as one room instead of a pile of unrelated purchases.
Build in an “end of session reset” habit: five minutes at the end of a study session to put things back in their zone. This is less about tidiness and more about making sure the desk is usable again the next day without a cleanup tax.
For seasonal refreshes, swap the cheap stuff — desk accessories, one art print, a throw pillow — rather than replacing furniture. And if you want a full budget refresh without buying anything decorative, put your money into lighting, storage bins, and cable management first. That’s where the functional payoff is highest per dollar spent.
A few style combinations that work well in this format: boho plus modern for a nook with texture and warmth, coastal plus minimalist for a clean, light desk corner, or preppy plus lounge-focused if the room needs to double as a hangout spot for friends. Pick one direction and let it guide your color and material choices instead of mixing five aesthetics at once.