
A reading nook under the stairs is the best answer to the question every stair-heavy house eventually asks: what do I do with this weird triangle of nothing? I turned the dead space under my own staircase into a reading nook two years ago, and it’s now the most-used seat in my house — more than the couch, more than the actual reading chair I bought for my bedroom and never sit in. If you’ve got an empty stair void collecting shoes and stray extension cords, here’s exactly how to fix that.
What This Project Actually Involves
Before you start pulling out paint swatches, know what you’re signing up for.
Time: A styled-only nook — cushion, lamp, rug, shelf — takes one day. I did mine on a Saturday. A built-in version with custom seating, millwork, and electrical work runs 1 to 3 weeks, mostly because you’re waiting on paint to cure and an electrician to show up.
Cost: This varies wildly depending on how far you take it.
– DIY styling only: $150–$600 — beanbag or floor cushion, throw pillows, a lamp, a small rug, maybe a couple of tension-mounted shelves.
– Semi-custom: $800–$3,000 — a real bench with a foam cushion, floating shelves, proper lighting, fresh paint.
– Full built-in: $3,000–$10,000+ — carpenter-built bench seating, integrated shelving that follows the stair angle, wired sconces. My neighbor did the full build and it hit $6,400, most of which went to the carpenter shaping shelves to match the slope exactly.
Space needed: You want at least 36–48 inches of depth at the usable end for a single seat. If you’ve got 48–60 inches or more, you can fit a real bench plus a side table plus storage underneath. Measure before you fall in love with a Pinterest photo — a lot of those built-ins are working with more depth than your house has.
Skill level: Styling alone is beginner-friendly. Building shelves or a bench is intermediate. Custom millwork, wiring sconces, or moving electrical is expert territory — hire that part out.
Seasonal appeal: This works year-round. The formula — good light, a cushion, books, a couple of soft layers — doesn’t go out of style with the seasons. You just swap textiles.
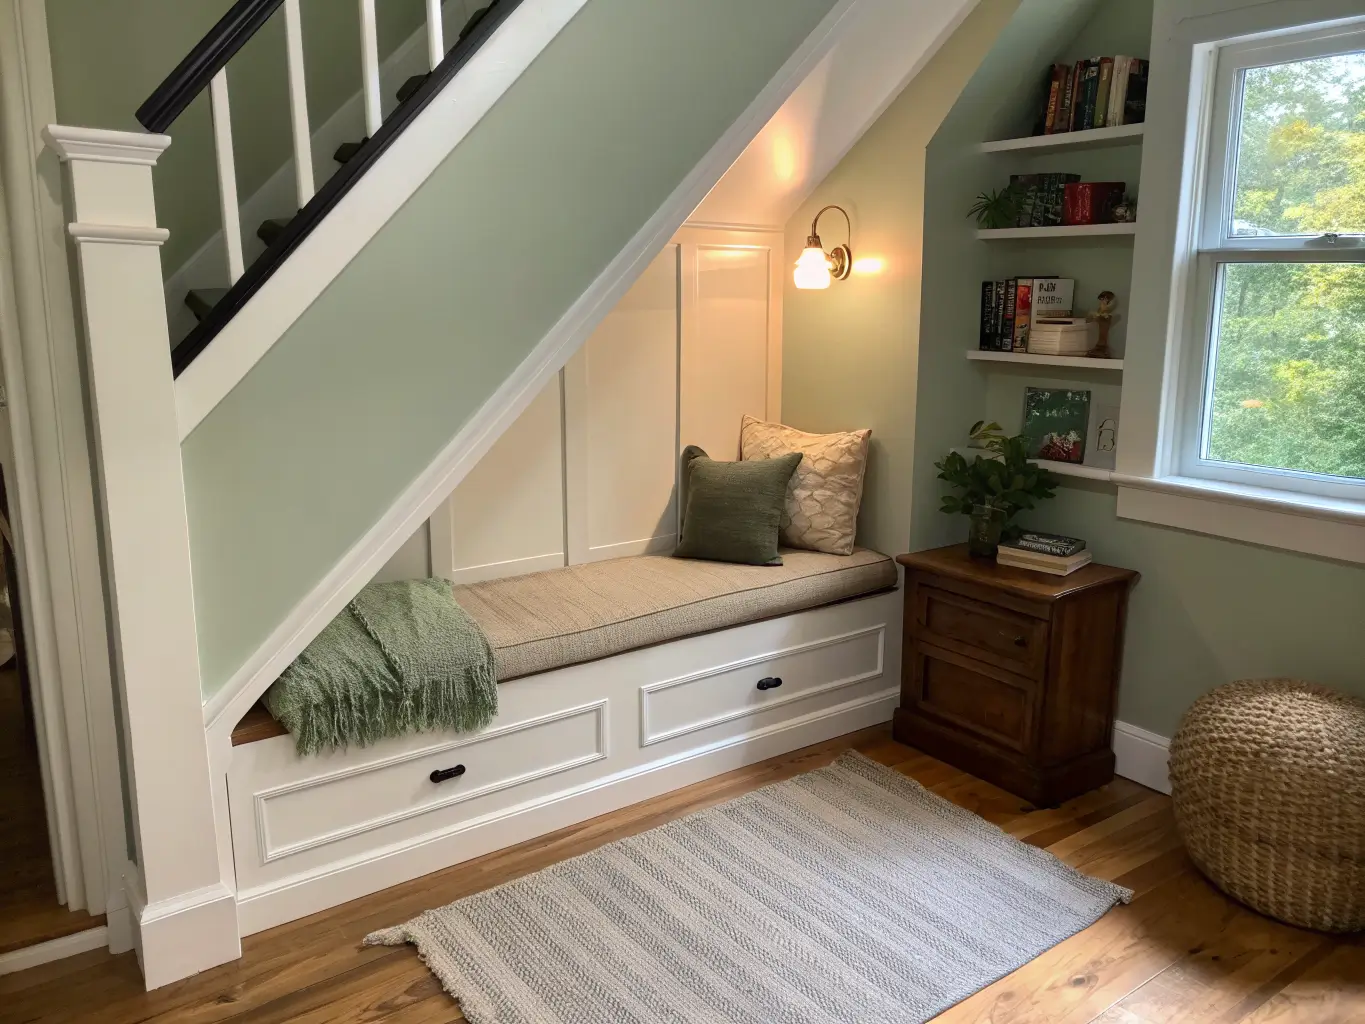
The Look: Cozy, Not Cramped
Most under-stairs nooks land somewhere in cozy transitional territory, with people pulling in Scandinavian simplicity, farmhouse warmth, boho layering, or a moody built-in-library vibe depending on their house.
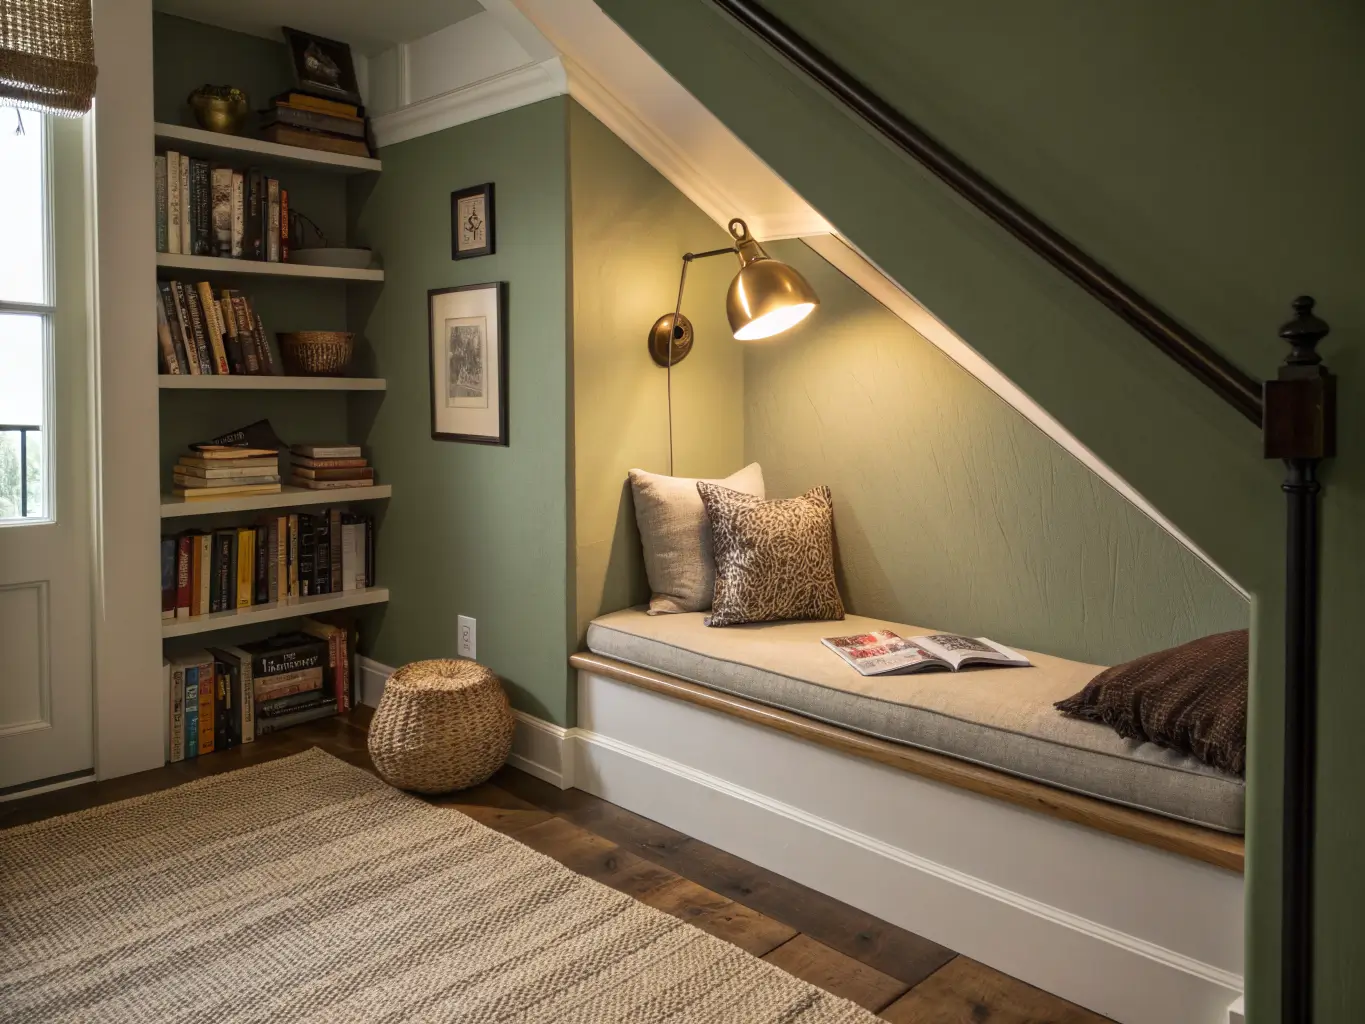
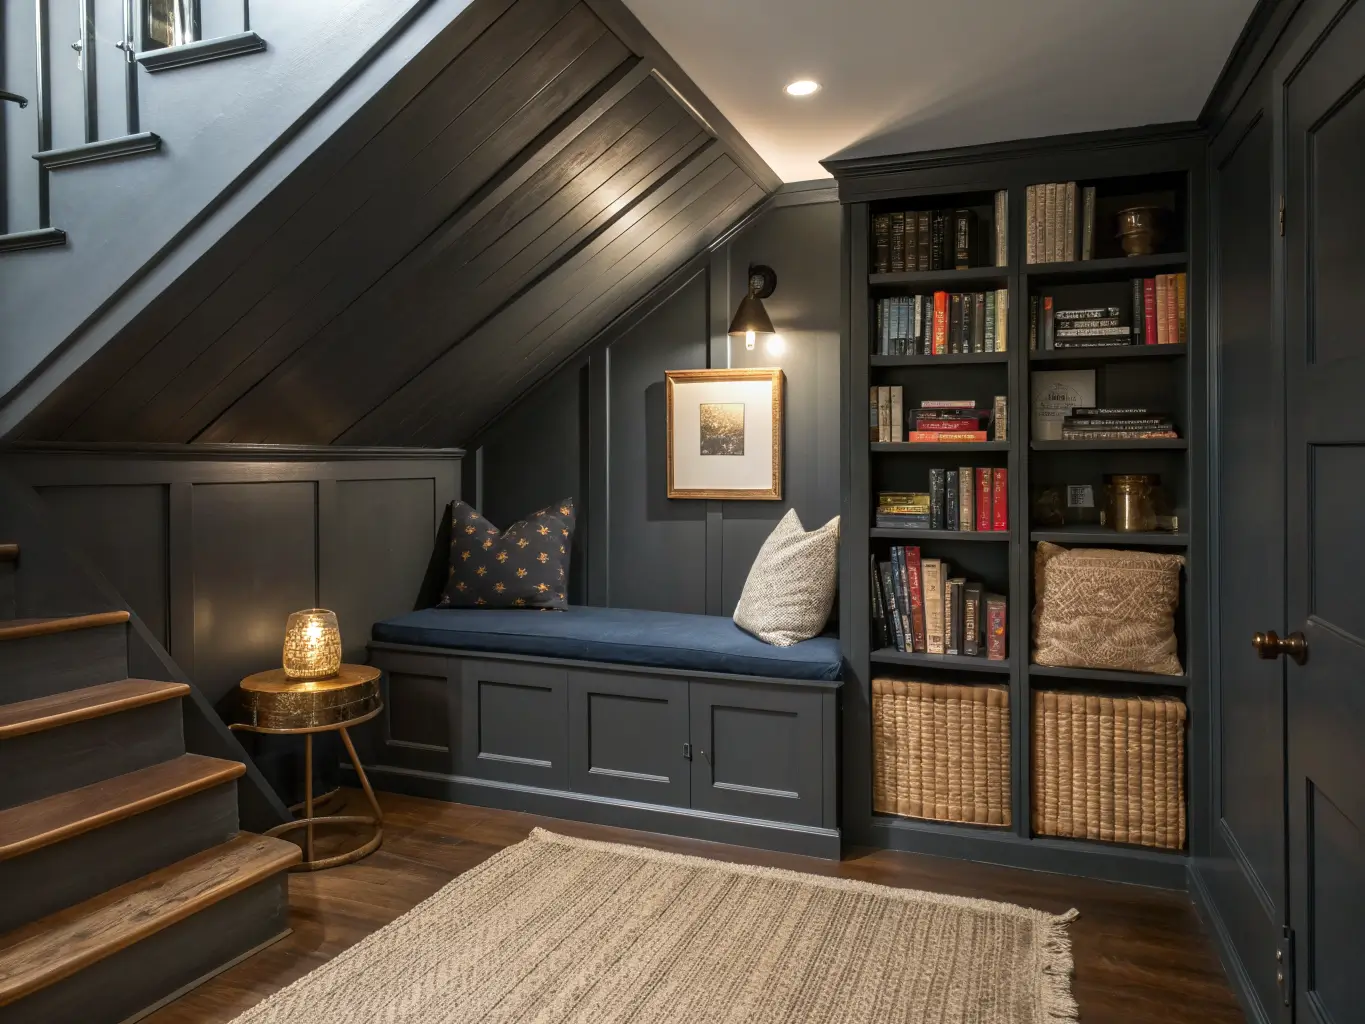
The colors that keep showing up, and for good reason: warm white, oatmeal, soft beige, birch, sage, navy, charcoal. Light neutrals make a small nook feel airy; darker tones like navy or charcoal make it feel like a cocoon you want to disappear into. I went with a soft sage on the back wall of mine because my hallway is already heavy on white, and I wanted the nook to read as its own moment, not just more wall.
Materials that hold up and look intentional: linen upholstery, high-density foam cushions, shiplap, plywood or birch shelving, poplar trim, jute rugs, brass or matte black lighting.
This works for book lovers, obviously, but also families who need a landing spot for kids, and anyone in a small home who’s tired of wasted square footage. It works in entryways, living rooms, stair landings, family rooms, even bedrooms — anywhere the staircase is a visual presence rather than something tucked away.
The Pieces That Make a Reading Nook Under the Stairs Actually Work
Hero seating
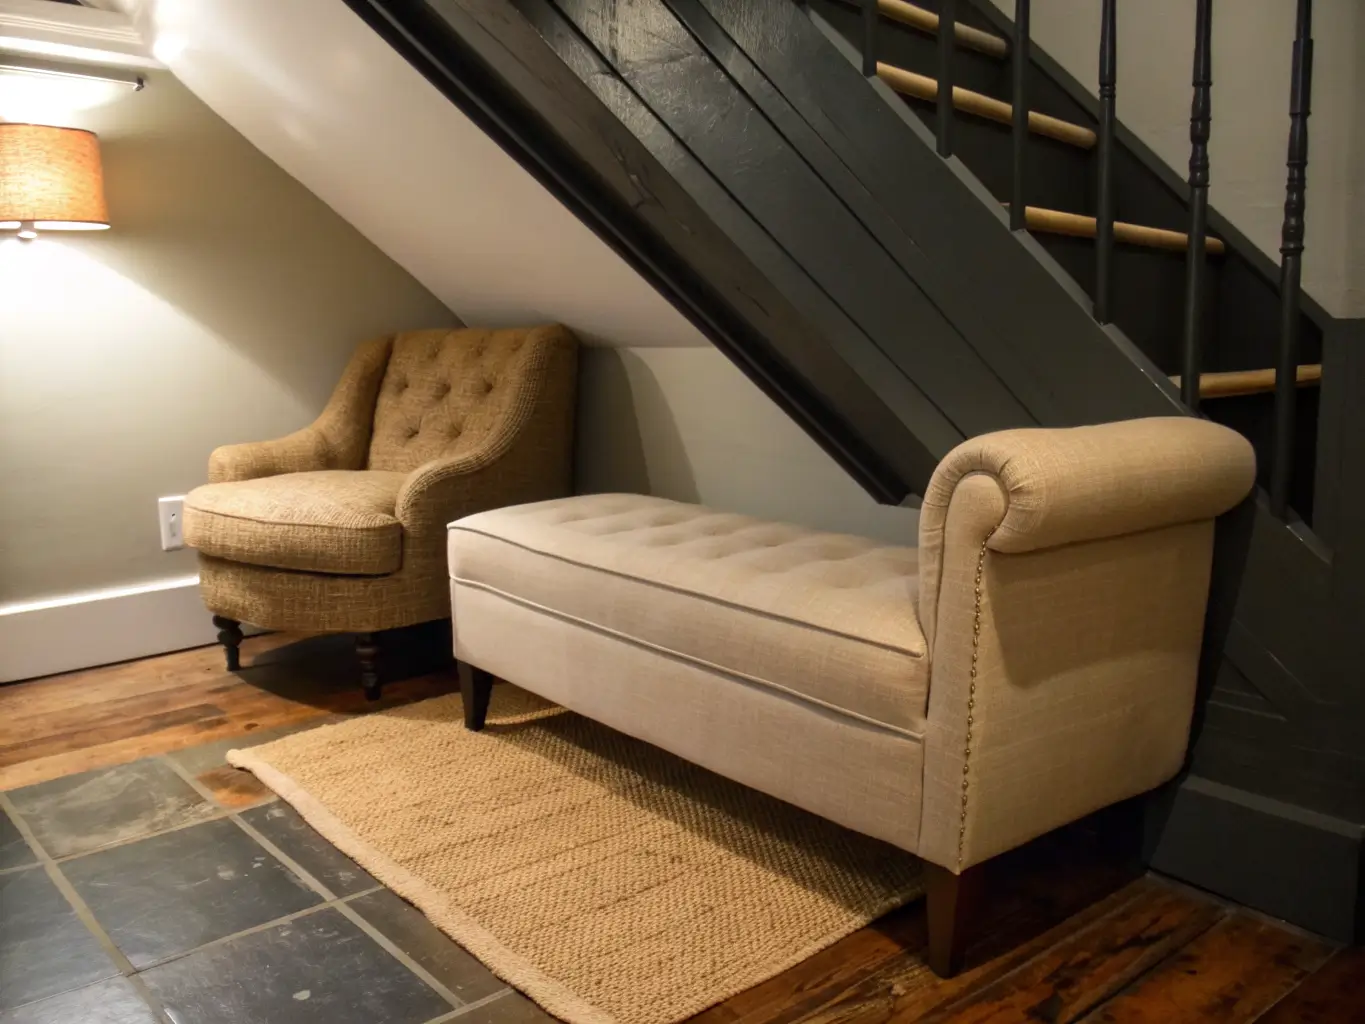
Pick one: a built-in bench, an upholstered cushion on a plywood platform, a compact armchair, a small chaise, or a beanbag if you’re keeping it casual. The mistake I made the first time around was trying to fit an armchair that was too deep — it stuck out past the stair line and became something you’d bump into walking by. Measure the chair’s full depth against your shallowest point, not your deepest, or you’ll end up with the same problem.
Storage and books
Floating shelves that follow the stair’s slope are the single most “wow, someone actually designed this” detail you can add. Cubbies, short book ledges, or closed lower cabinets all work too — closed storage is the better call if you’ve got kids and don’t want to style around chaos every week.
Lighting
Non-negotiable, and the thing people skimp on most. You need actual task lighting for reading, not just ambience:
– Wall sconces (plug-in versions exist if you don’t want an electrician involved)
– A table lamp on a side ledge
– Battery-powered puck lights inside shelving
– LED strip lighting under a shelf lip for a soft glow
I started with just string lights in mine. They looked nice in photos and were useless for actually reading a book after 7pm. Added a small brass sconce six months later and that’s when the nook became functional instead of just decorative.
Comfort layer
Throw blanket, one lumbar pillow, a seat cushion with a removable washable cover. Don’t overdo the pillow count — two is plenty in a tight space, three starts eating your actual sitting room.
Surface accent
A small ledge or side table for a mug and your glasses. Even a 10-inch floating shelf at arm height does this job.
Grounding piece
A jute rug or low-pile neutral rug, sized to define the nook as its own zone rather than an extension of the hallway floor.
Signature touches
Framed art on the back wall, a small plant, a woven basket for extra throws, maybe chalkboard paint on a side panel if it’s a kid’s nook.
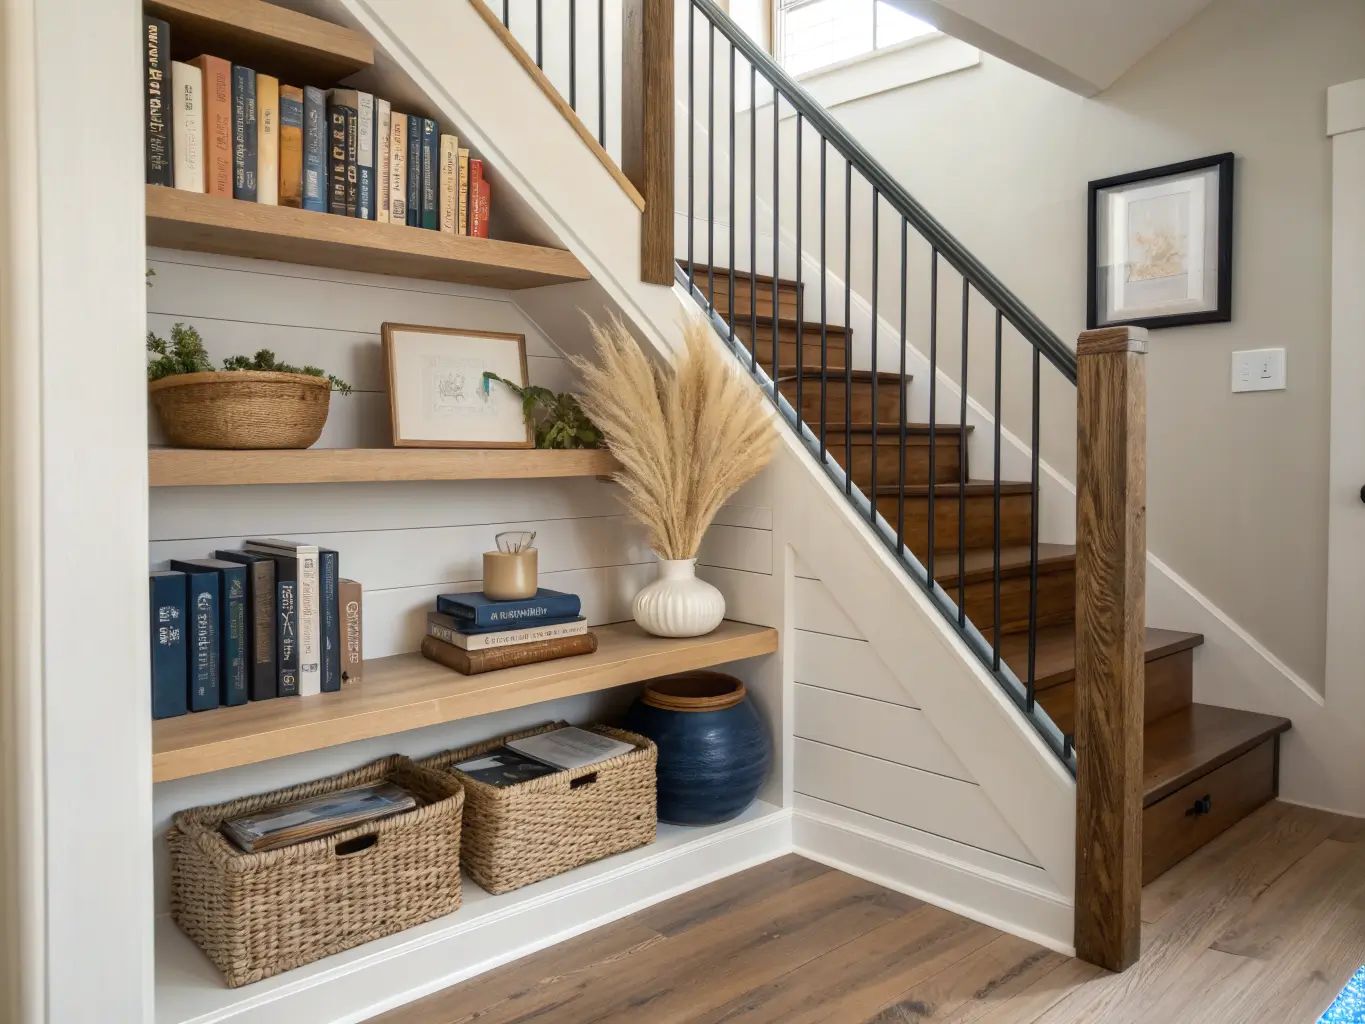
Optional Upgrades Worth Considering
– Seasonal accents: heavier knits and darker pillow covers in winter, linen and lighter cotton in summer.
– Organic texture: a small potted plant, a woven basket, natural wood grain left visible instead of painted.
– Metallic/luxe touches: brass sconces or a picture light above the shelves reads more “library,” less “reading corner.”
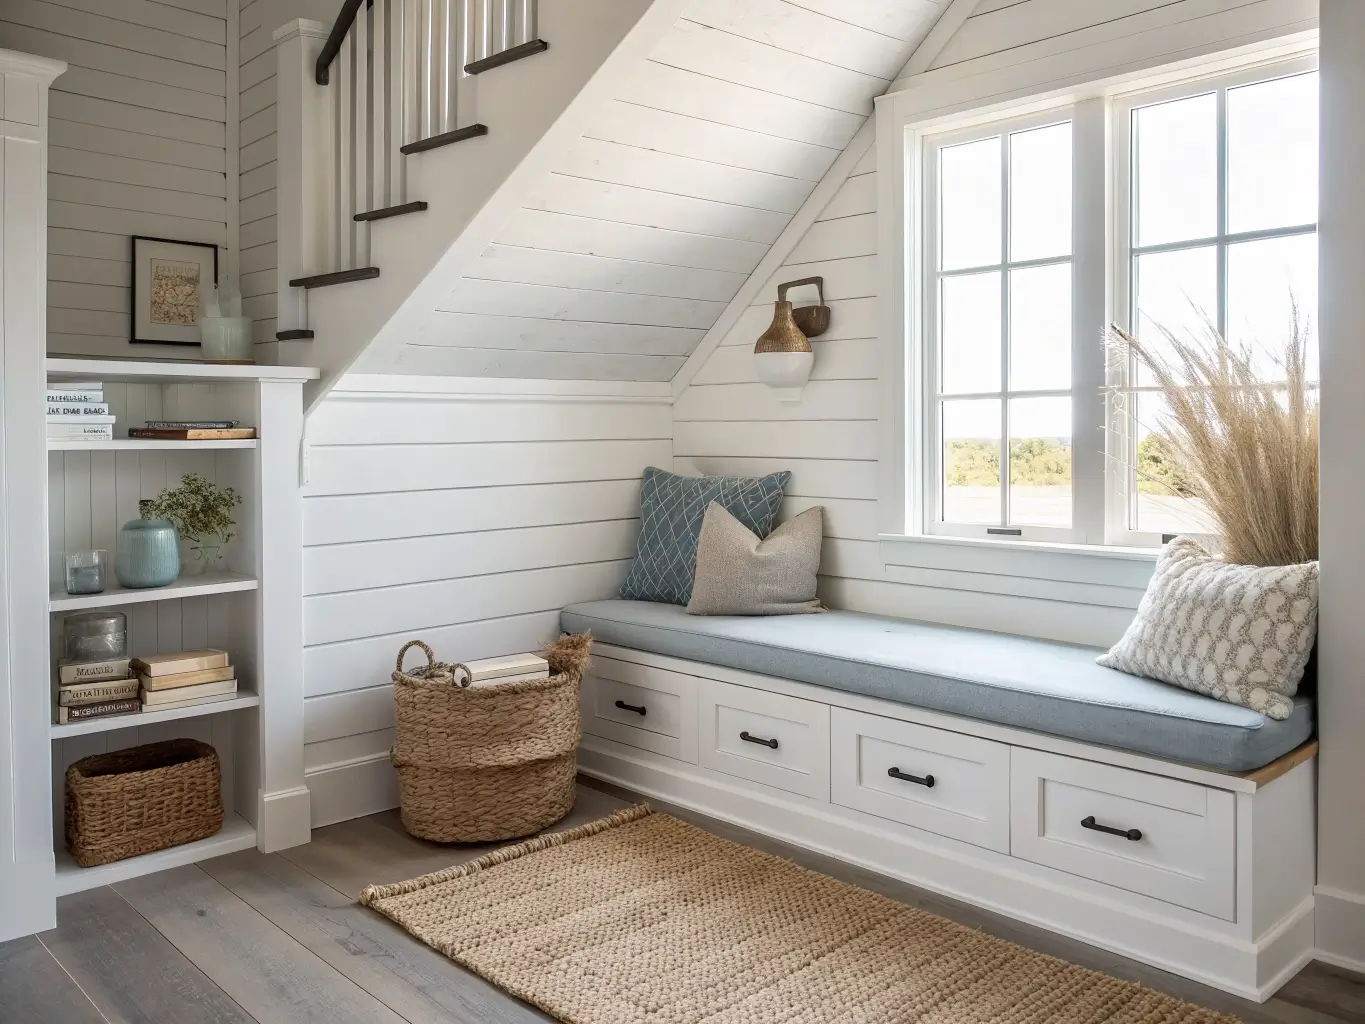
– Architectural upgrades: wallpaper on the back wall and sloped ceiling, or shiplap paneling, gives it a finished, built-in look even if you didn’t do a full built-in.
– Family-friendly additions: drawers under the bench or basket cubbies for toys and extra books — the stuff that otherwise ends up on the floor.
Pro Tips for Making It Look Designed, Not Improvised
– Layer at least three textures — hard shelving, soft upholstery, one woven or nubby element like a jute rug or chunky throw. Skip this and the nook reads flat no matter how nice the paint color is.
– Match the nook’s palette to the room it’s attached to. If your hallway is white oak and white walls, don’t drop in a black-and-red nook — it’ll look like an afterthought instead of a plan.
– Use the tallest point for seating, the lowest point for storage. Books and baskets don’t need headroom; you do.
– Paint the sloped ceiling and back wall the same color for that cocoon effect, or go lighter than the rest of the room if you want the space to feel bigger rather than more intimate.
– Balance the book display. Mix a few stacked flat, some upright, one or two small objects between them. A shelf packed spine-to-spine with nothing else looks like storage, not styling.
Setting It Up: Step by Step
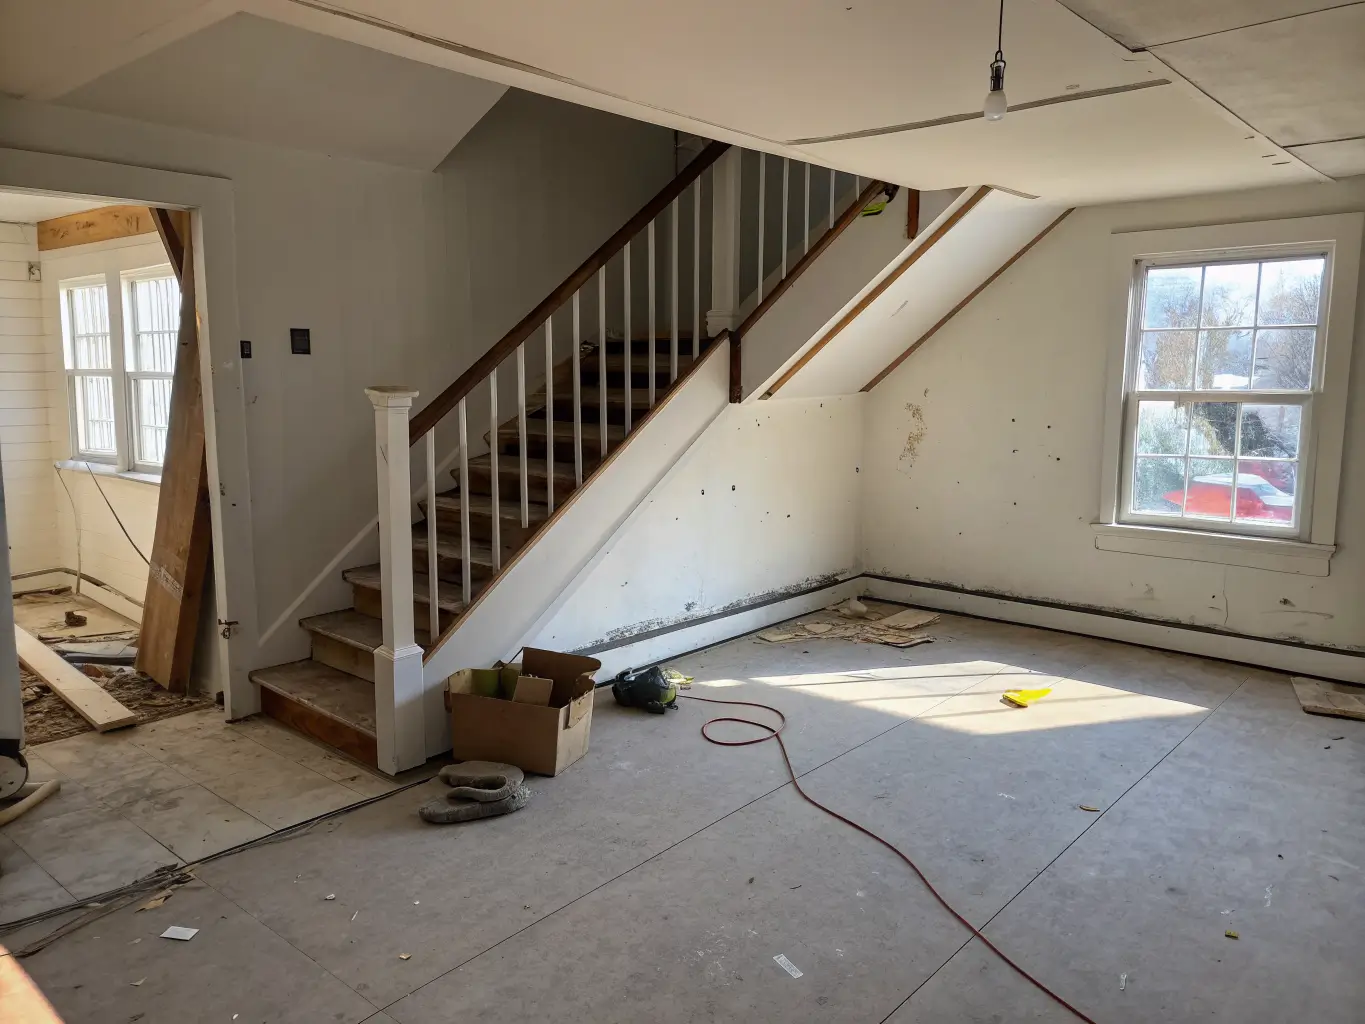
1. Measure everything first. Depth at the tallest point, the ceiling slope angle, and check for obstructions — electrical panels, HVAC returns, low-voltage wiring. I almost boxed in a breaker panel in my own hallway because I didn’t check behind the drywall access panel first. Glad I looked.
2. Decide the nook’s actual job. Purely decorative? Reading-focused? Storage-plus-seating hybrid? This decision changes everything downstream, from bench depth to shelf count.
3. Check your wall condition before you commit to paint, wallpaper, or shiplap, especially in an older house where stair walls are rarely perfectly flat.
4. Plan lighting before you buy furniture. Decide plug-in versus battery versus hardwired now, because it affects where your outlet needs to be and whether you’re calling an electrician.
5. Start with the biggest piece — bench, chair, or built-in seat goes in first.
6. Add storage next — shelves that follow the angle, cubbies, or cabinets.
7. Install lighting after furniture is placed, so the lamp or sconce height actually lines up with where your head will be when you’re reading.
8. Finish with textiles and personal objects — pillow, throw, rug, a couple of framed pieces. Stop before it feels full.
9. Highlight the architecture. The sloped ceiling or the triangular wall line is the most interesting part of the space — paint it, panel it, or point a light at it instead of hiding it.
Mistakes I See Constantly (and Made Myself)
– Not enough real light. Fairy lights are pretty. They are not what you read a paperback by.
– Furniture too big for the slope. A deep armchair or an oversized bench eats the walking path next to it. Respect the taper.
– Skipping the safety check. Unsecured floating shelves and sharp shelf edges are a real problem in a high-traffic zone, especially with kids running past.
– Not checking what’s behind the wall. Built-ins can block electrical panel access or existing under-stair storage doors if you don’t check first — ask me how I know.
– Overstyling. Small alcove, small tolerance for clutter. Six decorative objects is usually five too many.
Keeping the Nook Feeling Fresh, Not Stale
Match the nook to your home’s overall style — airy and minimal if that’s your living room, layered and classic if your house leans traditional, playful and colorful if it’s a kid’s zone. Repeat one or two materials throughout (birch + linen, or oak + brass) so it feels cohesive rather than like a Pinterest board that landed in your hallway. If books or toys pile up fast, use closed baskets instead of open shelving — it hides the mess in about four seconds instead of forcing a full reorganize.
Rotate a few books or objects seasonally. It keeps the space feeling current without you spending anything.
Seasonal and budget swaps
– Pillow covers, a new throw, a fresh lamp shade, or dried stems in a small vase for near-zero-cost seasonal refreshes.
– Swap a jute rug for something softer underfoot in winter.
– Before committing to custom millwork, try peel-and-stick wallpaper, plug-in sconces, or a thrifted chair — I bought my bench cushion base secondhand for $40 and just re-covered it in linen, which saved me the cost of building one from scratch.
Cross-style variations
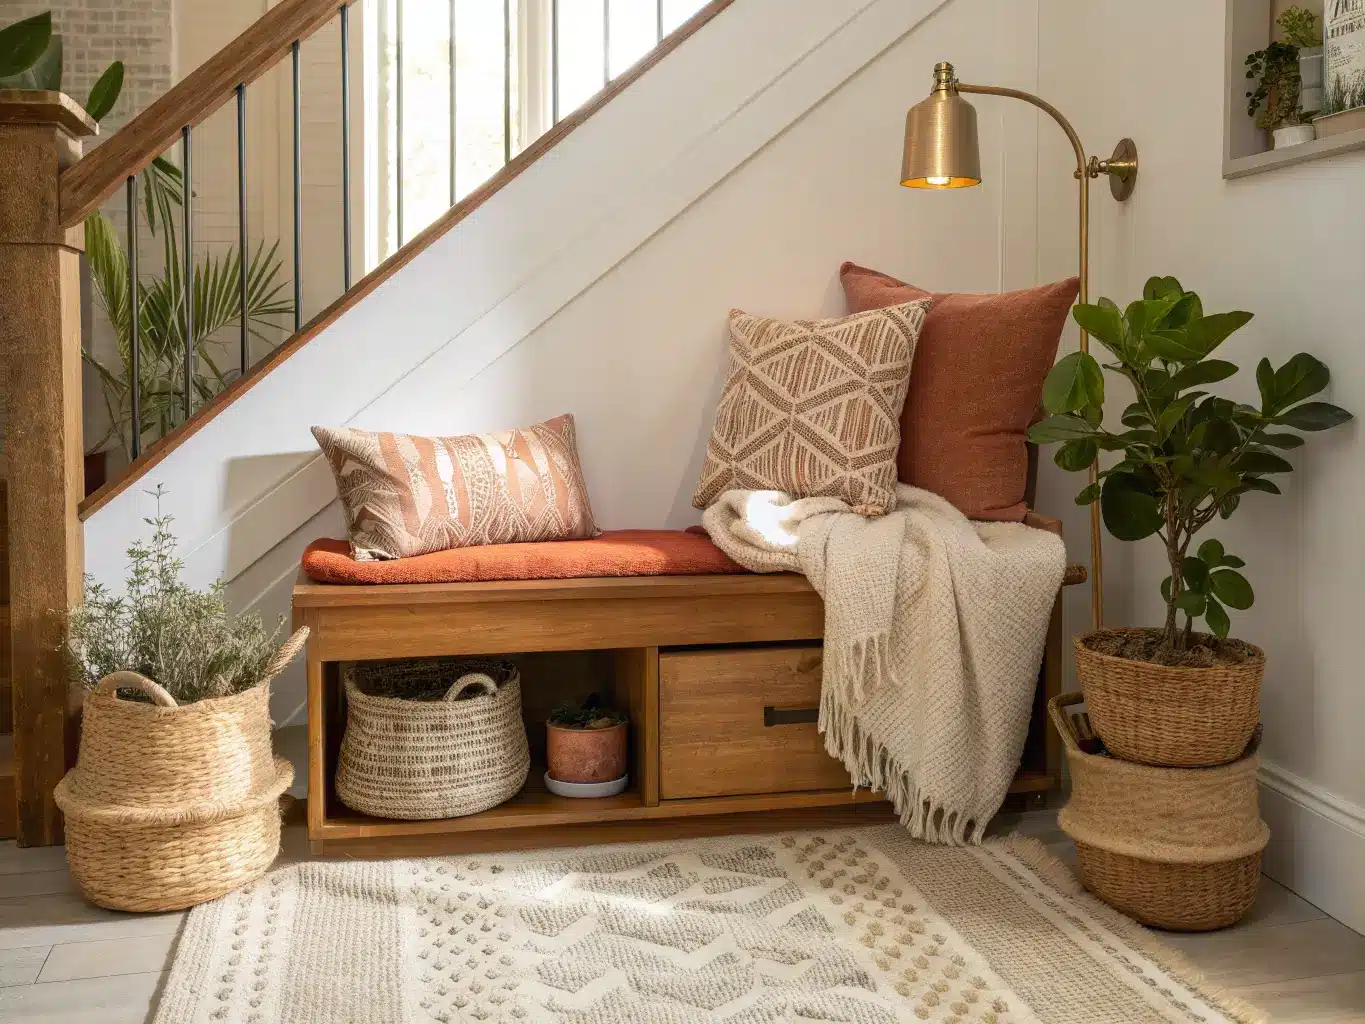
– Boho: linen cushions, layered textiles, woven baskets, warm wood shelving.
– Coastal: whitewashed shiplap, pale birch tones, soft blue-gray accents.
– Moody library: charcoal or navy paint, brass lighting, dark wood shelves.
Kid-to-grownup transition
Bright colors and decals now, neutral upholstery and a proper table lamp later. Build the bones (bench, shelving, lighting) neutral from the start, and let the swappable stuff — cushions, art, rug — carry the personality. That way you’re not rebuilding the whole nook when your kid outgrows dinosaur wallpaper.
For another angle on this, my closet reading nook guide covers the same space from a different starting point.





