
What This Style Actually Is
This isn’t one aesthetic. It’s a functional backbone — good storage — that can wear whatever style clothes you want. I’ve seen it done in crisp Scandinavian white oak, moody industrial black steel, and warm mid-century walnut, and the underlying bones are identical every time: a big closed piece for the stuff you don’t want to see, open shelving for the stuff you do, and a desk that isn’t doing triple duty as a filing system.
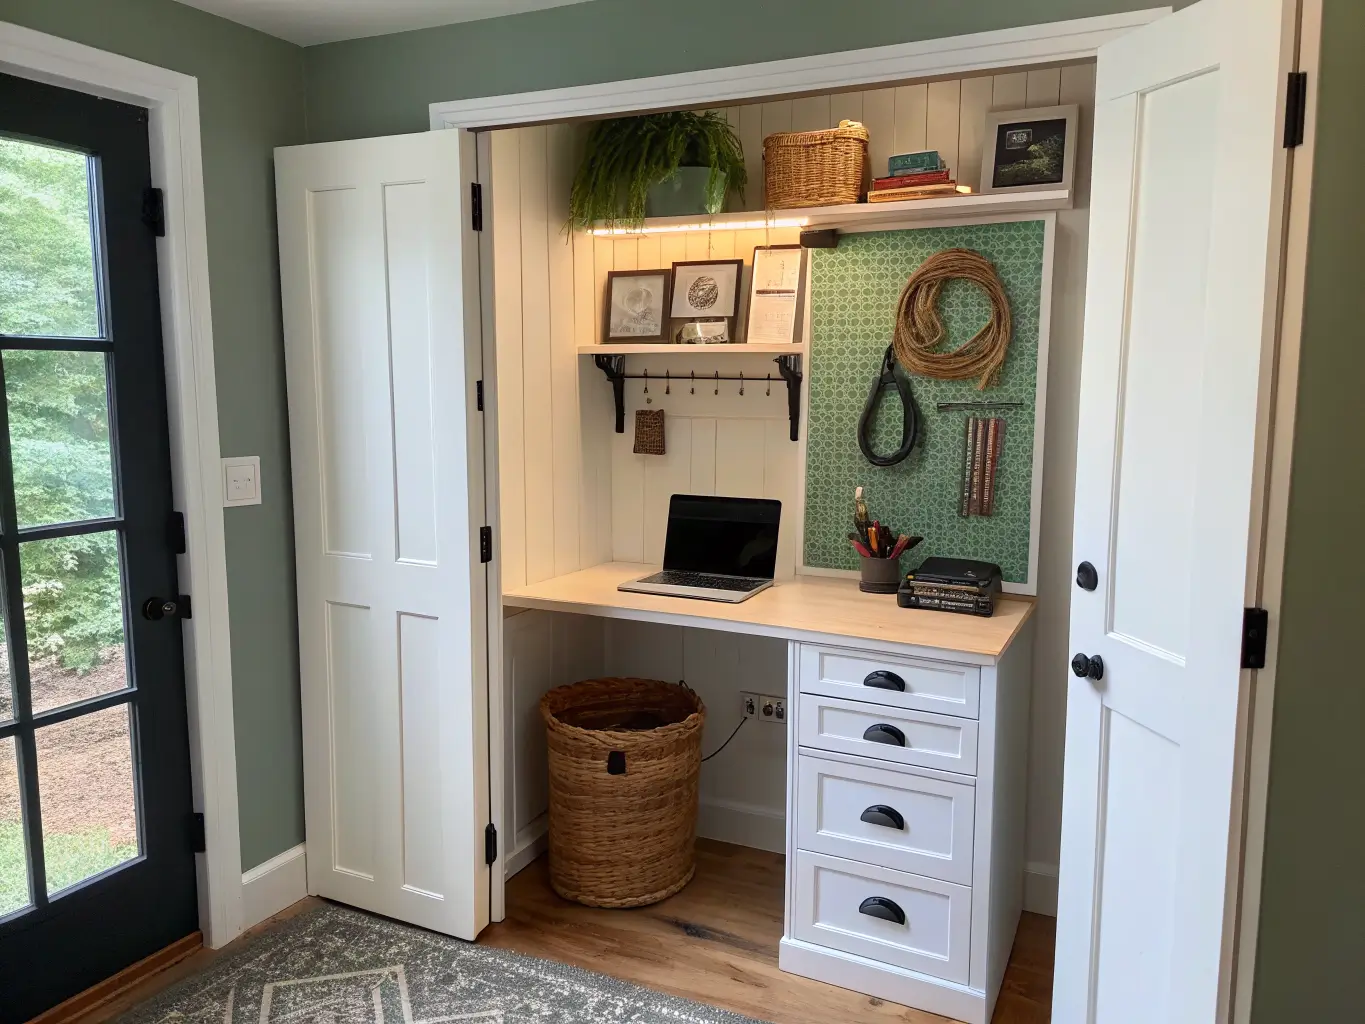
Who it’s for: remote workers, hybrid folks, students, anyone who does household paperwork at a kitchen table and wishes they didn’t. Where it works: a full spare room, obviously, but also a bedroom corner, a closet with the doors pulled off, or that awkward alcove under the stairs nobody knows what to do with.
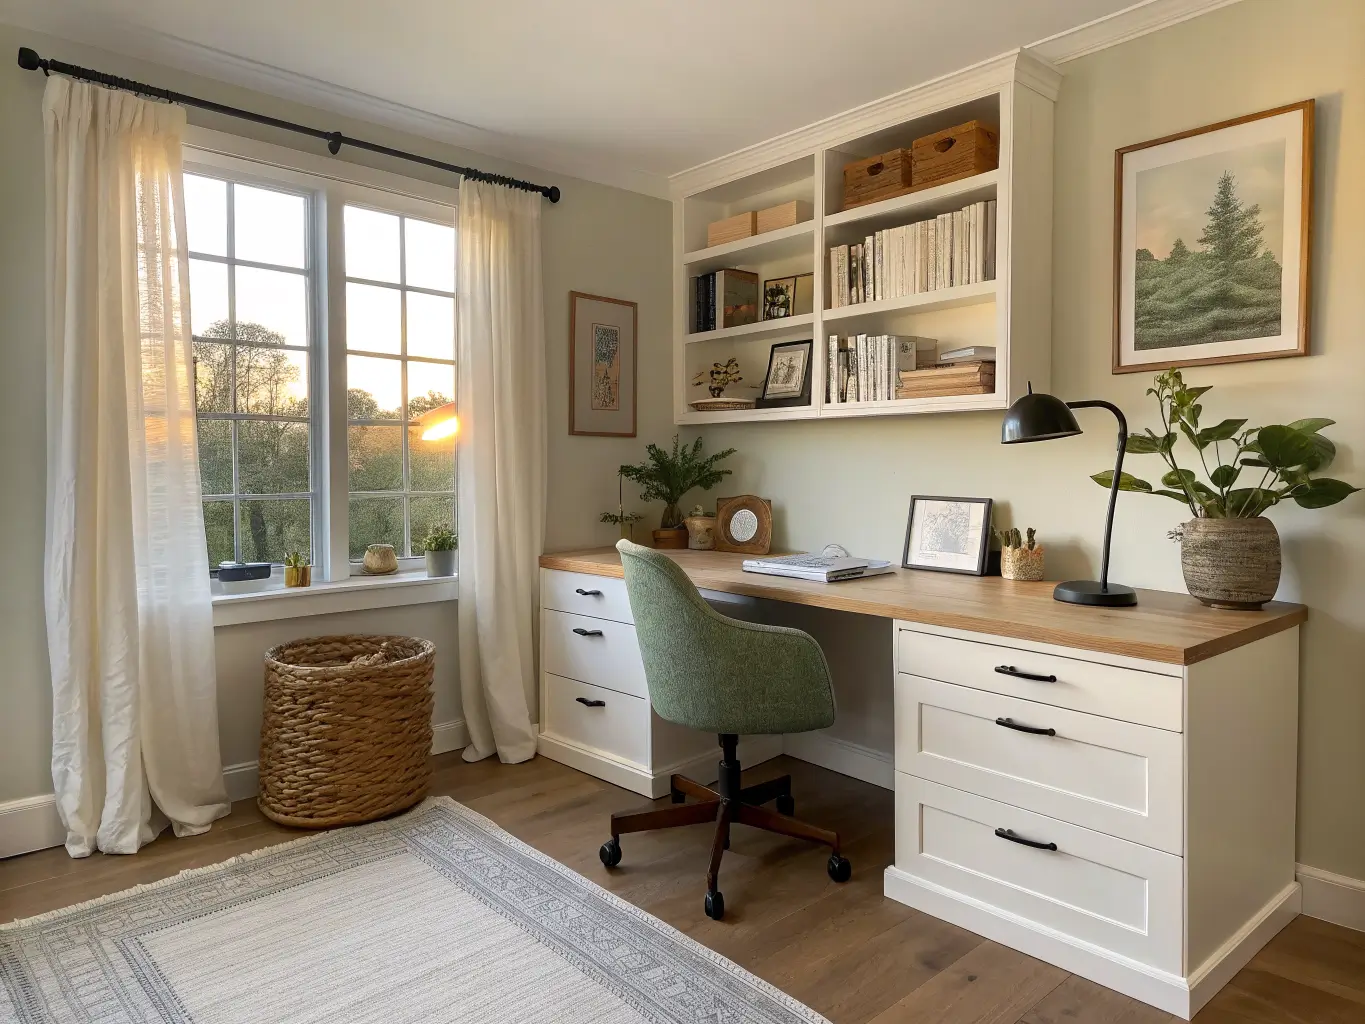
Time and Cost, Honestly
- A weekend refresh (desktop organizer, cable clips, a few bins): 2–6 hours, $20–$150
- A real upgrade (file cabinet, bookcase, wall shelves, a drawer unit like IKEA’s ALEX): a day or two, $150–$800
- Built-ins or a custom storage wall: several days plus install time, $1,000–$4,490+ if you’re looking at something like Herman Miller’s home-office collection
I’d tell almost anyone starting out to live in that middle tier. The budget tier feels good for about six weeks and then you’re buying it all again in better materials anyway.
The Pieces That Actually Do the Work
You need a hierarchy here, not a shopping list. Big pieces first, small accessories last.
The hero pieces:
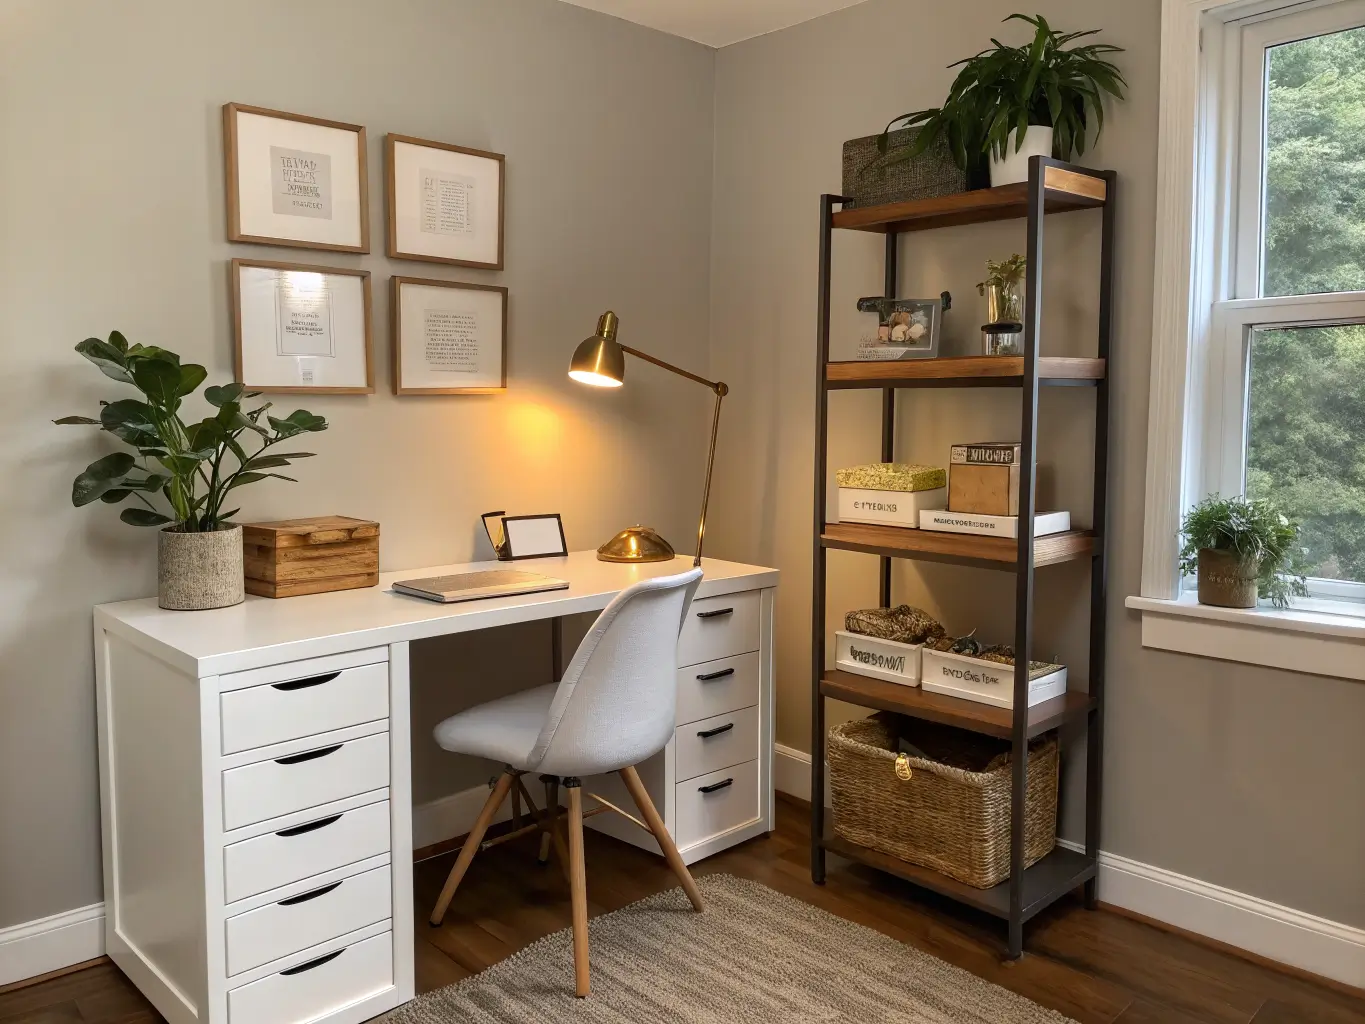
- A desk with real drawers, not just a slab on legs. This is non-negotiable. A drawer under the desktop is where your everyday junk — chargers, notepads, the stapler — goes instead of onto the surface.
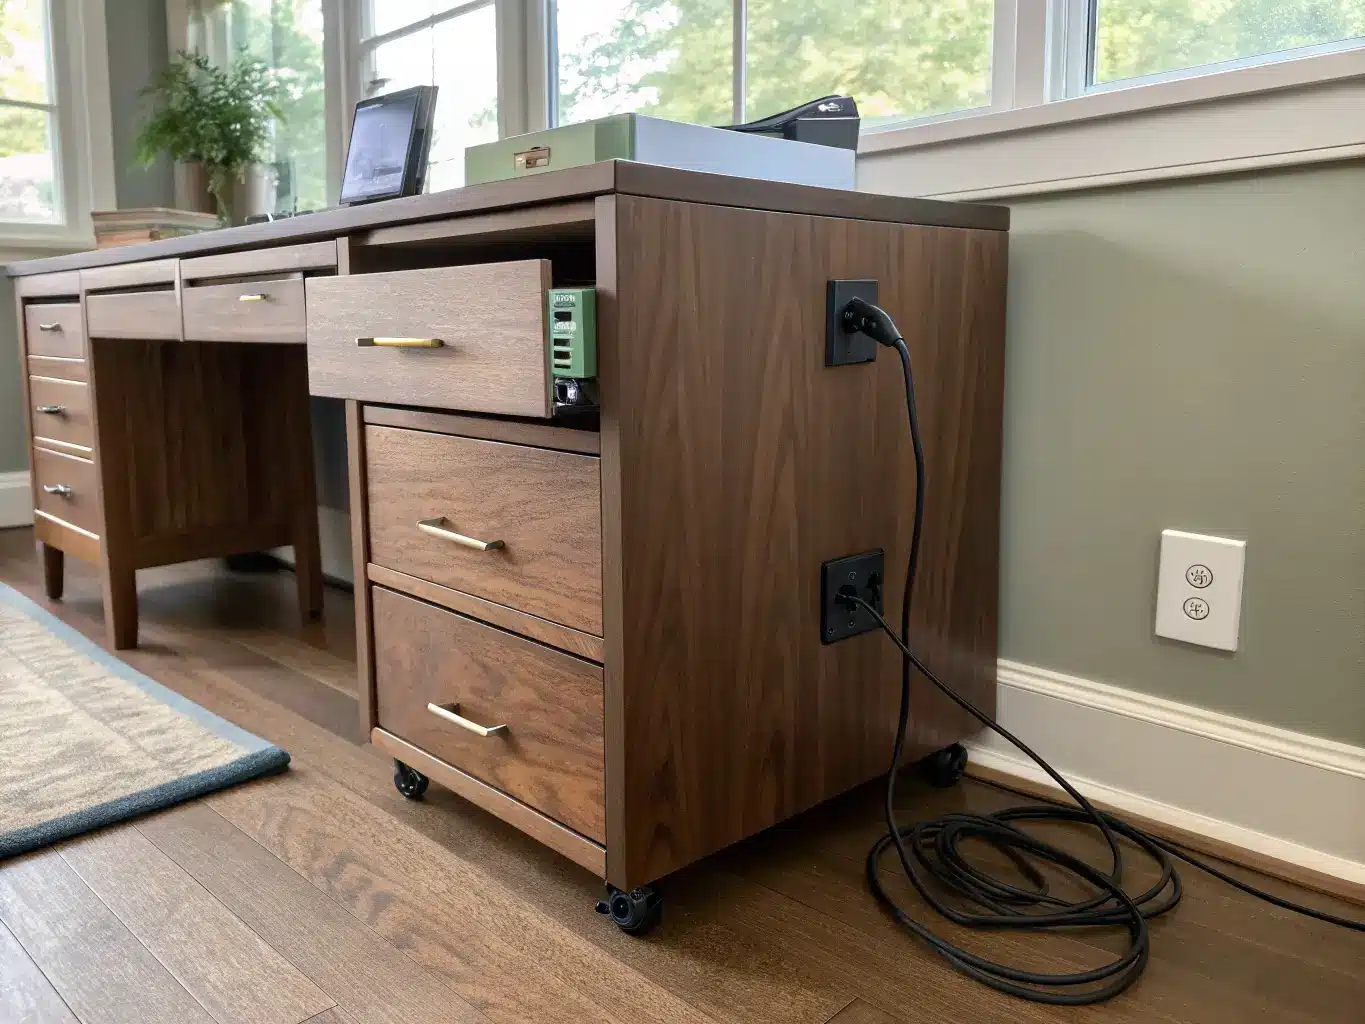
- A lateral file cabinet or a rolling pedestal. If you handle any paper — tax documents, kids’ school forms, insurance stuff — this is the piece that keeps it from colonizing your desk. Measure your folder depth before you buy; letter-size hanging files need at least 12 inches of interior depth.
- A bookcase or open shelving unit. This is your vertical real estate, and in a small room it’s doing more work than anything else you own.
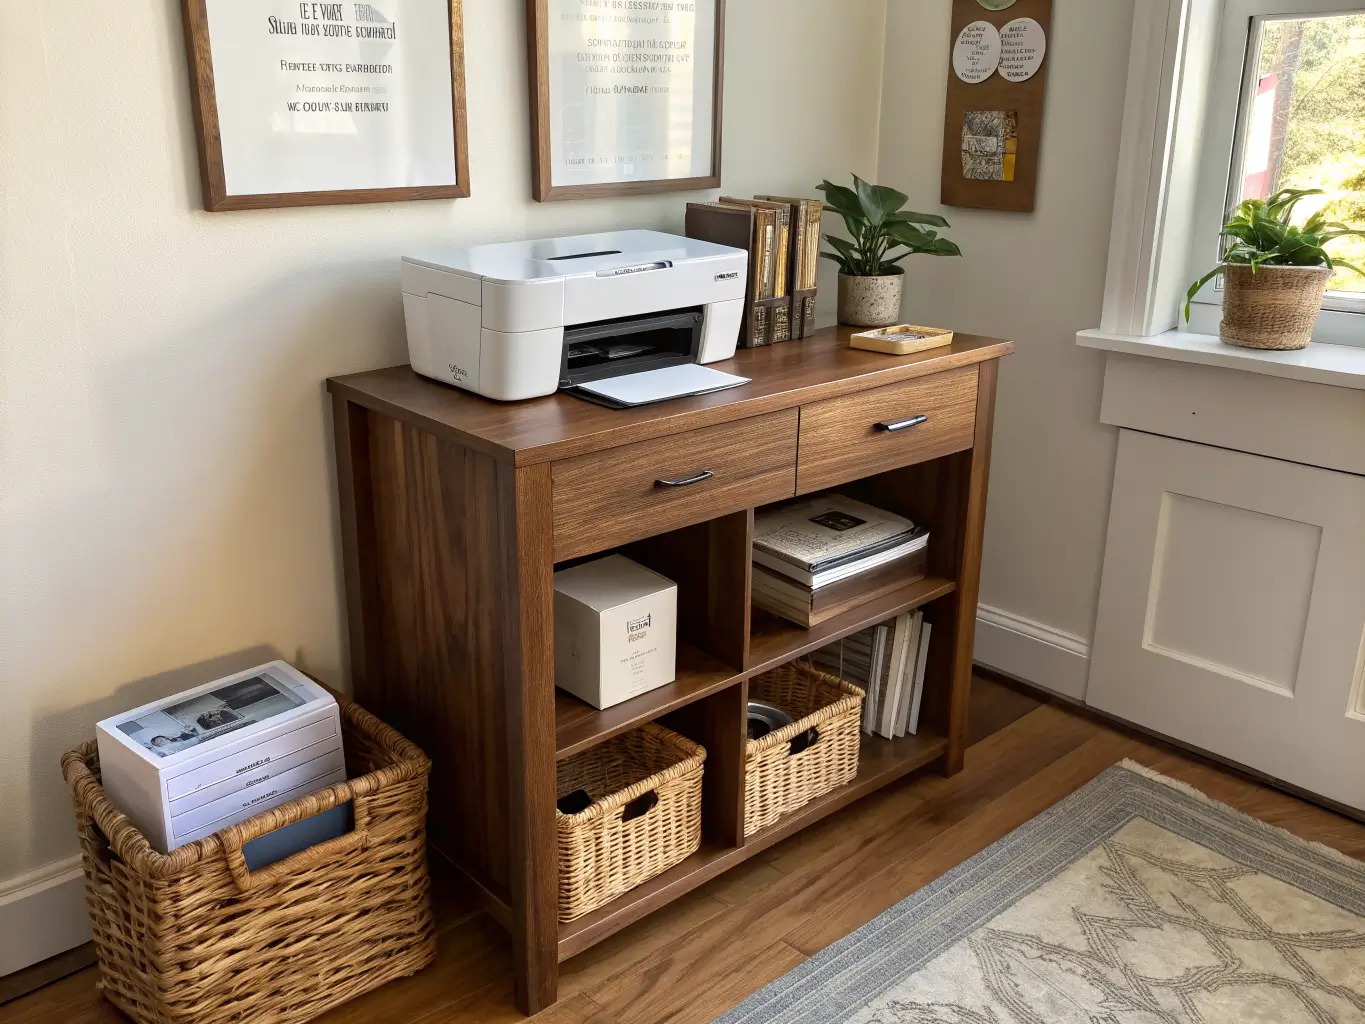
- A printer stand with a shelf or cabinet underneath it. Printers are ugly and take up desk space nobody accounted for.
The support cast:
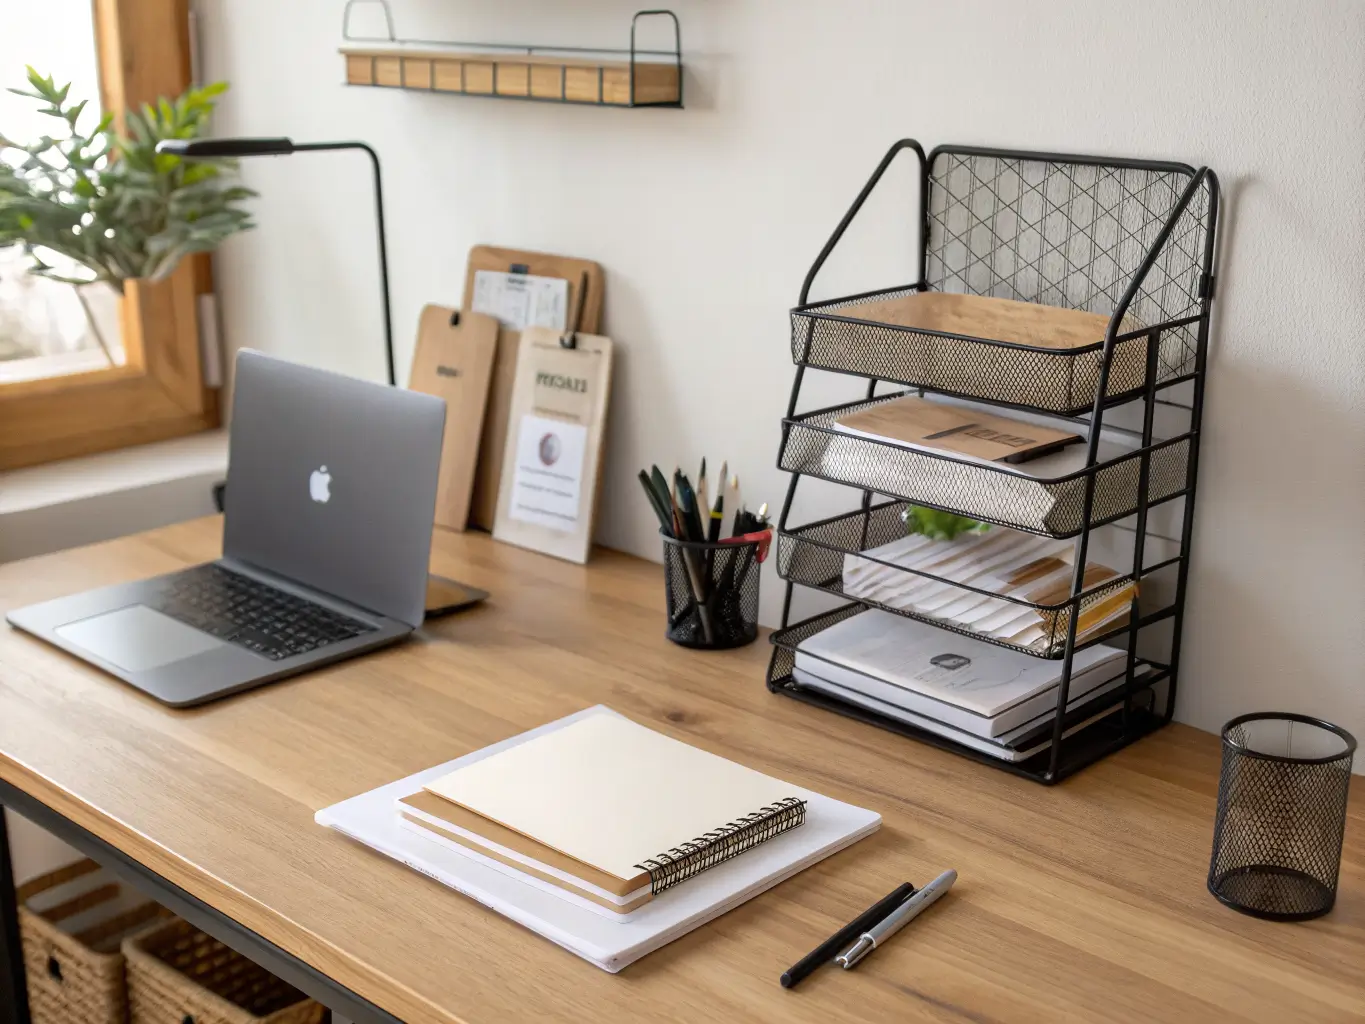
- A desktop organizer with tiered trays for pens, mail, and sticky notes
- A wall-mounted file holder for the folders you’re actively using this week
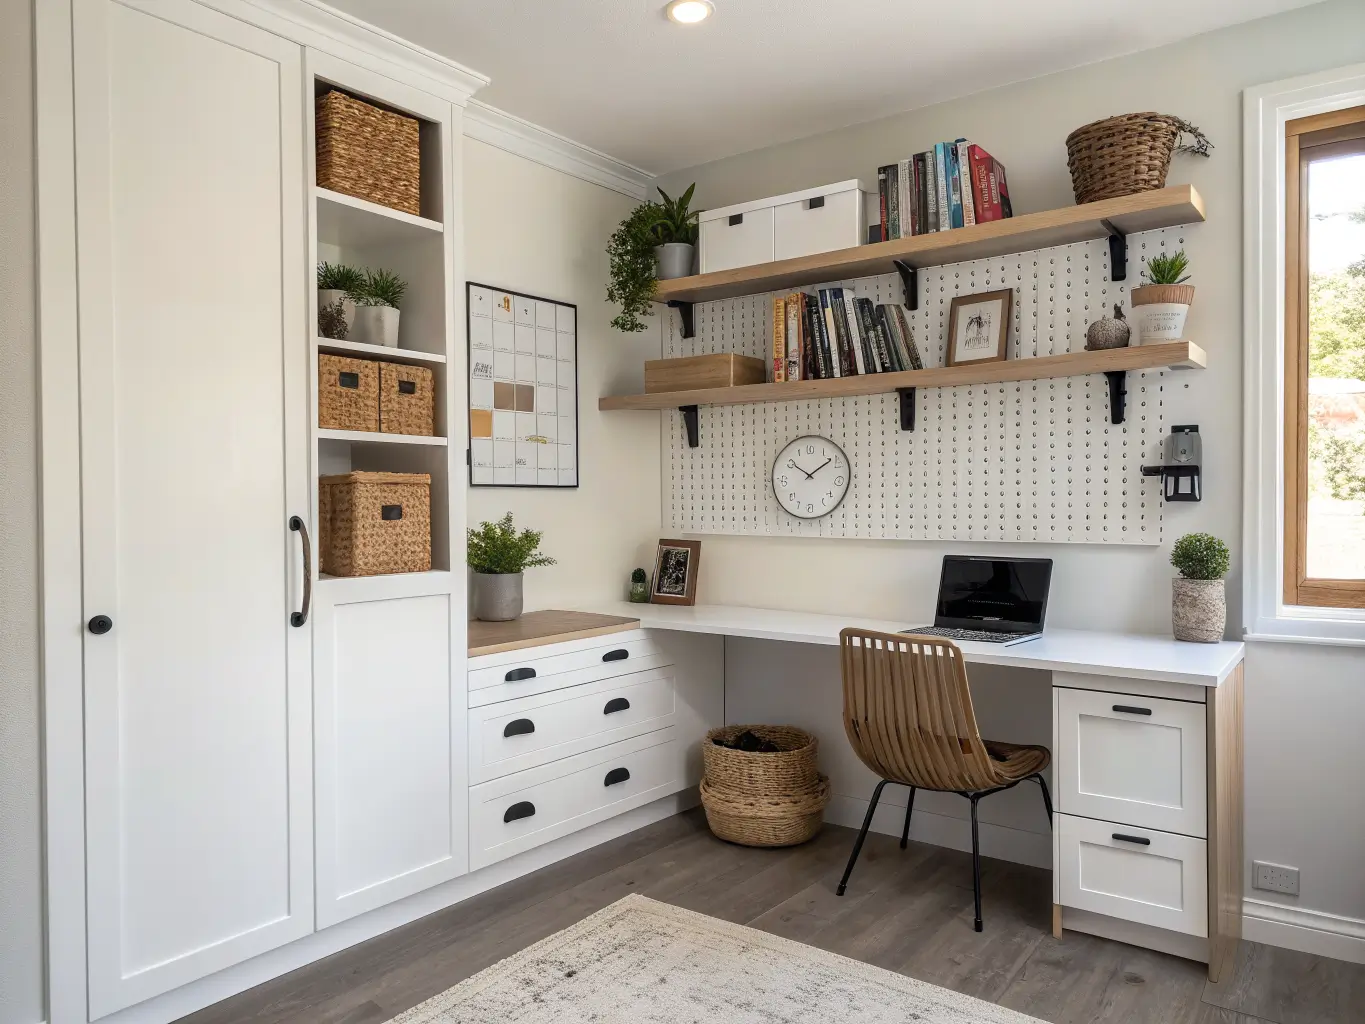
- A pegboard — genuinely underrated, holds headphones, scissors, cables, whatever, and it’s all visible instead of buried
- Cable clips or a cord box (a $12 fix that solves 80% of “why does this desk look messy” complaints)
- Stackable bins and drawer dividers for the stuff that only comes out twice a year
The finishing touches:
a desk lamp, a small whiteboard or calendar, labeled baskets, one plant, one piece of art. That’s it. This is where people overdo it and undo all the organizing they just did.
Layering In Style Without Losing Function
Once the bones are in place, this is where you make it look like a room and not a supply closet.
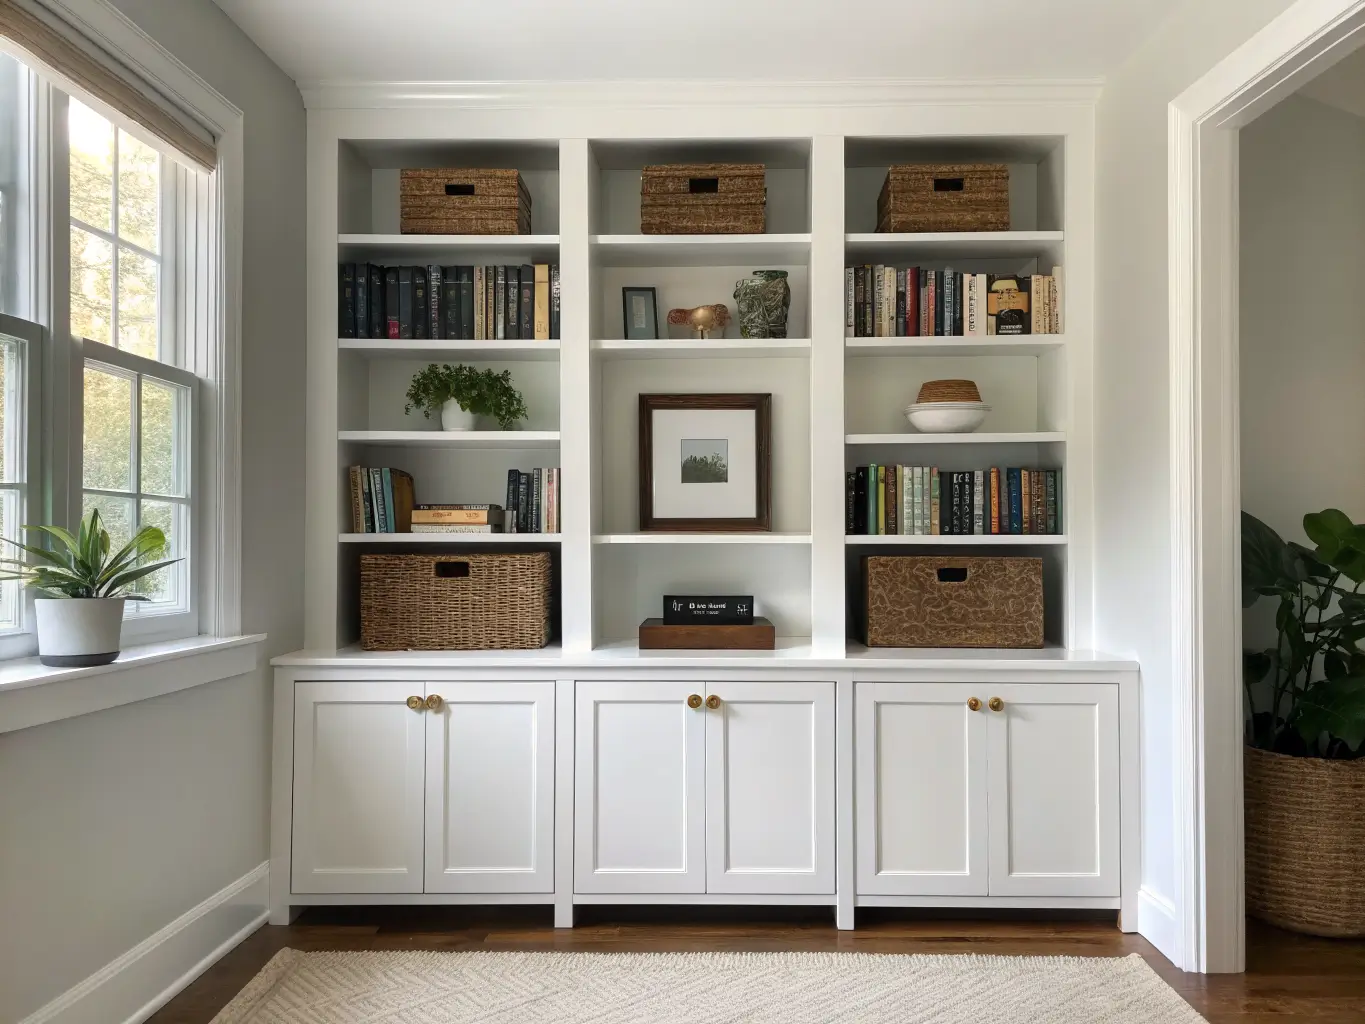
- Closed storage for calm, open storage for personality. Papers, cables, and spare supplies go behind doors. Books, a few good objects, maybe a framed print — that goes on the open shelf. Nobody wants to see your extra printer ink on display.
- Pick one material family and stick to it. White cabinets with white bins and light oak accents. Or walnut shelving with black hardware and a woven basket. Mixing five finishes is what makes a storage wall look like a garage sale.
- Follow a 60:30:10 color split — 60% your main tone (say, white cabinetry), 30% a secondary (oak or walnut), 10% an accent (black hardware, a sage green bin, brass label holders). This ratio is basically what keeps a room from feeling random.
- Give yourself one focal wall. A shelf wall, or a pegboard zone above the desk, styled on purpose. Everything else in the room can be quieter.
- Go vertical if your floor space is tight. Base cabinet, shelf above it, done. I redid my own 8-foot-wide office nook this way after wasting a year cramming floor units against every wall — moving storage up the wall instead of across the floor doubled my usable floor space overnight.
Setting It Up: The Actual Process
Step one: clear everything out first. Not organize in place — remove it all. Sort into keep, recycle, scan-and-shred, donate, relocate. This is the boring part everyone skips and it’s the part that actually matters. You cannot buy the right bin for a category of stuff you haven’t identified yet.
Step two: measure before you shop. Wall height where shelves will go. Desk width. Printer footprint. File depth. I once bought a file cabinet that was gorgeous and two inches too deep for the nook I wanted it in — it sat in my garage for three months before I sold it on Facebook Marketplace for half price. Measure twice, buy once, genuinely.
Step three: map your zones.
- Daily desk items (pens, laptop stand, notepad)
- Active paperwork (this week’s bills, current project files)
- Printer supplies (paper, ink, envelopes)
- Long-term archives (tax records, warranties)
- Display and decor
Step four: place the big piece first. Cabinet, bookcase, or shelf wall goes in before anything else. Everything else gets arranged around it.
Step five: build outward.
- Desk drawers or rolling pedestal for daily-use items
- Labeled folders or portable file boxes for archives
- Desktop tray for the 5–6 things you touch every day
- Shelves or pegboard mounted above the desk for the vertical layer
- One or two decor pieces to finish it — a plant in the corner, a small lamp, a print
Where People Get This Wrong
- Buying bins before measuring anything. Said it twice because it’s the single most common and most expensive mistake.
- Too much open storage. If everything’s visible, nothing reads as organized — it just reads as busy. Closed cabinets exist for a reason.
- No plan for cables. Cords are the fastest way to make a tidy desk look like chaos. Handle this in week one, not as an afterthought.
- Overloading shelves with decor. A shelf with twelve trinkets on it isn’t styled, it’s cluttered. Leave visible empty space — it’s doing a job.
- Ignoring your actual workflow. A student needs different storage than someone doing client paperwork. Don’t copy a Pinterest setup that doesn’t match what you actually do at that desk.
- Skipping the walls. If your office is small, wall storage is the highest-leverage move you can make. Floor space is finite; walls usually aren’t being used at all.
Keeping It Looking Good Long-Term
Stick to three main colors, max, and repeat the same finish across cabinets, bins, and hardware — this is the difference between “designed” and “accumulated over time.” Keep the desk surface mostly bare; that’s the tell of a system that’s actually working versus one that’s just been tidied for a photo.
Cheap seasonal refreshes: swap the bin labels, rotate in a different print, change one accent color. Takes twenty minutes.
Upgrade path if you’re budget-conscious: cable management first, then a desktop organizer, then the file cabinet, then shelving. Spread it over a few months and each piece actually gets used before the next one shows up.
Cross-style variations if you want a different mood later:
- Scandinavian: white storage, light oak, almost nothing on the shelves
- Industrial: black metal shelving, wire baskets, exposed brackets
- Mid-century: walnut cabinets, slim tapered legs, warm neutral walls
If the office eventually becomes a permanent fixture in your house rather than a corner you’re borrowing, that’s when built-ins start to make financial sense. Until then, modular pieces you can move, sell, or reconfigure are the smarter bet — I’ve moved twice in the last five years and been very glad none of my office storage was nailed to a wall.
For another angle on this, my home office organization guide covers the same space from a different starting point.





