
What a Good Craft Room Actually Looks Like
If your craft supplies live in three different closets and your “creative space” is a corner of the dining table you have to clear off every time someone wants to eat dinner, you don’t need more bins. You need a real plan. I redid my own craft room twice before it stuck — the first version looked great in photos and was miserable to actually use. Here’s what I’d tell you to do instead.
A craft room isn’t one style. It’s function wearing a nice outfit. Mine ended up somewhere between a home office and a small studio — white walls, light wood surfaces, black hardware for contrast, and just enough personality that it doesn’t feel like a supply closet with a chair in it.
Who this is for: sewists, quilters, scrapbookers, Cricut people, painters, jewelry makers, and — realistically — most of us who dabble in two or three crafts at once and need a room flexible enough to hold all of it.
Where it works: spare bedrooms, basement rooms, converted home offices, garage corners, even a deep closet if you’re ruthless about storage. I’ve seen a genuinely great setup in a 6-foot closet nook — it just meant the owner gave up floor storage entirely and went all vertical.
Time and cost, honestly:
– A weekend refresh with shelving, pegboard, bins, and a secondhand table: $300–$1,500
– A full build-out with a real worktable, modular cabinets, and proper lighting: $1,500–$5,000+
– Custom built-ins or electrical work for task lighting: budget several weekends, not one
Skill-wise, shelving and modular furniture are beginner territory. Built-ins and rewiring for outlets under a pegboard station are not — hire that part out unless you’re already comfortable with it.
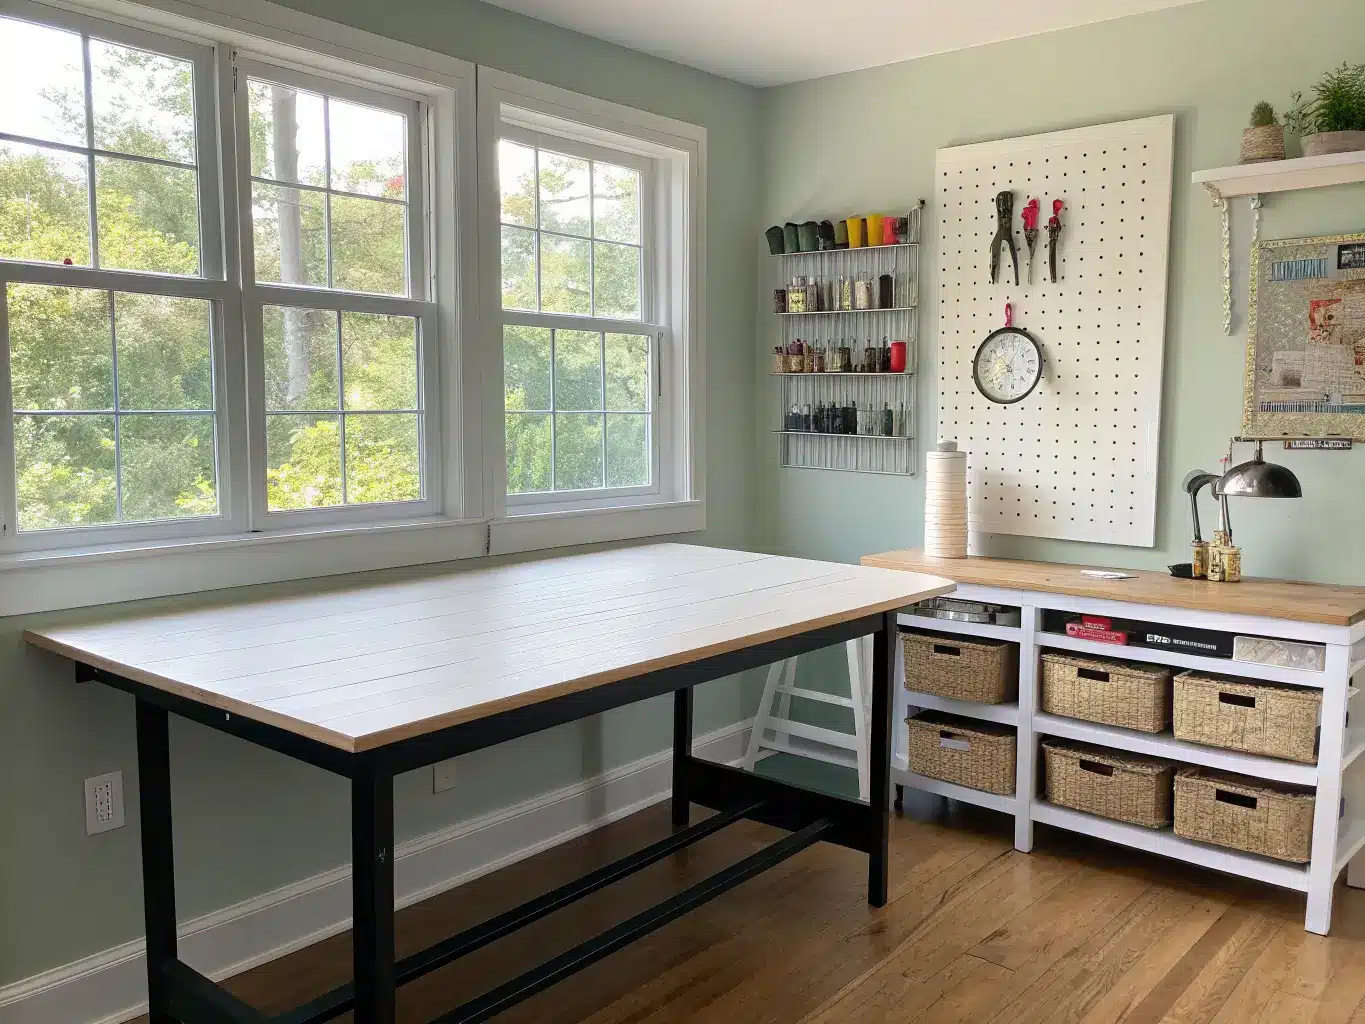
The Pieces That Actually Make It Function
The worktable is everything. This is where I went wrong the first time — I used a narrow desk meant for a laptop and wondered why I couldn’t cut fabric on it. Get a table that’s at least 4 feet by 2 feet, ideally bigger. A solid-core door on two filing cabinets works as well as anything from a catalog, and costs a fraction of the price.
Beyond the main table, think in terms of stations, not one catch-all surface:
– Seated work station (sewing, detail work) — surface height around 28–30 inches
– Standing assembly area — closer to 36 inches
– Cutting station — 38–40 inches, high enough that you’re not hunched over a rotary cutter for two hours
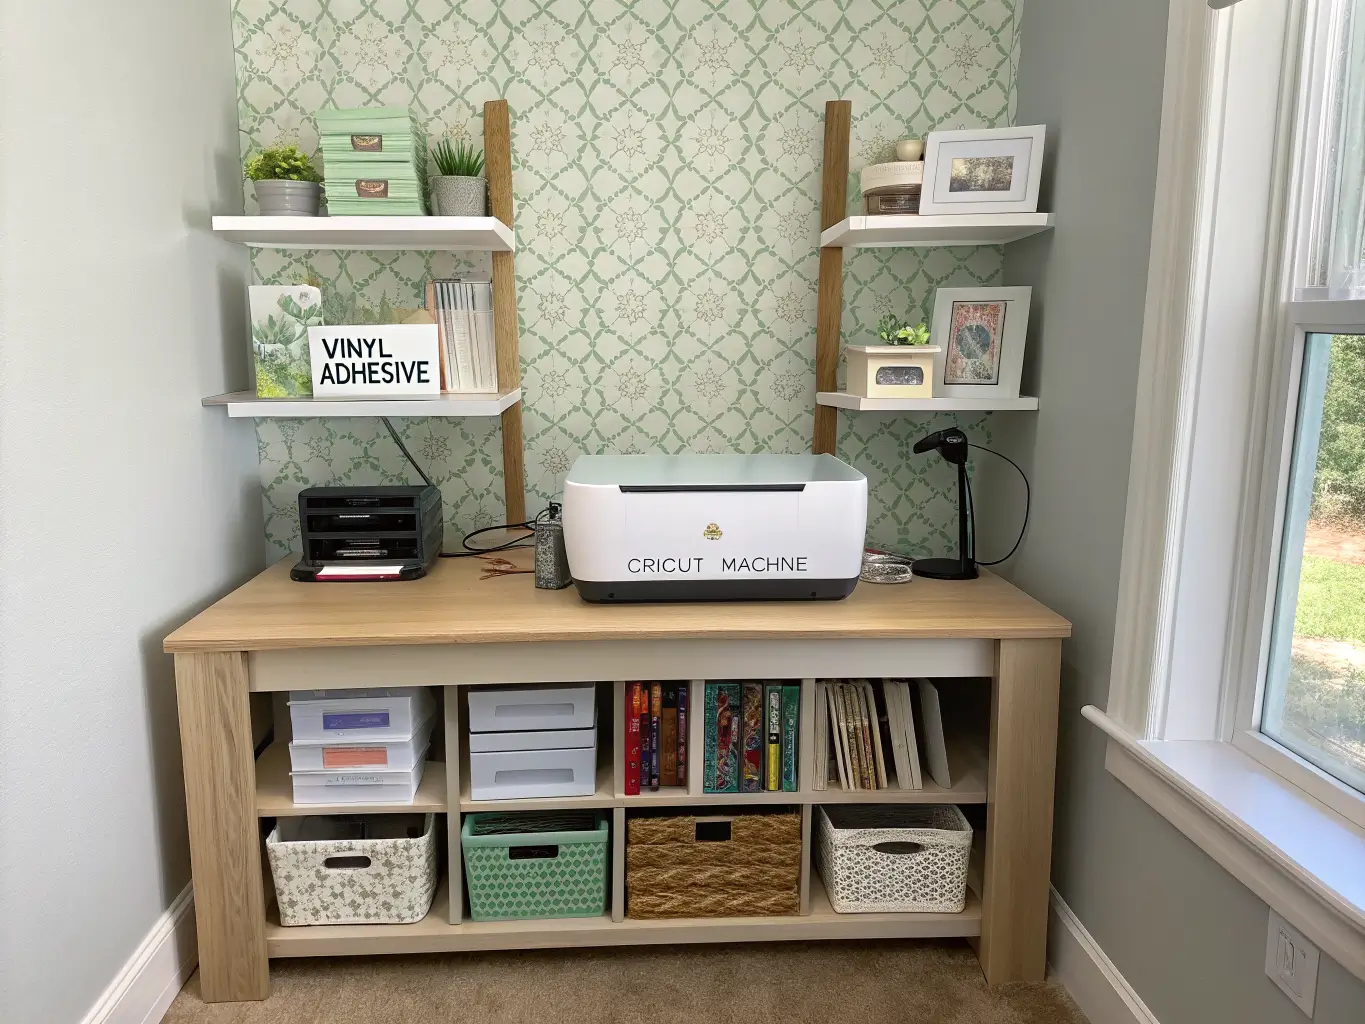
– Machine station for your Cricut, printer, or embroidery machine, ideally on its own surface so it’s not competing for space with your cutting mat
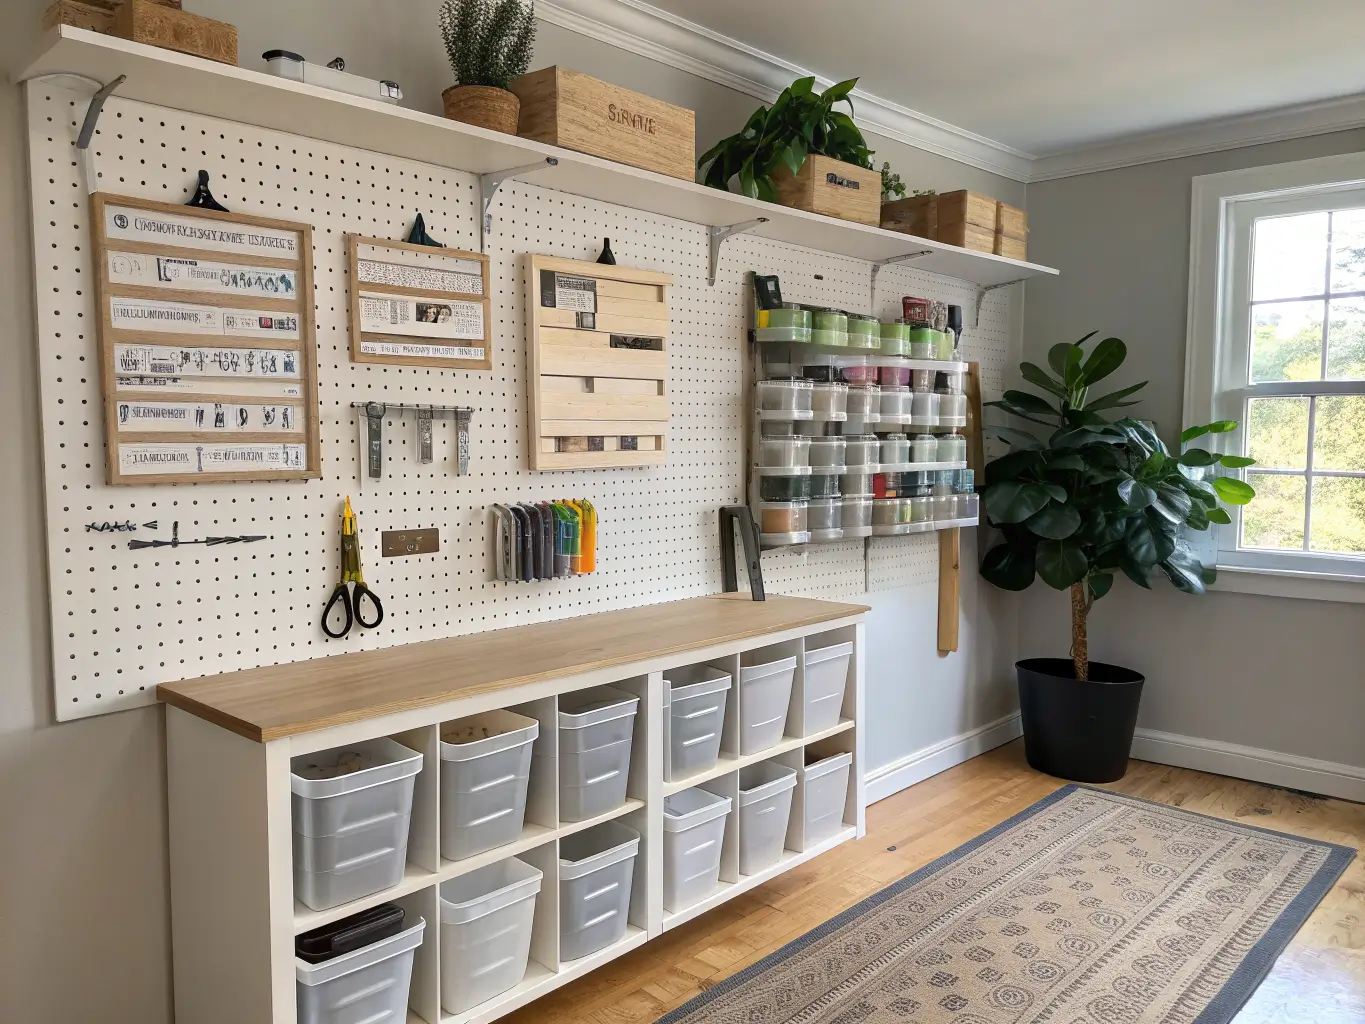
Vertical storage is non-negotiable. Pegboard, open shelving, wall-mounted bins — whatever gets things up off the table and onto the wall. I painted mine the same white as the walls so it disappears visually instead of becoming its own busy focal point, then used matching hooks and cups so it reads as one system, not a hardware store display.
Clear, labeled bins beat pretty opaque ones every time. You will not remember what’s in the woven basket. You will remember what’s in the clear bin labeled “bias tape.”
Lighting matters more than people think. Overhead light alone will not cut it for color matching or detail work. I added a daylight-balanced LED task lamp over my cutting table after months of holding fabric up to the window to check if two blues actually matched. A high-CRI (90+) bulb in the 5000K range is the difference between guessing and knowing.
Seating should match the craft. A cushioned swivel chair for sewing, an adjustable drafting stool for standing-height cutting work. Don’t just drag in a dining chair — you’ll feel it in your back after an hour.
A spot for unfinished projects. A single labeled bin or open cubby for “in progress” keeps half-finished quilts from colonizing your cutting table.
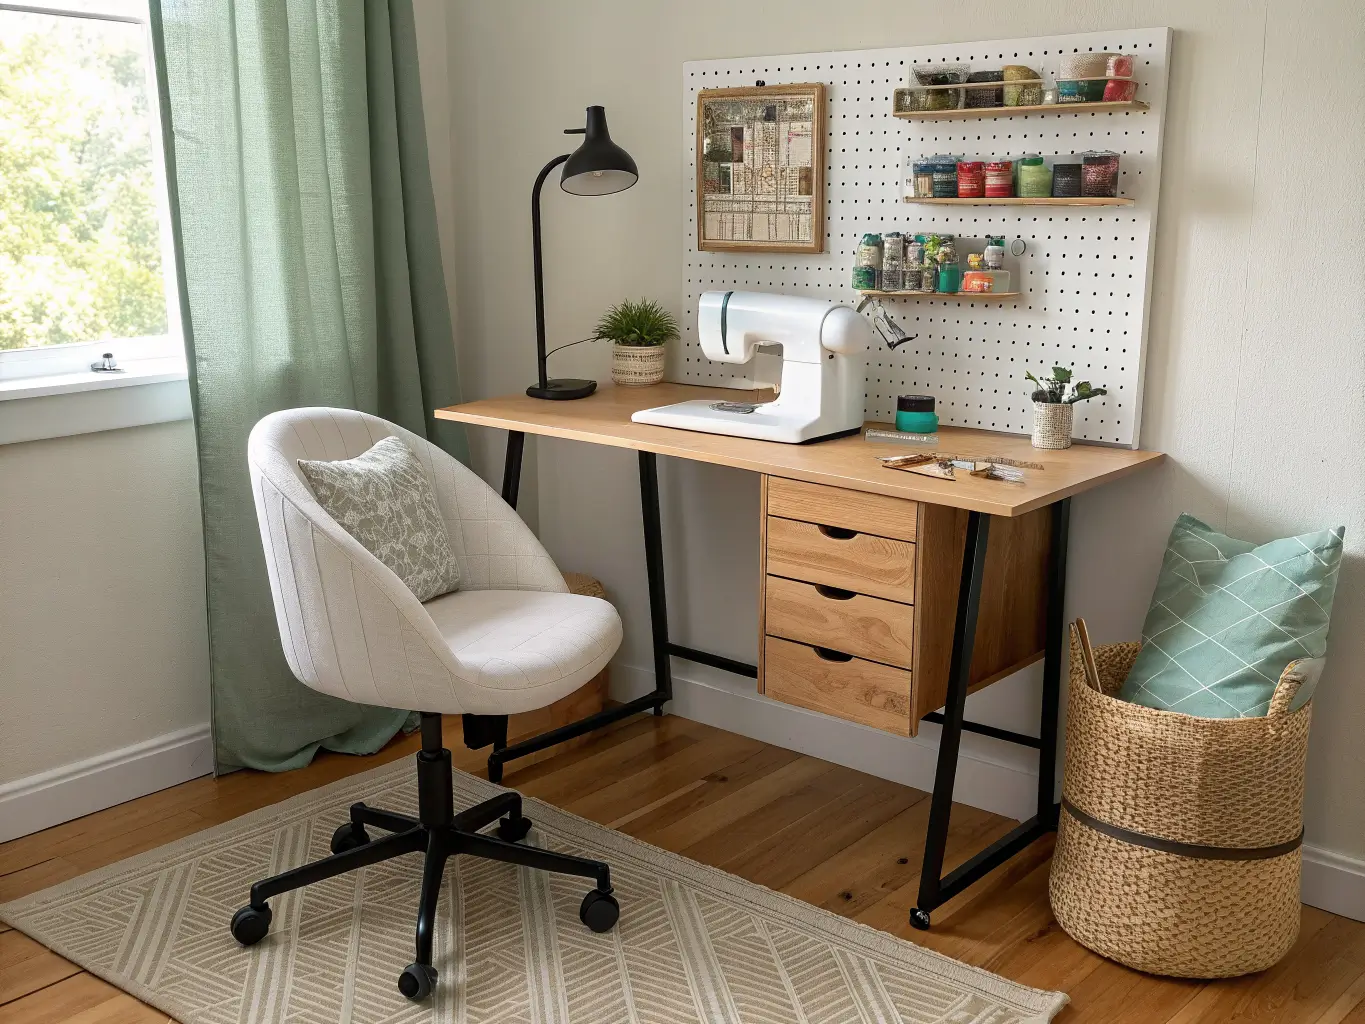
Nice-to-Haves Once the Basics Are Covered
Once function is handled, this is where the room gets to look like you:
– Greenery — one faux stem in a simple vase softens all that hard plastic and metal
– Brass or black hardware on drawer pulls for a slightly elevated look without spending real money
– A cork or magnetic board near your main station for pattern pieces, swatches, or inspiration tear-outs
– A rug to define the zone and add warmth, but keep it away from anywhere paint or glue happens
– Peel-and-stick wallpaper on one wall behind open shelving — this is genuinely one of the best value-for-effort upgrades I’ve done in any room, craft or otherwise
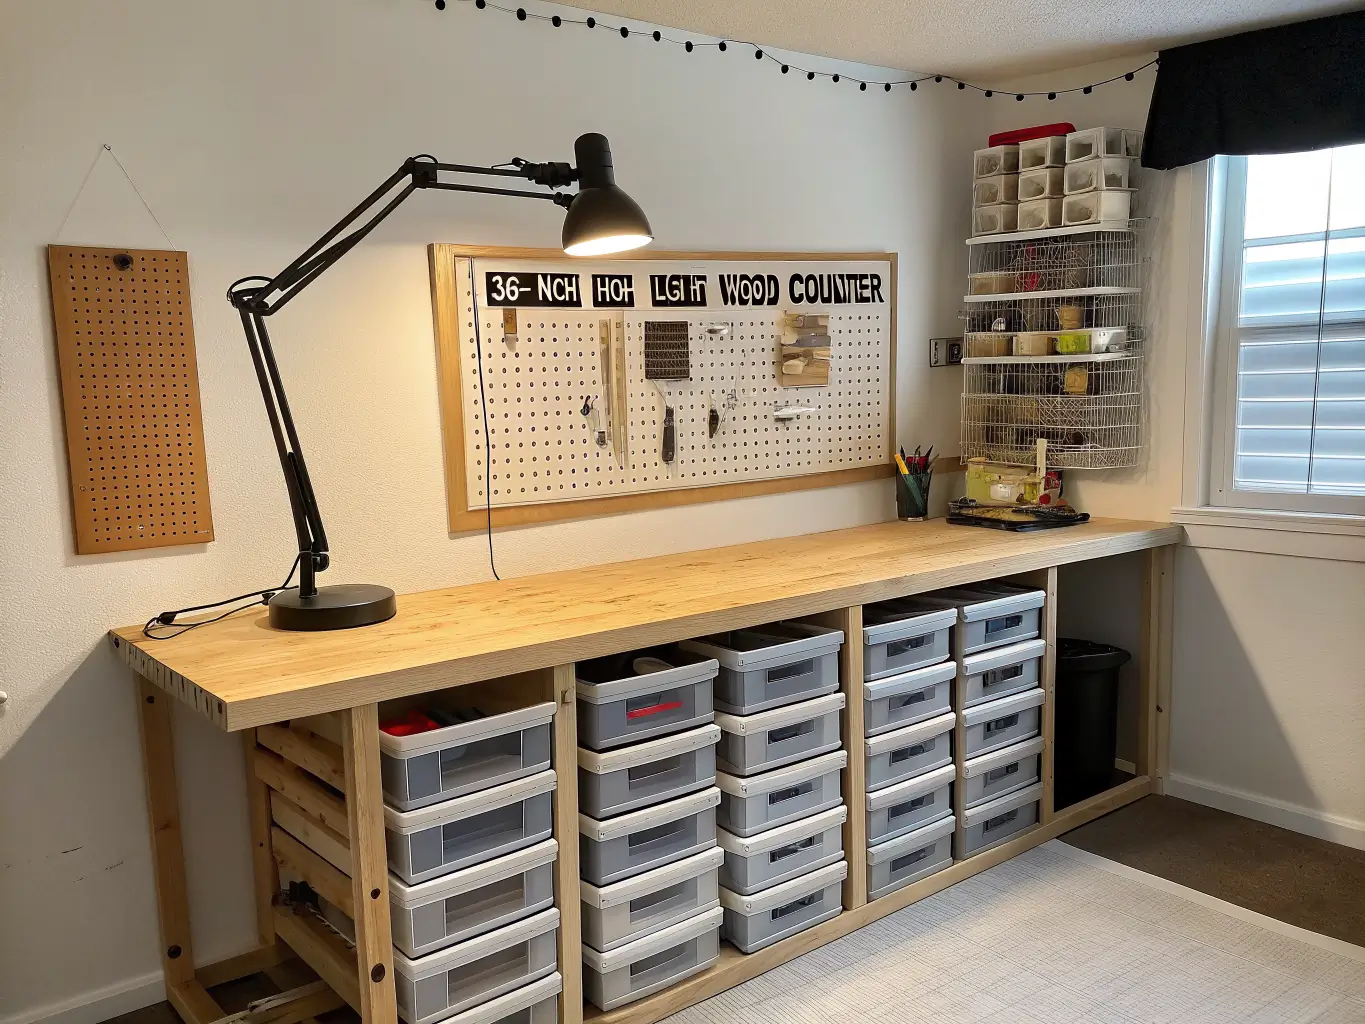
How to Actually Put It Together
Start before you buy anything. Pull every single craft supply you own into the middle of the room. It’s ugly. Do it anyway. You cannot plan storage for things you haven’t seen in one place. I found four rotary cutters doing this. Four.
Sort by frequency of use, not by category. The stuff you touch weekly goes at arm’s reach — open shelves, pegboard, the front of a drawer. The seasonal stuff (holiday scrapbook supplies, out-of-rotation fabric) goes in a closed cabinet or on a high shelf you need a step stool for.
Measure before you shop. Map out your work zones on paper or with painter’s tape on the floor before a table shows up. Leave 30–36 inches of clear walking space between stations — tighter than that and you’ll be turning sideways constantly, which gets old fast.
Placement order that actually works:
1. Main worktable goes where the light is best — near a window if you have one
2. Vertical storage goes above and beside it
3. Secondary station (Cricut, sewing machine, whatever’s equipment-heavy) goes nearby but separate
4. Decor goes last — art, rug, labeled jars, plants
Zone by mess level. Paint, glue, and fabric scraps need a different setup than clean assembly work. I keep my messy zone (fabric cutting, anything with adhesive) on the side of the room with the wipeable floor, and my clean zone (hand-sewing, finishing touches) on the rug side. Sounds obvious once you’ve done it. Took me a full year of glue on a nice rug to figure it out.
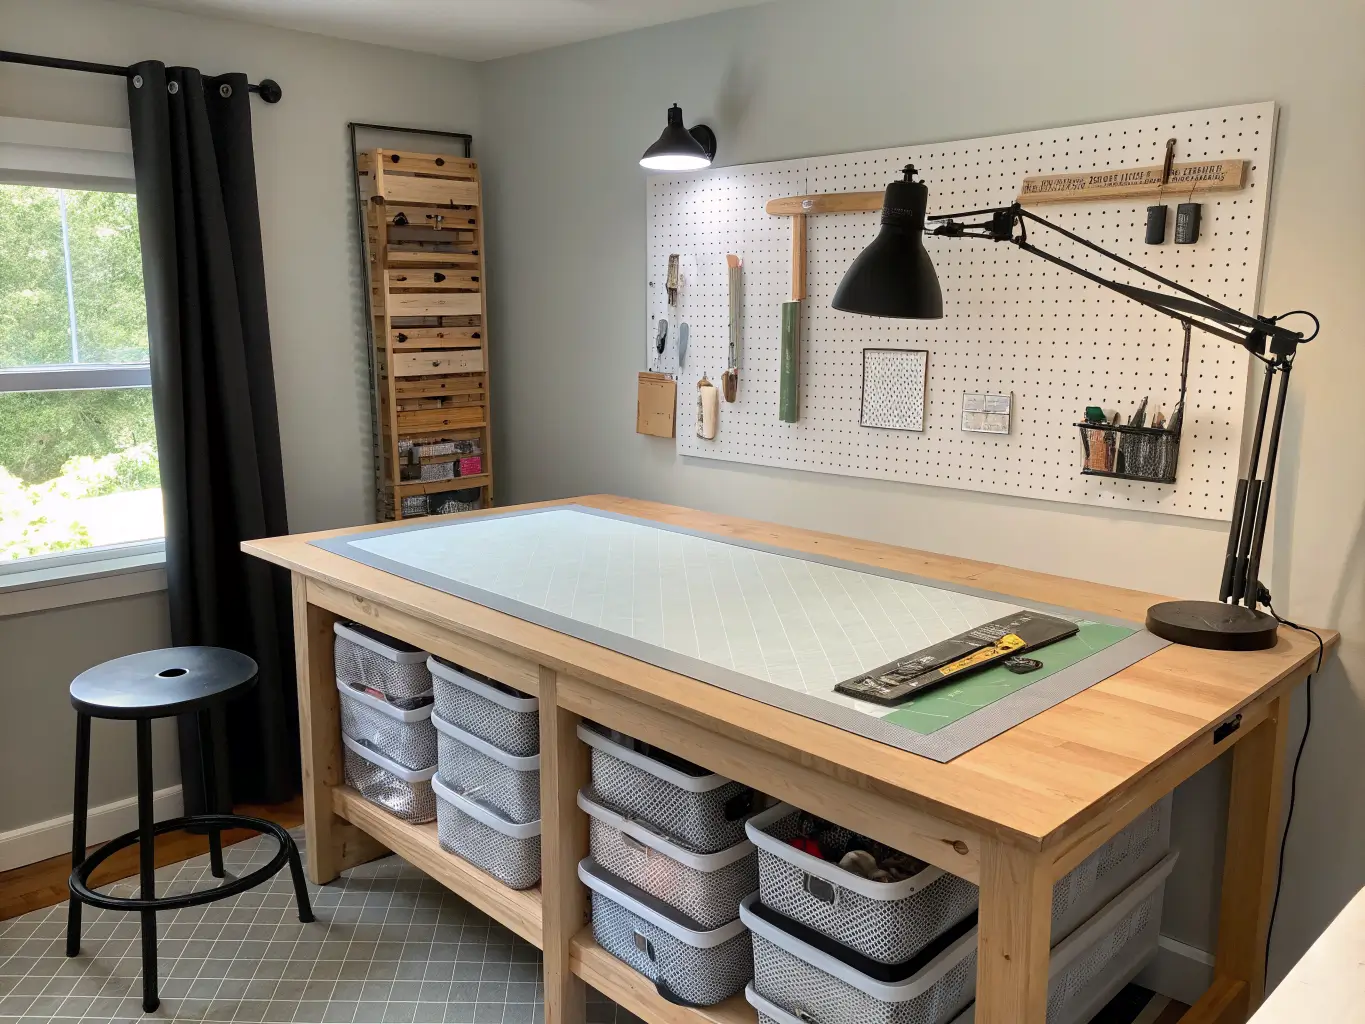
Mistakes I’ve Made So You Don’t Have To
– A desk that’s too small. I said it above, I’ll say it again — this is the single most common craft room failure.
– Hiding everything in closed cabinets. Pretty, but useless. If your scissors are in a drawer three steps away, you’ll stop putting them back.
– Skipping task lighting. Overhead light casts shadows right where your hands are working. Get a lamp.
– No mess zoning. Glue does not belong next to your fabric stash. Learn from my rug.
– Overdecorating the work surface. That cute tray of styled scissors and twine looks great in a photo and eats twelve inches of table you need for cutting mats.
– Ignoring height. A cutting table at desk height will wreck your back within a month. Match the surface to the task.
Keeping It Looking Pulled-Together
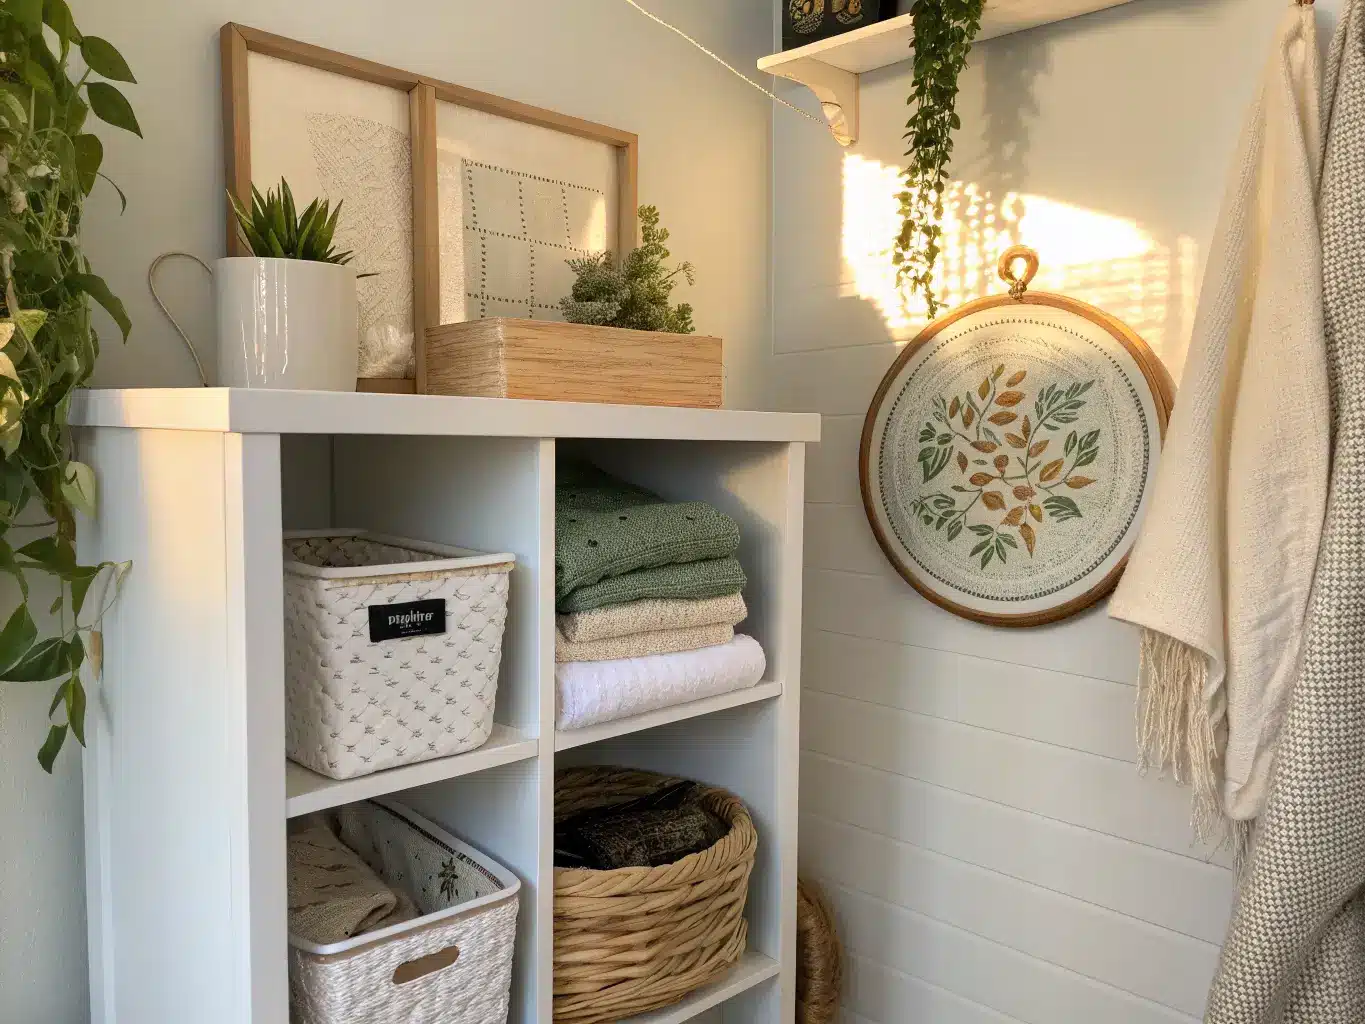
Stick to 2–3 core colors plus one accent — for me that’s white, light wood, and black, with sage green showing up in bins and one throw pillow on the reading chair in the corner. Repeat materials across the room (wood, clear acrylic, woven baskets) so the different storage pieces feel like one system instead of whatever was on sale.
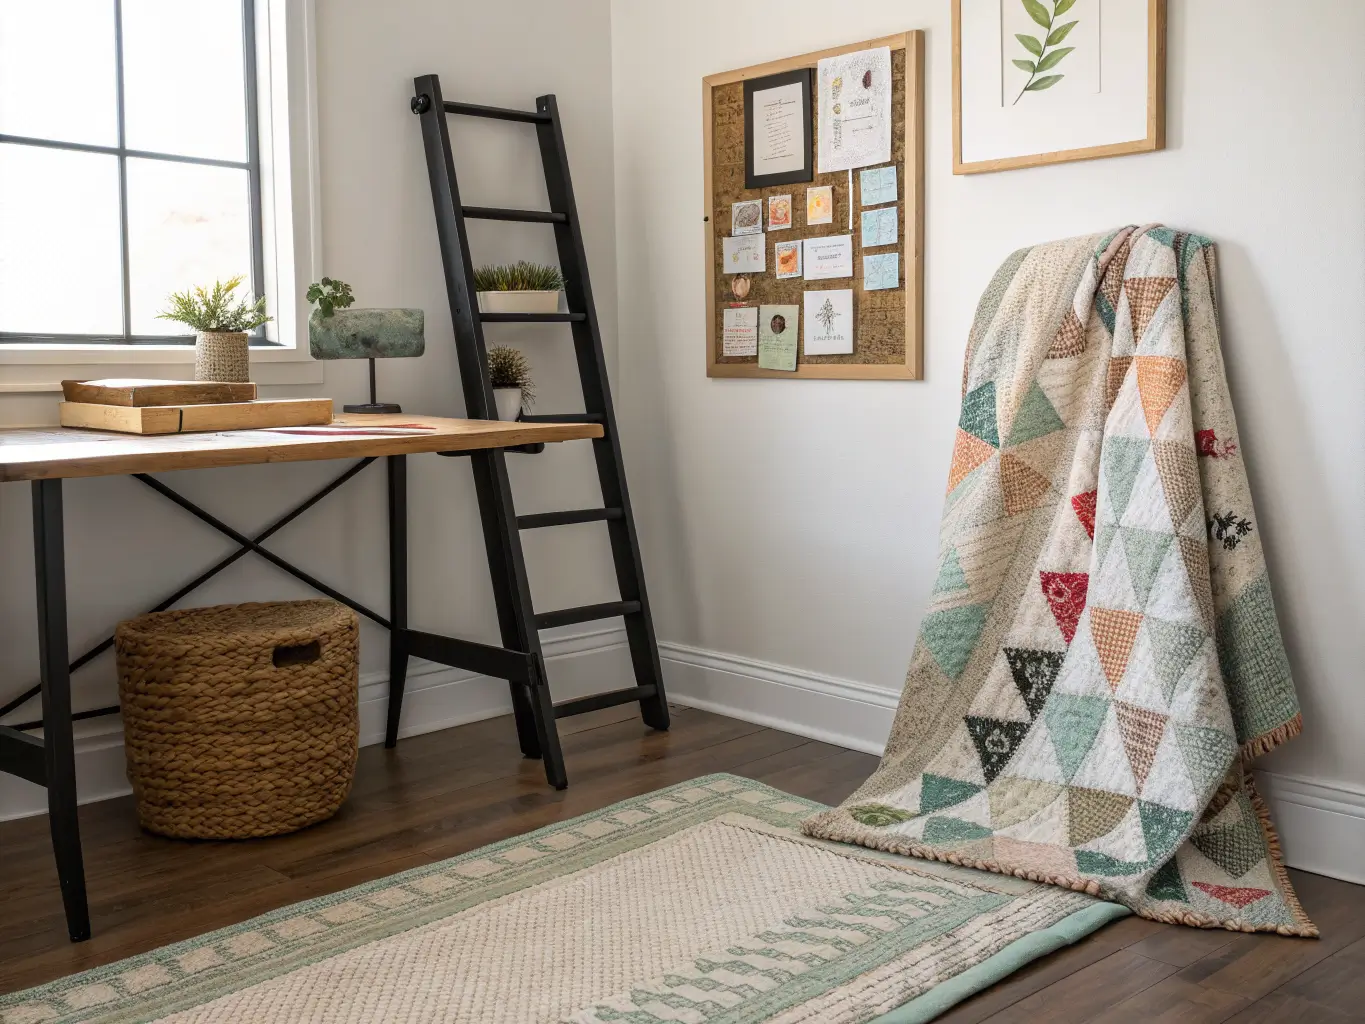
The easiest way to keep clutter down long-term is a strict “current project” system — one bin, one shelf, wherever — so in-progress work doesn’t creep across every surface. And instead of buying more decor, let finished projects do double duty as the decor. A framed embroidery piece or a quilt draped over a ladder does more for the room than another store-bought print.
Seasonal refreshes don’t need to touch the big furniture — swap bin colors, change out the art, switch ribbon or trim storage to match the season. It’s a fifteen-minute update, not a redesign.
If you’re juggling more than one hobby in the space, pick whichever one you do most often and build the room around that. Everything else gets to be a flexible guest — a shelf, a bin, not a dedicated station. Trying to give equal real estate to sewing, scrapbooking, and painting in one average-sized room is how you end up with a space that serves none of them well.
For another angle on this, my craft room ideas guide covers the same space from a different starting point.





