
What You’re Actually Signing Up For
Let’s set expectations first, because “study room makeover” can mean a lot of things.
Time: A simple refresh — hanging a pinboard, adding a lamp, organizing what you already own — takes 2 to 6 hours. Tackling something bigger, like floating shelves or a removable wallpaper accent wall, needs 1 to 2 weekends, mostly because of drying time and the fact that you’ll probably rearrange things twice before it clicks.
Cost: I did my first version for under $80 using things I already had plus a $12 corkboard and a string of warm LED lights. A more complete setup — real desk, ergonomic chair, floating shelves, a decent task lamp, a small rug — runs $250 to $800+ depending on how much you buy new versus pull from other rooms in your house. My advice: shop your own home before you shop anywhere else. My best desk organizer used to be a kitchen utensil caddy.
Best space: This approach is built for small rooms — dorm corners, a desk wedged into a bedroom, a wardrobe alcove you’ve converted, a nook under a window. Everything here leans on vertical space and compact footprints because that’s where most study areas actually live.
Skill level: Mostly beginner. Pinboards, gallery walls, plant styling, desk organizing — anyone can do these in an afternoon. Floating shelves and removable wallpaper bump it up to intermediate, but neither requires special tools beyond a drill and some patience.
Seasonality: This works year-round. The only seasonal element is swapping textiles and accent colors, which takes twenty minutes, not a weekend.
The Look: Minimalist Meets Cozy, Not Sterile
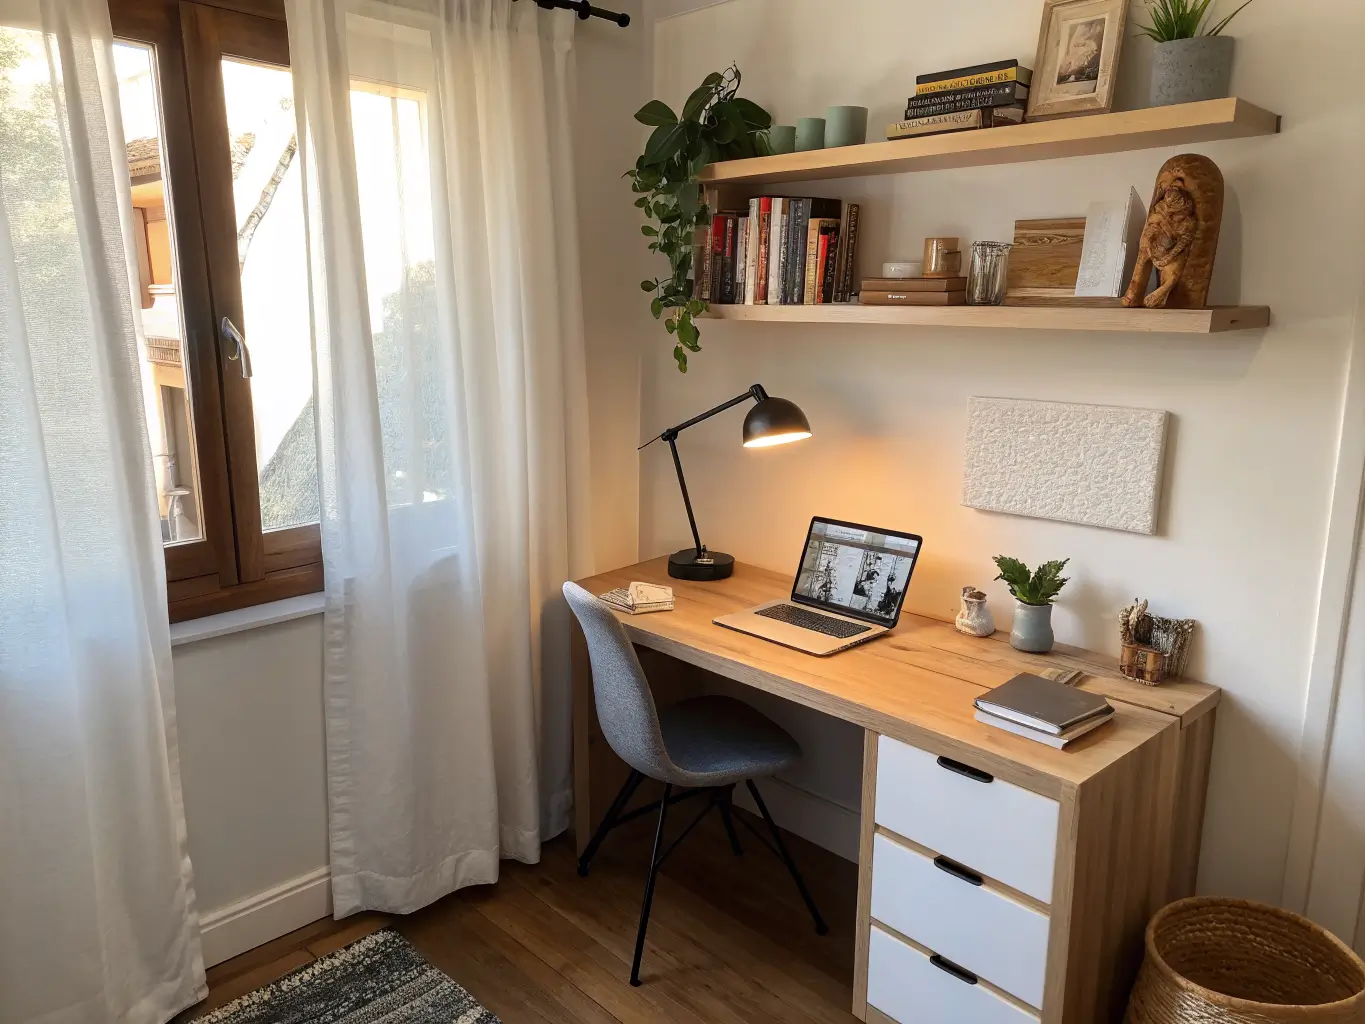
The style that keeps showing up — and the one I landed on myself after trying an all-white minimalist version that felt like a dentist’s office — is a blend of minimalist, cozy, and aesthetic. Think clean lines and quiet color, but warmed up with wood tones, soft lighting, and a couple of things that are just yours.
Colors and materials that work: white, beige, light oak or ash wood, muted gray, and one accent color used sparingly — sky blue, lavender, peach, or a warm yellow. Materials should stay consistent: wood, matte white surfaces, black or brass metal, cork, and jute. My rule now is three materials, max — wood, white, and black metal, in my case. Every time I’ve broken that rule and added a fourth “just this once,” the room started feeling cluttered even when it technically wasn’t.
Who it’s for: students, remote workers, homeschoolers — basically anyone who needs a low-clutter zone that still feels like a place they chose to be in, not a cubicle.
Where it works: bedrooms, dorm rooms, window-side nooks, spare closet alcoves. My current setup is a desk pushed into a converted closet that used to hold winter coats. Depth was the whole battle there.
The Must-Have Pieces
Skip these and the room won’t function, no matter how good it looks in photos.
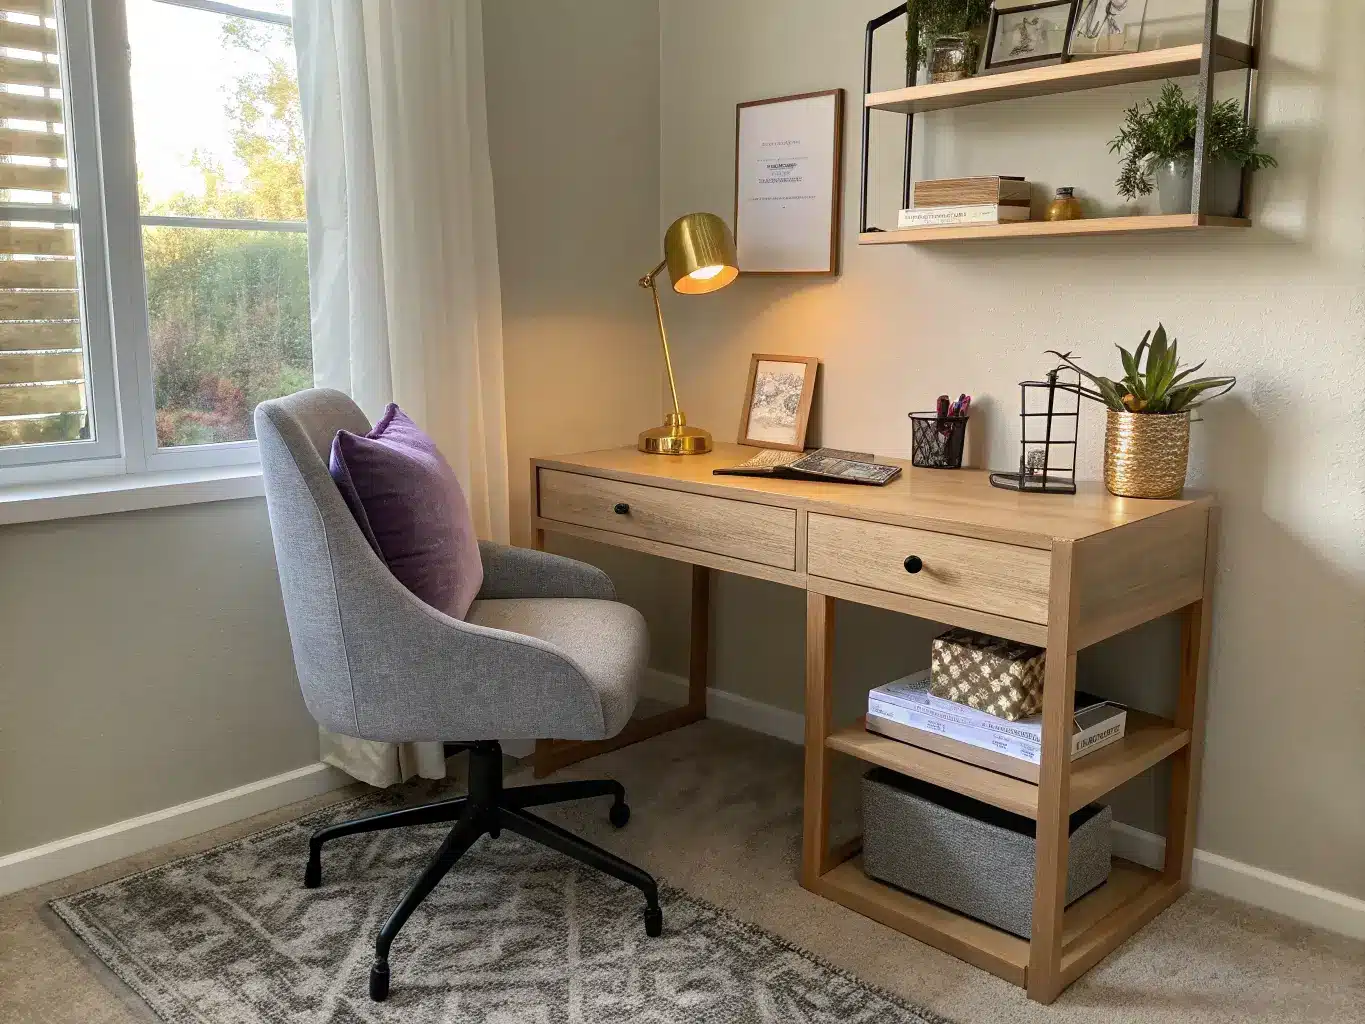
– A compact desk — for tight spaces, look for something around 55–60 cm deep. Anything deeper eats the room. A wall-mounted fold-down desk is worth considering if you’re under 6 square feet of floor space.
– A supportive chair. I lived with a dining chair at my desk for two years because I didn’t want to spend the money. My posture did not thank me. This is the one place I’d tell you not to cheap out.
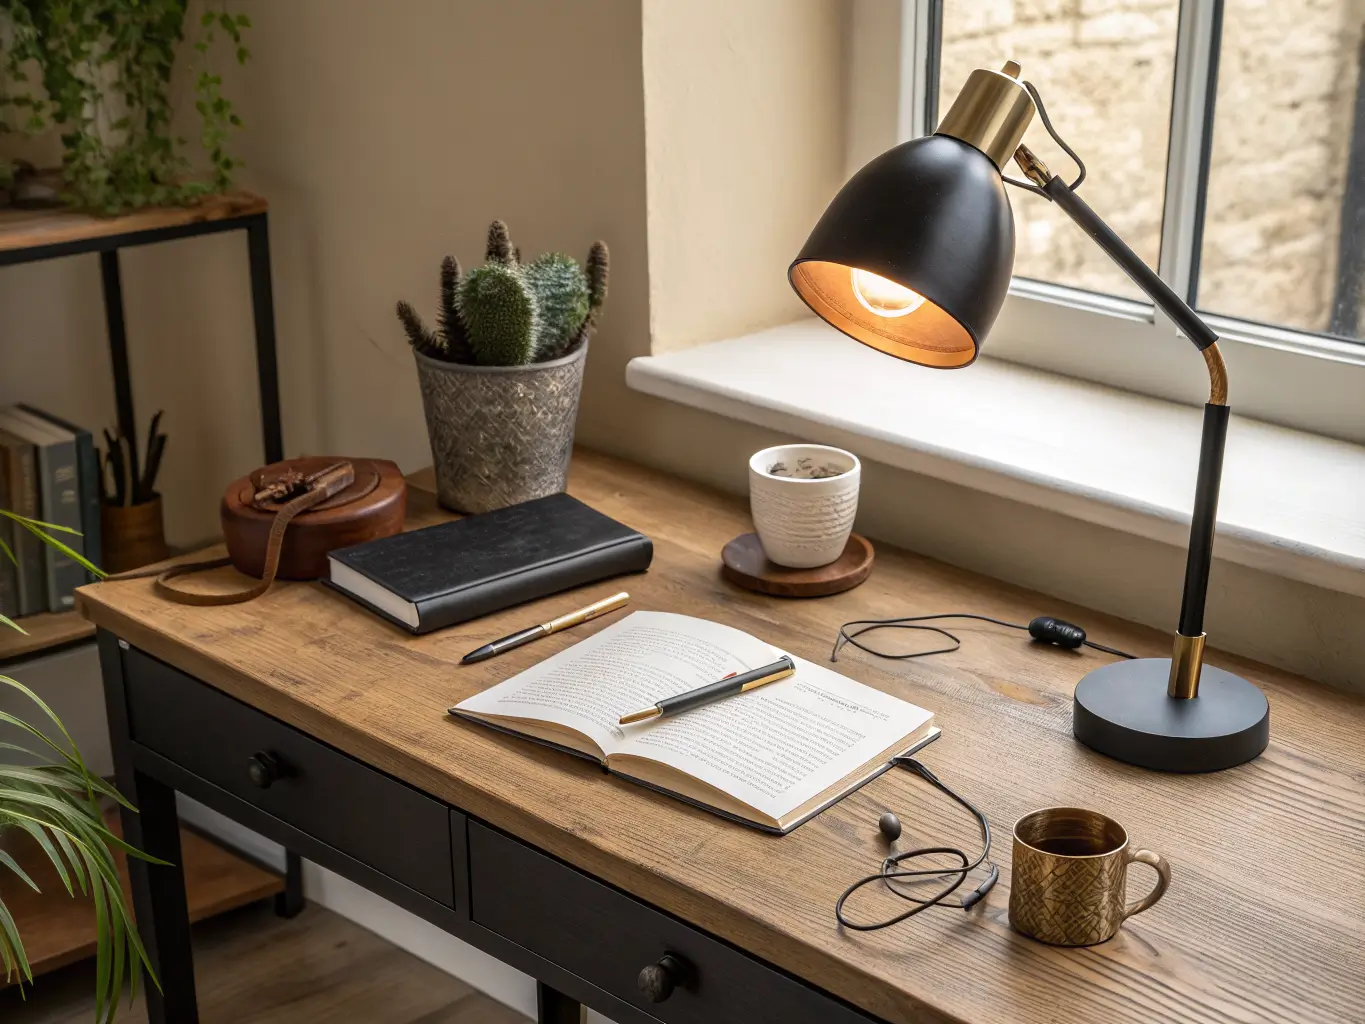
– A task lamp with adjustable brightness and a warm LED bulb (look for 2700K–3000K — anything higher reads cold and clinical).
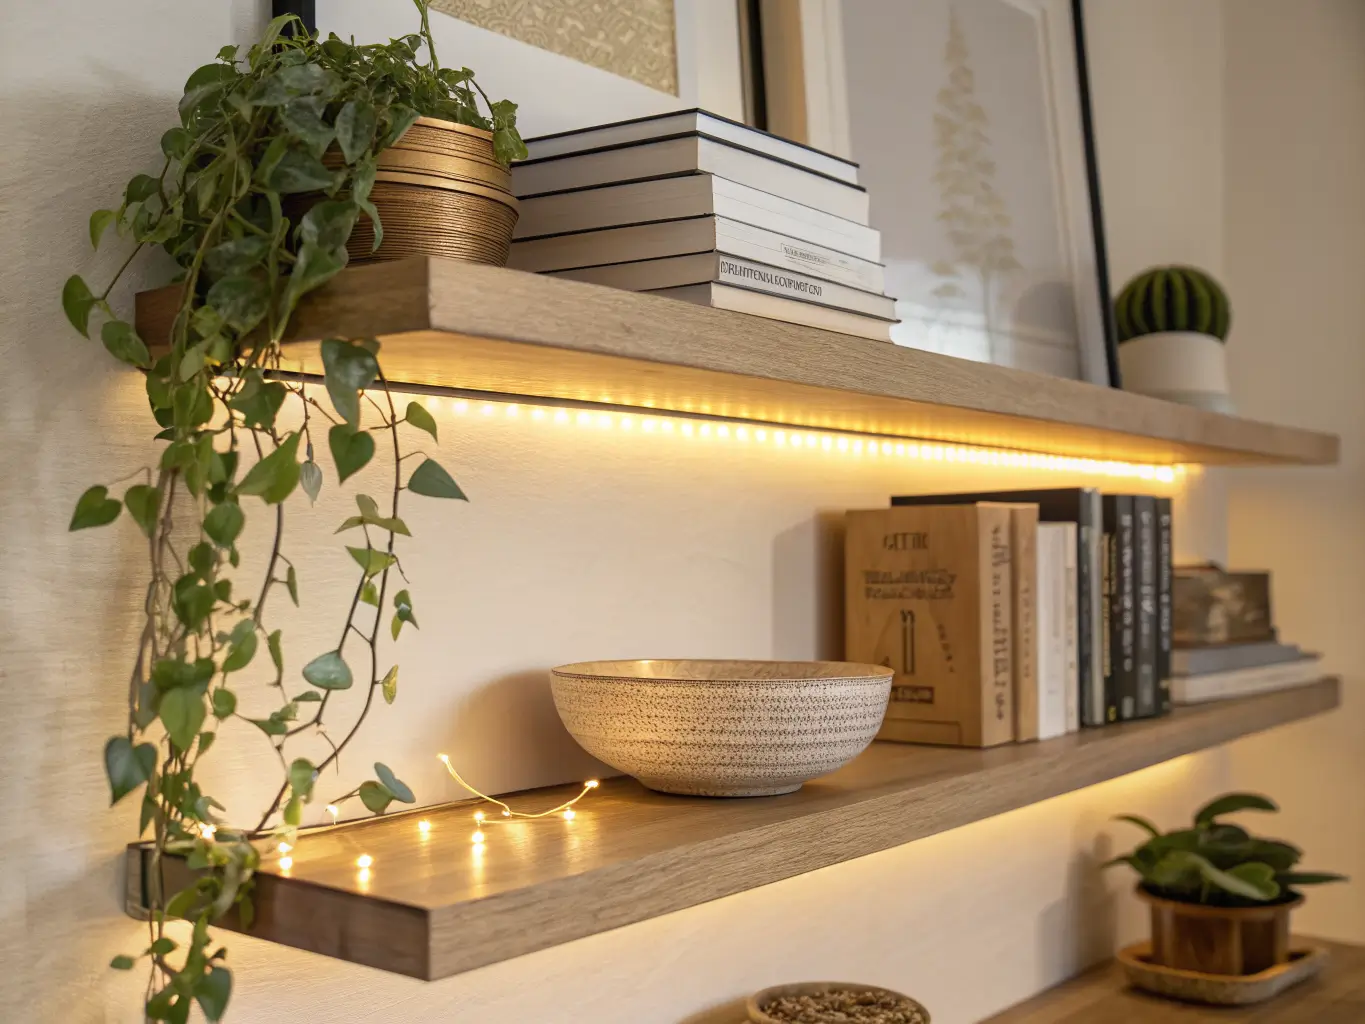
– Floating shelves or wall-mounted storage to get books and supplies off the desktop and onto the wall.
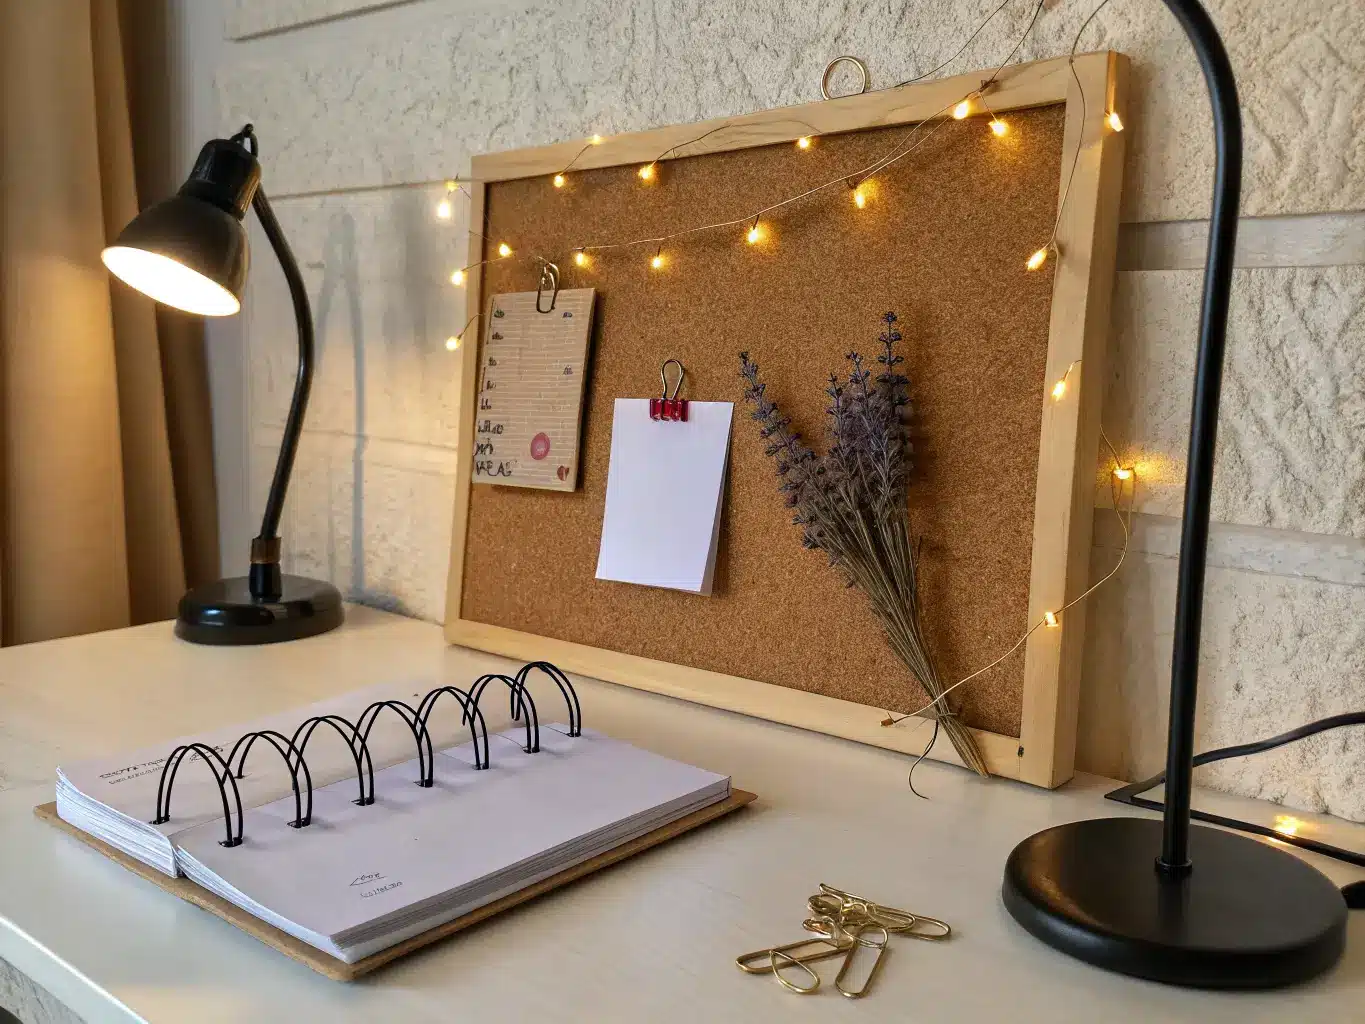
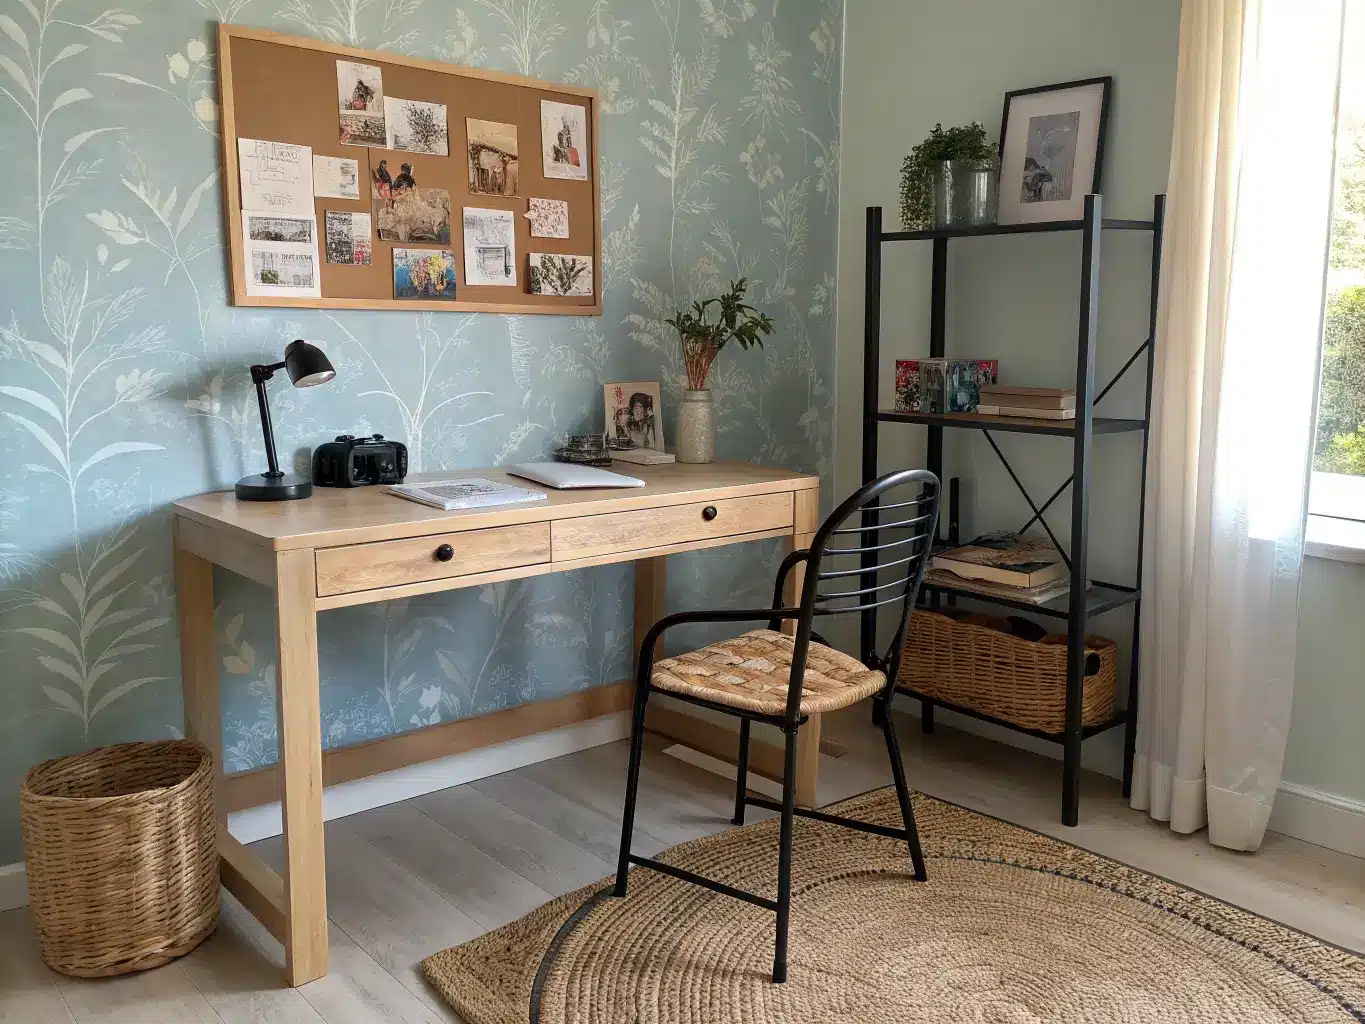
– A pinboard, corkboard, or wire grid — my command center is a $15 corkboard from a craft store, and it’s done more for my deadlines than any app ever has.
– Cable management — clips, a cord box, or even binder clips from your junk drawer. This one’s easy to skip and it’s the fastest way to make a nice setup look messy.
– Desk organizers — a tray, a pen cup, one small box for loose things.
– One or two low-maintenance plants — pothos or a snake plant. Both survive my forgetting to water them for two weeks at a time.
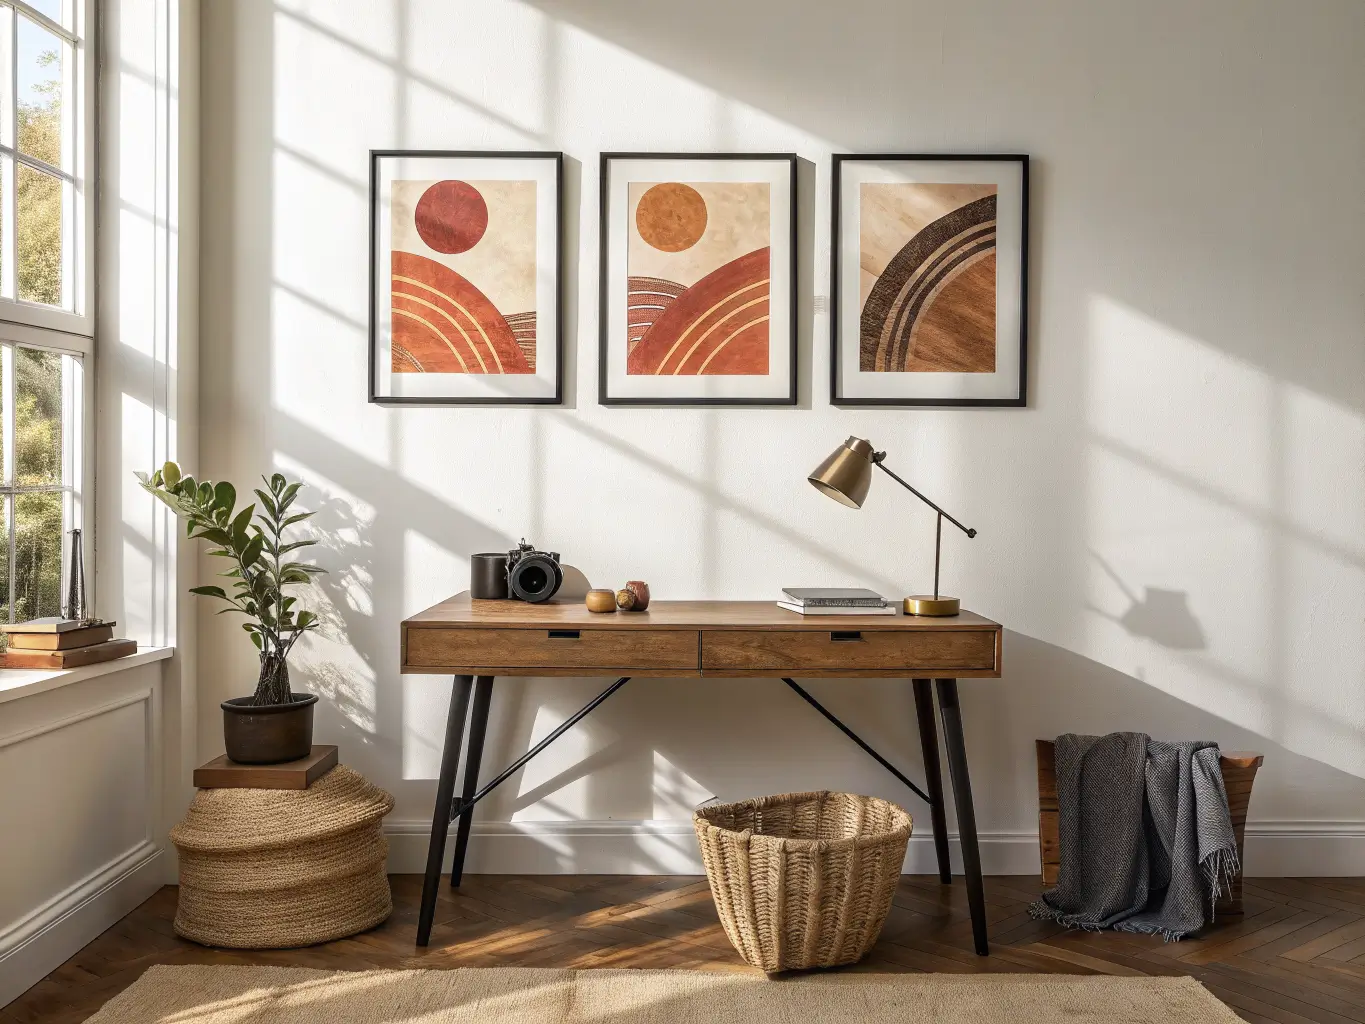
– Wall art — a framed print, a DIY quote poster, a small gallery cluster.
– A soft textile — a small rug, a cushion, a curtain panel. Something that isn’t hard-surfaced.
Optional Extras Worth Considering
Once the essentials are in place, these are the details that make a study space feel finished instead of just functional:
– Removable wallpaper — I tried the fabric-and-liquid-starch method behind my desk (search it, it’s a real DIY hack) and it peels off clean when you’re done. Total cost was about $18 for a small accent section.
– A tapestry or fabric panel as a quick backdrop alternative to wallpaper.
– Fairy lights or LED strips along a shelf edge or behind a poster for ambient glow.
– A DIY wood plank backdrop if your desk lives in a bedroom and needs to feel like its own zone.
– A mirror to bounce light and make a small room read bigger — this genuinely works, not just a decorating myth.
– Small metallic accents — a brass lamp base, black metal shelf brackets. Pick one metal and repeat it.
How to Actually Put It Together
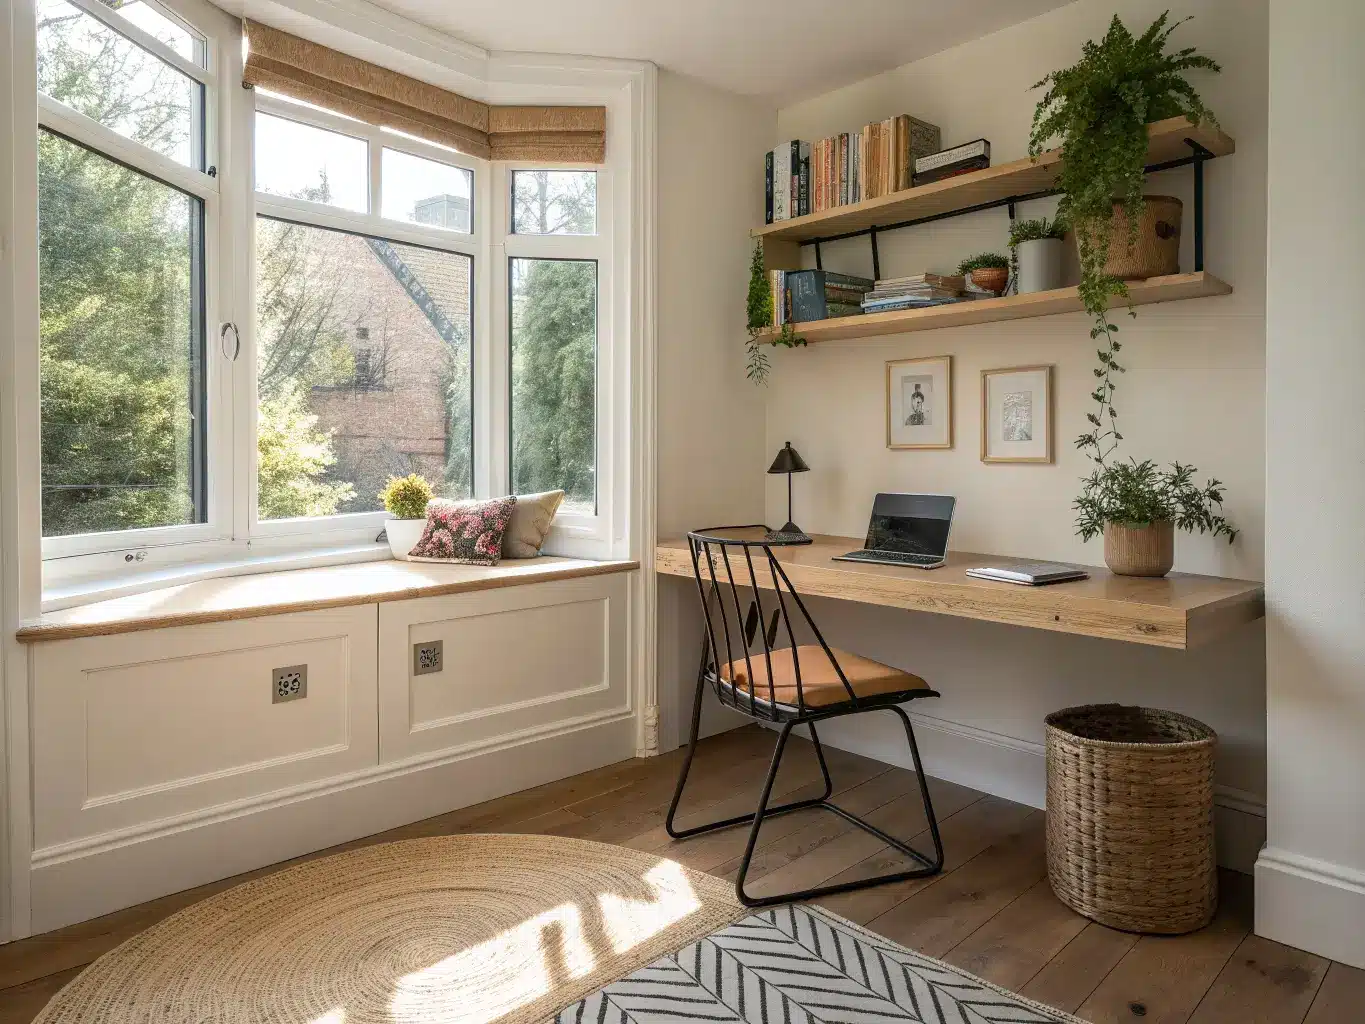
Start with prep. Clear every surface. Sort into keep, store, donate, hide. Measure your space before you buy a single thing — I bought a shelf unit once that was two inches too deep for my nook and it sat in my hallway for a month before I returned it. Map out where your outlets are before you commit to a desk position, so your lamp and charger cords don’t become the main visual feature of the room.
Decide your palette before you shop. Pick two or three anchors — warm white, light oak, black accents, for example — and write them down. It sounds unnecessary until you’re standing in a store deciding between four shades of “greige.”
Build in this order:
1. Big pieces first — desk, chair, lamp, shelving. These set the bones.
2. Wall structure next — pinboard, floating shelves, prints, wallpaper. This is where the room starts having a personality.
3. Style the desktop in layers — lamp on one side, organizers in the center, a plant or small print on the other side, and leave the middle open for actual work. A desk with zero open space isn’t styled, it’s just full.
4. Add a command center for to-dos and deadlines so the decor is pulling double duty.
5. Soften it — a rug, a cushion, a curtain. Without this step the room reads cold no matter how nice the shelves look.
6. Finish personal — photos, a small collage, something with actual sentimental weight. This is the step people skip, and it’s the reason some study rooms feel like a hotel desk instead of your desk.
Where to Spend and Where to Save
Spend on: the chair, the task lamp, and anything load-bearing like shelf brackets. These affect your body and your safety, not just your aesthetic.
Save on: wall art (make your own in Canva and print at a local shop for a few dollars), desk organizers (repurpose what you own), and textiles (a $15 throw pillow cover does the same job as a $60 one).
Mistakes I’ve Made So You Don’t Have To
Turning the desk into a display shelf. My second attempt at this room had so many “cute” objects on the desktop that I had about eight inches of actual workspace left. Cap yourself at one or two decorative items on the desk itself. Everything else goes on the wall or in a drawer.
Relying on one overhead light. For years I used only a ceiling fixture and wondered why I got headaches by 4pm. Layer your lighting — ceiling light, task lamp, and one soft ambient source like a small lamp or LED strip. It’s a bigger difference than any decor choice you’ll make.
Buying furniture too big for the room. A full-size office desk in a small nook makes the whole space feel cramped before you’ve added a single decoration. Measure first, always.
Ignoring cables. A beautifully styled desk with a nest of cords underneath it looks unfinished. A $10 cable box fixes this in five minutes.
Going too busy. Loud patterned wallpaper plus a gallery wall plus patterned textiles plus a rug with its own agenda — pick your moments. One busy element per room, not four.
No personal anchor. A study space with zero personality is a space you won’t want to sit in. One meaningful print, one photo, one collage — that’s usually enough.
Keeping It Looking Right Over Time
Stick to your two or three core materials everywhere — I match my shelf brackets, drawer pulls, and lamp base all in black metal, and it makes cheap pieces look coordinated instead of random. Keep your walls edited: one inspiration zone, one shelf zone, one desk zone. That’s plenty for a small room.
When you want a refresh, swap the small stuff — a new print, a different plant pot, a new desk mat — instead of rebuilding from scratch. For spring and summer, I switch to lighter prints and brighter greenery. Come fall and winter, I bring in a heavier throw and swap my daylight bulb for something warmer and amber-toned.
If you want a hybrid look, pair minimalist basics with boho texture — a woven basket for supplies, a jute mat under the chair, a textured throw. Clean lines with warm materials is the combination that’s held up the longest in my own space, through three redesigns and at least one very unnecessary wallpaper phase.
For another angle on this, my study room decor guide covers the same space from a different starting point.





