
What This Style Actually Is
The look that works for study rooms isn’t a specific aesthetic like “boho” or “farmhouse” — it’s calm, functional minimalism with a few soft edges. Think warm neutrals, natural materials, and just enough personality to keep it from feeling sterile. Scandinavian and biophilic design both feed into it because they share the same instinct: fewer things, better light, more wood and plants, less visual noise.
This works for:
– Students who need to actually retain what they’re reading
– Remote workers doing 6+ hour days at the same desk
– Homeschool families who need one zone that doesn’t feel like the rest of the house
– Anyone who’s tried to work from the kitchen table and lost their mind
It fits almost anywhere — a spare bedroom, a closet nook, a corner of a shared office, even a wide hallway landing. You don’t need a dedicated room. You need a dedicated 6-square-foot zone that’s set up on purpose.
Time and Cost, Realistically
Time: A basic refresh — new lamp, some shelving, decluttering — takes an afternoon, maybe 1 to 3 hours. A full setup with furniture, wall-mounted storage, and cable management is more like 1 to 2 days, especially if you’re installing anything.
Cost breaks into three tiers:
– Budget refresh ($75–$250): desk lamp, a couple of storage bins, a cork board, one or two framed prints
– Mid-range setup ($300–$900): real desk, ergonomic chair, shelving unit, a rug, layered lighting
– Higher-end ($1,000+): built-in shelving, custom desk, premium ergonomic chair — worth it only if you’re in the room daily for years, not months
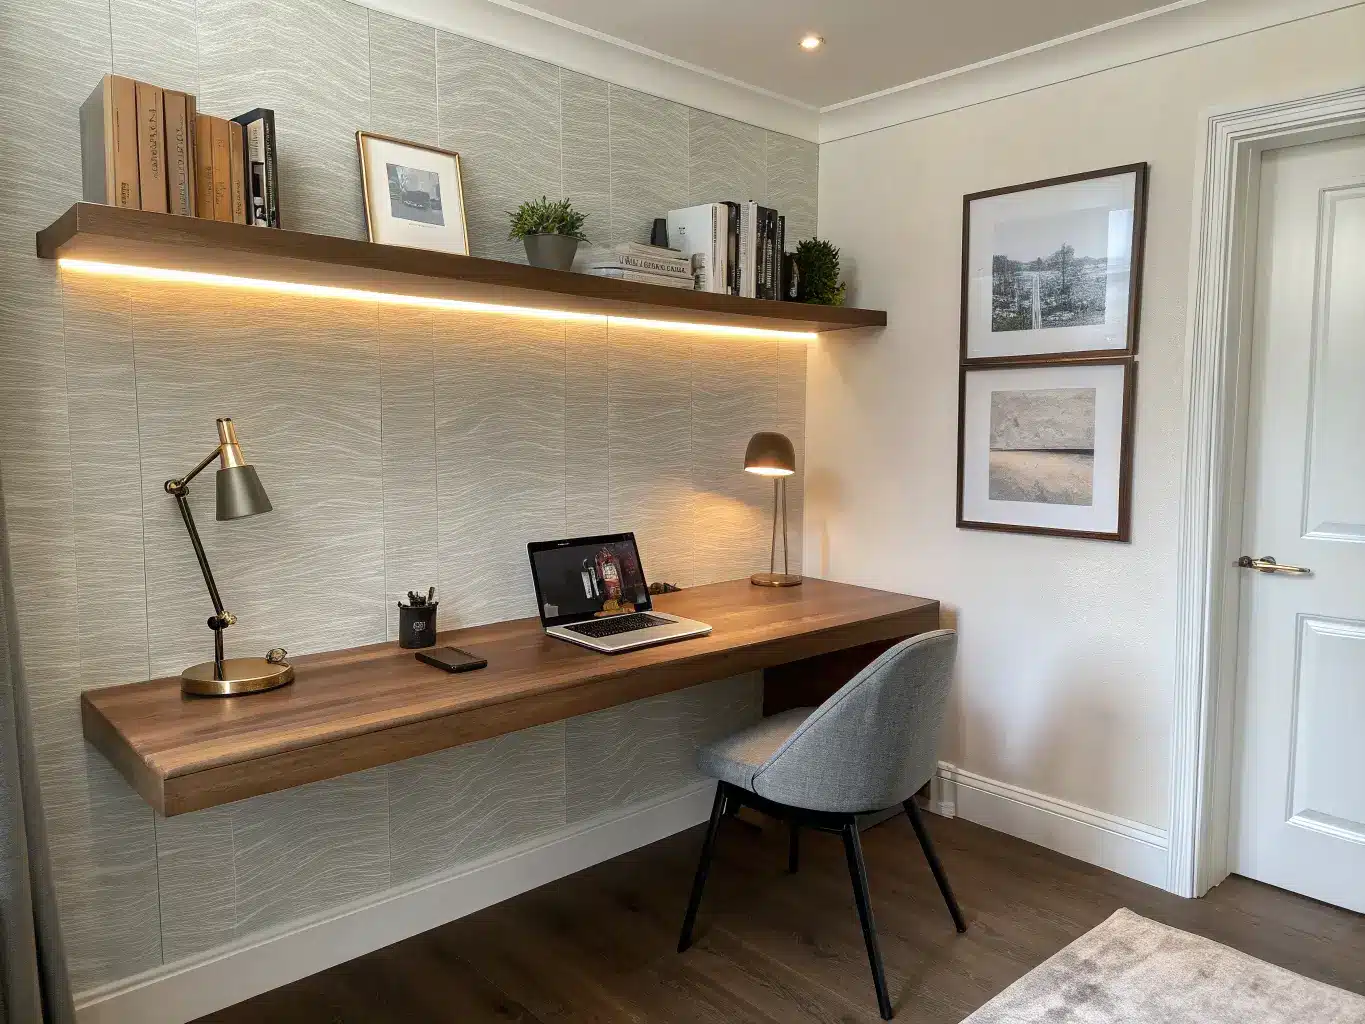
Space needed: Small nooks work fine. A wall-mounted desk with a depth of 20–24 inches (about 55–60 cm) fits in spaces where a full desk never would.
Skill level: Styling is beginner-friendly. Installing floating shelves or a wall-mounted desk bumps it to intermediate — you’re dealing with studs, levels, and sometimes electrical for lighting.
It’s a year-round setup. You’re not redecorating with the seasons here, just swapping small textiles and accents.
The Colors and Materials That Actually Help You Focus
I learned this the hard way with a mustard yellow accent wall that looked great in photos and made it impossible to concentrate for more than twenty minutes. Saturated, warm-bright colors are stimulating — great for a living room, bad for a desk you’re staring at for hours.
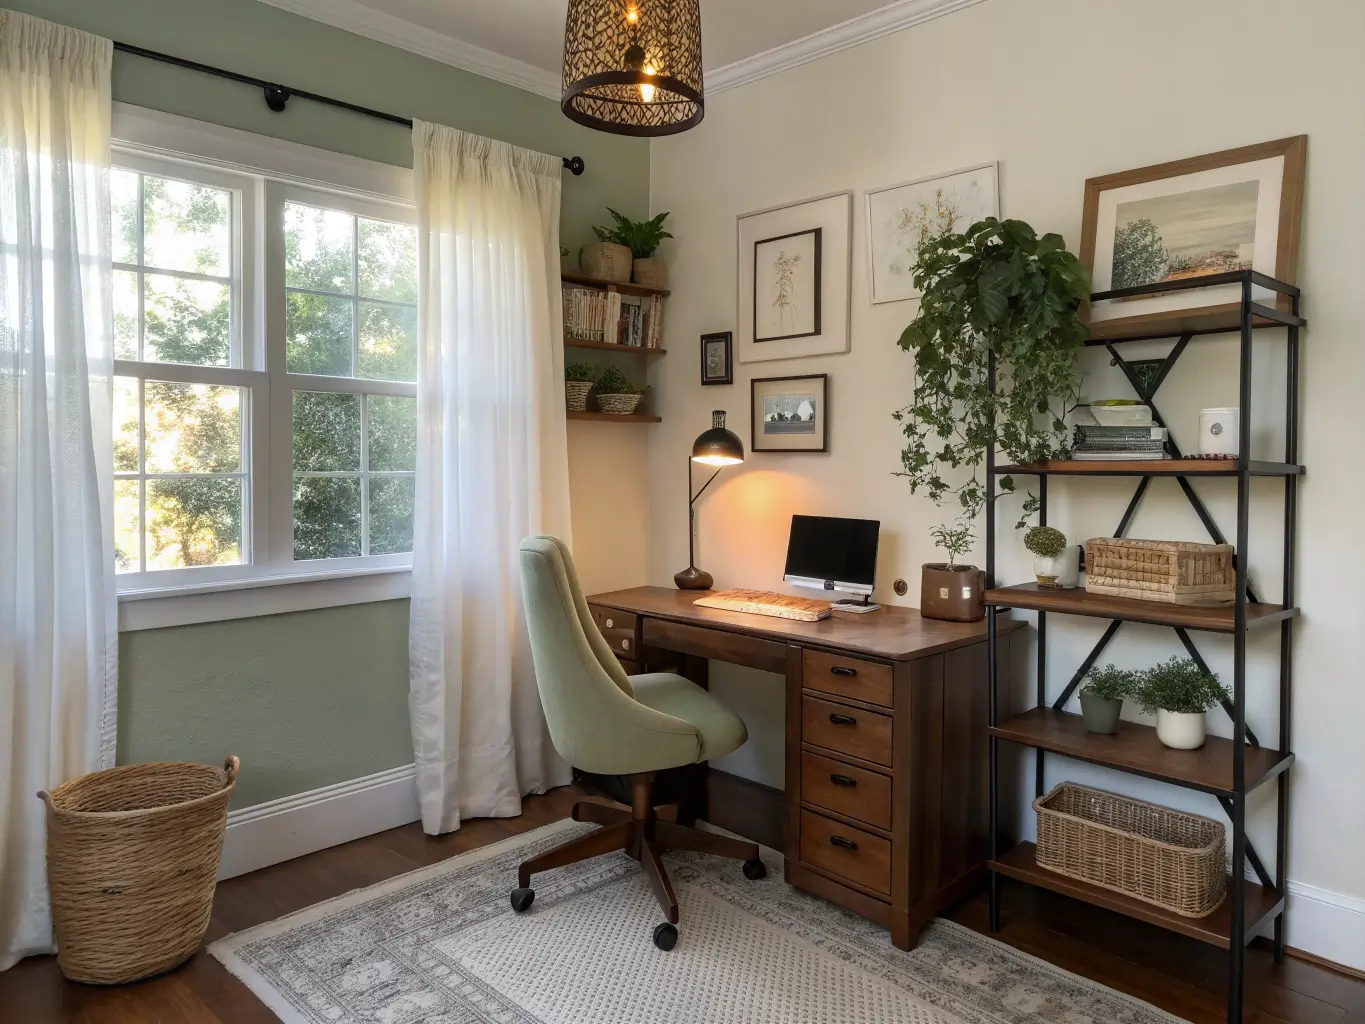
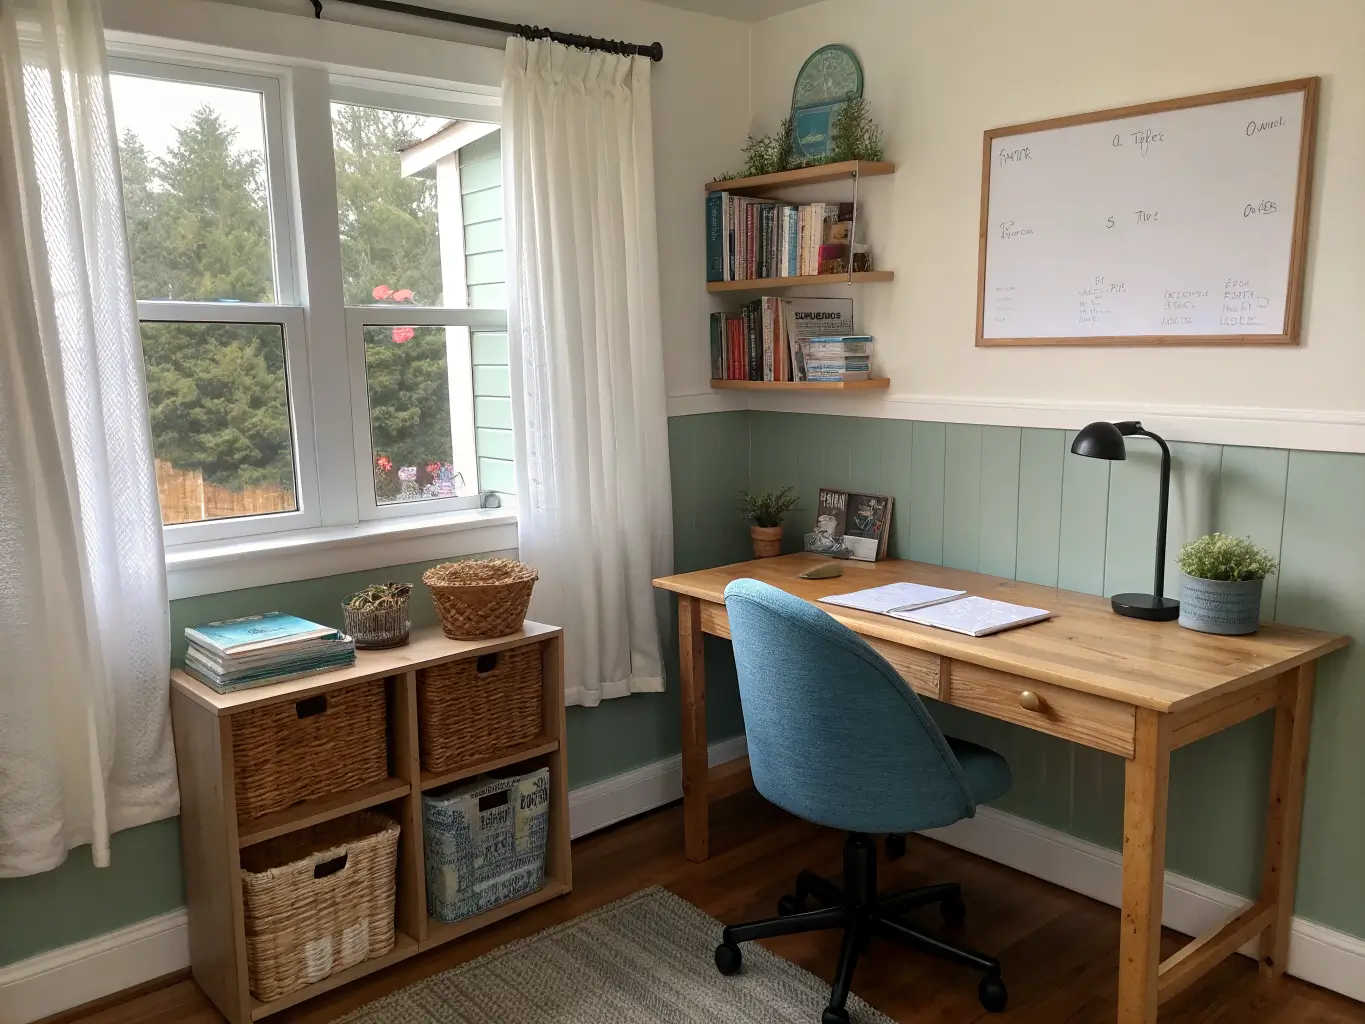
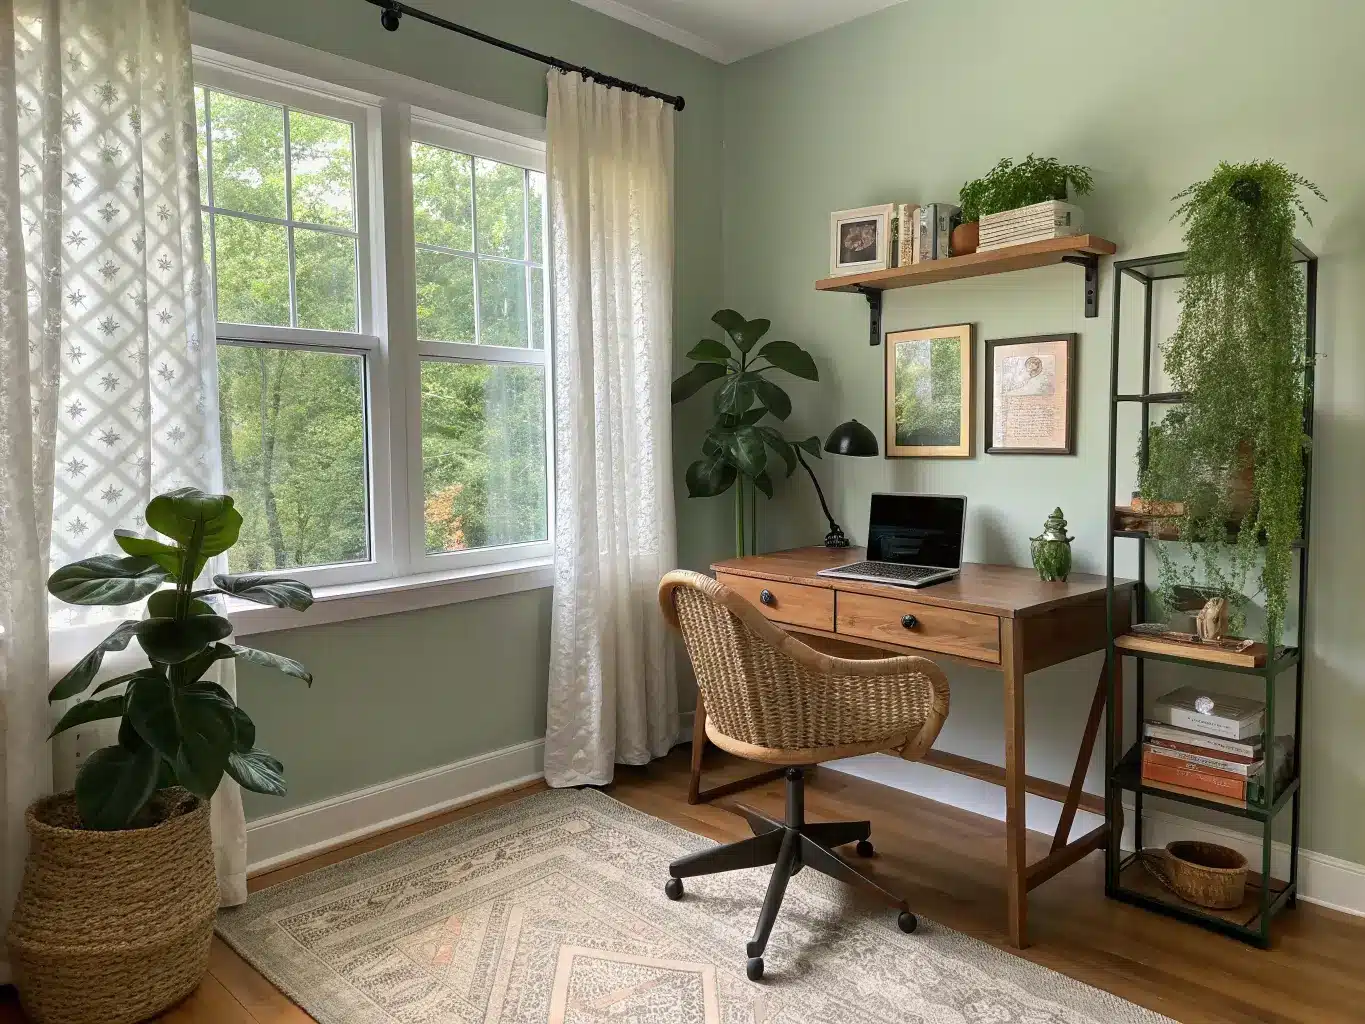
Colors that work: warm white, soft beige, light gray, muted blue, sage green, pale lavender, dusty peach. These read as calm rather than flat. My current room is a warm white (Benjamin Moore’s “White Dove” if you want the exact can) with a sage green accent on one wall and walnut furniture — that’s it, that’s the whole palette.
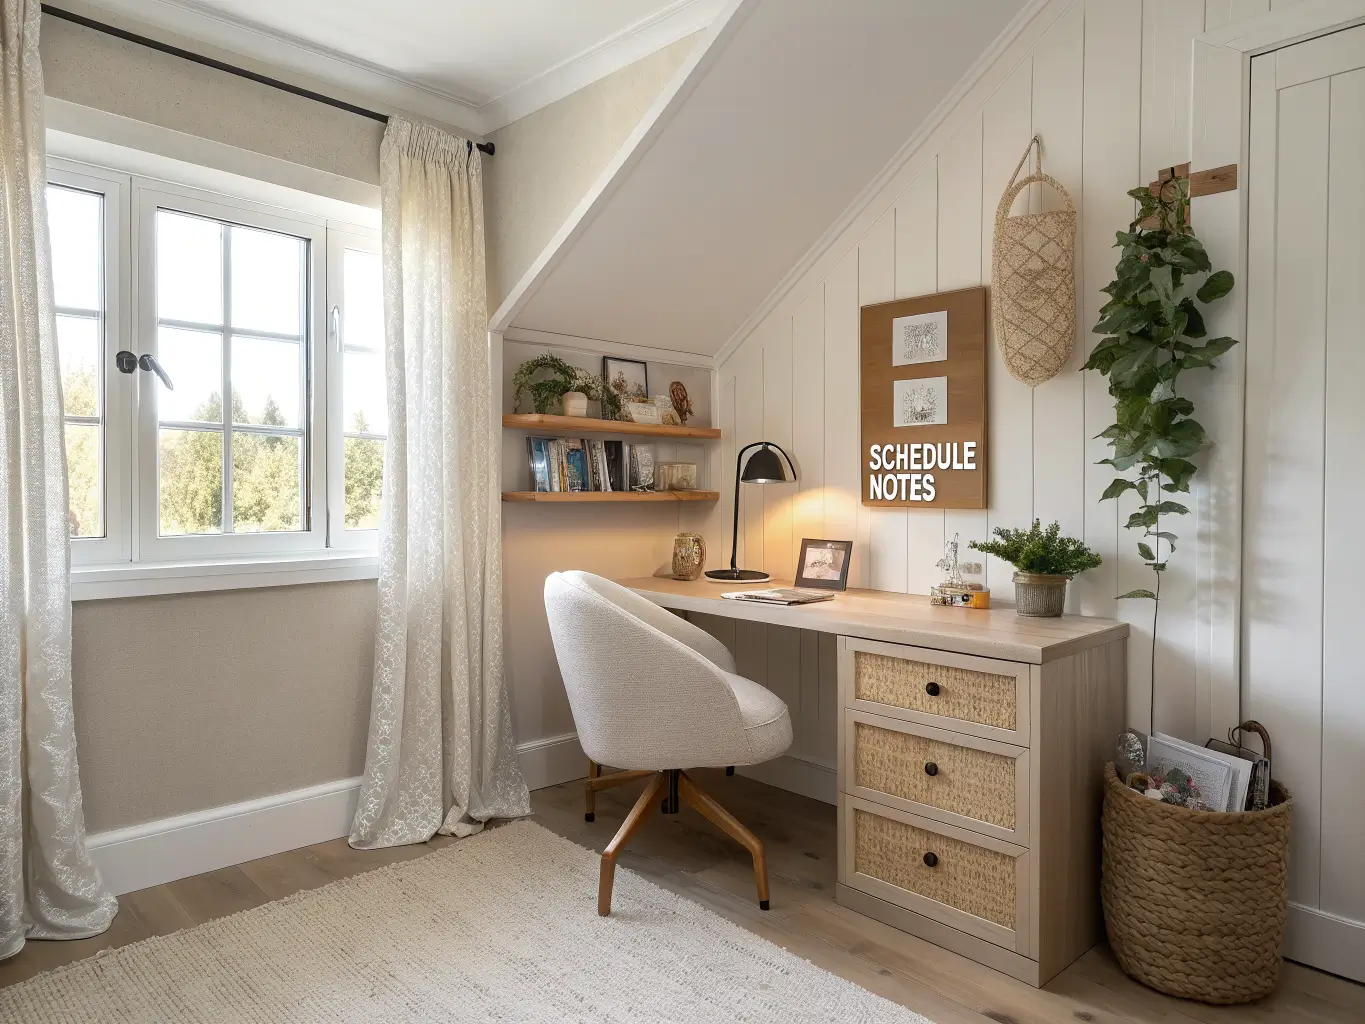
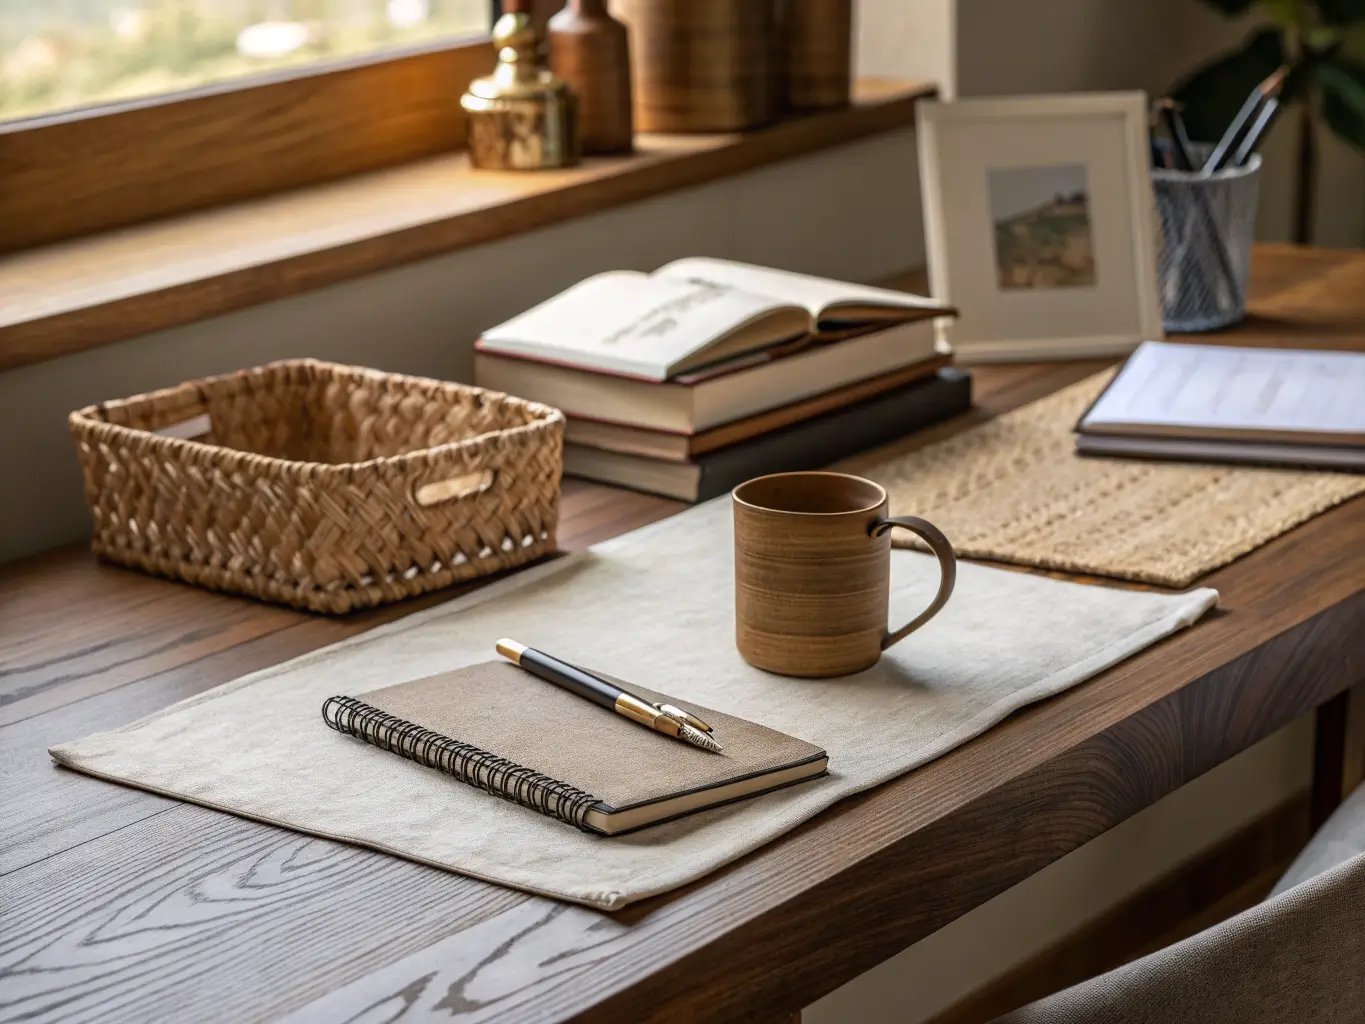
Materials that carry the look: oak or walnut for furniture, bamboo for smaller organizers, linen for curtains and cushion covers, woven baskets for storage, cork for the bulletin board, matte black or brass for hardware. Mixing warm wood with soft fabric and one metal finish gives you texture without adding visual clutter.
The Essential Pieces — What You Actually Need
Skip the temptation to buy everything at once. Here’s the priority order, based on what actually gets used versus what sits there looking nice:
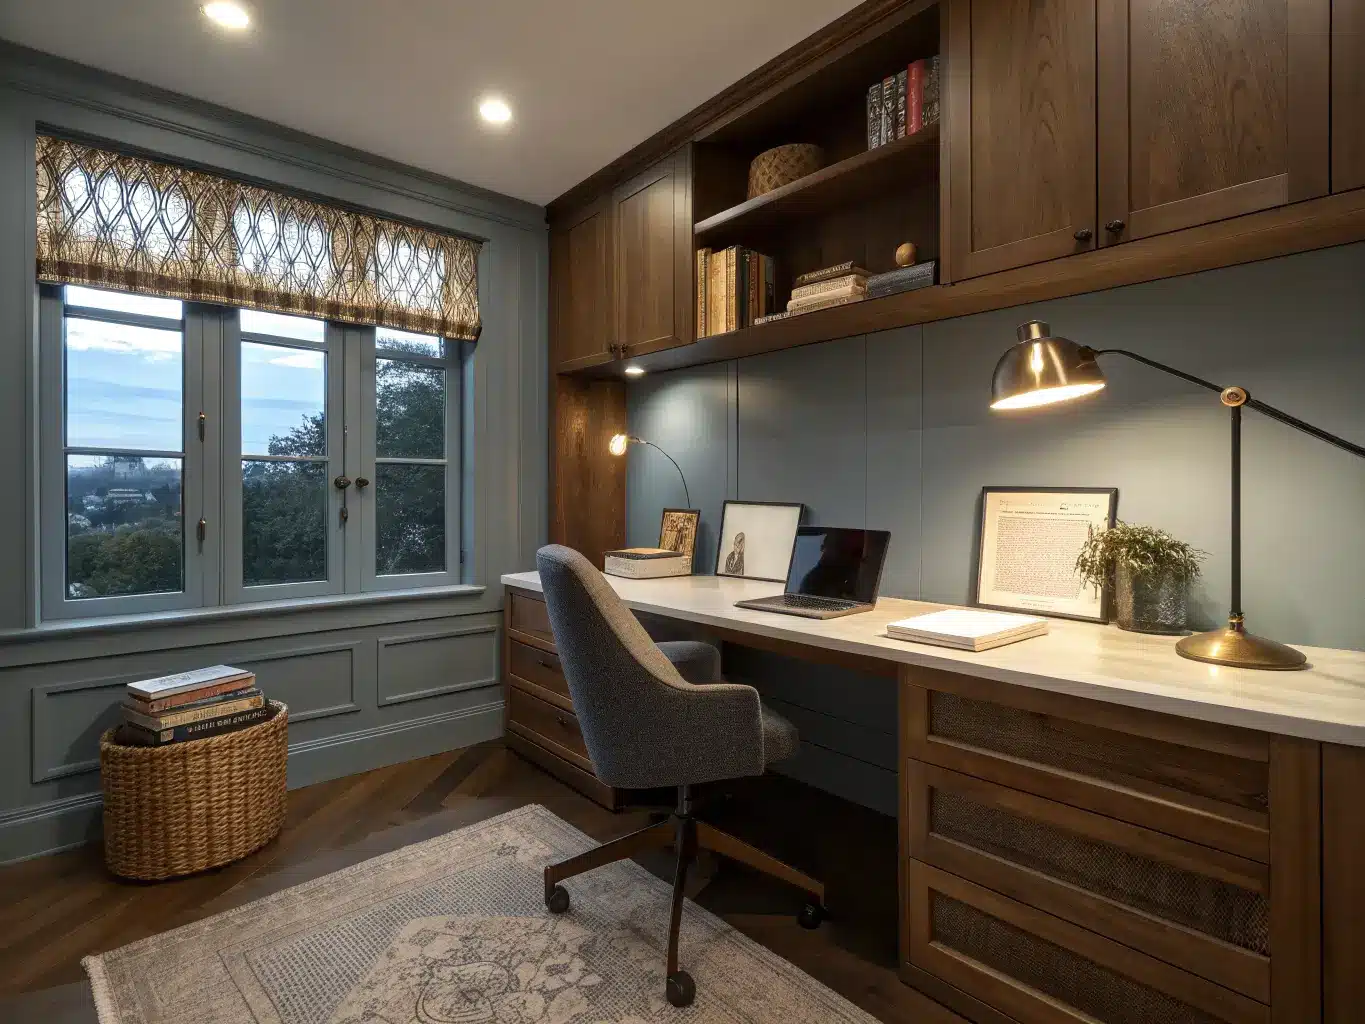
– A desk that fits the room. Compact is better than impressive. If your room is under 80 square feet, a desk with a 20–24 inch depth keeps it from dominating the space. I made the mistake of buying a huge L-shaped desk for a 9×10 room — it ate the whole space and I never used the second half of the L for anything but mail.
– An ergonomic chair. This is where I’d spend real money before anywhere else. A $200 chair with lumbar support beats a $600 desk every time for actually staying comfortable through a work session.
– A task lamp with adjustable brightness. Non-negotiable. Warm-to-neutral white light (around 3000–4000K) reduces eye strain far more than a single harsh overhead fixture.
– Floating shelves or wall-mounted storage. Keeps the desk surface clear, which matters more for focus than almost anything else on this list.
– A bulletin board, cork board, or small whiteboard. For schedules and notes — physical, visible, not buried in an app.
– Closed storage — drawers, lidded boxes, a couple of woven baskets. Open storage looks nice for about two weeks before it becomes a pile.
– A rug. Even a small 3×5 layered under the desk chair softens the room and muffles chair-roll noise.
– One easy-care plant. Pothos, snake plant, or a ZZ plant if you tend to forget things exist. I killed two fiddle-leaf figs before switching to a ZZ plant, which has survived actual neglect.
– Restrained wall art. One or two framed pieces — a botanical print, a photo, something quiet. Not a wall of twelve motivational quotes.
Optional Layers, Once the Basics Are Solid
Once the essentials are in place, these add depth without adding chaos:
– An accent wall or subtle wallpaper behind the desk — one focal surface, not the whole room
– LED strip lighting or a small sconce for evening ambiance, separate from your task lamp
– Linen curtains and a textured throw for softness
– Small brass or black steel accents — a pen cup, drawer pulls, a picture frame — kept minimal so they don’t turn the room “industrial”
– A narrow display ledge for the one certificate or award you actually want to see, not the whole box of them
How to Actually Put It Together
Layer your lighting in three parts. This is the single biggest upgrade I made after my first failed attempt. Overhead ambient light, a focused task lamp on the desk, and one soft background light (a small lamp or LED strip) — together they eliminate glare and make the room feel comfortable even at 9pm. Task lighting alone leaves the rest of the room dark and straining; overhead alone is flat and harsh.
Stick to one base color plus one or two accents. My rule: neutral wall color, one wood tone throughout the furniture, one accent color capped at two items (a cushion and a print, say), one metal finish for hardware. More than that and the room starts fighting itself visually.
Mix hard and soft textures. Wood desk, fabric chair, woven basket, textured rug, linen curtain — that combination is what keeps a minimal room from feeling cold or clinical.
Put your one visual focal point where you’ll actually see it — behind the desk if you video call often, or on the wall facing your seated position if you don’t. Don’t spread “focal moments” across every wall; pick one.
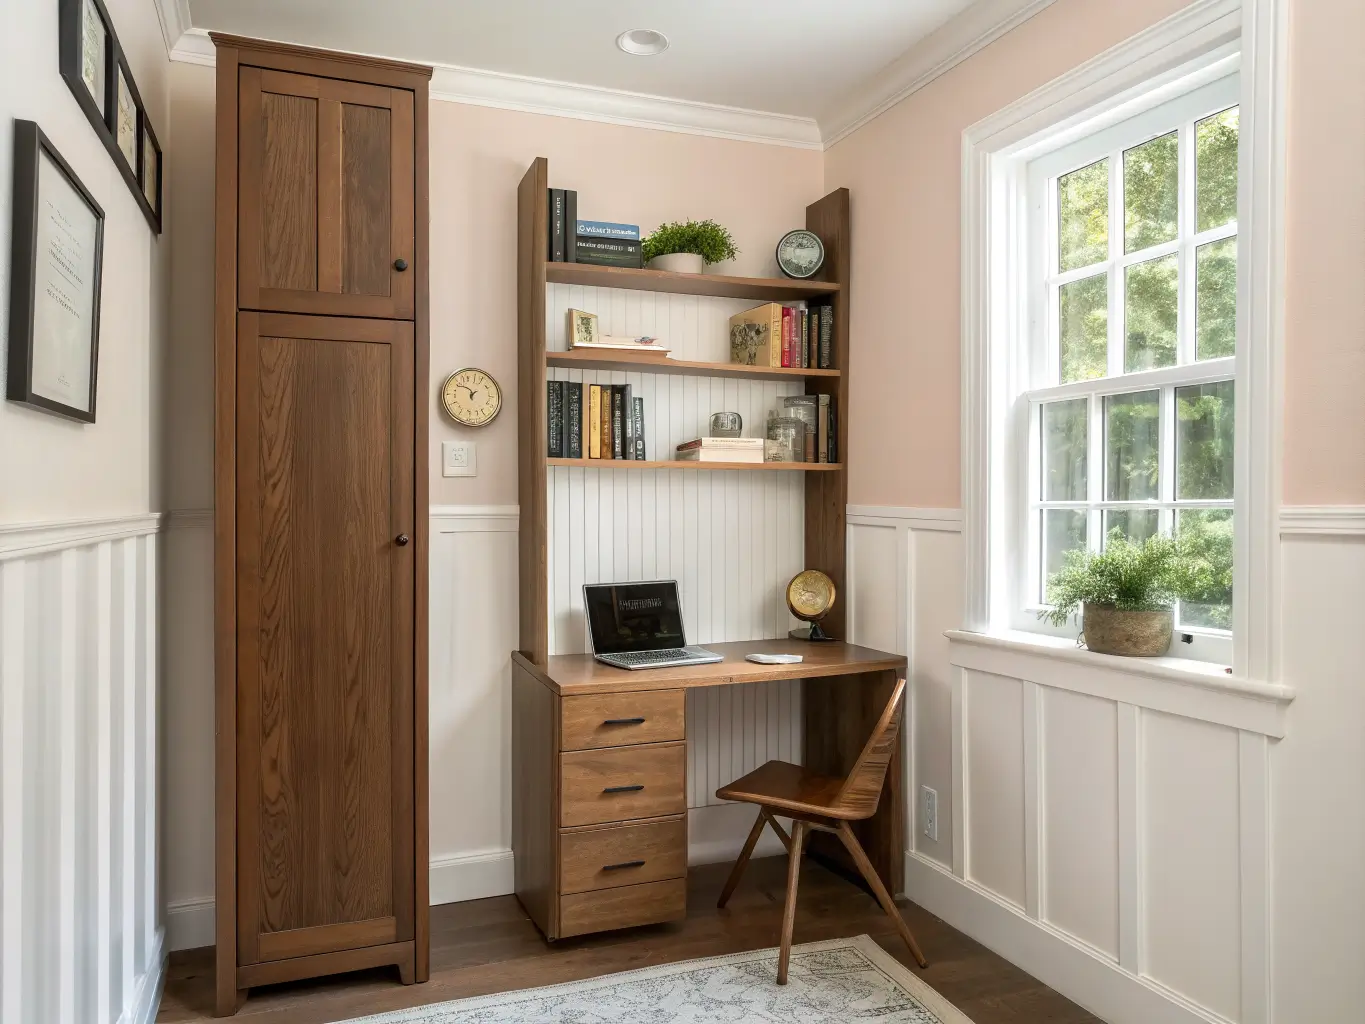
Use vertical space. Wall-mounted shelves and a tall, narrow storage piece keep floor space open, which matters enormously in small rooms.
Setting It Up, Step by Step
1. Clear everything off every surface first. Sort into daily-use, weekly-use, and storage-only piles. You’ll be shocked how much of what was on your desk falls into the third category.
2. Position the desk near natural light, but angled to avoid screen glare — perpendicular to the window usually works better than facing it directly.
3. Check your outlets and cable routes before you finalize furniture placement. I once set up a beautiful desk arrangement only to realize the nearest outlet was behind a bookshelf. Moved everything twice.
4. Set up ergonomics before decor — monitor at eye level, feet flat on the floor, keyboard at a height that doesn’t force your shoulders up.
5. Add the desk and chair first as the anchor.
6. Add task lighting, then ambient lighting.
7. Install vertical storage — shelves, cork board, cabinets.
8. Layer in texture — rug, basket, curtain, cushion.
9. Add one or two personal touches, and stop there. A framed photo, a small object with meaning — a globe, a map, whatever’s actually yours. Resist the urge to keep going once you hit two.
Mistakes I’ve Made So You Don’t Have To
– Clutter creep. Every study room guide says this and it’s true because it’s the most common failure. Fix it with closed storage and a weekly five-minute reset — I do mine Sunday night, and it’s the single habit that’s kept my desk usable.
– Bad lighting. My first setup had one overhead fixture and nothing else. Screen glare, eye strain, headaches by 3pm. Layered lighting fixed all of it in one afternoon.
– Overdecorating. That gallery wall I mentioned? Eight frames behind my desk, all different sizes, all “inspiring.” I couldn’t look at my screen without my eyes snagging on something. Now I have two frames. I get more done.
– Ignoring ergonomics for aesthetics. A pretty chair that hurts your back after an hour is not a good chair. Sit in it for real before you commit.
– Wrong scale for the room. Big furniture in a small room doesn’t read as “impressive,” it reads as cramped. Wall-mounted desks and compact tables exist for a reason — use them if your room’s under 100 square feet.
Keeping It Looking Right Over Time
Stick to your palette when you add anything new — light neutral base, one wood tone, one accent color, one metal finish. When you’re tempted by a decor item, ask if it’s functional or meaningful; if it’s neither, it’s clutter waiting to happen.
Seasonal updates don’t require new furniture. Swap a cushion cover, change the print in your one frame, rotate in a small seasonal plant arrangement. That’s enough to keep the room feeling current without touching the bones of it.
Budget upgrades in order of impact: a cork board before custom shelving, a better lamp before a new desk, a desk mat before a full furniture swap. Small, functional additions beat big decorative ones almost every time in a room built around getting work done.
If you want to play with different looks without redoing the whole room: pale woods with a black metal lamp and white shelves reads Scandinavian. Neutral furniture with more plants and rattan textures leans biophilic. A couple of restrained prints plus one meaningful object — a globe, an old map, a framed certificate — gives you a quiet academic feel without turning into a cluttered trophy wall.
The room that finally worked for me isn’t exciting to look at in photos. It’s a desk, a good chair, one plant, two frames, and lighting that doesn’t hurt my eyes. That’s the whole point.
For another angle on this, my study room design guide covers the same space from a different starting point.





